Old Furniture Refinishing Before and After Makeovers
Give new life to old pieces by refinishing old furniture with these inspiring before and after makeovers! Expert tips will guide you to makeover your garage sale finds!
furniture transformations
Furniture makeovers have become so popular over the years. People enjoy refinishing furniture from their family members that have been passed down to them. Many of us also enjoy finding pieces at thrift stores and auctions that we can refurbish.
Let’s go over some of the aspects of refurbishing furniture and take a look at some of the before and after images of pieces we have worked on over the years here at Reinvented Delaware.
what is furniture refinishing?
Furniture refinishing can be defined as restoring the furniture piece to its original condition when it was new. That can mean stripping off old paint, removing the old finish that has deteriorated, or preparing the entire surface for a new coat of paint.
Over the years the definition of “furniture restoration” has sparked debate. Some would say cleaning the piece thoroughly and keeping the original wood finishes is enough.
Others would say strip off the failing old finish and mimic the original look of the wood furniture piece.
Still, others would say paint the old piece of furniture! Some of you might hate the idea of furniture painting altogether.
If you are in the last group of people, stick around, and let’s chat about it.
why refinish old furniture?
First, why should we even bother to refinish old furniture? Why take the time it requires to repair, strip off the old finish, and make it look new again?
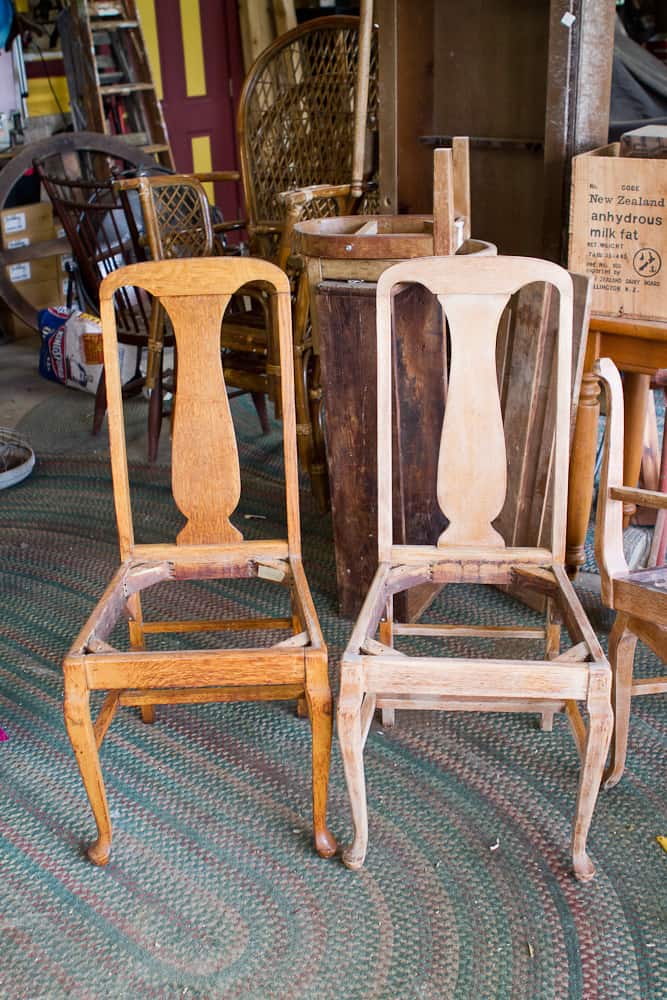
For starters, you have to appreciate the antique and vintage furniture pieces. You must have a love for the past and history that is wrapped up in vintage furniture.
That’s the camp I fall in. I love old furniture pieces, especially those hand-crafted in the late 1800s and early 1900s. Those pieces represent craftsmanship that took years to develop. Learning to build furniture took time and patience, and these craftsmen honed their skills over time.
I feel it is needed in our culture of “instant results”. We are so quick to buy the new stuff at the local big box stores, most of which were made overseas.
We are quick to toss out the broken, the damaged, the old style of furniture instead of fixing it up and repairing it.
That’s the culture we live in.
Out with the old and in with the new, right?
BTW, that saying is not always bad. I’ve said it myself as it applies to reinventing home decor and furniture! Updating an older piece to make it look new again is something we do all the time here at Reinvented Delaware!
Another reason that we should refinish old furniture is to save the amount of throw-away items we have in our country. The landfills are only getting bigger!
Those aren’t the only reasons to make over an old piece of furniture. There’s the enjoyment and satisfaction of fixing a wooden furniture piece and the feeling you get when you look at the furniture in your home knowing that you had a part in its new lease on life!
what are the challenges of refinishing furniture?
Several challenges can come up when making over a piece of furniture.
- Do you have the space to complete the project?
- Are there any repairs you do not know how to resolve?
- Are you prepared for surprises that might pop up as you work on the piece?
- Do you have the supplies and equipment you need for the restoration project?
- Are you willing to research great resources to find the best way to restore this piece of history?
- Are you willing to learn and try new methods and processes to restore the furniture?
Be sure to think through these questions before starting to work on the furniture. I want to see you succeed with your furniture makeover project! Don’t set yourself up for failure especially if this is your first furniture makeover project.
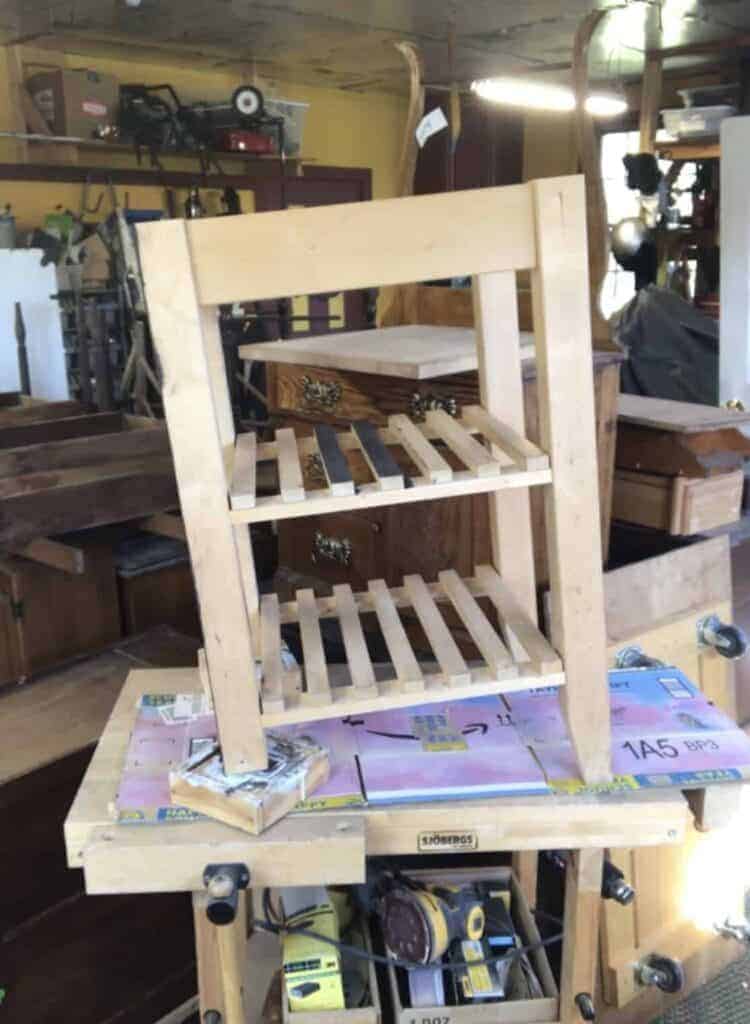
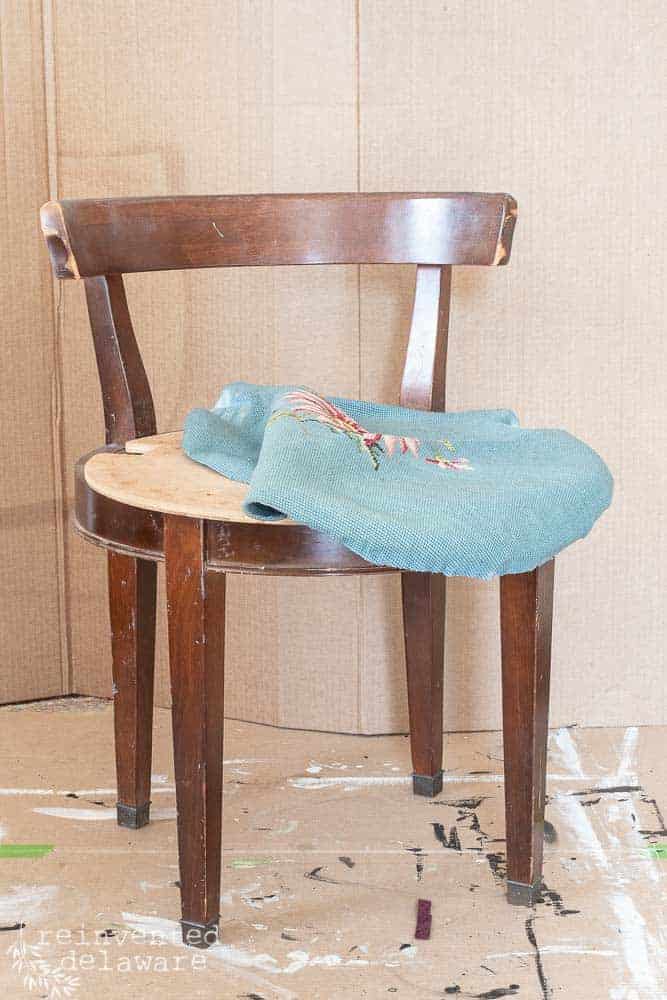
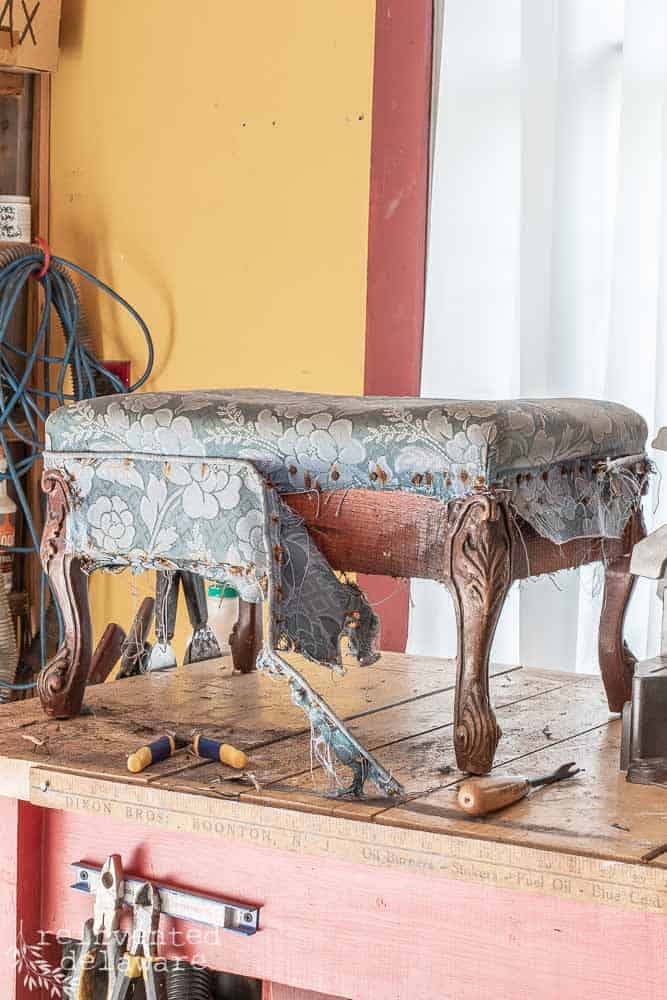
If it is, let me suggest you start with a small piece like a small side table or footstool. You can work your way up to larger furniture pieces that might require more work and time.
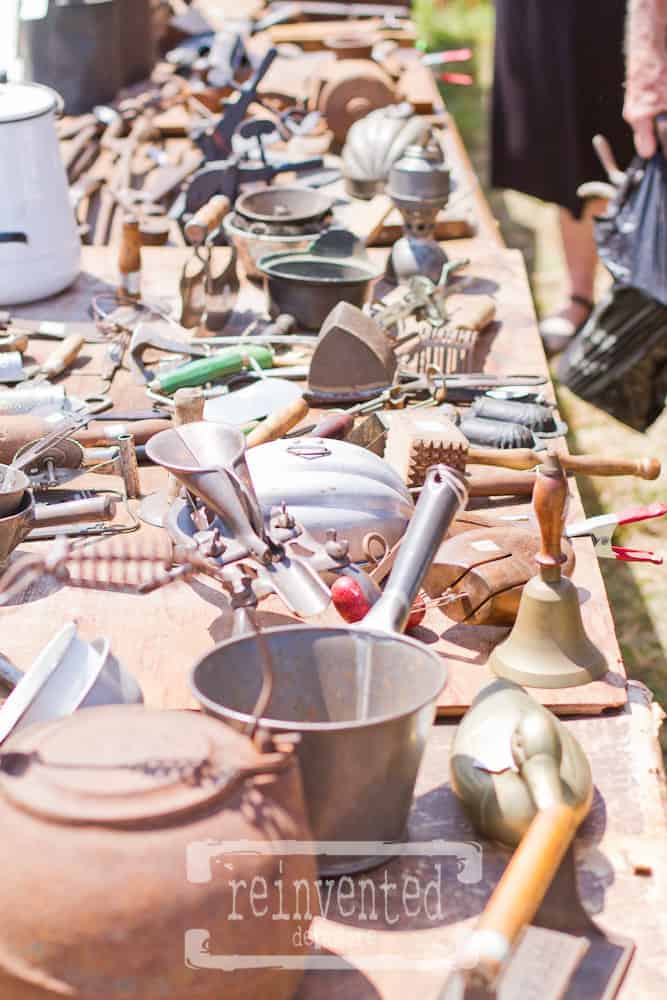
where to buy old furniture
There are many places to buy old furniture. Auctions, estate sales, yard sales, thrift stores, garage sales, Facebook Marketplace, second-hand shops, resale shops, and your local thrift store just to name a few.
You can also ask family and friends for old furniture pieces that they might want to get rid of. Let those in your circle know that you are restoring vintage furniture and you will be surprised how many freebies you will receive!
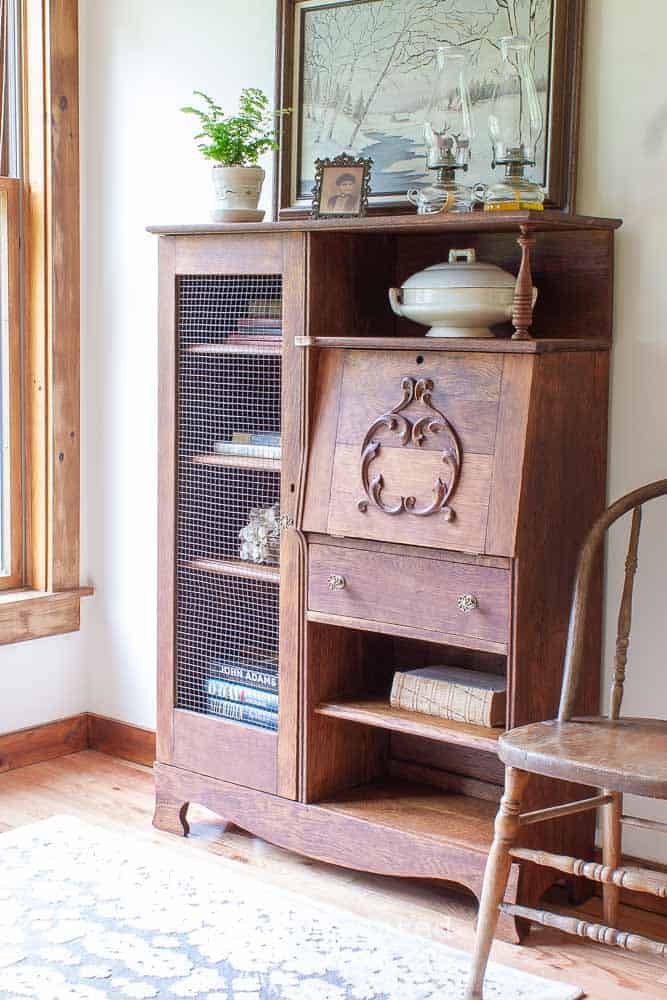
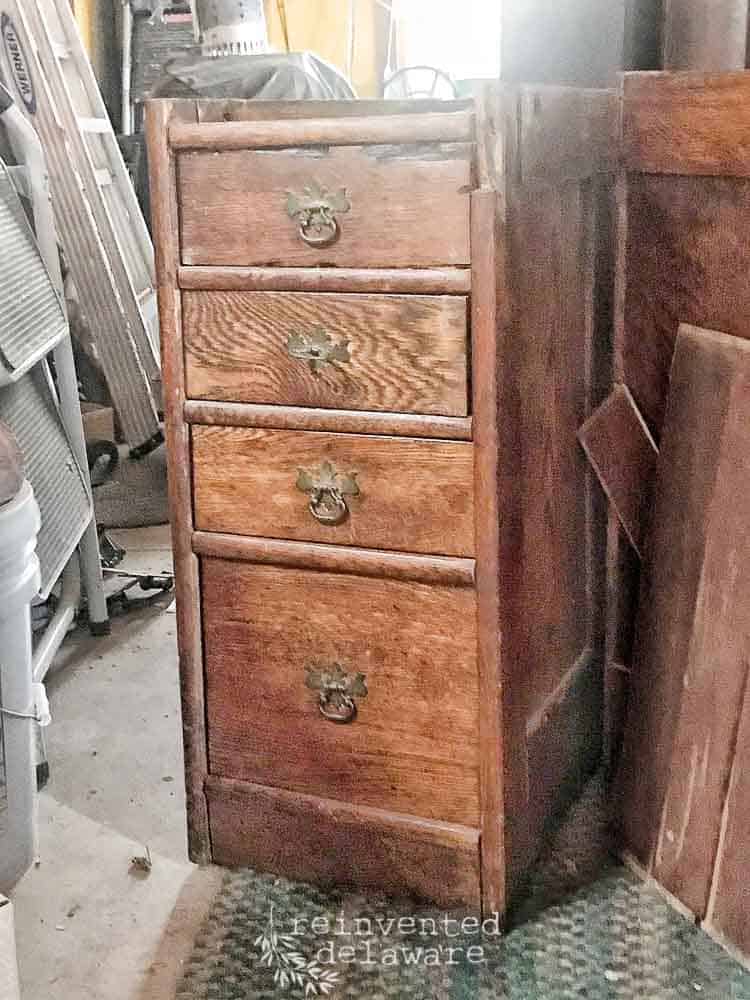
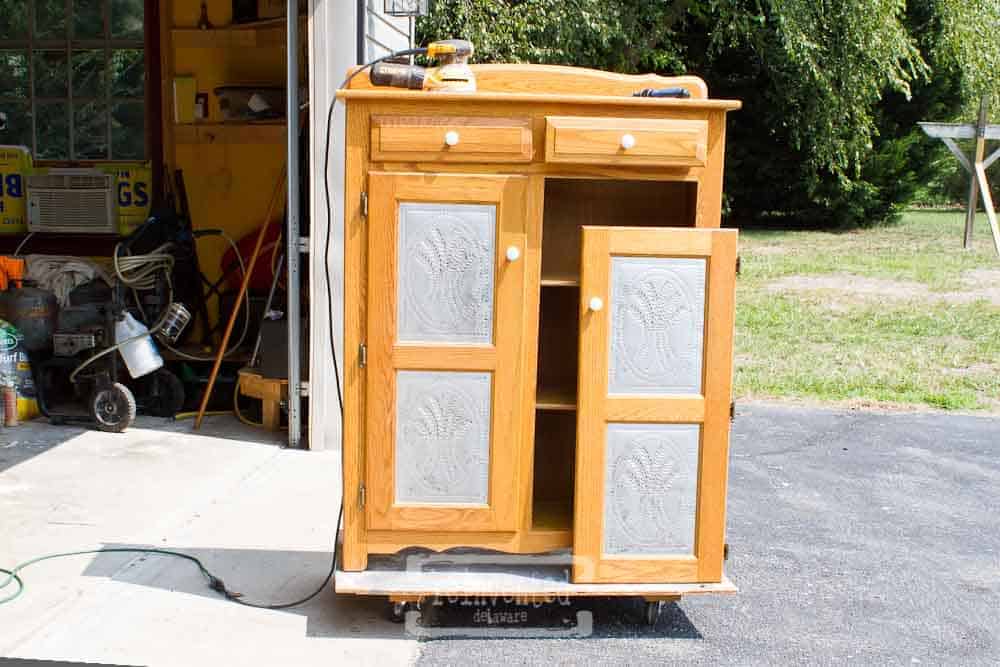
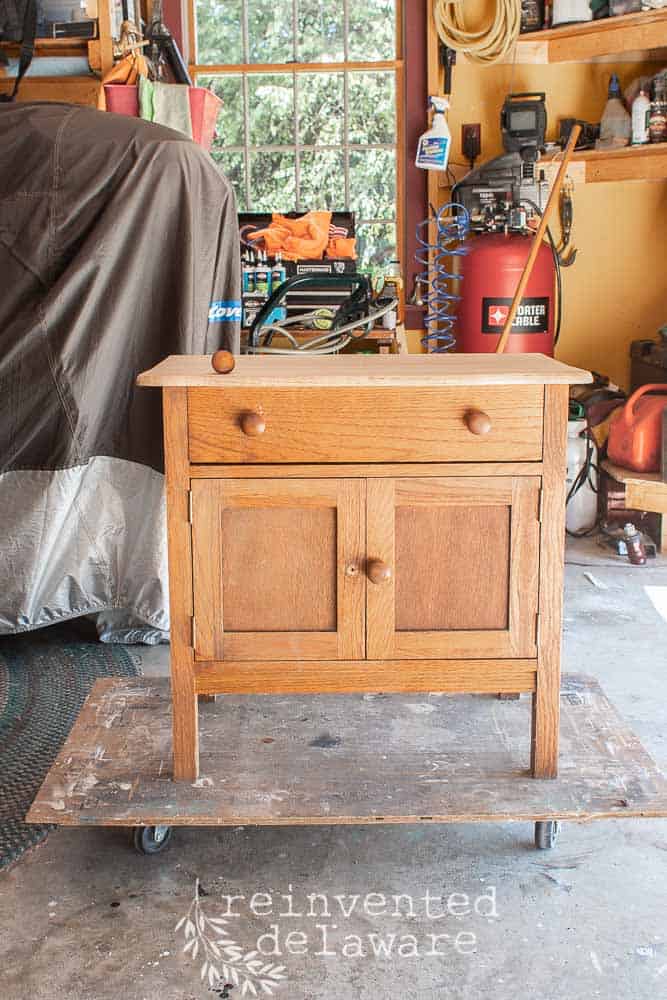
Many people don’t want to take the time to donate and they will tell you to just come and get it! That just happened to hubby and me. We were given a gorgeous secretary desk made of solid wood. We’ll be doing a makeover on that oak piece so that I can change the color of the wood. Orangey oak is not my favorite.
We will get to that post in the future, for now, let’s continue the discussion about the furniture you want to work on!

what type of furniture are you refinishing?
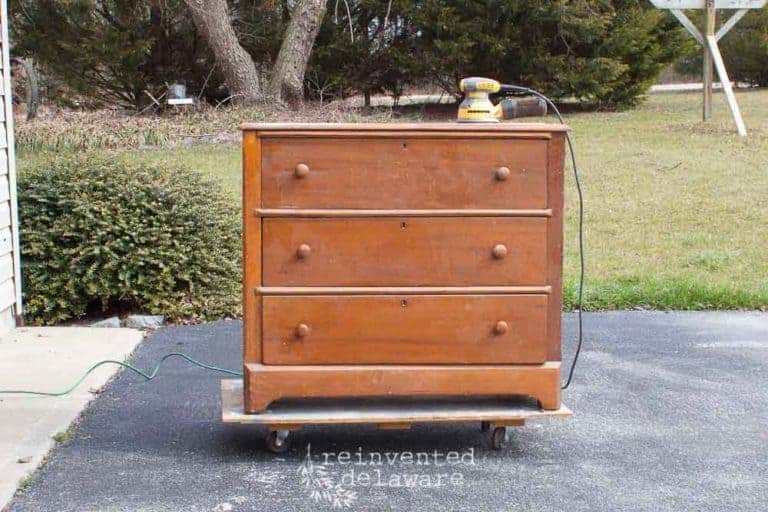
Before purchasing the furniture piece, consider what room you would like this piece to end up in. Are you looking for an old dresser to be used as bedroom furniture? Do you need end tables for your sofa or maybe a coffee table in the living room? Do you need a dining room table or a buffet table?
Measure the area for the piece of furniture you are interested in and keep a running list in your Notes app on your phone. Designate each room and the furniture piece you need for that space. Hook a small measuring tape to your car keys and you will always be ready to shop for those pieces.
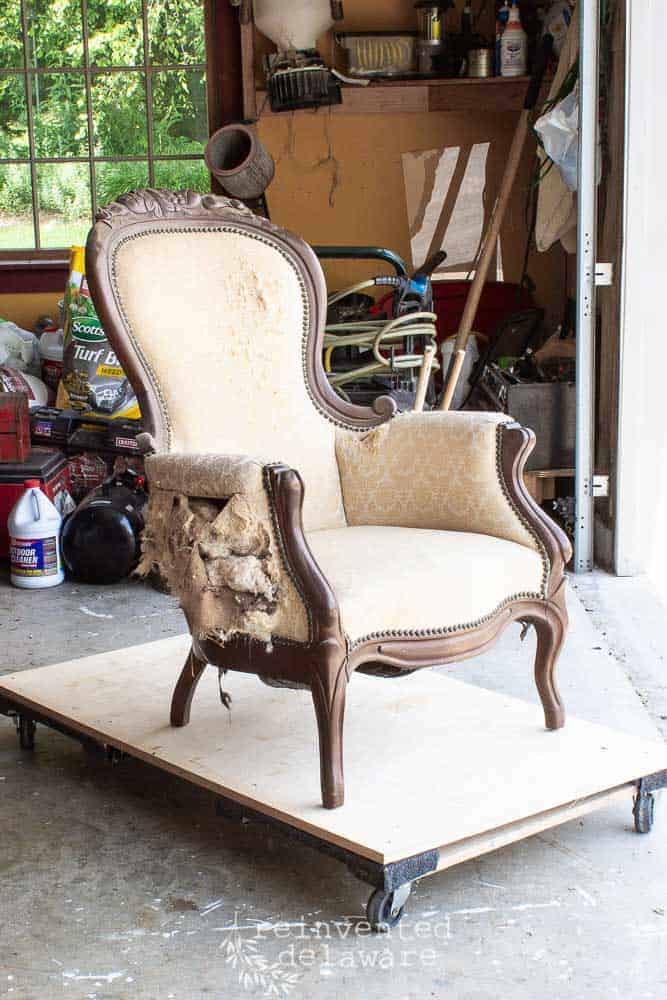
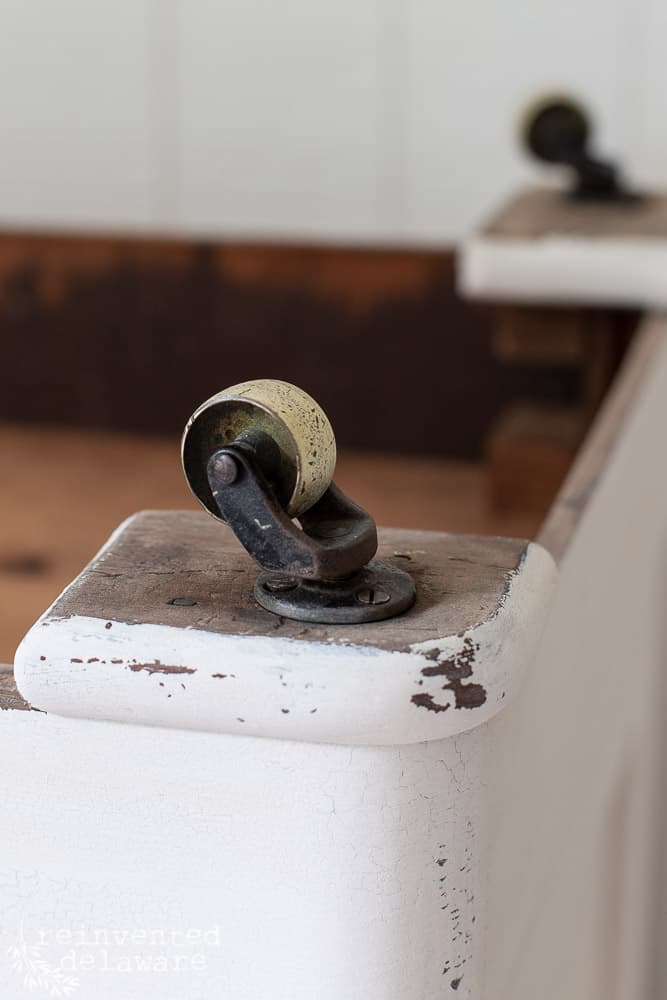
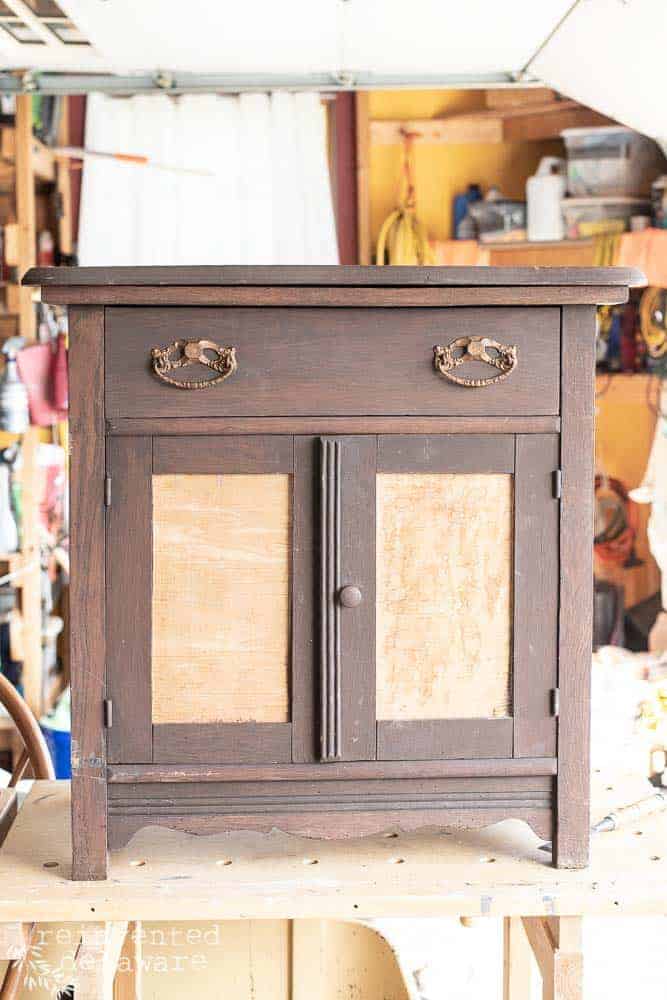
what is the condition of the furniture?
Before purchasing the furniture, give it a good once over and inspect for any broken places, sticky drawers, peeling veneer, or missing hardware. Decide if you want to tackle those aspects of the project before the final sale.
how much time will this makeover take?
Consider how long it will take to complete this project. Here is a list of tasks and the time it takes to complete them. Of course, it can vary with each project, but this is a good starting point. Furniture can range in size so consider that as well.
- stripping the old finish and cleaning the pieces – 4-6 hours
- repairs like broken dresser drawers and minimal peeling veneer – 1-3 hours (mostly dry time for glue)
- replacing missing hardware – 1 hour (plus shopping time!)
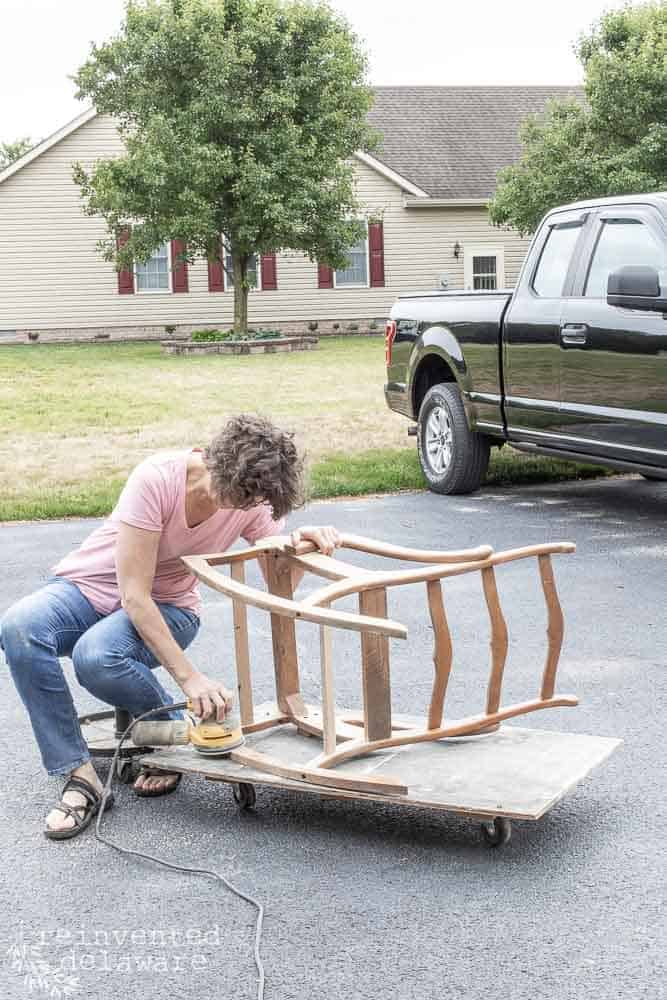
- sanding the piece to prep for the new finish – 2-3 hours
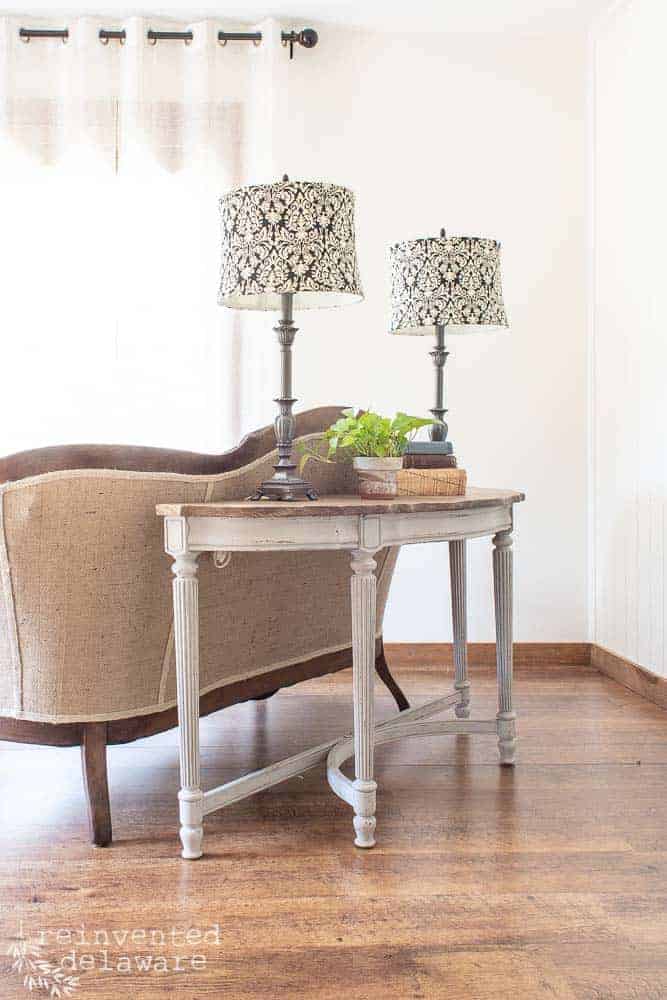
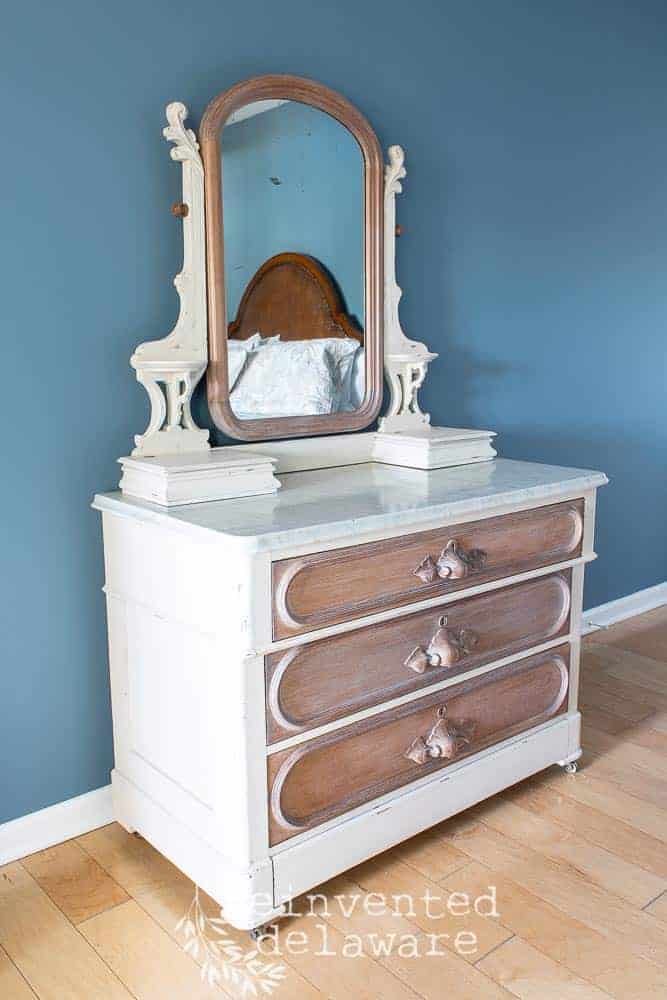
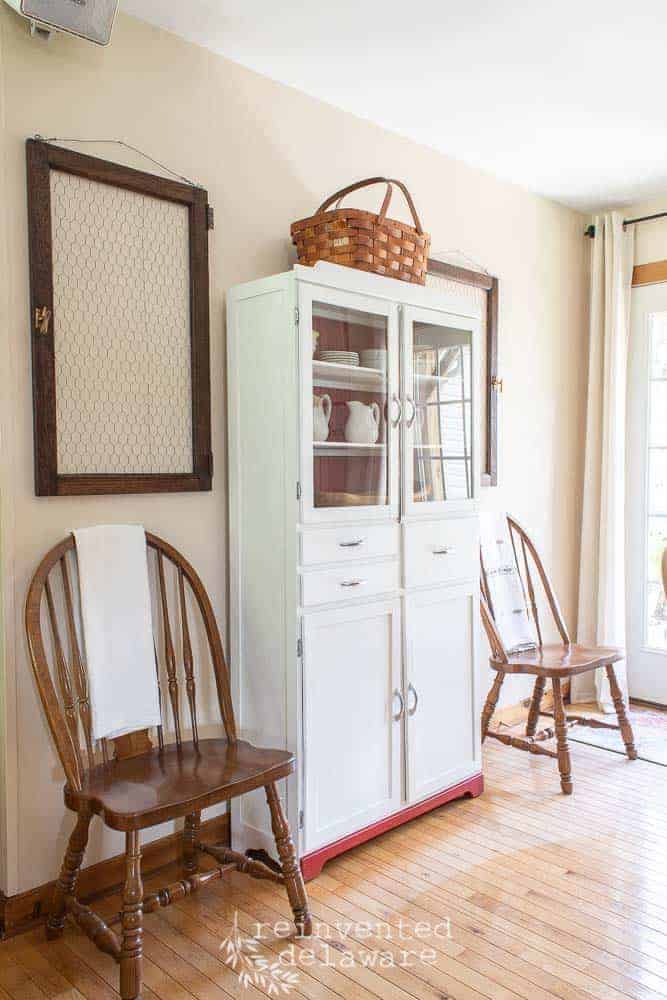
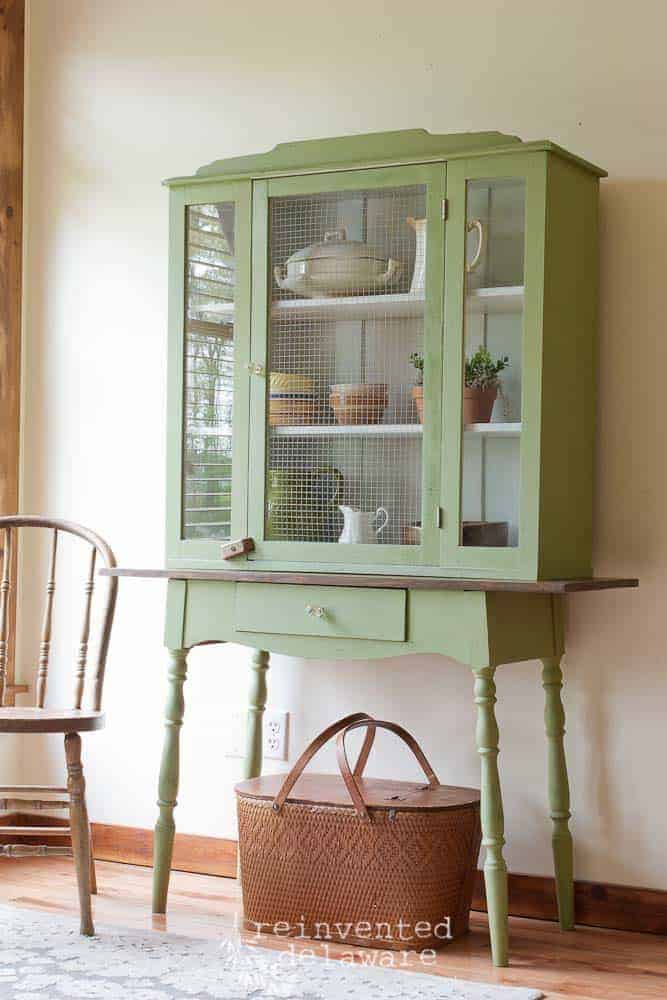
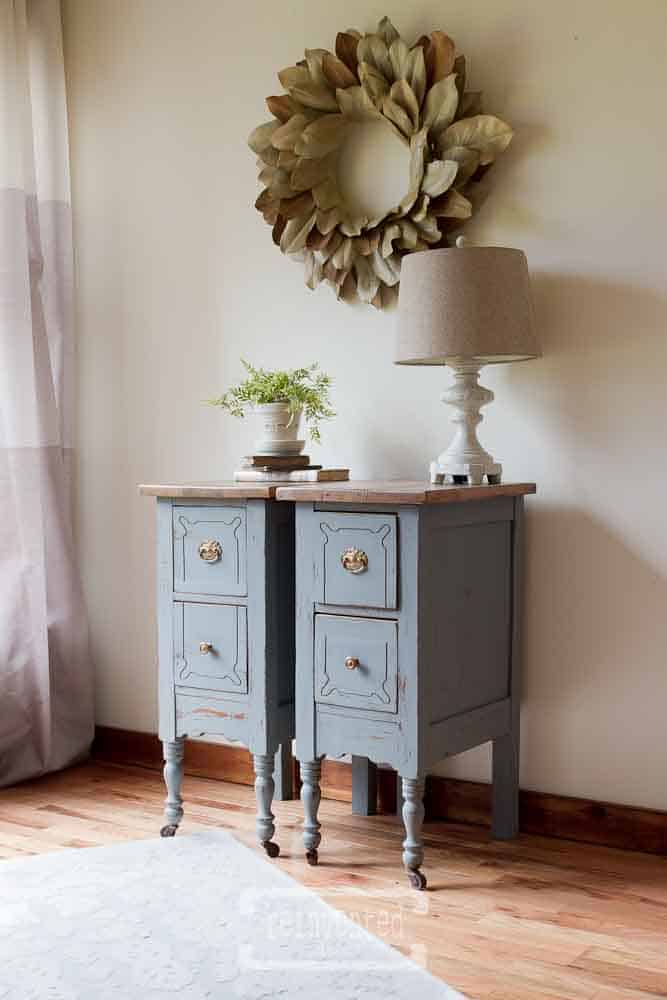
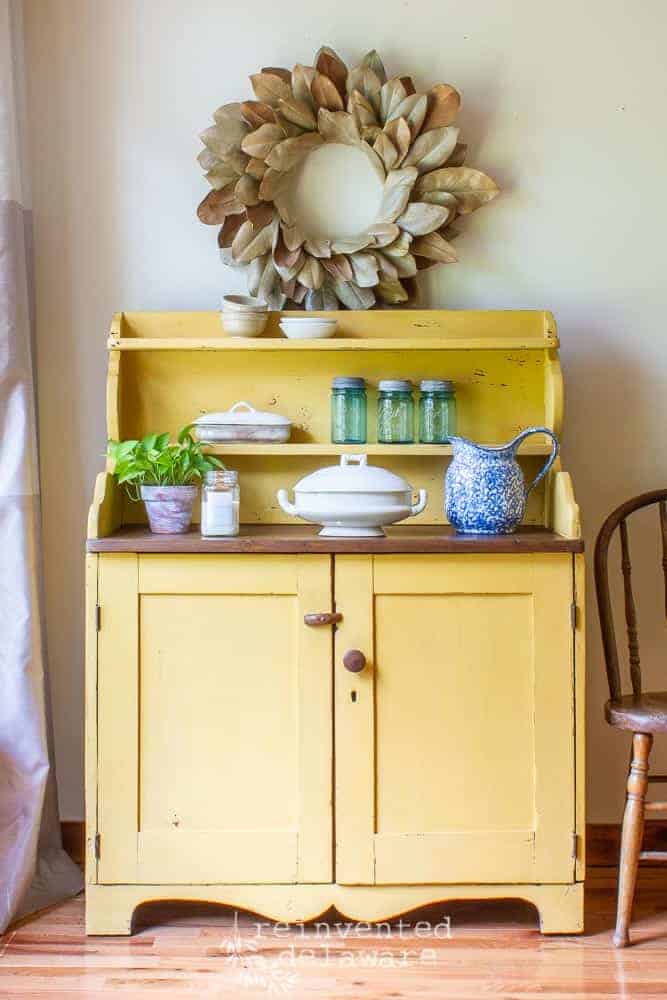
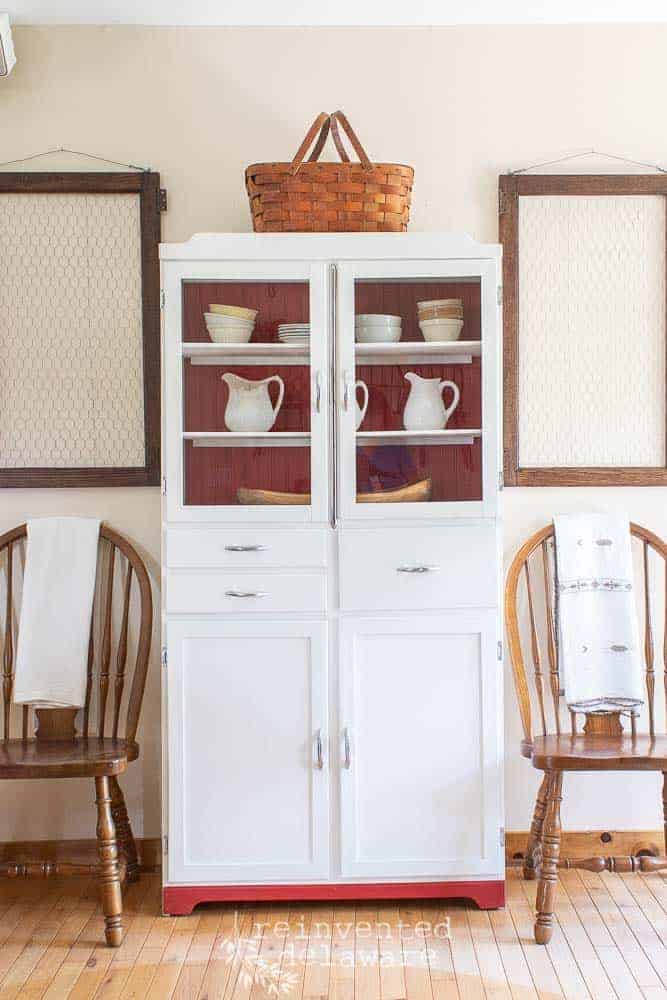
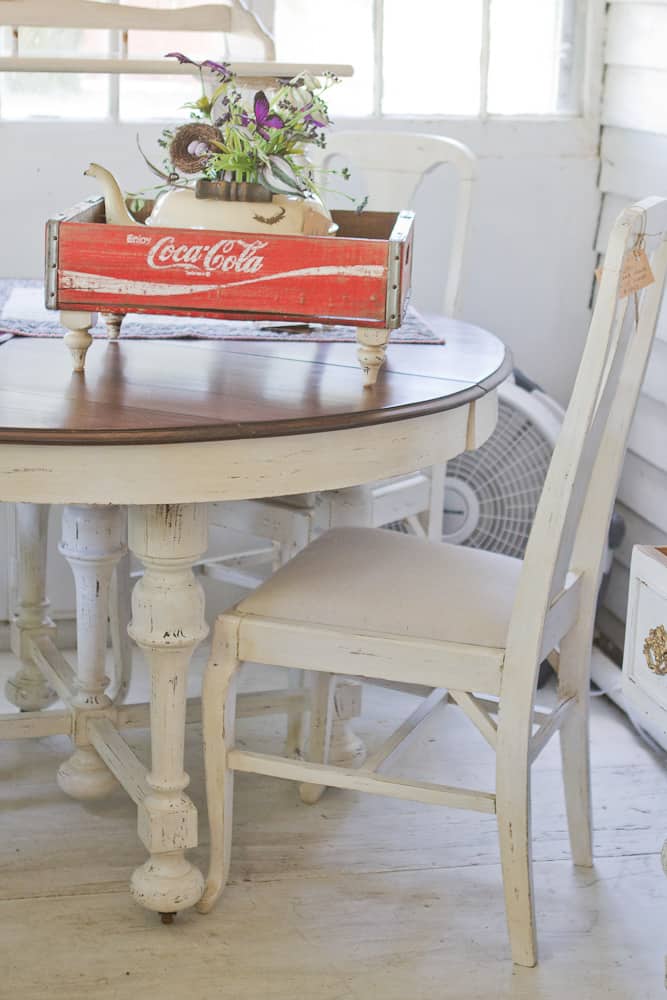
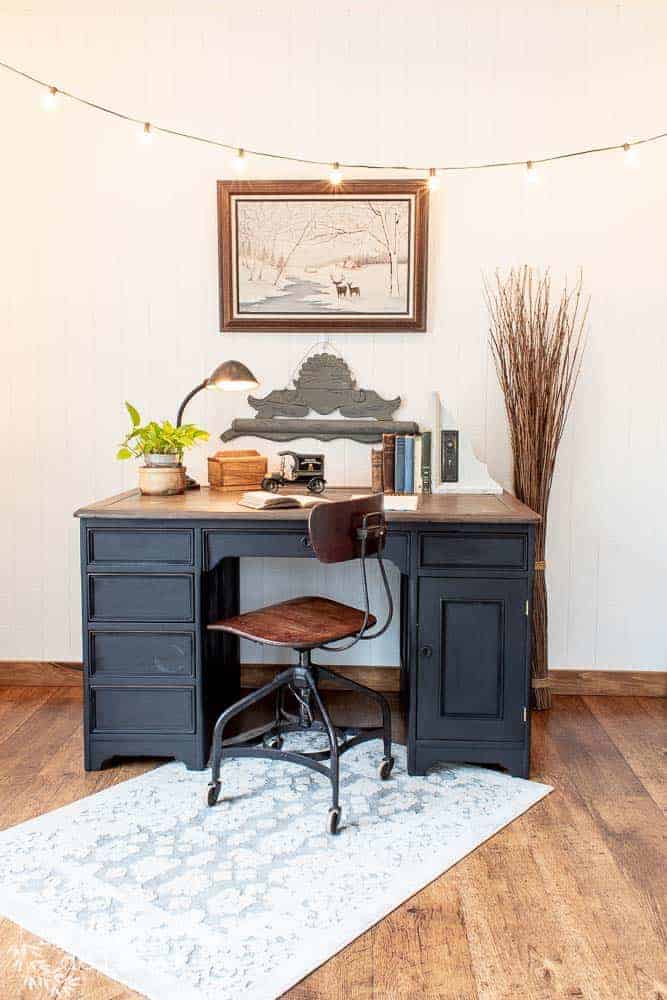
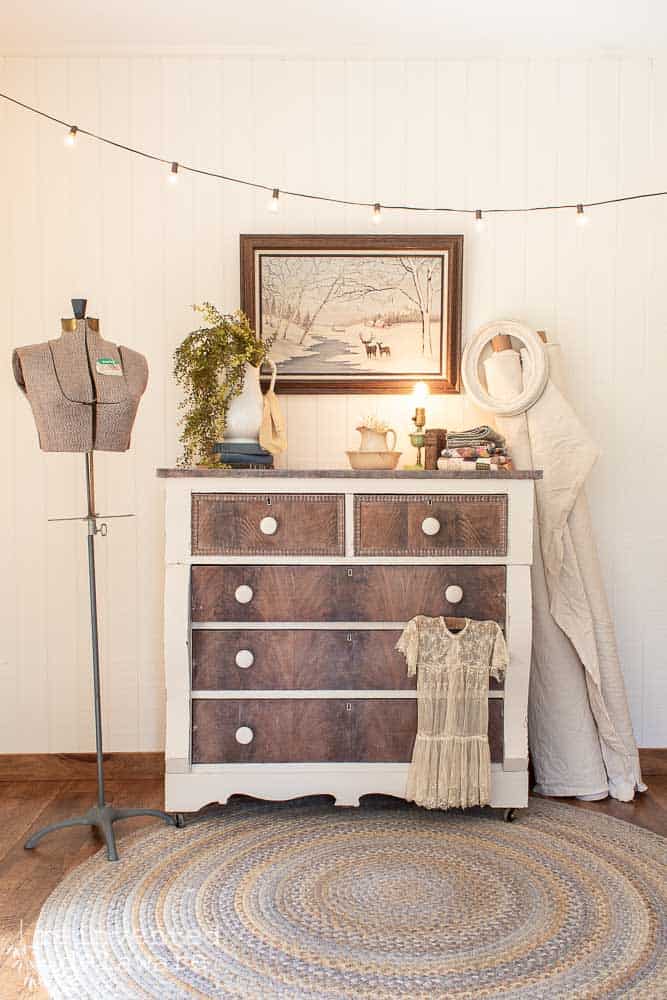
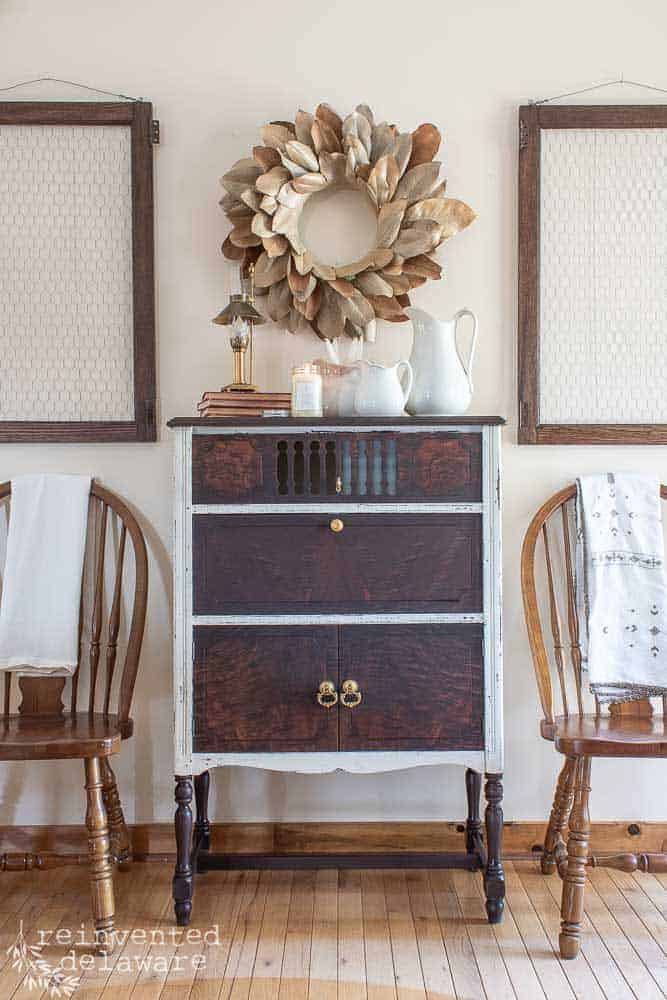
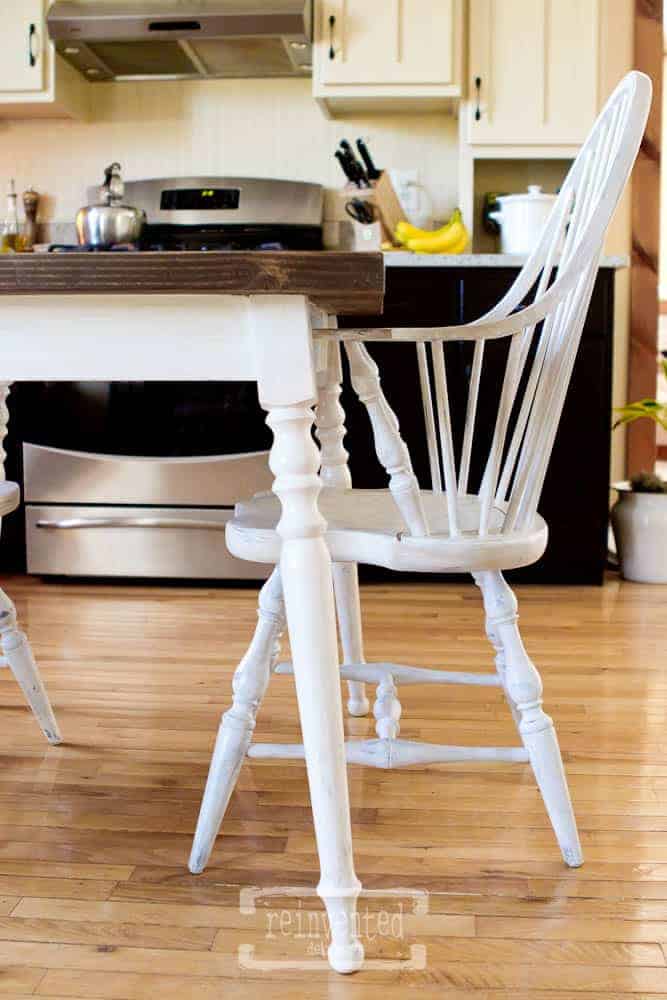
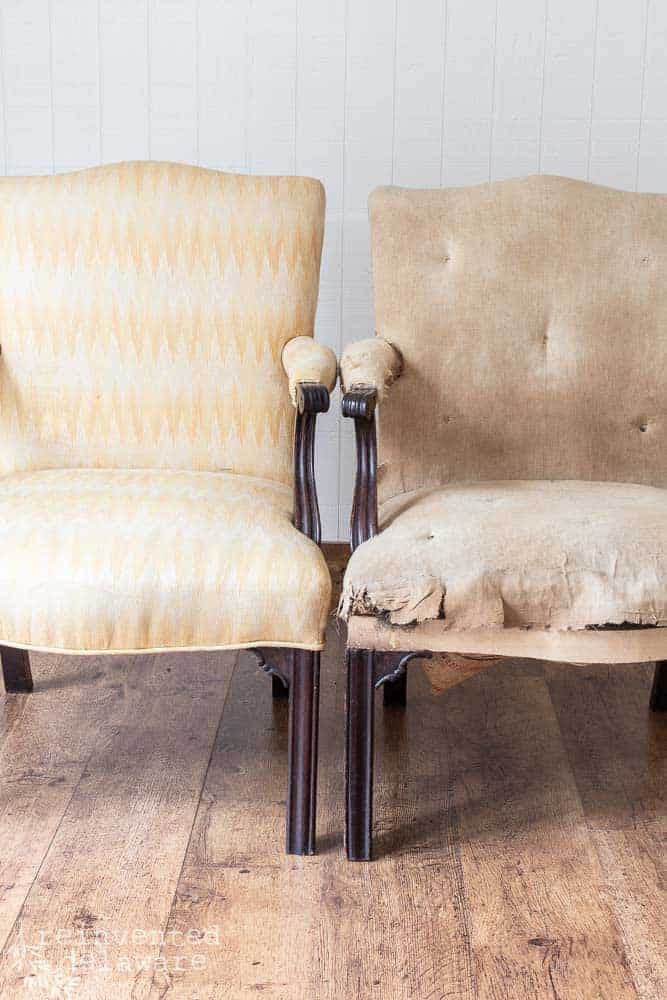
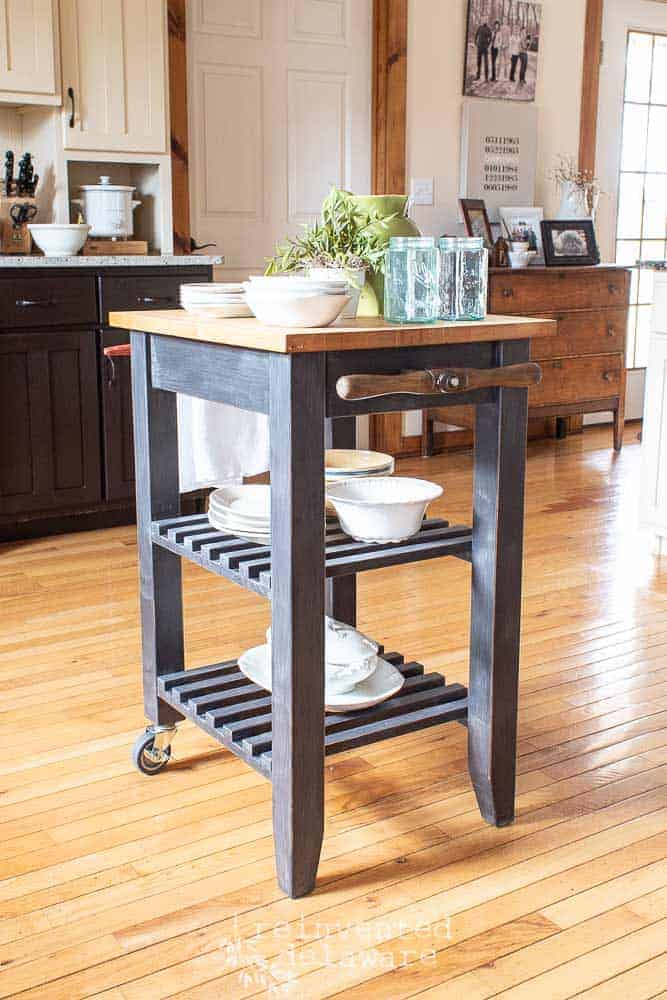
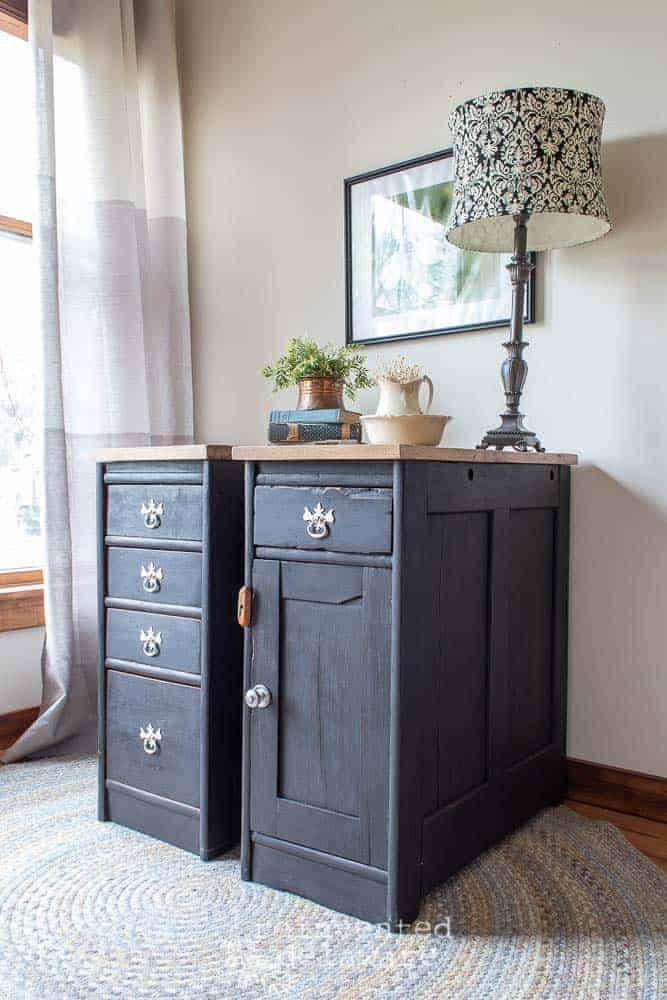
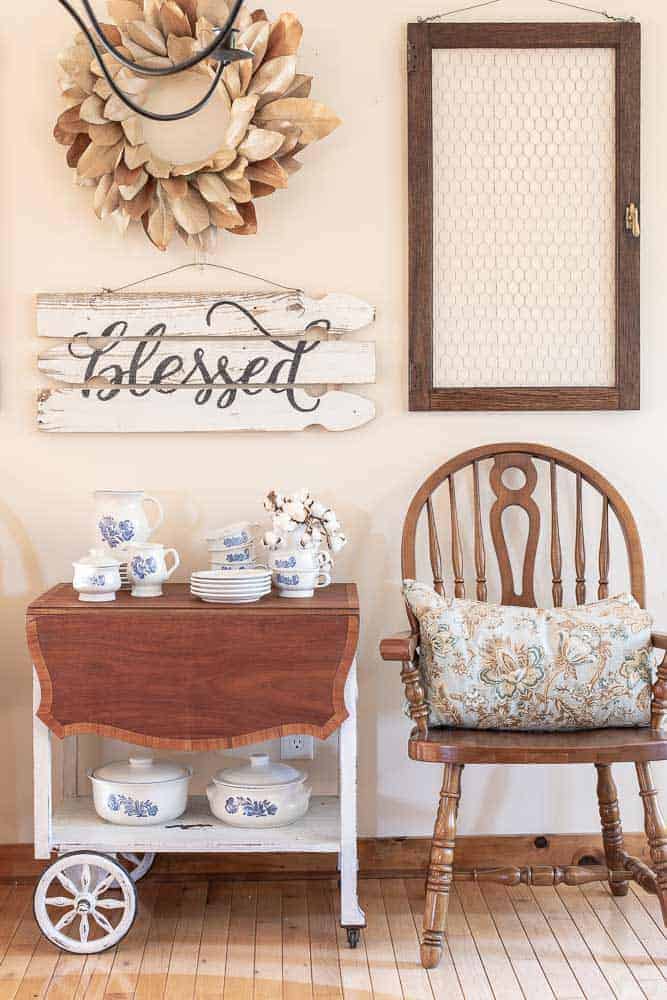
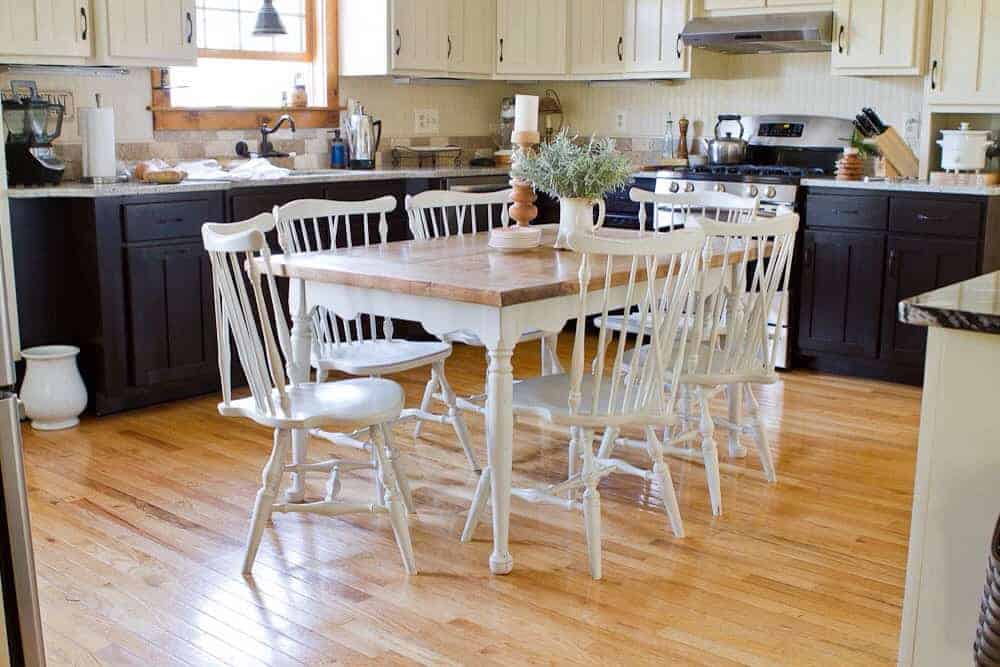
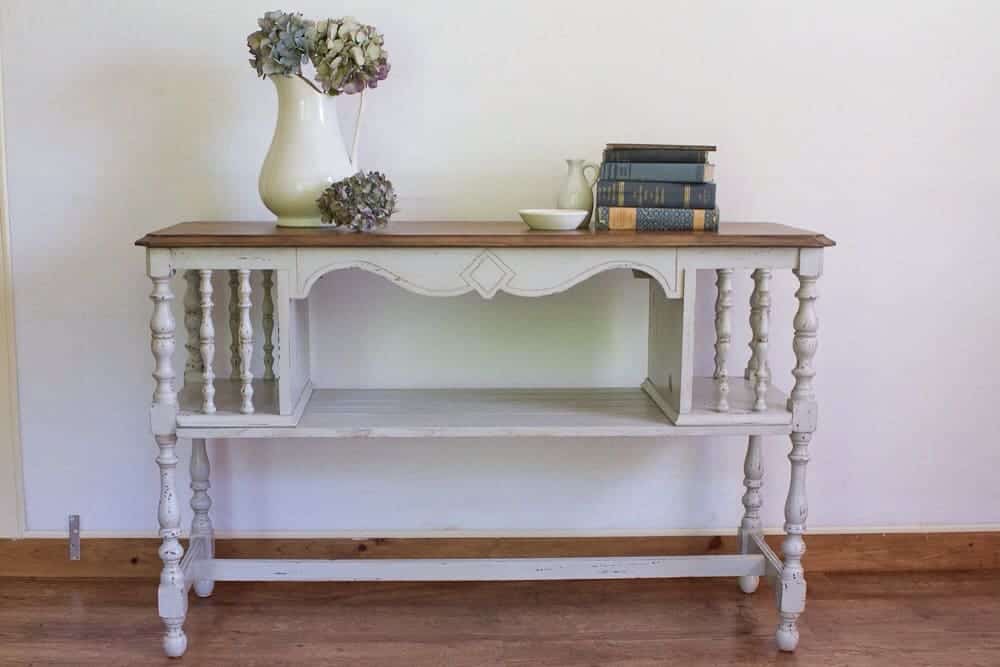
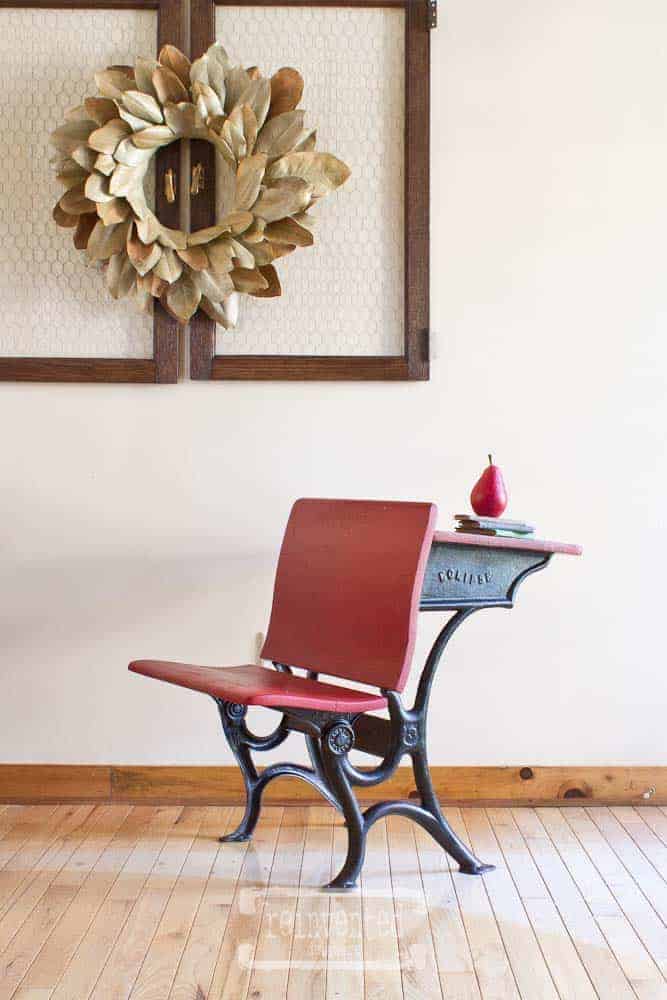
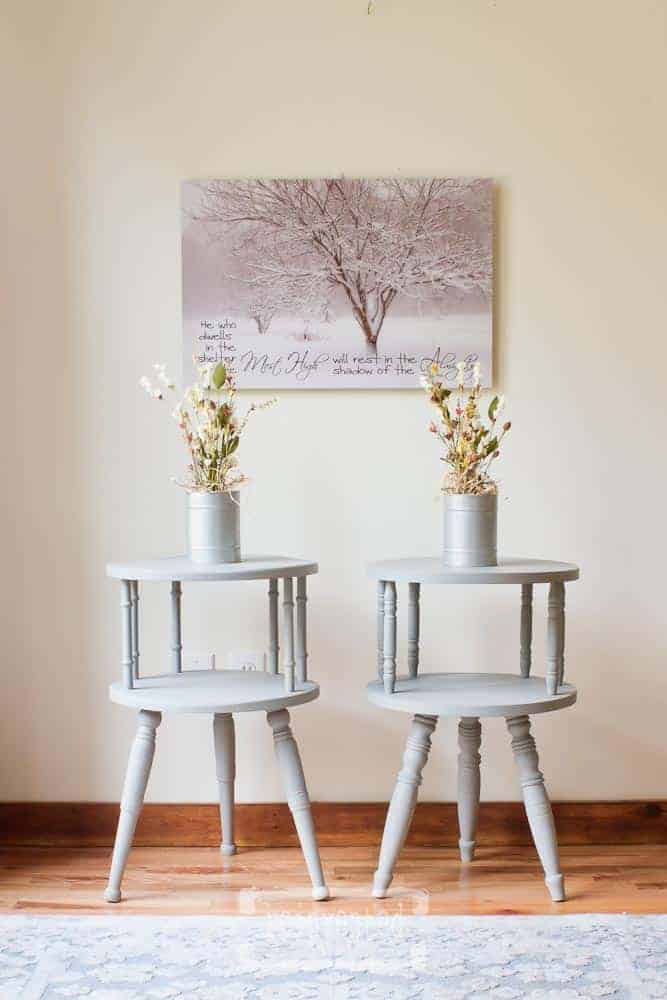
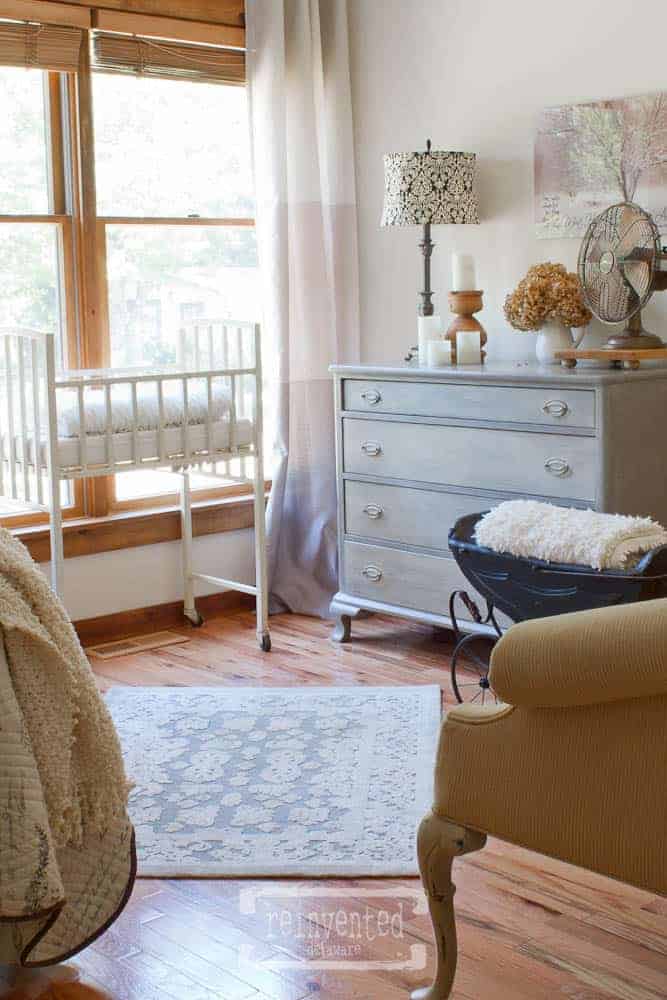
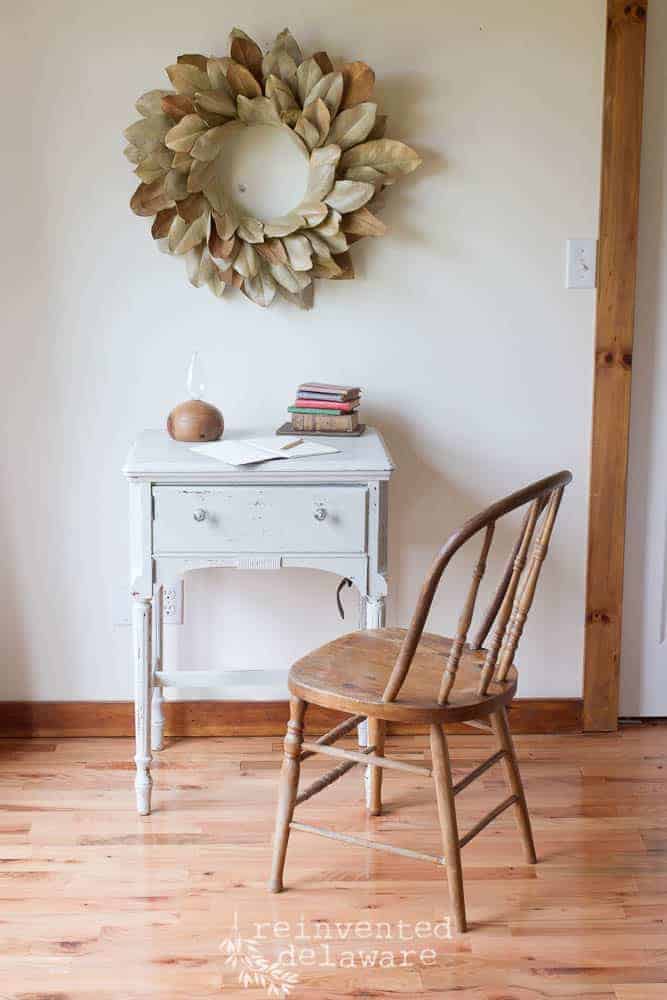
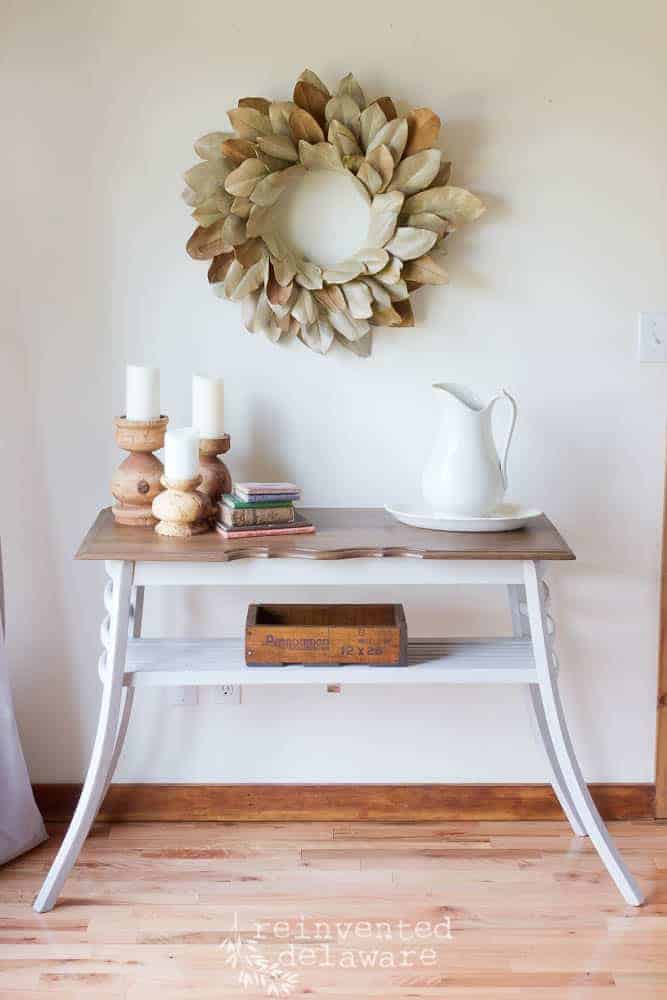
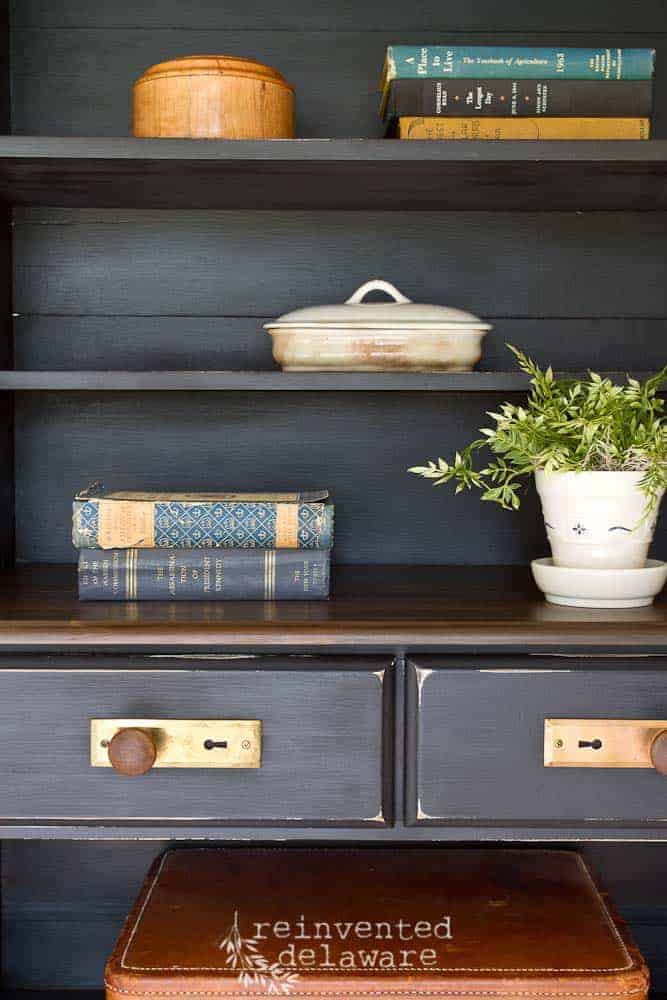
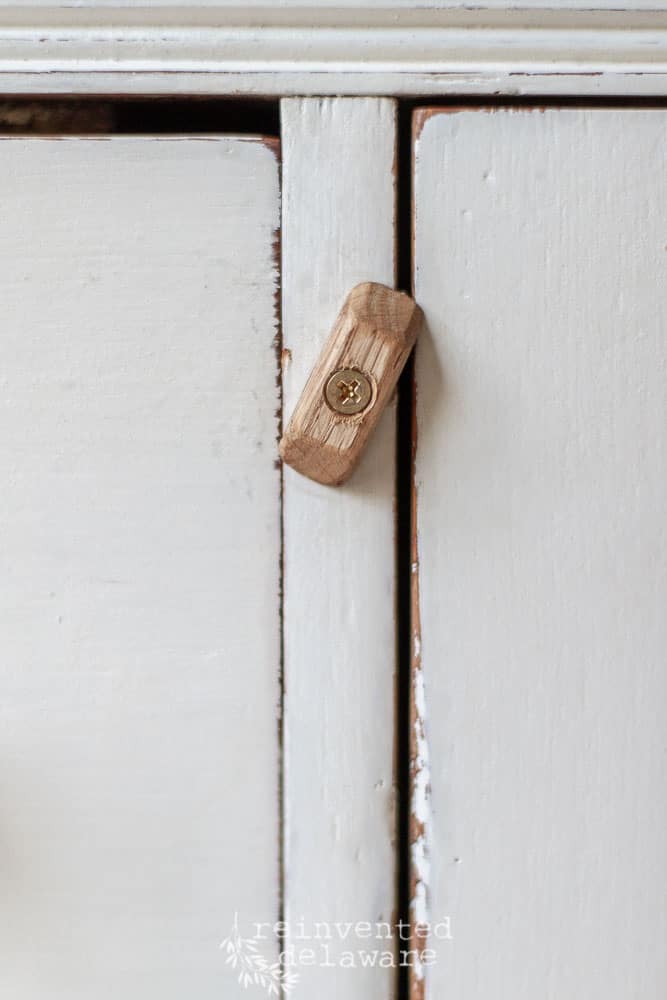
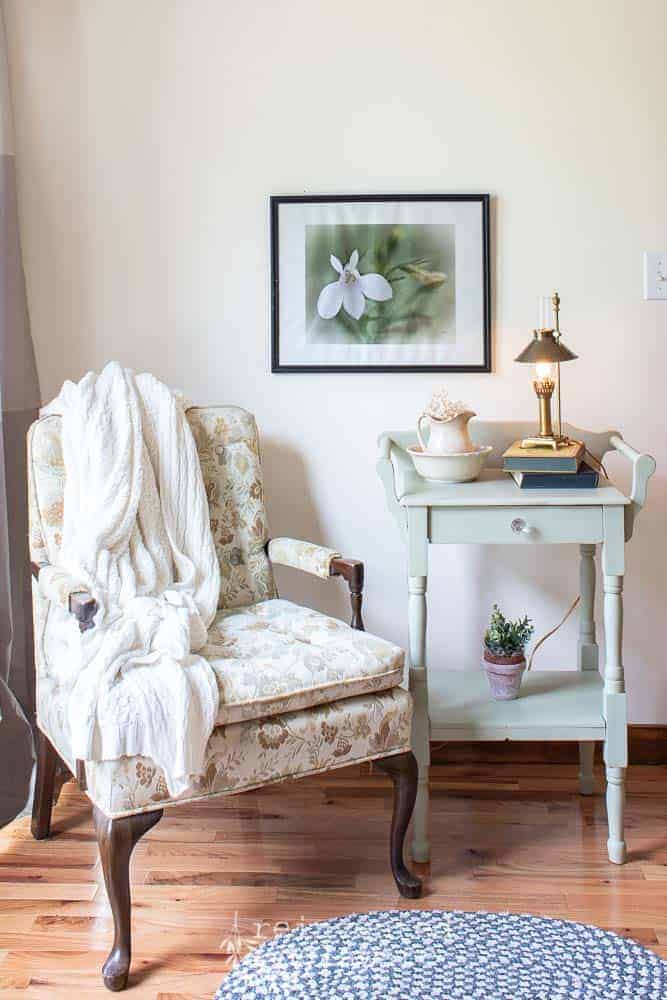
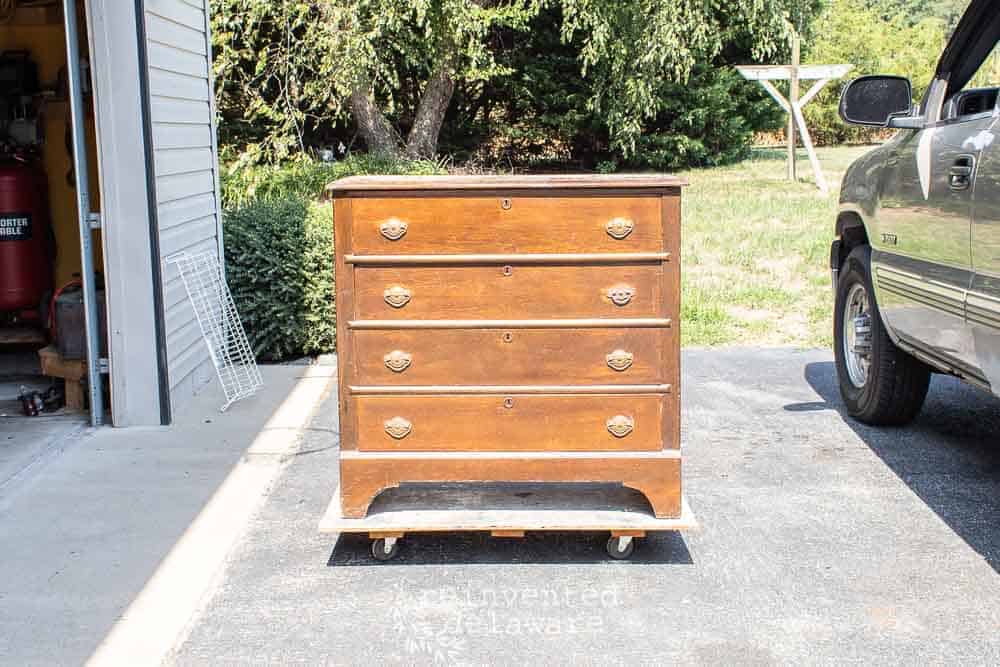
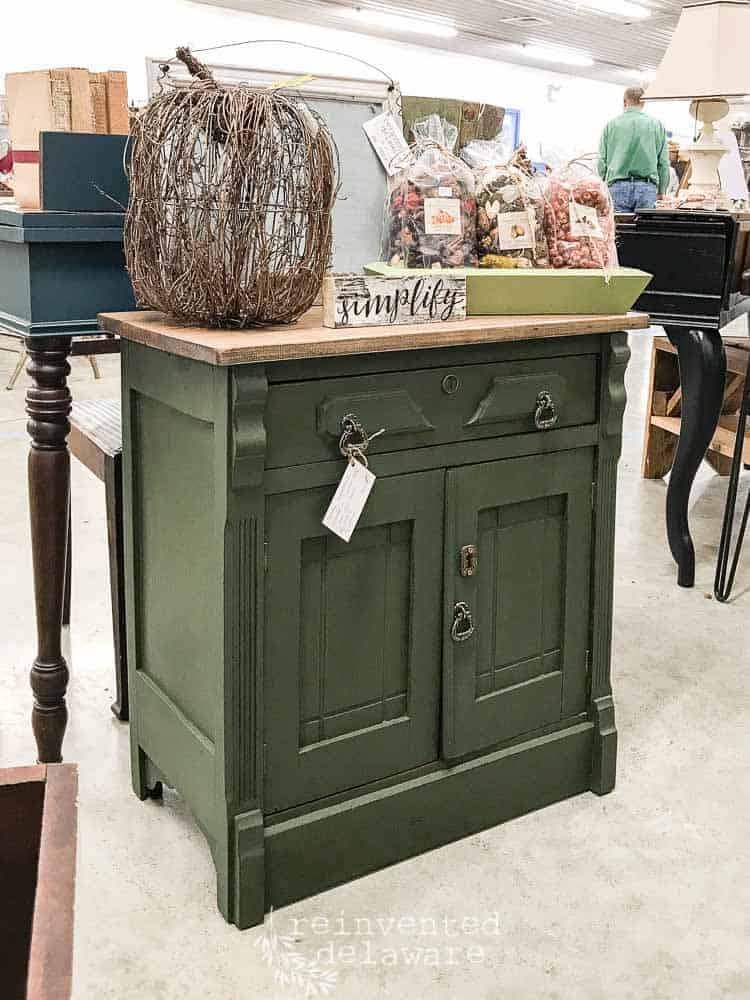
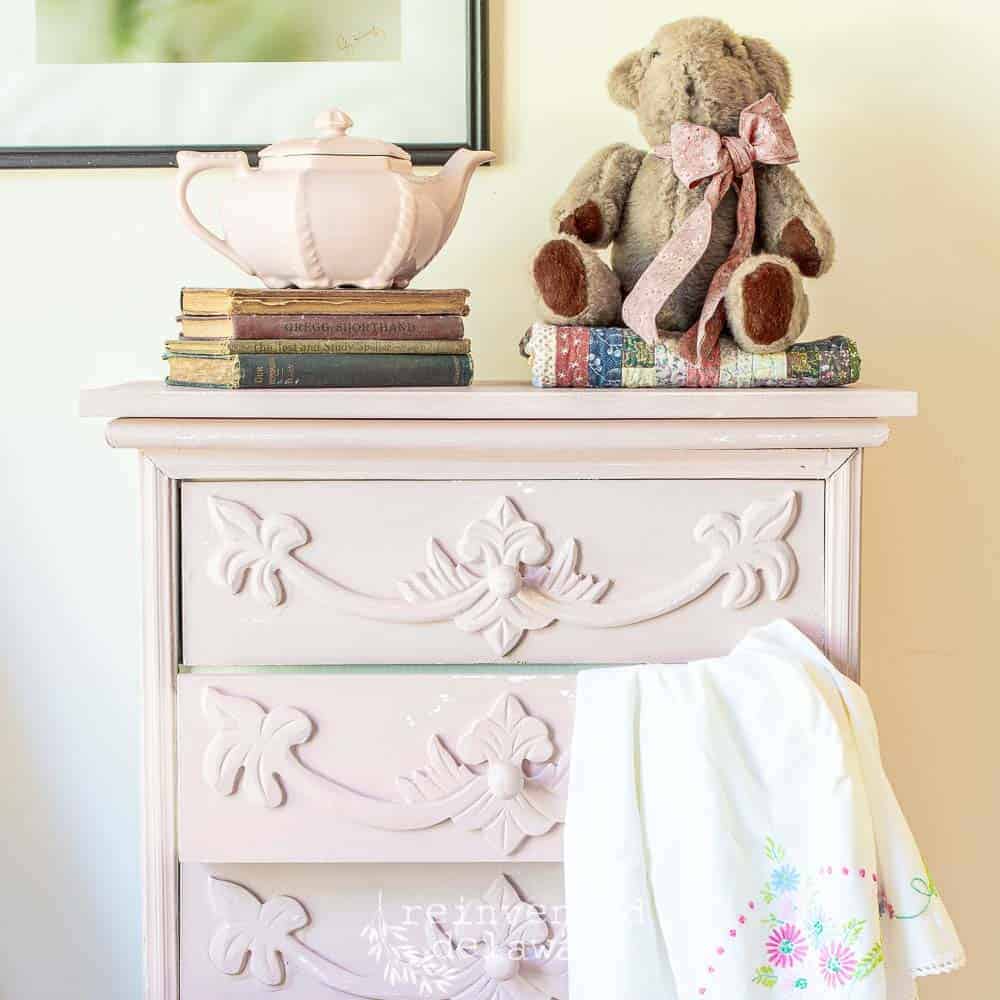
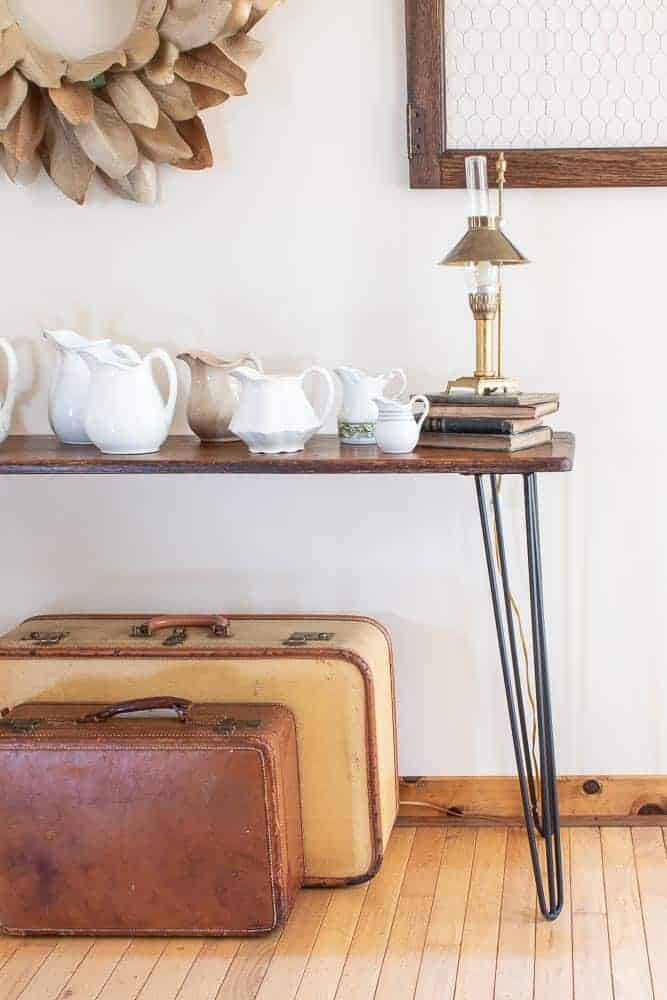
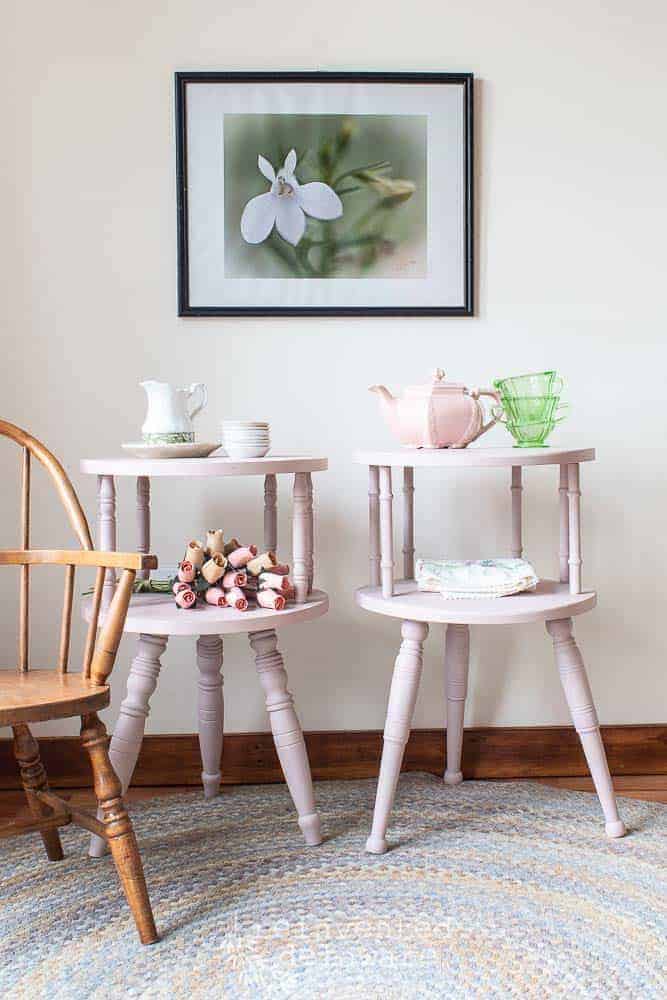
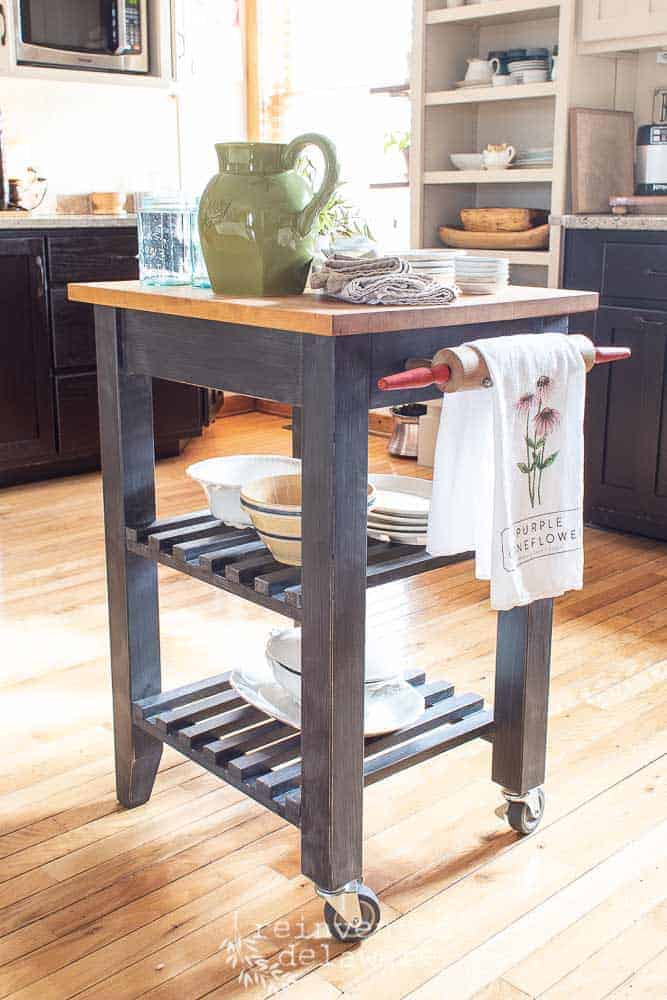
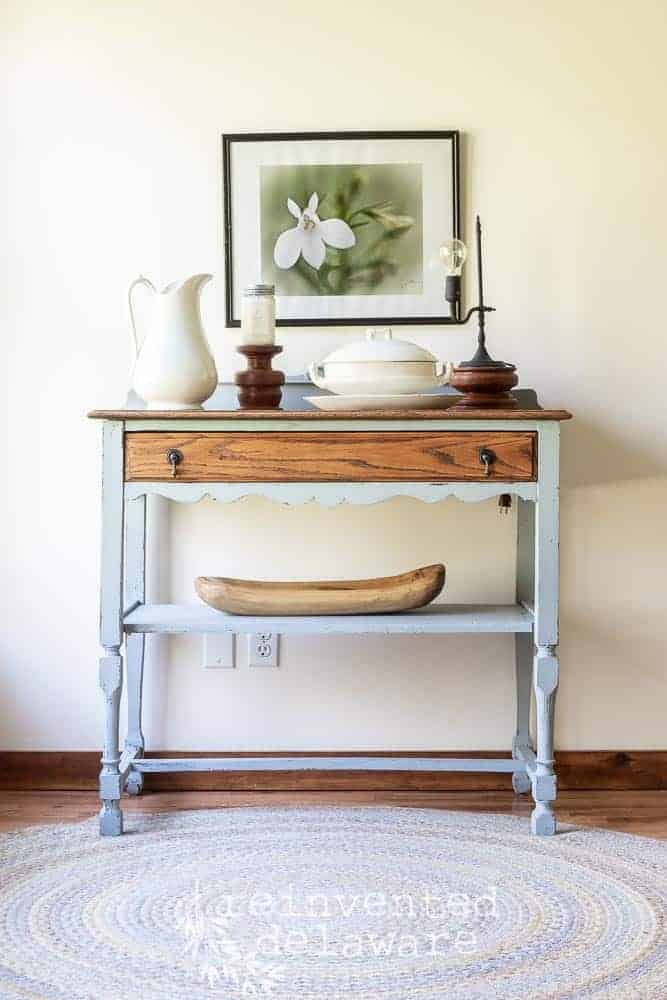
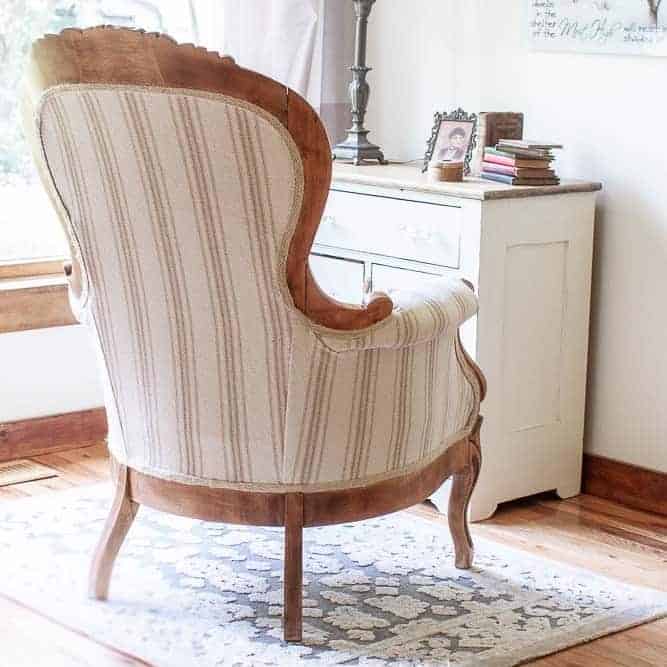
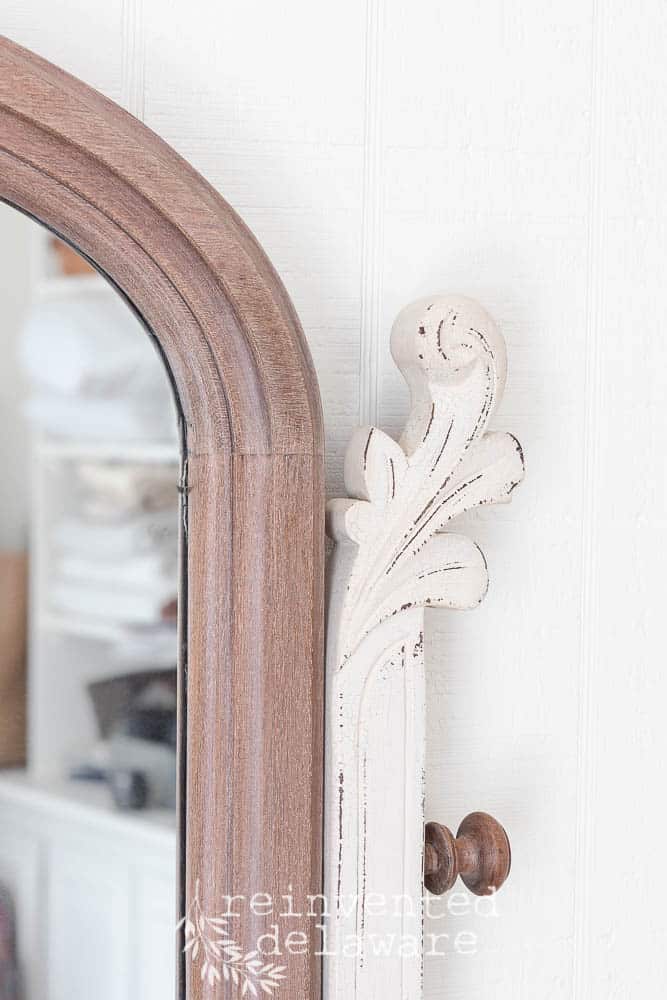
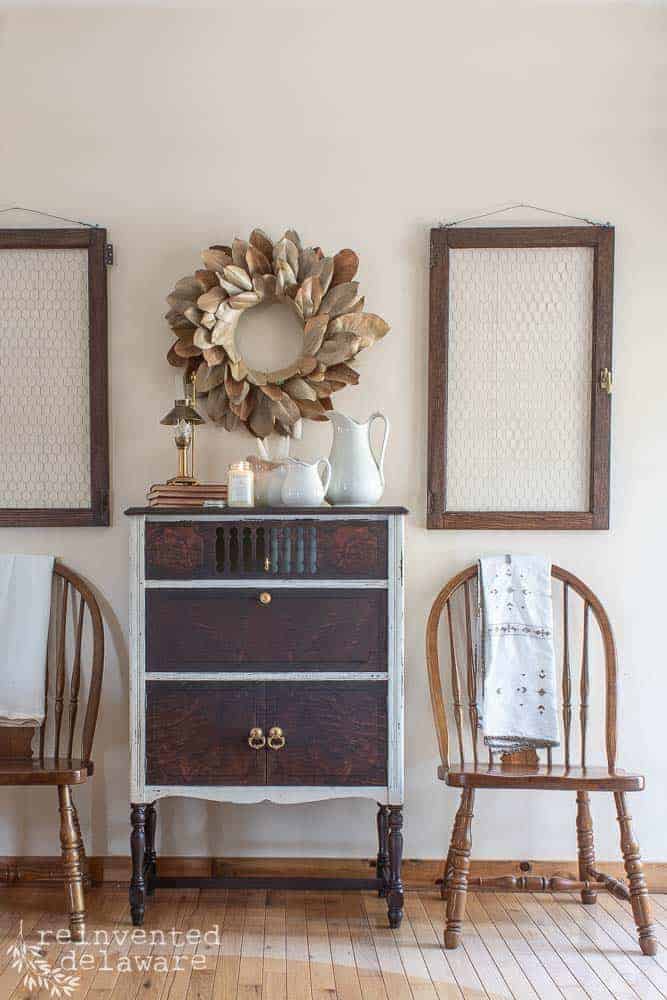
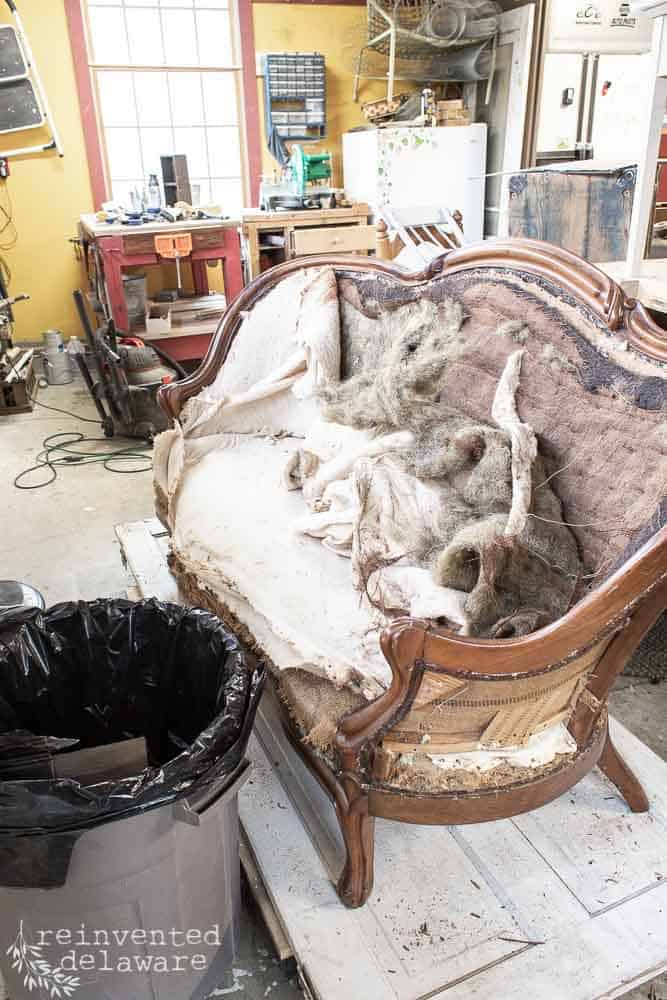
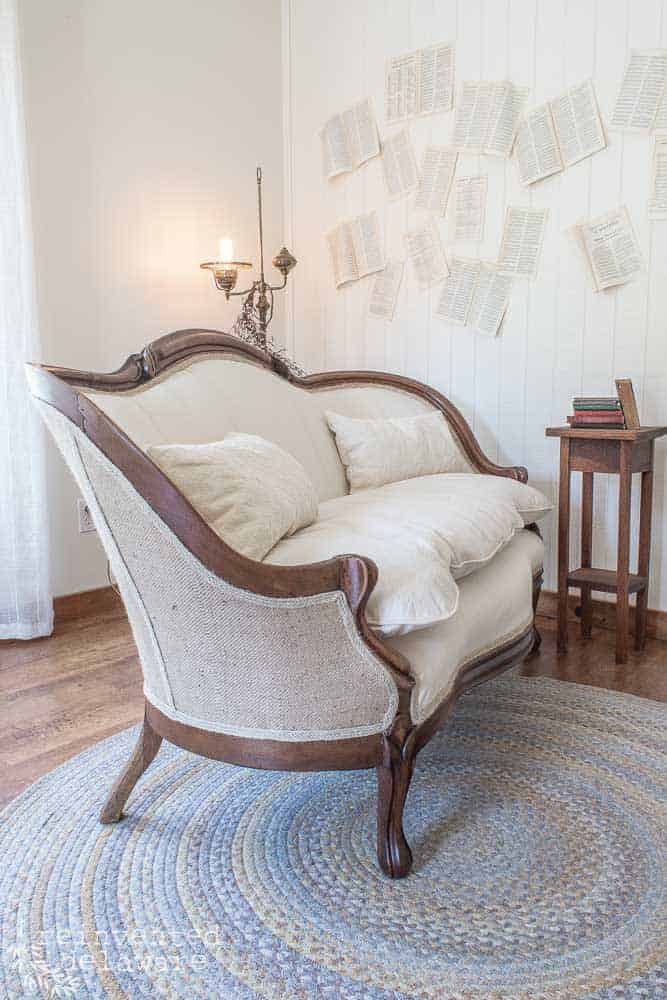
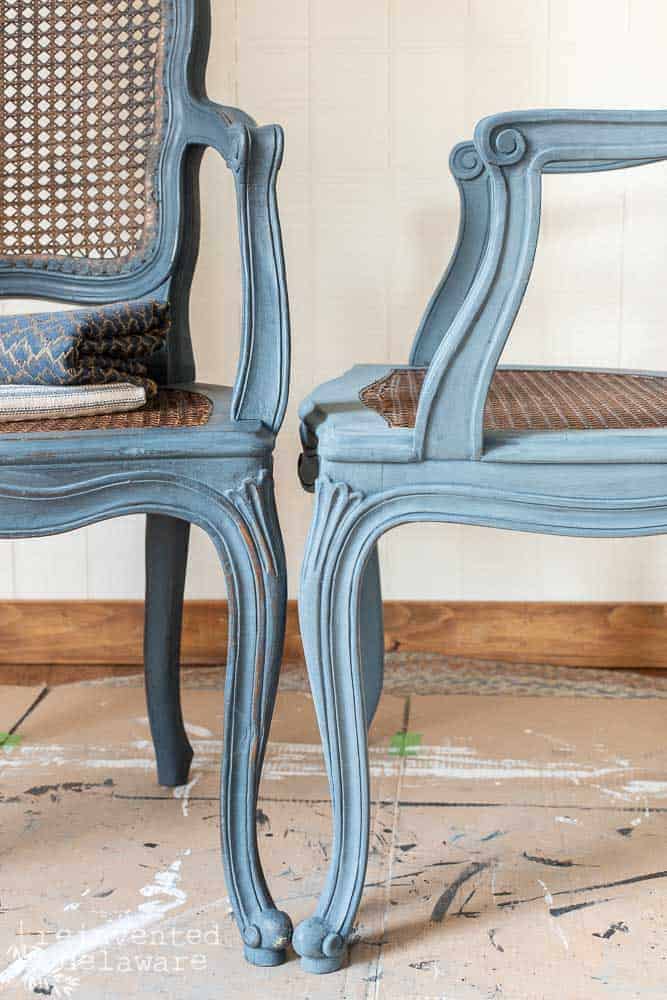
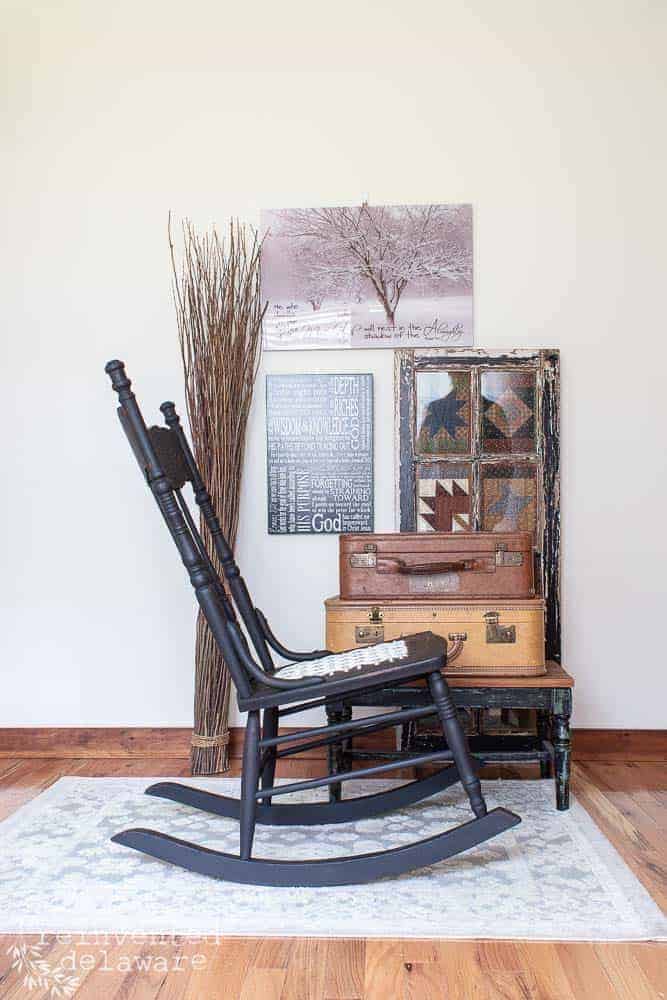
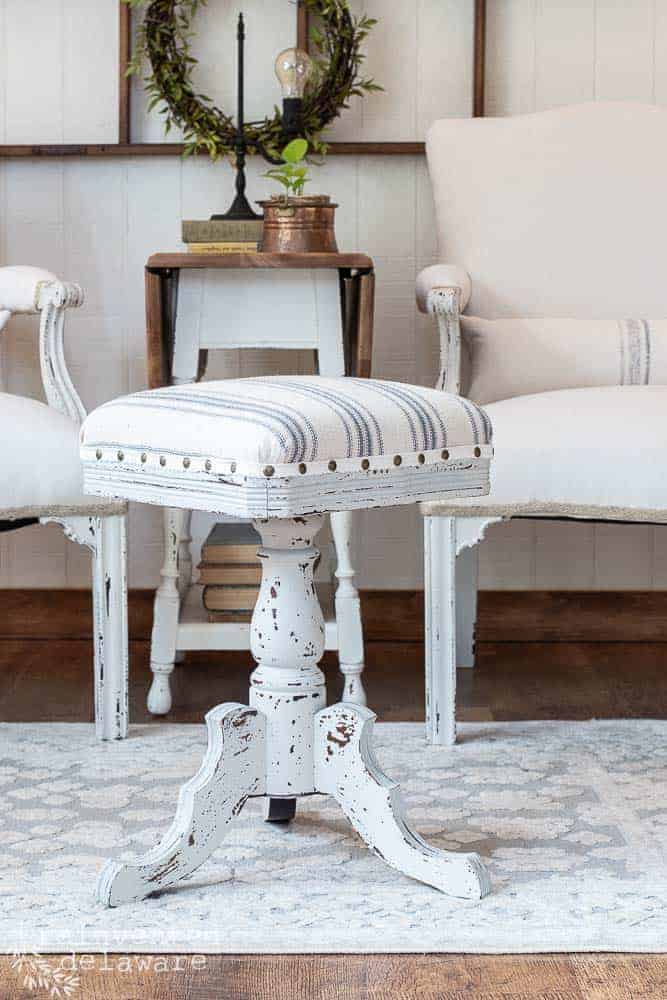
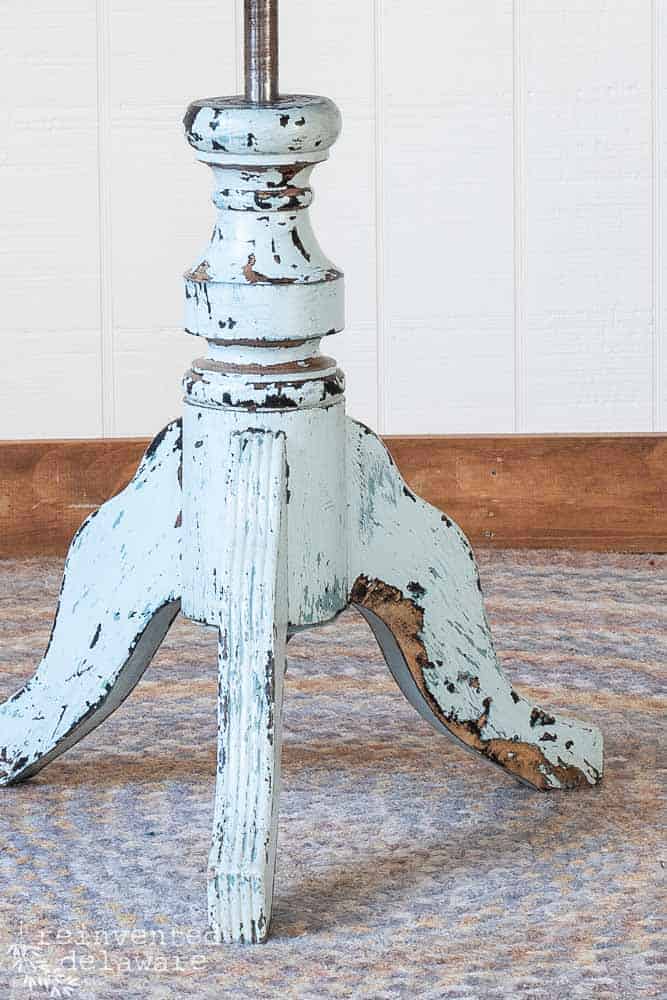
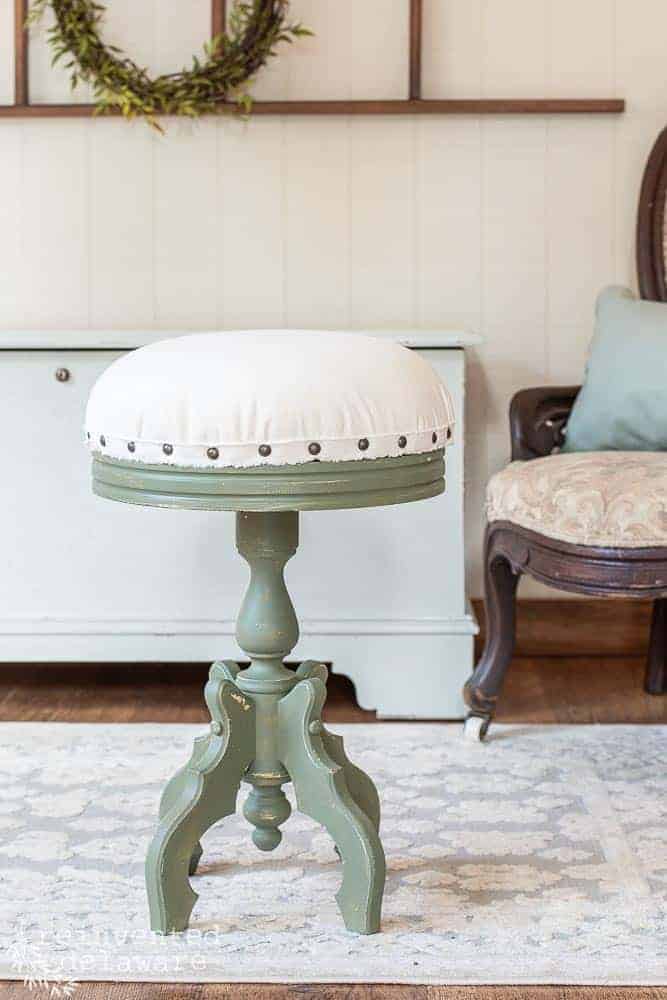
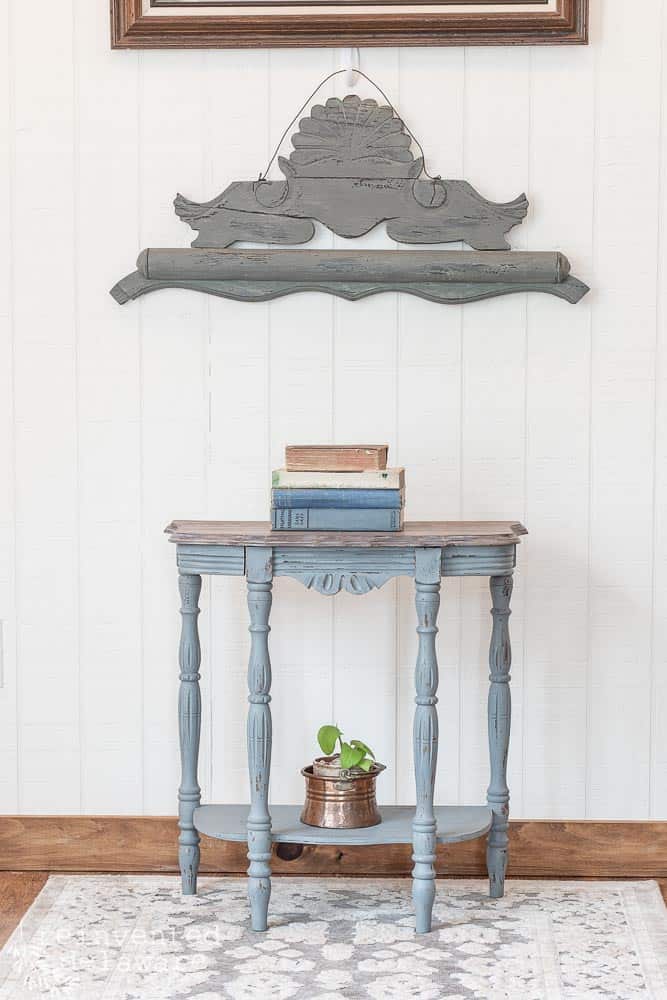
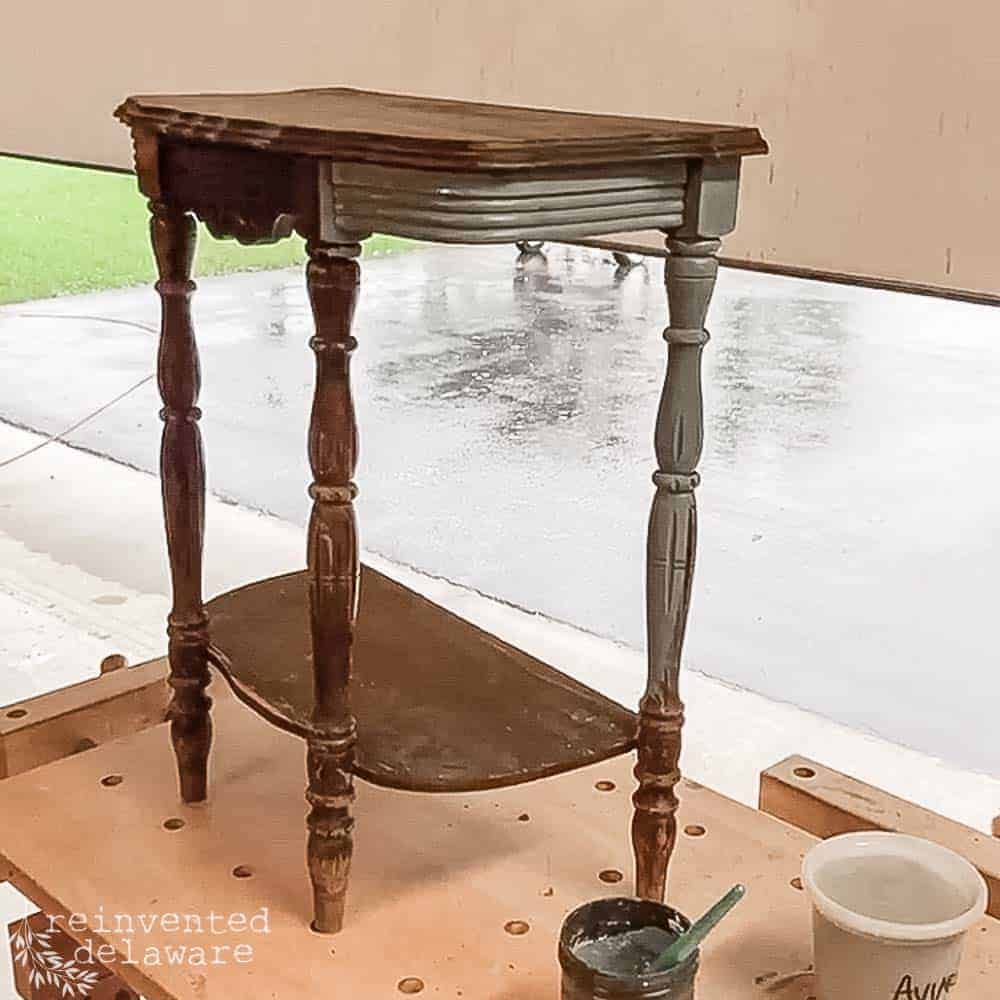
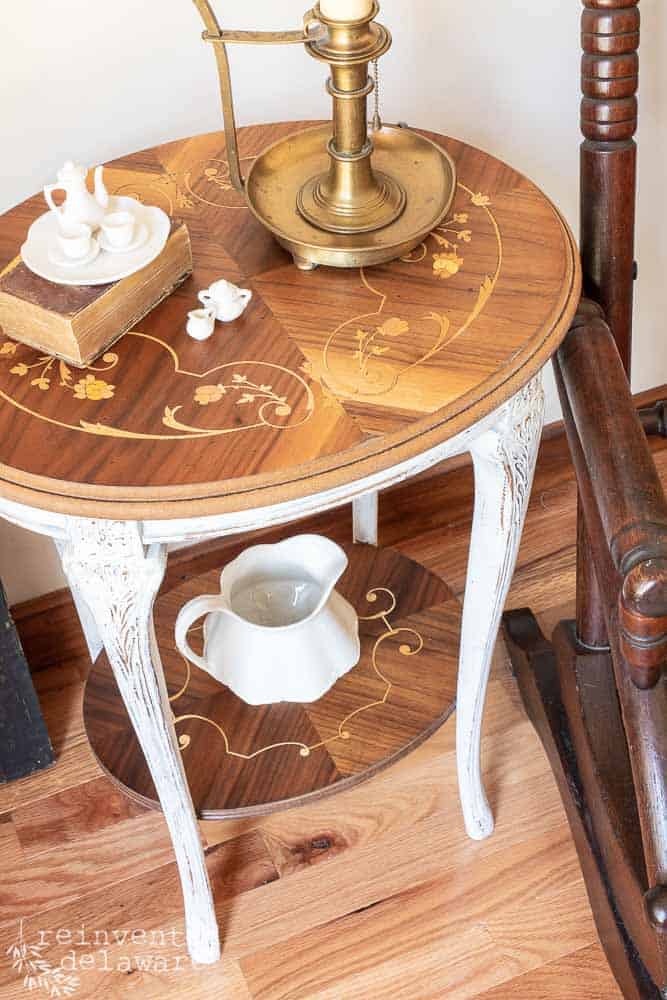
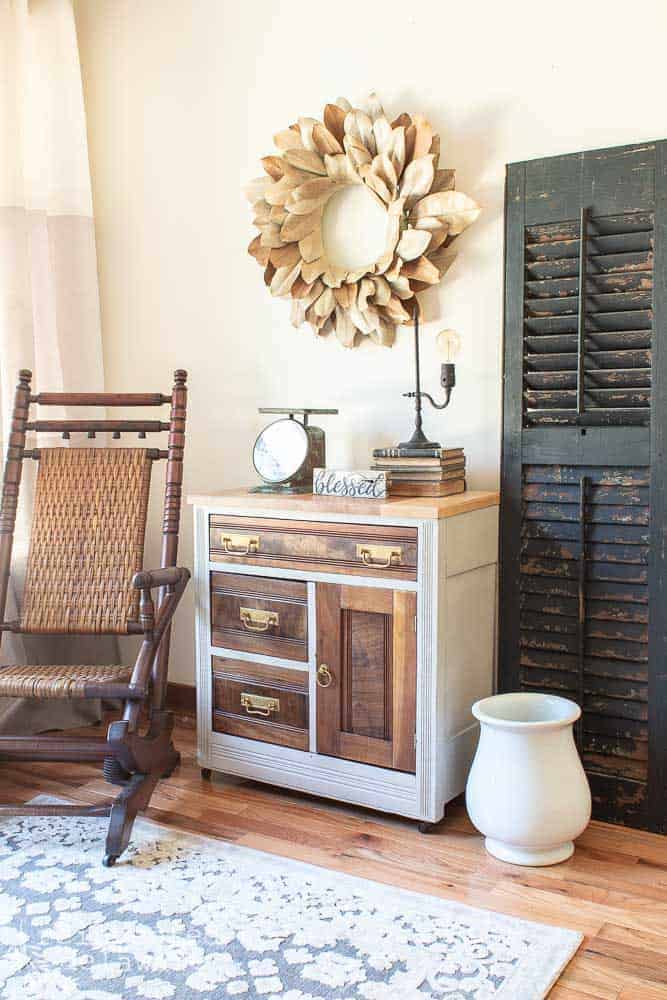
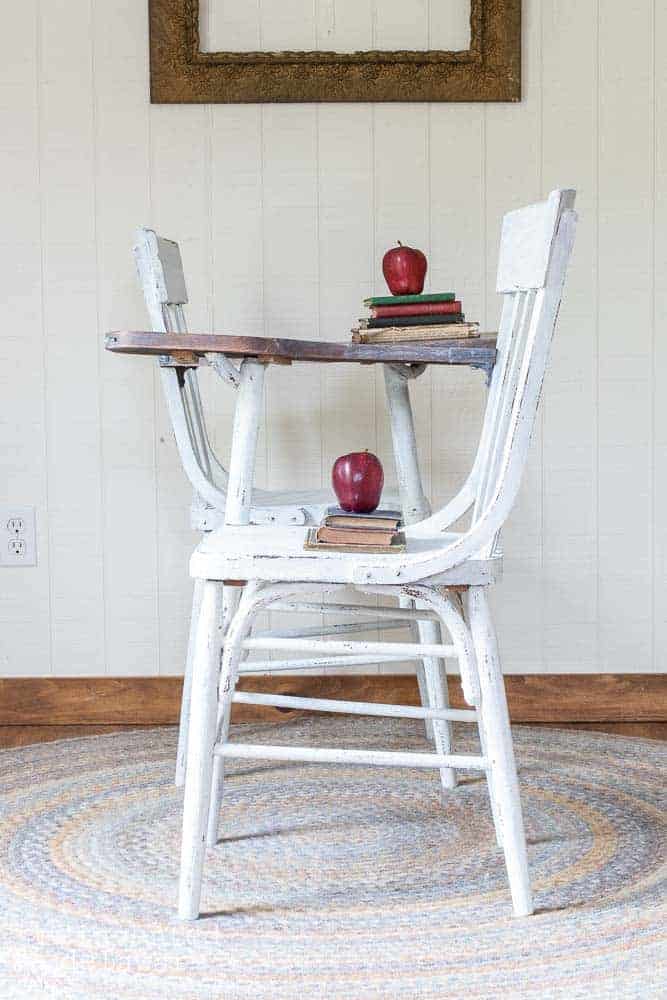
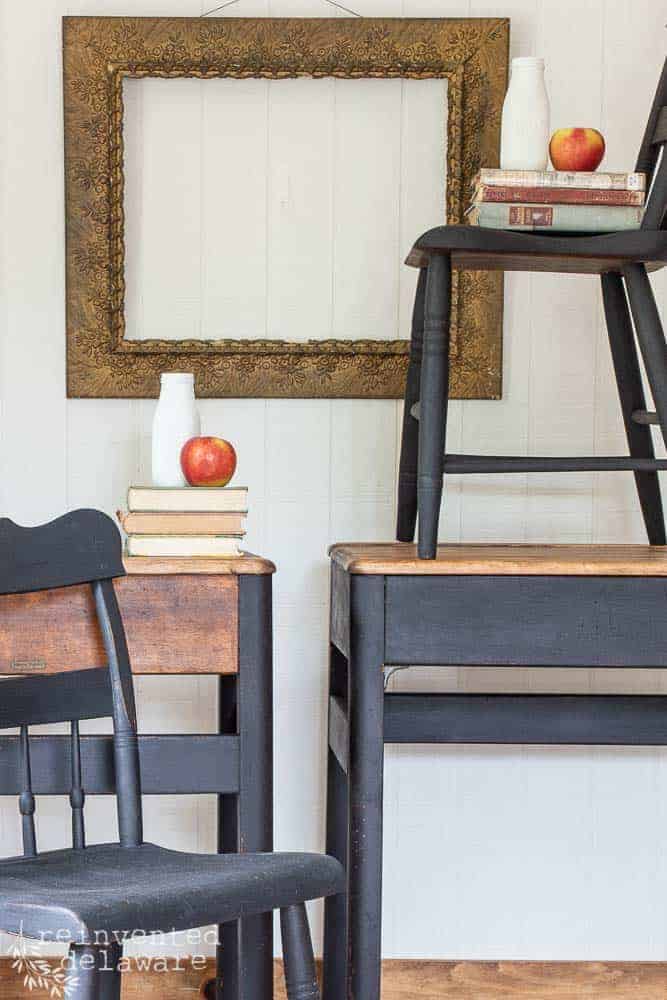
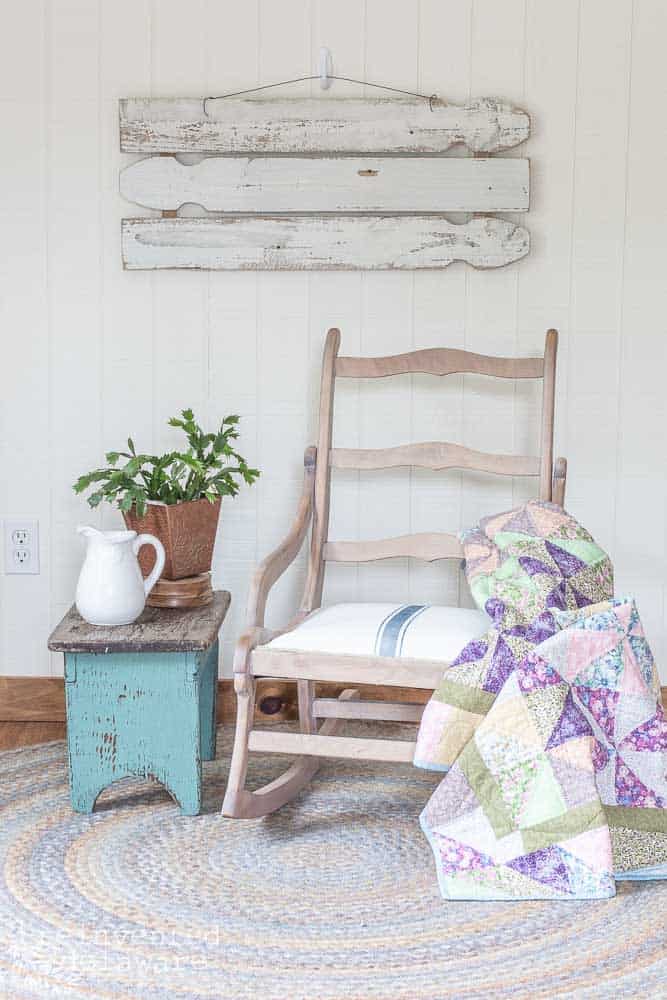
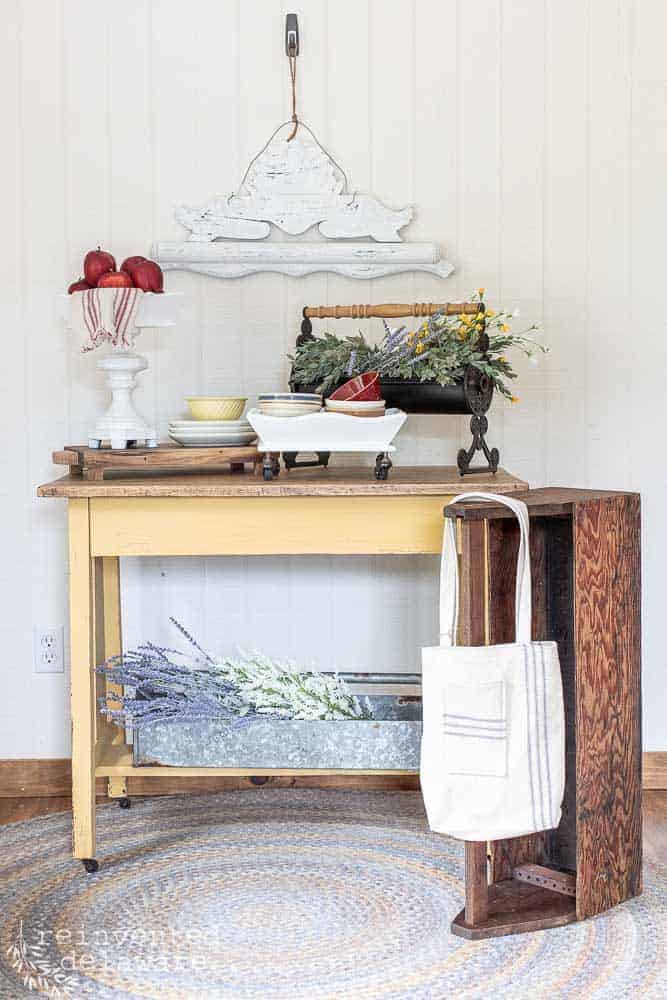
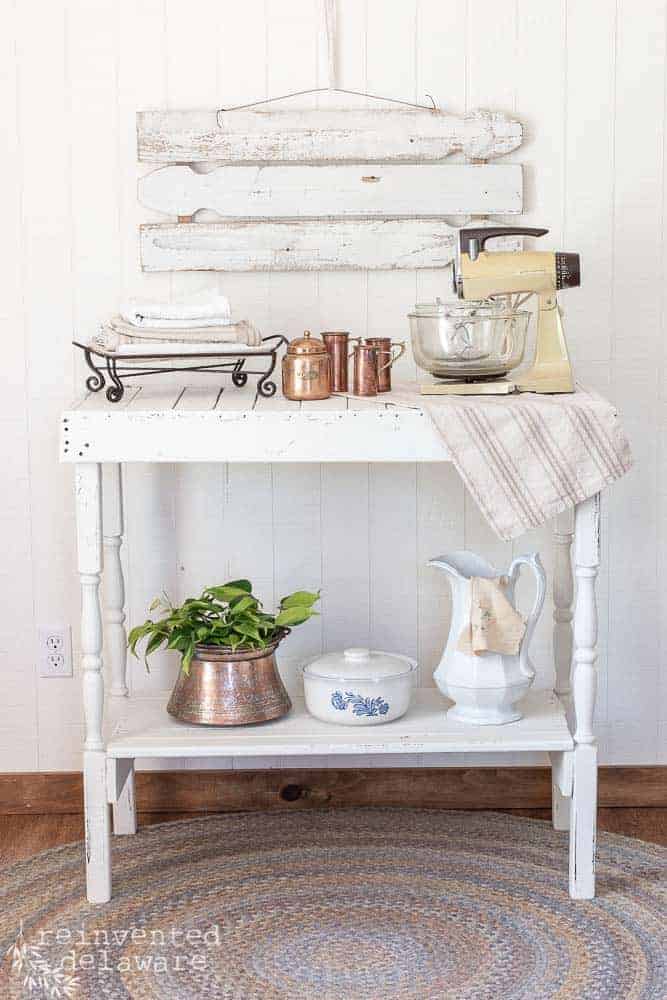
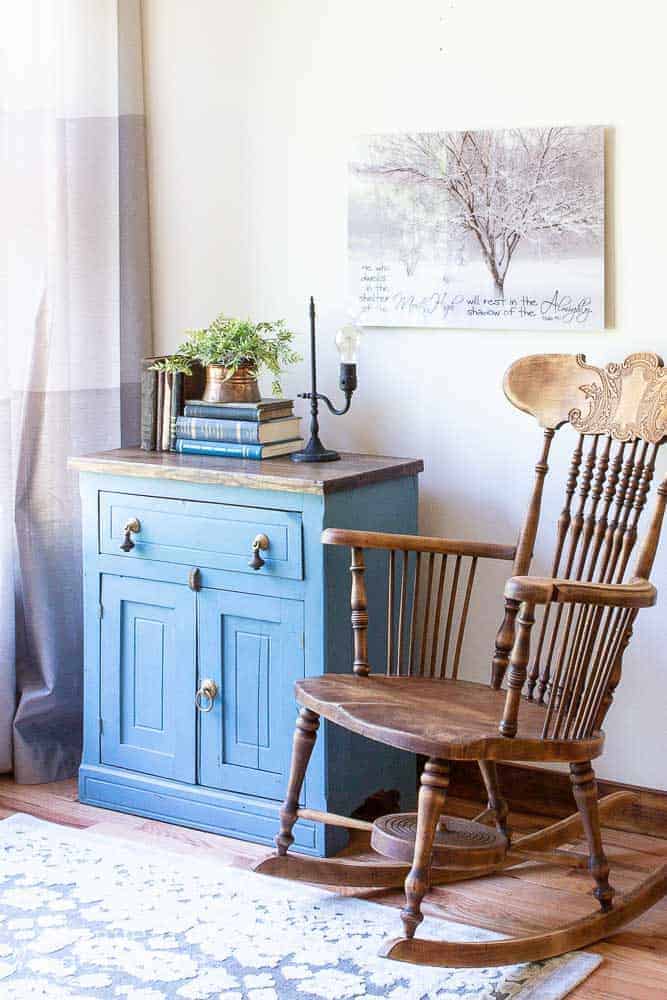
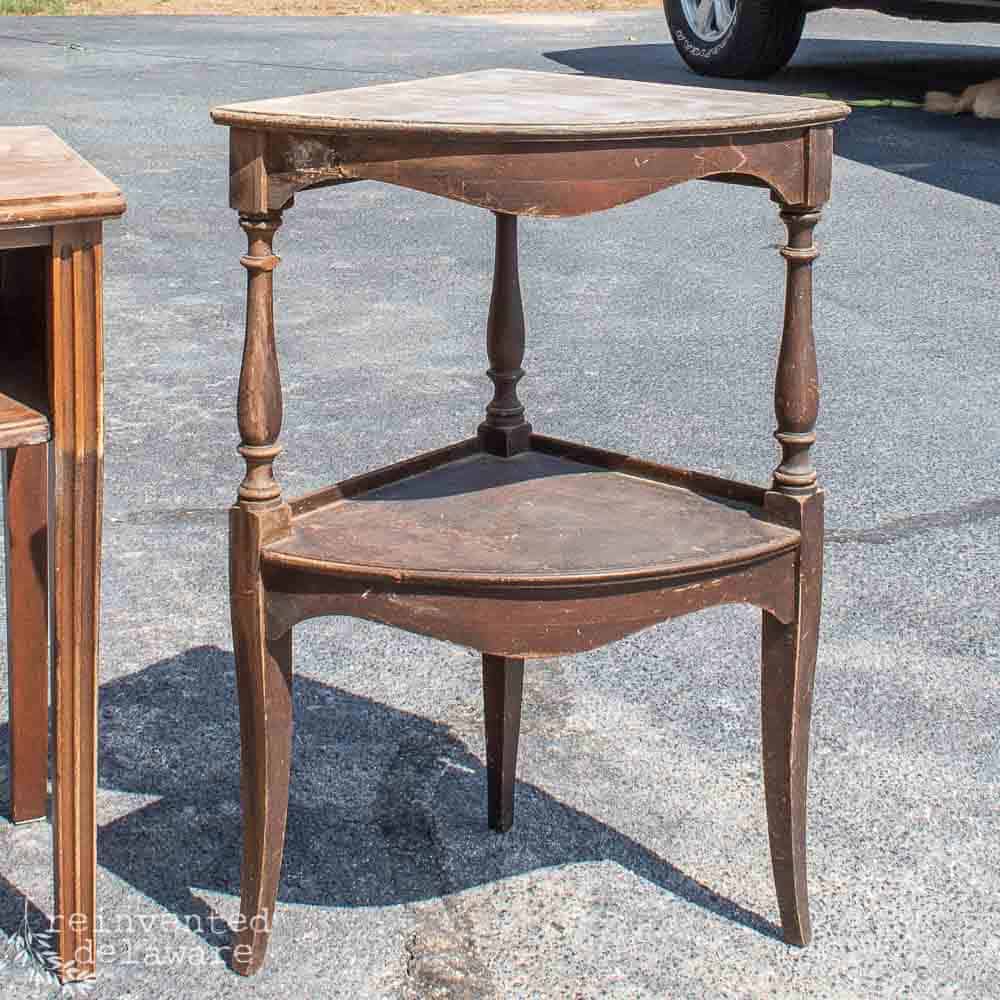
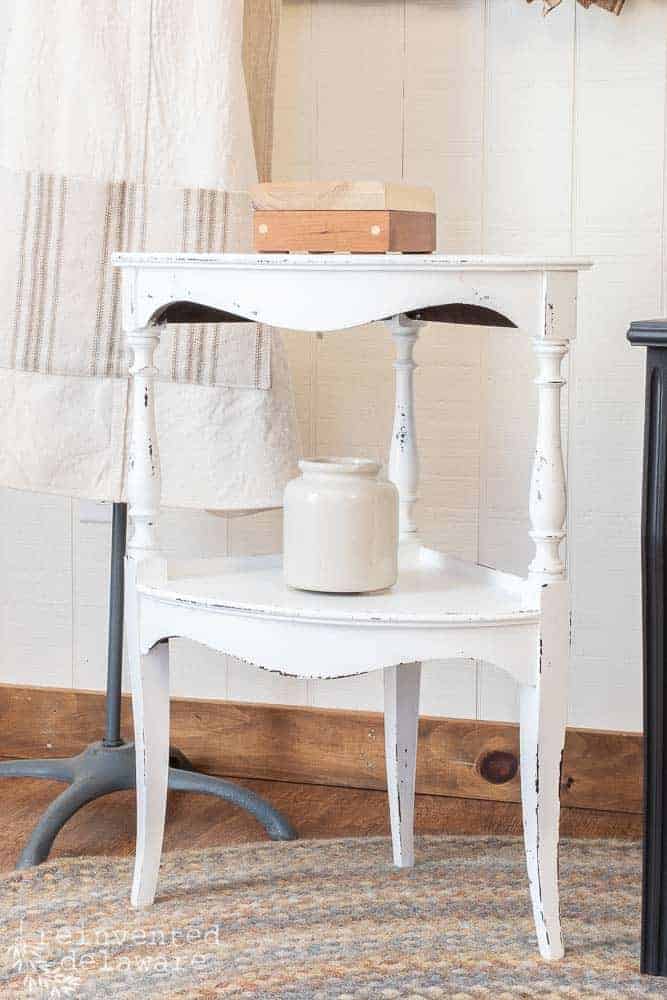
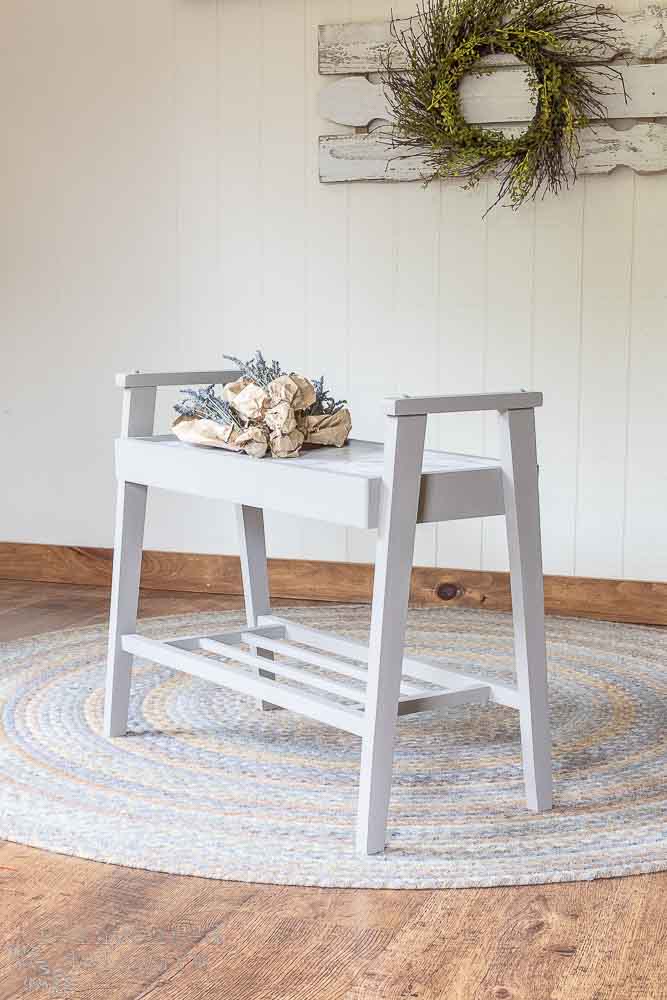
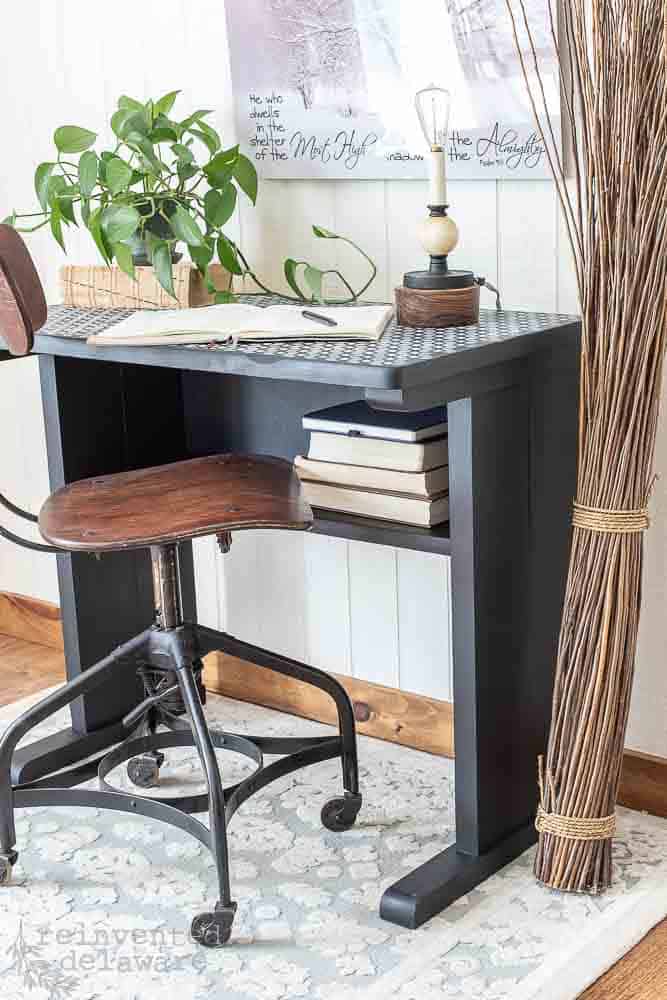
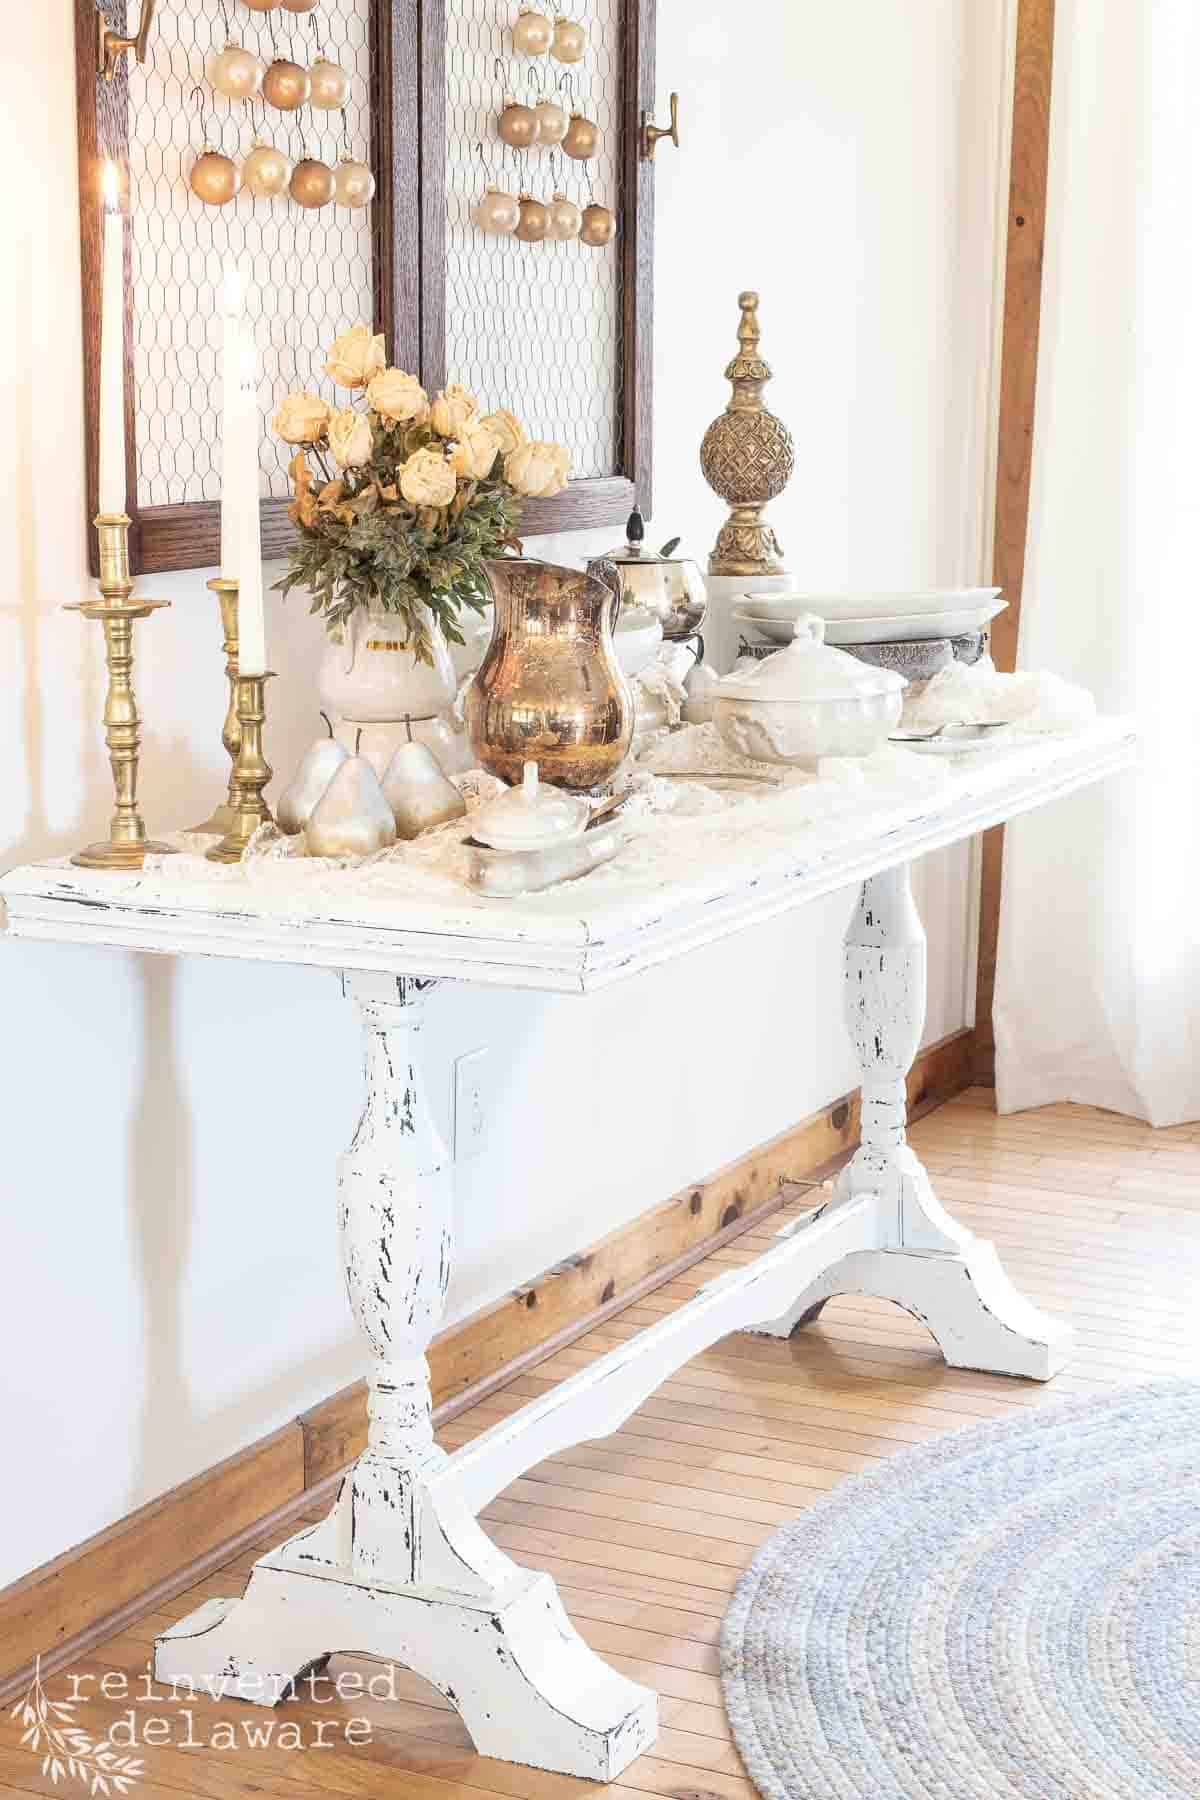
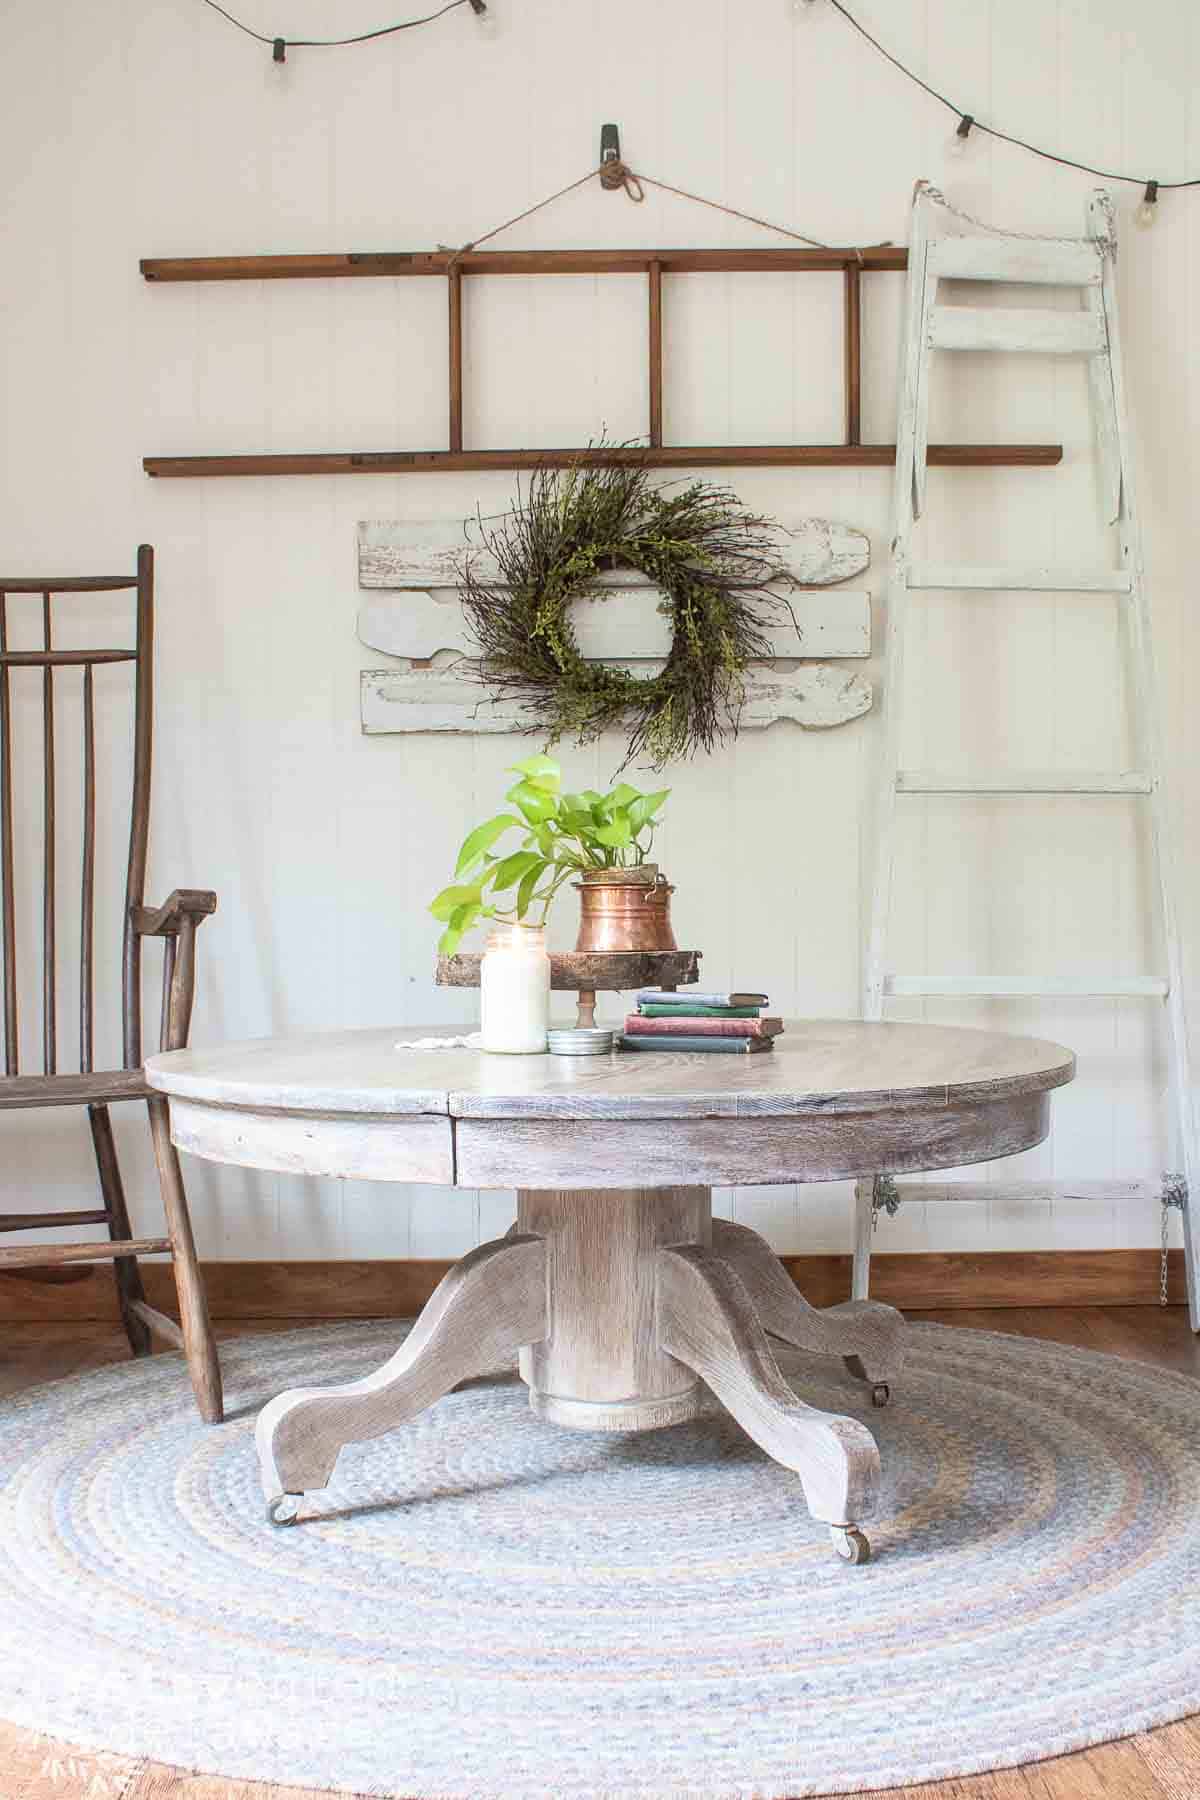
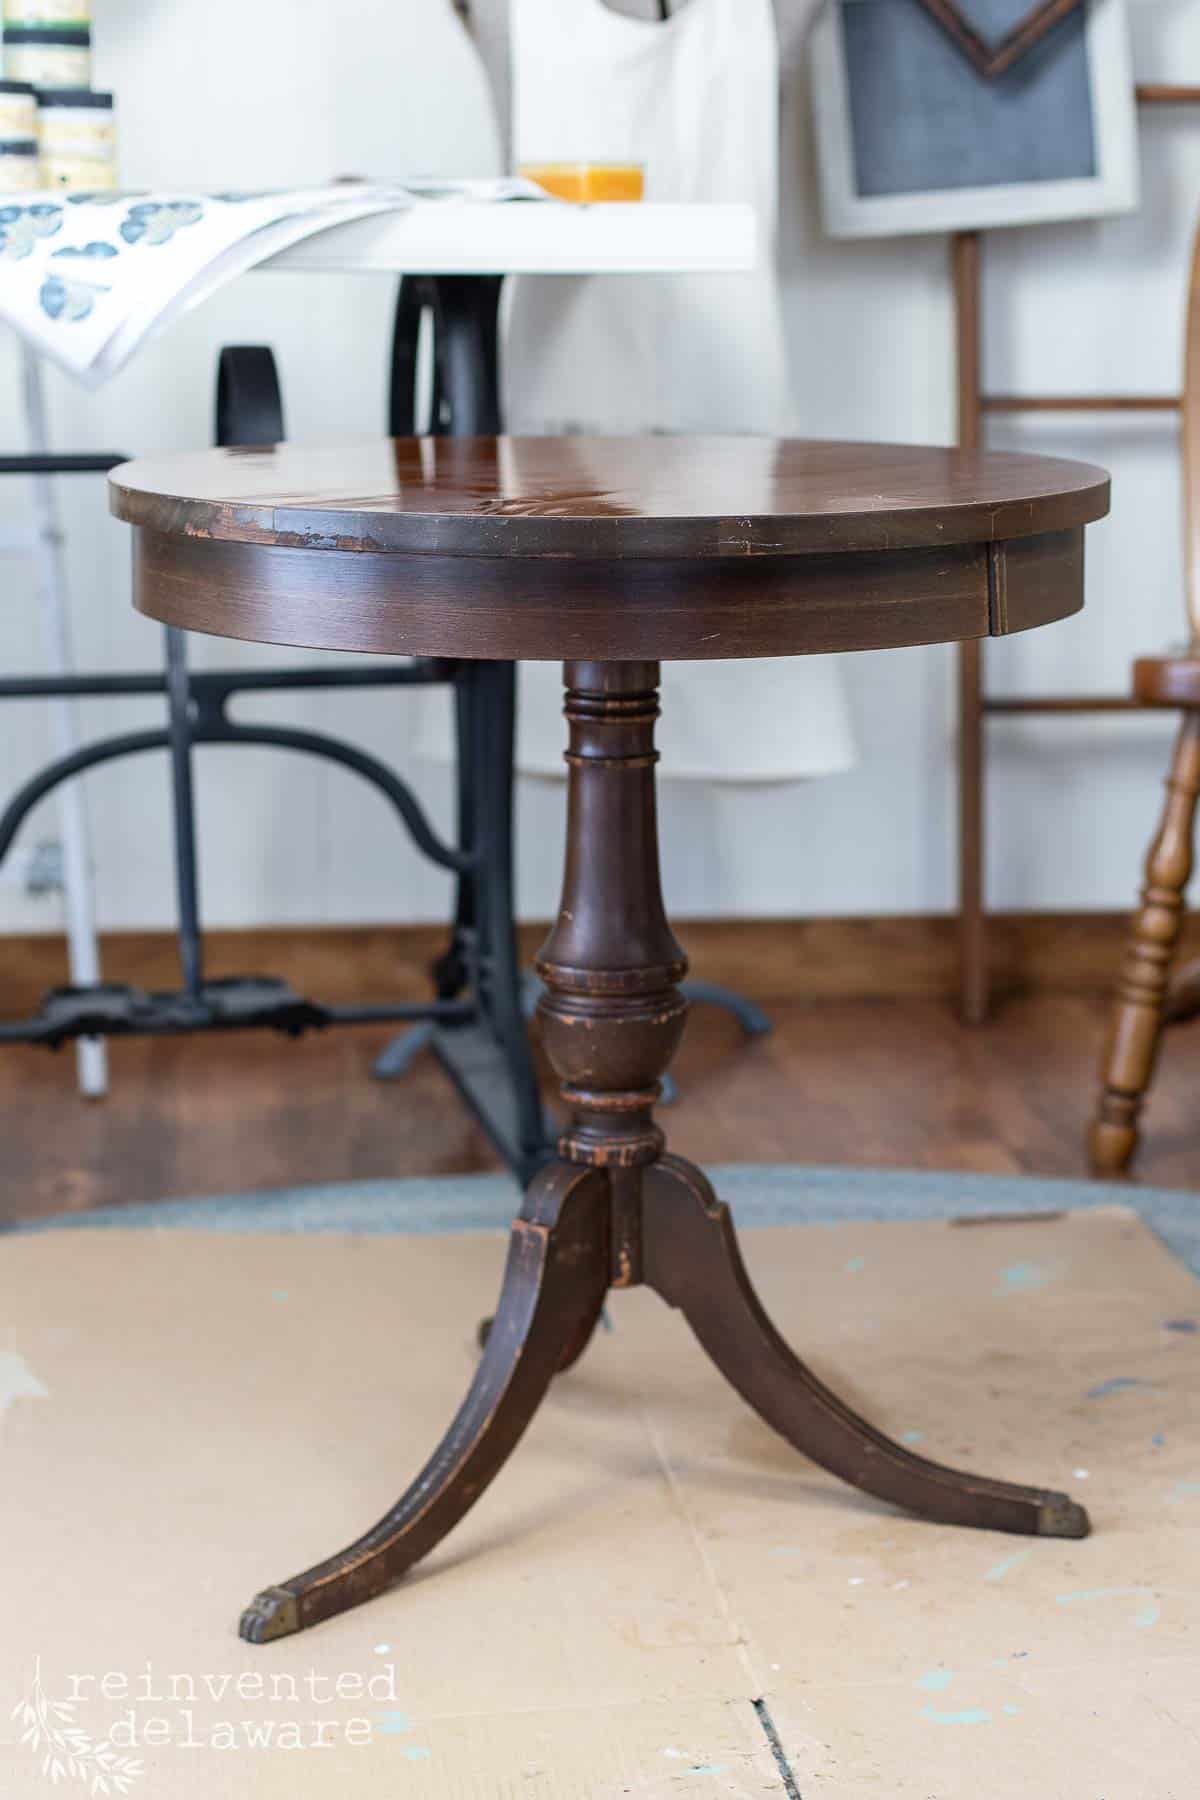
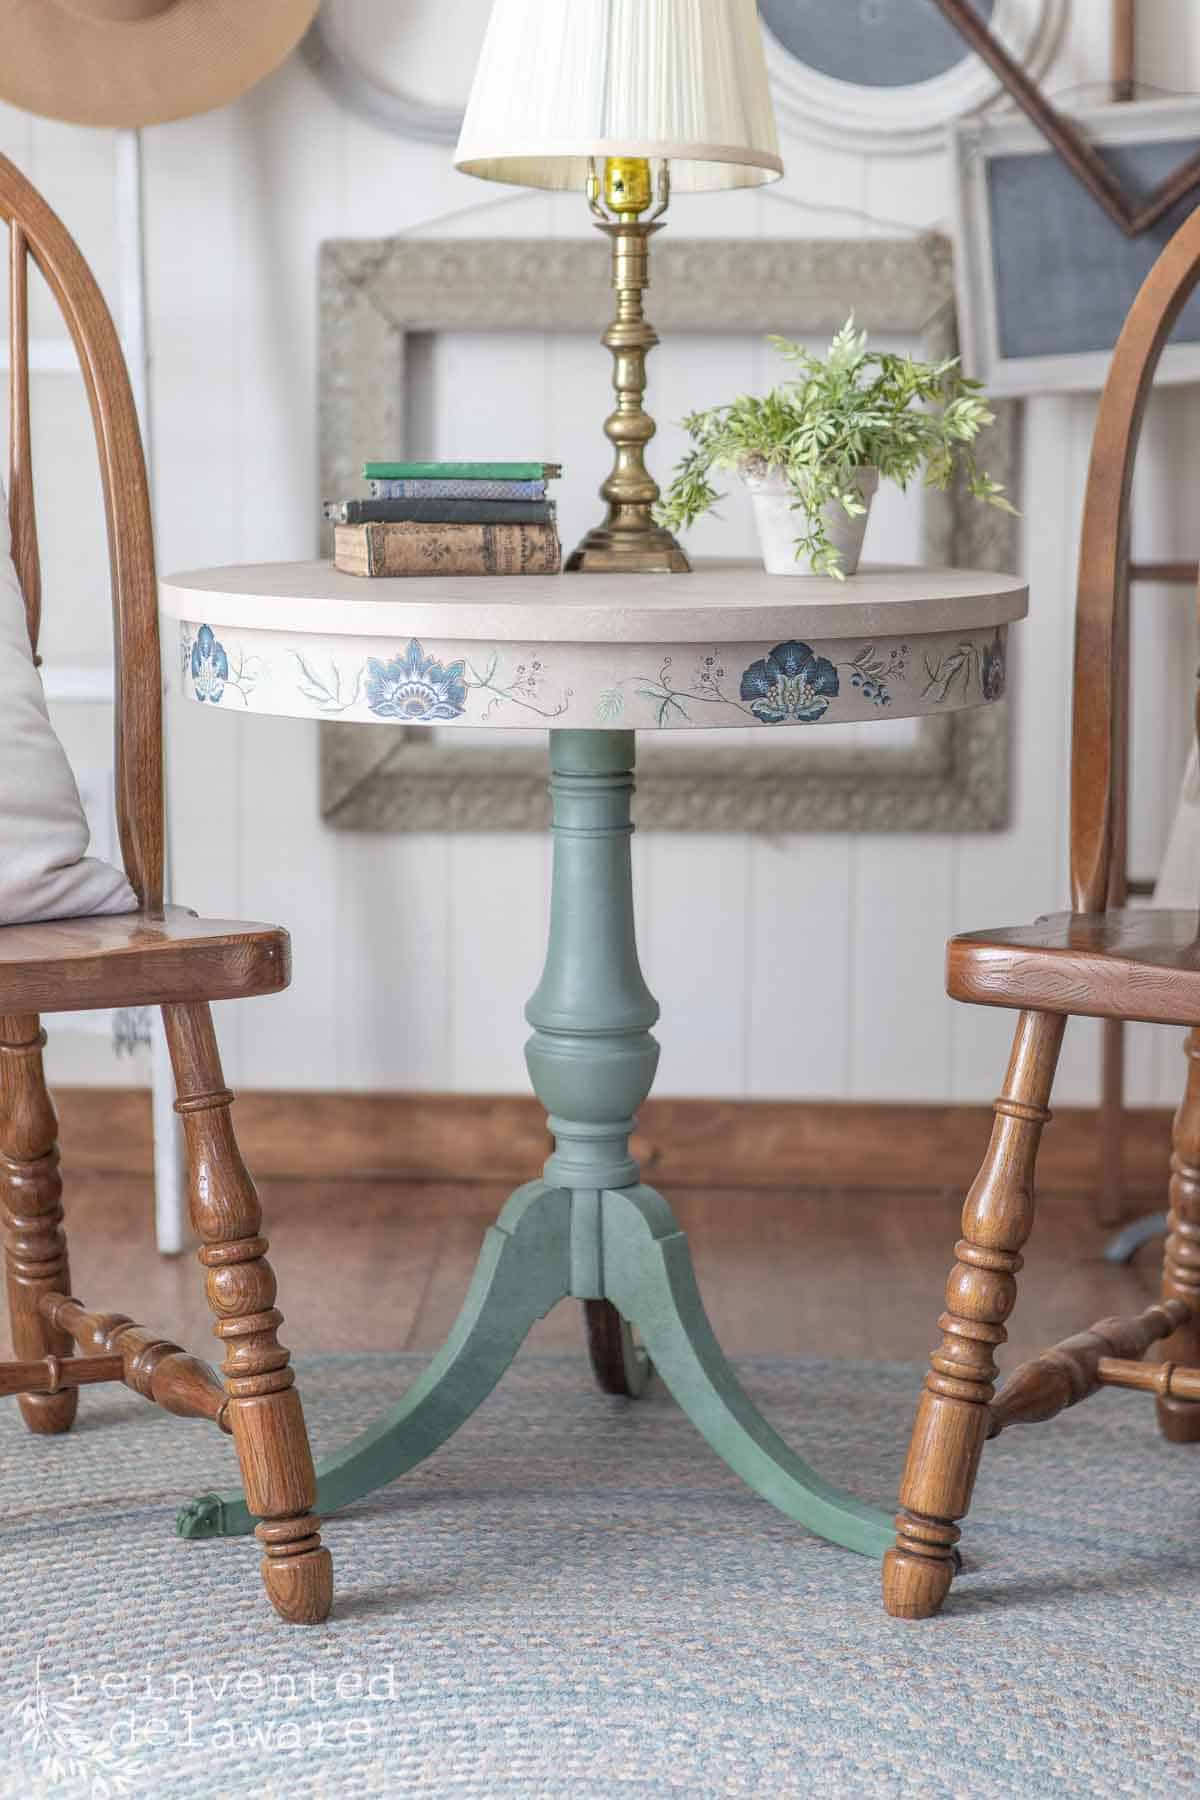
before and after furniture makeovers

what is your budget for the project?
This is an important factor to consider. The cost of the furniture makeover project will include, the piece of furniture, paint stripper (for paint and/or old top coat), power sander, cleaning supplies, wood glue, wood filler, paint brush, paint, clear finish top coat, sandpaper, and a shop vac.
Some of these supplies and tools you will already have on hand so in my opinion, you don’t have to consider those costs with each makeover. You will need to consider the furniture and supplies to refinish it.
Paint and clear top coats can be used for several projects. For instance, it won’t take a whole container of paint to paint a small washstand nor will it take an entire jar of clear coat to seal it.
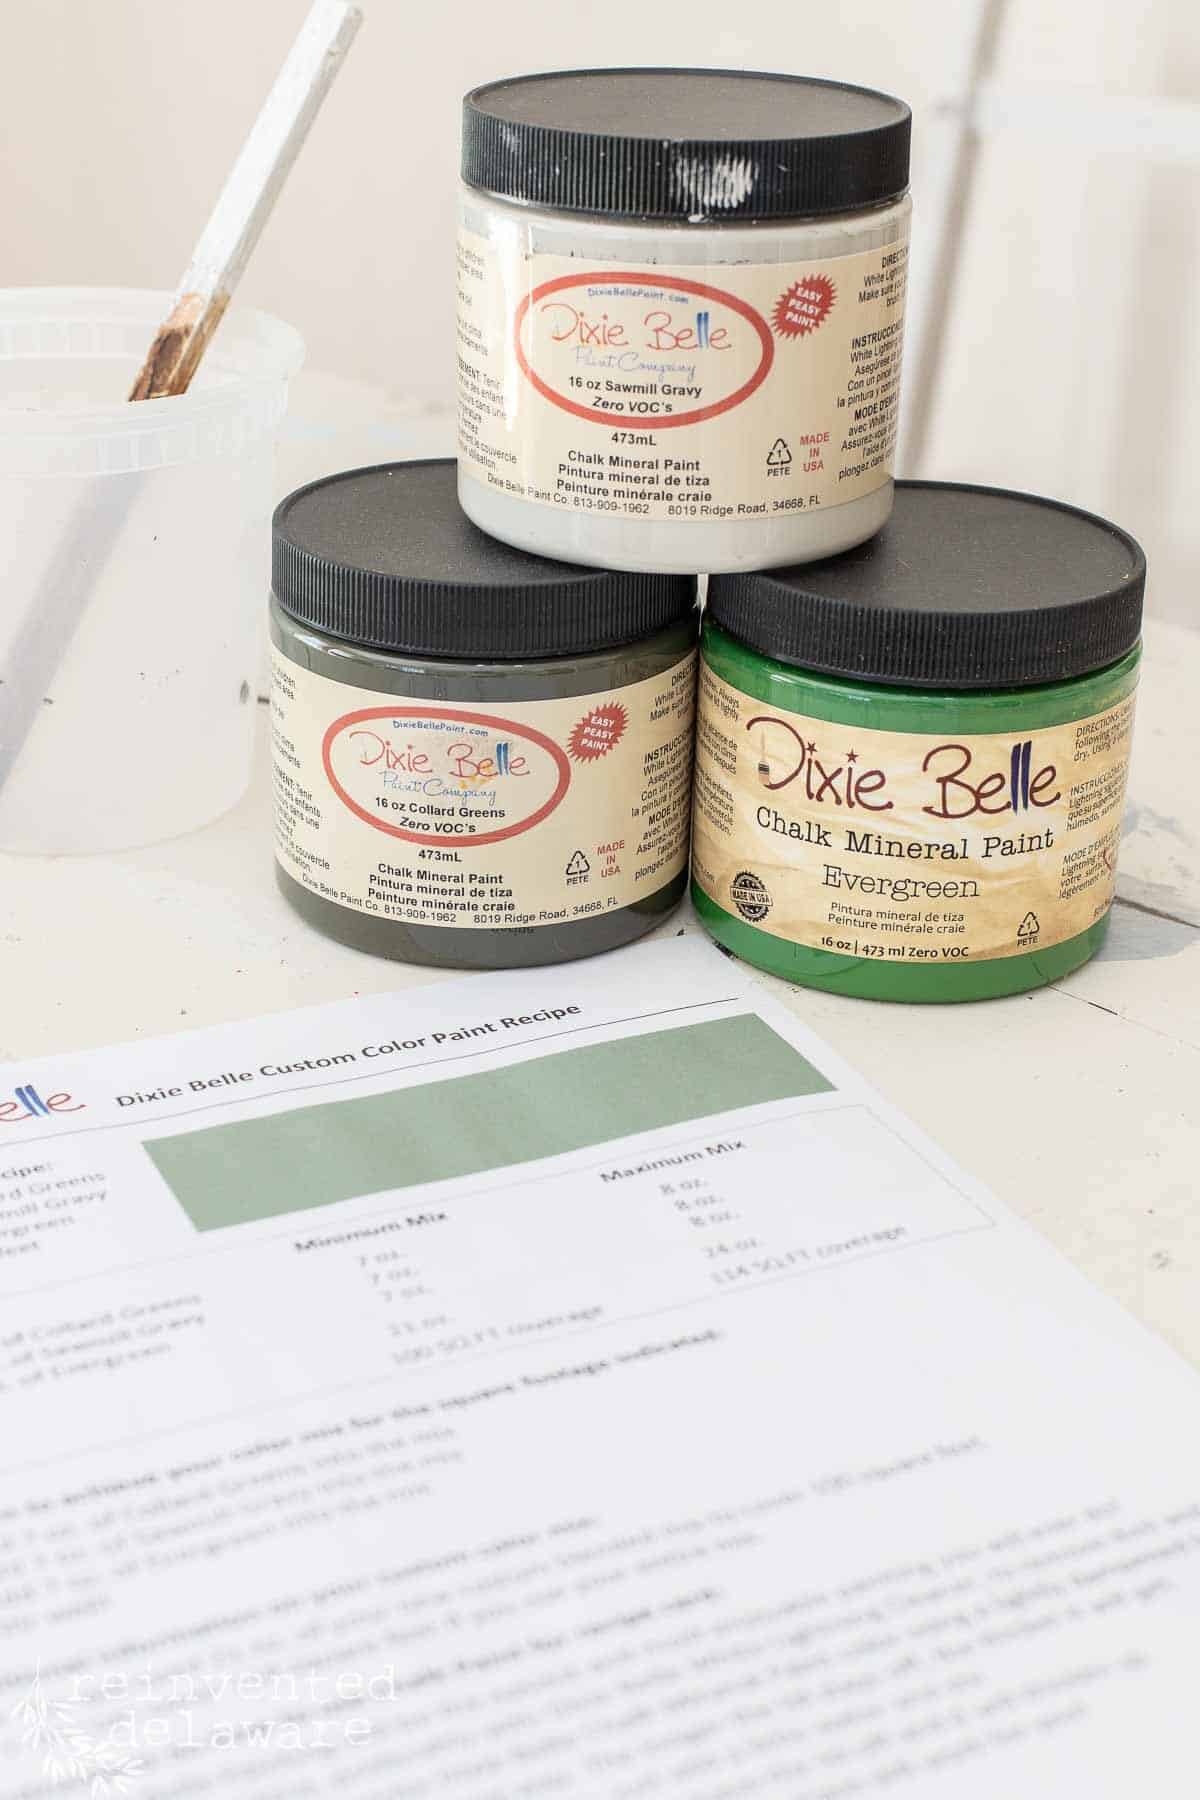
You can reduce the extra cost by using paint you already have on hand. If you use the same brand of paint for other projects, you can also mix paint to make new colors. It’s a great way to use up leftover paint. Make sure you stay within that brand and specific line of paint when mixing!
what tools and supplies will you need?
Here are the tools and supplies you will need for most furniture makeovers. Some of these items have options such as paint. I will list them where necessary.
- paint stripper (chemical strippers will require special safety gloves and plastic wrap)
- cleaning supplies (TSP cleaner, clean cloth, mineral spirits, bucket with warm water)
- power sander, fine-grit sandpaper for the sander, hand sanding block, medium-grit sandpaper if needed
- shop vac to aid in removing dust
- primer if needed
- wood stain and or paint specifically created for furniture (avoid latex paint made for drywall home interiors)
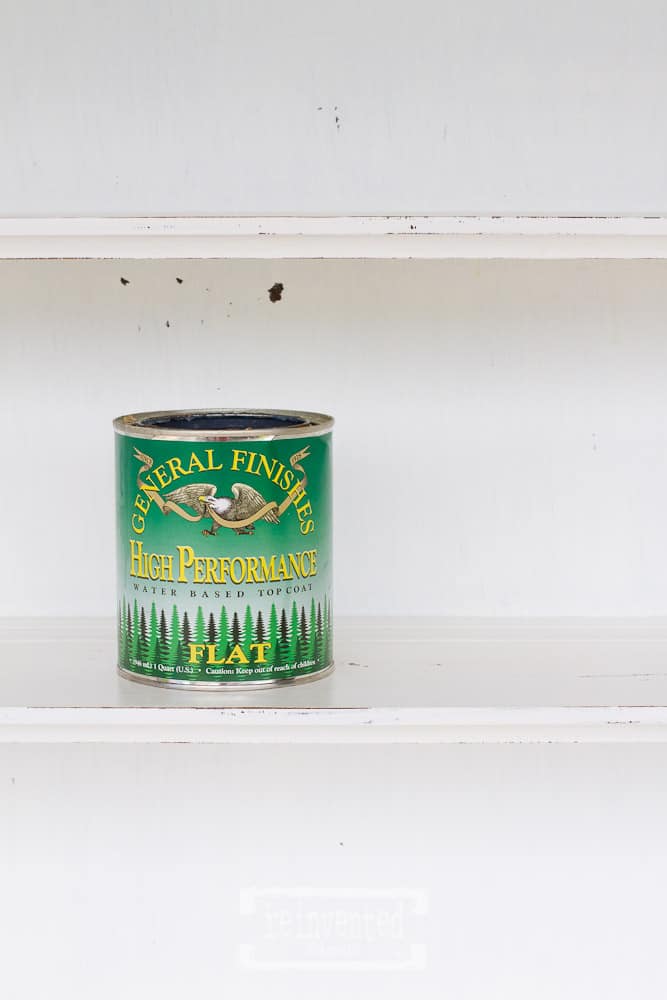
- high-quality top coat to seal and provide a durable finish
- high quality paintbrushes
- some power tools like a drill, circular saw, jigsaw for some repairs


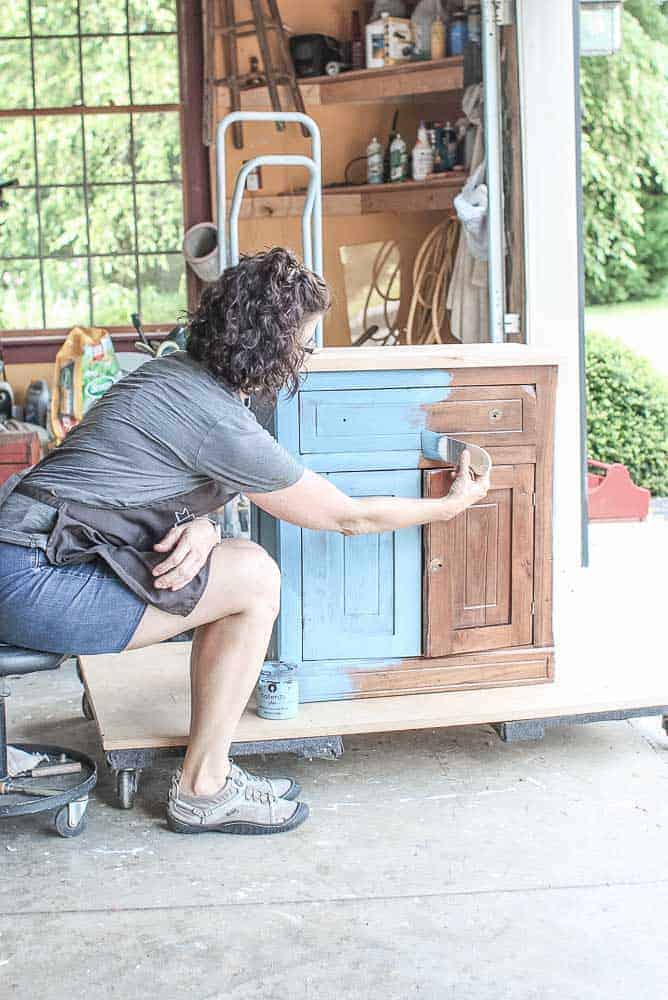
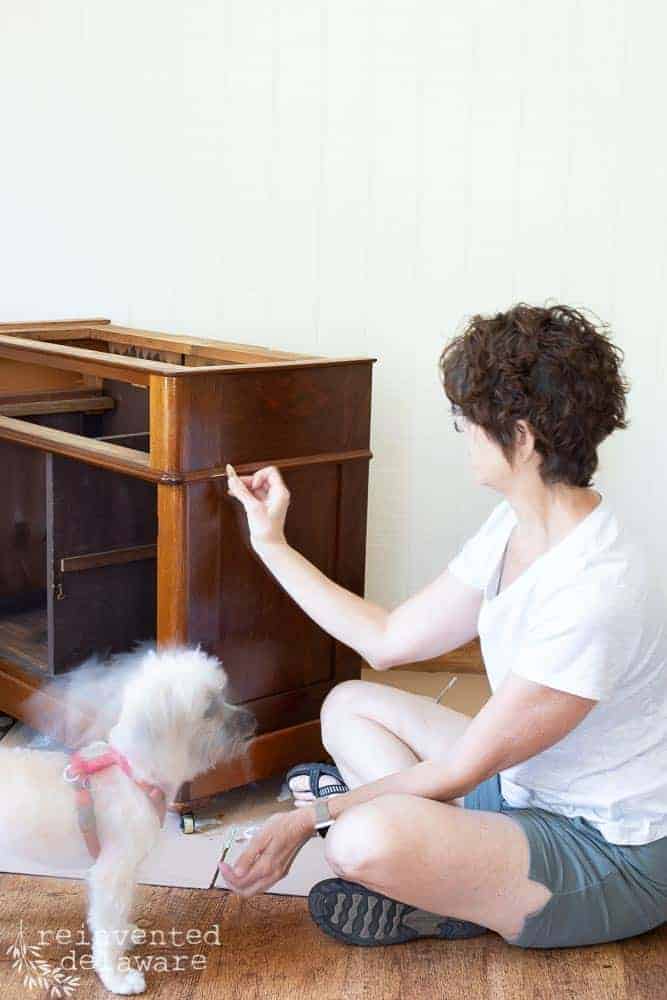
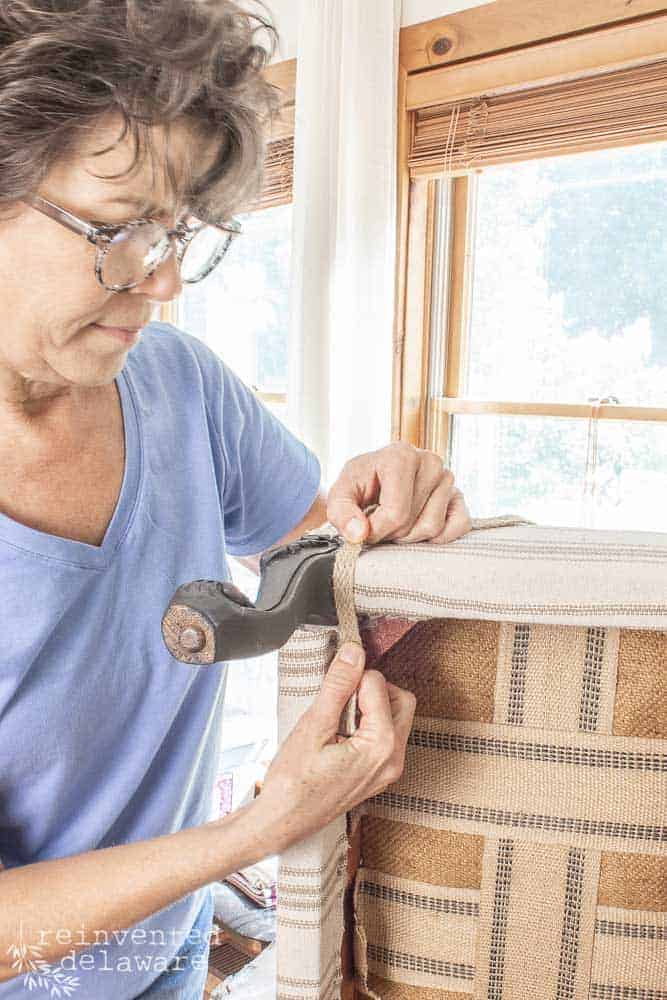
the refinishing process
You will find many furniture makeover tutorials here on the blog so I will give a brief overview of the process it takes to refinish a piece of furniture. I will include links to specific posts that will go into more detail.
You can also ask questions in the comments section of this post. I would love to help you in any way so that you can be proud of the work you are doing to restore your furniture!
Here is a list of refinishing process steps that apply to most furniture makeover projects.
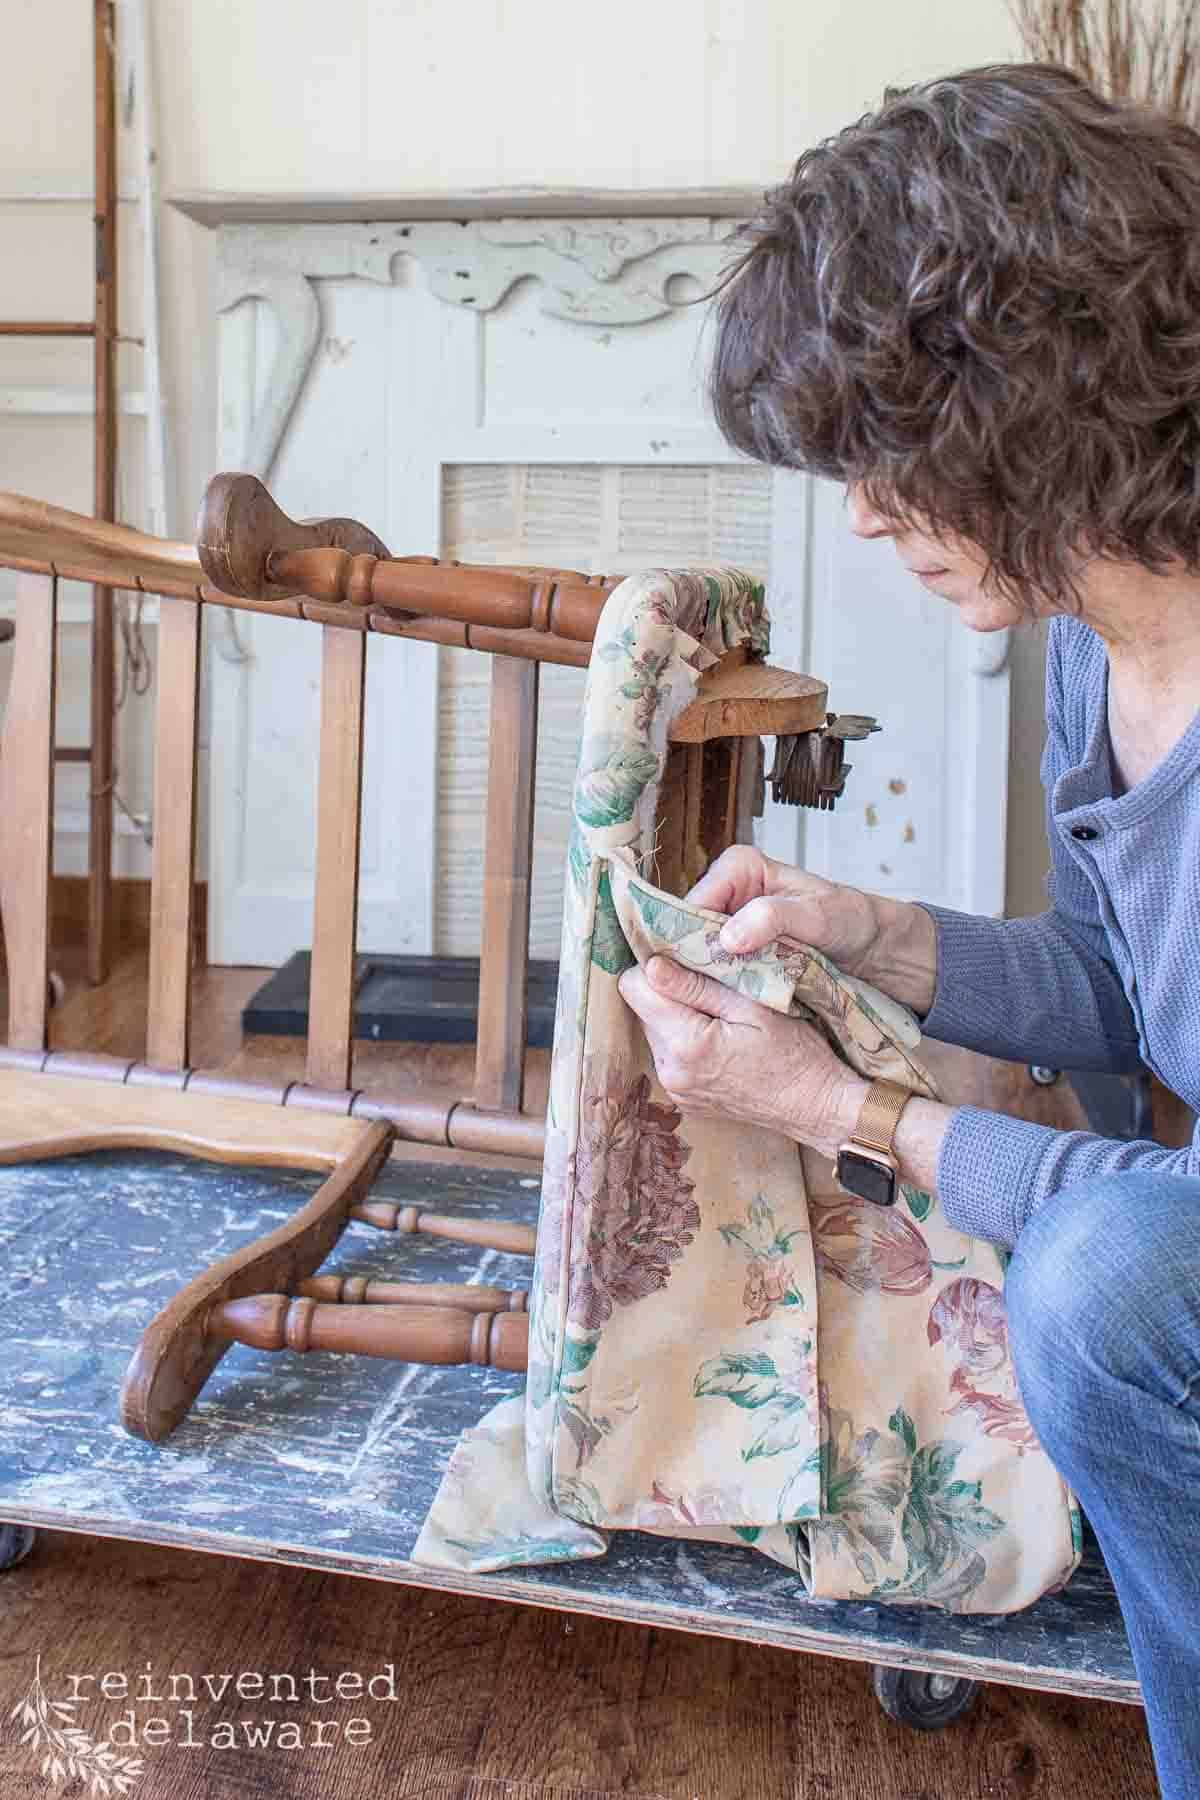
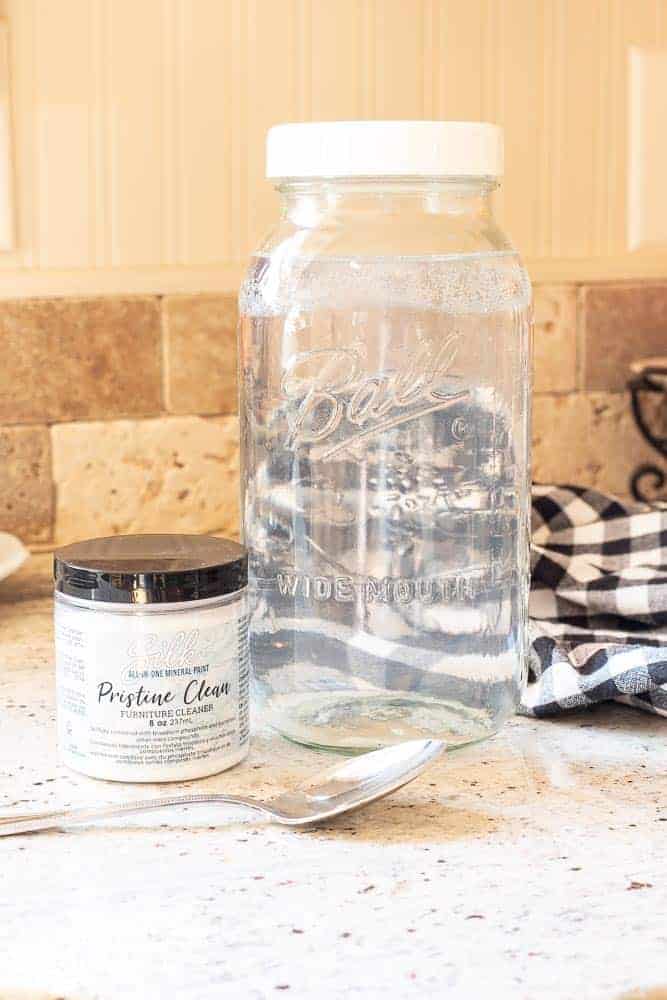
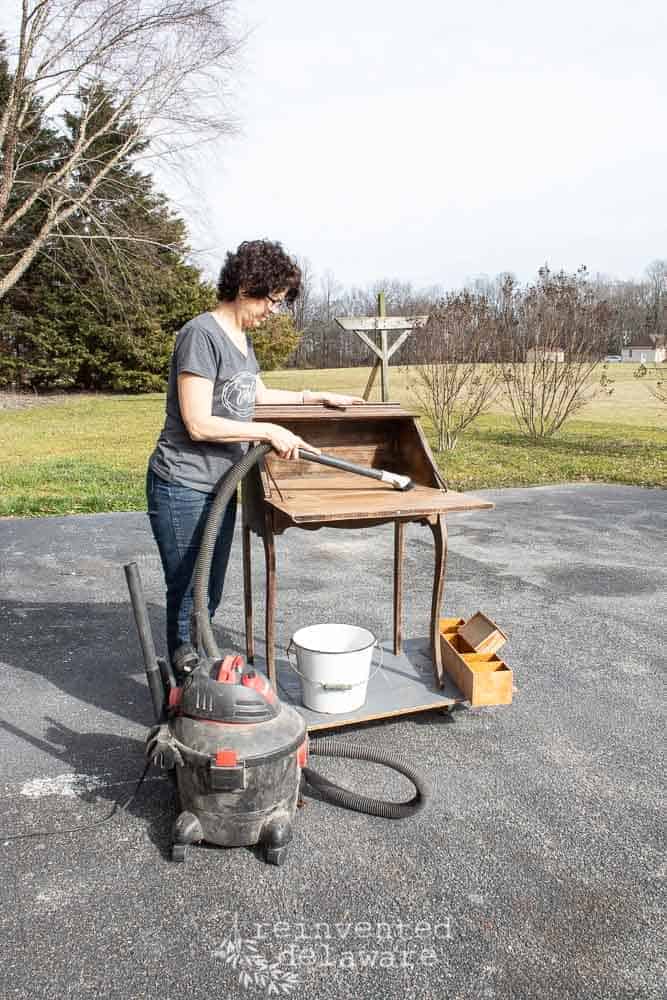
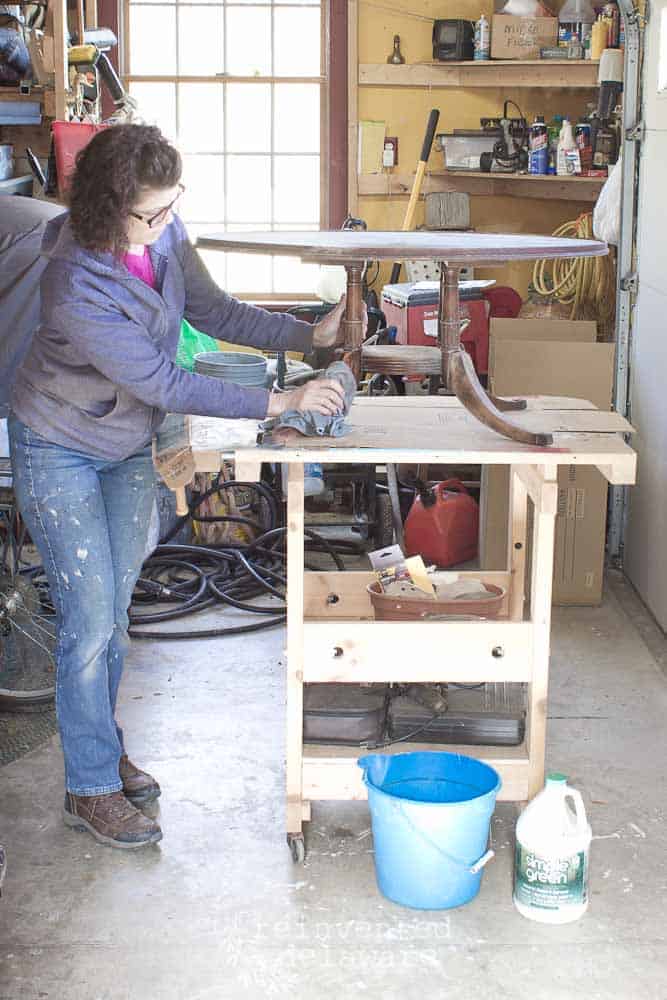
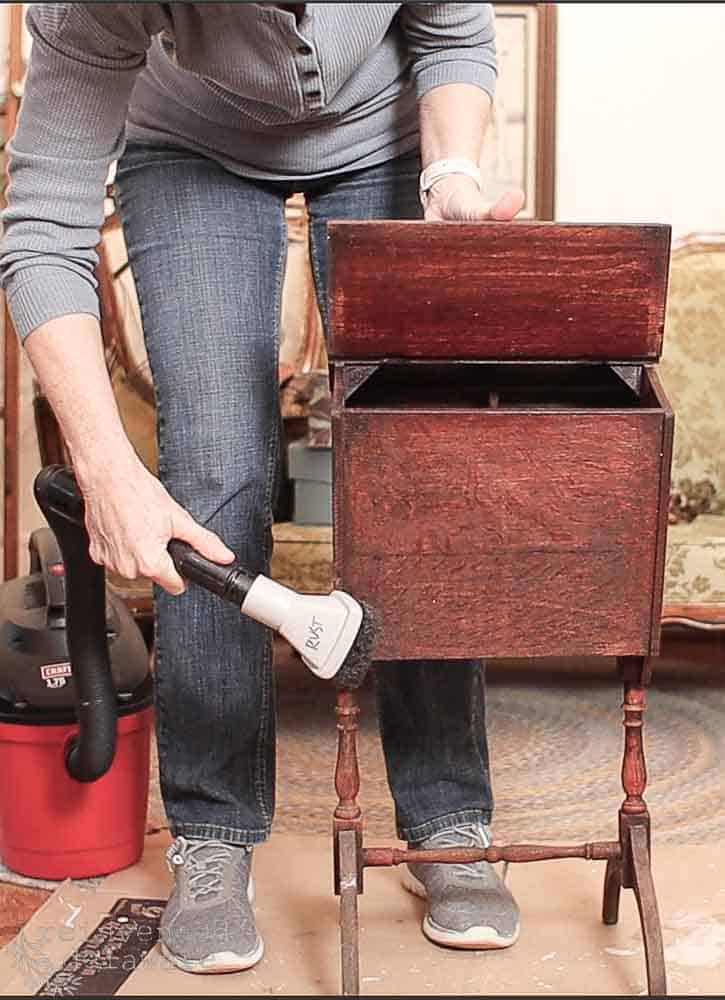
clean the furniture
It might seem contrary to clean the entire piece before repairing and sanding it but take my word for it, do this step first! As you clean the furniture piece, you can inspect it for broken or missing pieces, damaged wood, water damage, and other areas that will need additional help. Make note of those repairs.
Clean the piece by first going over it with a shop vac. Thoroughly vacuum by removing any drawers, opening the doors, and turning the piece upside down. Vacuum all of the nooks and crannies. Look for bugs and treat those areas as needed. Yucky I know, but necessary!
Next use warm soapy water and a microfiber soft cloth and give the entire piece a good cleaning. If it is especially dirty, scrub it with a scrub brush, warm soapy water, and a garden hose. Yep, I said a garden hose. It is best to do this on a warm sunny day so that the piece can dry all day in the sunshine. This also helps with odor the piece might have. Old furniture can smell musty.

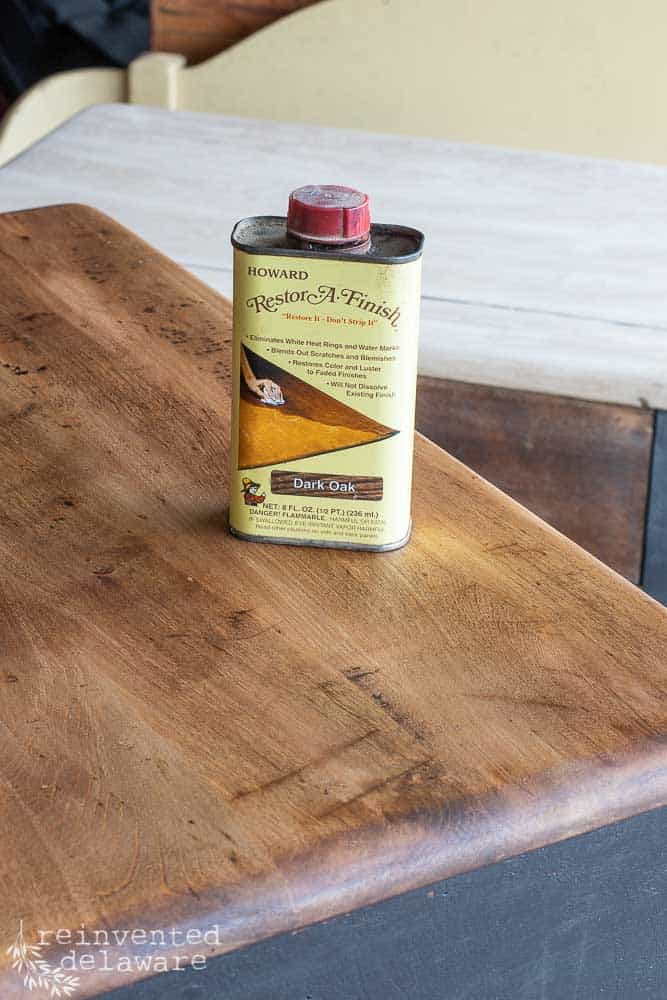
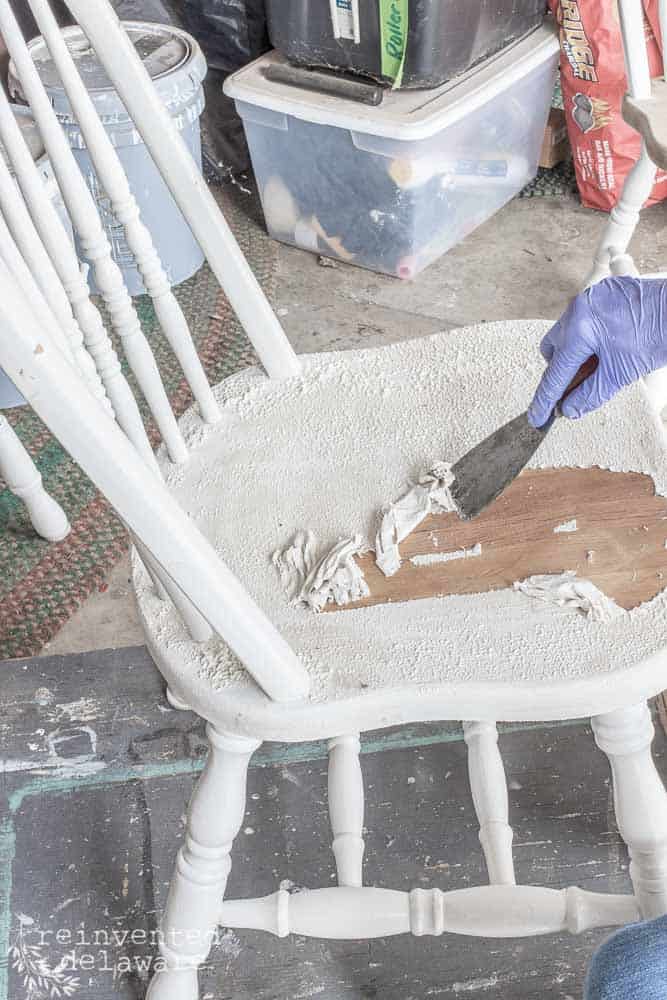
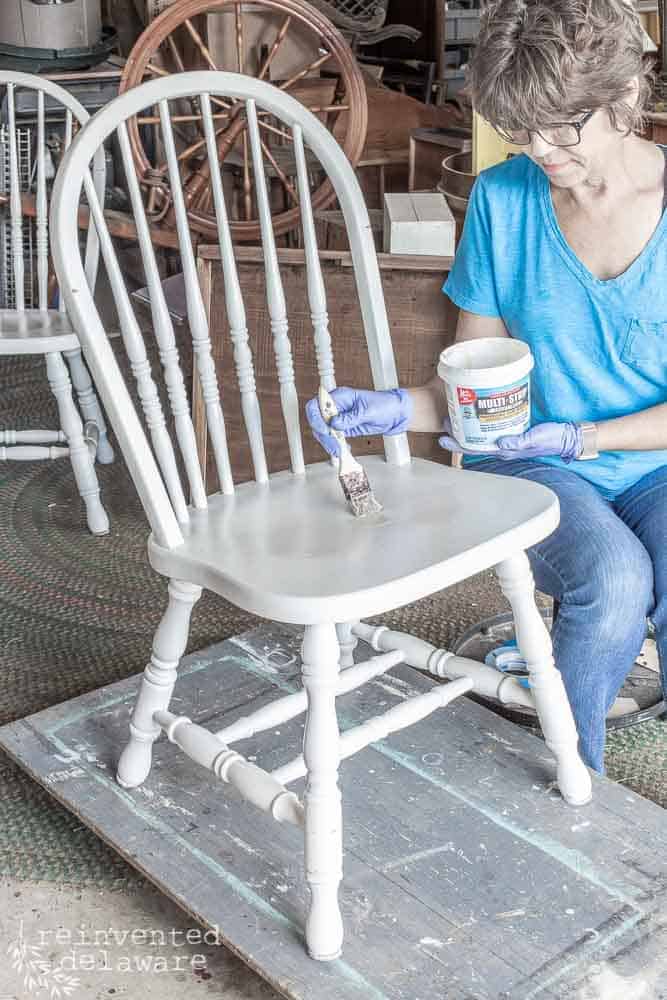
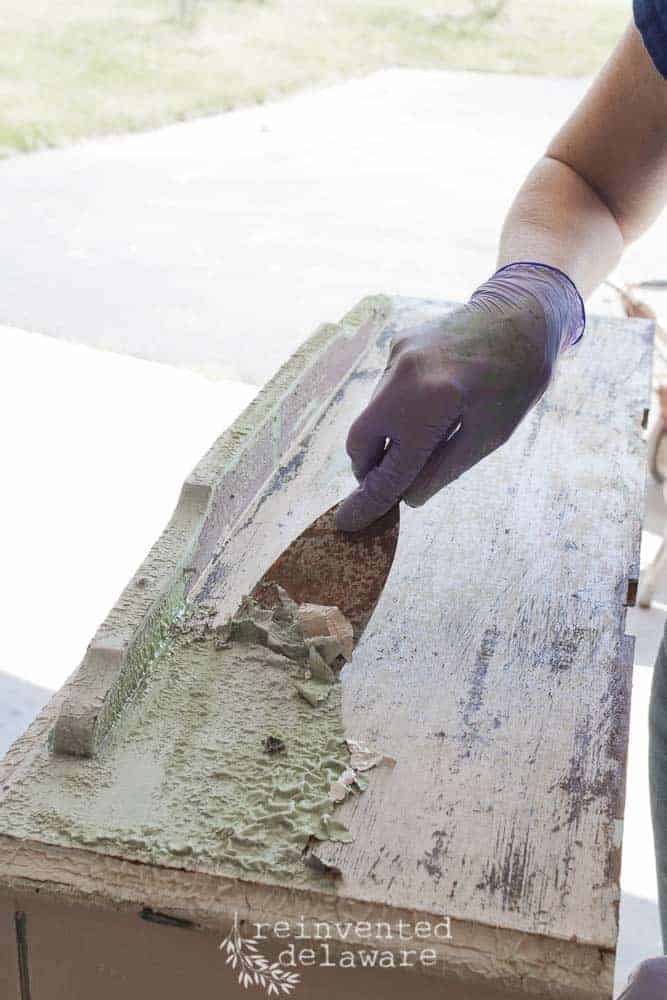
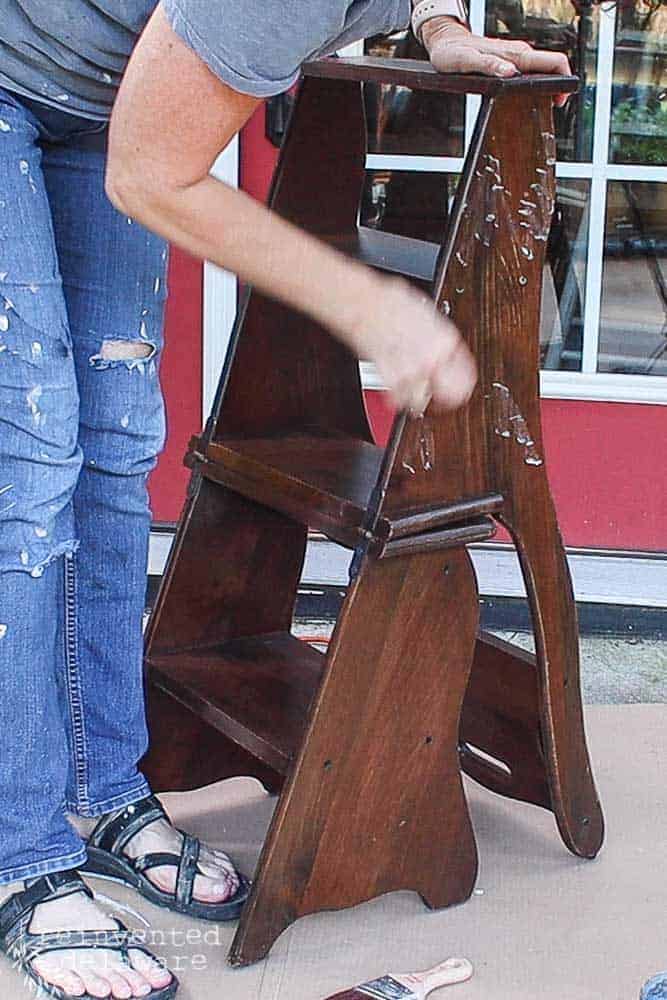
remove old paint or varnish
The easy way to remove existing paint or clear coat (vanish) on old pieces is a chemical stripper. These products need to be used with caution. It is a good idea to read any instructions on the label of the product before using it and wear proper gloves and a respirator to protect your lungs and your skin.
Other other products are safer to use such as Multi-Strip Advanced by Sunnyside. I have used this product with success and I prefer it for safety reasons. Read the instructions on the container. Brush the product on, allow it to sit for the appropriate amount of time, and then scrap it off. Keep a box handy for the debris and dispose of it properly.
Once the old paint and stripper have been removed, use mineral spirits to remove the stripper residue. Wear gloves and take safety precautions.
It’s best to clean the piece again with warm soapy water.
As a side note, if you have to use a paint stripper on the piece, you can complete the cleaning step after the old paint or varnish has been removed.
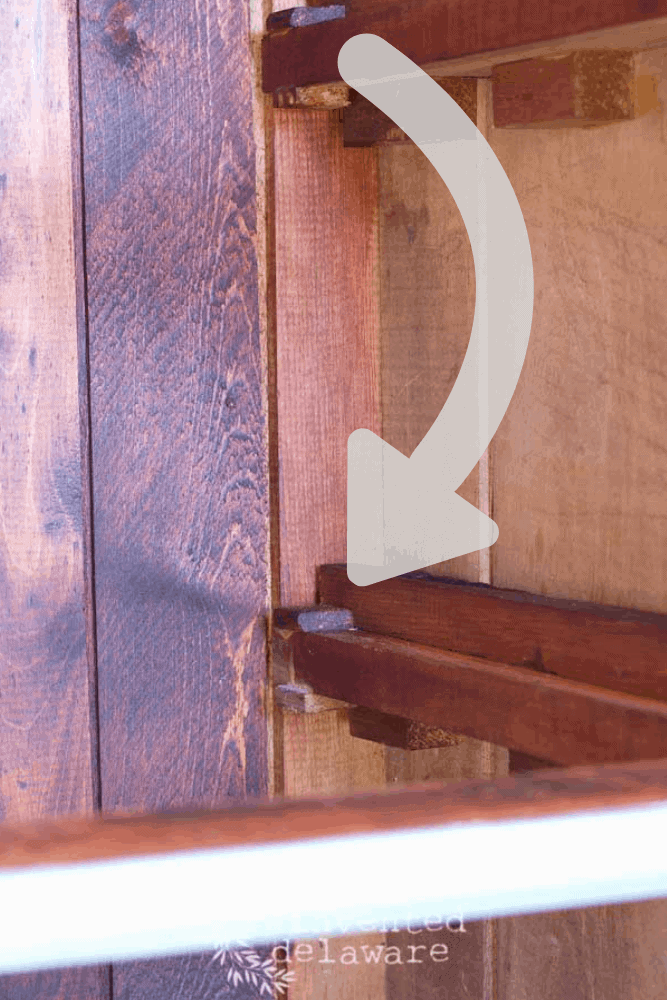
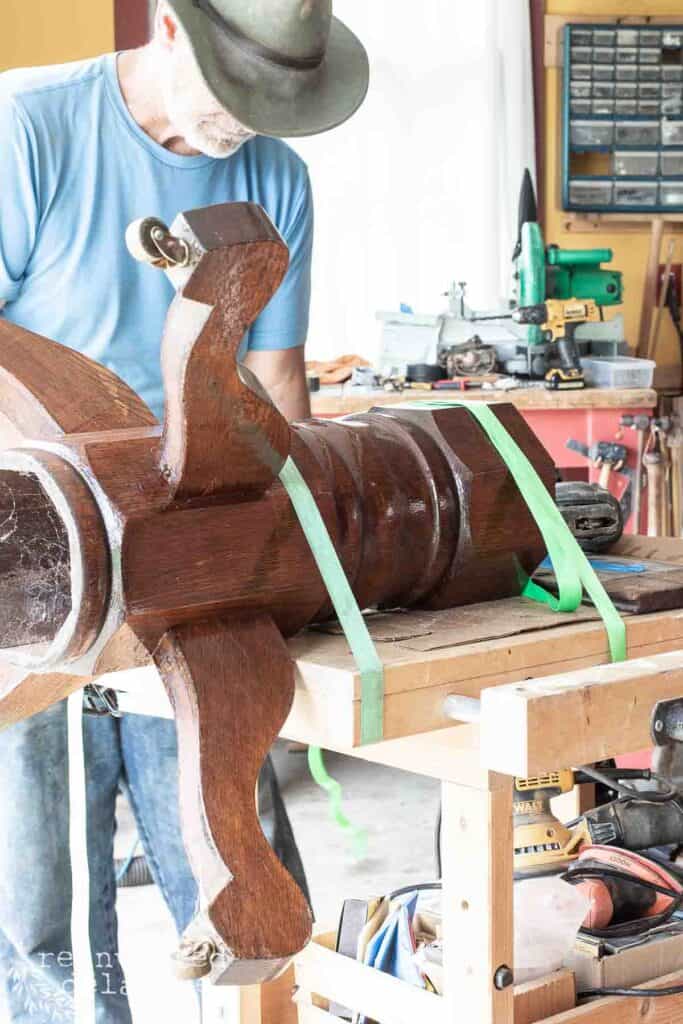
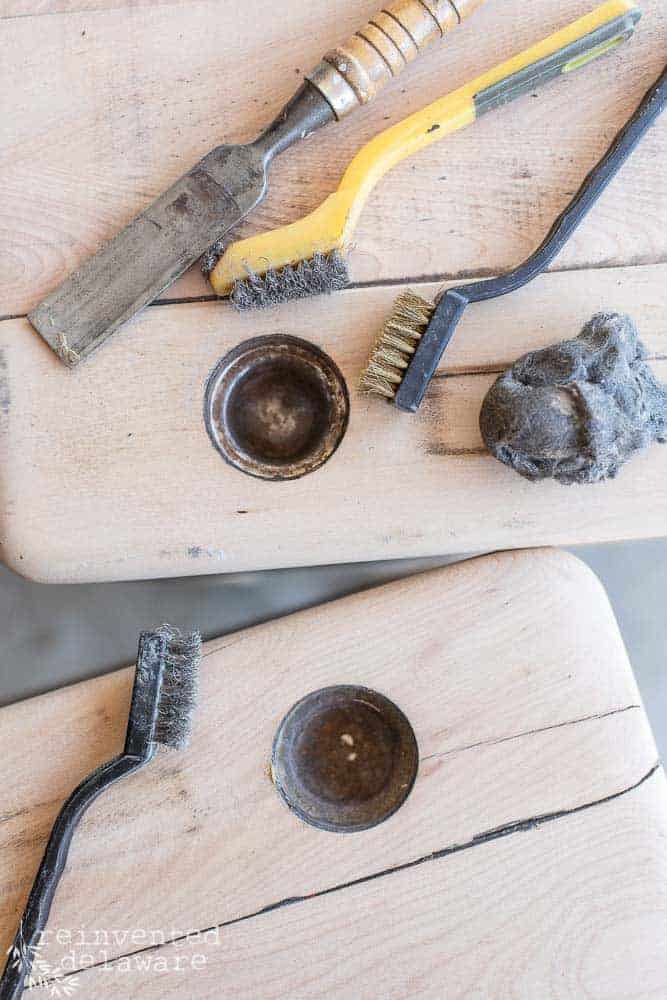
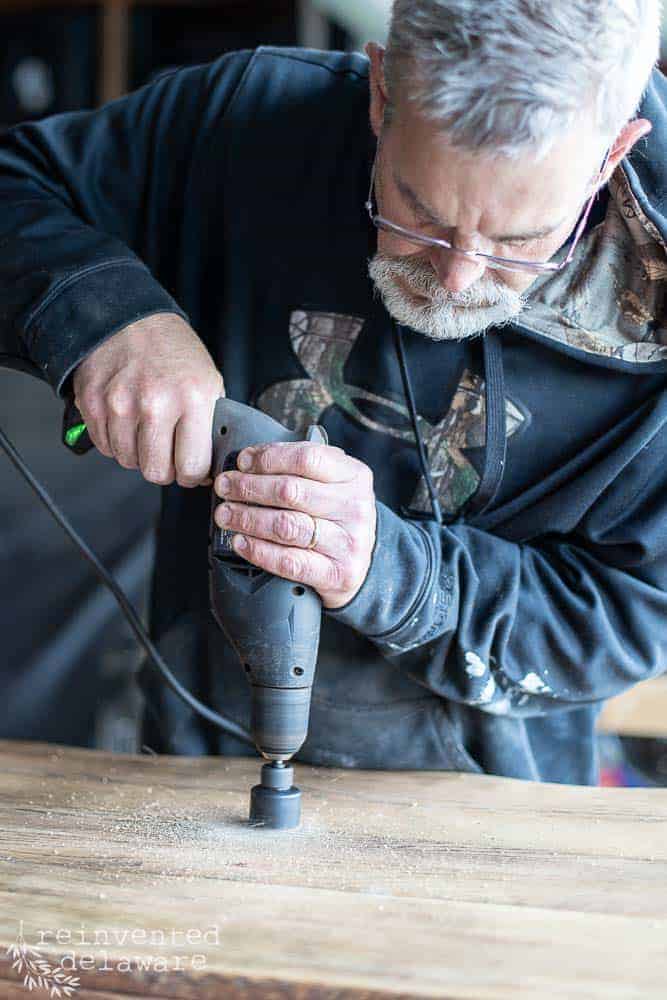
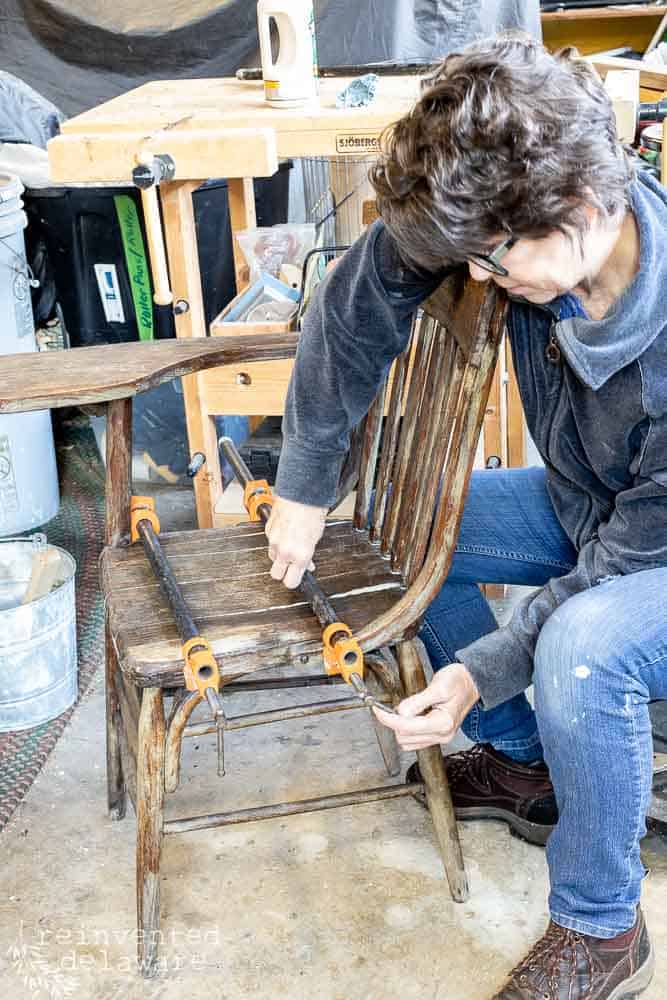
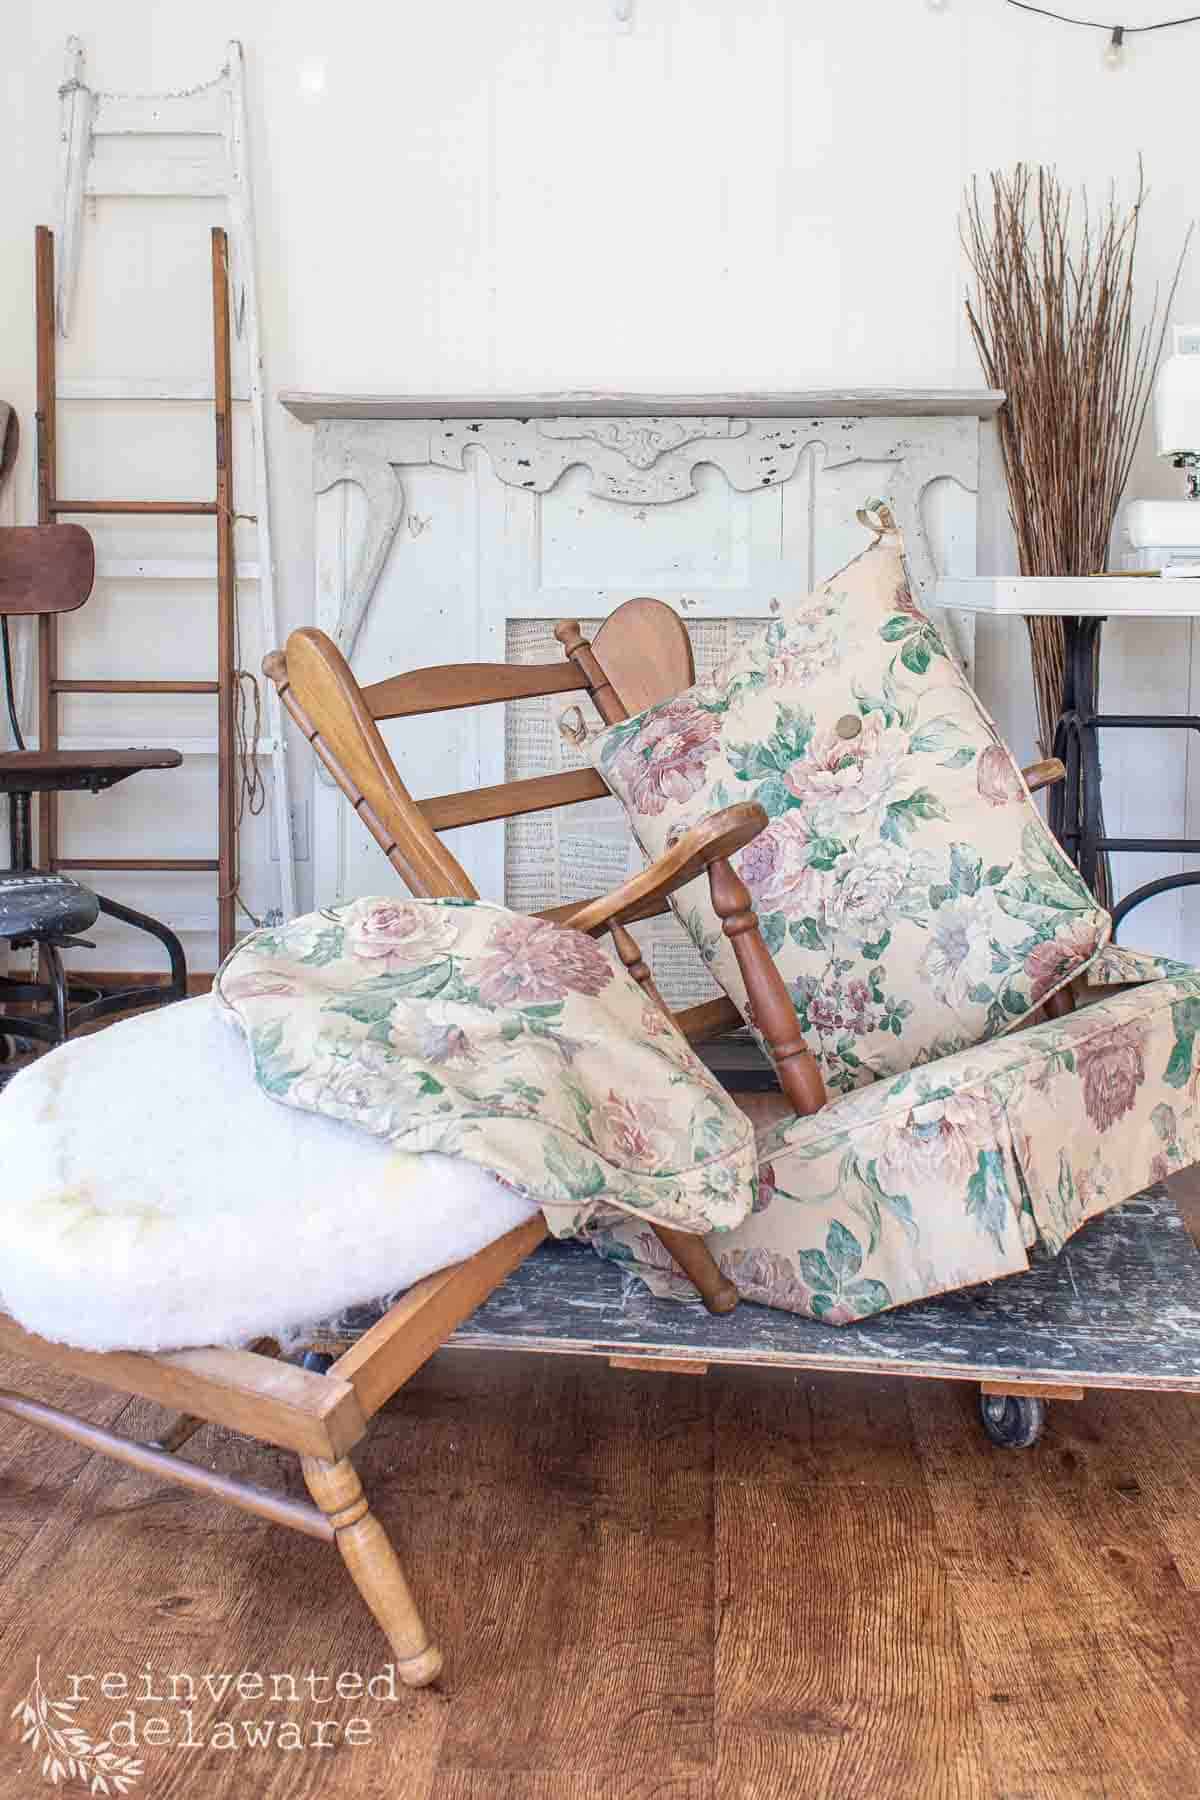
repair any damage to the furniture
Depending on the damage, you will have to repair it the best you can. I will link several articles to help you repair your furniture. With a little bit of know-how, you will be able to make the repairs. The good news is that most repairs can be done with wood glue and clamps.
While you are determining the more difficult repairs, you can glue and clamp the areas that need it and allow them the proper drying time. Also, fill holes, damaged veneer, or any other areas with an epoxy putty made specially for wood. I use Bondo products and am very pleased with the results.
If you are going to stain and clear-coat the piece, it is best to use wood putty in the color of the stain you will be using. This is a great way to disguise the repair, especially on any flat surface that will be noticed.

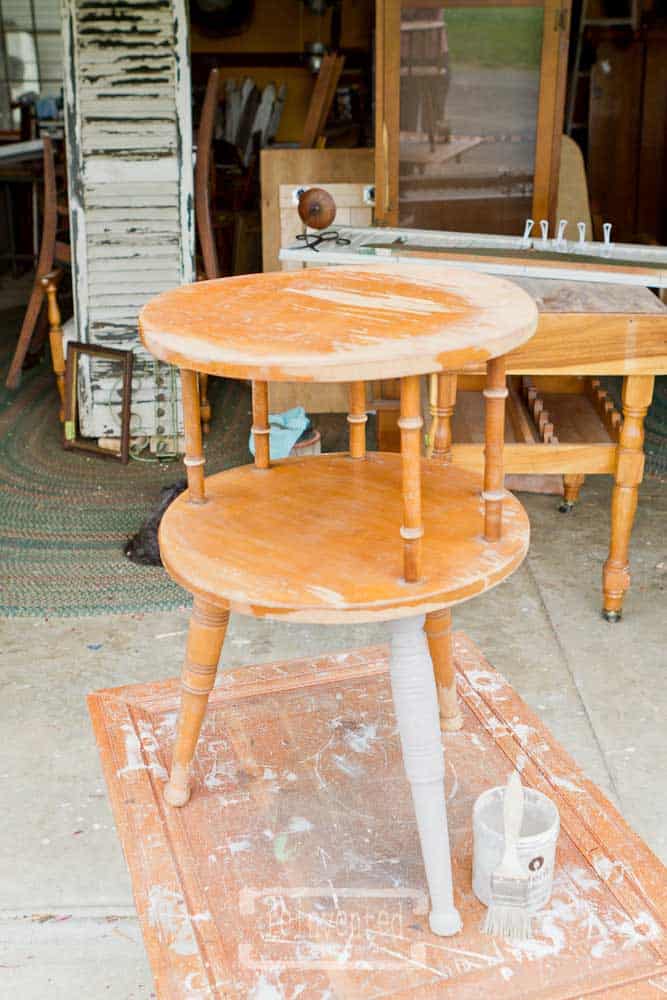
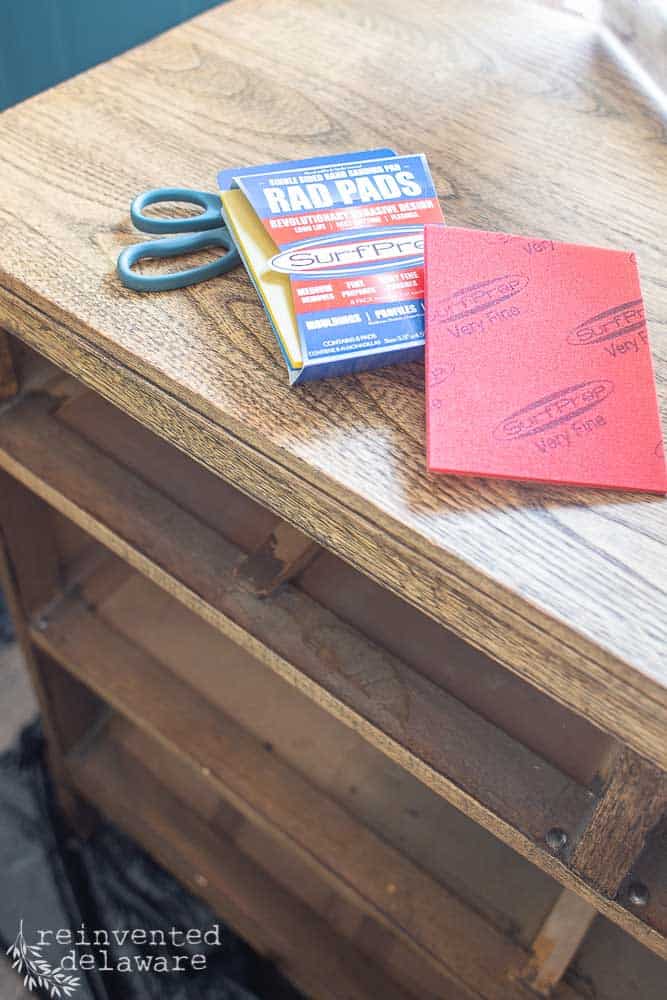
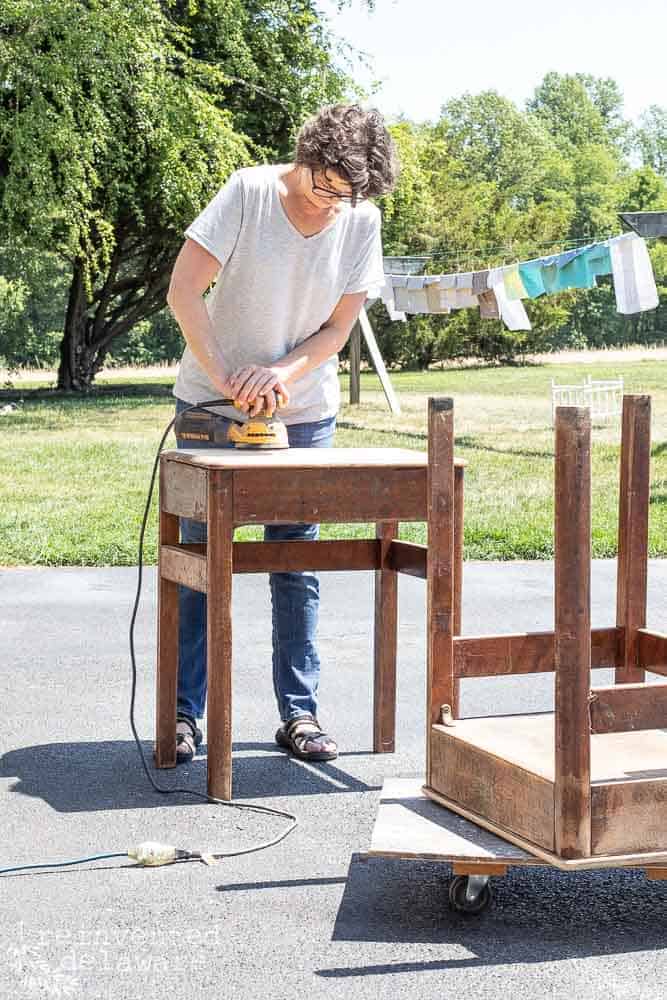
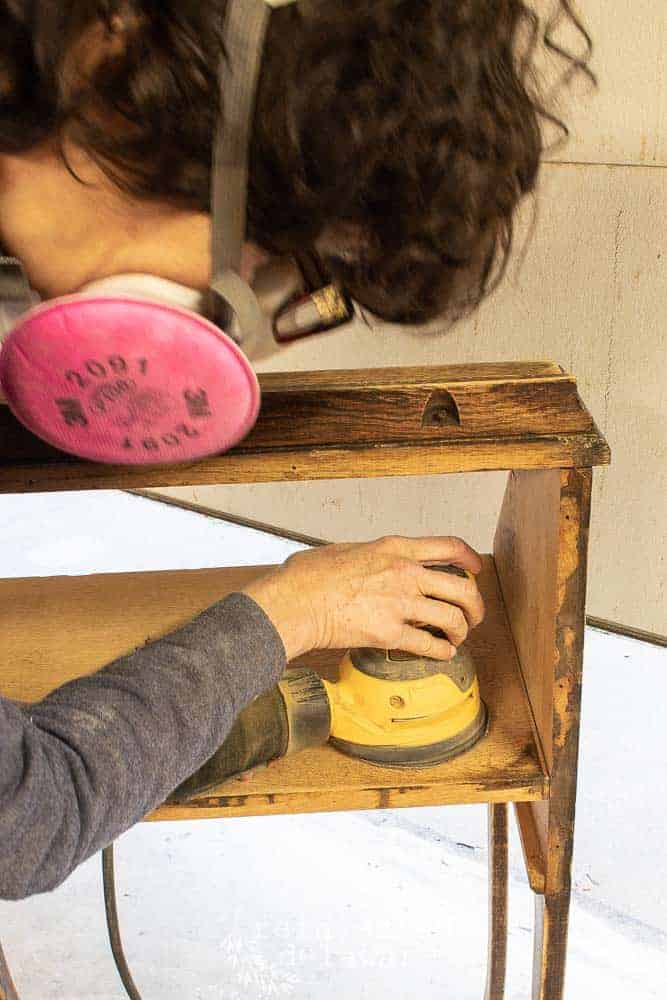
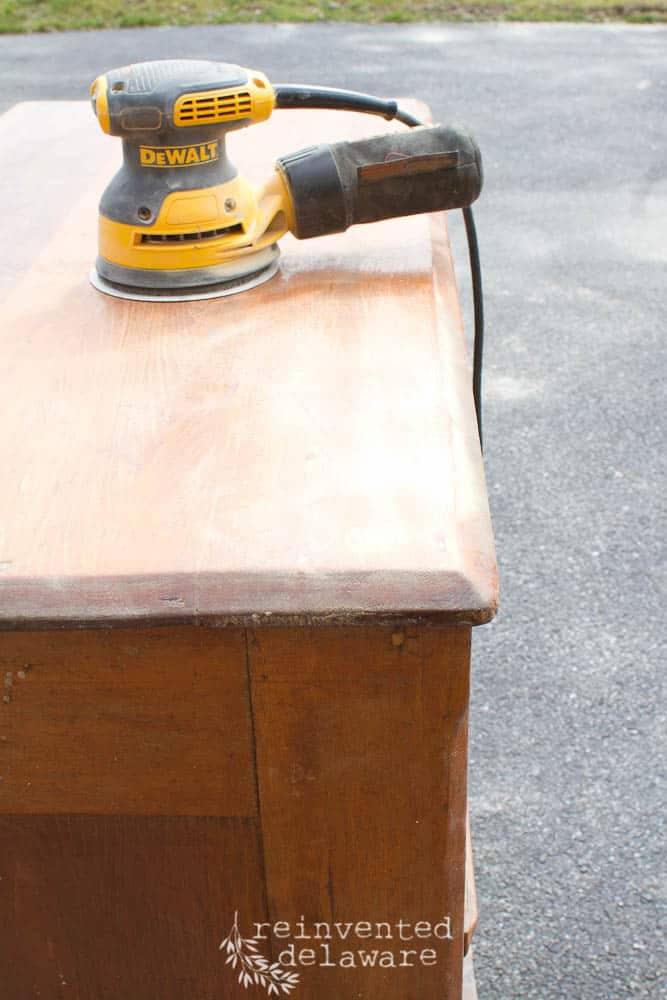
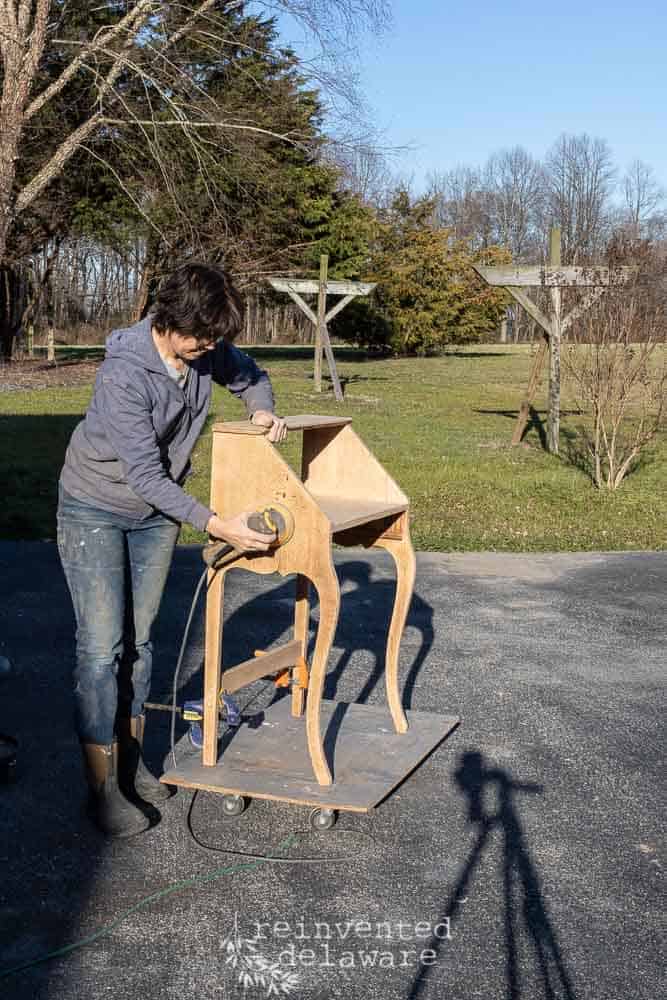
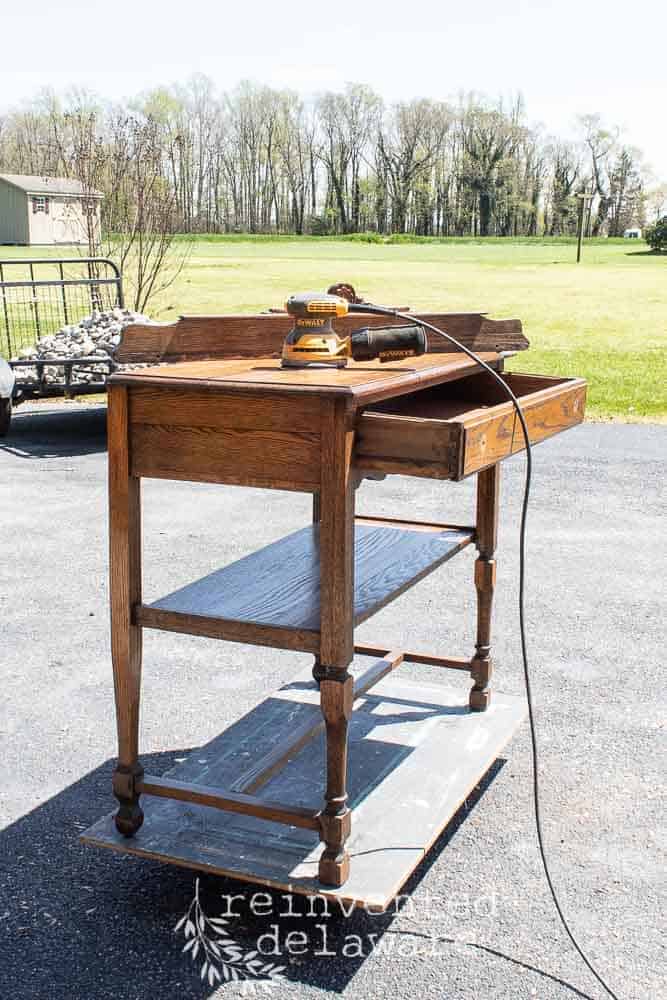
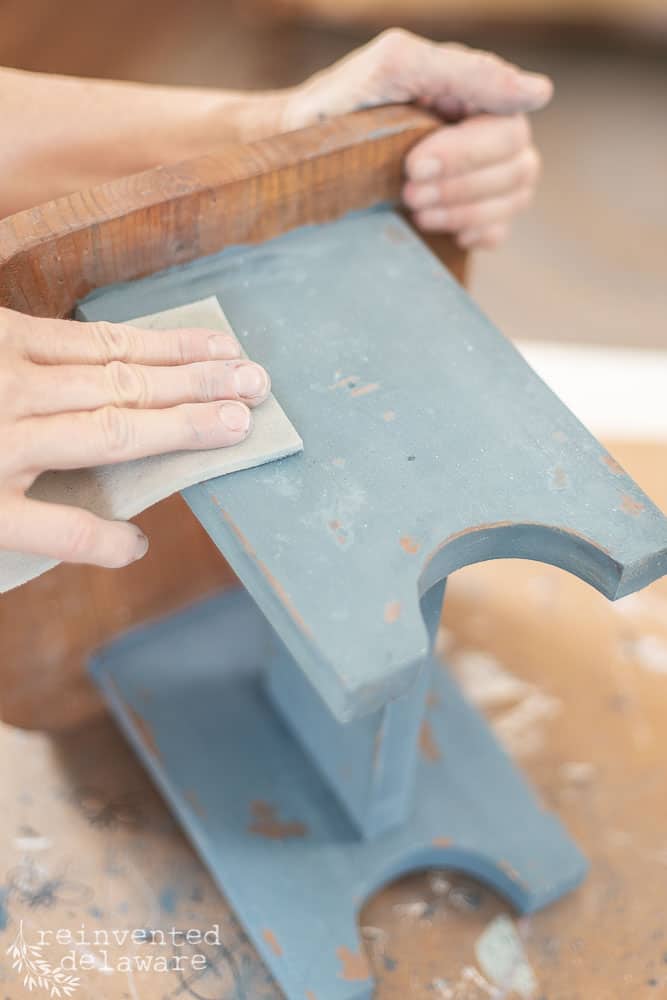
sand the furniture
Sanding the furniture piece is a crucial step in the process of the before and after results. If you want the natural wood to show then you will have to thoroughly sand the piece to remove every trace of paint that might still be on the furniture.
Start the sanding process with medium grit sandpaper like 150 grit over the whole piece. Then go over the piece with 220 grit sandpaper to remove any swirl marks from the surface caused by the orbital sander. For best results in the final sanding, sand by hand with a block or an electric sheet sander.
Clean off the dust with the shop vac and then a dry microfiber cloth or tack cloth.
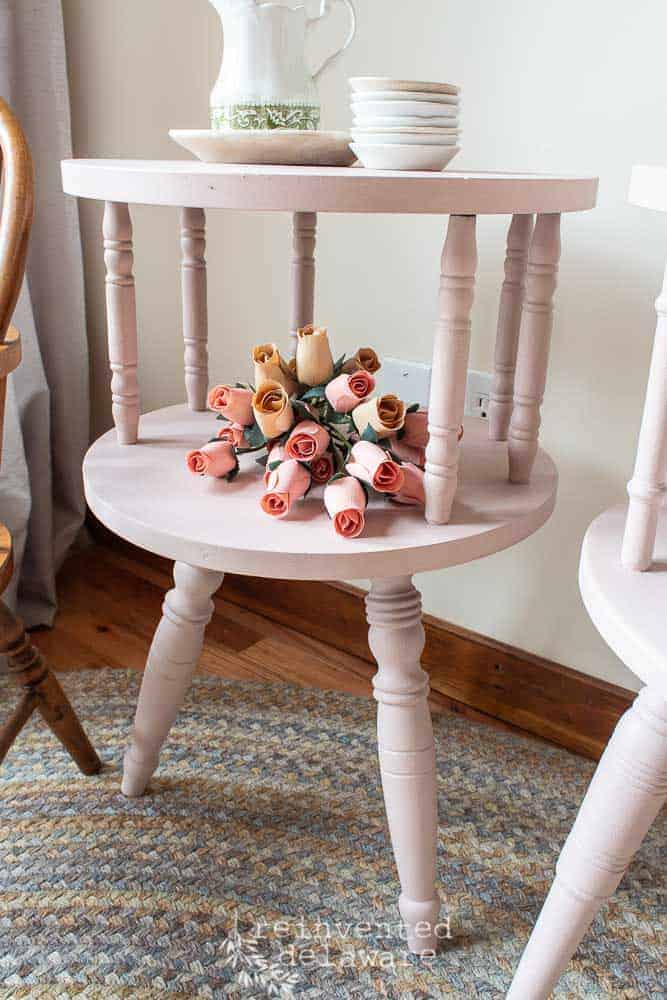
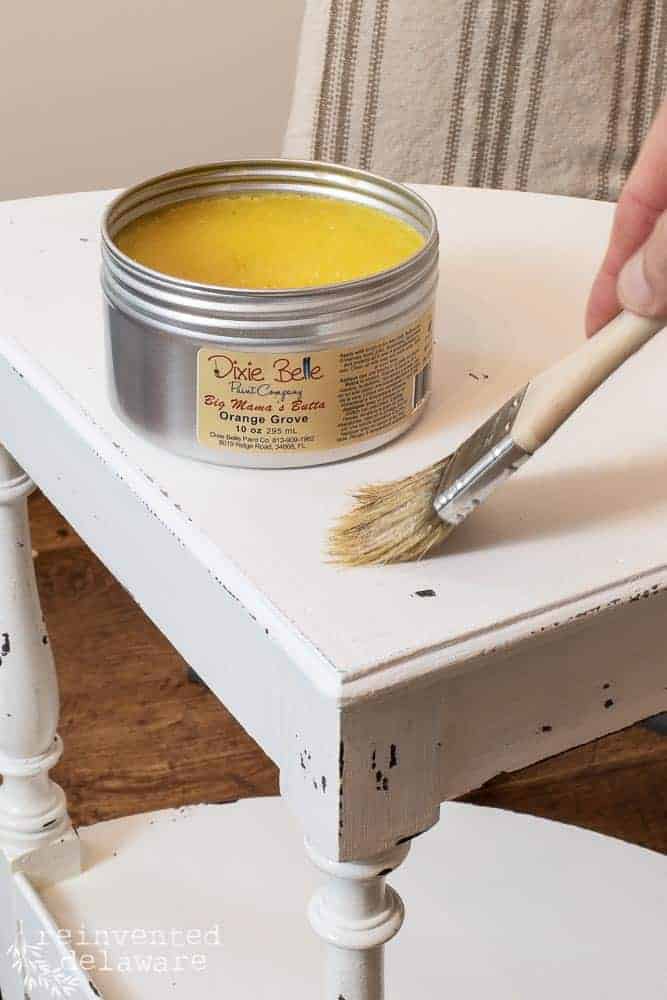
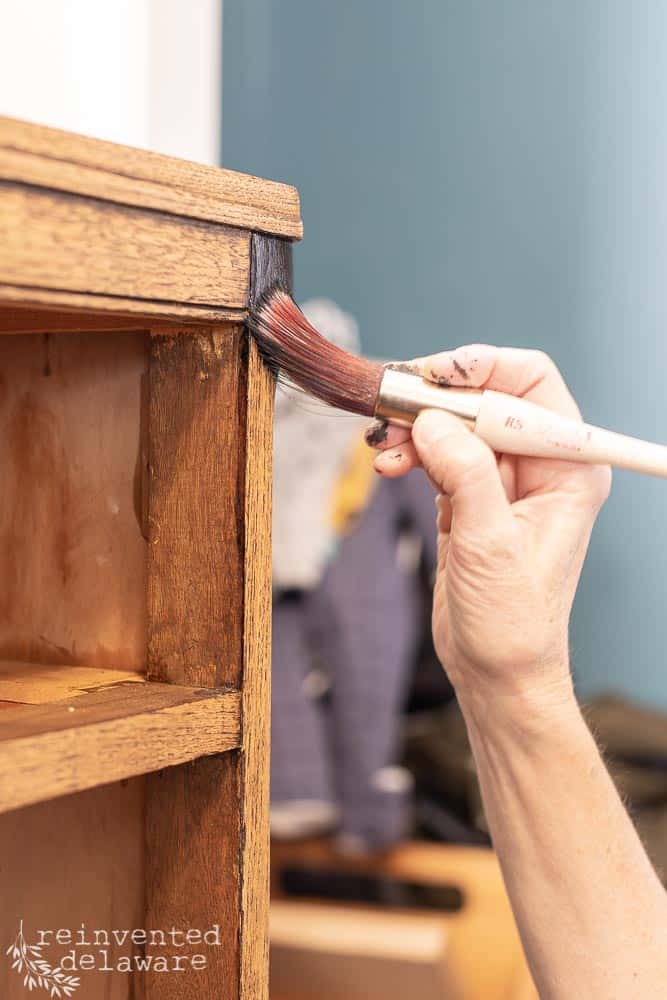
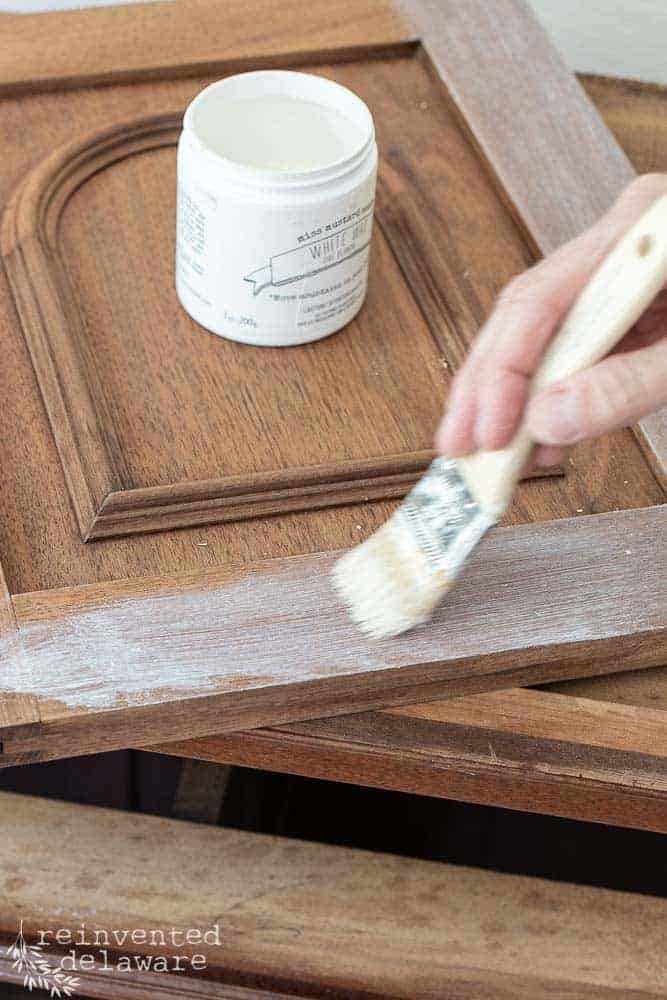
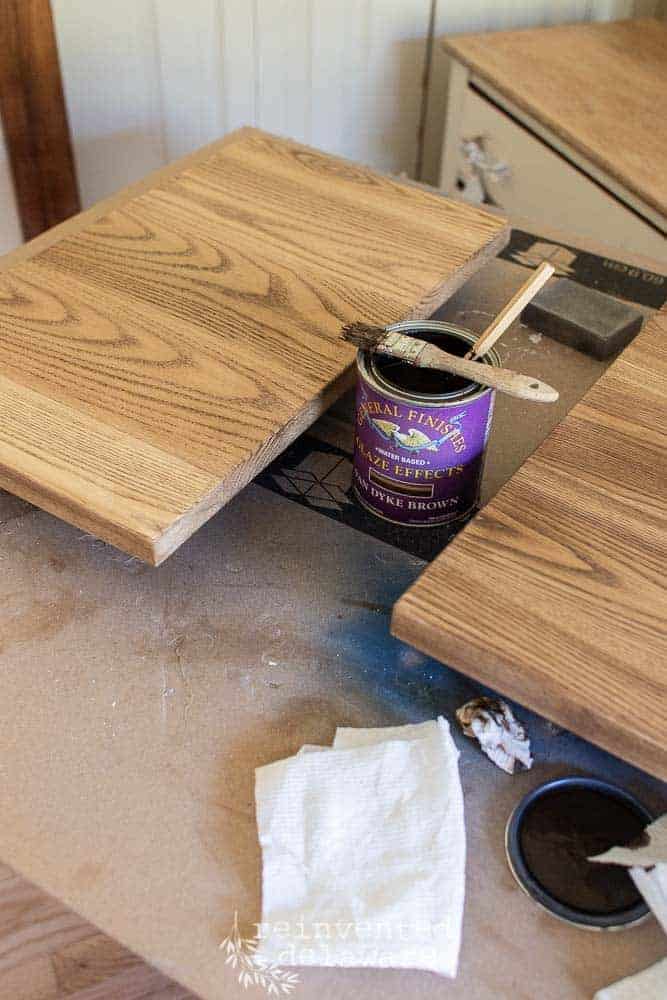
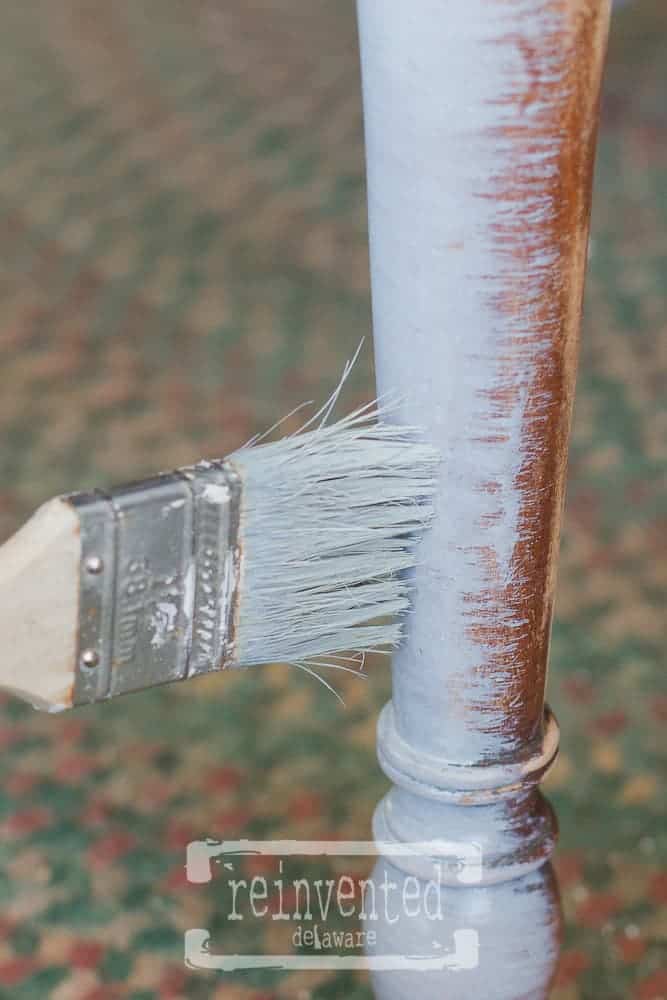
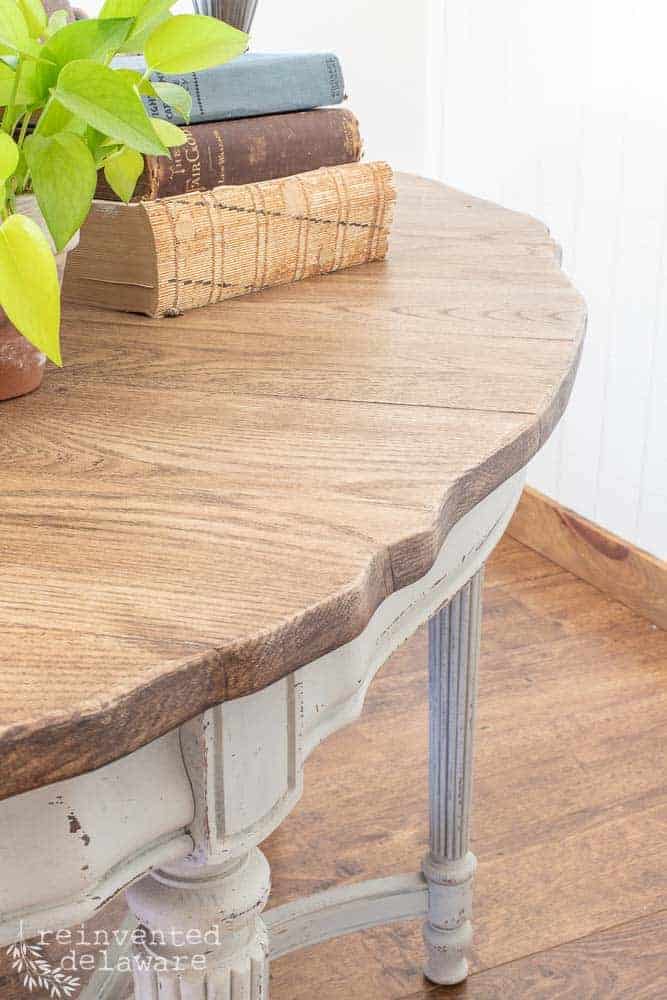
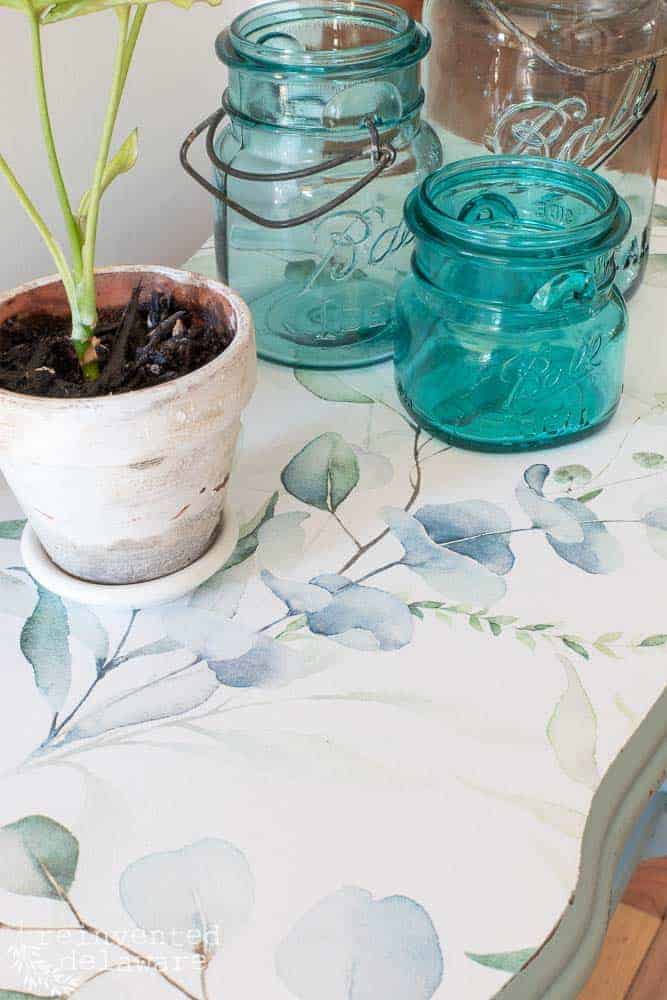
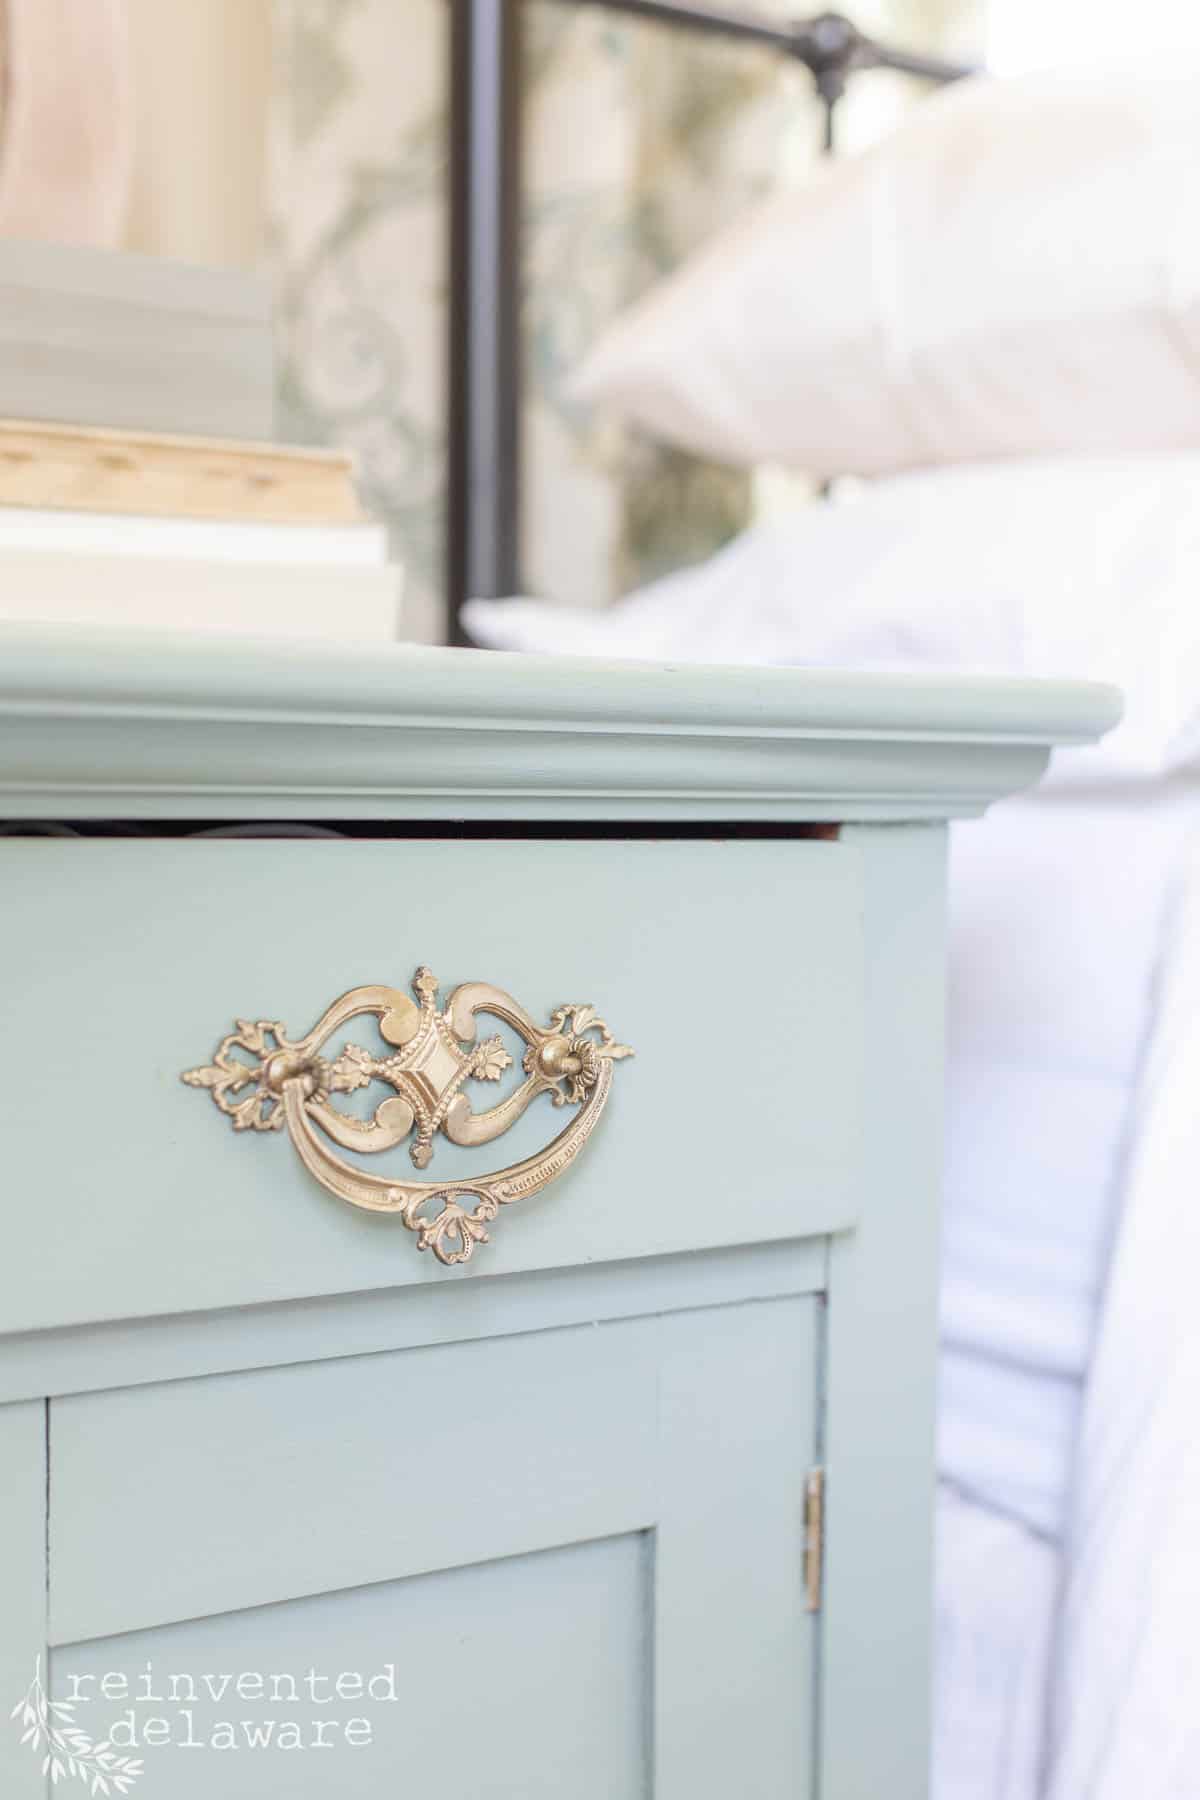
apply stain or paint
This is the part of the process that many of us look forward to! Changing the color of the furniture piece can be done with wood stain and paint color. The choice is yours!
You may choose to leave the piece in its natural wood tone and be happy with a clear coat. You can choose between flat, satin, or high gloss clear coats. Each finish will give a different look. I prefer a flat clear coat because it provides the durability of a top coat but offers the look of a hand-waxed finish. Satin clear coat will give a bit of a sheen and of course, high gloss is very shiny.
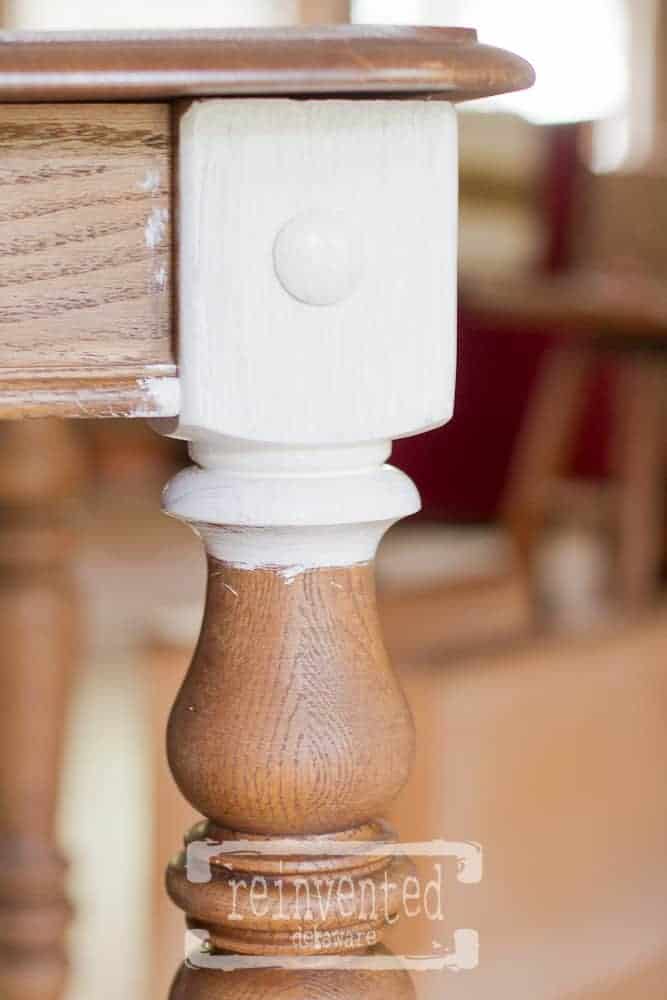
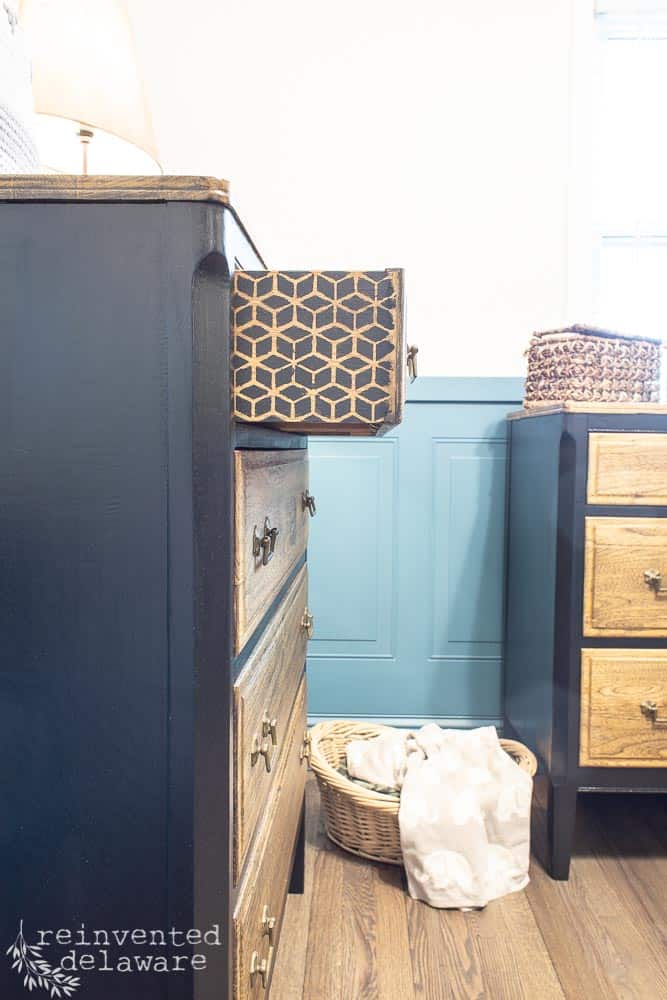
You may choose to paint the piece. When choosing the color for the furniture, consider the color scheme of the room it will live in. A bright color will offer a bold statement for the room while a neutral color will blend in softly with the space.
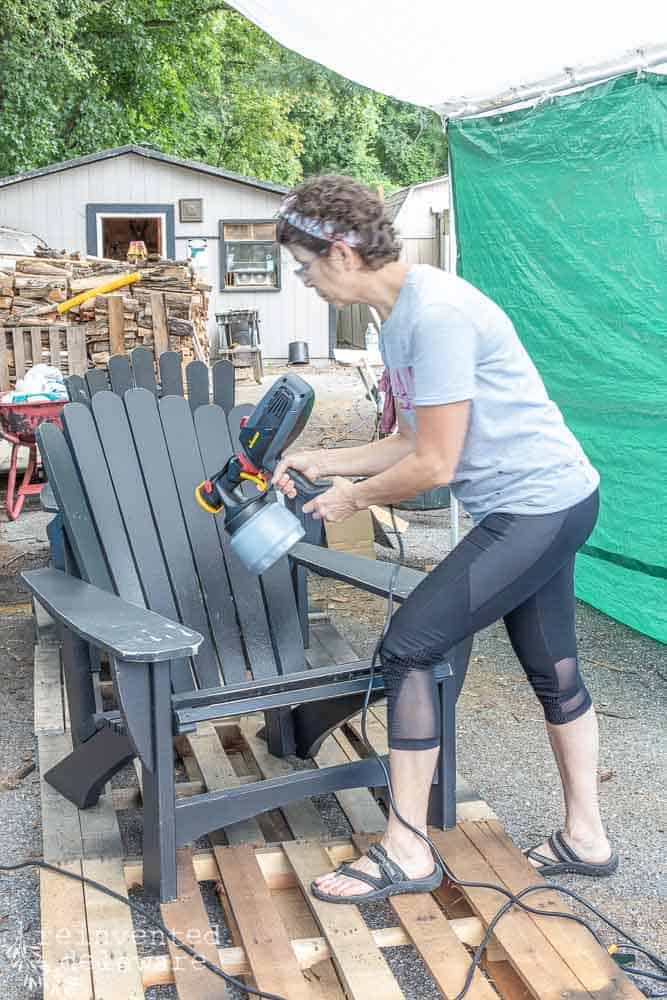
Apply the paint with a paintbrush or a paint sprayer. Some companies offer high-quality spray paint in a can, although I am not a fan of spray paint for furniture. Test the product on scrap wood before you apply it to an antique furniture piece to see if you like it.
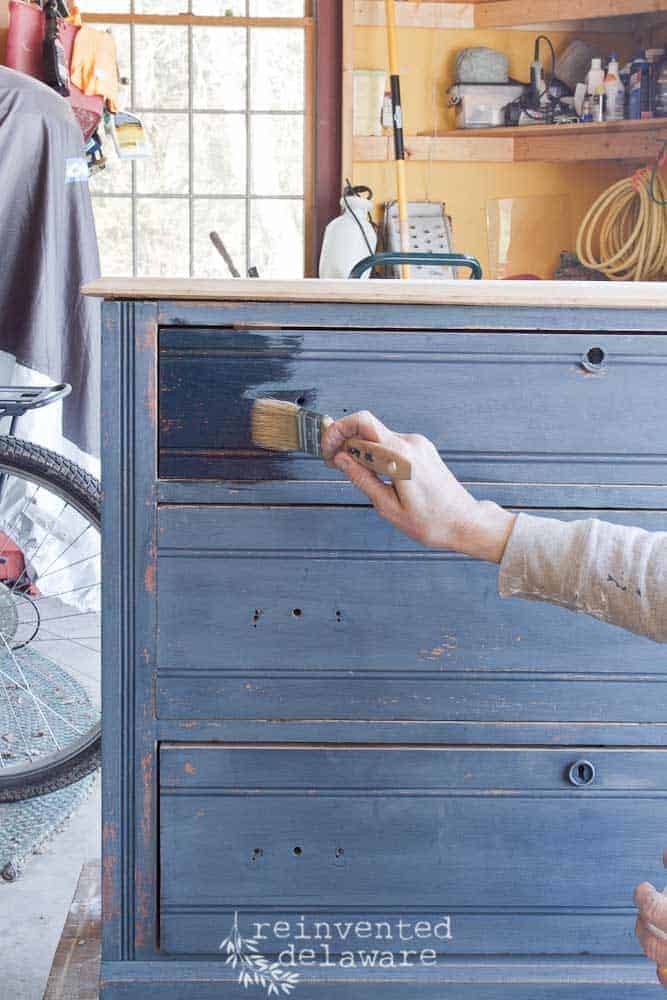
The first coat of paint will always look terrible, so be prepared to expect that. The second coat (and possibly the third coat) will start to look more like the final result you are aiming for. Take your time and don’t rush the process!
If you choose to paint the piece with a paintbrush, there are many paint techniques. Search YouTube for “paint techniques for furniture” for great inspiration in the many methods of furniture painting!
Check the brand of paint you are using to see if it needs to be sealed with a clear coat like a water-based topcoat. or clear wax. Many furniture paints need to be sealed. Some pieces might only need a protective top coat depending on the everyday wear and tear the piece will endure.
thanks for being here!
I hope you are enjoying this project! Let me know if you have any questions. Or leave me a comment to tell me about your project and ideas!
thanks, Cindy 😀

care for your refinished furniture
In my years of experience with painting many many pieces of furniture, I have come to realize that painting a piece of furniture is a labor of love. When you refinish a furniture piece, you will feel the same!
So let’s take care of all of that hard work! Never, never, never use canned furniture polish on your piece of furniture! Most of them contain silicone that will lay on top of your furniture and collect dust, oils, and debris in the air. The beautiful finish will not last.
Also, encourage the use of coasters if you can. If the furniture piece has been waxed, this is especially important. Moisture can seep into wax. This will leave a white blotch from the moisture. If it was sealed with a polyacrylic top coat, then you wouldn’t have to worry about that as much.
Keep the piece out of the sunshine if possible. Think about placement in the room and try to avoid a brightly lit window. Over time the sun can bleach the furniture and dry out the wood.
Most of all, enjoy your gorgeous piece of refurbished piece of furniture in your home! You’ve done a lot of work to restore a piece of history and you want it to last for the next generation!
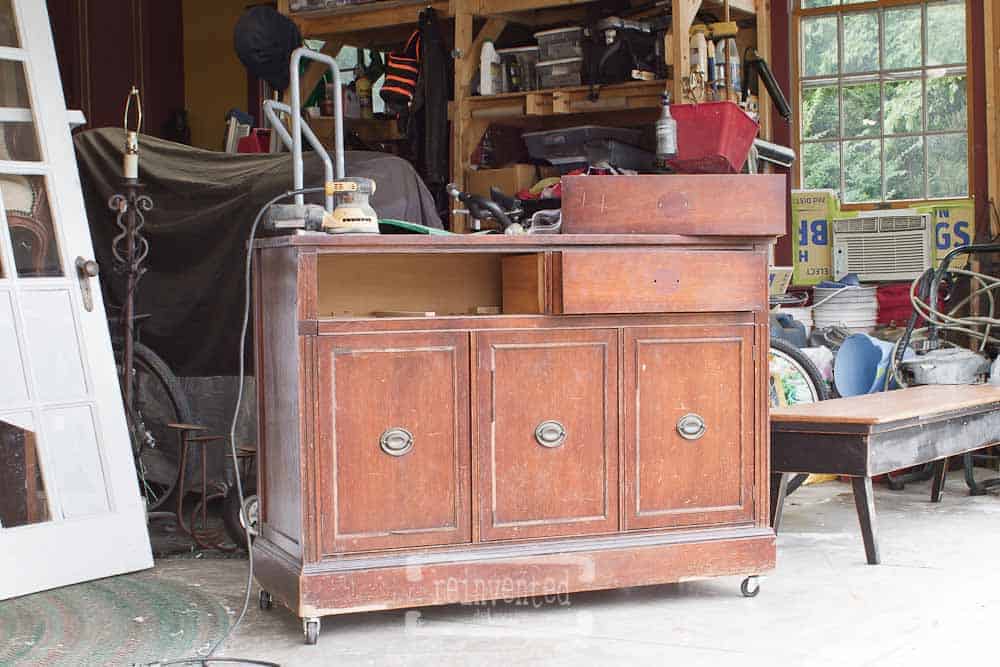
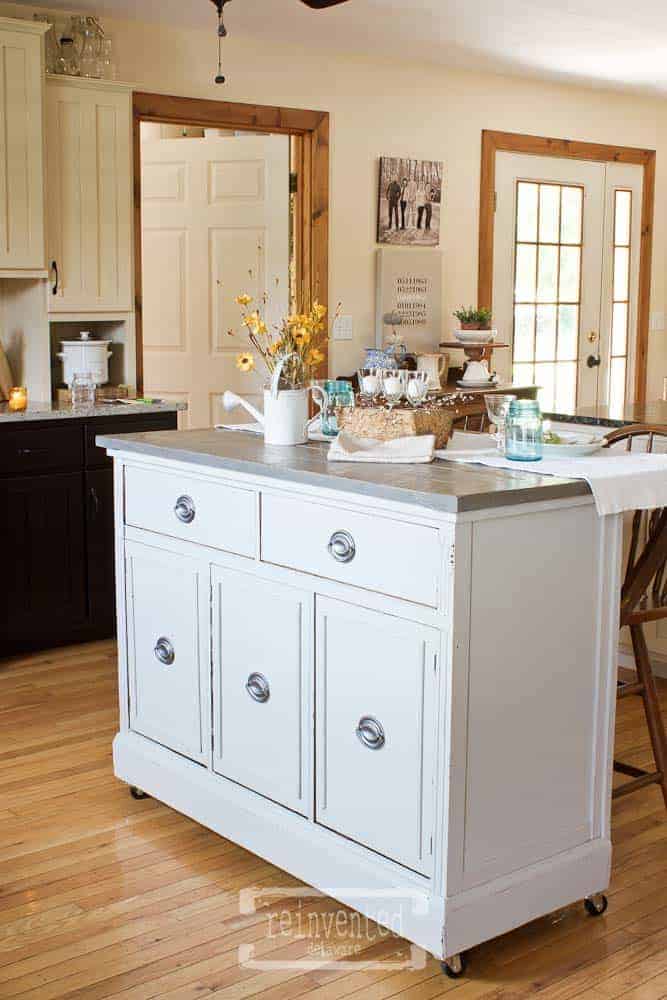
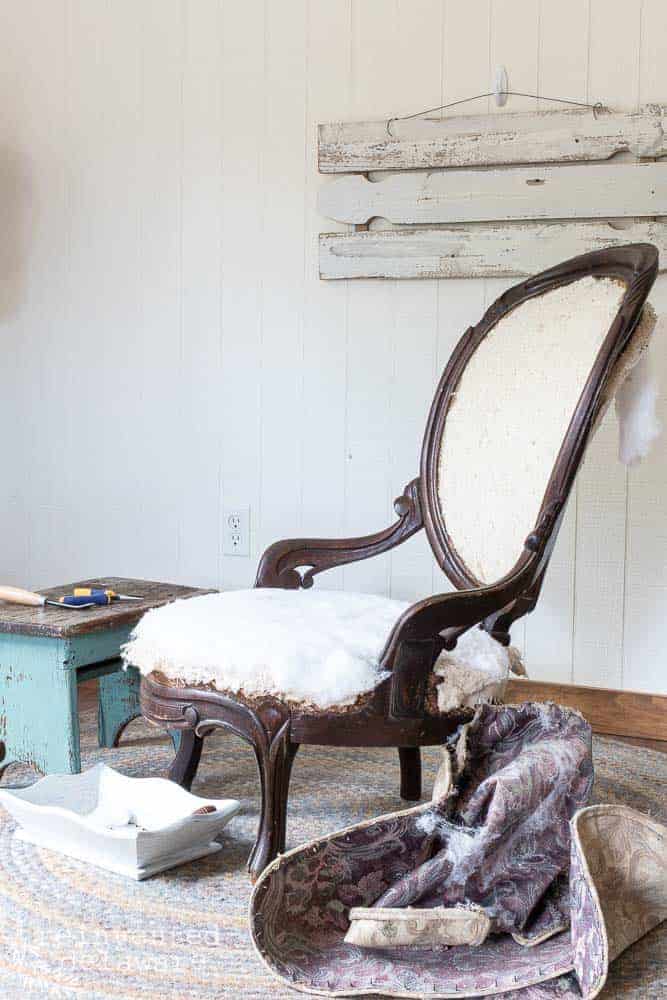
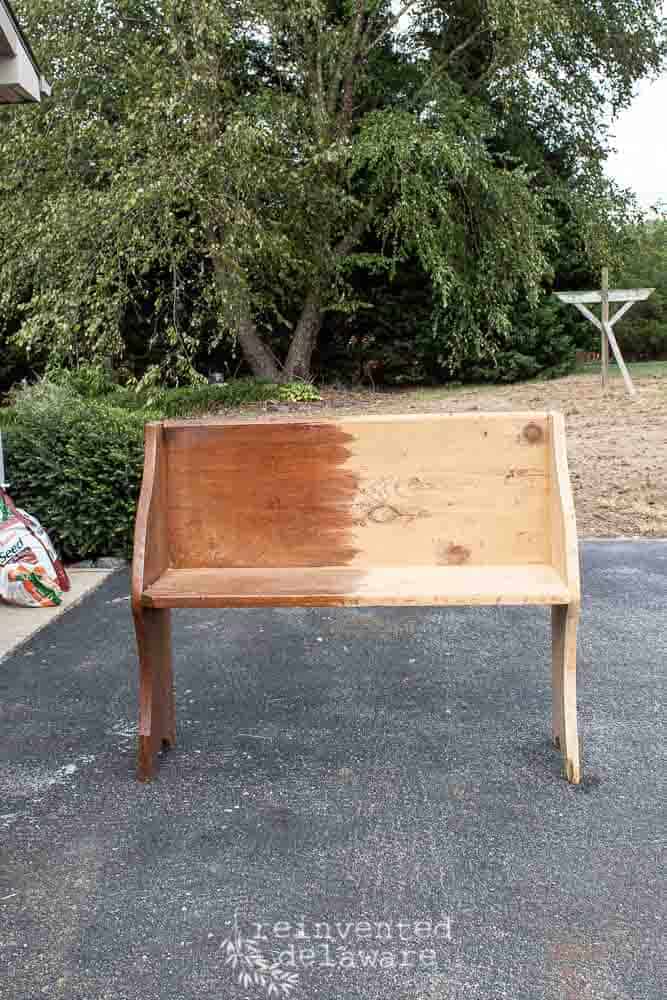
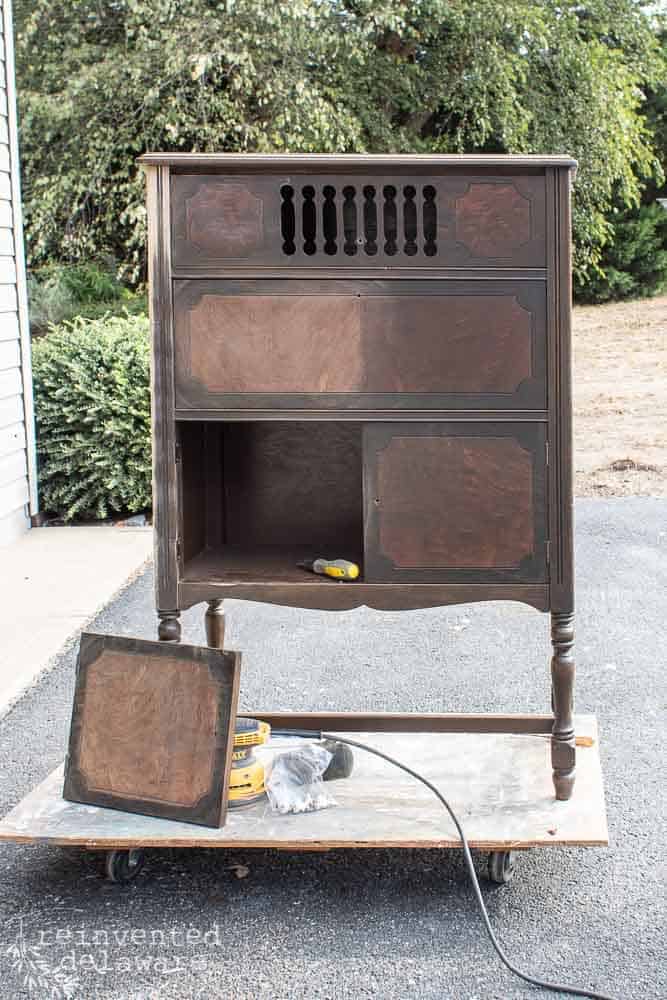
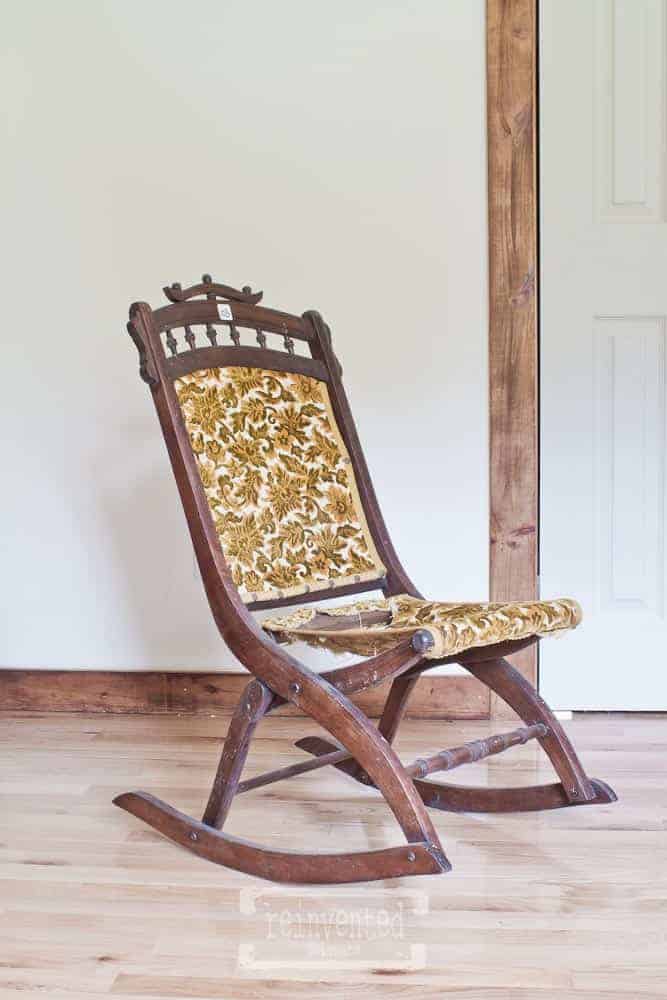
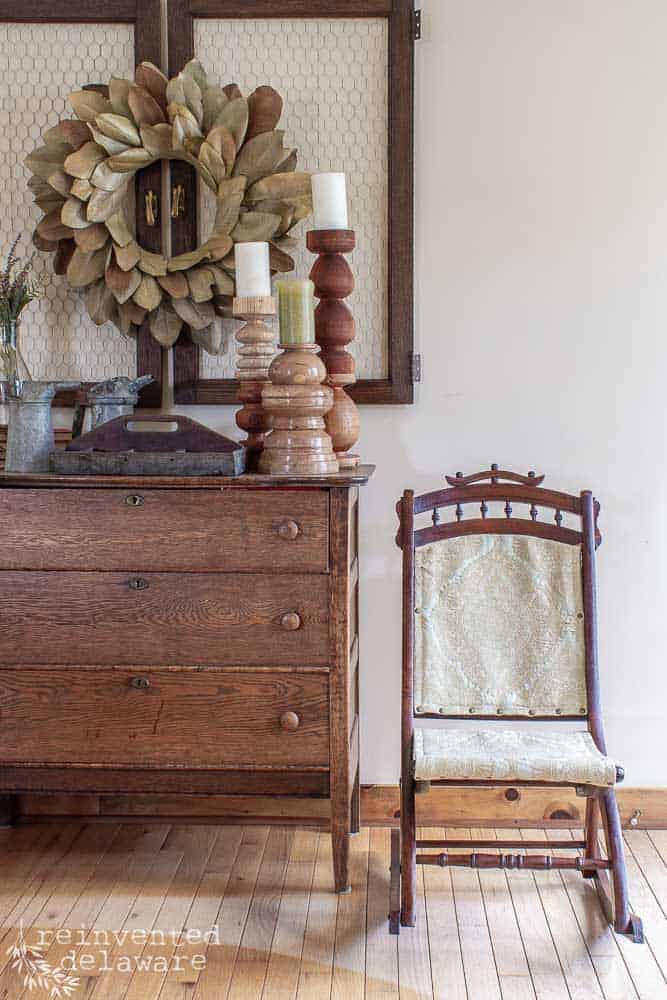
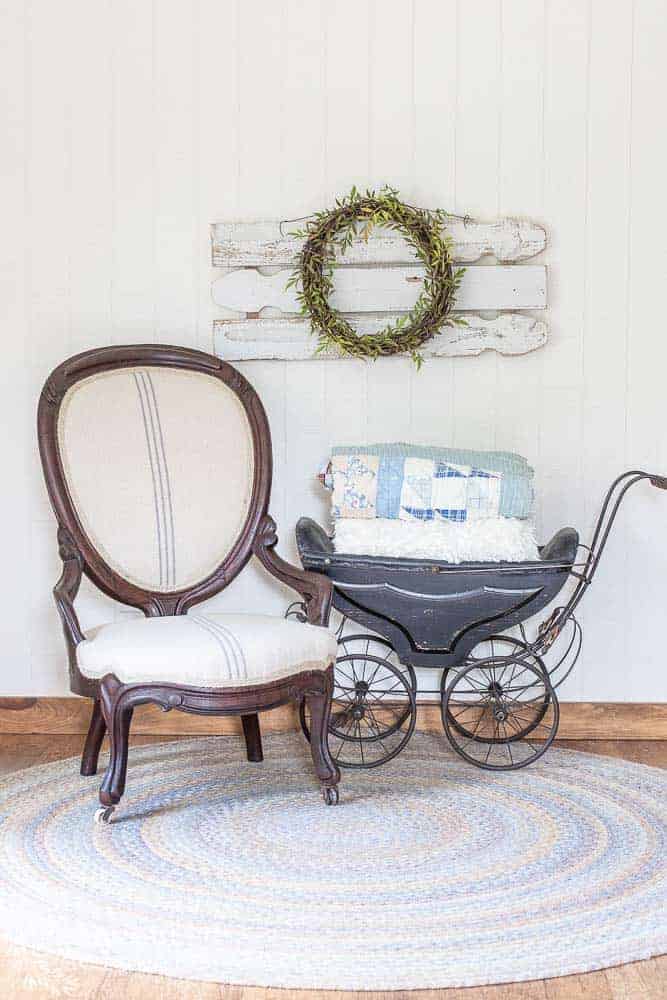
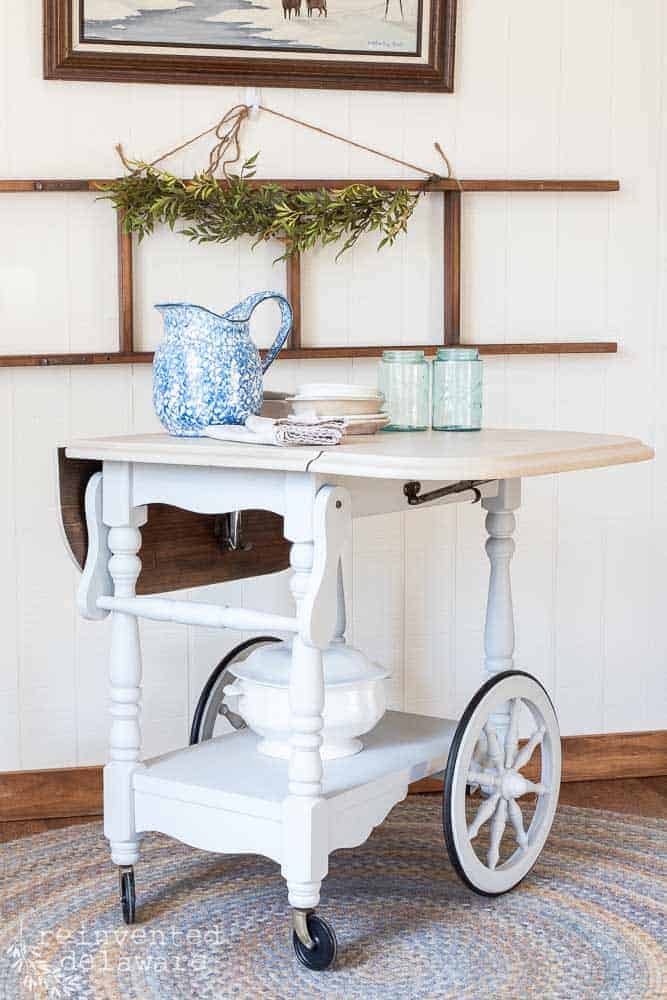
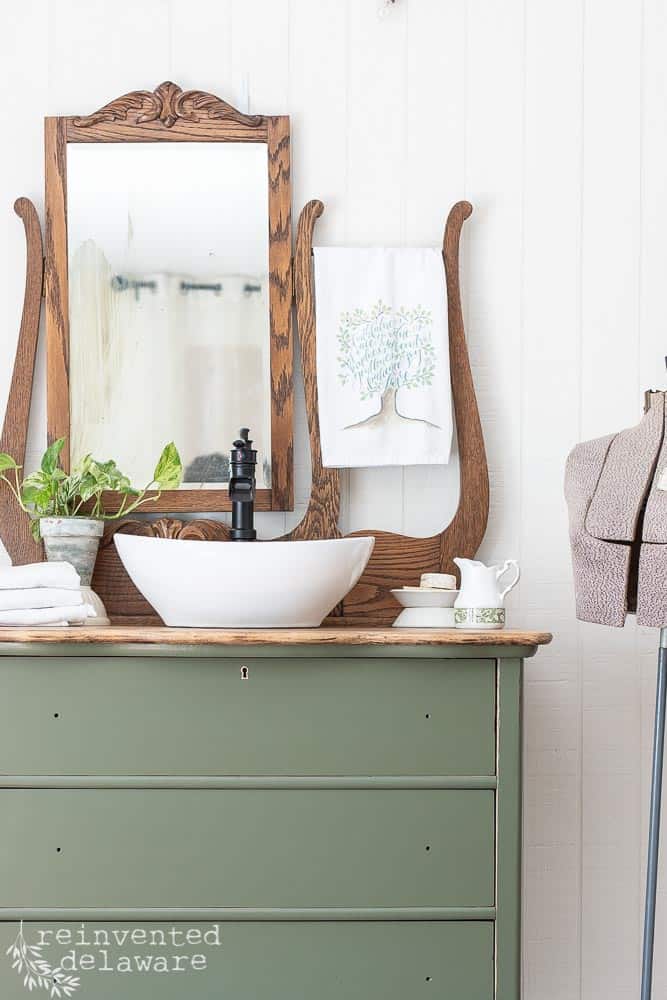
more before, during, and after pics!
You’ve seen a sampling of our work since we started blogging. There were many more projects completed before we started sharing here on Reinvented Delaware!
Here are more before, during, and after images showing how to refurbish and refinish furniture. Each image is linked to the original post.
Feel free to tap any of the images to see more of the project!


Thanks for joining our journey!
Thanks so much for joining us for this post! Join our journey so you don’t miss any of the fun projects, tutorials, and inspiration that we share with you each week! You can follow us on Instagram, Facebook, and YouTube. We share even more inspiration on Pinterest!
Visit my Amazon Storefront!
Click the button below and head over to our online shop on Amazon!


Cindy Rust
Cindy has been decorating her home with thrift store finds for 40 years. She is an avid thrift store shopper who loves to makeover the items she finds into vintage-inspired home decor and furniture. When she isn’t thrift shopping or painting a piece of furniture, you can find her making homemade butter, working in her garden, or painting with watercolors.