
How to Recover a Chair Seat | Vanity Chair Makeover
Are you wondering how to recover a chair seat? Then you have come to the right place! Let me show you how easy it is to recover a vanity chair seat with a creative twist!
The following post may contain affiliate links. That means if you click and then buy something, I will make a small commission at no additional cost to you! Thank you for supporting my blog. full disclosure here.

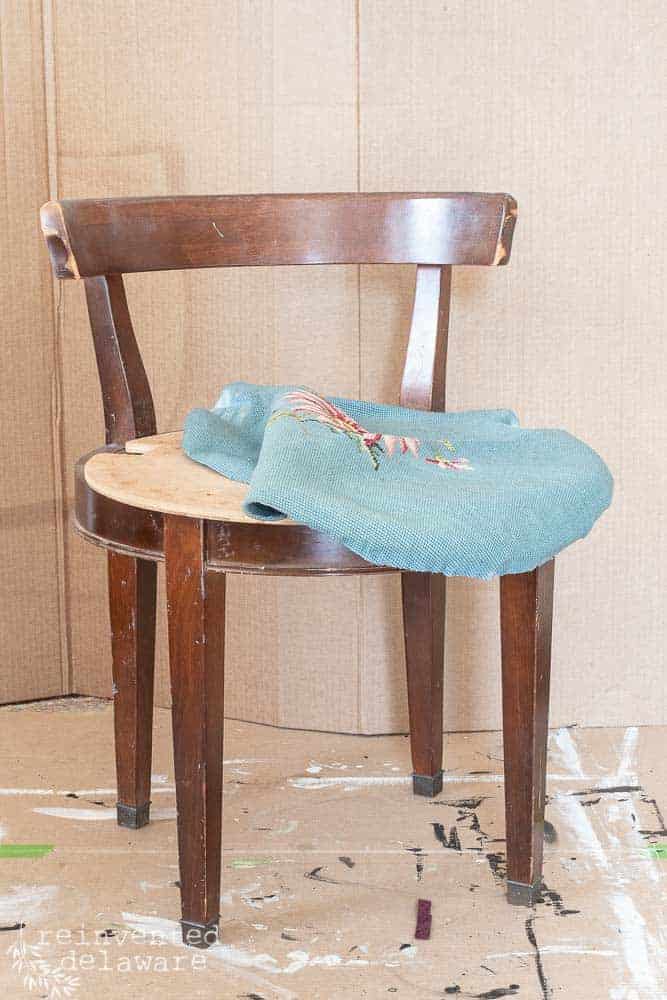
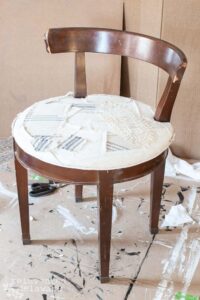
where we started
Let me refresh your memory of this adorable little vanity chair.
Girl, I hear you now…
“Well, it’s kinda cute but it won’t go with my decor. And it’s kinda outdated Cindy…..”
That’s what I thought when I first saw it. But I decided to look past the surface and see the potential this sweet little chair had.
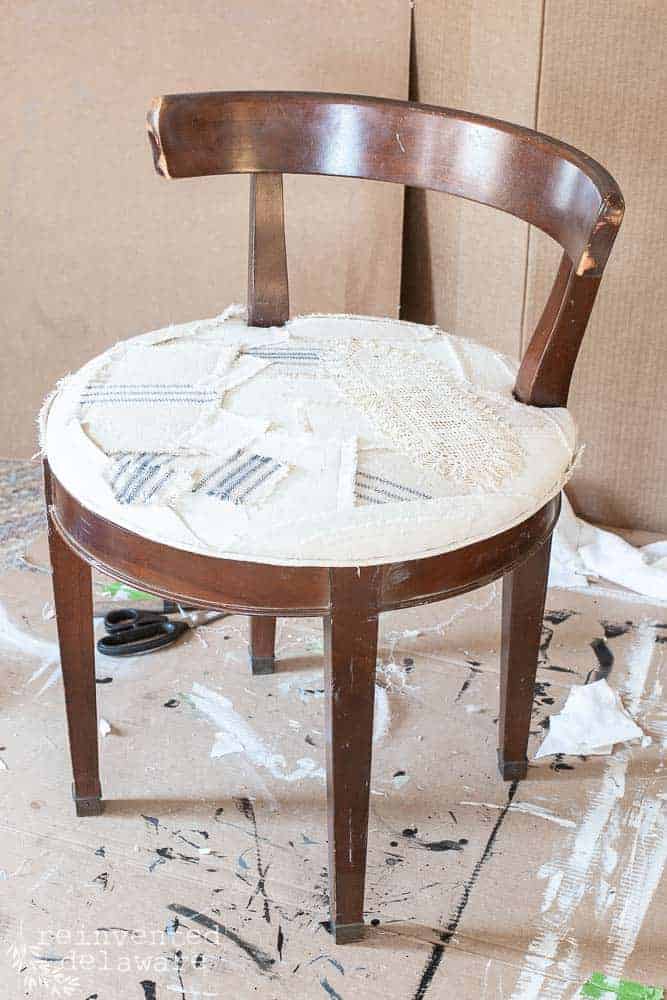
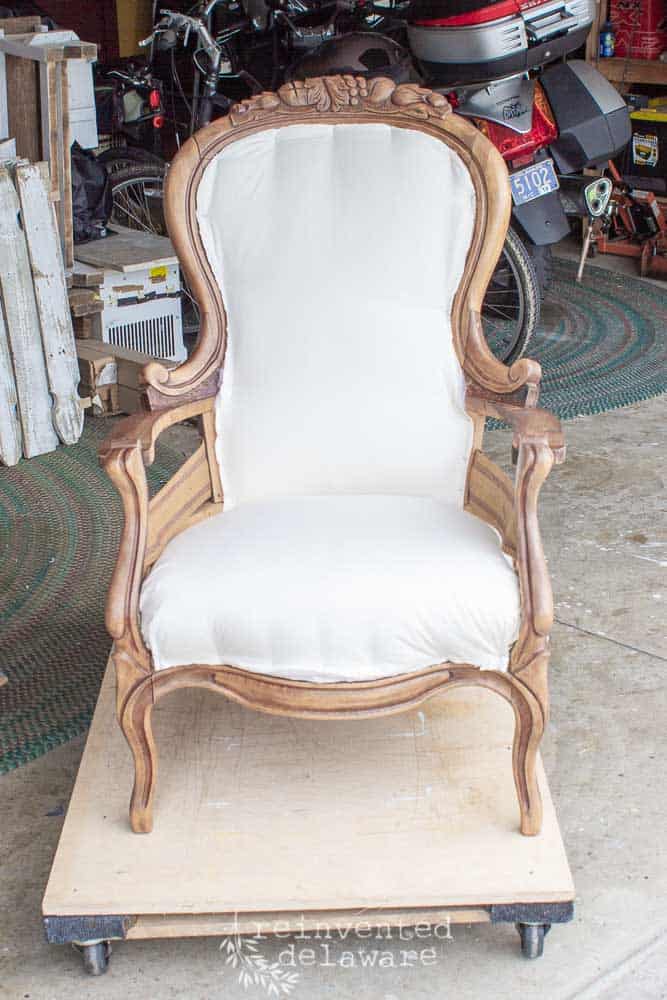
where we left off….
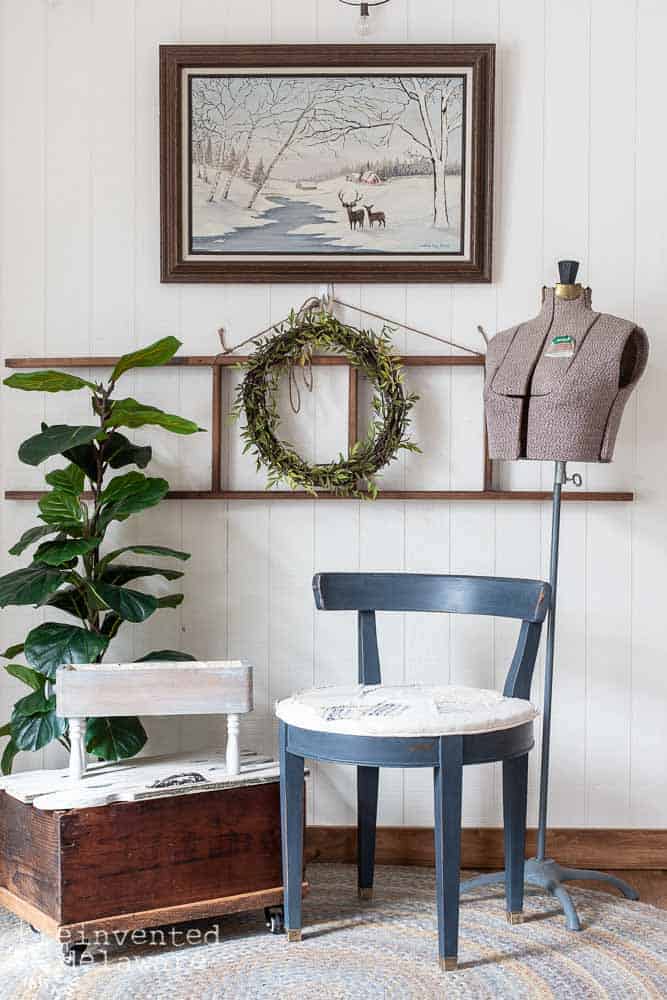
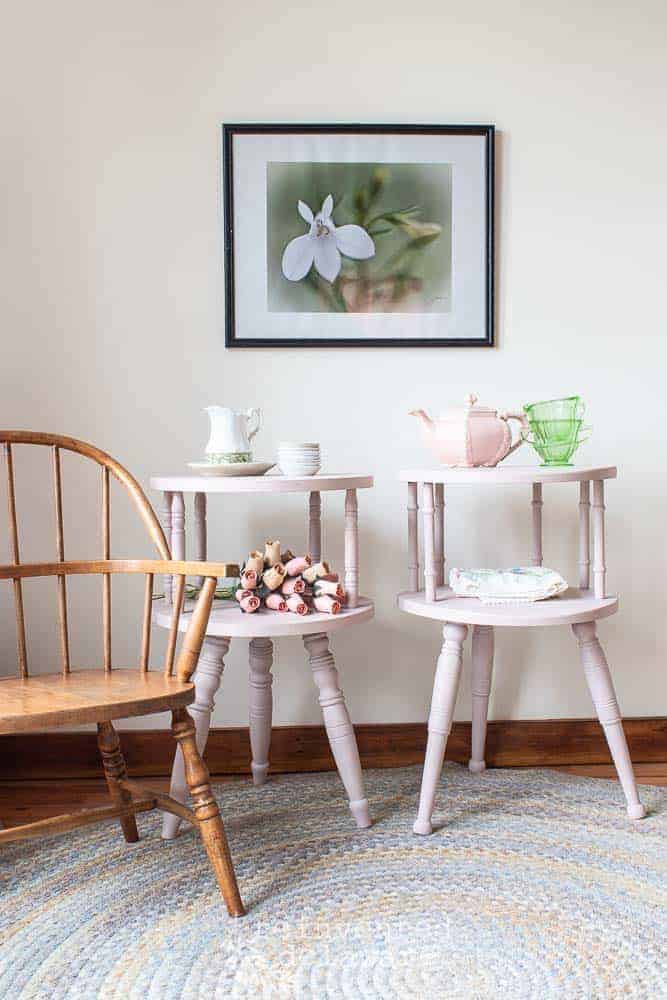
And then it struck me. I could recover the chair seat! That would make a huge difference in the look of this vanity chair!
And so, that’s what I did!
paint the wood
Then I decided to freshen up the wood finish on this adorable chair.
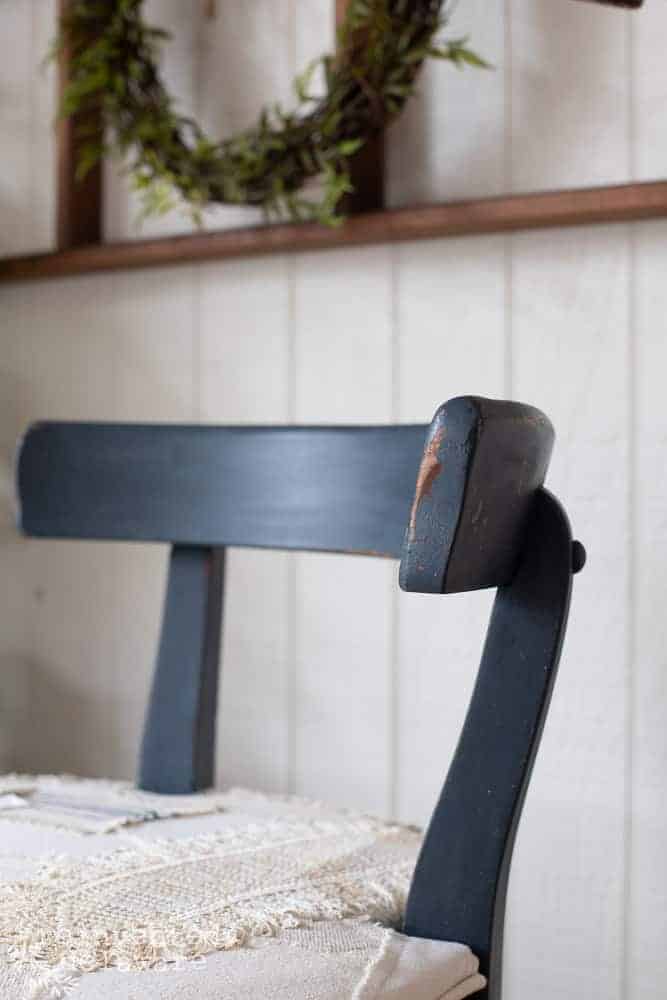
The choice of paint color was easy. The paint needed to coordinate with the blue grain sack stripe in some of the patches of fabric.
Miss Mustard Seed Milk Paint in Artissimo would go perfectly with the blue striped fabric!
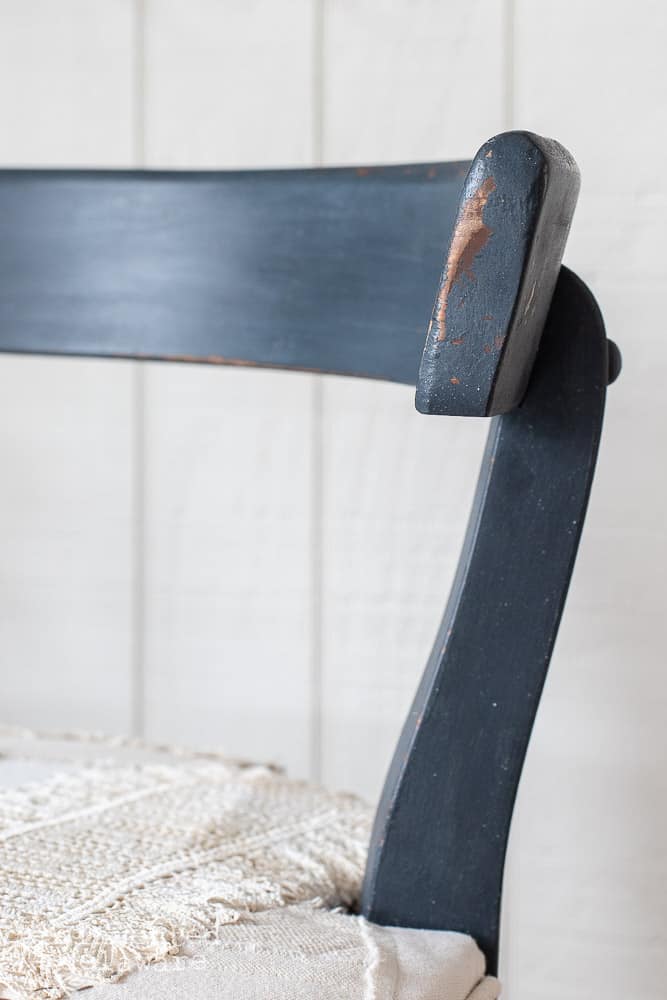
The paint distressed and chipped away in all the right places, don’t you think?
The paint was sealed in MMS Hemp Oil. The oil cured for about 2 weeks before I reattached the recovered chair seat. Letting it cure prevents the oil from soaking into the fabrics.
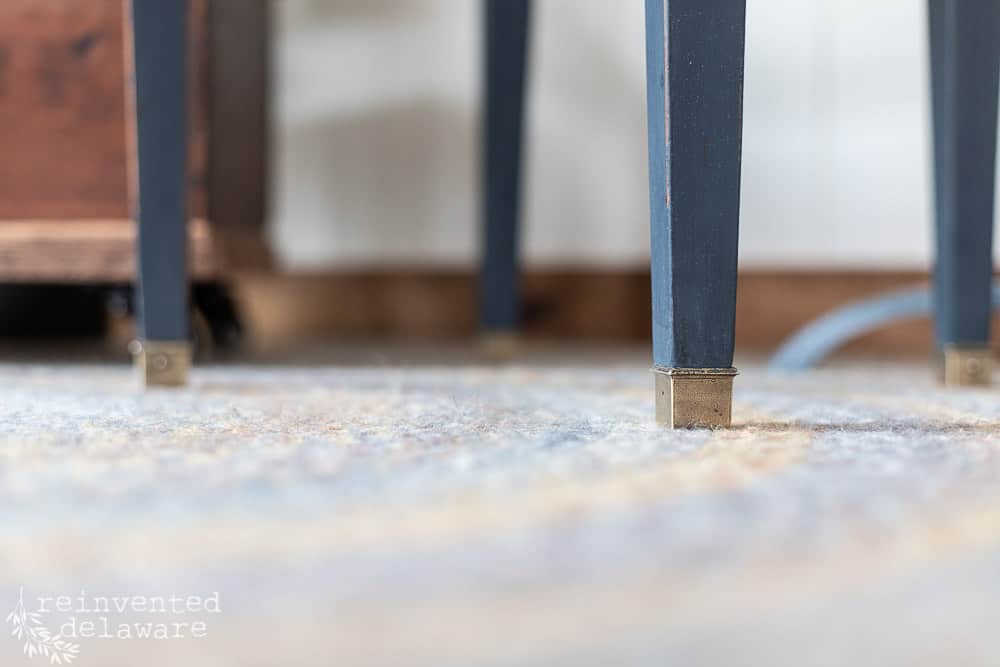
How about those sweet brass feet? I used a sanding sponge in ultra-fine by Surf Prep on the brass. It polished all the yuck off.
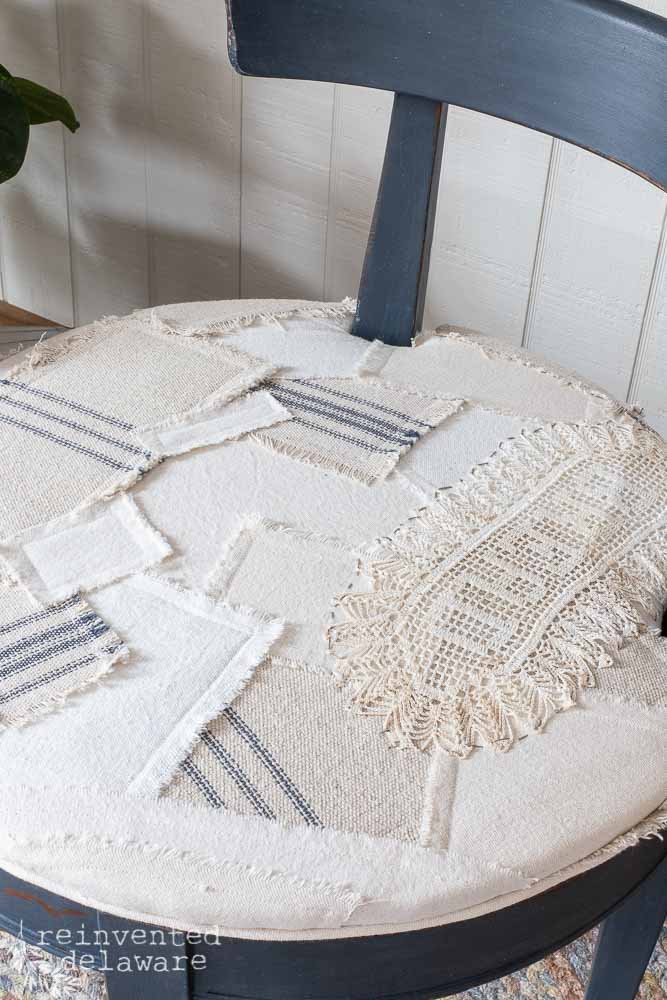
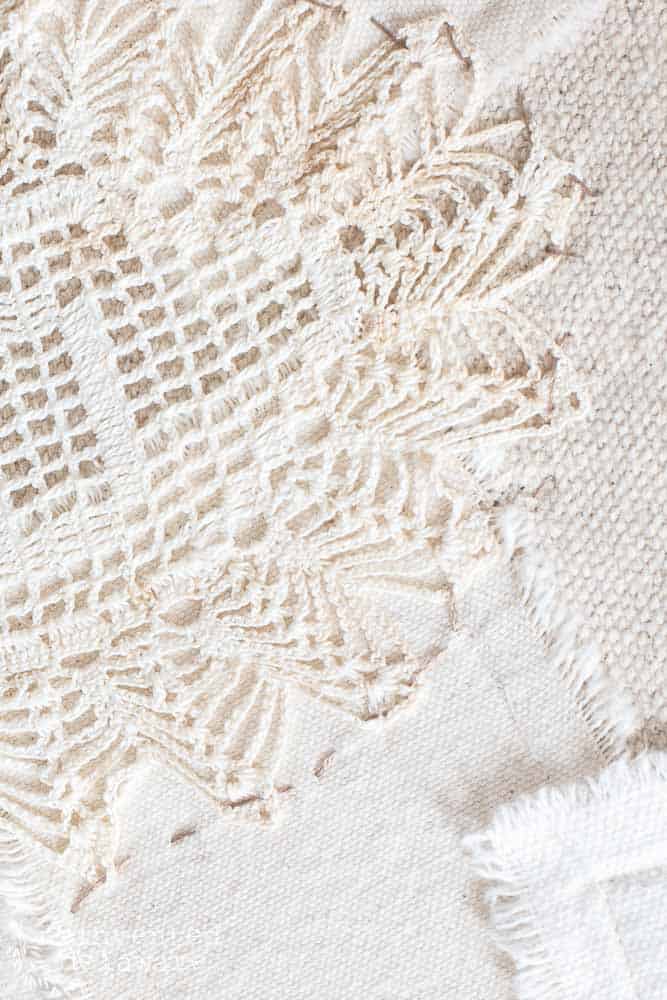
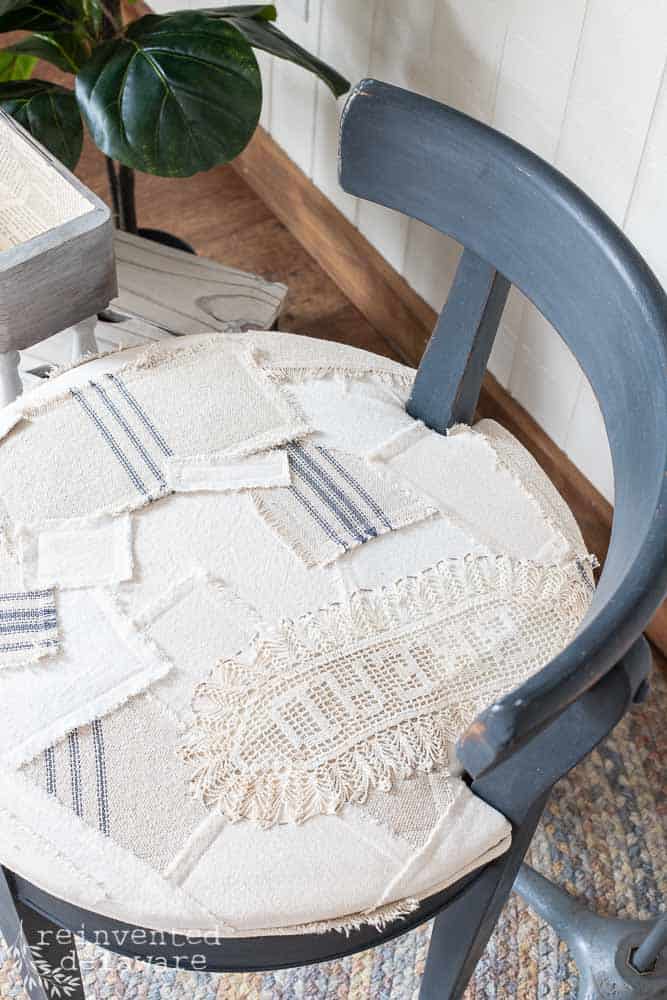
scrap upholstery
My sewing room is full of scraps of fabric left over from other projects so I decided to throw them in the mix as well.

In my last post, I showed you how to create a torn-edge look. Super easy and it really adds to the textural quality of the chair.
Just another way to recover a chair seat!
happy accident
My fabric scrap stash even had this little gem. A handmade doily with the word ‘Bread’ stitched on it! Isn’t that the sweetest little touch??
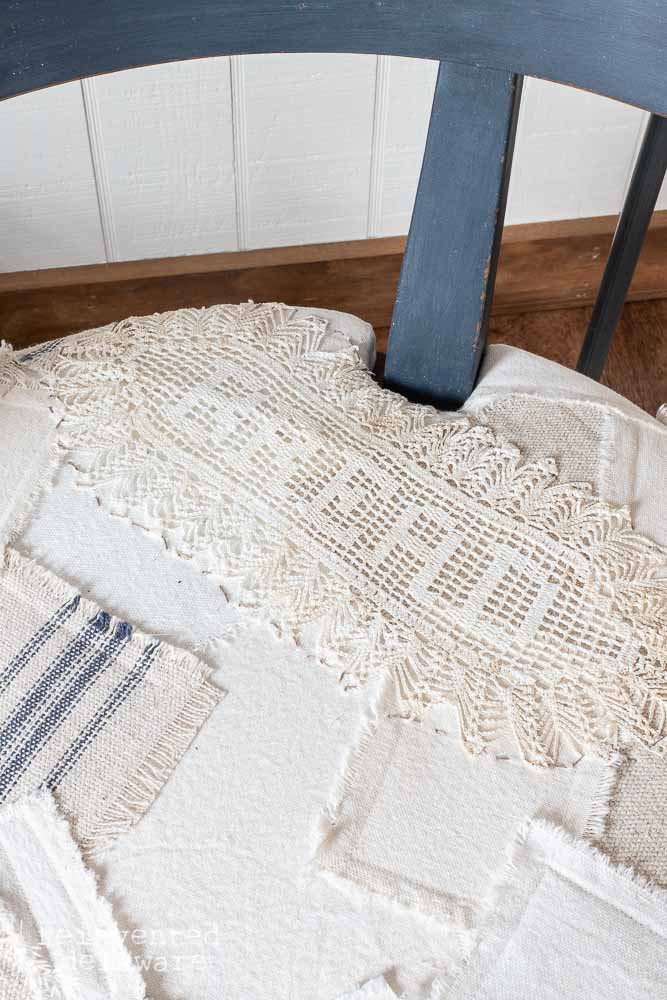
Funny story about that doily. Before I took a good look at it, I just threw it on the top and stitched it with a zig-zag stitch on the sewing machine.
Standing back to marvel at the adorableness, I realized it spelled out a word! And I had stitched it on upside down!!
The seam ripper came out of hiding and we fixed that little problem in no time!
The hand stitching that holds the doily down seems to fit this chair seat better anyway.
That was a happy accident!
outside of the box
It will be interesting to see who purchases this chair and how they decide to use it in their home.
It certainly is unique and I am sure someone will fall in love with it!
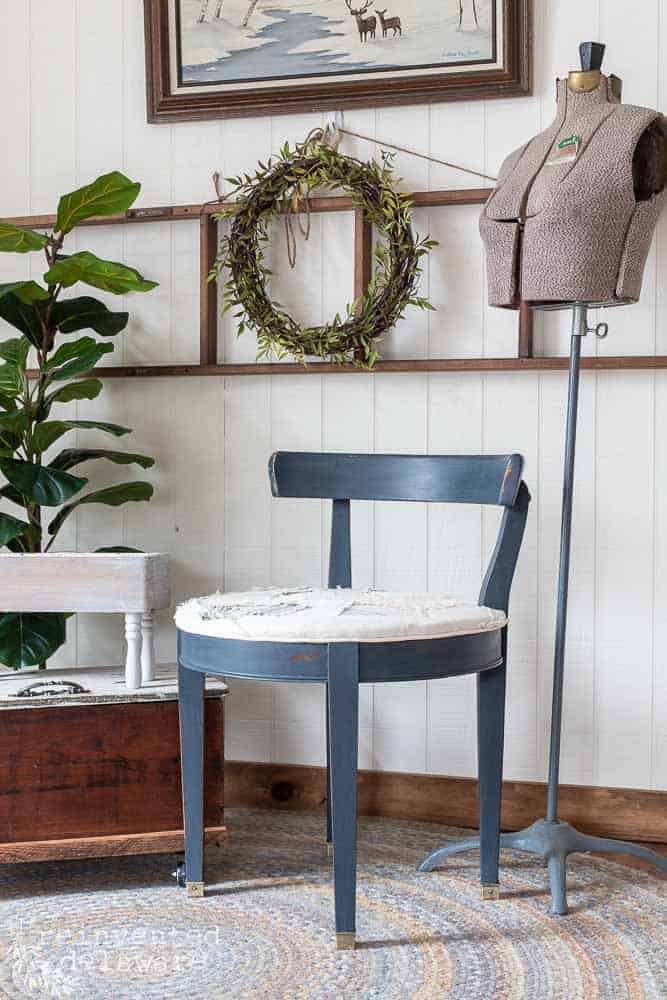
If the chair stayed at my house (and it almost did!), then I would use it in a corner of a room to fill an empty space.
It could be pulled out at a moment’s notice for extra seating.
It would also be adorable with a vintage silver round tray on top and use it as a plant stand! Let’s think outside of the box with these fun vintage pieces!
You could place it in a guest bathroom with a stack of fluffy towels for your guests!
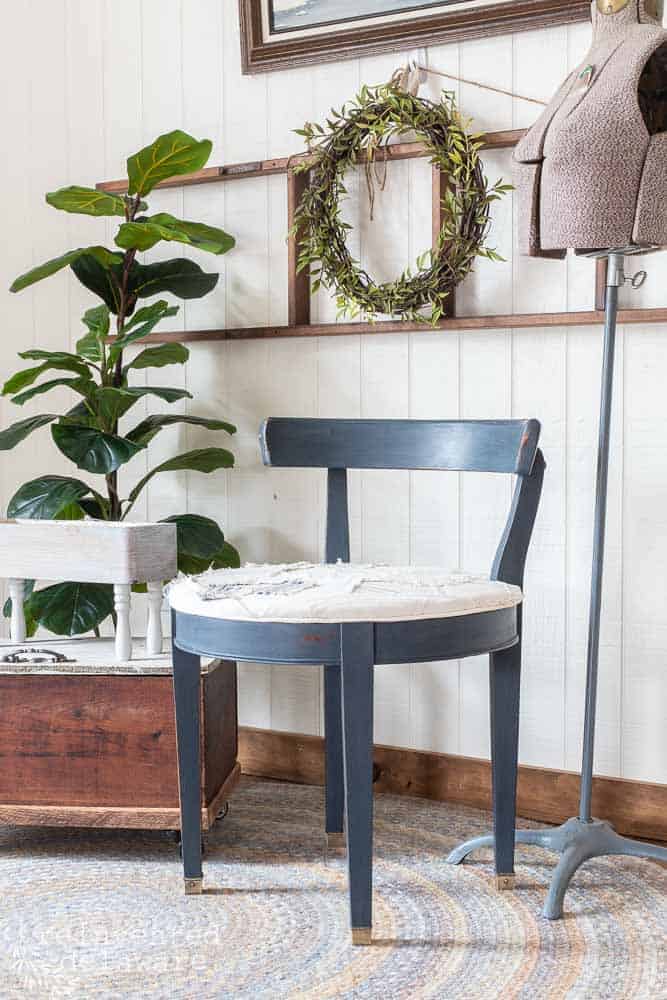
before, during, after
Here’s a quick before, during, and after. Such an easy way to recover a chair seat, don’t you think?


click below for part one of this chair makeover

recover a chair seat
Hope you enjoyed this tutorial and that you learned how to recover a chair seat with a twist!
Let’s pretend this chair is in your home, how would your use it?
join our journey
If you use this torn-edge method for a chair makeover, be sure to let me know! Tag me on Instagram or Facebook with your project!
Pin any image in this post or the last post to your how-to and DIY boards for inspiration!
Join our journey and I’ll send you this fun freebie filled with reinvented project ideas!
Until next time…..


This is so beautiful and super creative too, Cindy! I love the paint color you chose and how you gave the seat a fresh feel too. It’s fabulous! Hugs, CoCo
It was such a fun way to use scraps! Thanks for stopping by Coco!
This chair! I love how you used scrap pieces of fabric and then added the doily. I come from a long line of sewers, doers, and quilters. This chair brings back so many memories of my Grandmother. Well done! 🙂
Thank you!! I am in good company if you came from a heritage like that! Sewing has been in my family since my grandmother. Thanks for stopping by Do!!
Hi Cindy, This looks fabulous! I really love how you did the seat–pinned! Thanks for sharing at Vintage Charm!
Thanks so much, Cecilia! I appreciate the encouragement!😊