DIY Easter Decorations: Step By Step Tutorials
Get ready for Easter with these easy to make and affordable DIY Easter decorations! Follow our step by step tutorials to create a beautiful and festive atmosphere in your home.

Spring is just around the corner, and what better way to welcome the season than with some adorable, budget-friendly Easter decorations you can make yourself?
From upcycled picture frames featuring adorable bunny art to creative pine cone flower bouquets, these projects are not only fun to create but will add a personal touch to your Easter celebrations.
traditional Easter decorations
What are some of the traditional Easter decorations you have enjoyed over the years? We keep the Easter decor simple around here. I like to have pieces that blend right in with the spring season.
I will be sharing some of the decor ideas I have made later in this post. Please share in the comments with me the decor ideas you have! First let’s dive into this fun Peter Rabbit art work!
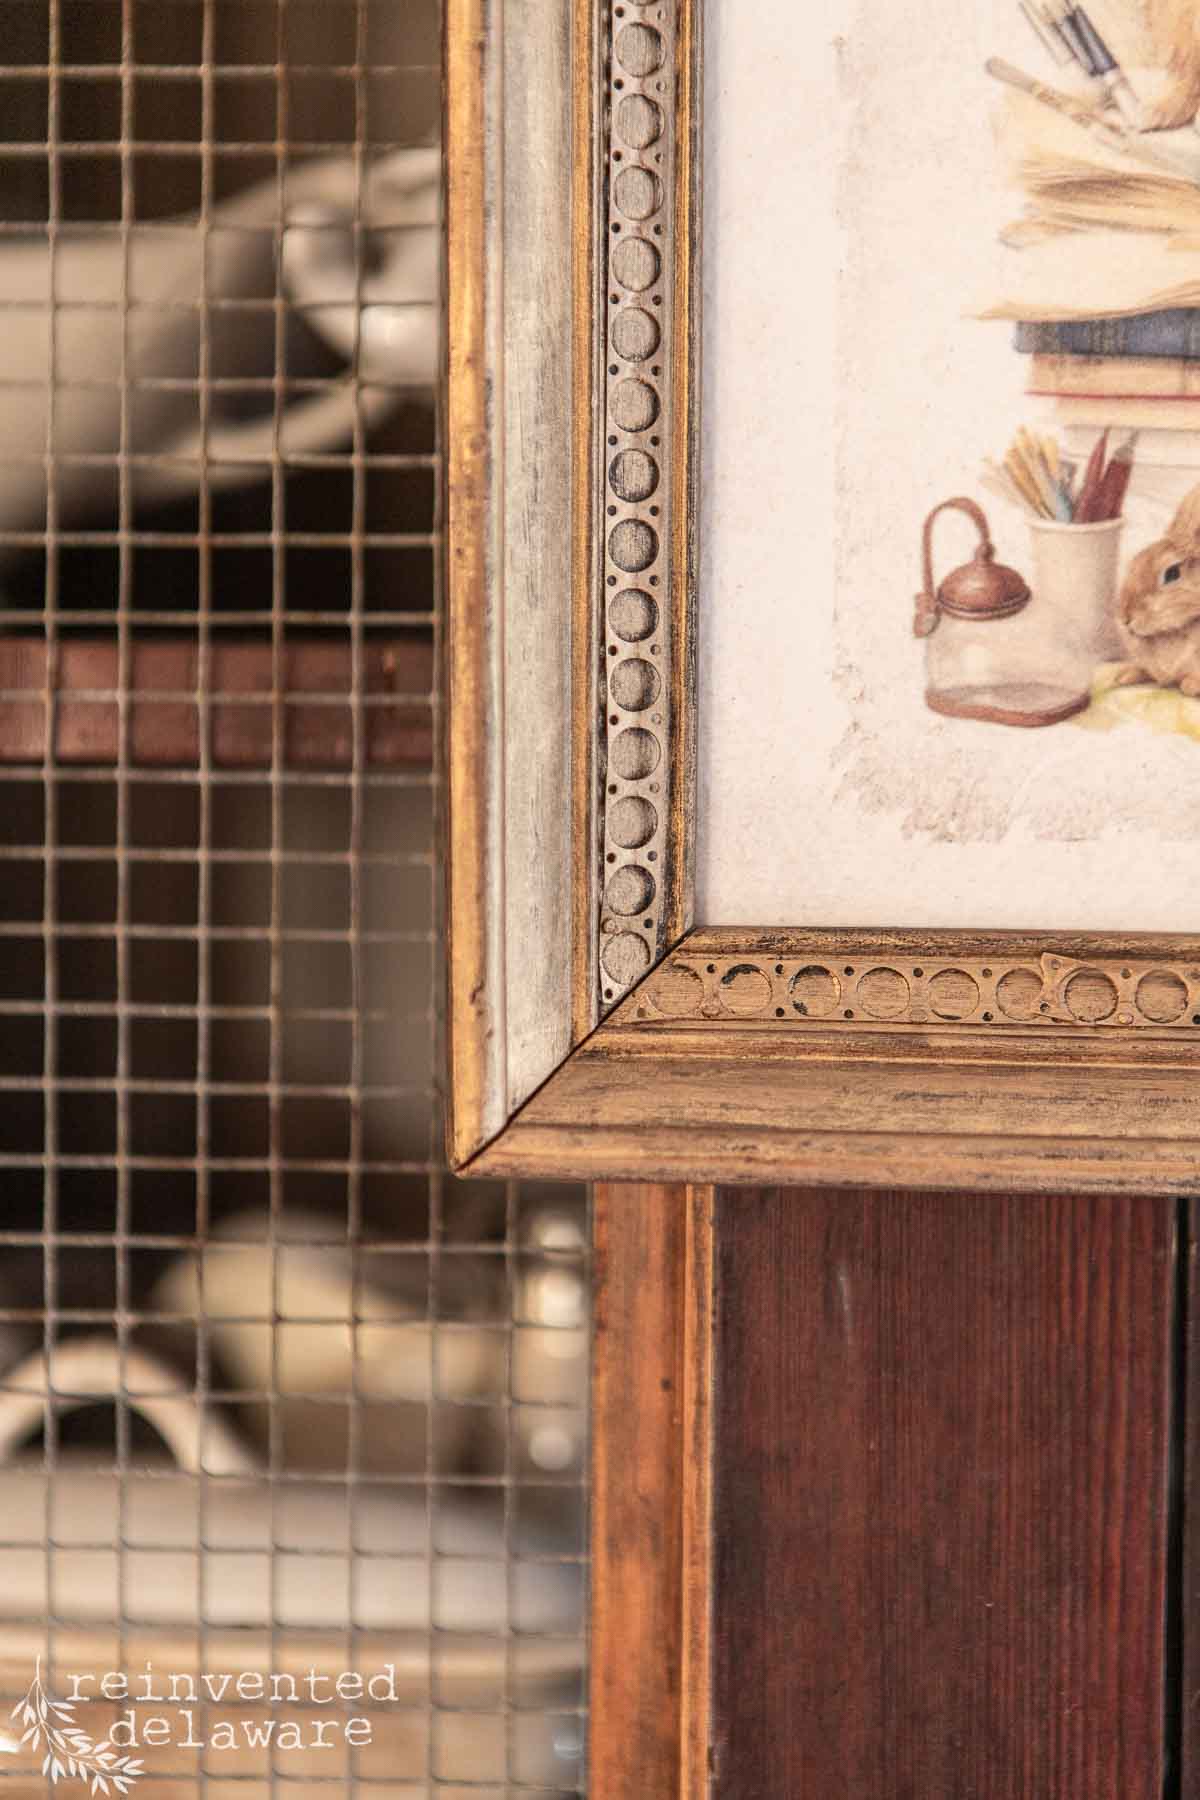
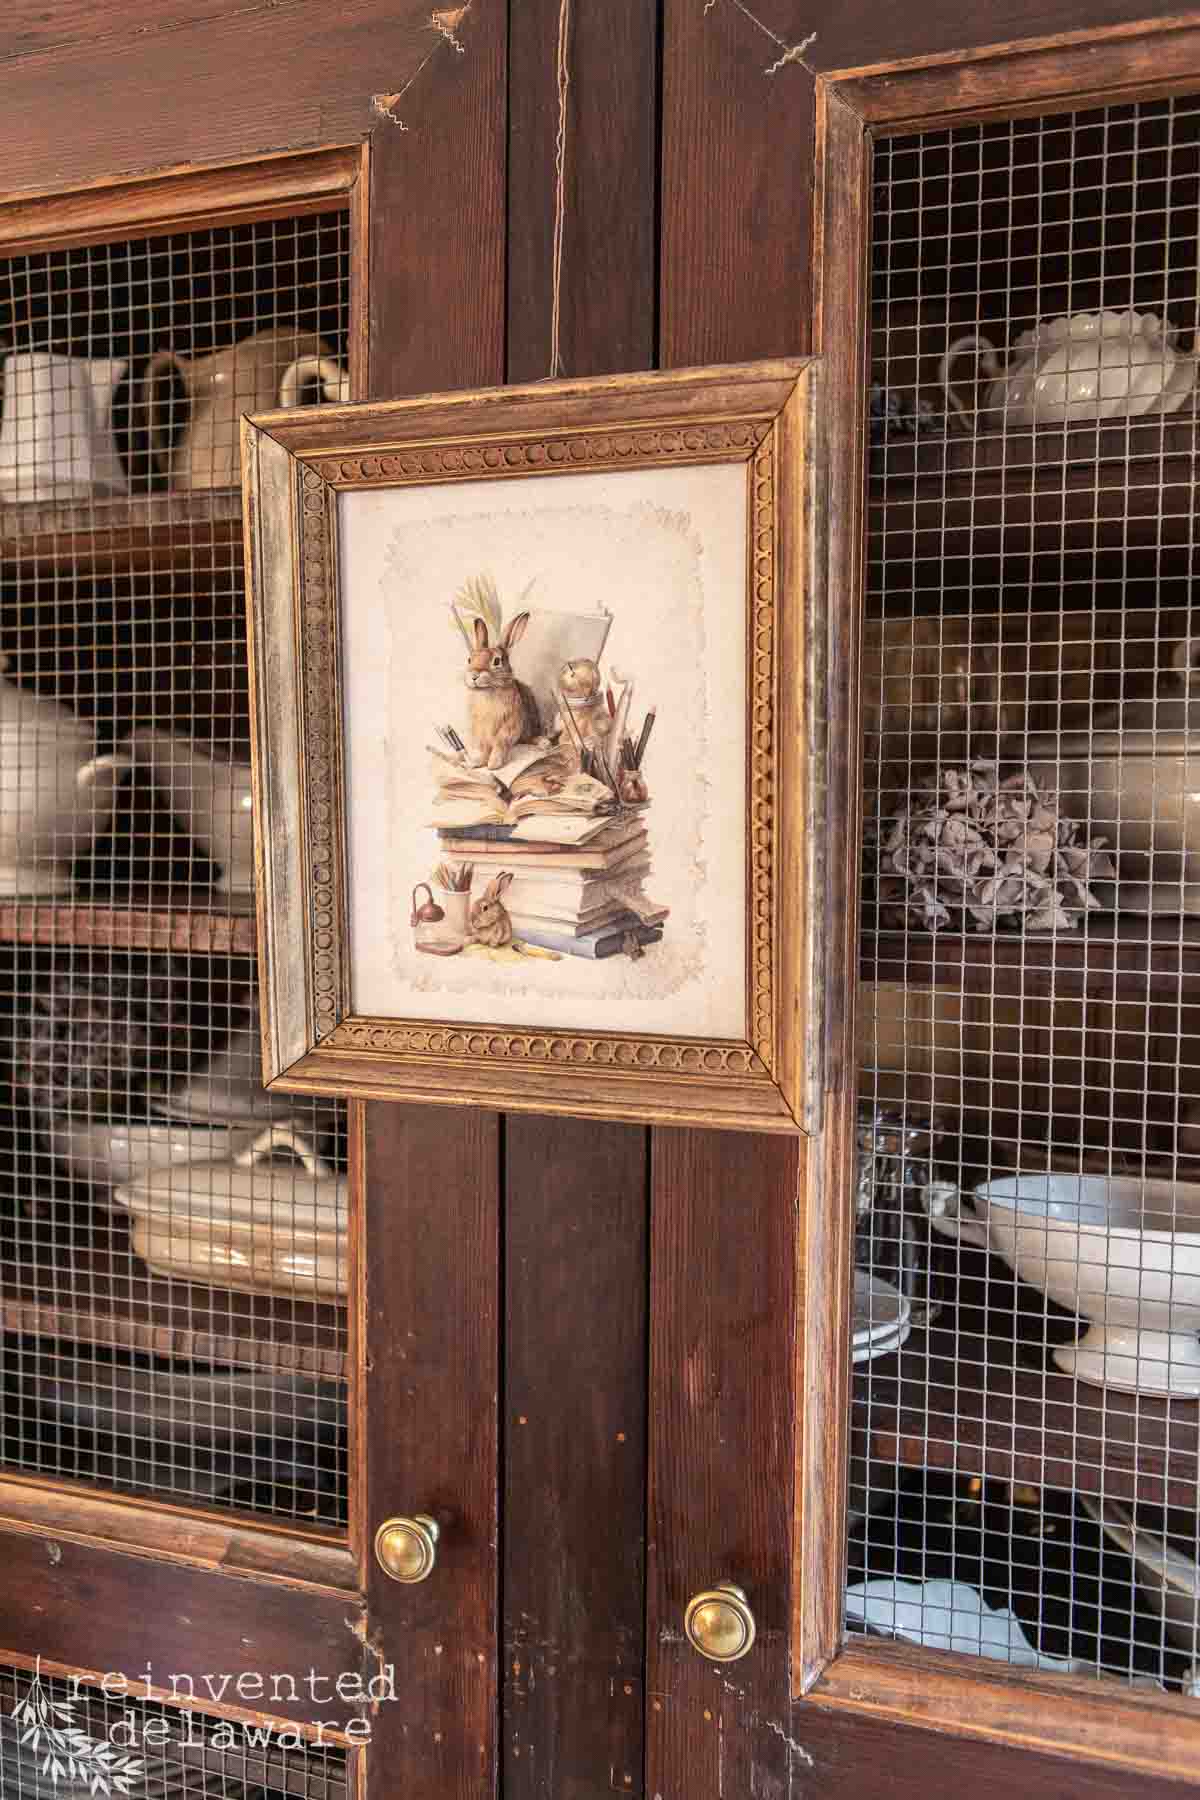
upcycled thrift store bunny art
Here are the step by step instructions for this DIY Easter craft. This project is not only for Easter but also for spring decor.

The following post may contain affiliate links. That means if you click and then buy something, I will make a small commission at no additional cost to you! Thank you for supporting my blog. full disclosure here.
supply list
If you are crafter or upcylcer like I am, then you might already have some of these items on hand. If you need any of these items, tap the name of the item to purchase! I appreciate you supporting my free blog tutorials this way.
- Easter themed decoupage paper
- watercolor paper
- paper cutter
- Clear Top Coat in Flat
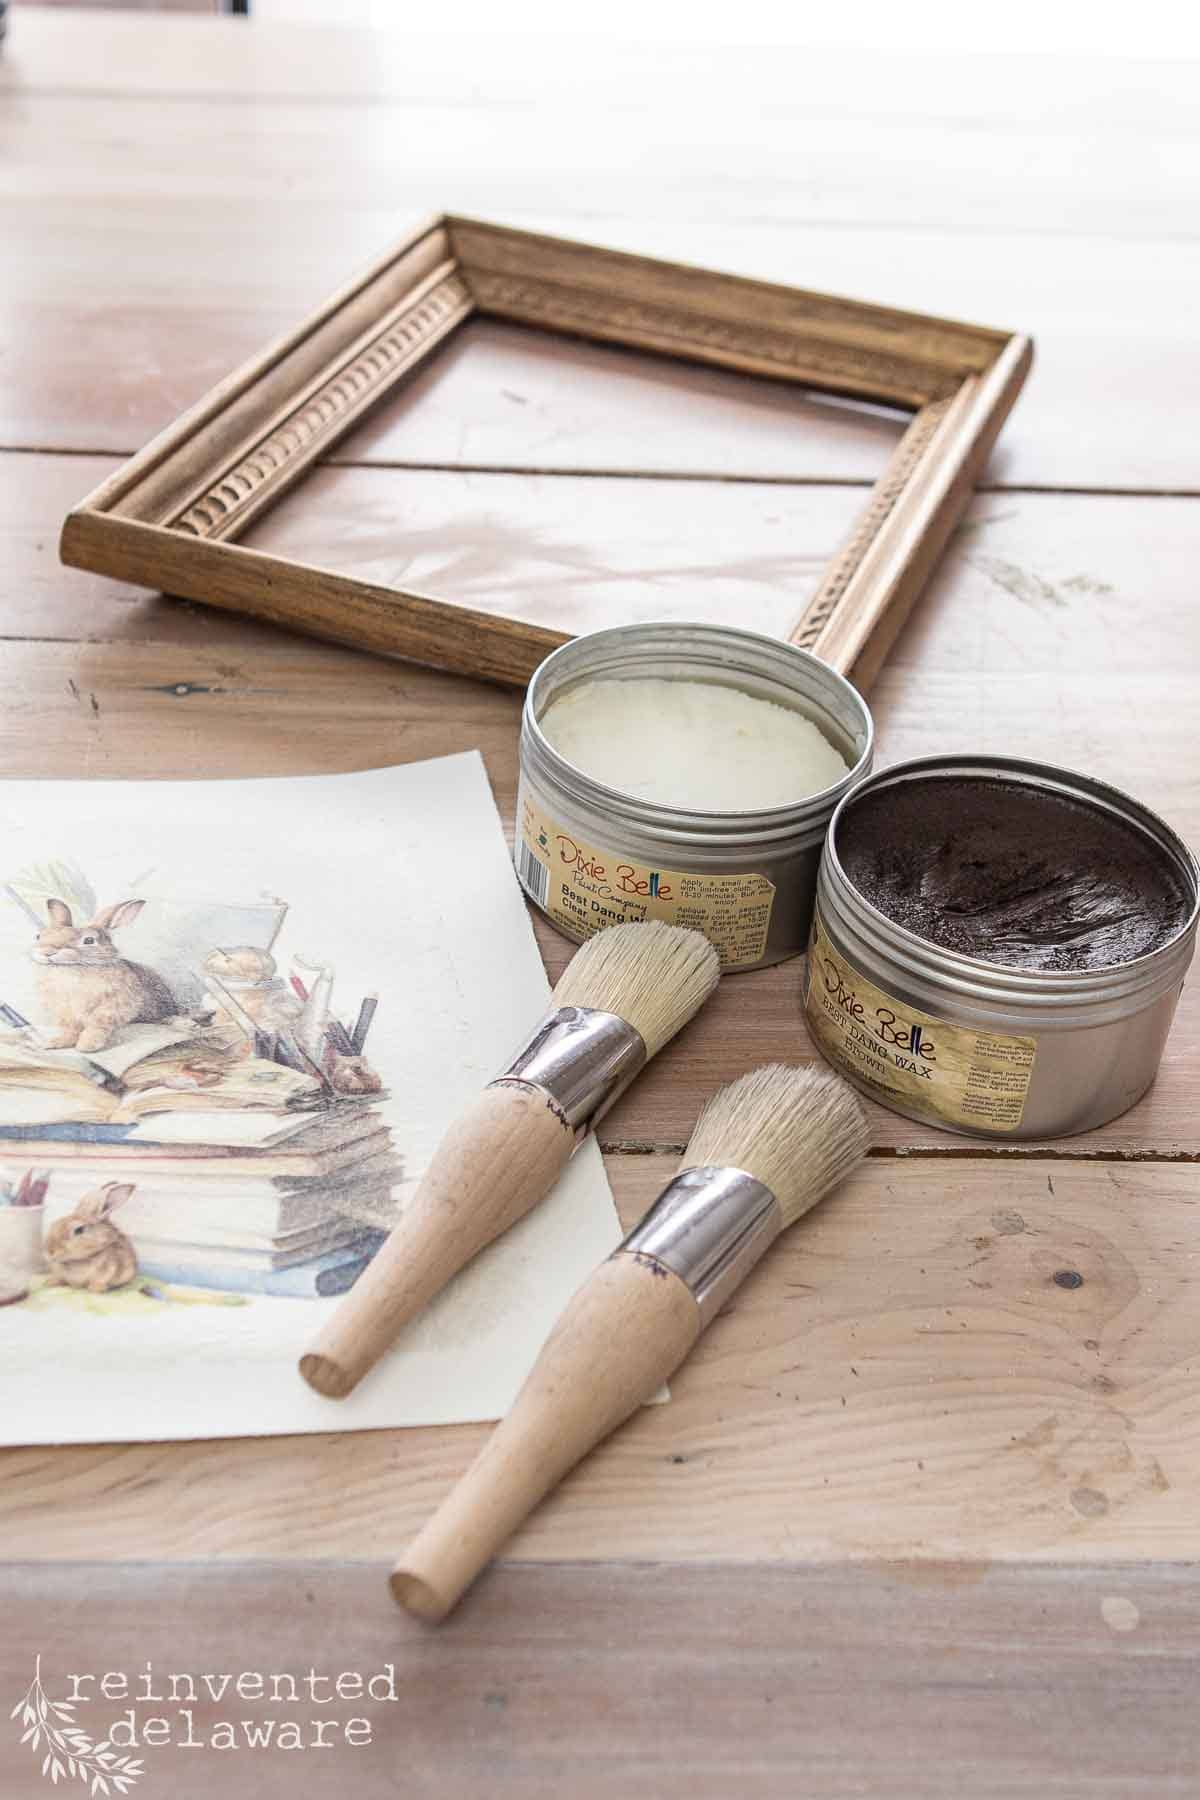
- Antique Gold Gilding Wax
- Clear Wax and Dark Wax
- scrap cardboard
- old frame (mine is an 8×10″)
- PVA glue
- point tacker
- paintbrushes
- brayer
- craft wire and small eyehooks

step by step instructions
This is a super easy project and I am sure you will enjoy the process of making this framed bunny picture for Easter and the spring season. The one I made is hanging in our newest granddaughters woodland themed nursery.
step one: create Easter bunny art
Using scissors cut the bunny art from the sheet of decoupage paper. This paper comes with two different bunny designs so you could make two different framed art decor pieces. The Peter Rabbit designs could be used anytime of year in a childs room.
Once the sections are cut apart, use a small piece of medium grit sandpaper to slightly tear the edges of the paper. I used a small stir stick to guide the sandpaper along the eidges. This technique give the paper a torn look.

Cut a piece of watercolor paper to fit the inside recessed area of the frame. Mine measured 8″ x 10″. Then use a paper cutter to cut the watercolor paper to fit.
Next glue the decoupage paper onto the watercolor paper by applying a thin layer of top clear coat on the watercolor paper. Center the bunny design and smooth it out.
Then apply a thin layer of top coat over the top surface. Allow it to dry completely. BTW, the watercolor paper will make this look like a real watercolor painting!


step two: upcycle an old frame
Let’s upcycle an old frame for this framed bunny picture! After cleaning the frame, apply a thin coat of Antique Gold Gilding Wax with a small artist’s brush.
If your frame is a lighter color than the dark one I have, you can paint the frame in a dark brown or black first. Then apply the antique gold wax. This helps to create an authentic aged look.
Add the gold wax until you get the look you want. Allow the wax to dry completely.
Use a small section of craft wire to create a hanger. Attach the wire hanger to eye hooks on either side on the back of the frame.


thanks for being here!
I hope you are enjoying this project! Let me know if you have any questions. Or leave me a comment to tell me about your project and ideas!
thanks, Cindy 😀

step three: add aged appearance to art
Next, let’s create an aged appearance to the art on the watercolor paper. Once the paper is completely dry, I applied a thin coat of clear wax. Then I added a small amount of dark wax over top.
I used a paper towel to dab away the excess dark wax in areas that seemed too dark. Just as with a furntiure makeover, using clear wax first will help the paper resist some of the dark wax and it will be easier to manipulate.
Add the amount of dark wax to suit your preference! This method ages the art perfectly!


step four: assemble the Peter Rabbit art
The old picture frame that I used did not come with a backing. So I cut a scrap piece of cardboard to fit the inside recessed area.
I mounted the watercolor bunny art directly to the cardboard. This is optional!
It was as simple as applying a thin layer of PVA glue to the cardboard, spreading the glue with a chip brush, laying the art down and smoothing the paper out with my brayer. The brayer helped to remove any air pockets.
Next I used my point tacker to hold the cardboard in place within the frame. The point tacker is a game changer if you upcycle old frames! I wish I had one years ago!


more diy easter decorations and ideas
Let’s take a look at even more easy Easter crafts for you to enjoy! Tap any of the images below to read more about the projects.
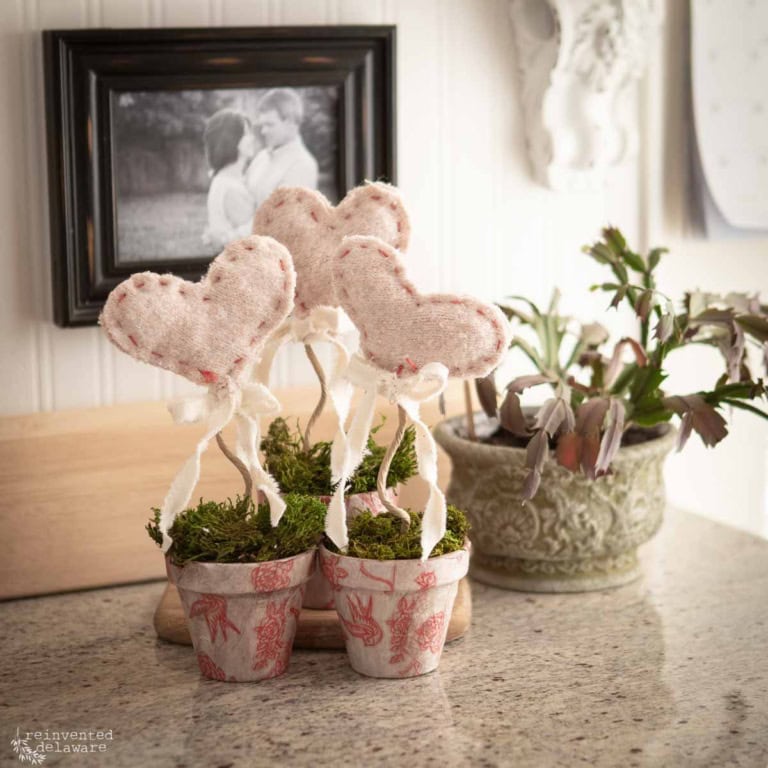
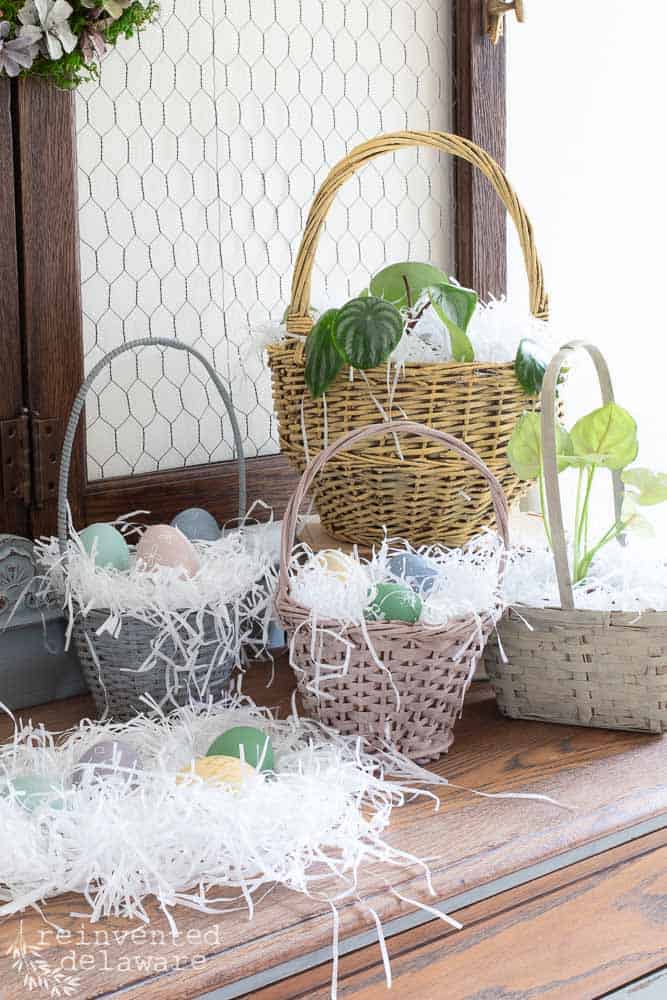
upcycled thrift store baskets
Painted Easter baskets are so easy to make! Go thrift shopping and grab small baskets for $1-$2 and use a little paint to give them a fresh look! Add some moss and a small treat to surprise the kids in your life!
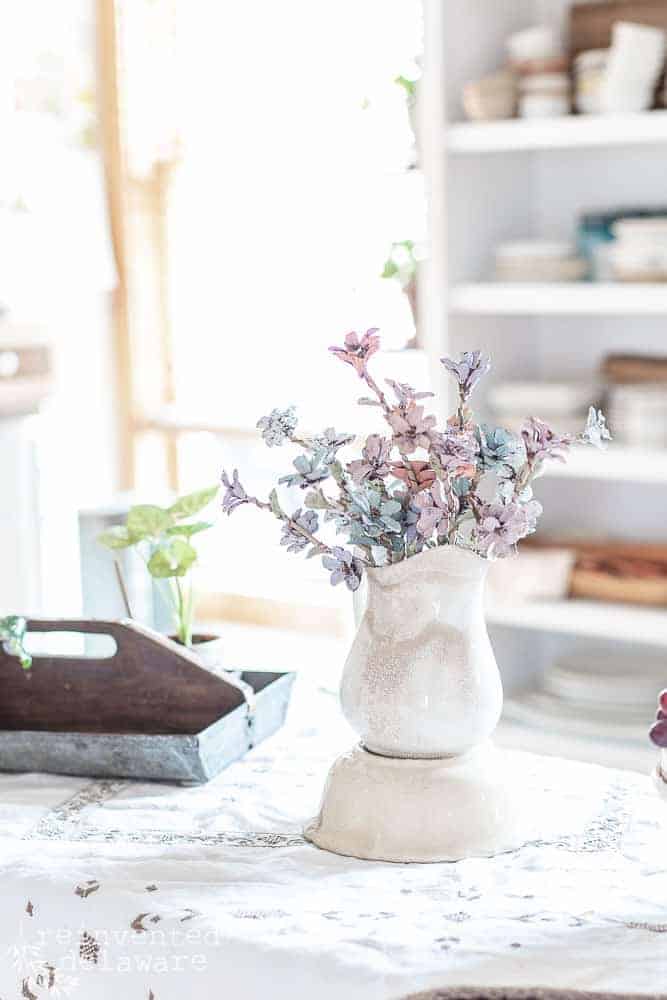
pine cone flower bouquet
Make this pretty pine cone flower bouquet for Easter and the spring season. The pine cones are free so all you need is heavy wire for the stems and paint in pastel colors. Place the pine cone flower stems in your favorite vase or an ironstone pitcher.
Use the pine cone flowers to make a centerpiece for your Easter table. Make smaller arrangements for an Easter brunch.
I think these flowers would look amazing on an Easter tree along with pastel painted plastic eggs and velvet ribbon.
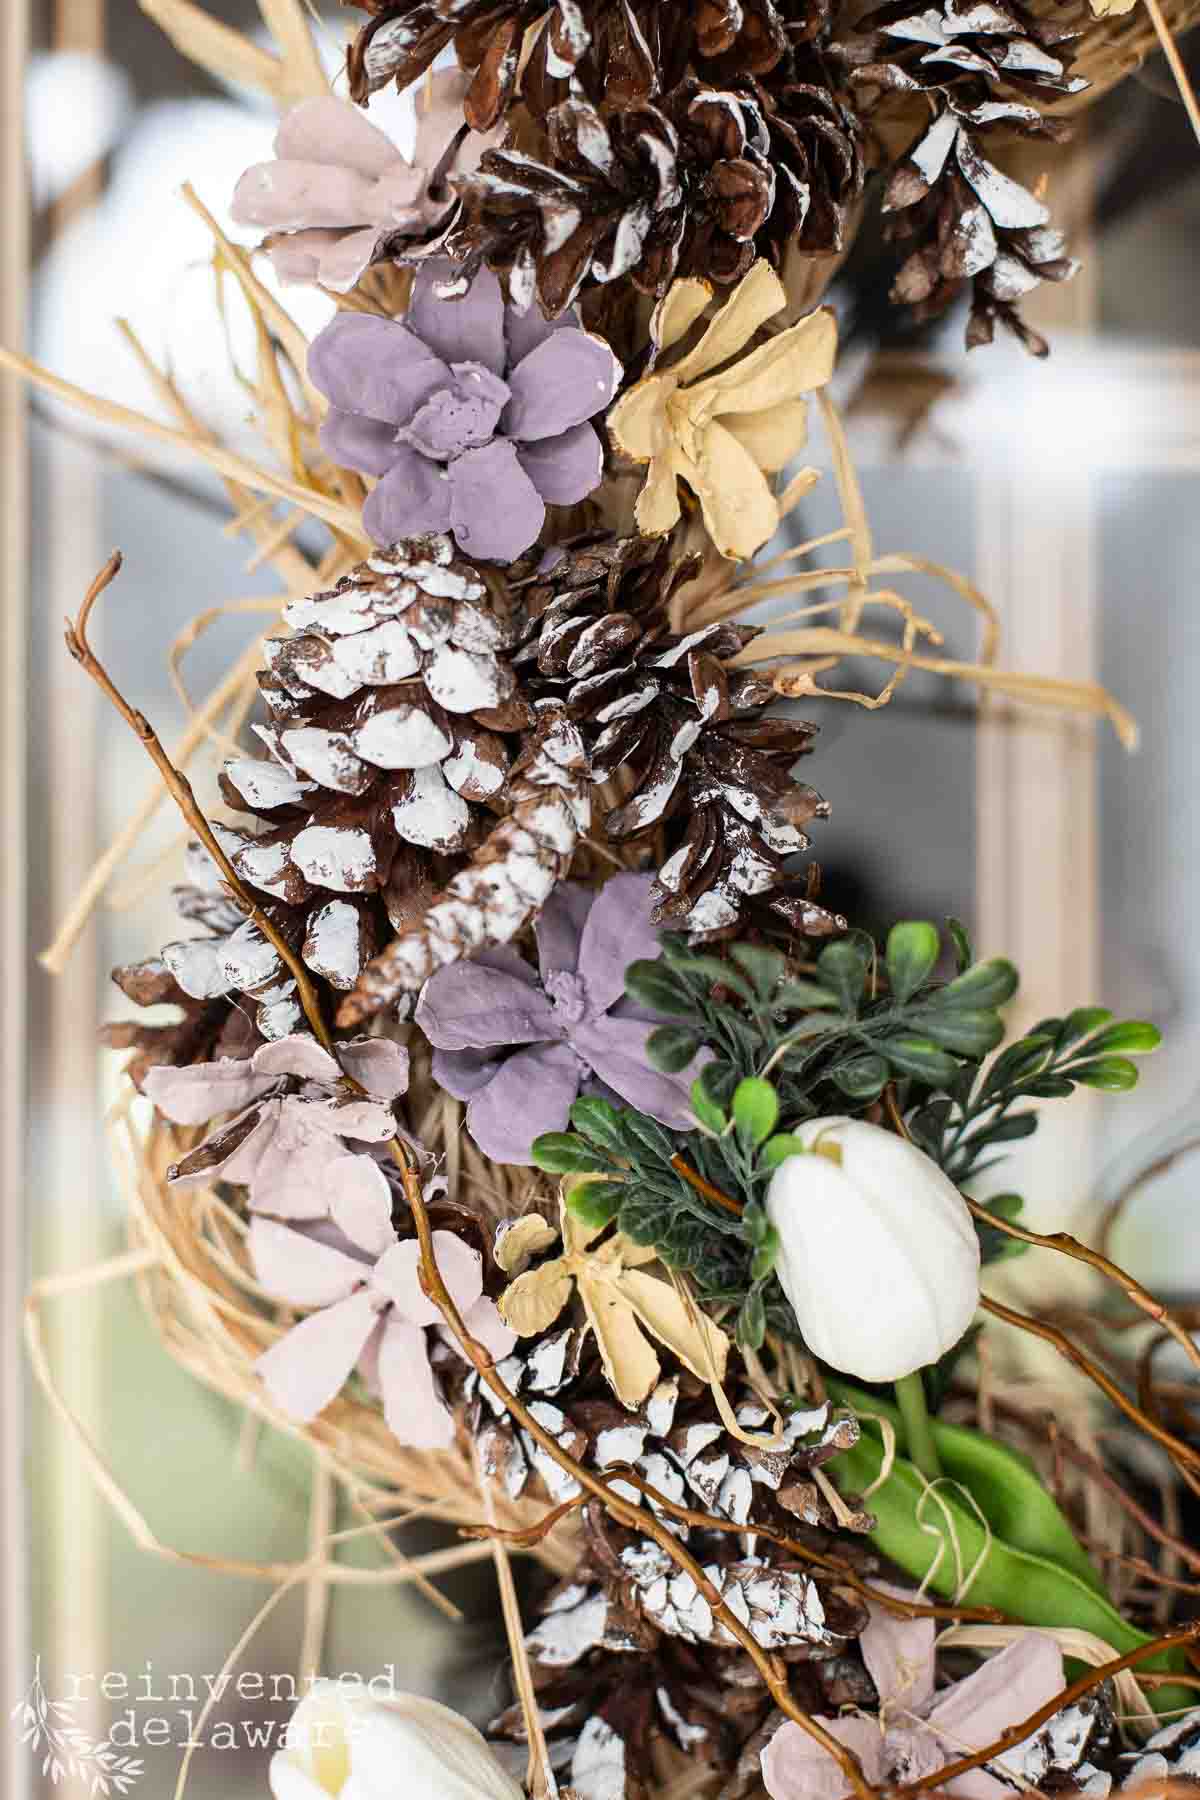
diy Easter wreath
Speaking of pine cone flowers, you can also make a wreath for the front door using the handmade flowers. I added greenery and the flowers to a wreath frame. Tuck in a bird’s nest with moss and twigs for an instant spring look.
Make an Easter wreath using fabric squares attached to a straw wreath base. Here is one from the fall season I made with this method. It would adorable in pastel colors?
painted Easter eggs
Purchase a bag of wooden Easter eggs and decorate them. I painted these with pastel colors then added simple designs witha gel pens. Kids would love this type of craft!
Keep your eyes open at the thrift store after the Easter holiday and you might find some eggs you can paint!

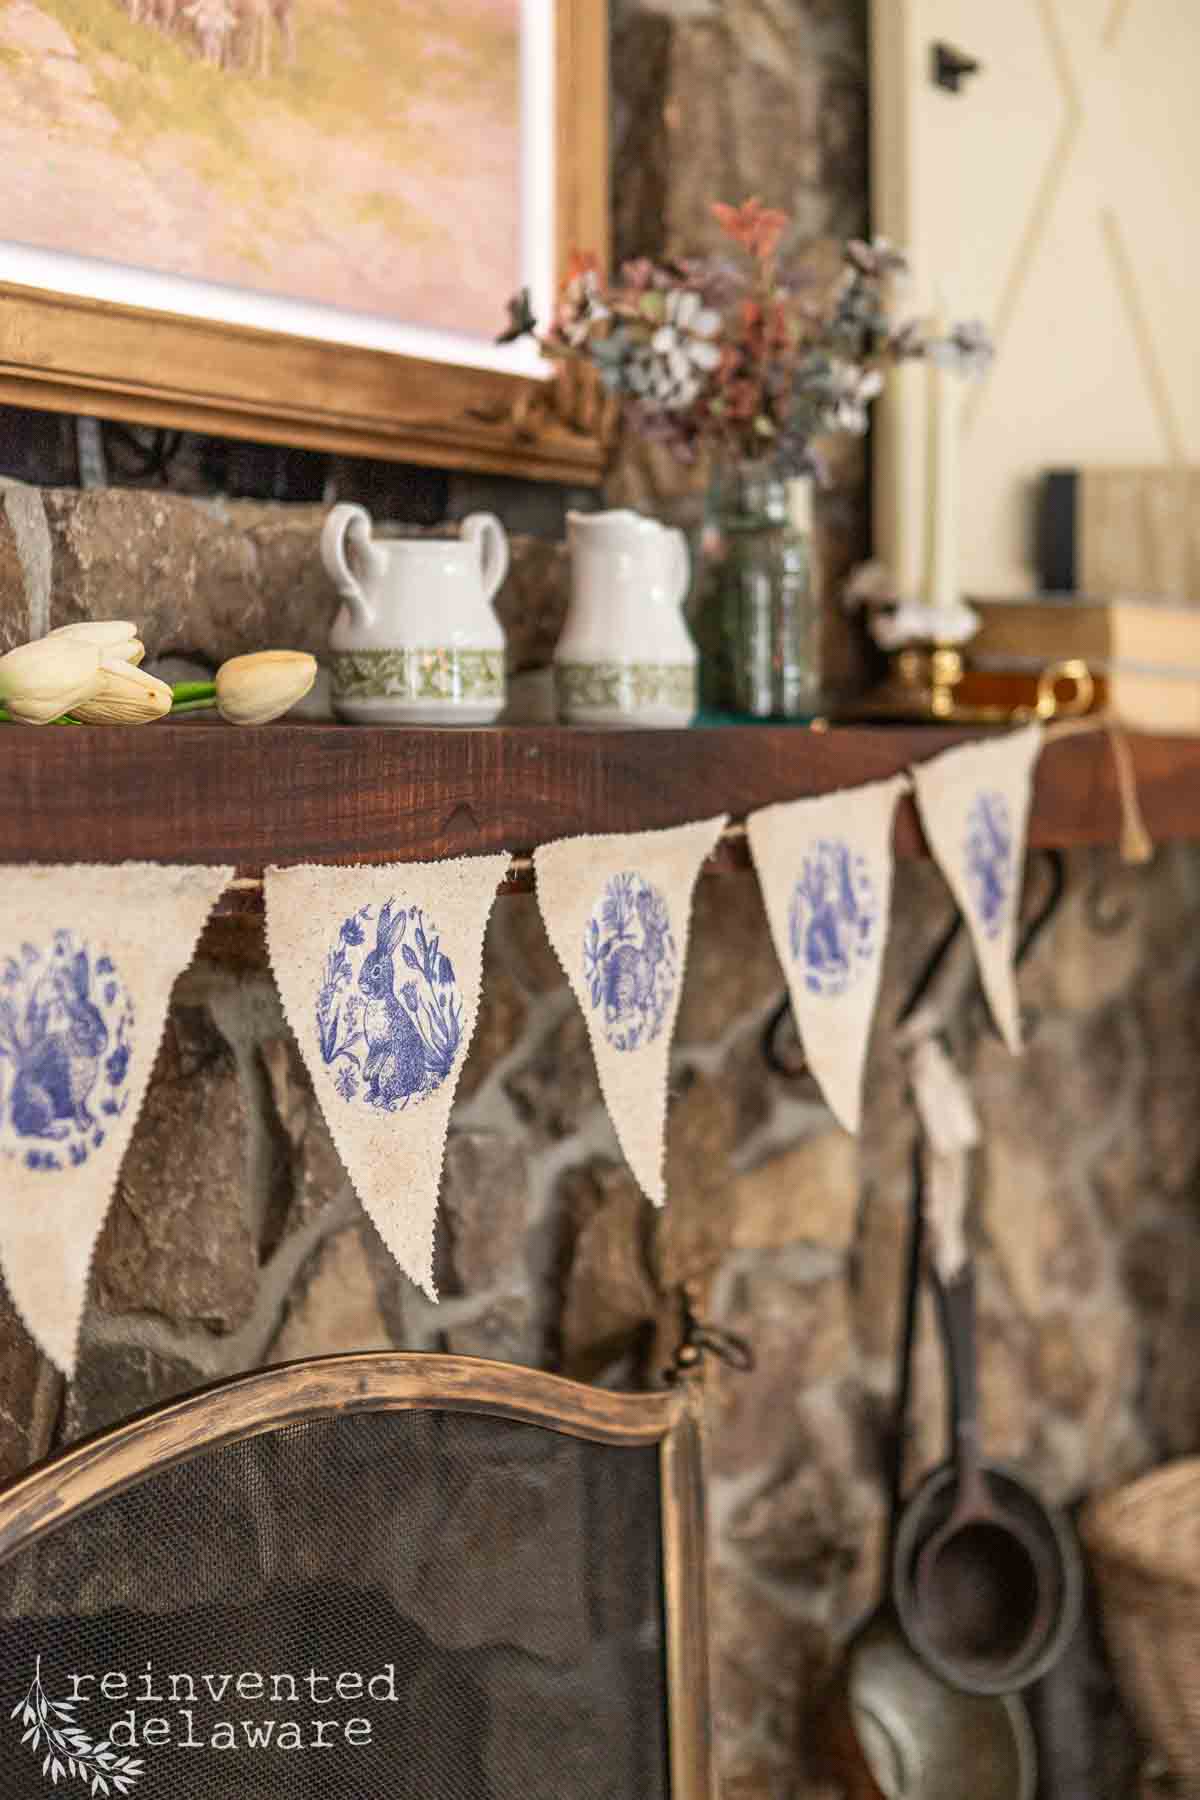
Bunny bunting Banners
Decorate your mantel with an easy to make bunny garland! This is a cost effective way to add a touch of spring to your home! All you need is scrap fabric, mod podge and bunny themed decoupage paper!

Easter celebrations
I hope you enjoyed these adorable DIY Easter decorations and ideas and that you found inspiration here.
Sending you all the best as you celebrate our Risen Savior this Easter Holiday with your whole family. And I hope you can create something new from something old for the celebration.♰
Happy crafting my friend!

YouTube video
Here is a video for you filled with more thrift flips for spring and Easter decorating!
Spring Thrift Flips
see more upcycles for spring and Easter!
Recreate and Decorate
Join the Facebook Group and Share Your Projects With Us!


Thanks for joining our journey!
Thanks so much for joining me for this post! Join my journey so you don’t miss any of the fun projects, tutorials, and inspiration that I share with you each week! You can follow me on Instagram, Facebook, and YouTube.


Cindy Rust
Cindy has been decorating her home with thrift store finds for 40 years. She is an avid thrift store shopper who loves to makeover the items she finds into vintage-inspired home decor and furniture. When she isn’t thrift shopping or painting a piece of furniture, you can find her making homemade butter, working in her garden, or painting with watercolors.
click below to purchase supplies!
Visit my Amazon Storefront!
Click the button below and head over to our online shop on Amazon!