
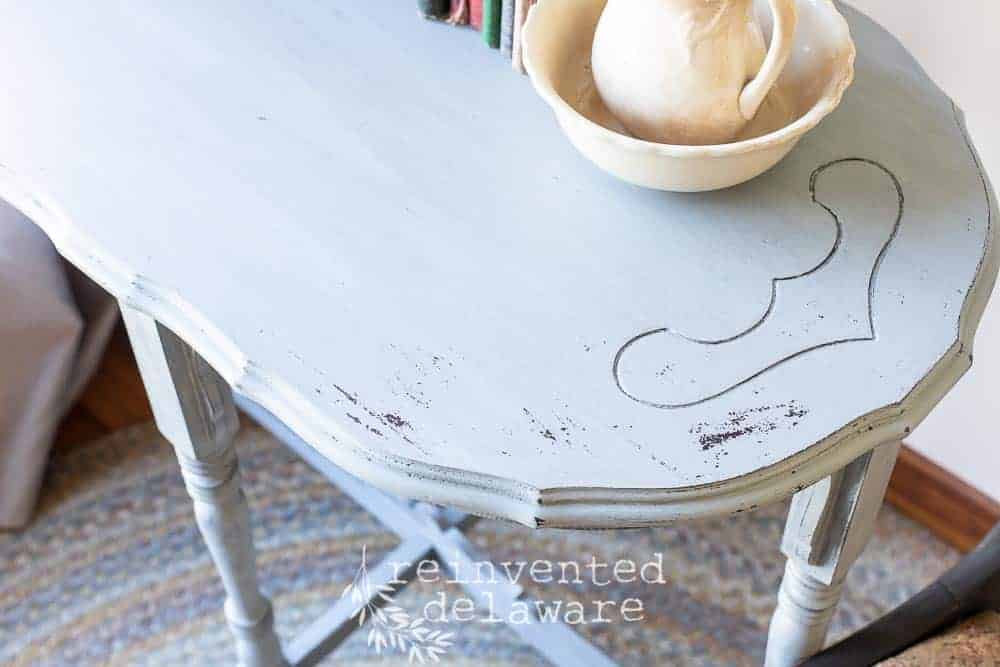
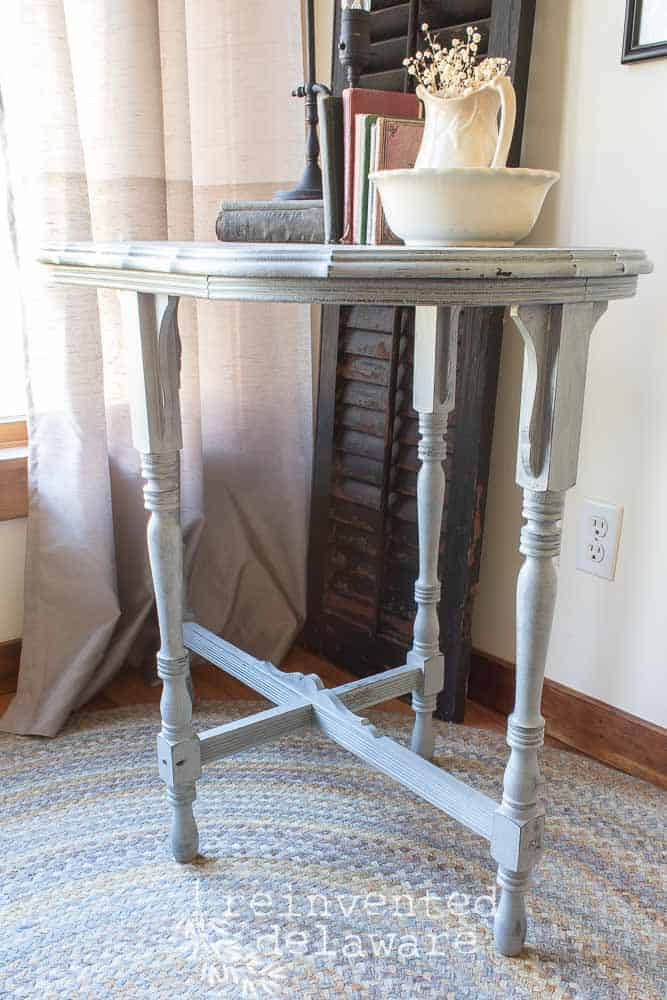
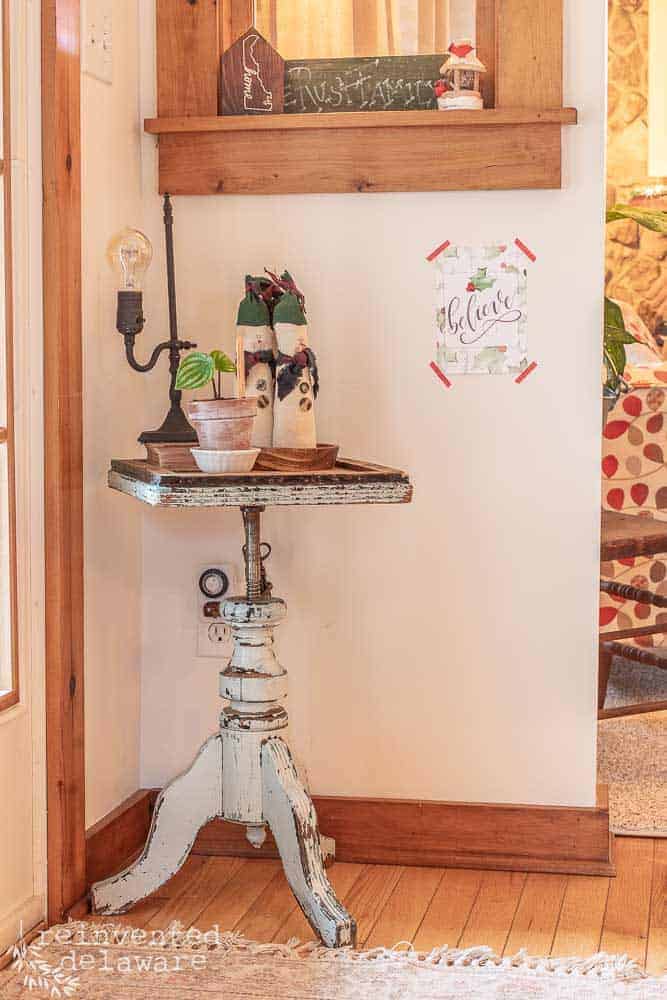
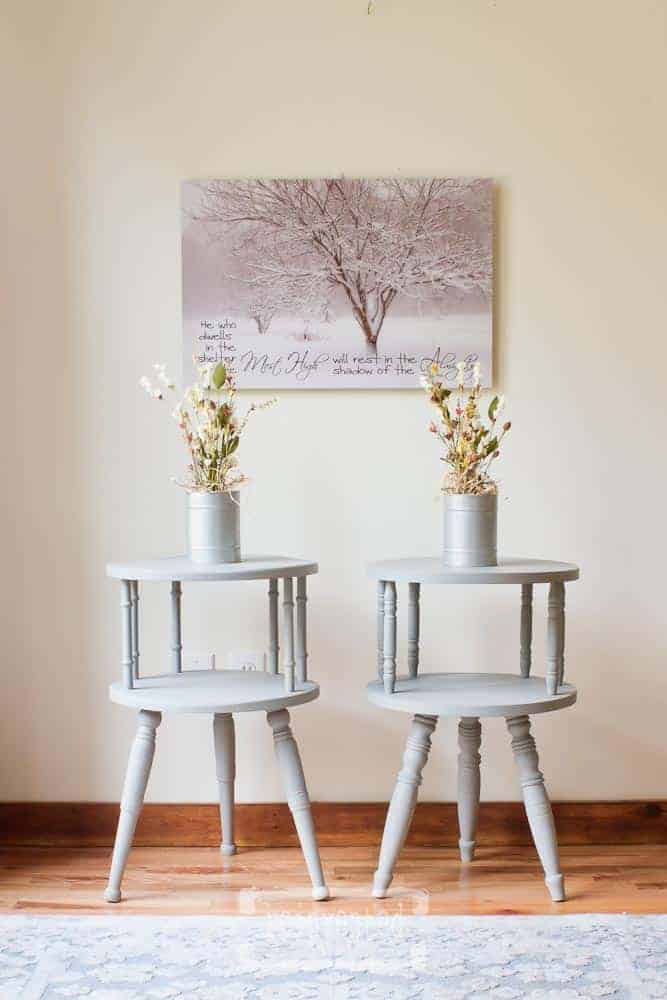
Scalloped Edge Side Table in Aviary
Sometimes we start projects around here without the camera. Not the smartest move for a DIY tutorial blogger like myself. But none the less, it happens.
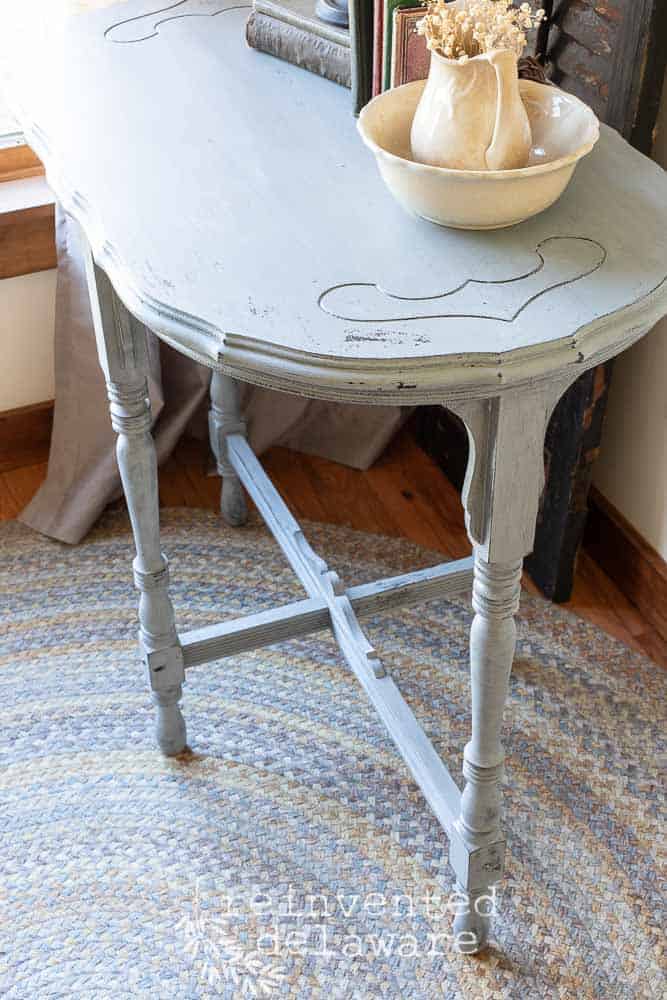
Take this gorgeous scalloped edge side table for example. The paint was going on it before I realized my camera had not seen the light of day!
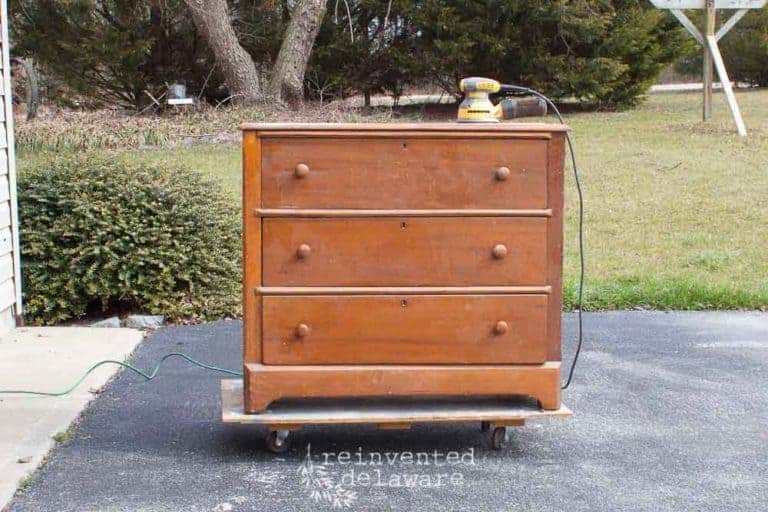
dark beginnings
This vintage side table started out pretty dark. I loved the shape of it and I knew that painting the whole piece would bring out the details.

Aviary for the win
The only decision was the color. That was easy for this Miss Mustard Seed Milk Paint lover! I have been hooked on the color Aviary for months and have resisted painting everything in sight with it.
Breathe Cindy, breathe! It is just paint after all!
The scalloped edge side table was lightly sanding with a worn-out sanding sponge. I certainly get my money’s worth out of those little sanders, don’t I? They are perfect for slightly scuffing furniture. I just needed the shine knocked off a bit because this piece would be perfect for distressing.
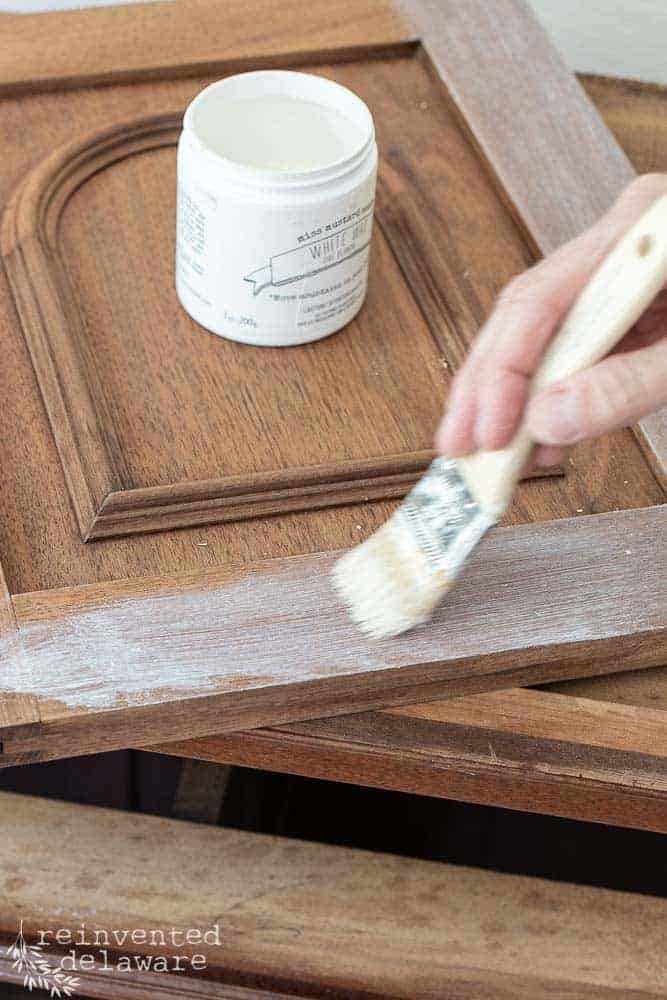
shellac-based primer
The piece was ready for paint after a good vacuuming and cleaning. But first I gave it two coats of Zinsser Shellac Based Primer to seal in the old finish. (Be sure to allow the proper drying time between coats and before painting.) The shellac also helps to bring a crackling texture to the piece once it is painted.
Two coats of Miss Mustard Seed Milk Paint in Aviary covered the dark piece. I did have a couple of spots that needed a touch-up but for the most part, two coats worked perfectly.
smooth the surface
I did a bit of knife distressing to the piece as well as using the same worn-out sanding sponge over the whole piece. The sanding sponge smooths the surface and softens the rough texture that milk paint can have. It also helps with the distressing.
I allowed the milk paint to dry completely and then added two layers of General Finishes High Performance Topcoat in Flat.
texture adds character
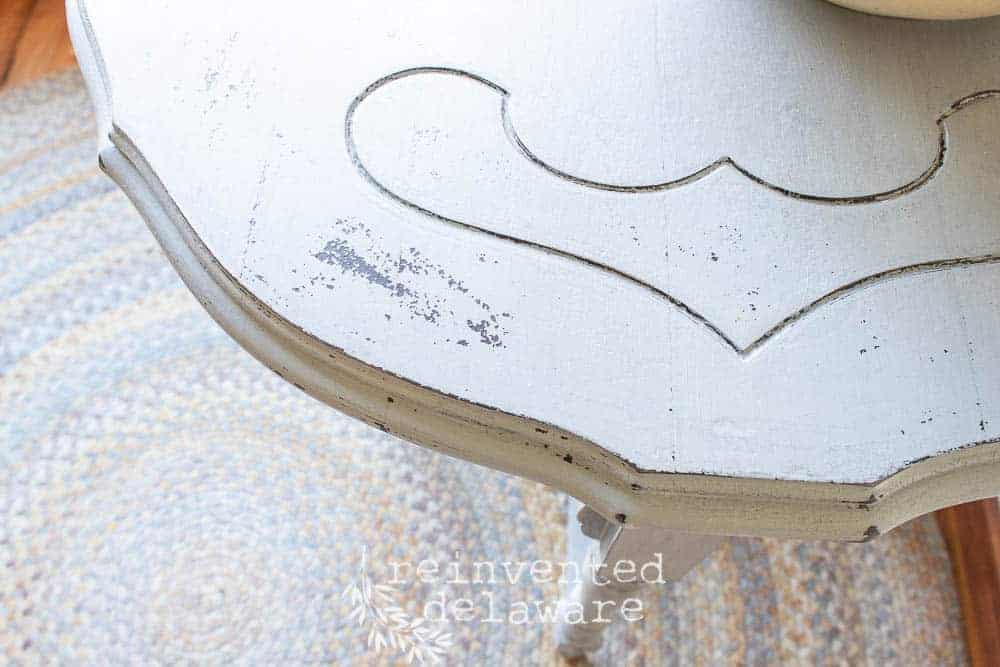
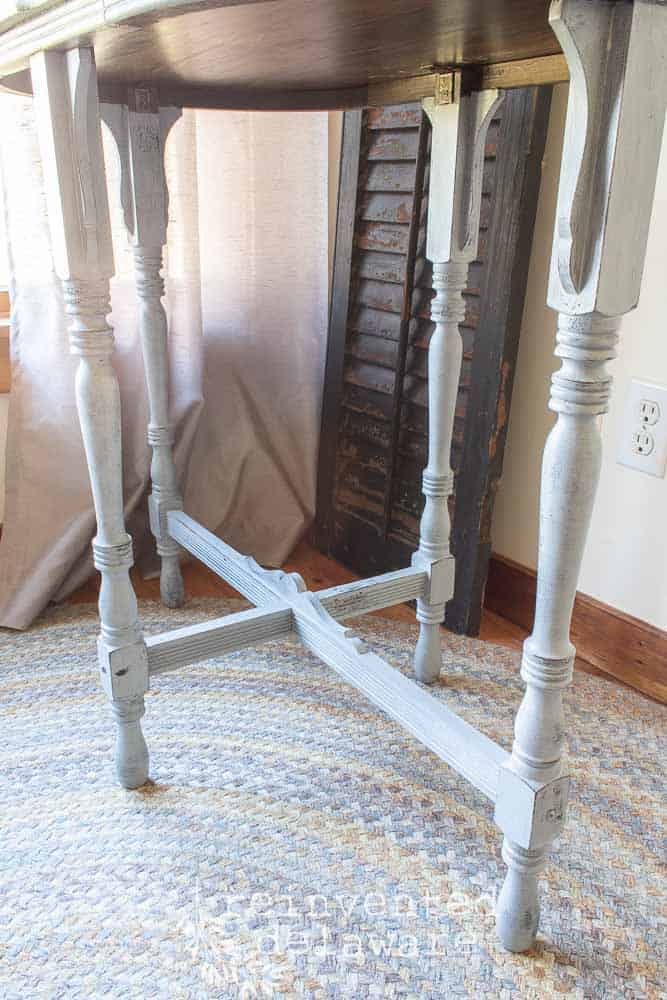
The original finish had a fair amount of crackling and alligatoring (also called ‘gatoring’). I won’t go into detail about the cause of that look here, just know that in my opinion, it helps to add character to the piece. It helps to tell the story of the piece. You can definitely see the crackling and you can even feel it in some places because it is raised.
Using the knife distressing technique helps to emphasize the alligatoring.
You can see under the table how dark the finish was. A lighter shade of paint looks so good on dark finishes because the distressing really shows up. I like to keep the underside of the furniture as close to the original color as possible to pay homage to the piece’s origin.
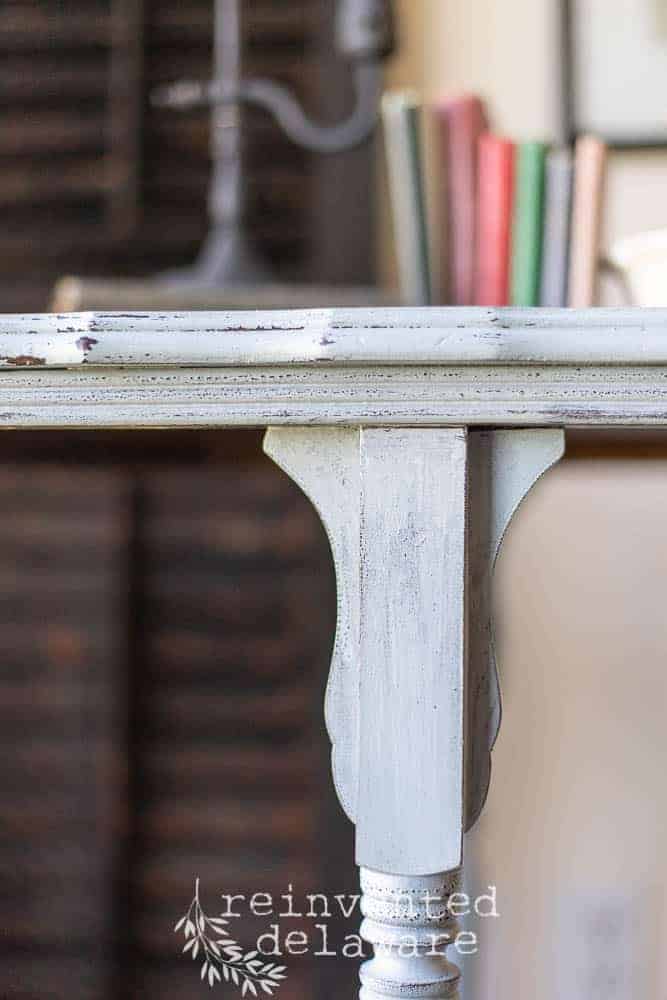
carved details
This scalloped edge side table also had this pretty carved detail on each side. Painting and distressing the top of this table really helps to showcase the carving, don’t you think?
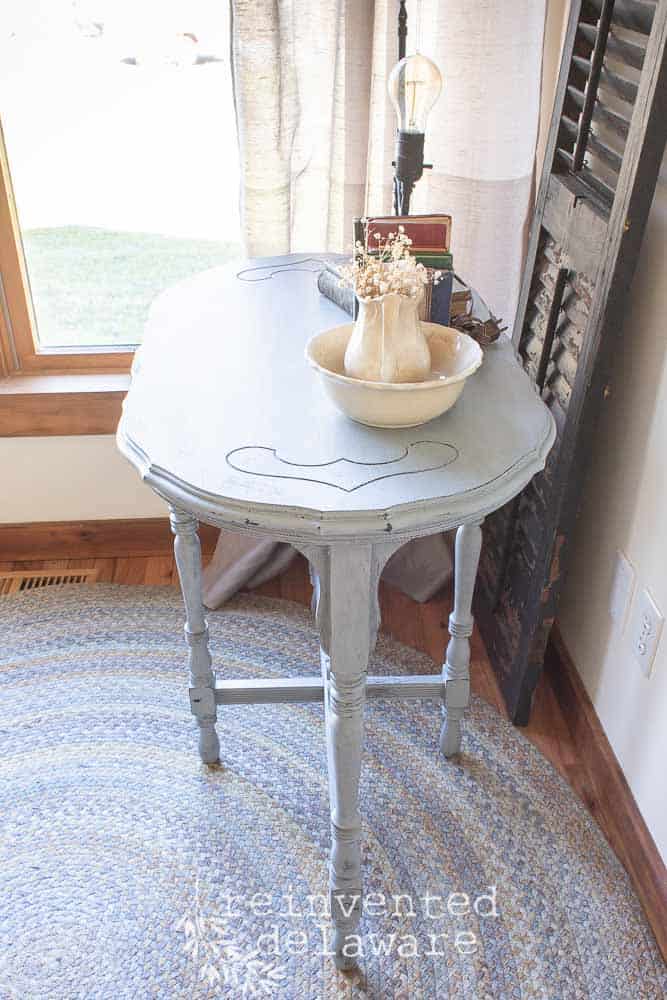
scalloped edge side table
This piece is available for sale as of the writing of this post. If you are interested, visit Wilderlove in downtown Greenwood DE!
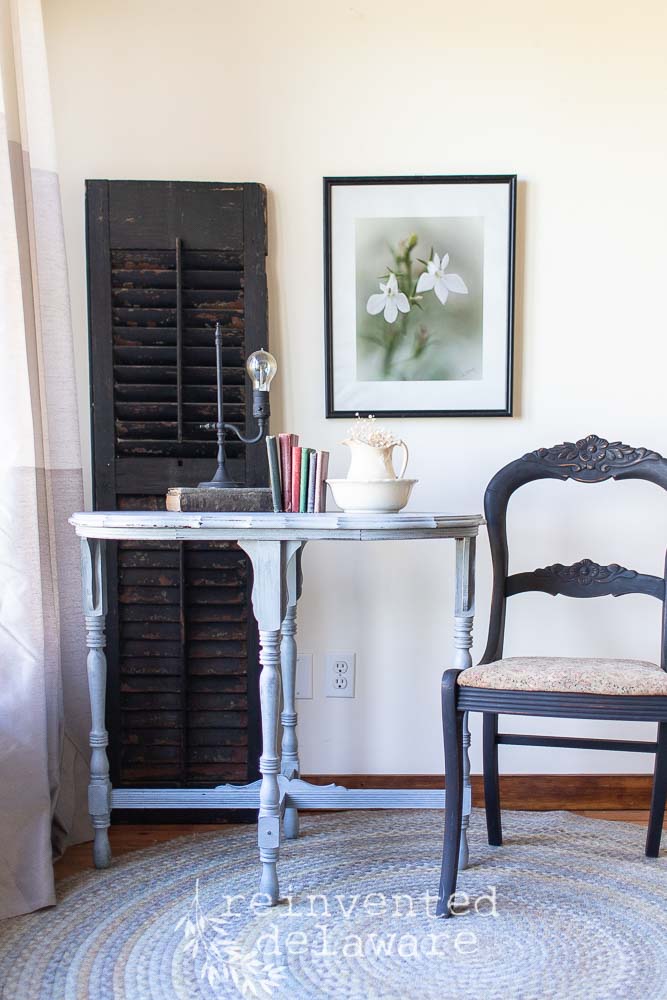
follow along!
Thanks for stopping by! We love sharing our projects with you. Follow along on Instagram and Facebook to see what we are currently working on! Feel free to pin any of the images you see for inspiration! Pinterest is a great place to store all of your ideas and projects!
See you next time and take care!
Beautiful side table! I haven’t seen one like that in a very long time. Great color choice, too.
Thanks Patti! The color Aviary is such a soft blue but not like a baby blue. It ‘s one of my faves!