
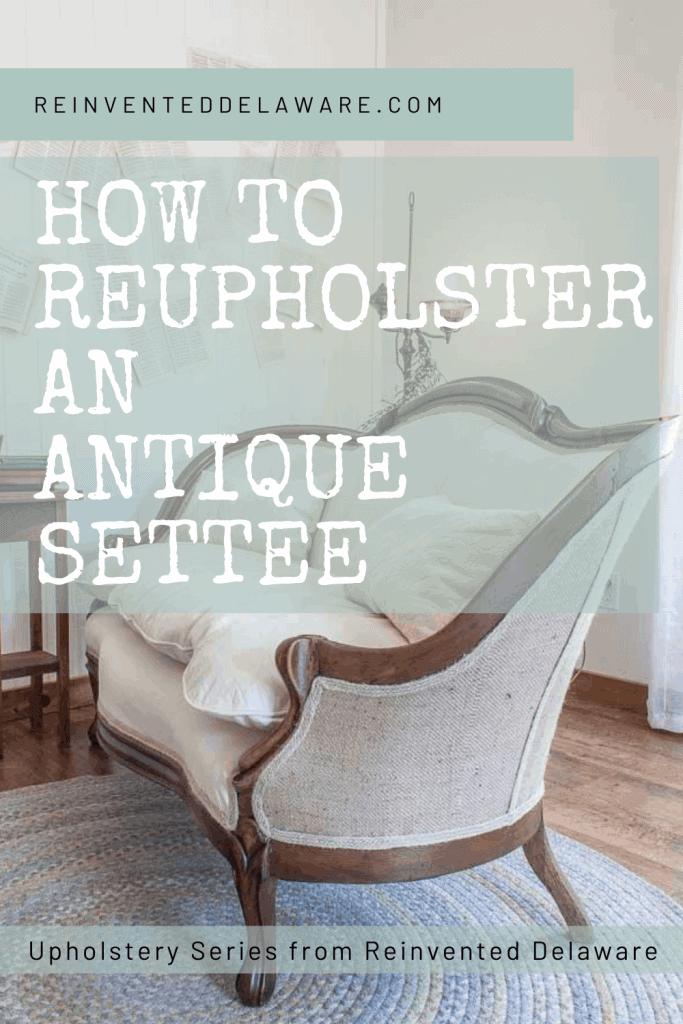
How to Reupholster an Antique Settee | Part One
This antique settee was a doozy of a project! But I was up for the challenge. Let me take you step by step through the process of how to reupholster this gorgeous antique exposed-wood settee!
By the way, this is part one of a series 😉 Be sure to stay tuned over the next few weeks for the full tutorial!
upholstery tools & supplies:
- pnumatic staple gun
- air compressor
- shop vac
- sewing machine
- tack remover
- needle nose pliers
- scissors
- steamer
- rolling stool
- glue gun and glue sticks
- webbing
- jute trim
- batting
- cambrick/dust cover
- staples
- fabric of choice
can you replace fabric on a sofa?
Let’s get started with a bit of a backstory. Our client contacted me asking if I could replace fabric on an antique exposed wood victorian style sofa. I have done several reupholstery projects over the years but this style of settee was a first for me!
I told her, ‘of course!’
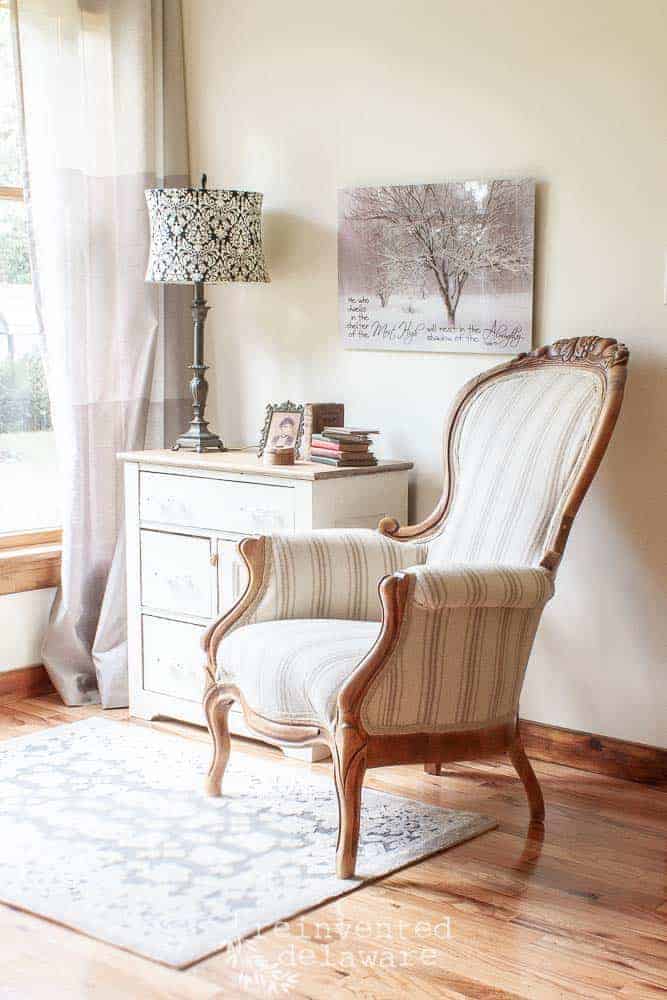
Well sorta. Remember this gorgeous exposed wood, the hand-carved victorian chair we did a few months ago?
wedding planning
So, I am familiar with this style of furniture just not one this big! Our client wanted her piece reupholstered for her wedding! How exciting to have one of our finished pieces in someone’s wedding 😀
The wedding was months away so I knew we could tackle this reupholstery project while keeping up with pieces for our spot at Wilderlove.
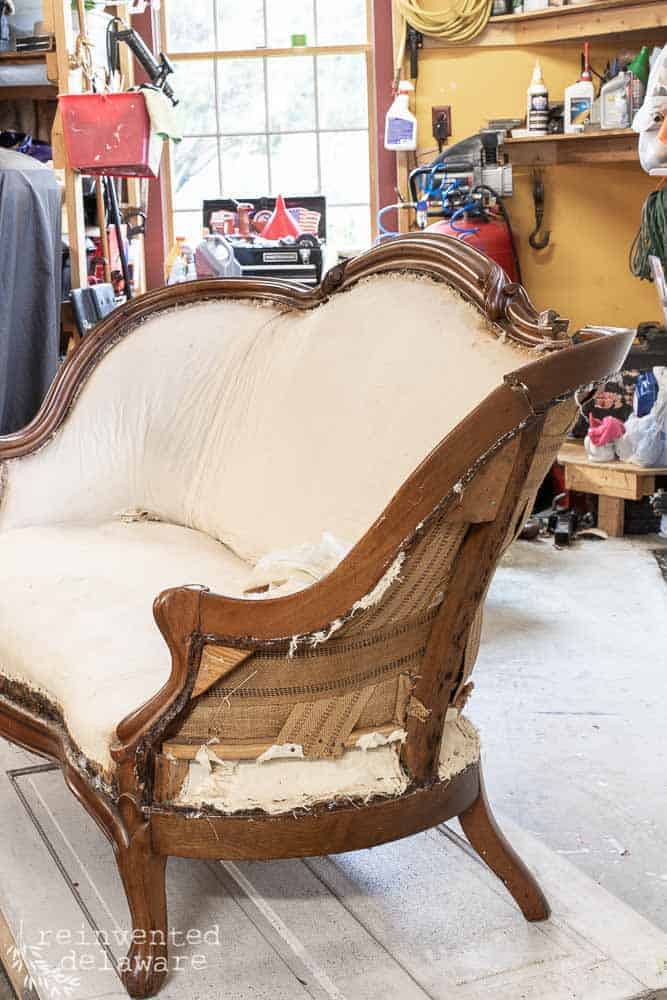
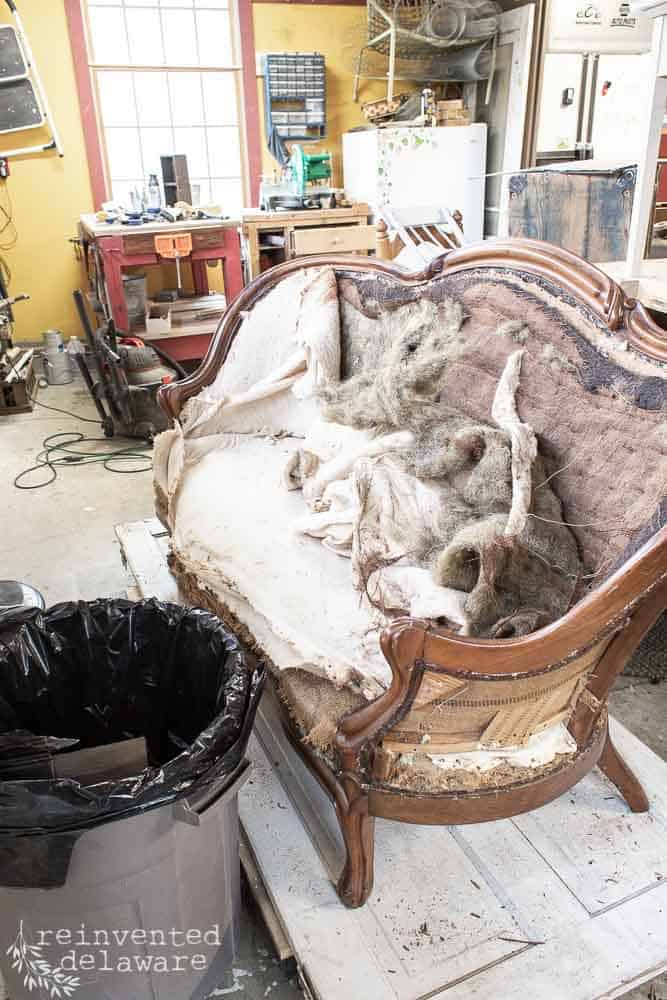
We picked up the gorgeous settee knowing that it was in rough shape. We just didn’t know how rough 😉
can a Victorian style couch be repaired?
Rough is an understatement, don’t ya’ think??
Anyway, we were up for the challenge and wanted to reupholster this beauty for our client’s wedding!
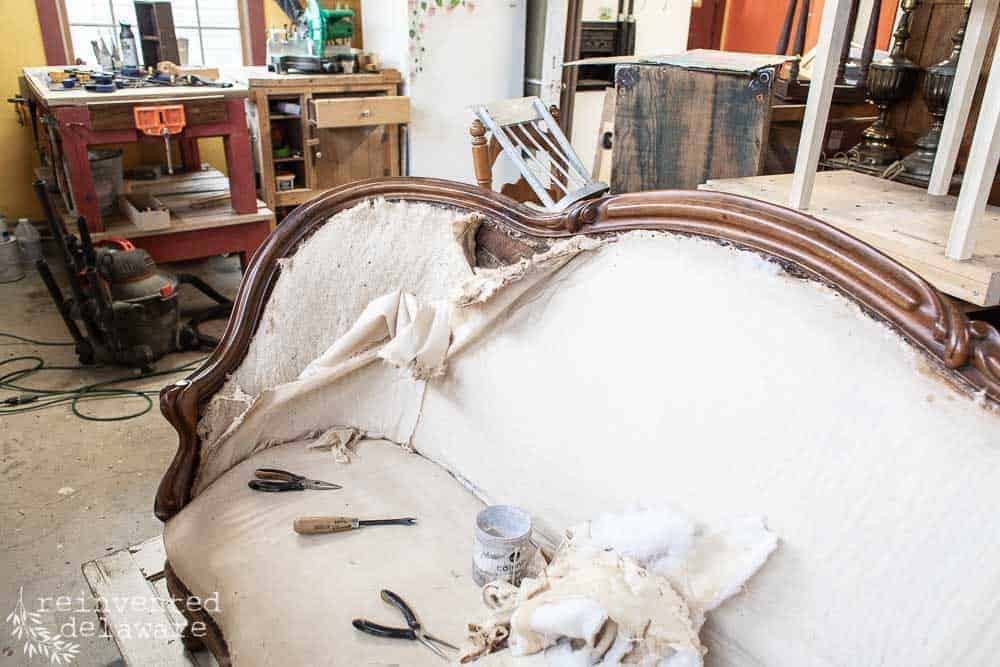
The first step to reupholster a settee (or any piece for that matter) is to dismantle and evaluate the piece for any possible repairs. This step happens at the same time — as I am taking off the old upholstery, I am also checking for any repairs.
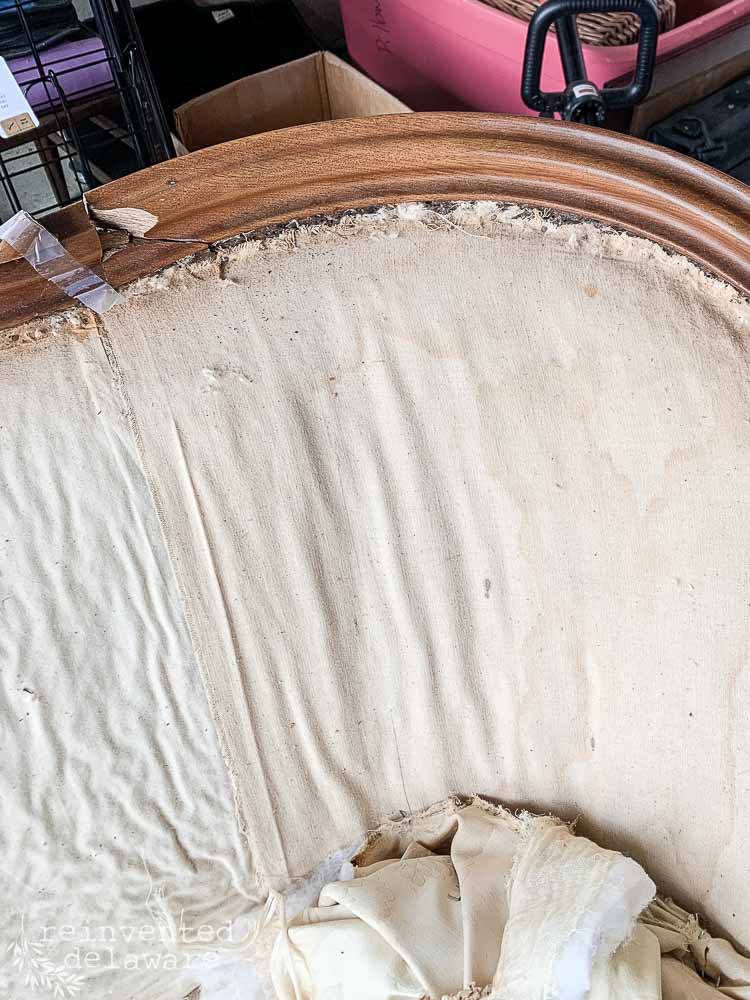
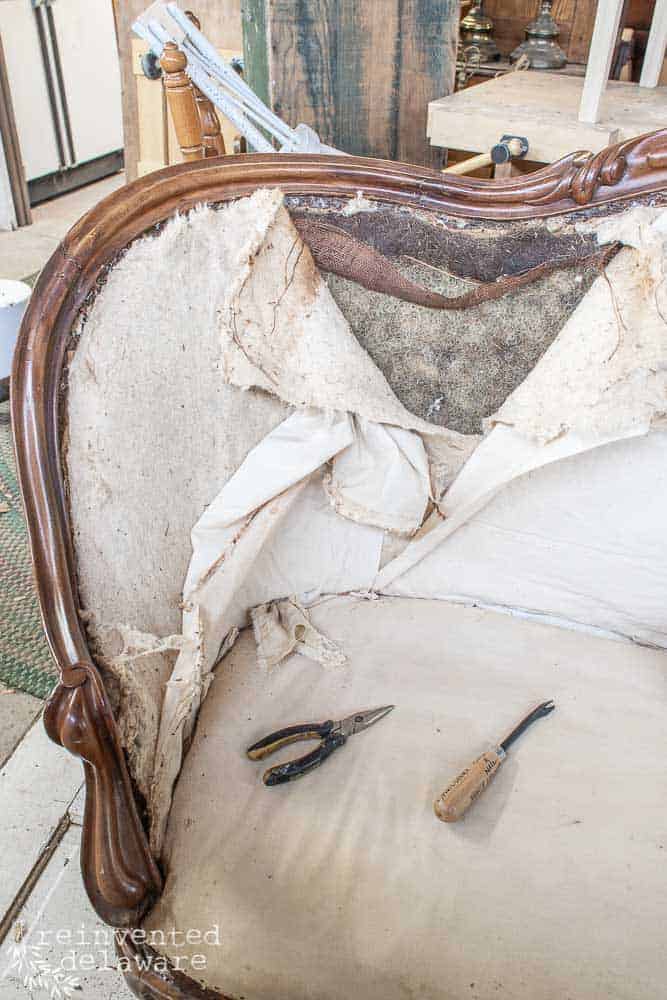
Some repairs I address right away, others I hold off until I see the full piece. Like this curved wood section on the back. Our client purchased the broken settee and it fell apart a bit more when we picked it up from her home.
See the taped piece on the left side in the image below? That piece completely fell off so I taped it in the spot where I knew it belonged. I didn’t want it to get lost in the shuffle.

The other curved side/back piece was broken but not as badly. I will show you how we repaired this later in the next post.
how to remove upholstery
For now, let’s start to remove the old upholstery.
This is a long and tedious process. Take my advice and put on an audiobook!
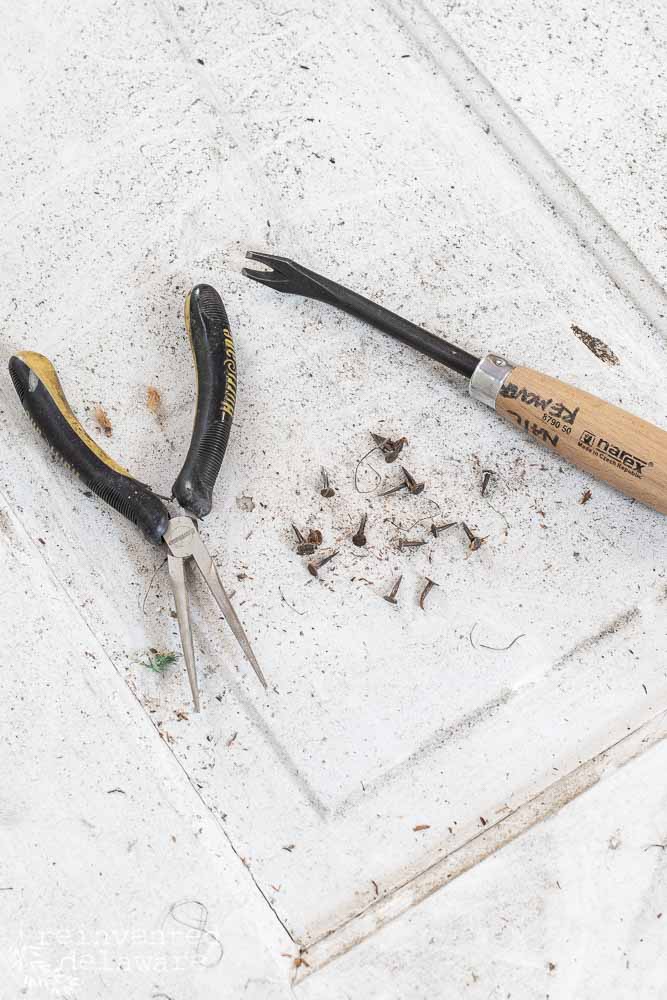
My favorite tools to use when removing 10,000 tack nails are:
- pliers – regular and spring-loaded needle nose
- upholstery staple remover
- an empty container to collect the nails
- a stool on wheels
- compression gloves
- face mask
TOOLS YOU’LL NEED

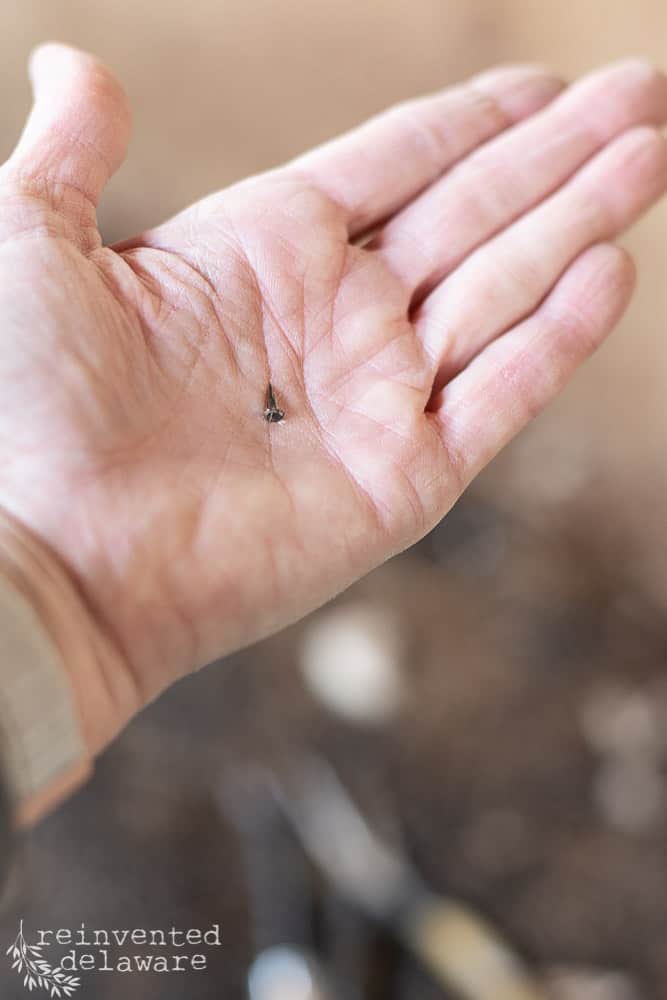
teeny tiny
The tack nails that were used 100 years ago are T.I.N.Y. On this piece, some were tinier than others. And they are sharp! I try to put each tack nail in my empty container instead of letting them go all over the floor.
You can see the beginning of this process below. The tack nails were attached along a ridge that would be covered later with upholstery trim (I can’t wait to show you the trim!!)
I carefully removed the tack nails since much of the ridge was severely damaged.
Like I said, listen to an audiobook. Or two. 😆
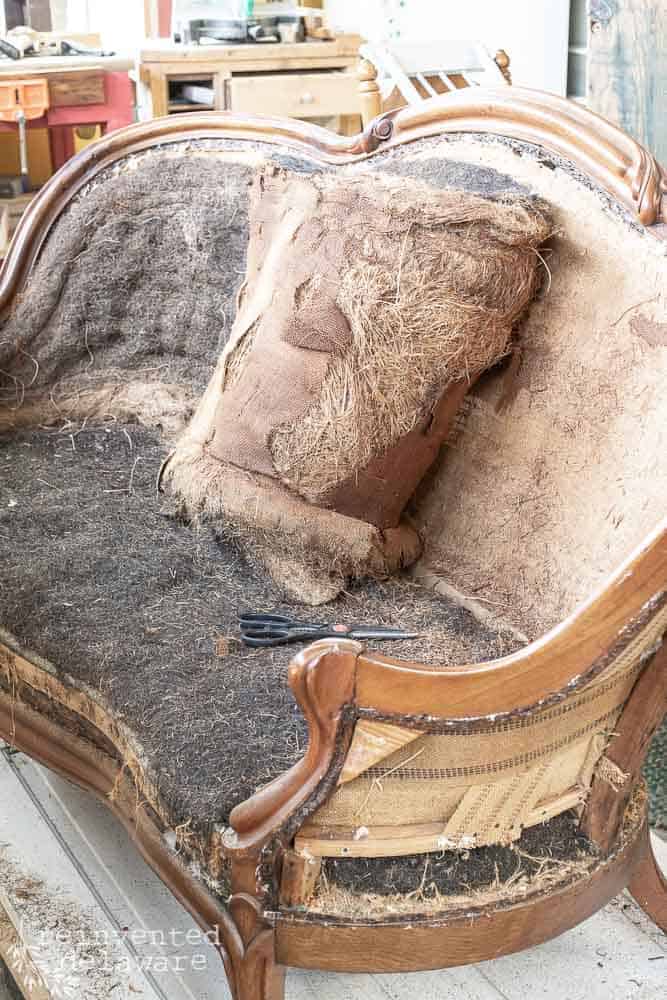
traditional upholstery layers
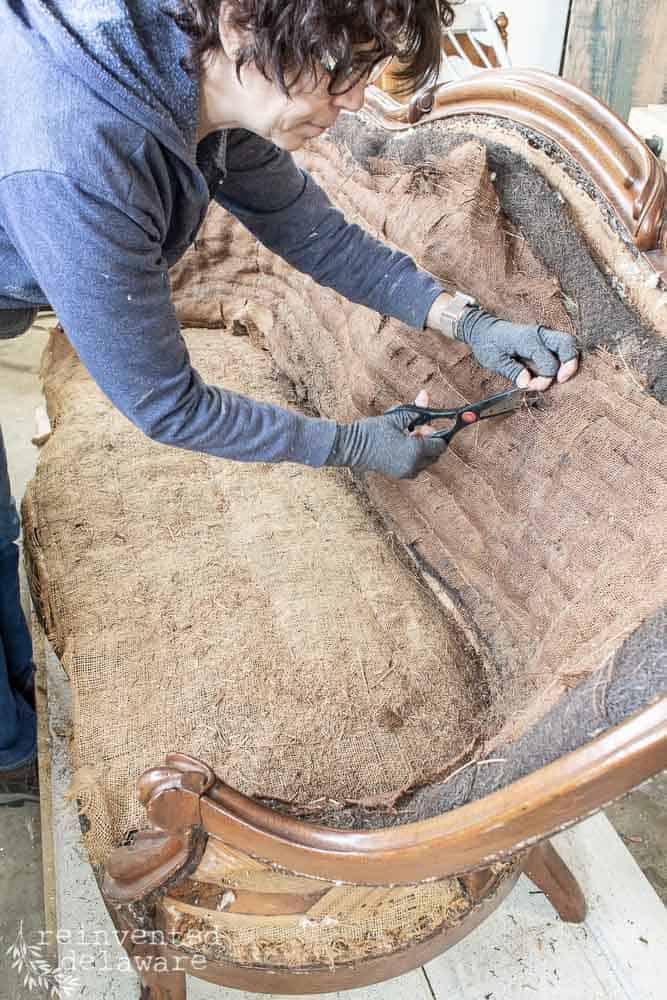
Upholstered furniture is done in layers. The layers we use now are different of course. One hundred years ago different supplies were available. Burlap is one of the supplies. It is strong and durable. It was used to hold other layers in tacted and was stitched on with heavy twine through all the layers.
I cut the twine (which btw, was still in really good shape!) so that I could salvage some of the layers. Dry rot had taken over the burlap so I knew it had to go.
One of the layers was straw. This would have added some cushioning to the settee. They even used to stuff mattresses with straw! It was easily accessible and often free. They didn’t have the poly-fill at the local Walmart or the poly-batting we see in the upholstery section of fabric stores.
They used what they had. I just love that!
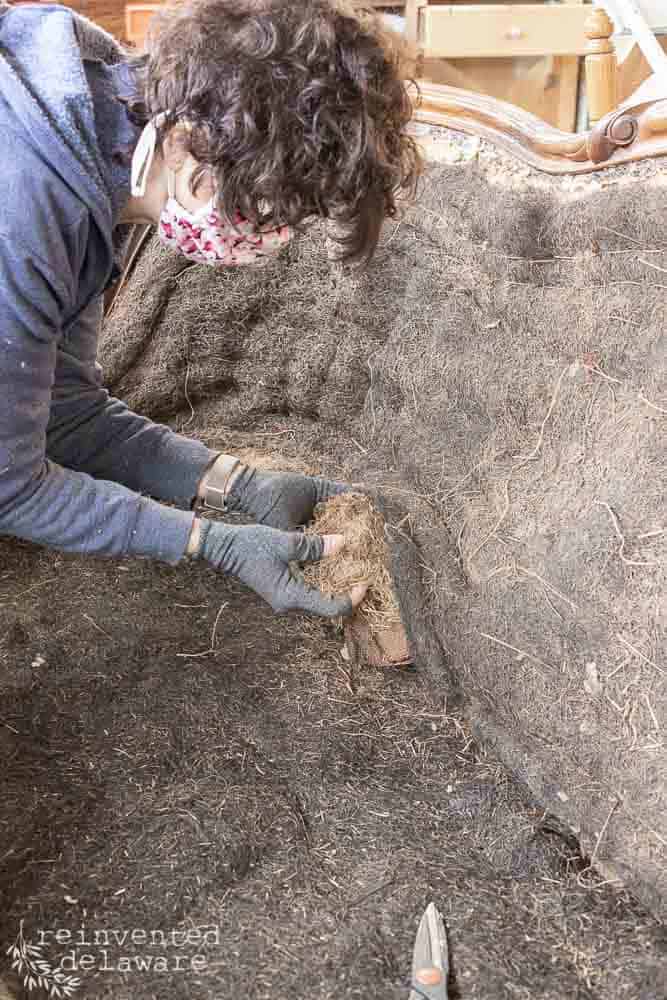
They also used horsehair. Yes, I said horse hair! But I am getting ahead of myself a bit! We’ll talk more about that later.
For now, I just rolled up the back section and put it in a large 33-gallon trash bag. I wasn’t sure yet if I would reuse it or not. I wanted to do some research before deciding.
clean the upholstery layers
Cleaning the layers is so important before going on with the reupholstery part of this job. It’s kind of like eating your veggies before having dessert!
I wanted to test a method of cleaning on this antique ‘batting’ so I grabbed my shop vac and a section of hardware cloth. So, I ran the vacuum over top of the hardware cloth so that I could vacuum the small particles without tearing up the batting.
I ended up just turning the vacuum nozzle on its side as you see below. This allowed me to vacuum without it creating a suction that would take up all of the batting.
Did I explain that well?

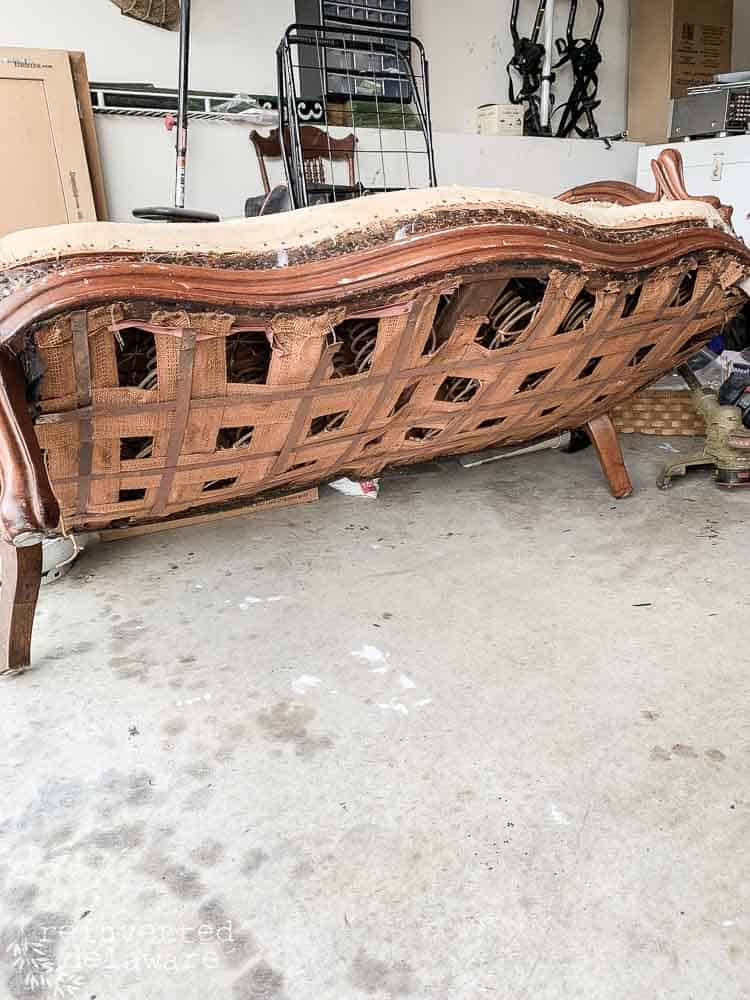
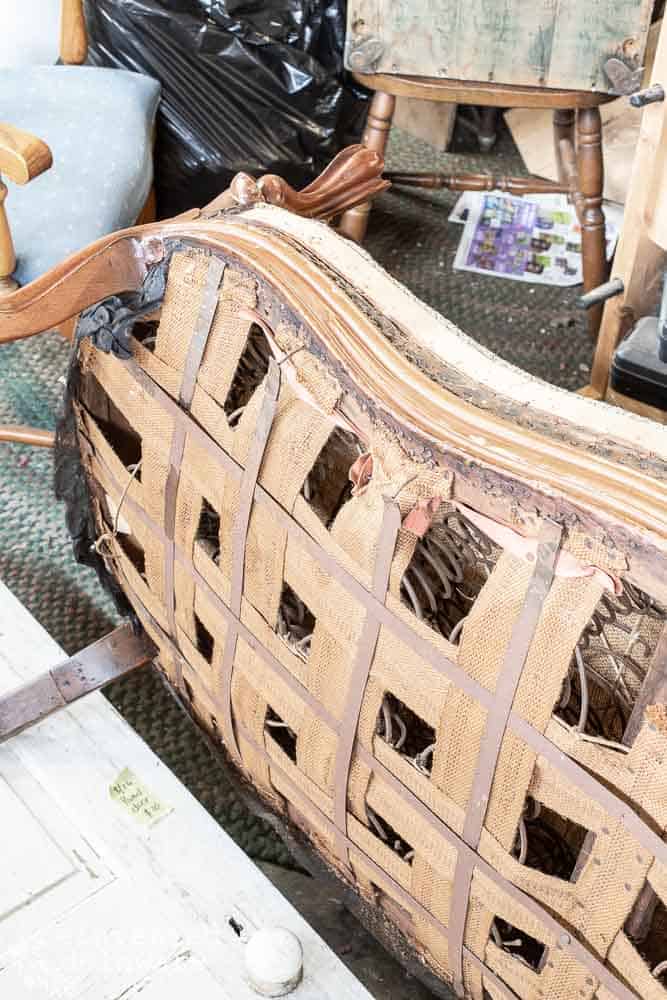
After vacuuming the seat section, I turned the settee on its back – very carefully since there is damage on the curved parts of the back.
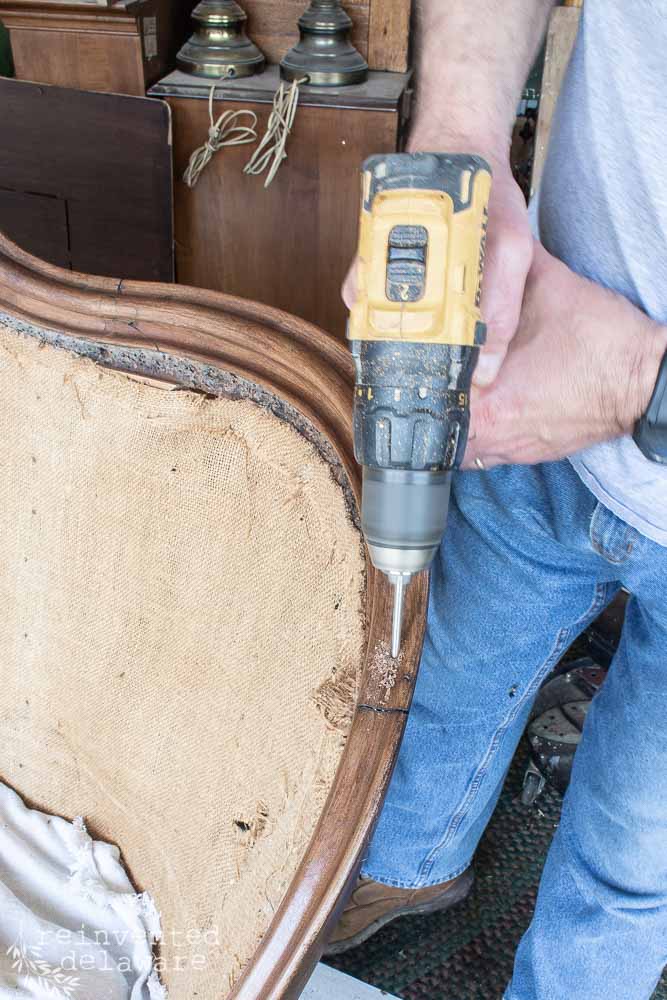
repair wood furniture
The metal strips were in good shape except for a few that were loose. The metal straps were nailed on and needed to be secured.
You can also see the springs in the image below. They were all still attached and in great shape! Amazing, right?? I mean this settee is at least 100 years old!
Making sure the skeleton of the piece you will reupholster is a very important step that should not be skipped!
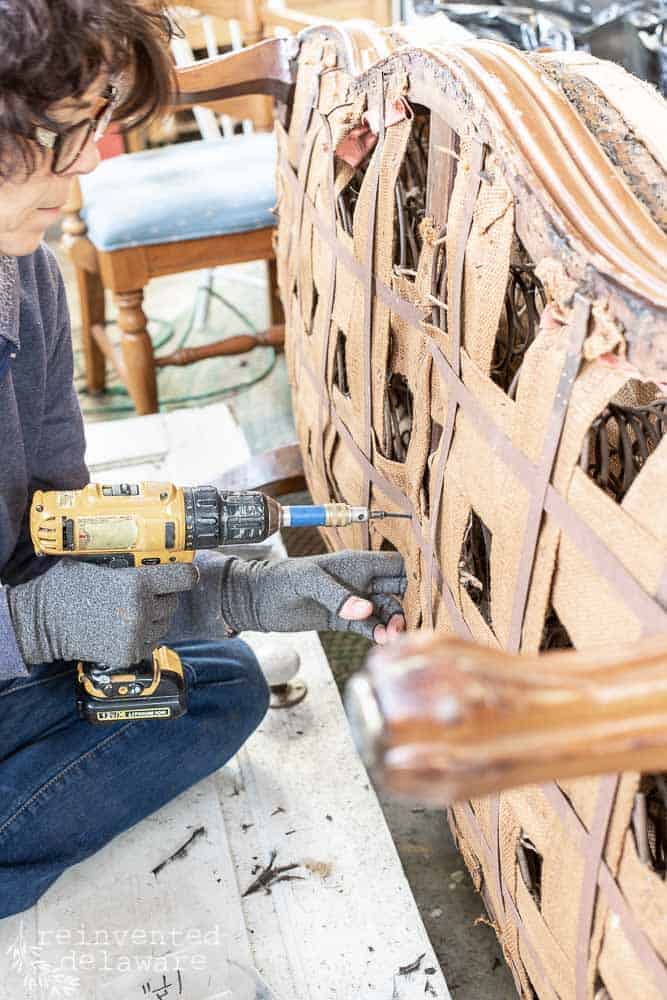
I used wood screws and attached the metal straps by first drilling a hole through the metal and then into the wood bracket on the inside. You can’t see the wood bracket in the image, just take my word for it, it’s there!
I reattached the loose metal strips around the perimeter of the settee also. The wood was damaged so I was very careful while reattaching the metal strips.
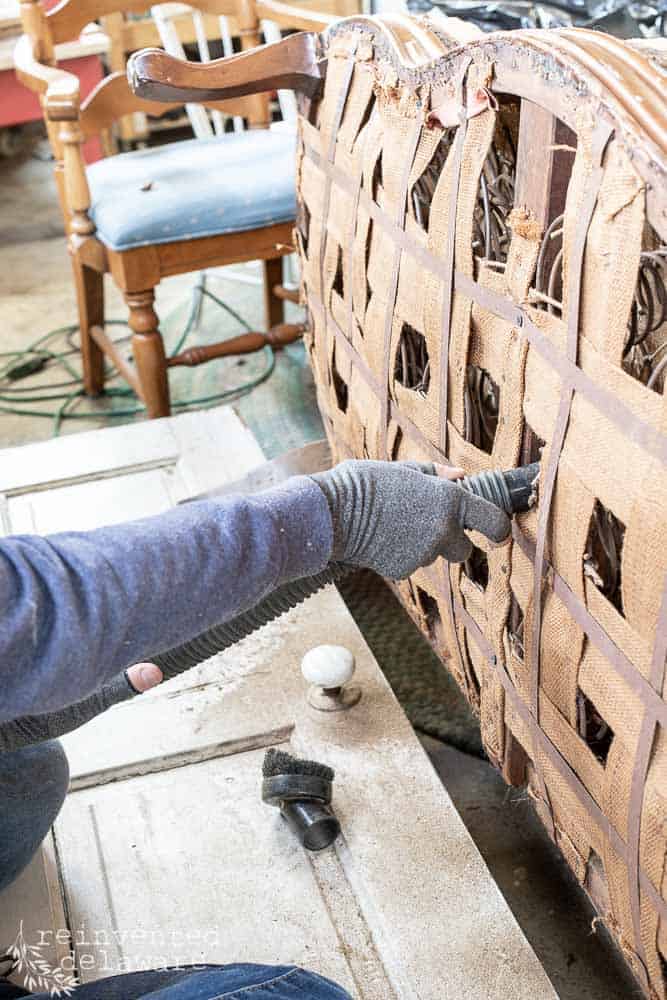
After reattaching the metal straps, I pulled out my shop vac and thoroughly vacuumed the underside where the springs are. The burlap layer had started to dry rot and there was a fair amount of debris. I will attach a new dust cover but I still wanted to get out all that I could while the settee bottom was accessible.
two days later….
Whew! That’s a lot of work! It was a solid two days of steady work in my workshop to get to this point!
Next, we will talk about the repairs of this lovely lady! At 100 years old, she needed a bit of reworking! 😉
Be sure to stay tuned – I will be sharing the steps it takes to reupholster an antique victorian settee like this one!
If you would like to read more about the victorian chair I mentioned earlier, check out these posts!
join our journey!
Thanks so much for stopping by for this post on how to reupholster! If you have any questions about this or any other project, feel free to ask in the comments below!
You can also find me on Instagram and Facebook! Follow along on Pinterest for more inspiration!
UPDATE: HERE ARE THE LINKS TO MORE POSTS ABOUT THIS SETTEE
Just click the image to head over to the post!
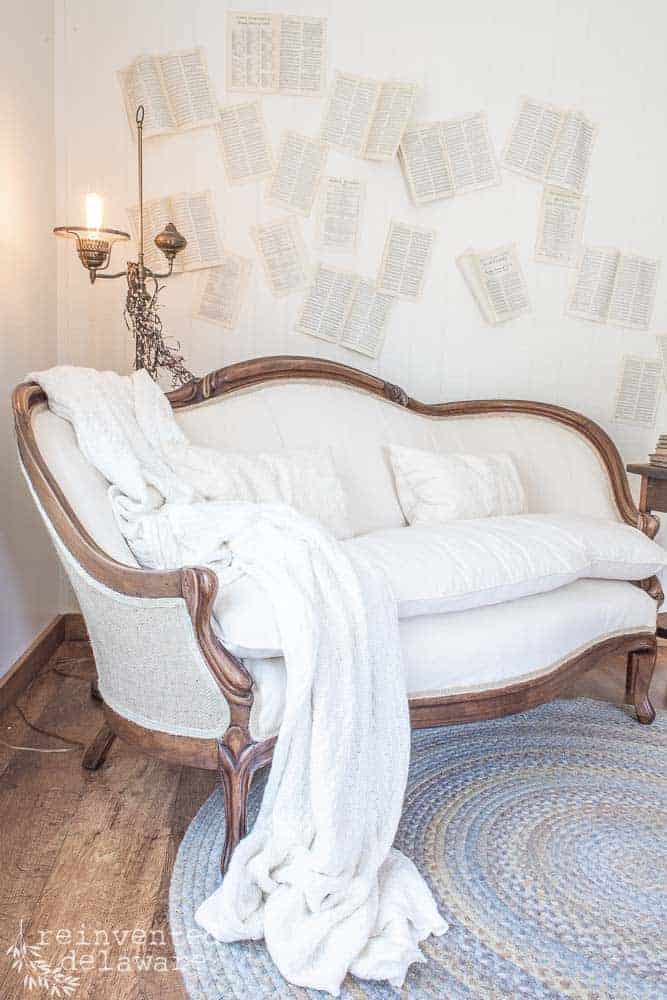

The bride will be so happy with your work! What an undertaking. Such a big job and you knocked it out of the park!
Thanks Marie! She was a ton of work but certainly worth it!
Wow, you are brave. What a big job.
Can’t wait to read post 2. Off to read.
It was definitely a big job, but well worth it! 😊
Love this tutorial!! How much material did you purchase/how did you measure what you needed?
Thanks!!
So glad you enjoyed the tutorial! Right off-hand, I can’t remember how much fabric I purchased. You can use your sewing tape measure and go around the piece, section by section, and record the inches. Then add it all up in the end and convert it to yardage. It’s always a good idea to purchase extra fabric. Better safe than sorry where that’s concerned! Happy reupholstering! 😊