
Small Desk Cabinets | Upcycle
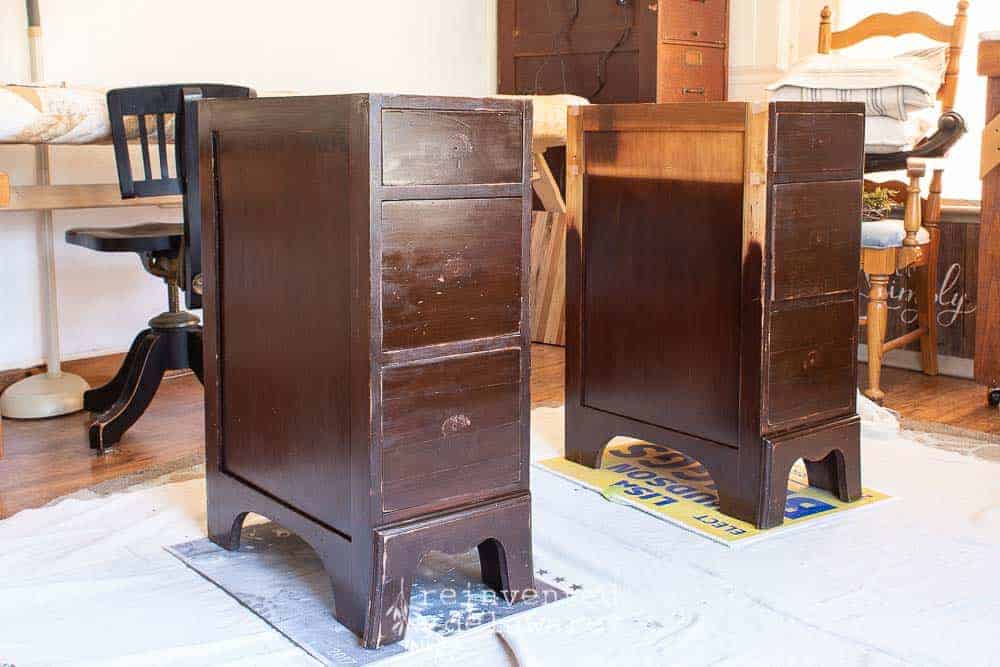
I was shopping at my local Restore with one of my daughters and spotted the cutest desk across the room. You know I made a b-line for it! Our customers are always looking for small side tables or bedside tables. I knew the small desk cabinets on this piece would be just what they would be looking for!
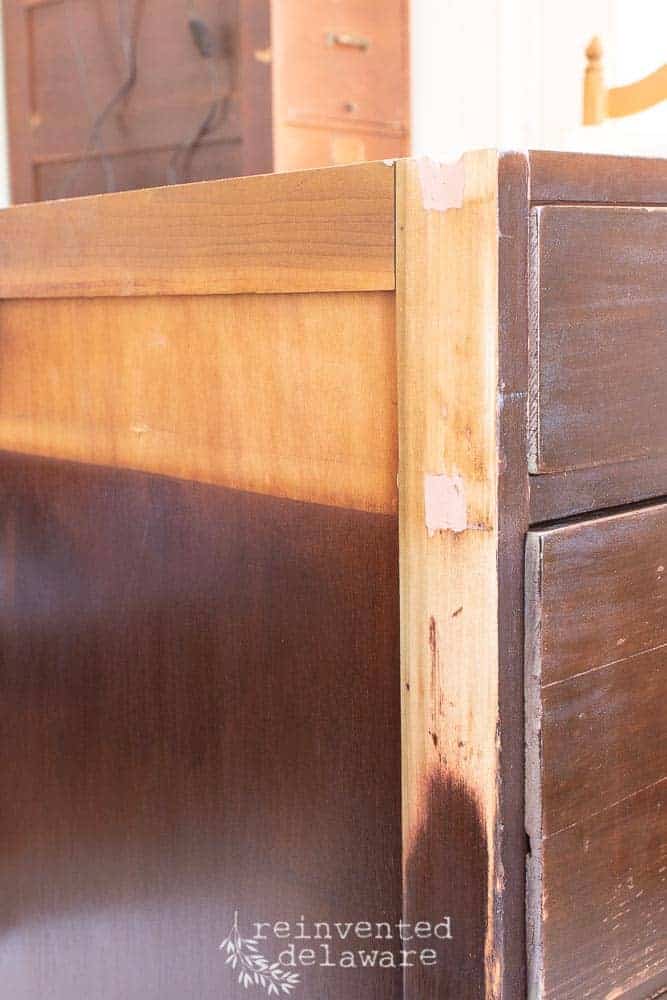
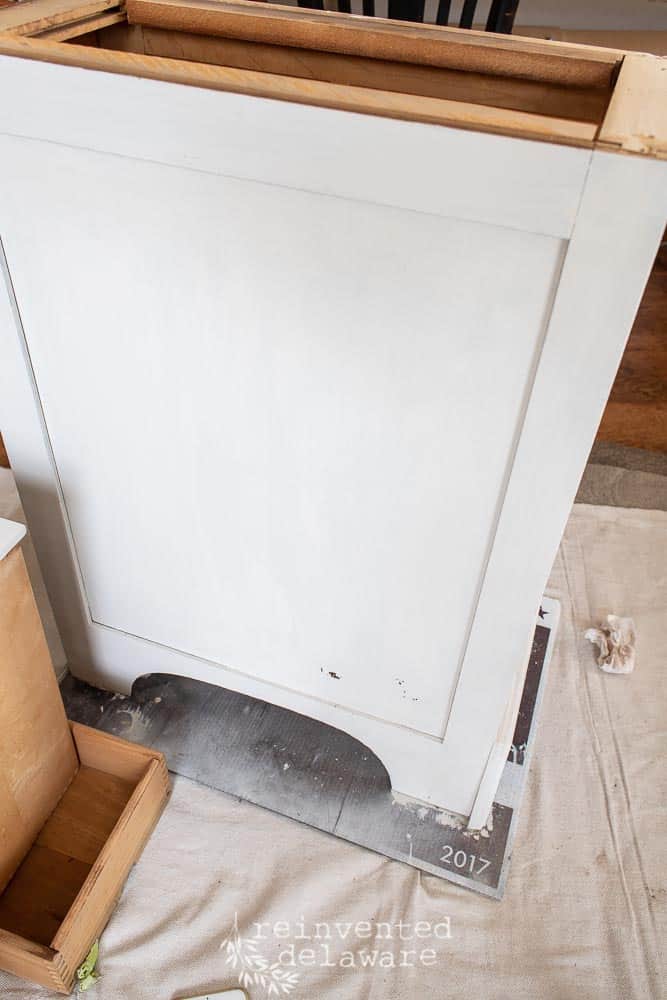
remove the top
The top was super easy to remove – just a few nails that weren’t that secure in the first place. The top of the desk is currently in my stash waiting to be used in some other project. We are forever taking furniture apart and reusing the pieces in other projects.
Anyway, the holes that were left from the small desk cabinet bases being attached to the middle drawer had to be filled. I talked about how I do this on my Instagram stories. I basically used the same steps when I patched up similar holes in this vanity makeover.
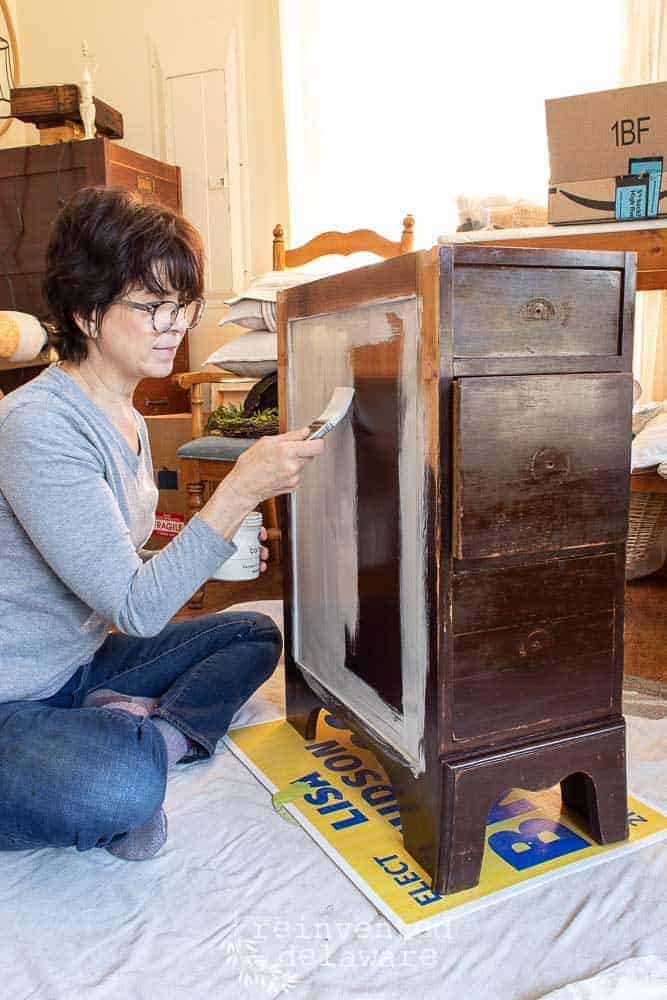
seal the reddish finish
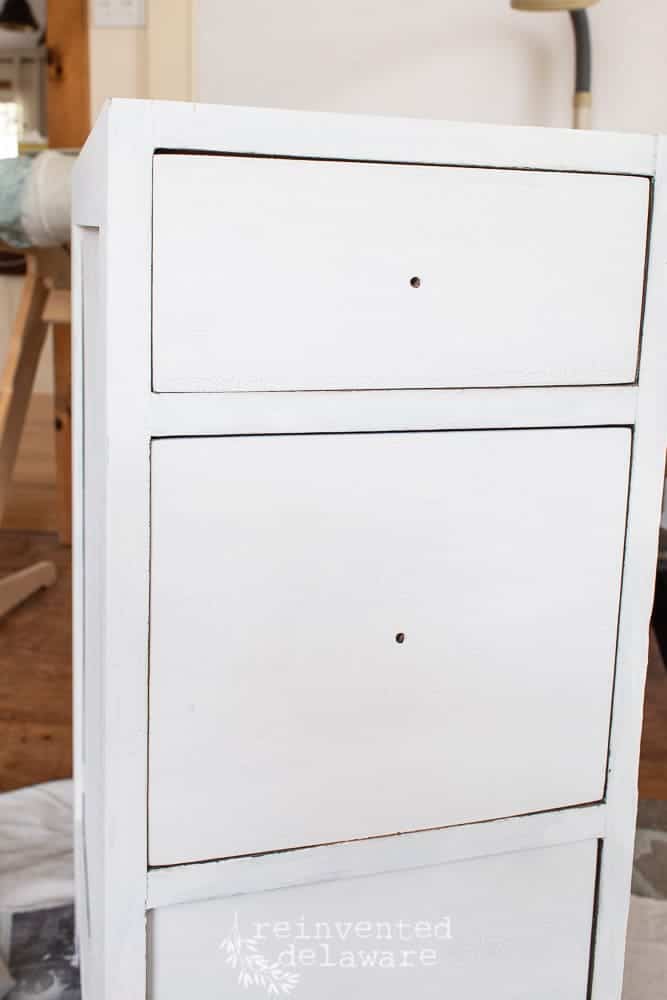
The next step was to give them a good coat of Zinsser Shellac in Clear. The cabinets had a fair amount of red tones showing and I don’t want them to bleed through the light color paint I have planned for this pair of small desk cabinets.
The next step was the paint! I really enjoy painting furniture, can you tell??
first coat = rough looking!
Miss Mustard Seed Milk Paint always looks a little rough after the first coat! Especially the lighter colors like this Grain Sack color.
The Zibra Palm Pro Brush helps this paint to go on with ease!
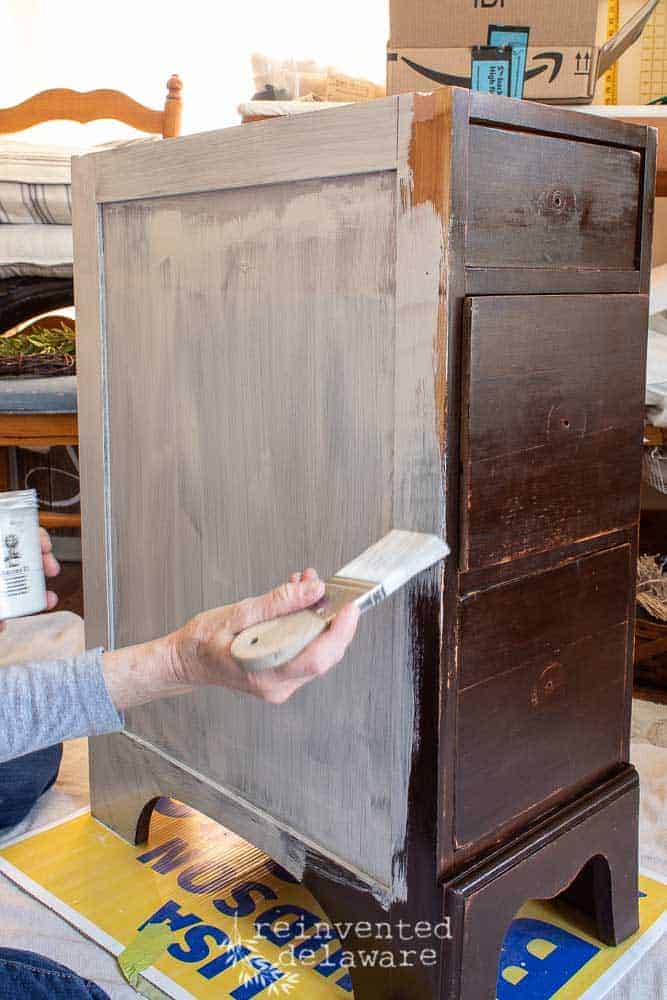
I have learned after painting many pieces of furniture and other home decor pieces not to give up after I see the first coat! Just let it dry and come back to it!

now that’s better!
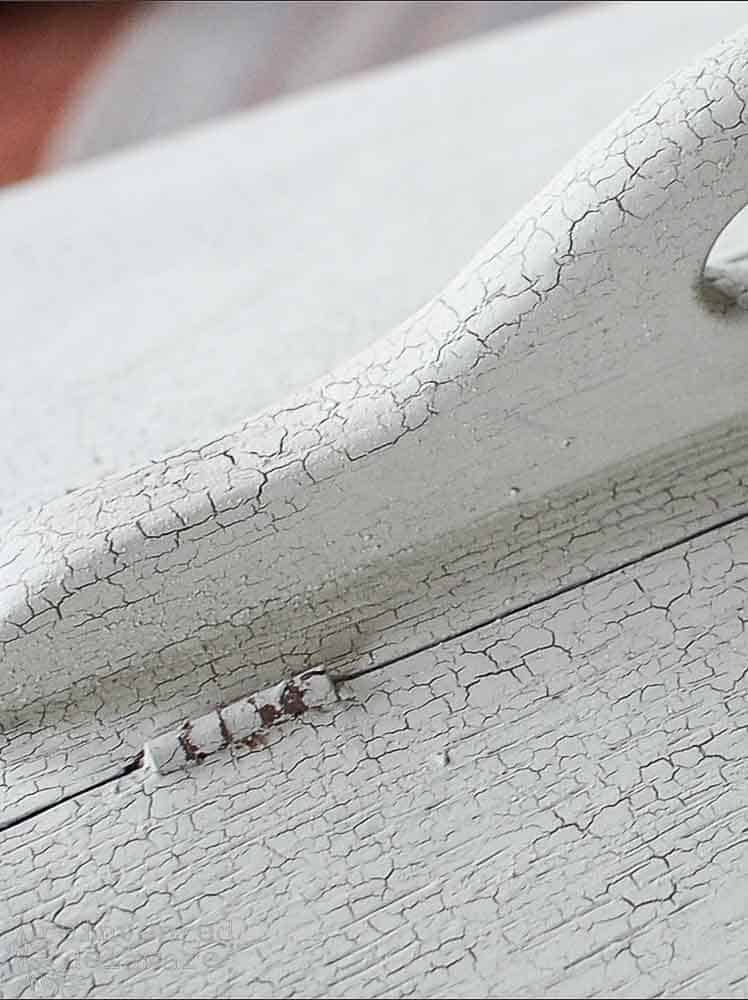
Ahhhh yes, better after the first coat! Even some chipping action has started to happen!
Yeah, it’s a good day!
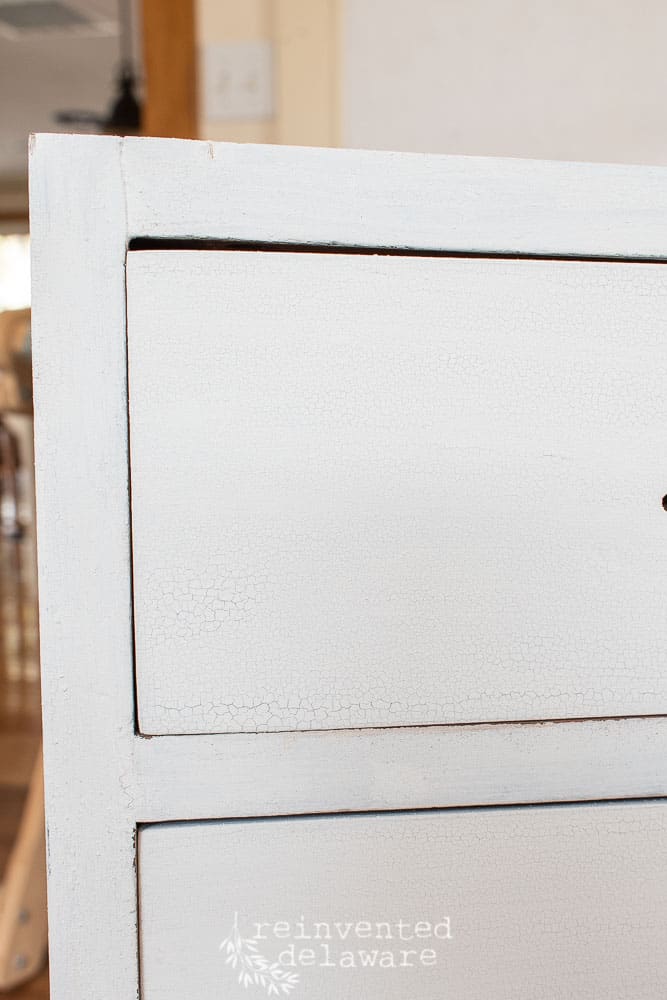
visual texture
I had to touch up to just a few spots. Look how the crackling is starting to happen! That comes from the coat of Shellac that I added to prevent the red from bleeding through. It also causes the crackly look.
The crackling adds visual texture to an otherwise flat piece of furnitue. But I didn’t stop there! I knew I needed to add more interest to the fronts of these cabinets but I am not quite ready to show you that! Next post my friend!
a little help from my friend
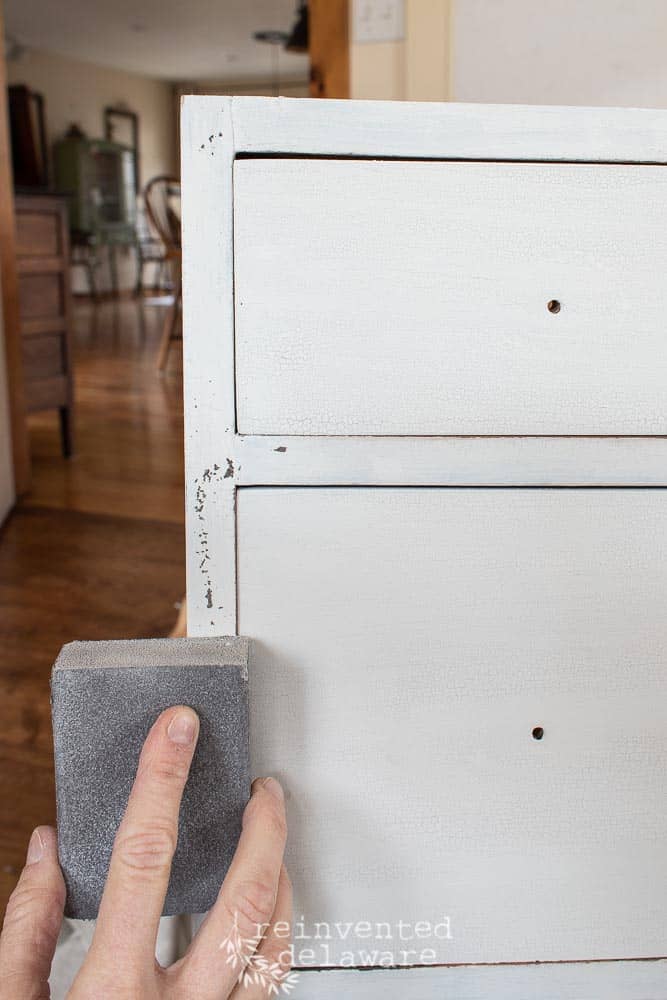
Miss Mustard Seed Milk Paint chips beautifully but sometimes I coax it along with the flat edge of a knife. Yes, I take a knife to some of my projects! The flat blade helps to scrape off bits of the paint without damaging the furniture. I have used this method on many pieces and I am very careful not to gouge the furniture!
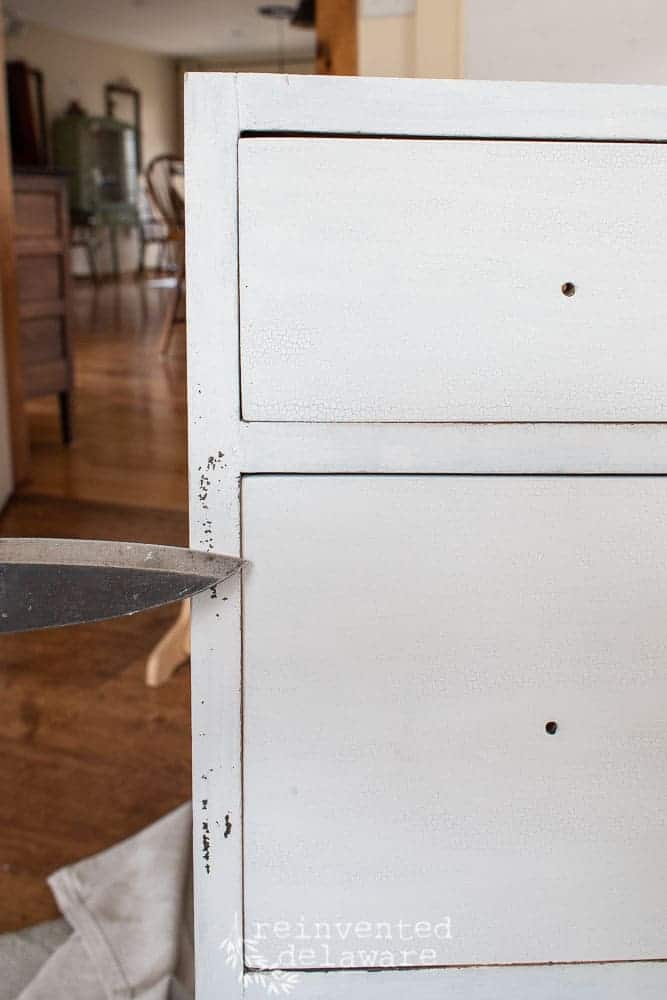
Then I used a worn-out, fine-grit sanding sponge and to go over the whole piece to smooth out the milk paint. Milk paint usually leaves a bit of a rough surface after painting and the sanding sponge takes care of any roughness on the piece. You can do a bit of distressing while you go over the piece as well.
just my preference
Let me mention that my preferred method of aging a piece is allowing the paint to chip off naturally or coaxing it with my flat edge knife. I really love the chipped off over time look as opposed to the worn off over time look.
That is just my personal preference though!!
cliff hanger!
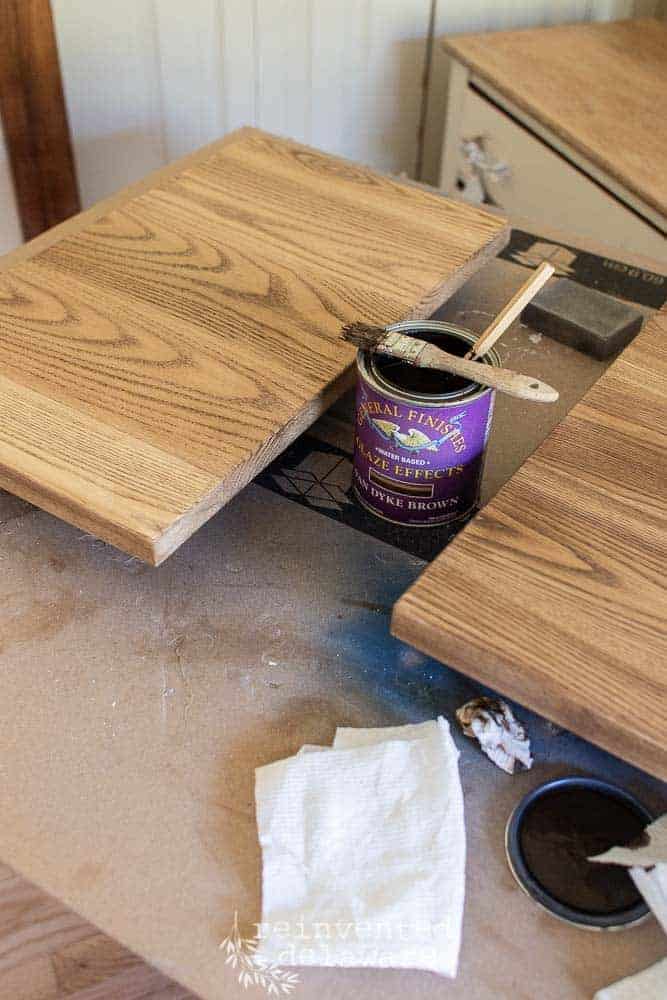
In the next post, I will share how I age the oak wood tops that my hubby built for these small desk cabinets! I even have a little video tutorial for you!
I’ll share it with you next time!
thanks for stopping by!
Thanks for stopping by! We love to share our tutorials and our projects with you! Hop over to Instagram and Facebook to see what we are working on today!
Join our email for more inspiring projects! Sign up below or in the sidebar!
Happy reinventing!

Cant wait to see the finished look!
Thanks Joan!! That post is coming soon?