Oak Fold Down Secretary Desk |The Before
This is the first of a three-part series about restoring an oak fold down secretary desk! In the series, we will cover sanding the piece thoroughly, repairs and finishes. Let’s get started!
custom work
The last few weeks have been a blur of custom work around here! I am certainly not complaining, just trying to keep up 😉
This fold down secretary desk didn’t start as a custom piece, but after showing it on Instagram stories, it turned into one!
One of my followers saw it and asked about the dimensions.
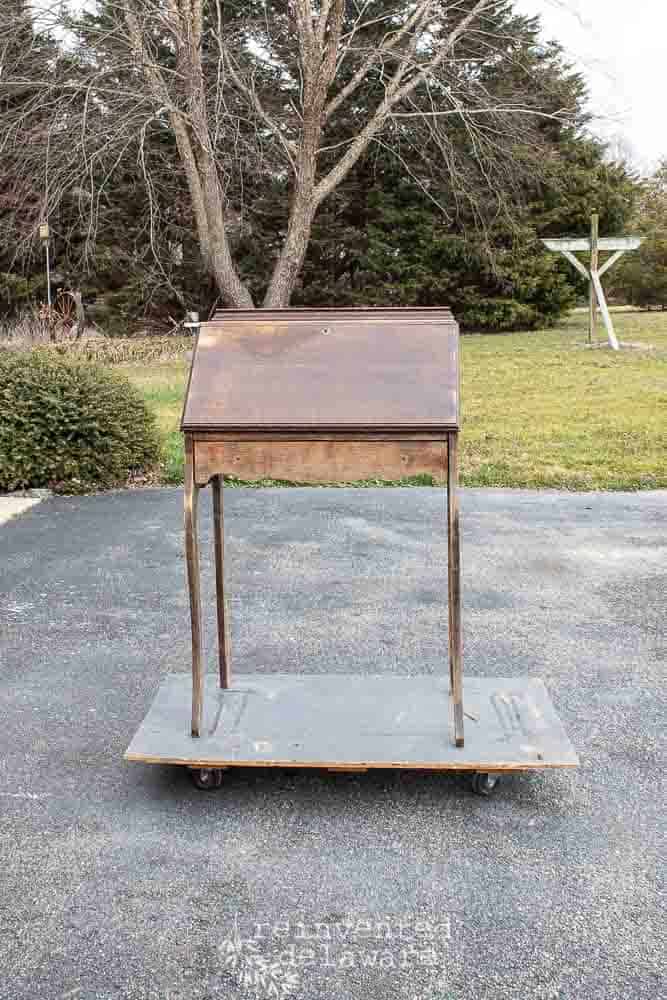
I messaged her back with the dimensions of 40″ Tall, 26″ Wide, 16″ Deep (closed) and 28″ Deep (open). It didn’t take long before she got back to me with a “sold” in her message! This was the perfect piece for the area she was thinking about for her home.
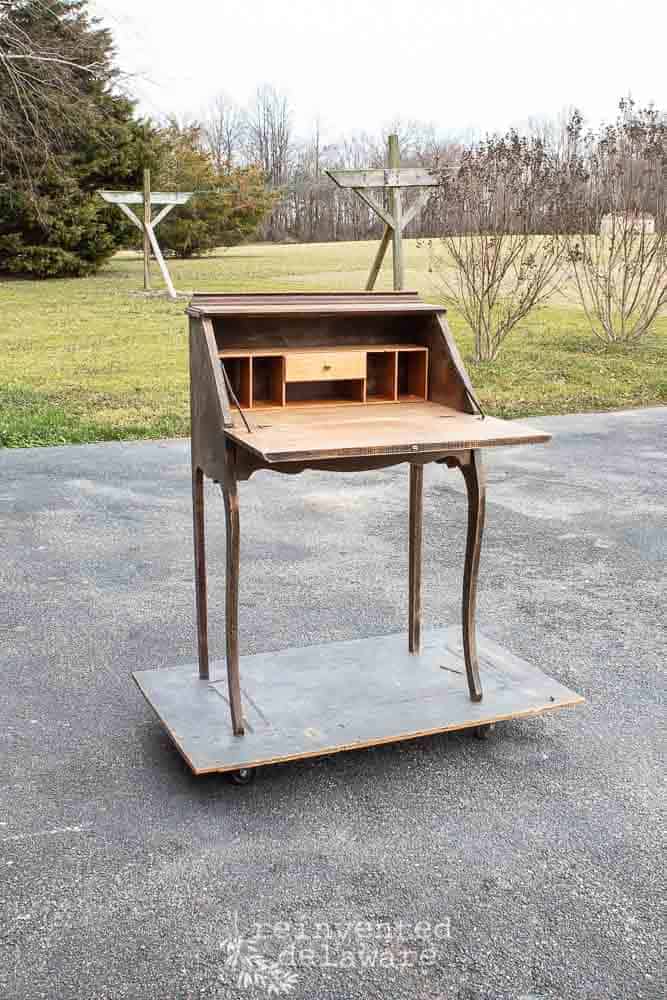
solid piece to begin with
The fold down secretary desk was in pretty good shape except for a bit of wobbliness in the legs. At one time there had been thin, wood dowel-type rods that spanned the area between the two front legs and the two back legs. They had been removed before we came across this piece. We’ll deal with that problem in the next post.
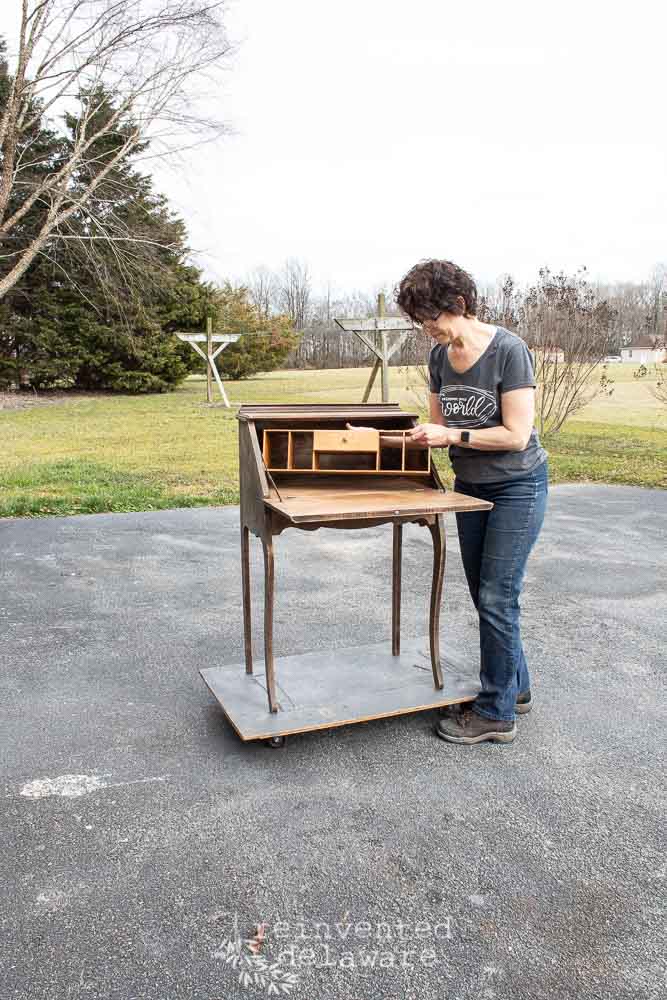
In order to thoroughly sand down each section, the interior organizer needed to be removed. The organizer was already loose (yay for vintage furniture!!) so just a bit of jiggling loosened the two nails that attached it at the top of the inside of the desk.
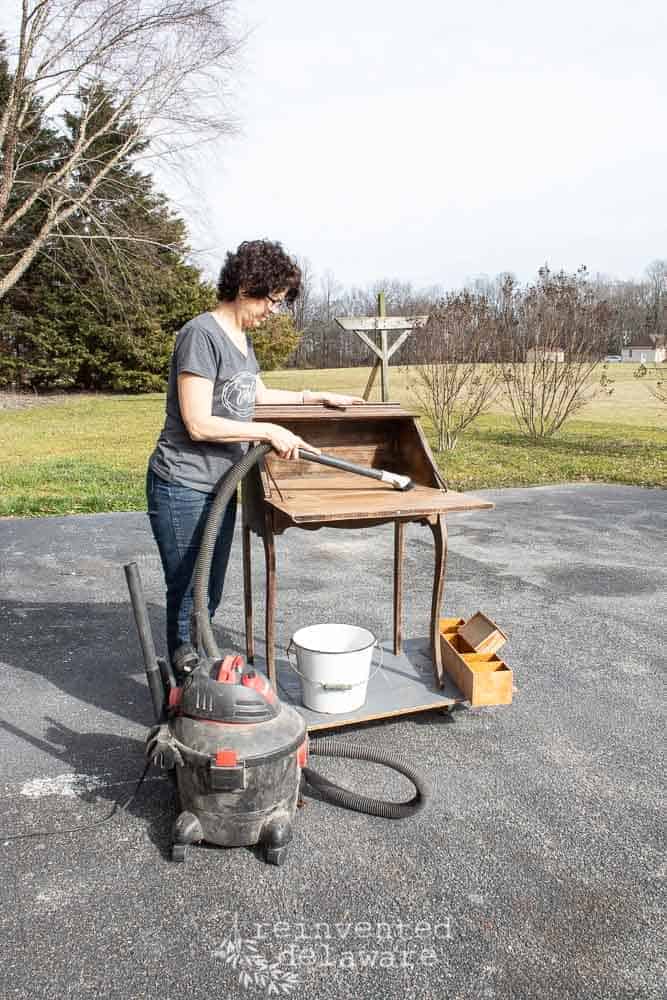
I sanded the piece then ran the shop vac over the whole thing. This removes most of the dust that the sander creates and helps with the next step of cleaning.
natural wood or paint?
At this point in the makeover, the client had not completely decided if she wanted natural wood or paint. So I proceeded with the cleaning just to be on the safe side in case she wanted it painted.
I made up a solution of Simple Green and hot water to clean the piece. I also like to use a green scrubby pad and microfiber cloth. The green scrubby pad, similar to a Scotch Pad, acts as a sanding tool. I go along the grain with this just to be on the safe side. It is really good at removing the oils and dirt that build up over time.
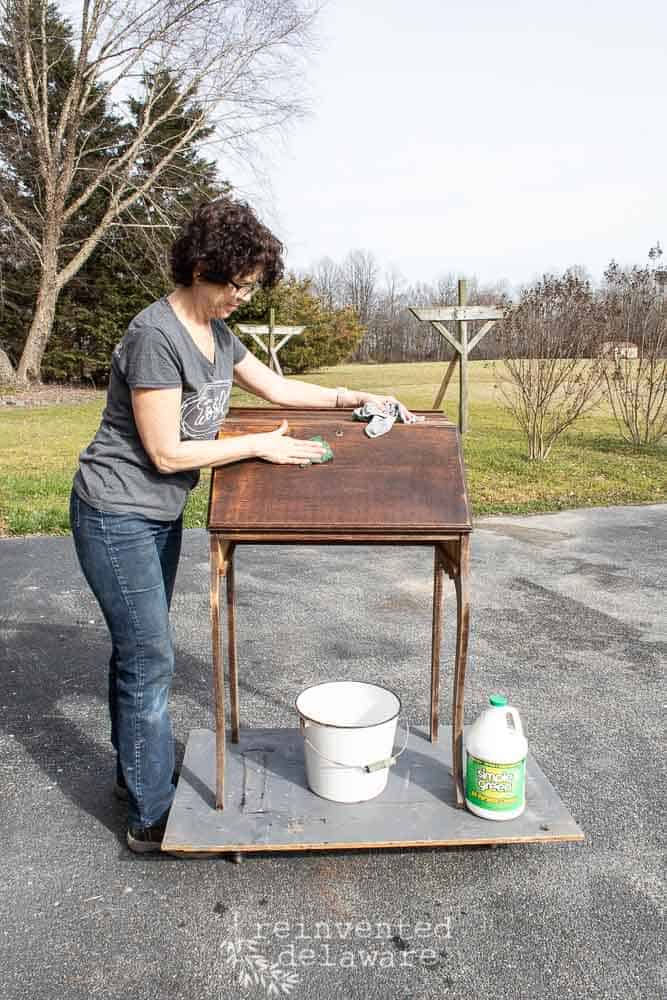
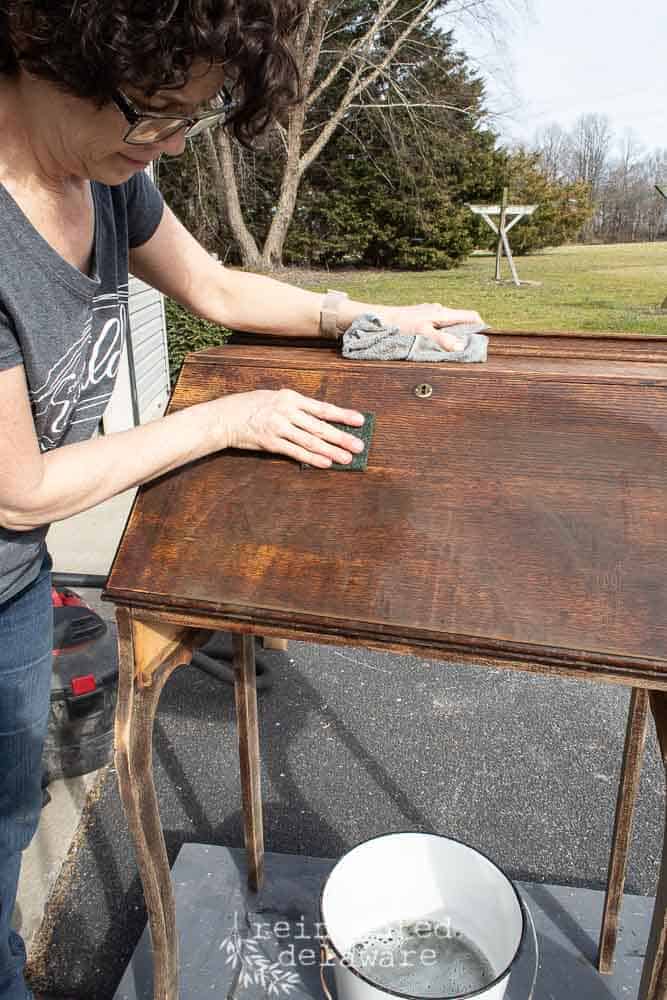
obvious choice
As I continued to story the process of sanding and cleaning on Facebook and Instagram, it became obvious that we needed to leave this piece natural! Can you see why?? I mean, look at that gorgeous oak wood that was under all the layers of dirt, oils and years of use!!
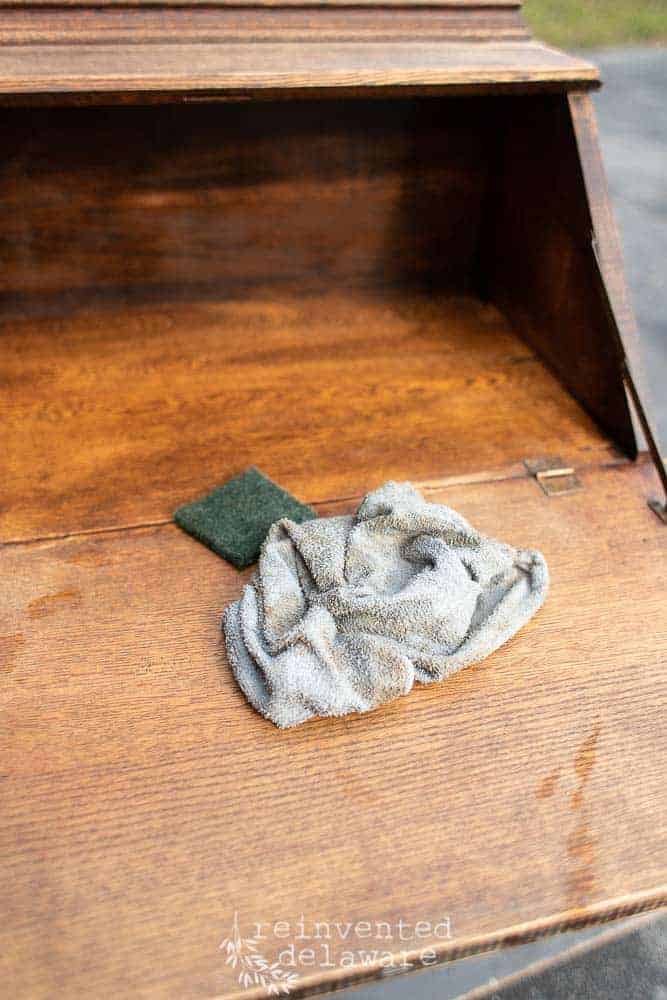
the client agreed!
The client decided to keep the natural wood and to restore its beauty since the oak wood was in pristine condition. I love that decision! I don’t often find pieces that are in such good condition that allows me to finish it in natural wood.
serious sanding
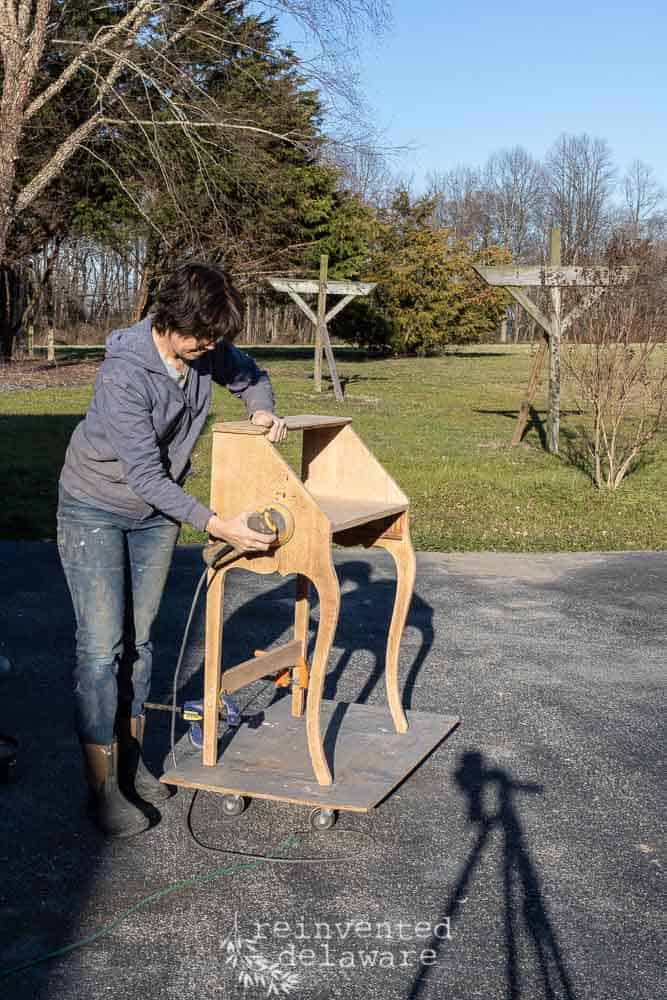
Out came my buddy, the DeWalt Orbital Sander! I took the back off of the fold down secretary desk so that I could get into all the nooks and crannies.
I also knew I wanted to do something special to the back piece. We’ll talk about that in the next post!
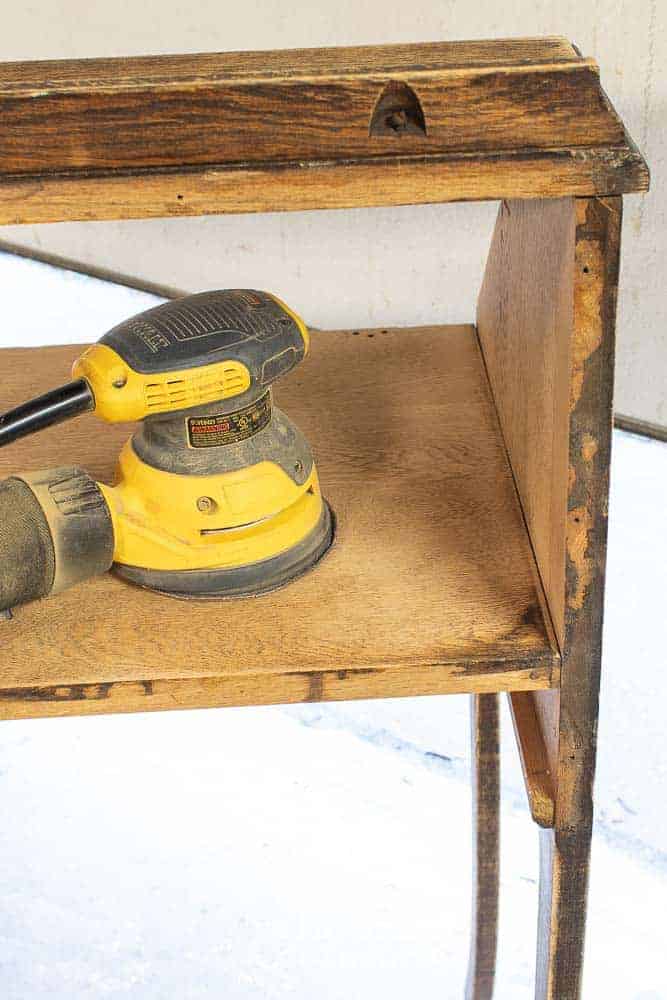
I started the sanding process with 80-grit sandpaper on the orbital sander. It is very abrasive and I knew that I would begin to see the true beauty of this oak in no time.
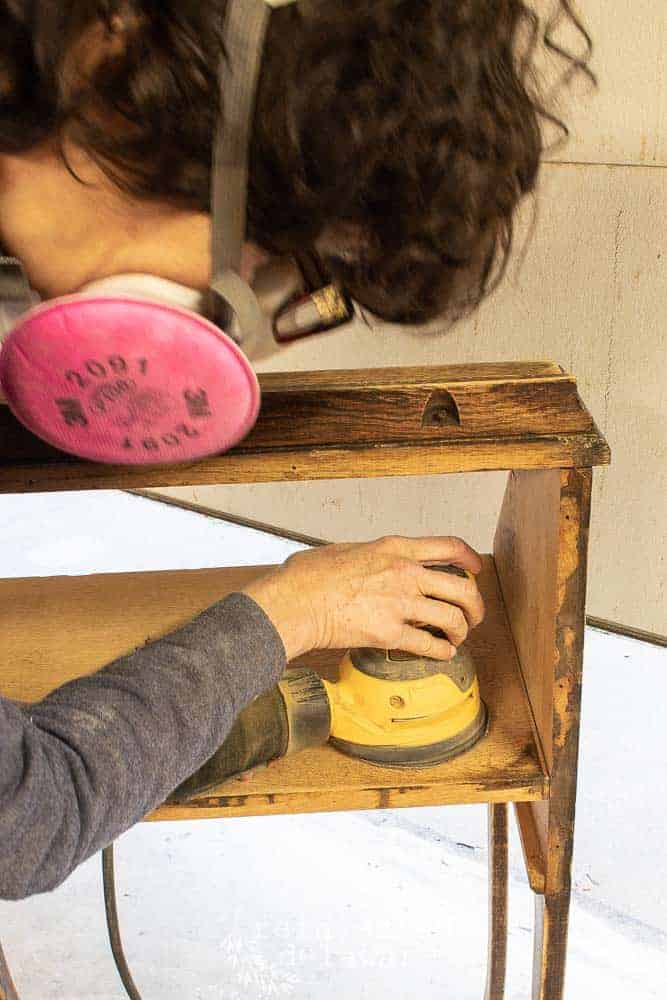
It’s easier, for me at least, to turn the piece of furniture on its side when sanding the sides, front and back of a piece. Gravity helps my shoulders when sanding down the finishes to reveal the bare wood.
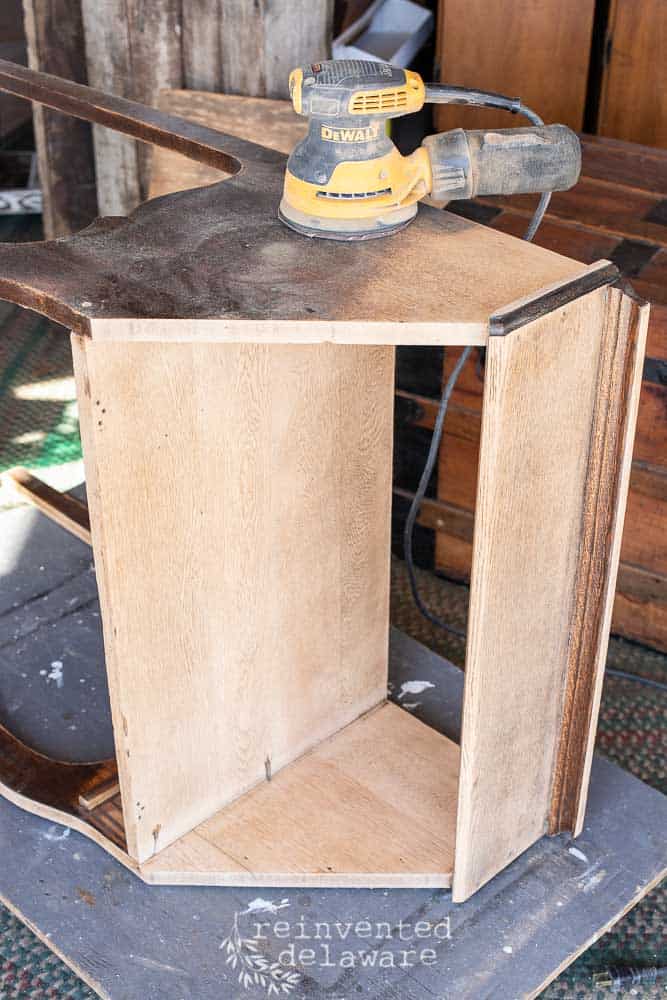
Look at the difference the 80-grit sandpaper makes! It removed the clear coat (probably an oil-based urethane or shellac) and the dark stain color with ease!
I did change the sandpaper frequently. I think I used 4-5 sheets of the 80-grit. That might sound like a lot but as soon as the sandpaper lost its effectiveness in removing the finish, I changed it.
Patience is not my strong suit!
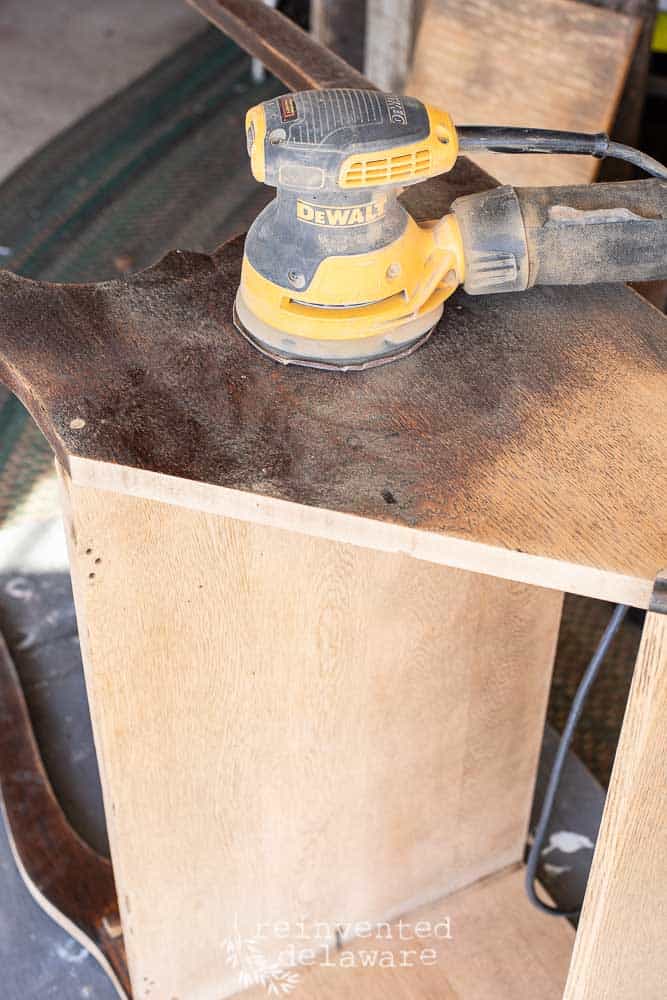
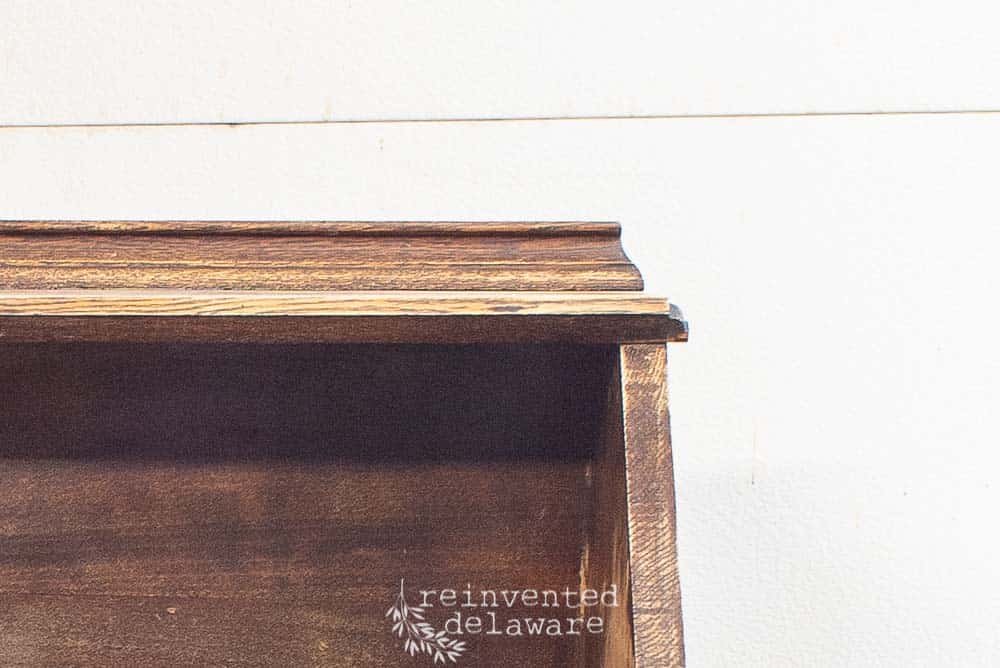
Most of the surfaces on this fold down secretary desk are flat so sanding with the orbital sander was a breeze. There was only one section that I knew would be a bit challenging – the decorative section on the very top of the desk. It acts as a sort of backsplash on the desk so that if you have a lamp on the top it won’t scoot off the back.
It was easy to remove with a couple of screws that I could access from the back of the desk.
detail sanding
Since the details on the back piece were pretty intricate, I knew it would have to be sanded by hand. Hubby has a wealth of knowledge in woodworking ability and tools. So I asked him for a tool recommendation for this intricate detail.
He suggested a scraping tool. Meet me new best friend! Skilled woodworkers use it to sand pieces often instead of sandpaper. Me?? I like my power tools!
The scrapers come in all sorts of shapes and sizes, some with flat edges, pointed edges and curved edges just like this one.
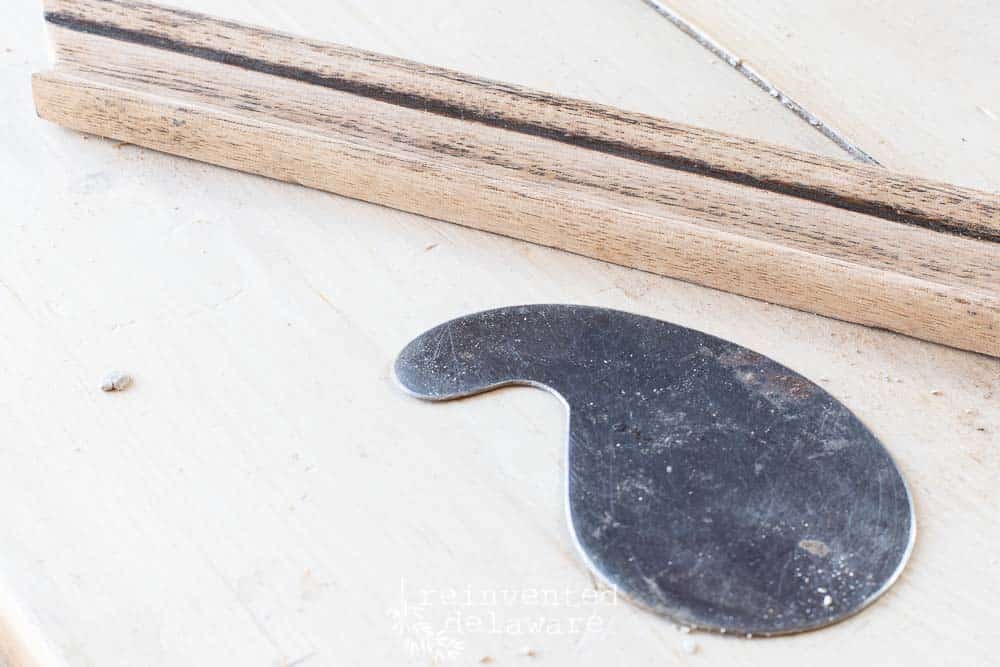
One side of the edge is slightly rounded towards the other side which creates a sharp edge on the other side.
I used the sharp edge in the curves and crevices to scrape off the finish.
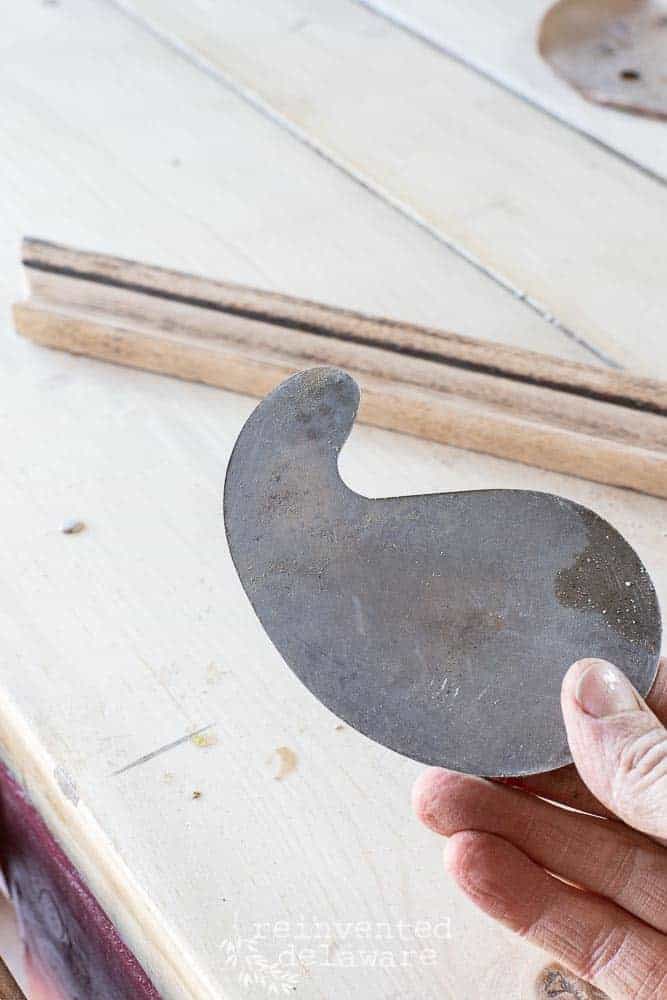
It’s really a matter of finding just the right angle to hold the scraping tool so that it lays in the grove or in the curve of the decorative piece.
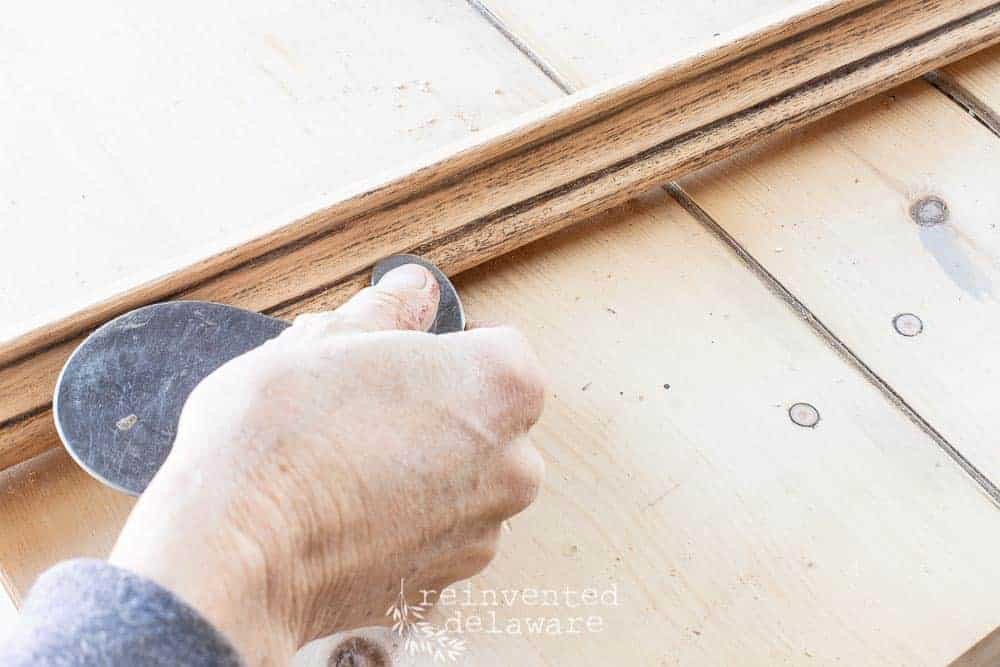
I used small movements, scraping as I went. It is amazing how easy this tool is to use and I will definitely keep it around for future projects. Thanks to my hubby for having all the cool tools!!
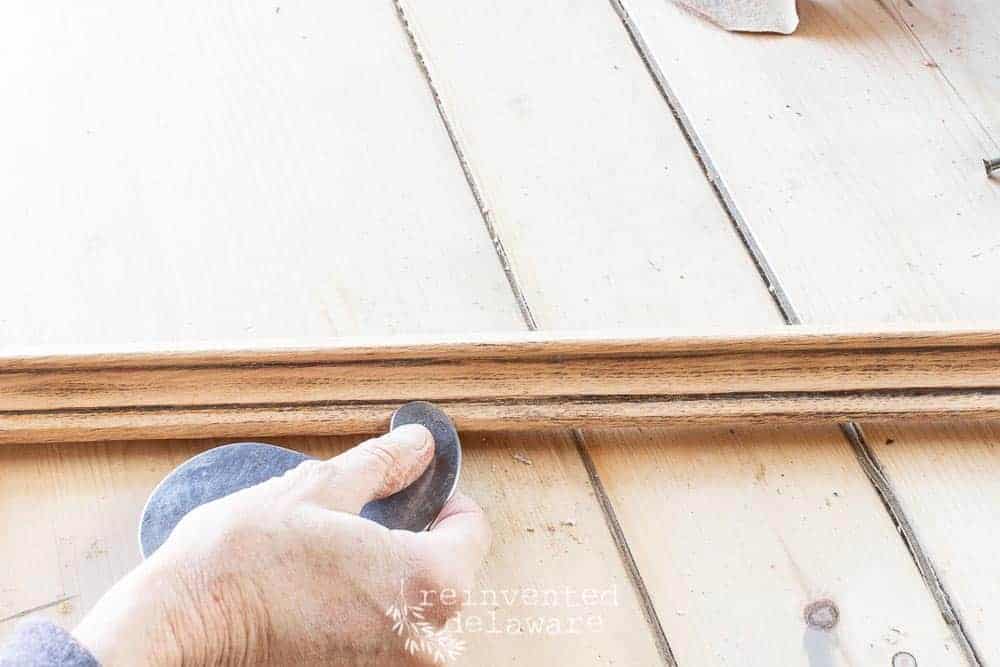
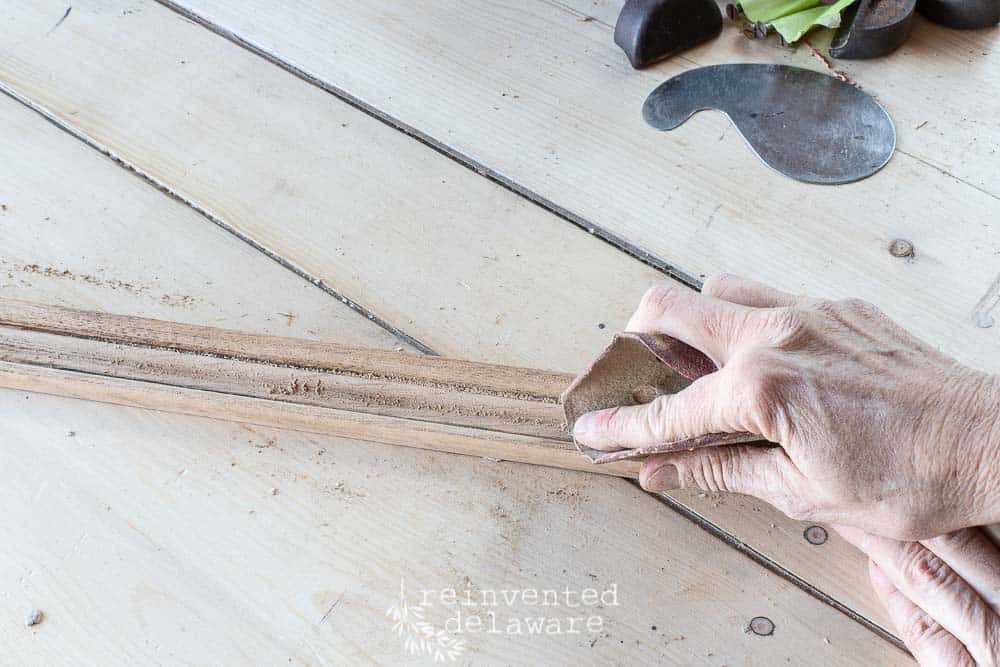
Next, I used a piece of folded sandpaper in the grooves….
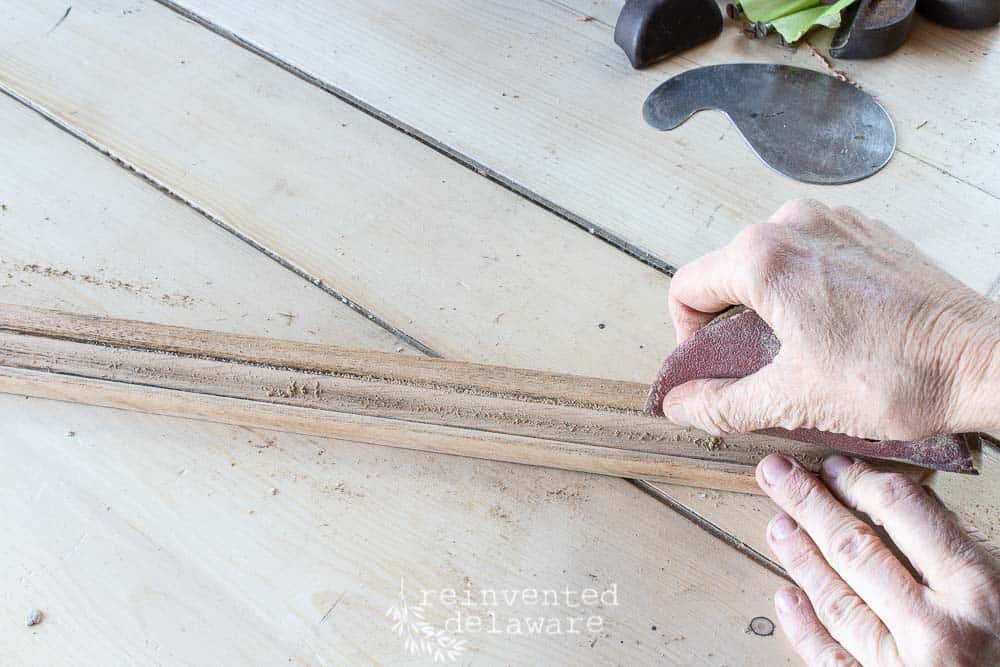
…and with the pad of my finger to get into the rounded surfaces. I used the two methods, scraping and sanding, alternatively to remove all of the old finish and stain that I possibly could.
final sanding
After all the initial sanding was finished using the 80-grit sandpaper, I changed out the sandpaper to a 150-grit and sanded the whole piece again.
Yep, that’s a lot of sanding and I was really grateful for a gorgeous sunny day to do it!
more to come!
In the next post, I will share about the repairs that had to be made to this solid oak fold down secretary desk! I can’t wait to show you the finished project so stay tuned!
I invite you to follow along our reinventing journey by subscribing to our blog updates below. You can also follow along on Instagram and Facebook! We love to share behind the scenes of many of our projects!
Thanks so much for stopping by!
UPDATE: The second part of this three-part series is ready to read! Click here!

By chance do you know the manufacturer and approximate year built for your desk? I inherited a nearly identical desk, and an looking into it’s origin.
Thx
Hi. I wish I knew more details about this piece. It was a custom refinishing project for a local customer. She was in her middle 60s and received the desk from her father. He had it for a very long time but she wasn’t sure how long. Try using Google camera in the Chrome browser on your phone. Take a picture using that camera and it might help you search for similar desks. Good Luck hunting! Thanks for stopping by!