
Custom Cabinets | Roll Top Desk
Today is the day that I can finally share with you a project that has been in the works for the past several months! This is how the custom cabinets got their start:
let the projects begin!
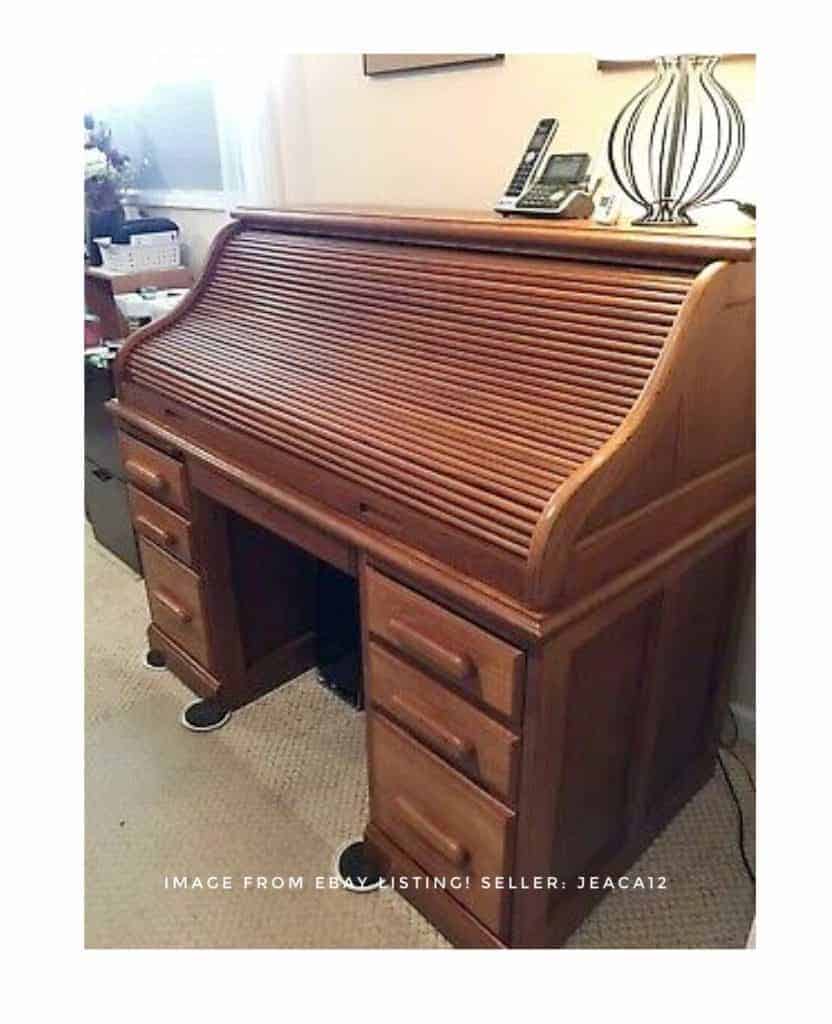
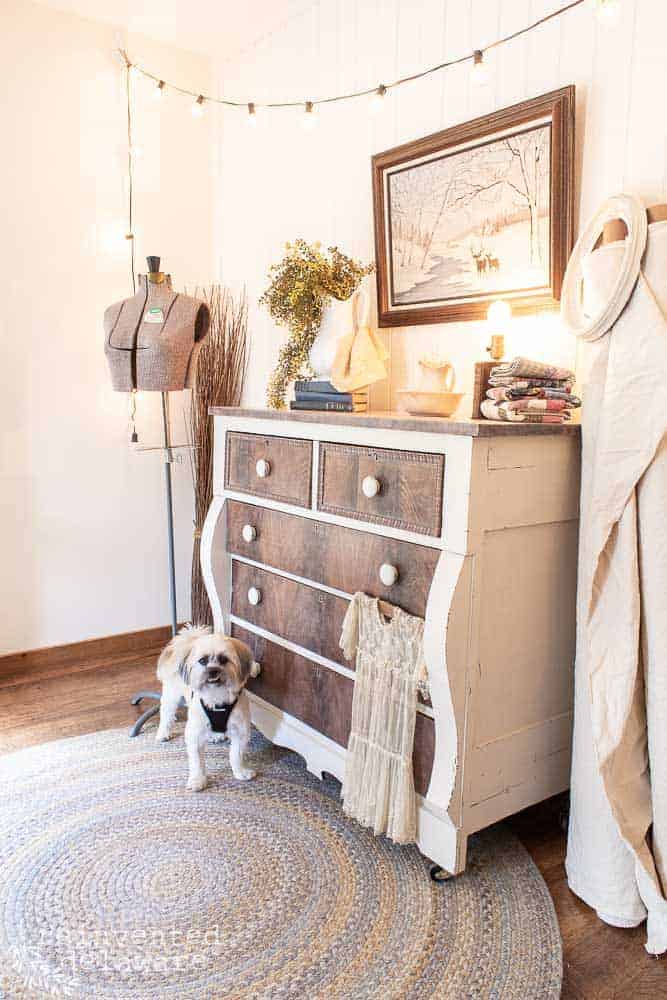
Ok, so not exactly. We had a similar roll-top desk given to us. It was in pretty bad shape so when we unloaded it from the truck, it literally started falling apart. The camera was the last thing on my mind at that moment. But this image from an eBay listing gives you a good idea of what it looked like in its hay day!
Like I said it started coming apart right from the get-go. Hubby started the first project using the top section of the desk. Be sure to read the full post. This is an easy project that doesn’t require lots of tools.
The two side cabinets that hold the top surface of the desk were next on the list. Before hubby finished the first project, the side cabinets sold!
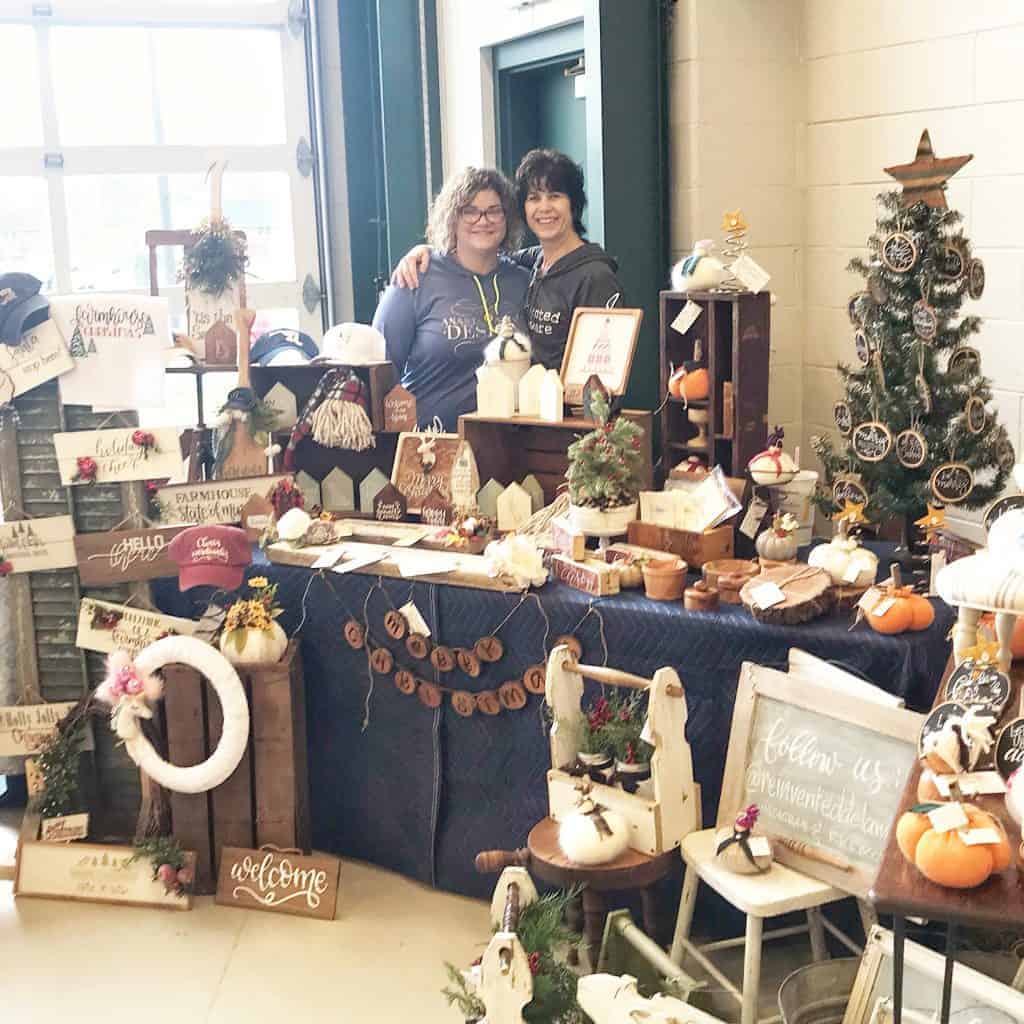
Let me explain. Remember when I talked about the craft and vendor shows I participated in along with one of my daughters?
a mama moment
Hang on – let a mamma brag for a minute! Our youngest has started her own side hustle making the cutest signs you’ve ever seen! We plan on doing more of these kinds of shows and markets coming up in the spring and fall. I will keep you posted!
history is a must-have!
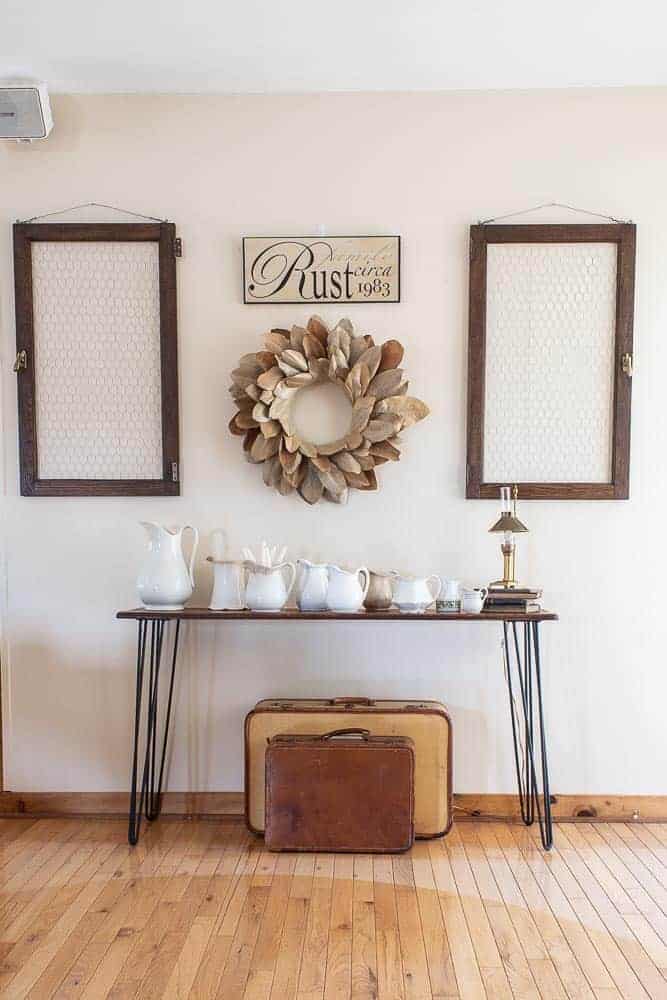
While at one of those markets, a customer saw the long sofa table on hairpin legs and fell in love. She knew she didn’t have a spot in her home for it but she still oooo’d and aaaa’d over it. She asked how it was made. When I told her that it was from an over 100-year-old solid oak roll-top desk, she fell even more in love with the piece. She said what she really needed for her home was a side table with storage.
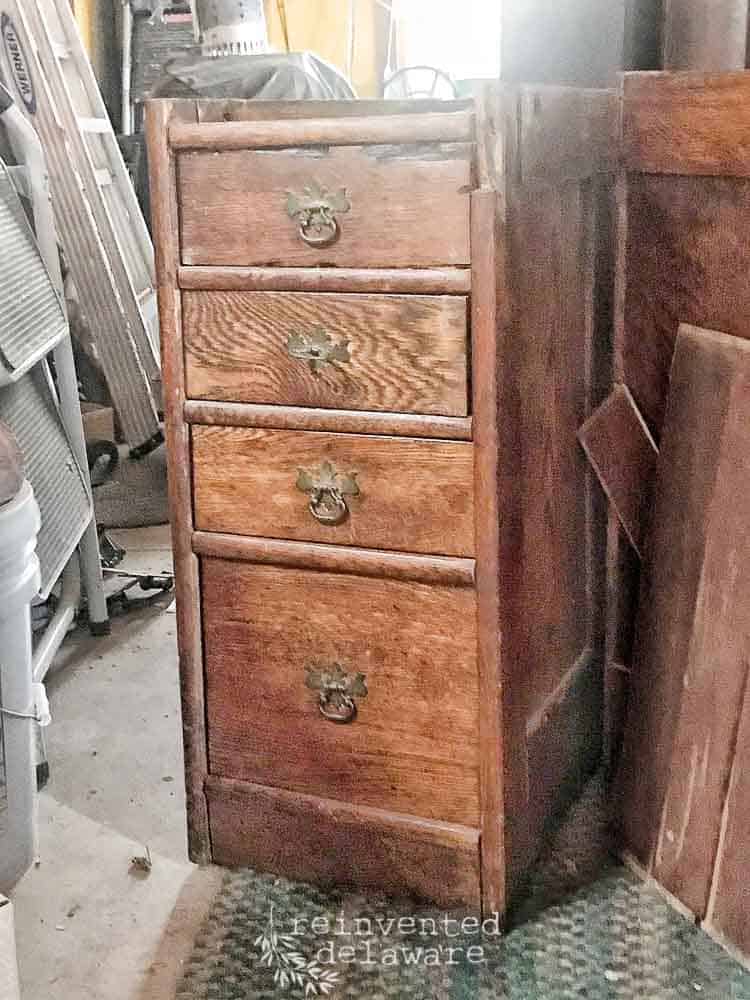
perfect fit
Hmmm, gee, did I have anything that met her needs in my workshop?? Of course, I did and it belonged to the same roll-top desk! The bit of history she wanted so badly when she saw the sofa table we had reinvented was going to be in her home!!
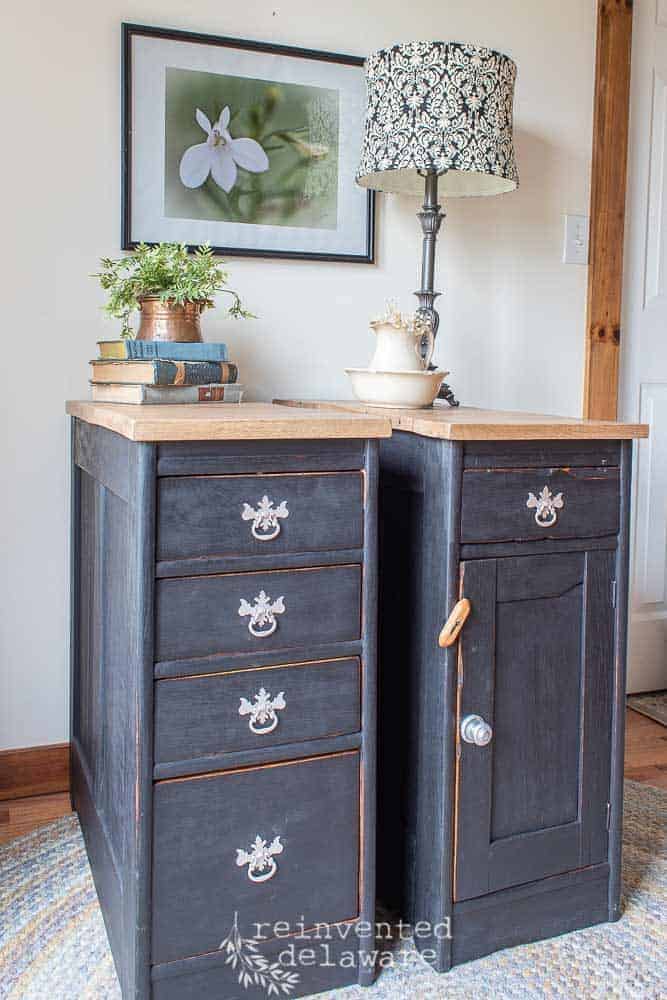
I told her I would text the measurements to her to be sure that these two pieces would fit in her home where she intended to use them. A week later, these two custom cabinets were spoken for!
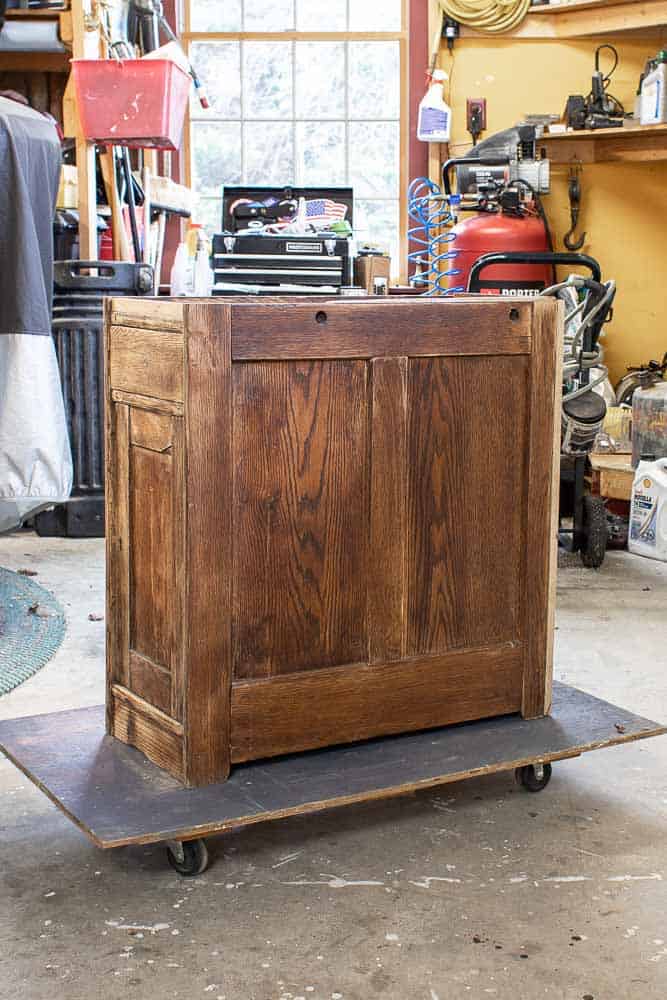
easy peasy
Obviously, they were missing their tops. But that is not a problem for my sweet biz partner! Here’s a quick rundown of his process:
- locate industrial size pallets
- bring home and dry out those pallets
- disassemble each pallet
- pull all the nails out with a crowbar
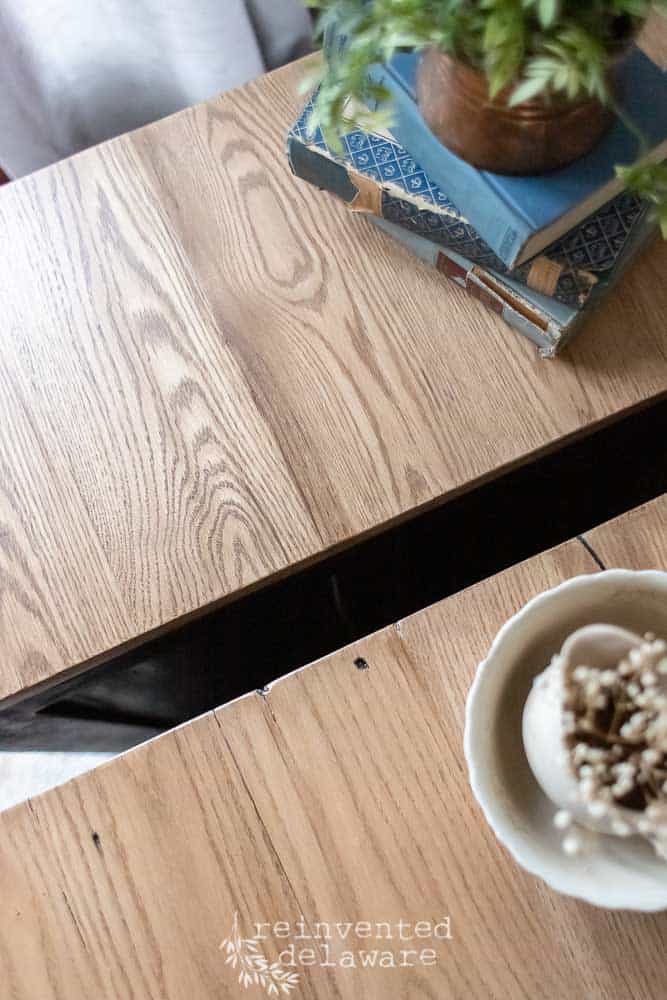
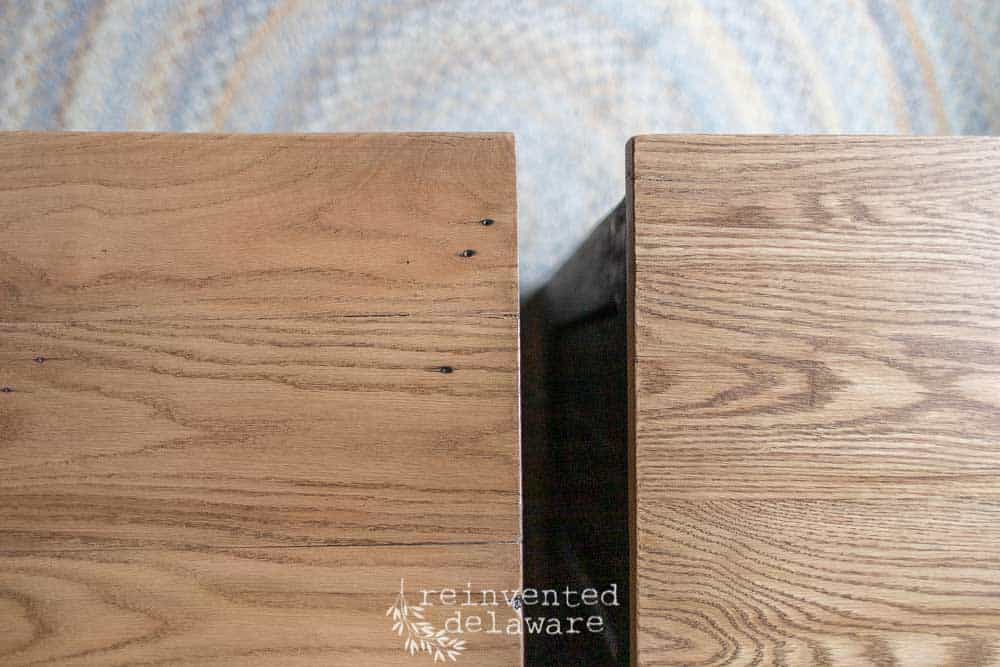
- sand and plane each oak board
- use special joinery to make one surface
And boom! There you have two very unique solid oak surfaces for the tops of these custom cabinets!
I know I made that sound so easy (hahaha). But honestly, it is a lot of work. Fortunately, he is an amazing carpenter and loves the work he does! Thanks to him, these custom cabinets are one of a kind!
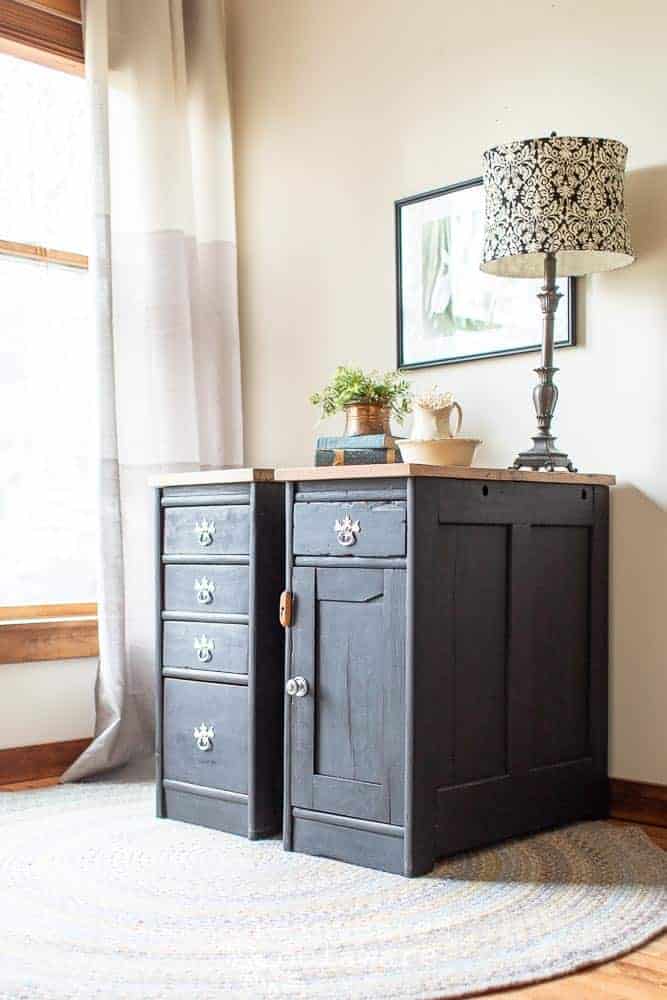
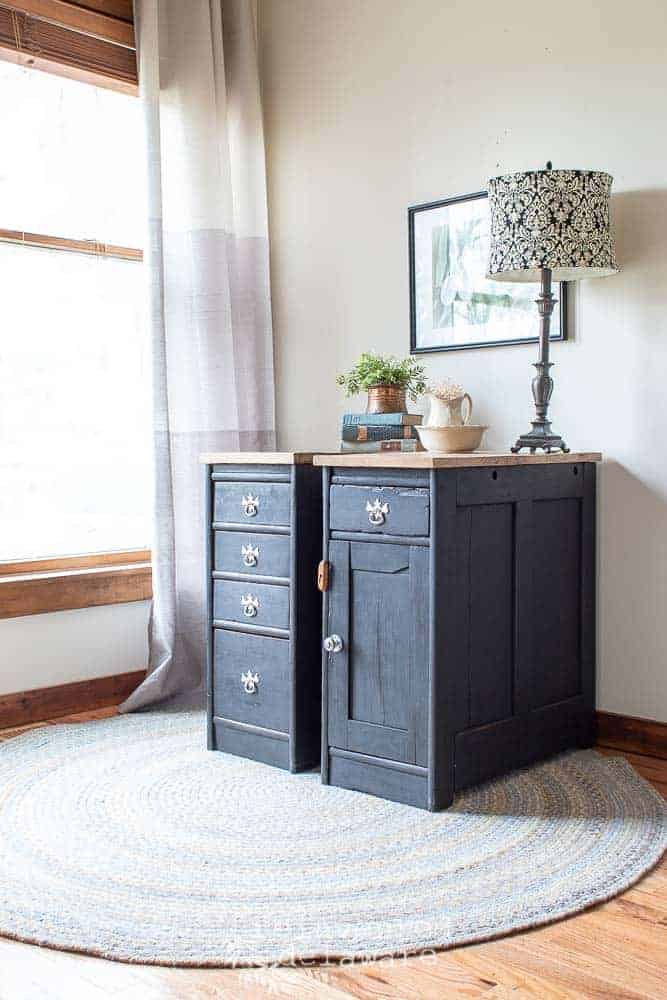
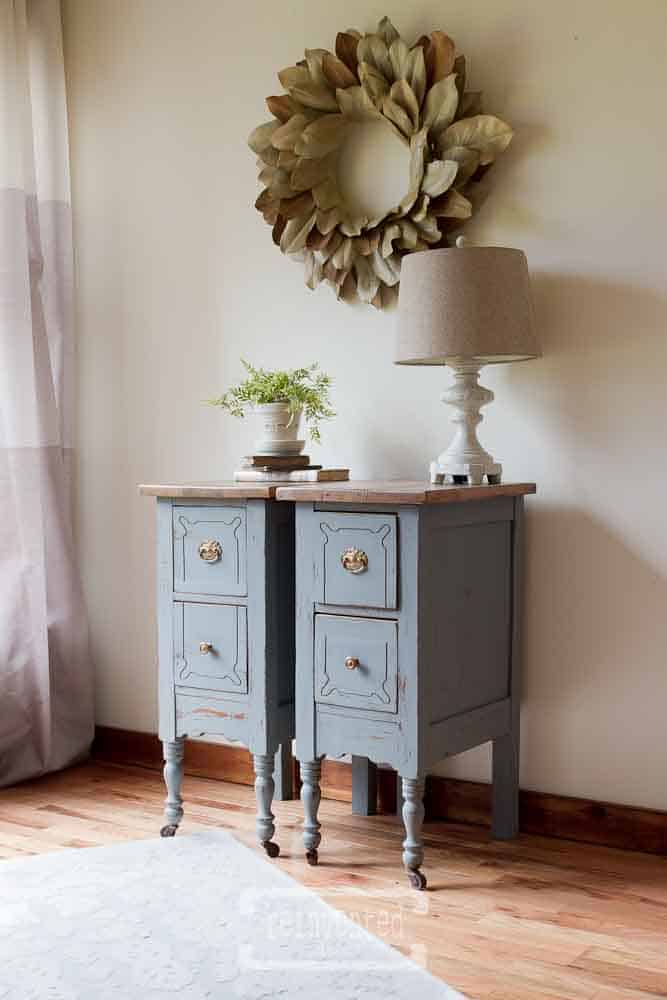
milk paint in typewriter
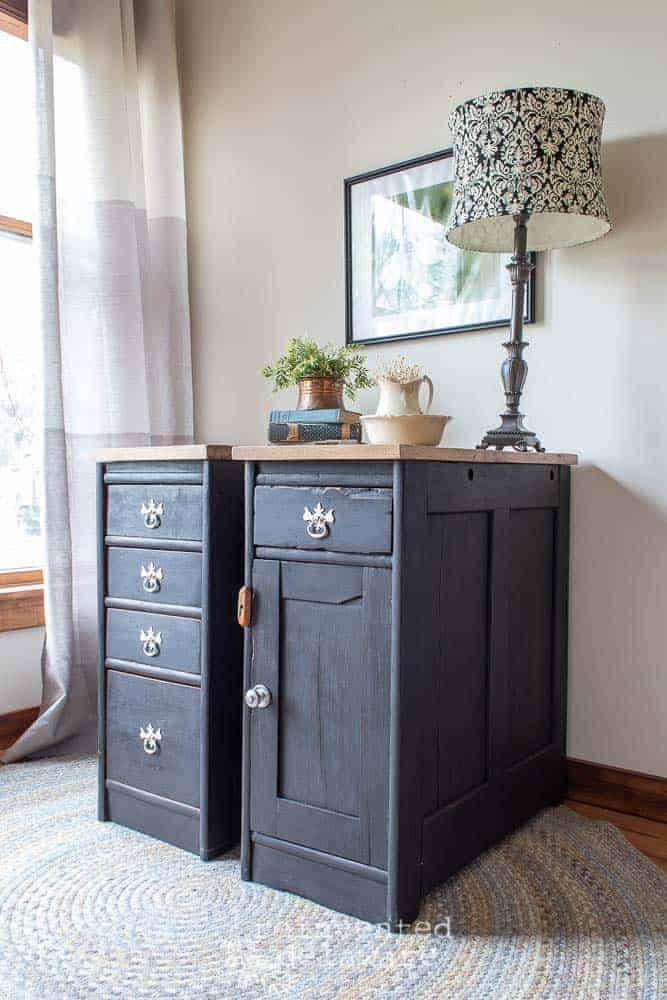
Our client decided on black for the base of the cabinets. She also wanted them lightly distressed.
I knew that Miss Mustard Seed Milk Paint in Typewriter would be the perfect black she was looking for. The milk paint goes perfectly with this era of furniture.
Milk paint is beautiful on oak furniture. It is thinner in consistency that standard paint so it doesn’t fill in the grain of gorgeous wood like oak. Even when the piece is painted, the wood grain still shows through by way of texture.
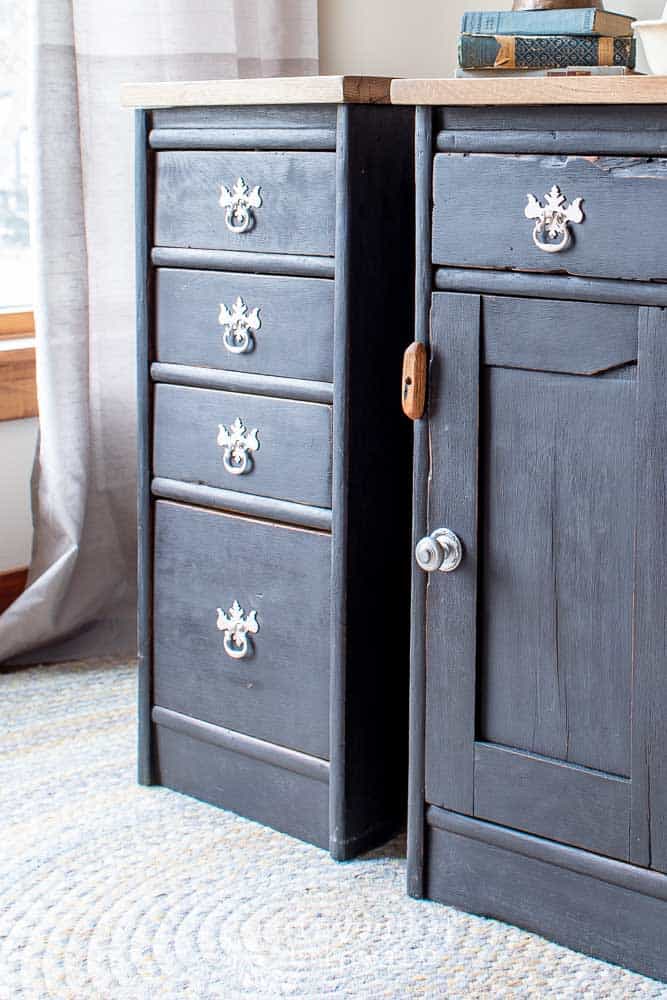
The milk paint just adds to the beauty and character of the piece.
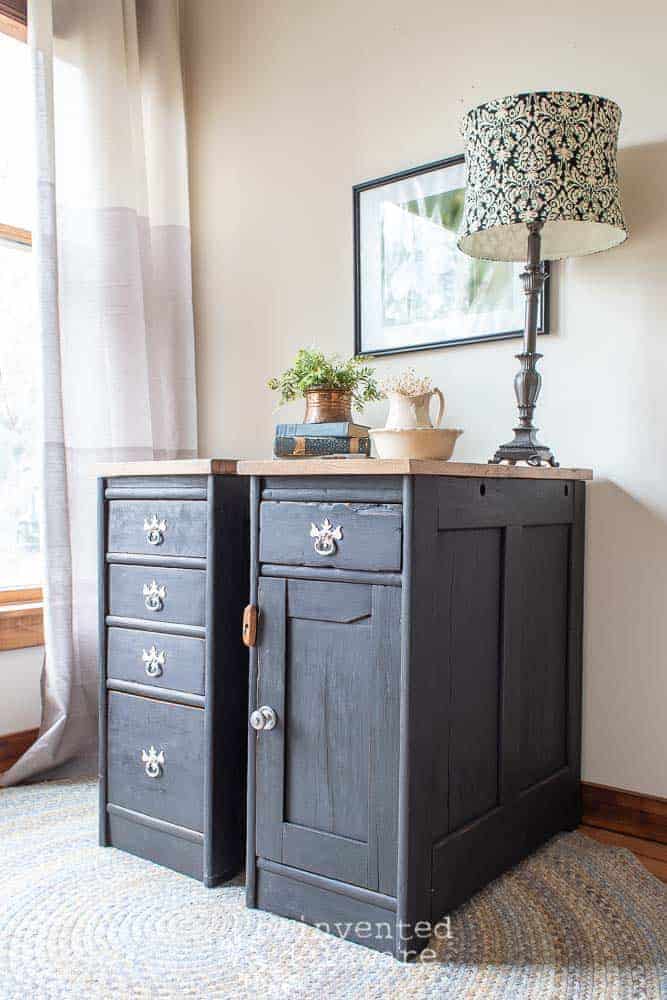
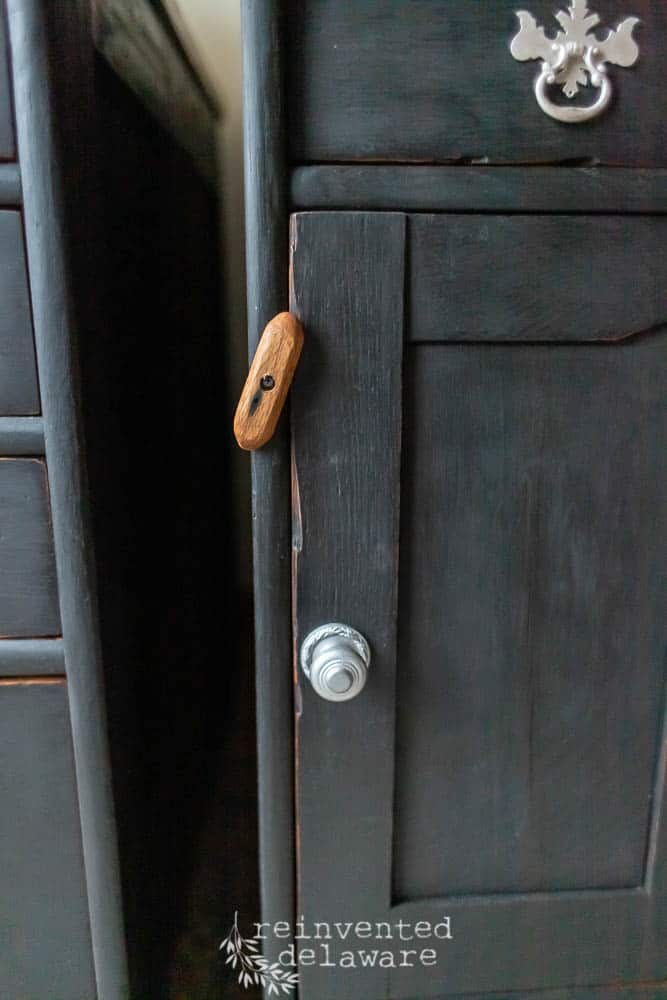
new ‘lock’
Hubby added this simple wooden door ‘lock.’ It doesn’t work with a key so it is not a permanent lock. The wood lock holds the door shut. Locks and keys are often lost or broken with furniture this old. It is rare to find all of the parts of the lock mechanisms.
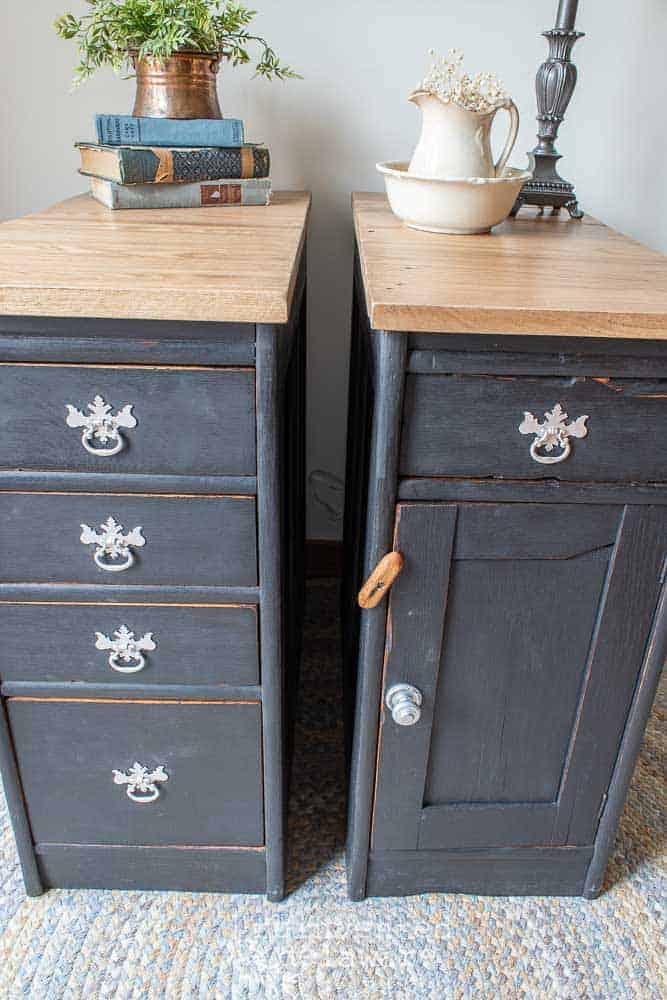
I love the combination of the hand-built oak tops along with the painted cabinet bases! A match made in furniture heaven!
I will share a quick tutorial on the technique we used on the oak tops in a future post. It is an easy way to treat bare wood with the grain. This technique helps the grain to be prominent without darkening the whole top.
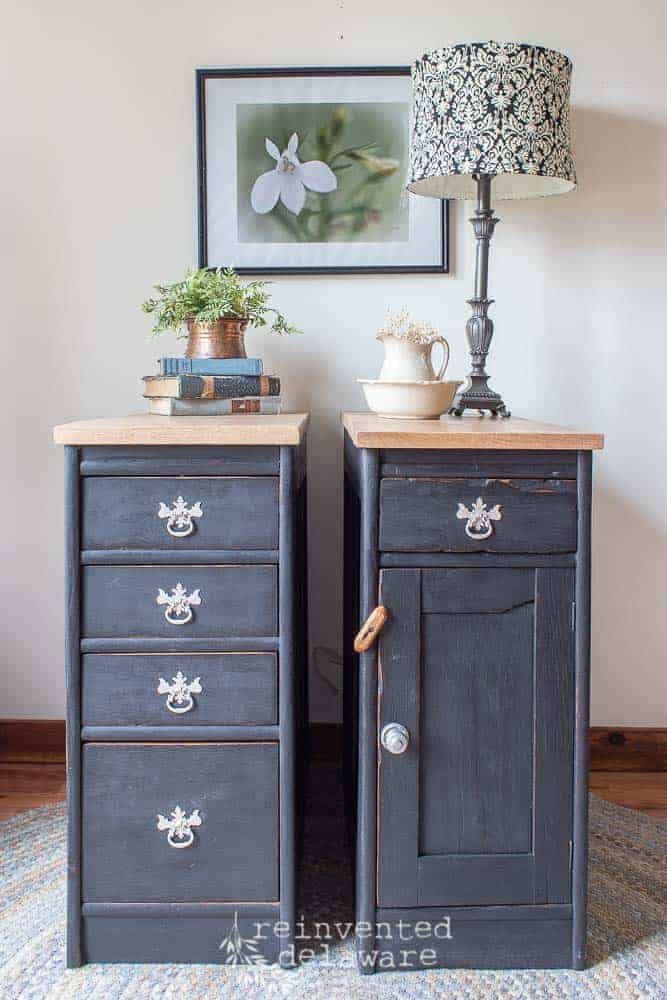
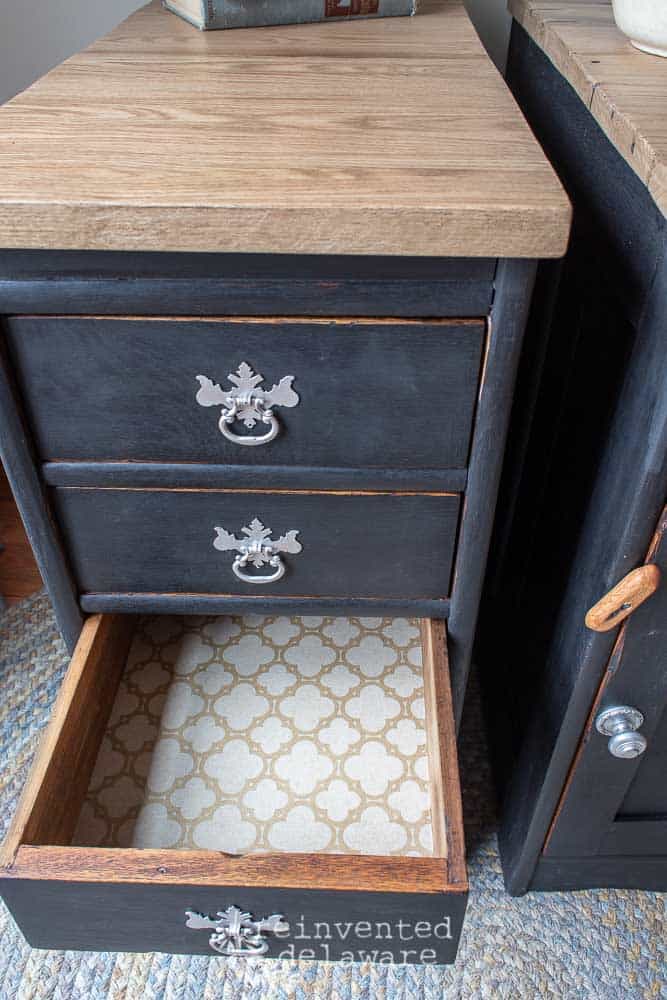
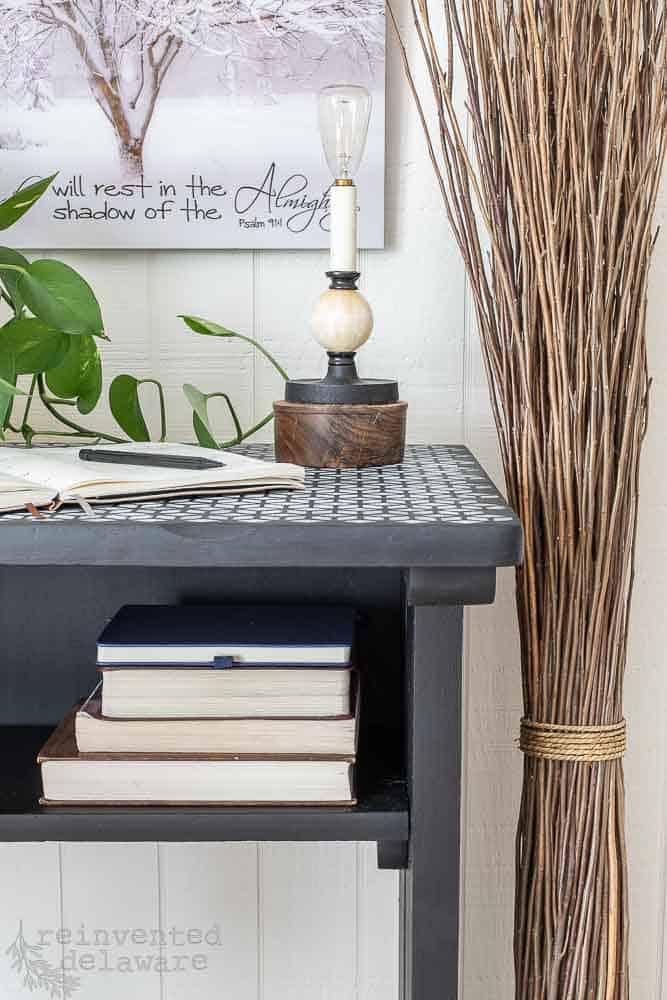
lined drawers
We lined the drawers with pretty paper to hide the stains that had been left over the years. This is a simple project that can be done in any drawer for a quick update!
thank you, thank you!
I always say this but I want you to know how much I appreciate you stopping by for this furniture makeover reveal! Your comments mean so much to me! Feel free to let me know what you think of this repurposed project. We love feedback!
Also, be sure to subscribe to our email updates below. I still have two more projects from this roll top desk and I don’t want you to miss them!
Follow our reinventing journey on Instagram and Facebook. We love to share inspiring images over on Pinterest too! All the images in the post are pinnable! Thanks in advance for pinning!

These are beautiful, Cindy! What a fabulous way to upcycle and reuse that desk!
Thanks Jenn!! We have more projects in store for the remaining sections?
Hi Cindy! They look so good painted with MMSMP Typewriter. You said you used pallets to make the top but I have never seen a pallet look that good and sturdy. Do you have a post on exactly how you created a top like that? Ya’ll are a great team.
Thanks for the kind words Cheryl! We use industrial pallets and they are different from regular pallets. I don’t have a full tutorial on how we build them yet. But I do have a post that talks more about using them! Thanks for stopping by!! https://www.reinventeddelaware.com/pallet-wood-farmhouse-table/
Beautiful!
Thanks Martha! Glad you stopped by!
Isn’t a blessing to see our kids flourish creatively? I absolutely love how you recreated these cabinets! Thanks for sharing at Vintage Charm–pinned!
It is a huge blessing to see our children carry onward with creativity! Have a great day!
They are beautiful good job😊
Thank you!