
Upholstery Basics | Victorian Upholstered Chair
Have you ever wanted to know the basics of upholstering a chair? Today, I want to continue showing you the upholstery basics used on this Victorian chair with exposed wood! Let’s pick up where we left off!
bad ole’ putty tat!
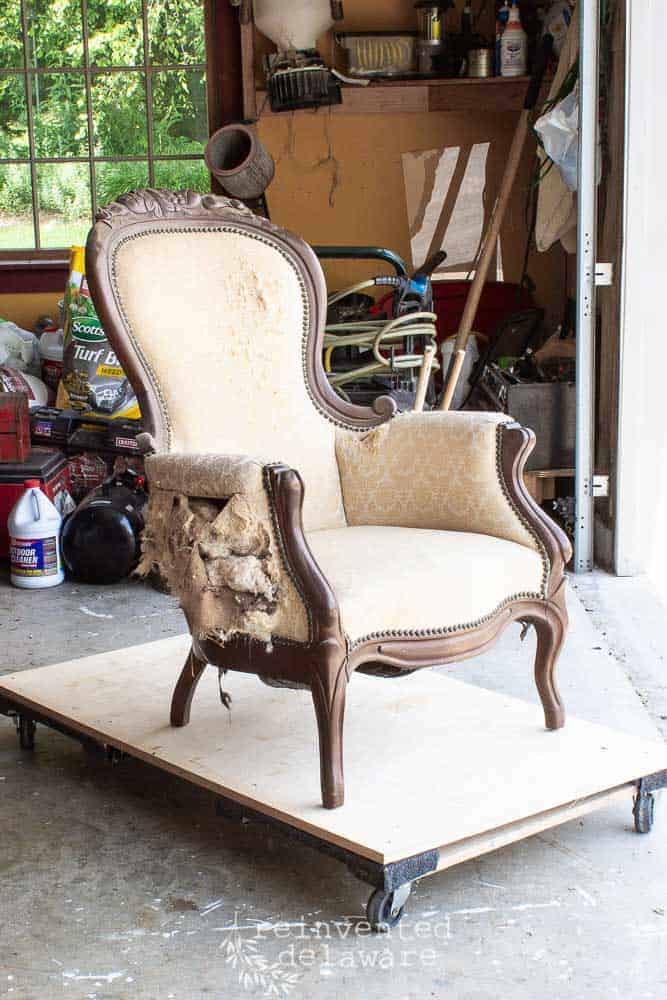
This is how the Victorian upholstered chair came to me. Yep, a little kitty-cat used it as a scratching post! Bad ole’ putty-tat!
where we left off
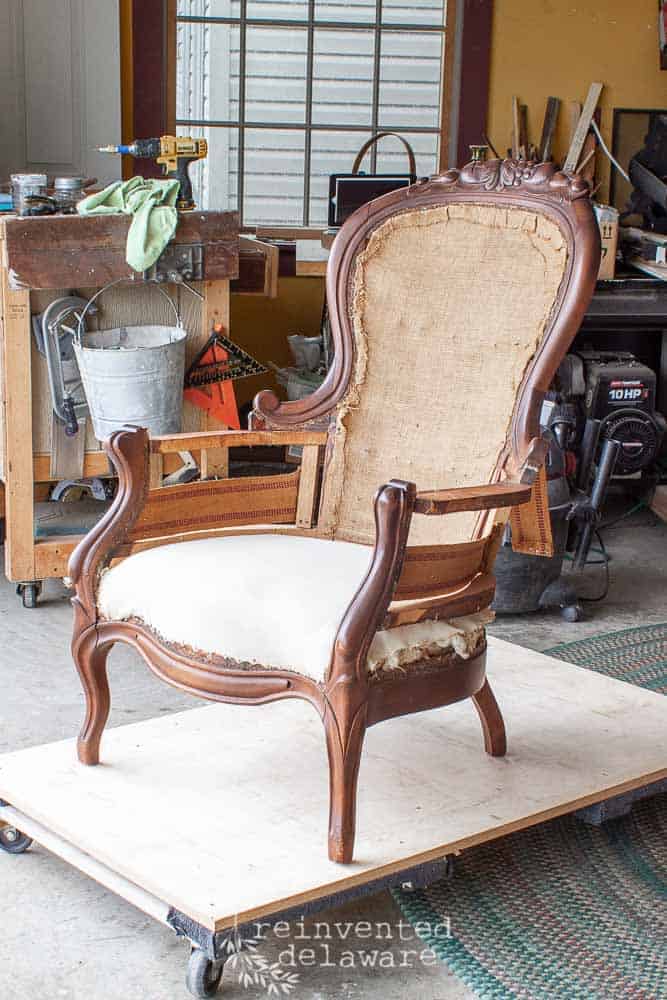
After the upholstery had been removed, we were left with this. In the next step, we talked about the beautiful exposed wood on the chair and how best to show it off. We chose to enhance the beauty of the gorgeous carved details in the wood. I think you will agree with that decision!
changed my mind
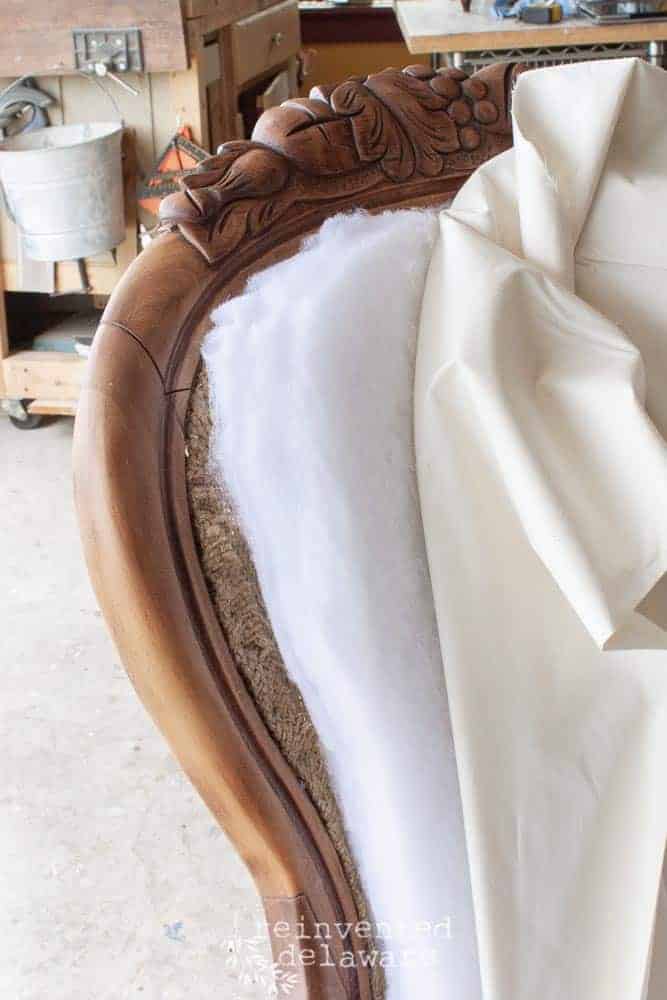
I wasn’t going to remove the burlap backing because it was in good shape, but several of the small tacks came out as I worked on the carved details of the chair. Fortunately, I had a heavy duty piece of burlap in my workshop.
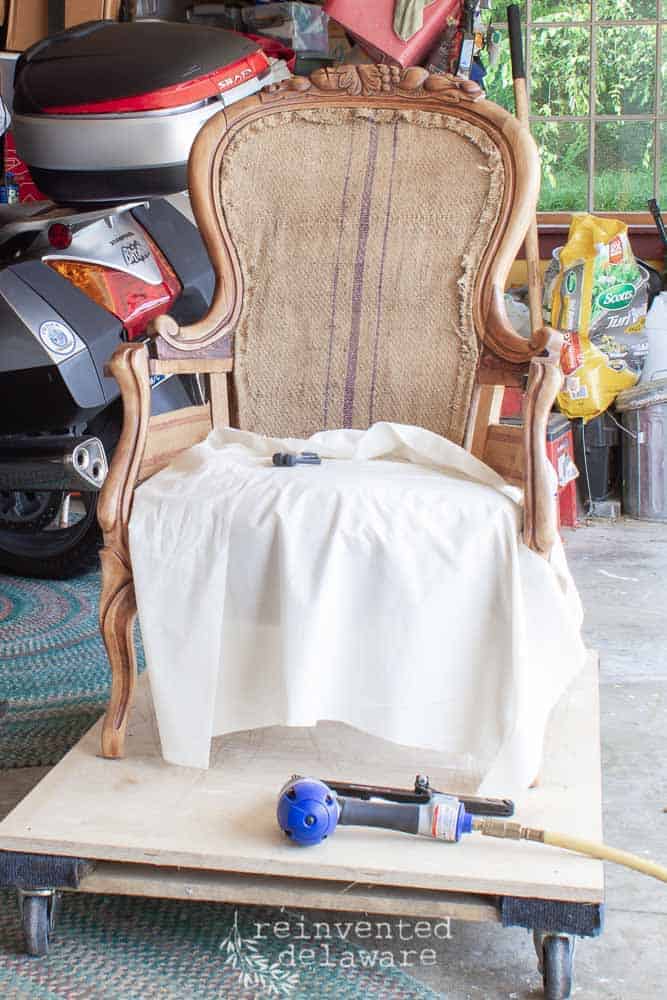
I also cut a piece of tight weave muslin large enough to cover the seat, the sides and the front of the back of the chair with plenty of excess. Better to waste a bit of fabric than not have enough to go all around!
yay for local small businesses!
See that blue staple gun? It’s a replacement of my older one. My old staple gun bit the dust this morning and I wasn’t patient enough to order a new one.
My hubby ran in town to our locally owned power tool store. The owner had one on clearance so hubby snatched it up! The owner also offered to repair the old staple gun! Just a couple of reasons why I love small, locally owned businesses!
adding durability and strength
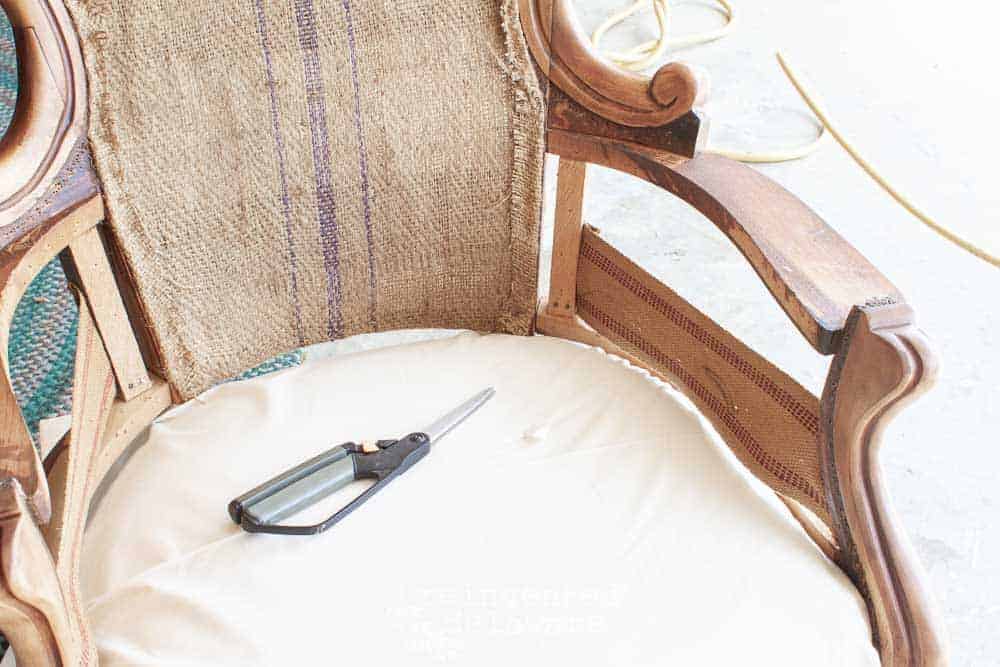
Back to the task at hand. One of the upholstery basics I like to use is to cover the batting with a neutral fabric. It will add durability to the batting and the decorative fabric. The fabric is a tight weave muslin.
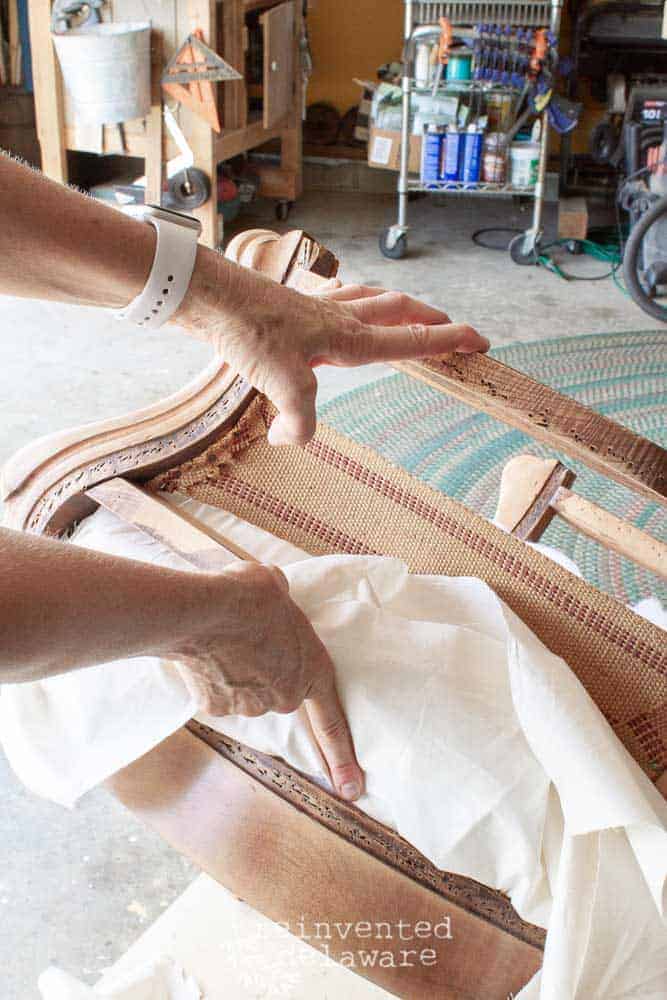
Here I am showing how I cut the underlaying fabric at the places where the legs join the body of the chair. I make straight cuts toward the leg being careful not to cut too deep. Just cut short of the fold you see in the image below. You can always cut a bit more if needed.
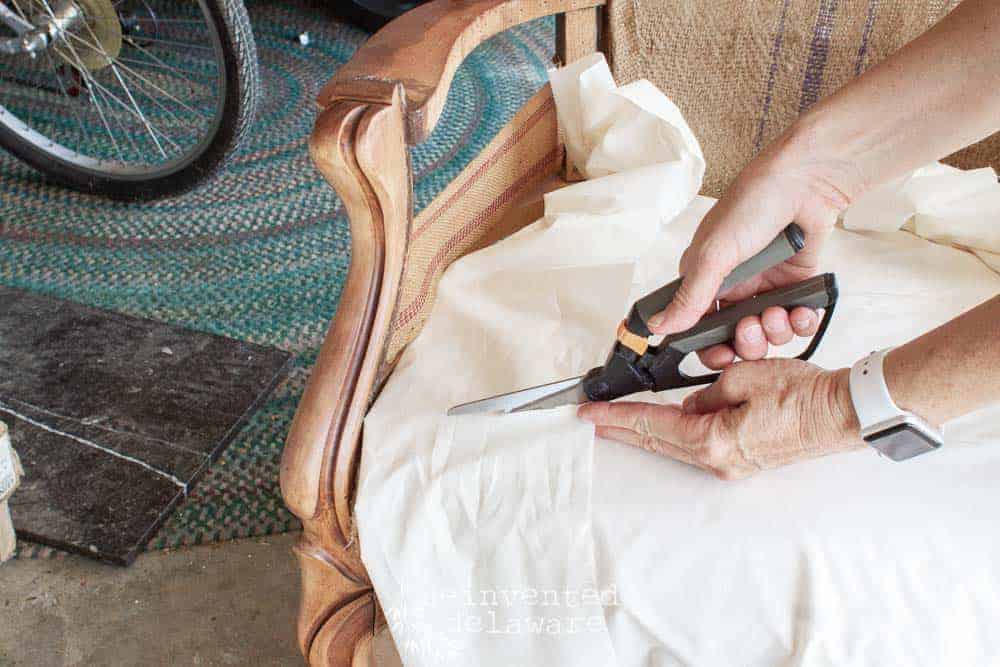
This allows the fabric to go on either side of the leg. There are typically four places to make these cuts — the two front legs and the two back legs (or close to the back legs.)
fitting fabric around the legs
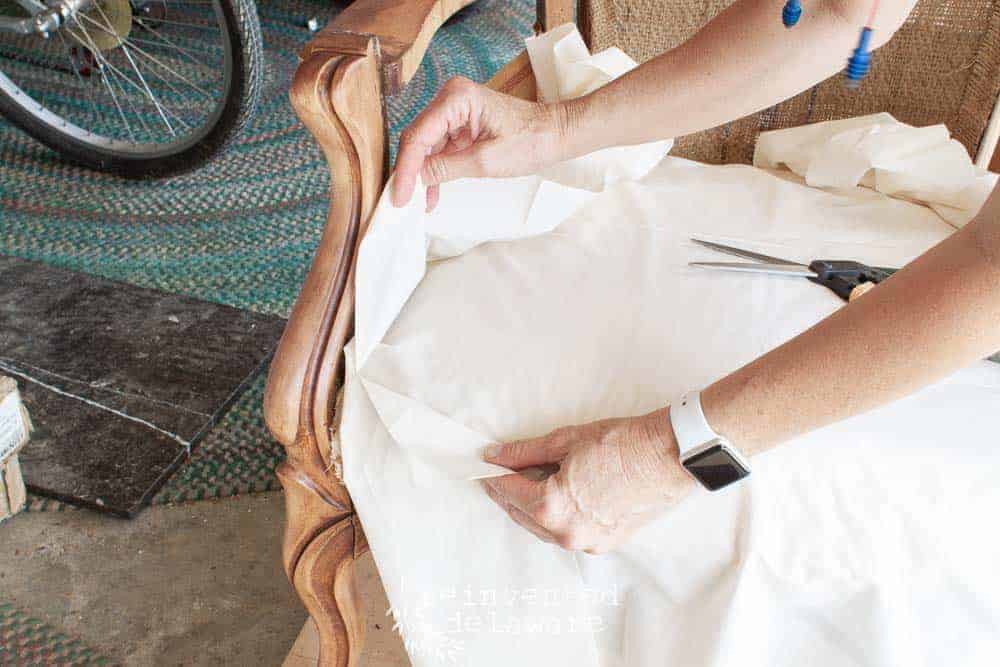
See how the fabric can be wrapped around the leg? I used my hand to tuck and pull the fabric through the opening on the side of the chair.
You can see I am doing the same at the back of the chair. The fabric is able to be tucked and pulled through the back and the side of the chair.
Here are both back sections and the front sections tucked and pulled through.
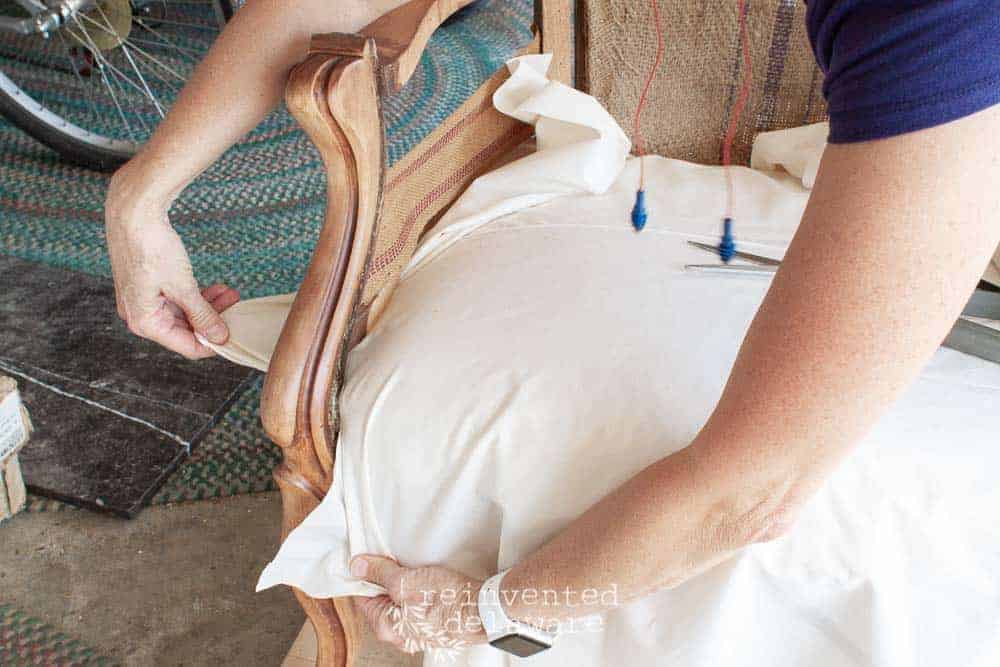
This view can help you to see a bit better what I mean. See how I tucked and pulled the fabric through the back of the chair?
layers and layers
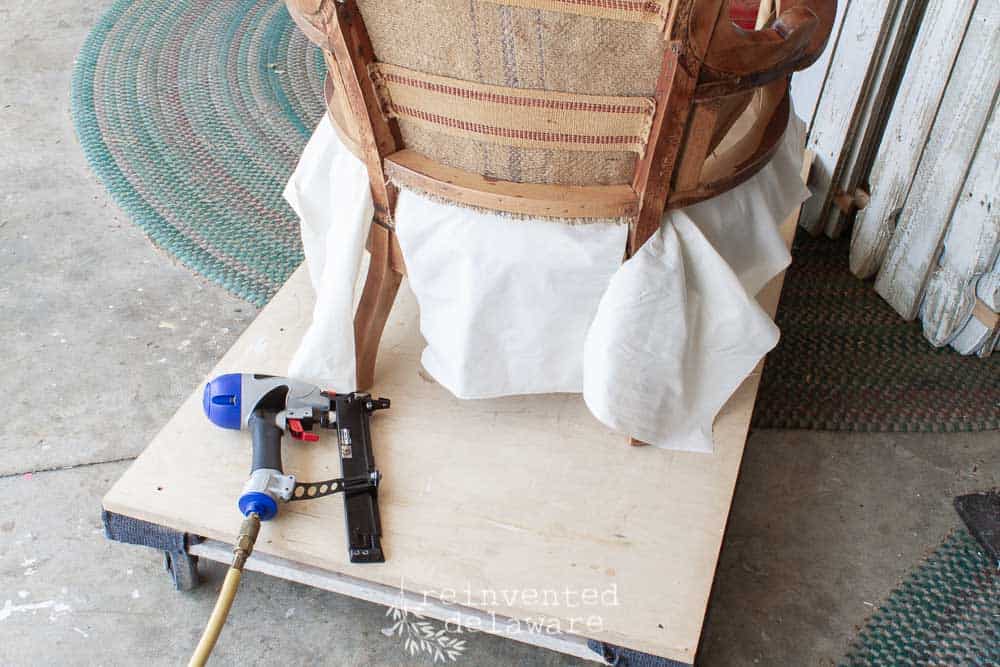
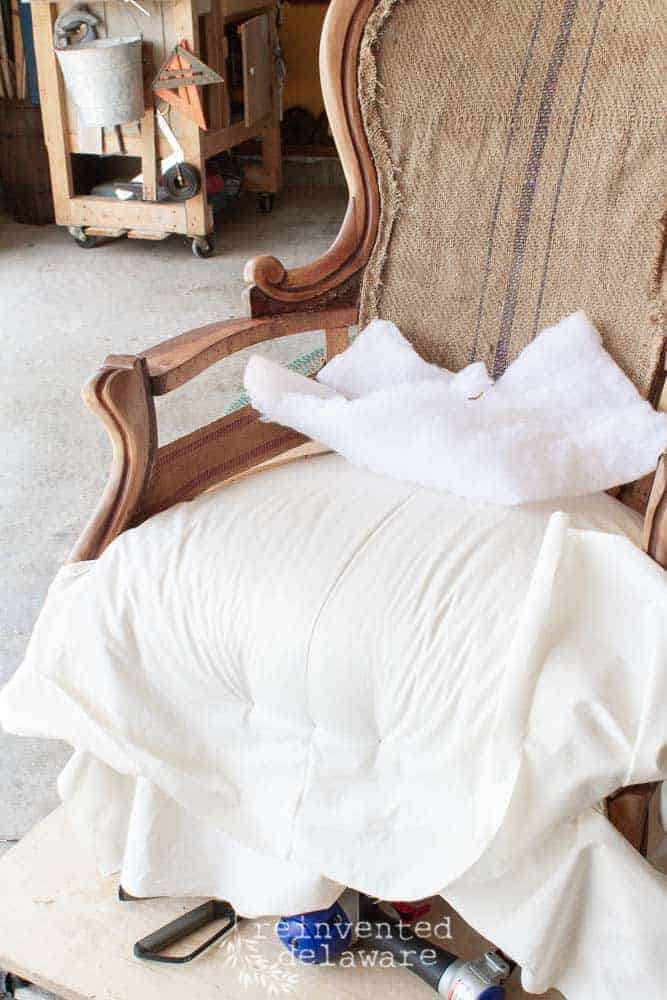
I added a layer of heavy weight batting to the seat section. You can see how I tuck and pull the batting through the back opening. The same process applies to the sides of the chair.
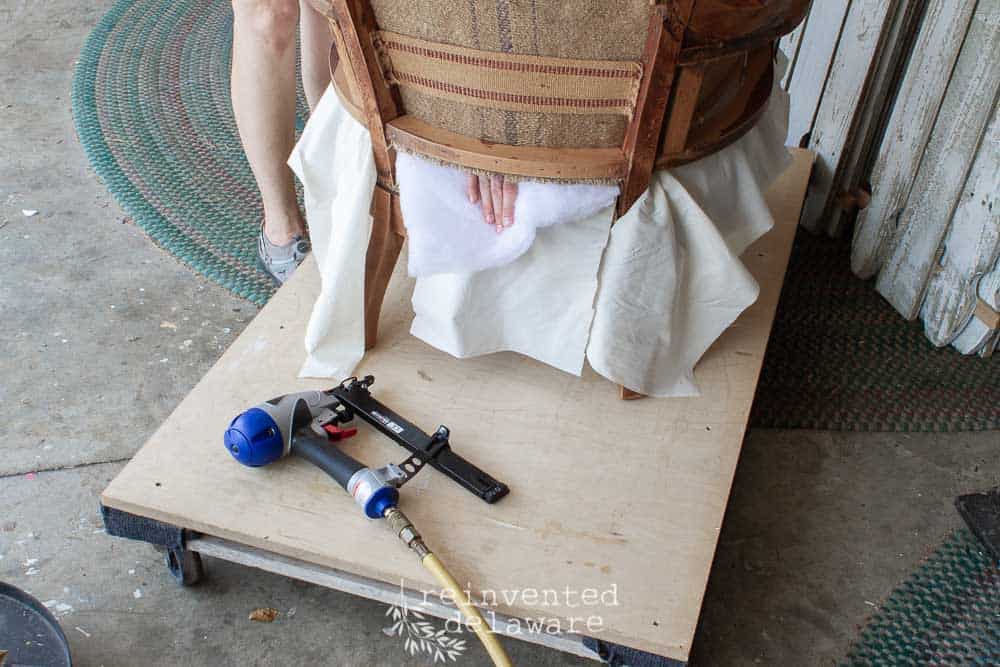
Since the seat of a chair takes the most abuse, I added three layers here – the first layer is the tight weave muslin, the second layer is the heavy batting and the third layer is another piece of muslin.
All three layers were cut using the same technique I described above and they will be treated as one layer.
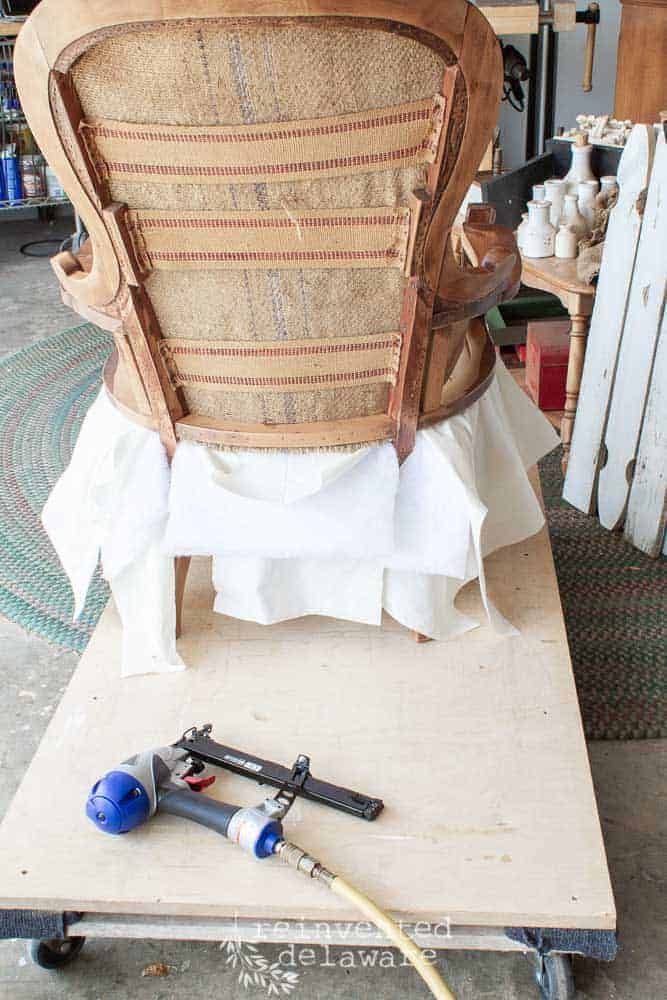
Starting at the back of the chair, I cut off the excess of batting to reduce the bulk. The excess of the two layers of muslin will be cut off after I staple them.
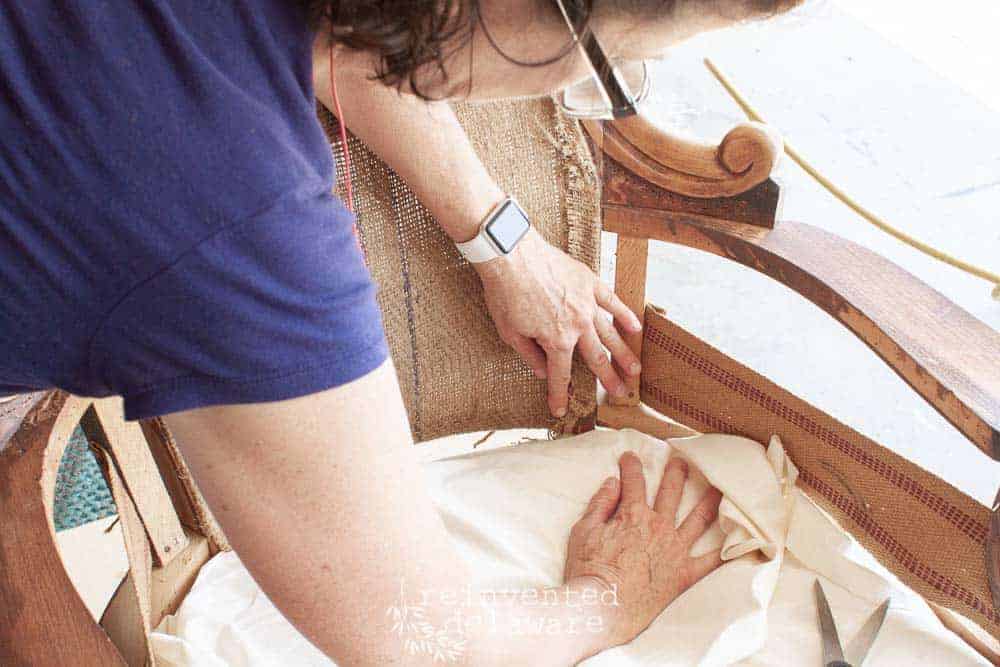
Another upholstery basic is to begin stapling in the center of the section you are working on. Then I work out from that, alternating sides. I am stapling in the groove of the chair where the previous fabric had been attached. I can use the tip of the staple gun to feel for the groove.

Here is a better view of the groove that is stapled into.
I followed the same steps on the front of the chair. Since the back of the chair is secured, I am able to pull the fabric layers taught. I started in the middle and worked my way out just like I did on the back of the chair.
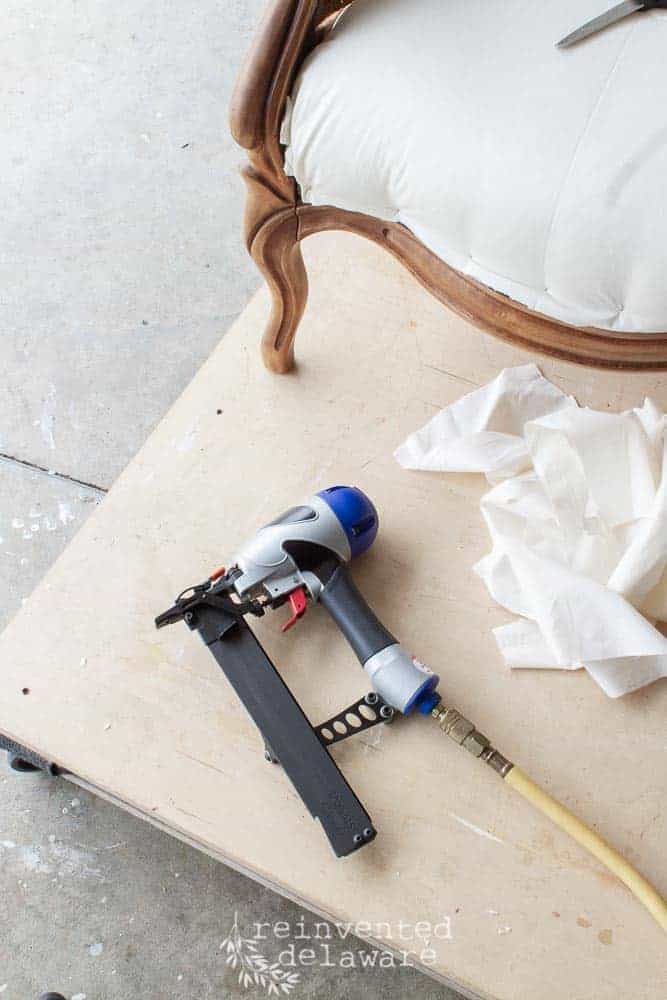
You will notice that I haven’t used a ton of staples in this first step of upholstering the chair. Once I attach the decorative fabric, there will be plenty of staples to secure all of the layers.
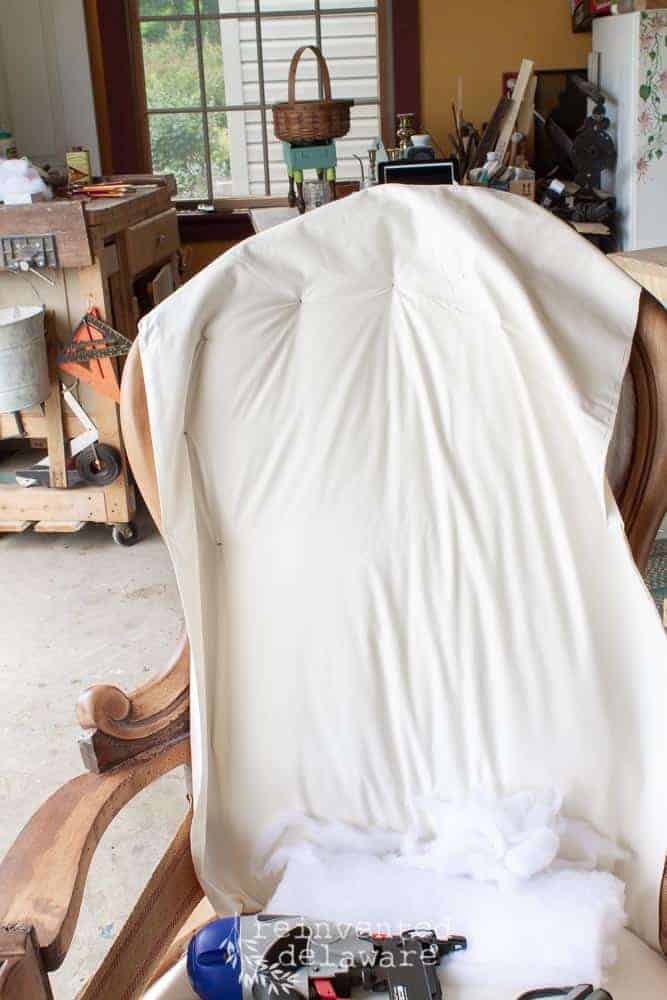
The back of the chair is finished in the same way. I have several layers of batting to provide a comfy backing and it is covered with a layer of the muslin too.
The batting and fabric are cut in the same manner as I mentioned earlier. Only the bottom of the back needs cutting since the top of the chair will have the exposed wood.
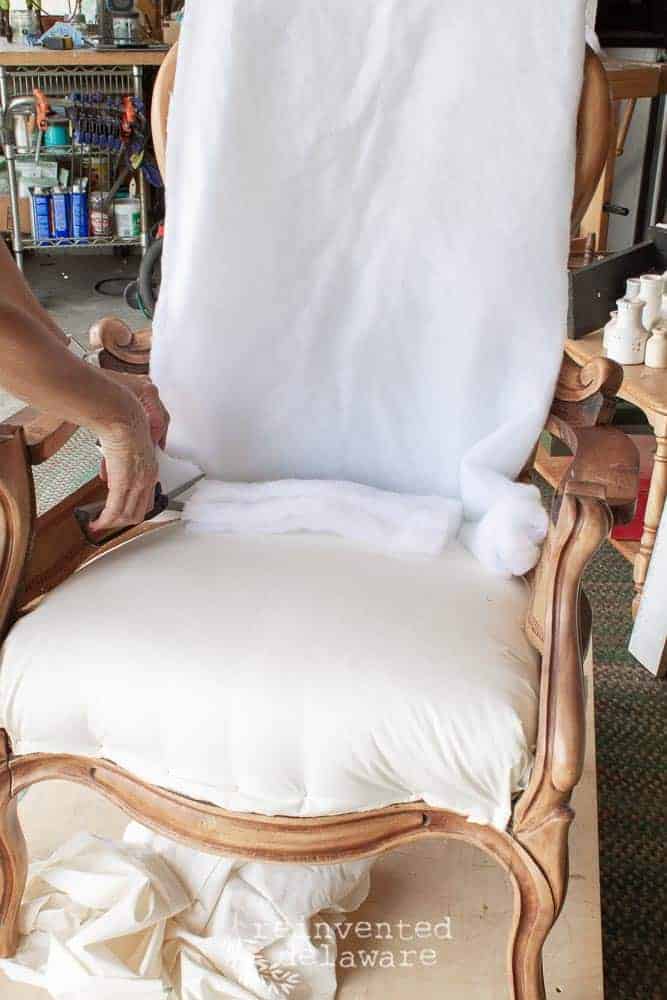
And tucking and pulling and tucking and pulling…..
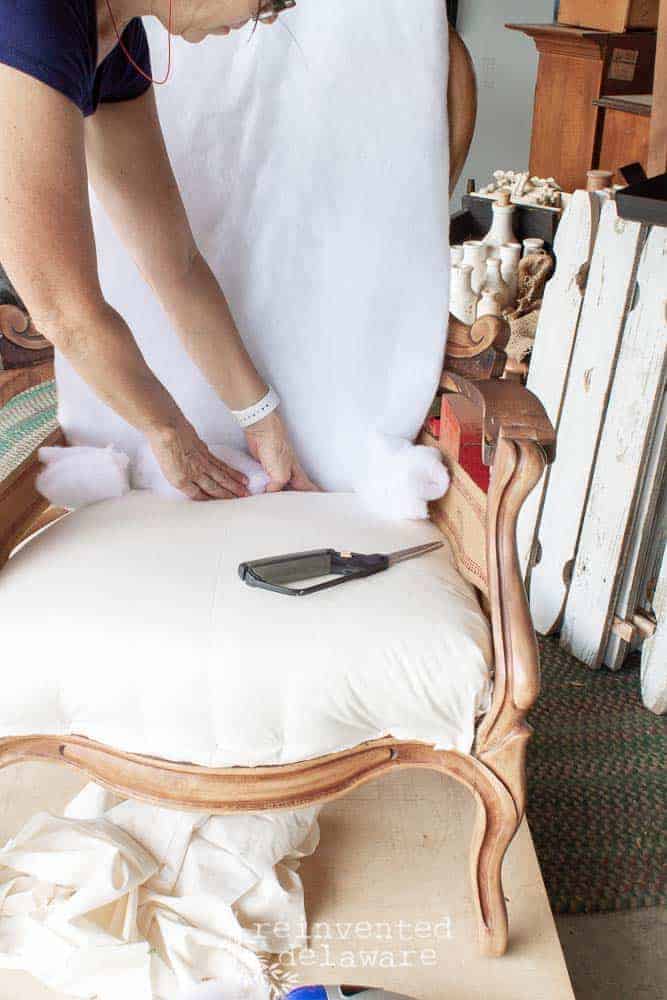
eliminate bulk
I cut the layers of batting in a graduated way to eliminate bulk, which is another upholstery basic – always eliminating bulk wherever possible. It looks like I cut it a bit too shy of the groove but I can slightly stretch the batting to fit, being careful not to tear the batting.
The muslin is stapled around the top edge in the groove that the previous upholstery had been attached. Again, not too many staples, more staples will hold all the layers down once I attach the decorative fabric!
Here’s a fun little video showing the removal of the excess fabric after securing it with just enough staples to hold it. Sorry for the phone quality of the video, but this gives you an idea of how I cut off the extra fabric.
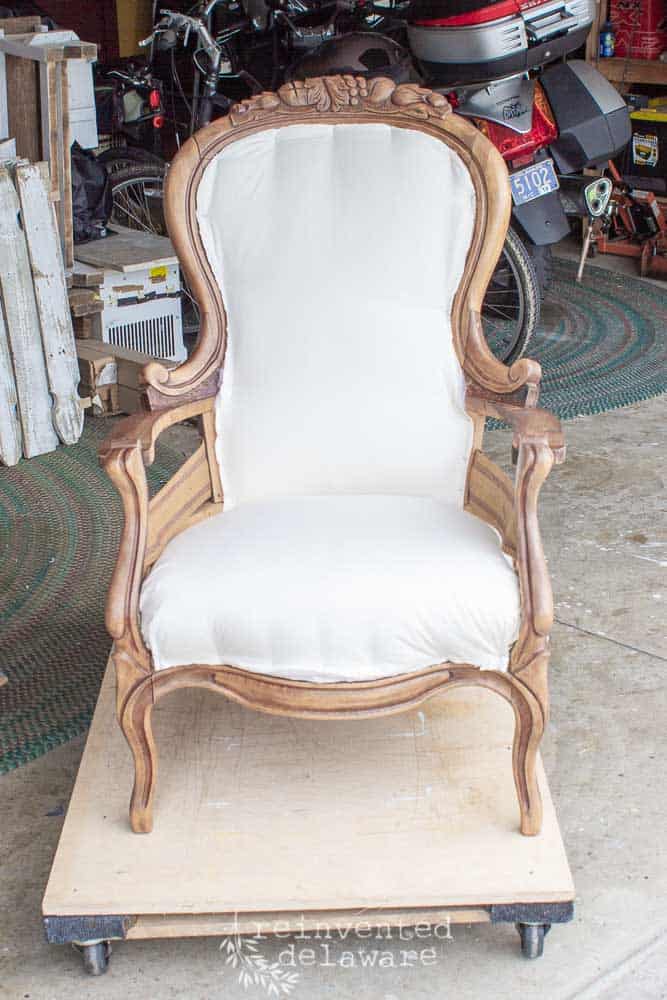
I will do the same steps to the arms adding extra upholstery weight batting to them for cushioning. Next time you see this Victorian upholstered chair it will be finished!
Well, at least, that’s the plan 🙂
That’s it for today! These upholstery basics along with the other tips I shared in this series, will help you to tackle a similar project on your own!
Instagram Poll Results!
Oh yeah, before I forget to tell you, my Instagram followers voted in a poll for this chair to be completed in the standard method of upholstery instead of the trendy deconstructed method! Check back to see the completed project!
Be sure and read the first two posts in this upholstery basics series!


The camera person for that time lapse video is incredibly talented
He is a pretty amazing camera guy!