
Easy Storage Chest Makeover
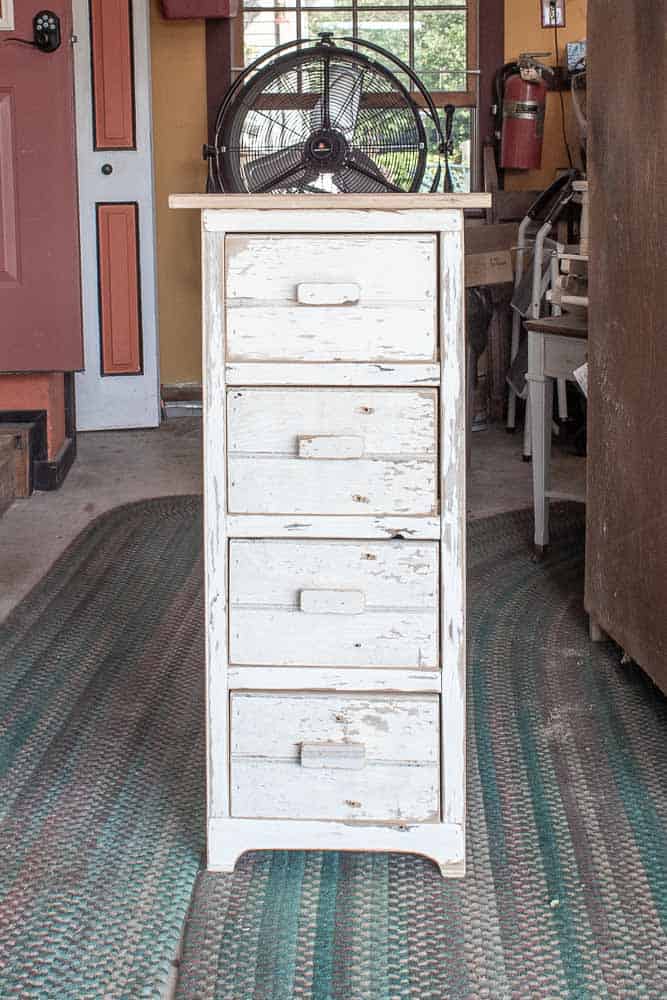
In this post, I want to share with you the easy makeover of a ‘new’ handmade tall storage chest that was built from reclaimed lumber.
what are you thinking??!!
So, maybe you are thinking after seeing this adorable storage chest, “Cindy, why on earth would you want to cover the trendy white, chippy paint on that storage chest??”
The answer — our client wanted a different finish and we aim to please! Not everyone wants that farmhouse, chippy white paint look to their furniture pieces. In our own home, we have limited pieces that are white and chippy. It is really up to you and your personal style and taste in home decor!
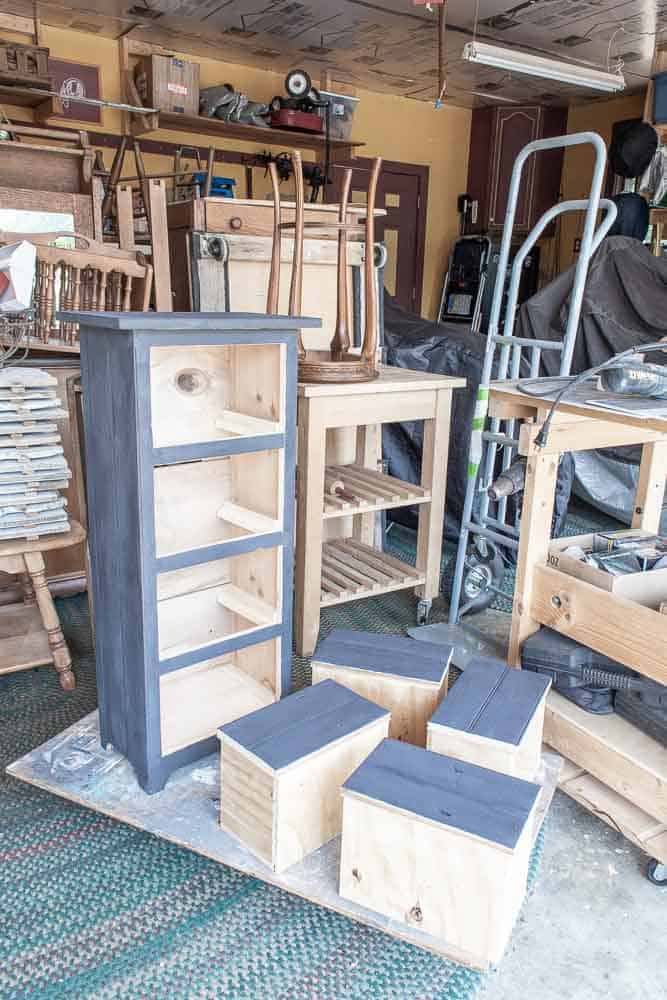
prepping the piece
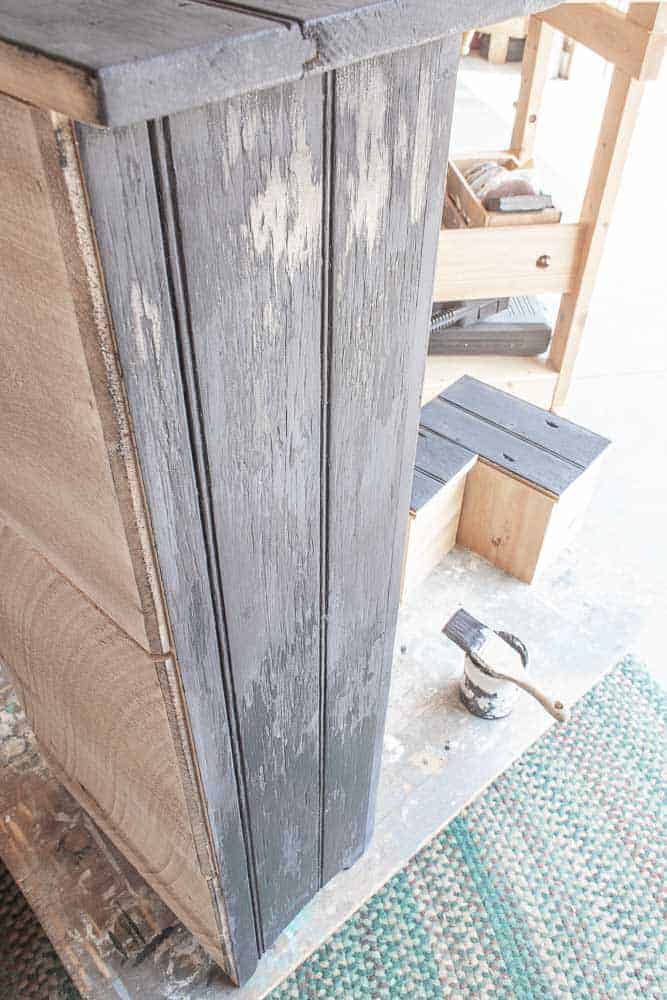
This tall storage chest is about 36″ tall, 14″ wide and 10″ deep. It was handmade using reclaimed bead-board that had an original chippy white paint finish on it. The finish was not sealed and some of the chippy-ness was, well, chipping off!
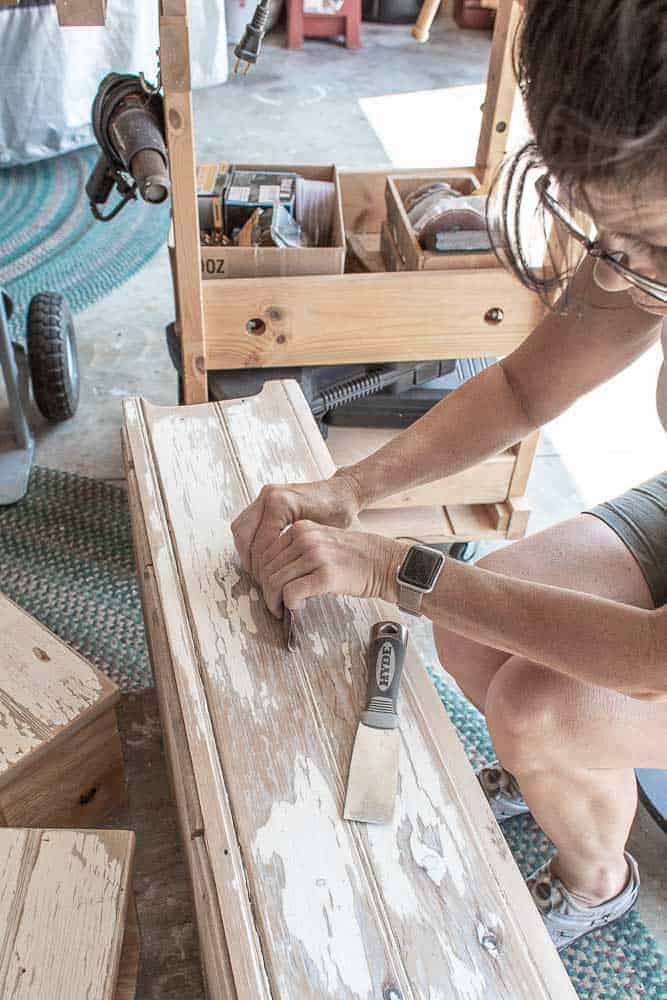
The first step in prepping for this storage chest makeover was sanding. Out came my DeWalt Orbital sander loaded with 80 grit sand paper. That step removed all of the loose paint and then I used 220 grit to smooth the surface.
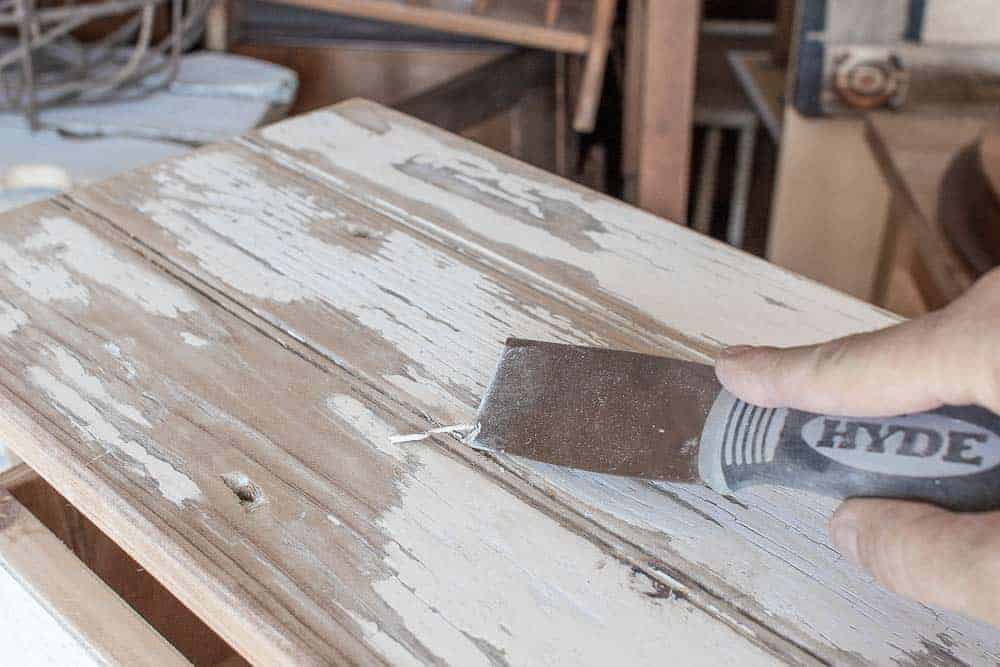
The grooves of the bead-board had paint build up so I used a metal putty knife along with a folded piece of 80 grit sandpaper to remove the loose paint in the grooves.
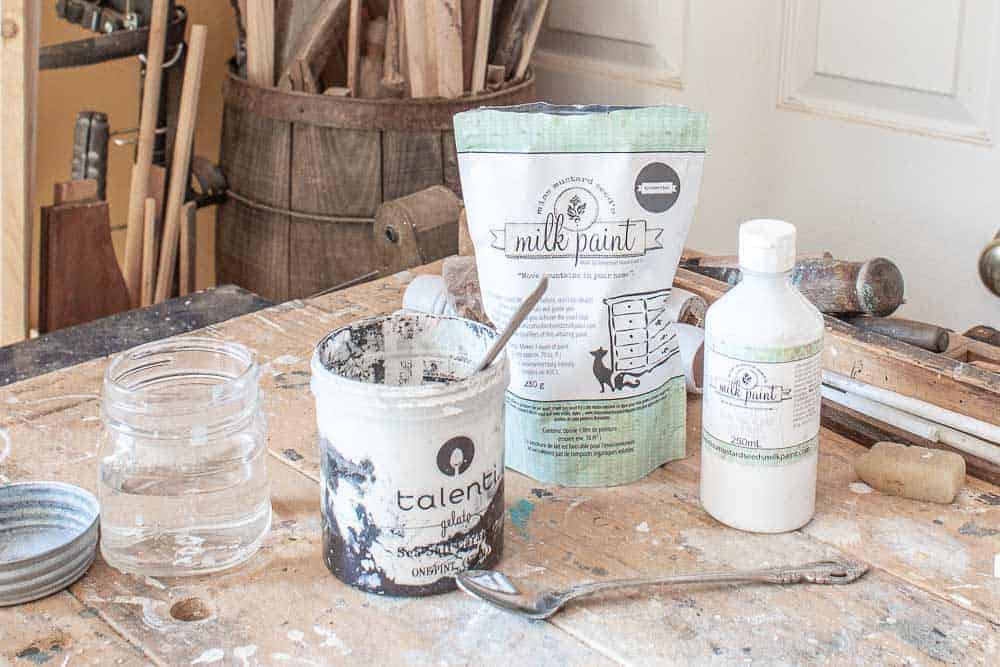
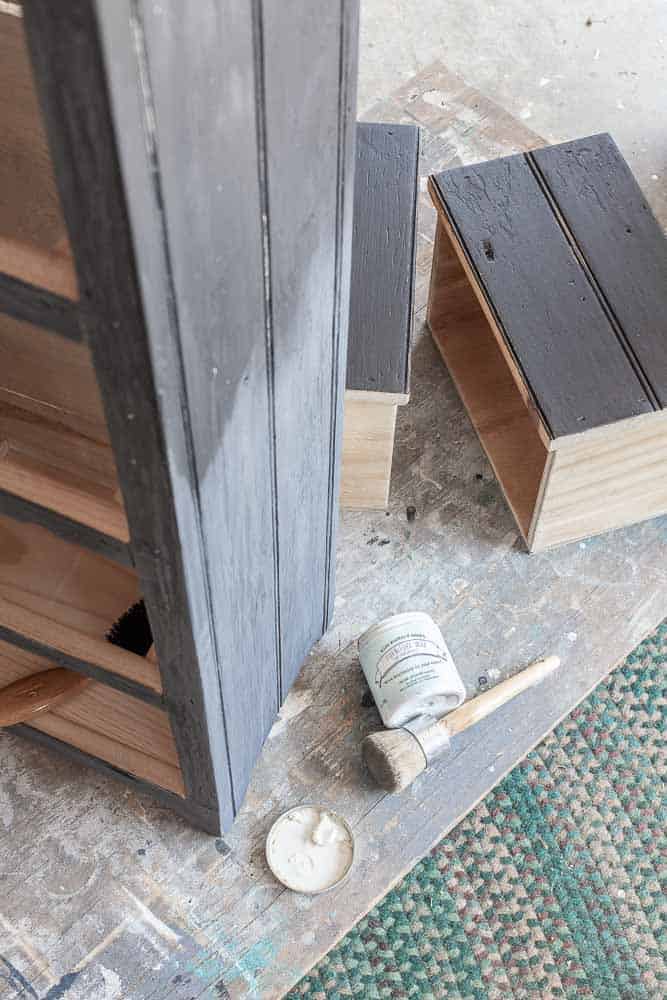
MMS Milk Paint in Typewriter
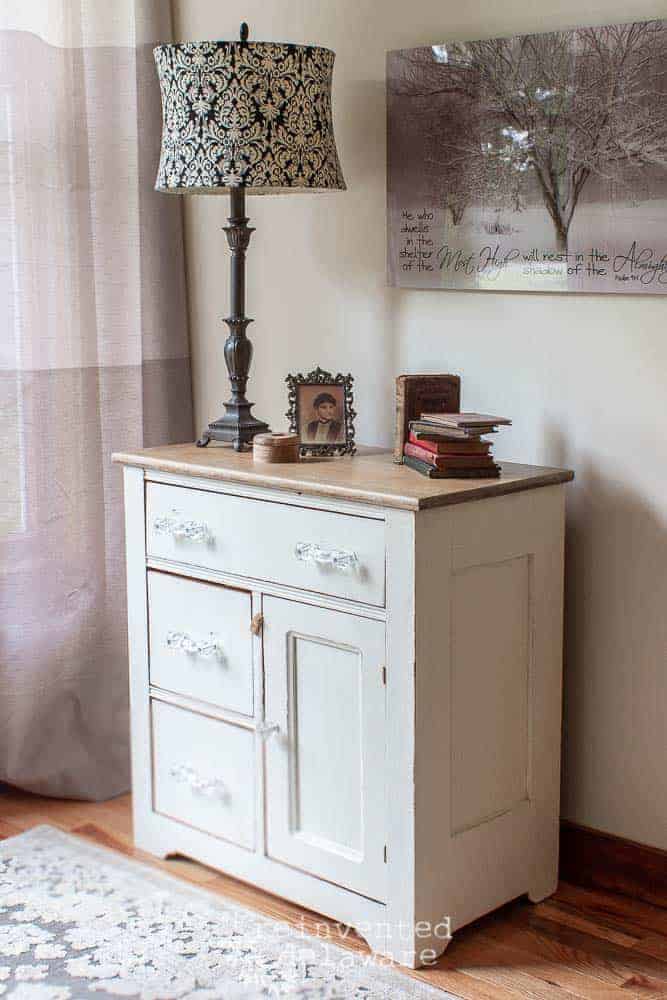
The next step was, you guessed it, paint mixing! My client chose Miss Mustard Seed Milk Paint in Typewriter to match a hutch we painted for her a couple of months ago.
I added Miss Mustard Seed Bonding Agent so that I could control the chipping and distressing.
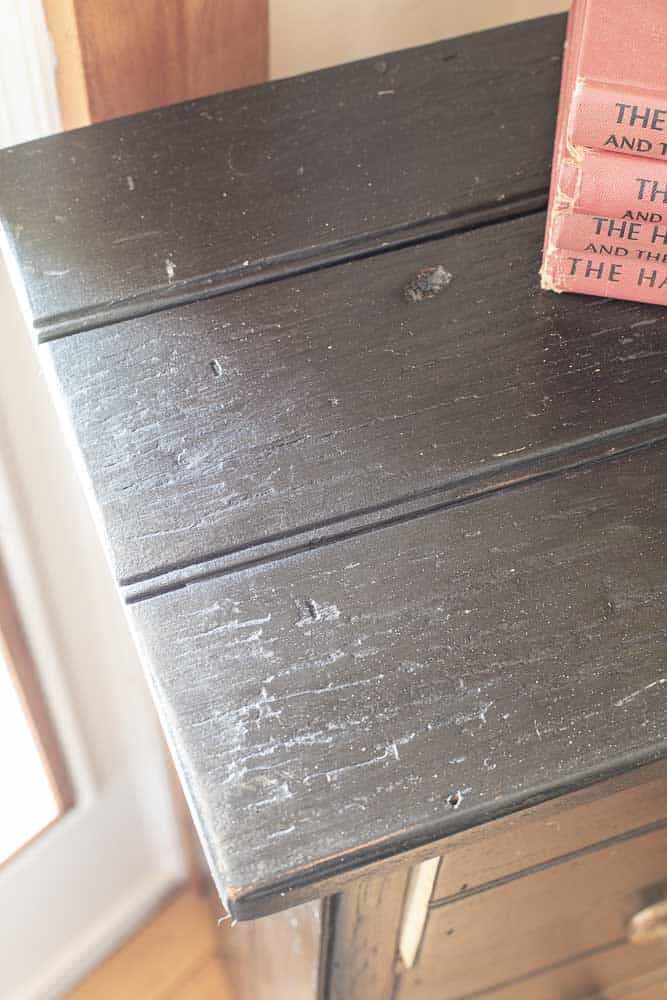
The tall storage chest needed two coats of the milk paint to cover all of the white. Since I didn’t sand the chest completely smooth, the white paint allowed for some texture to come through. Also, you will notice I did not fill any holes that were left from the reclaiming process. Reclaimed wood comes with it’s own bit of character and I didn’t want to hide that!!
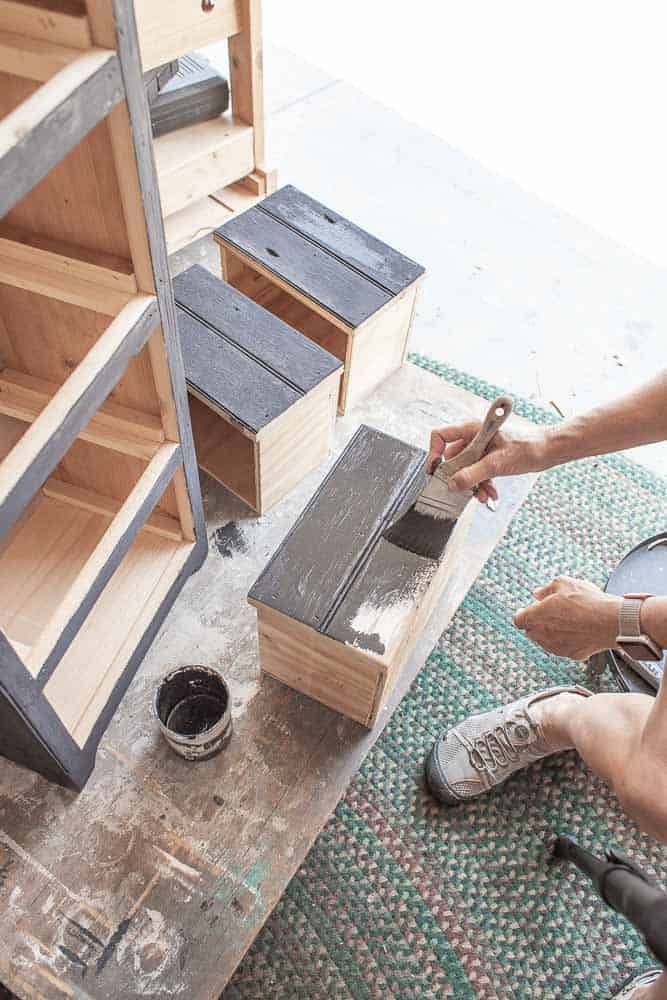
Miss Mustard Seed Milk Paint dries quickly so I didn’t have to wait long to apply the second coat. By the time I applied the first coat, I could go back to the beginning and apply the second coat!
tidying up
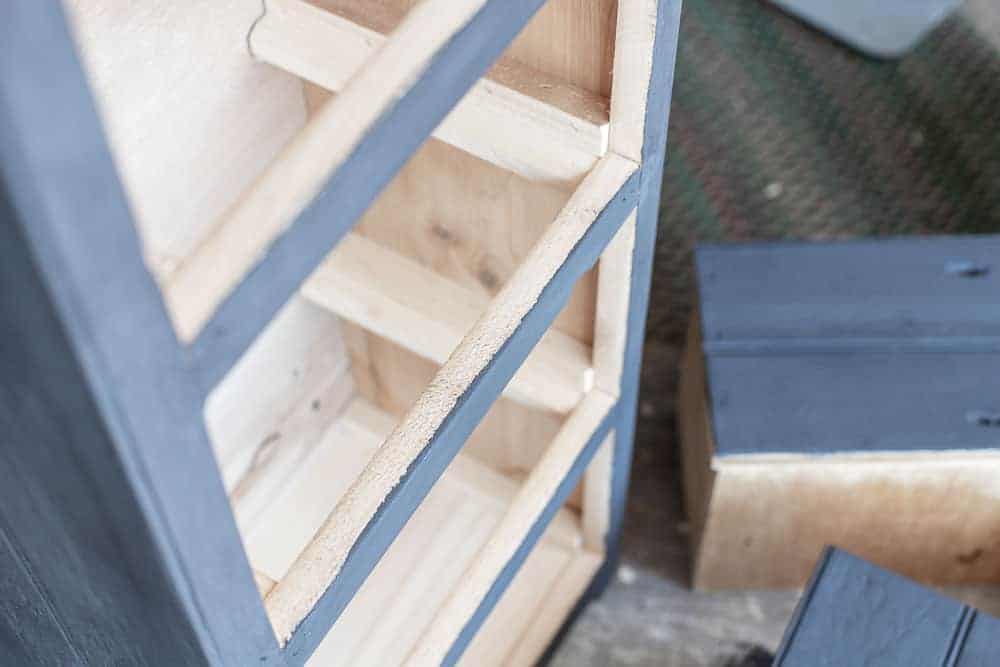
When applying the paint, it is almost impossible to prevent the paint brush from falling over the edges. Can you see in this image how the paint went beyond the front of the chest and onto the interior of the chest?
This is kinda a pet-peeve of mine so I like to sand it off before applying the final top coat to any piece we do. I check all of the areas this might happen like the back of the piece, inside the drawers or cabinets and even underneath the piece. A hand sanding or a power sander is fine for this step.
distress and top coat
After a bit of light distressing with 220 grit sandpaper (wrapped around a sanding block) on the high spots, I used that same sanding block over the whole piece to smooth the surface. The piece will need to be vacuumed afterward!
Miss Mustard Seed Milk Paint will dry with a chalky-type of look because of the natural ingredients it is made with. Adding a topcoat will seal the paint. I recently started using the Furniture Wax from the MMS line and I love it! It goes on smooth with a waxing brush. Then I used a piece of leftover upholstery batting to smooth it even more.
A bit more of the white paint was showing through from the distressing than I preferred so I opted to add a layer of Briwax in Dark Brown. I completely forgot to get pictures of this step! But I will do a post on that type of wax in the future!
It is the same basic process as with any other furniture wax, apply with a wax brush, allow it to dry then buff with a soft cloth.
confession time!
Confession – I love unusual hardware! My workshop has acquired quite the collection of all sorts of leftovers from various projects and from finding these small treasures at auctions and yard sales. Often, they are in the wood tool boxes that we love to reinvent!
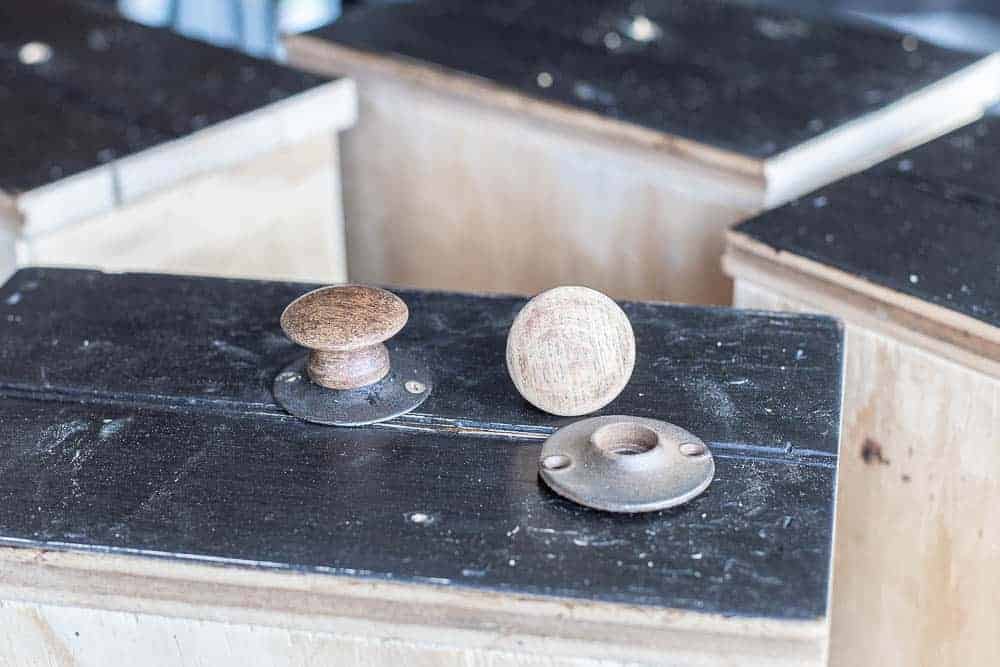
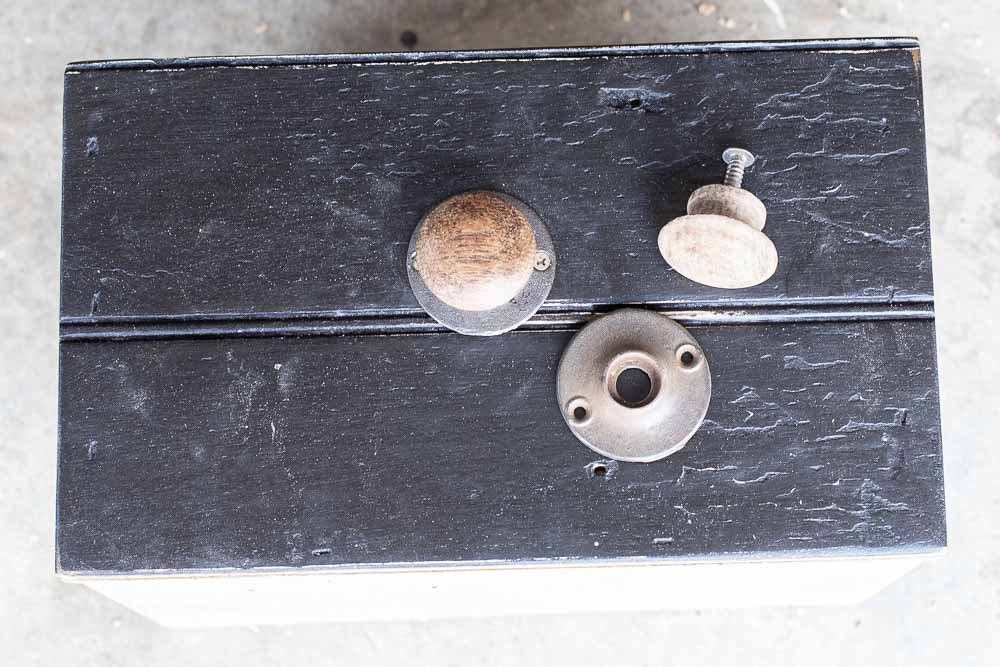
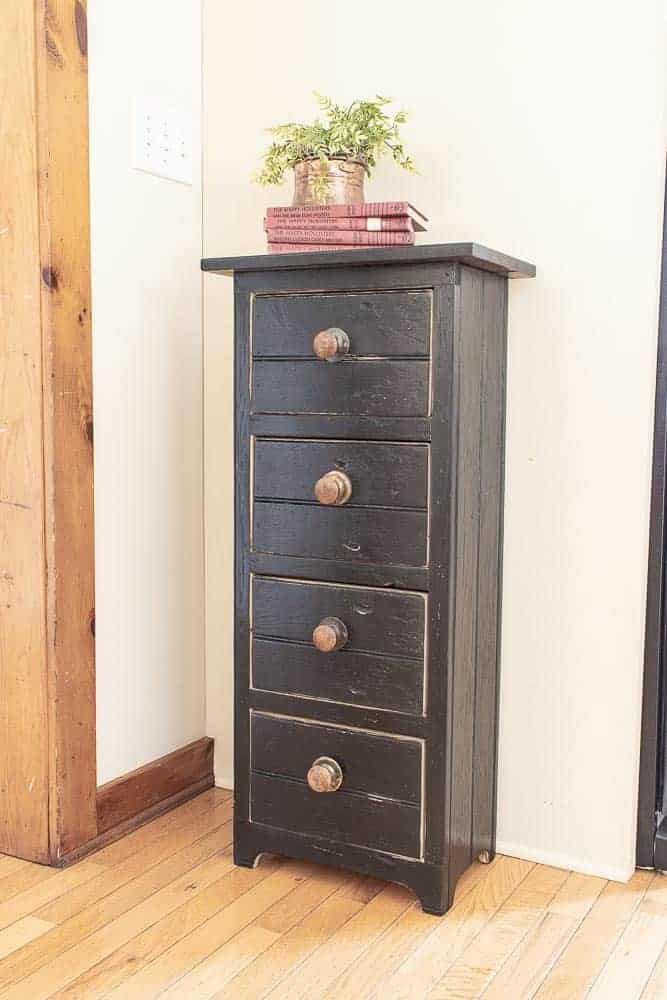
For this tall storage chest makeover, I found four different vintage doorknob covers. They would have been part of an antique glass or porcelain door knob assembly. Yeah, we save that kind of thing!
I also found vintage oak knobs in my stash! Jackpot! A little bit of assembly with a couple of extra screws and wa-la! Custom knobs!
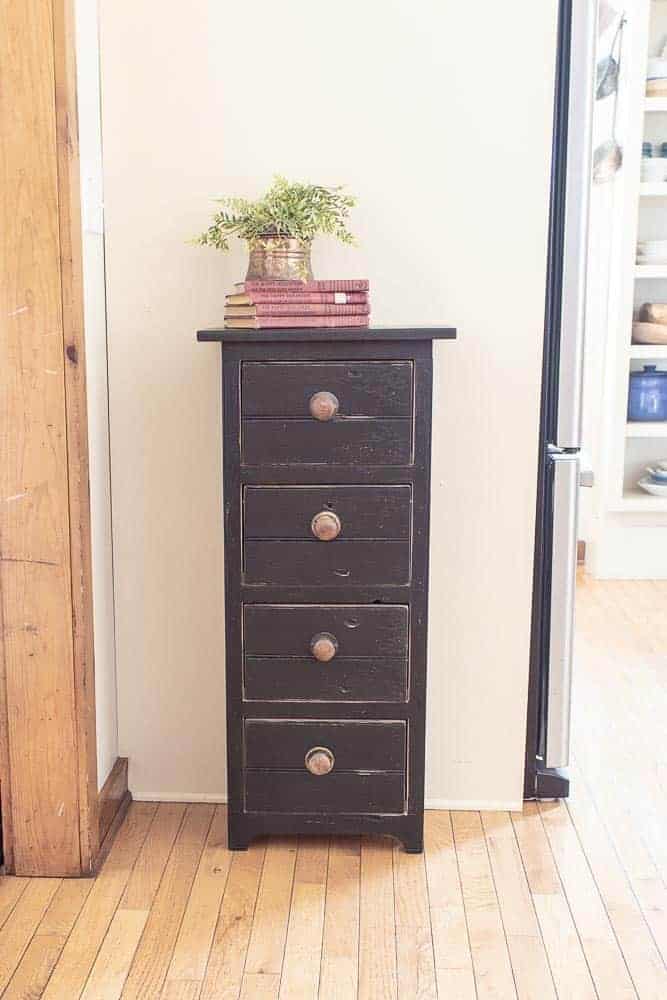
the final look!
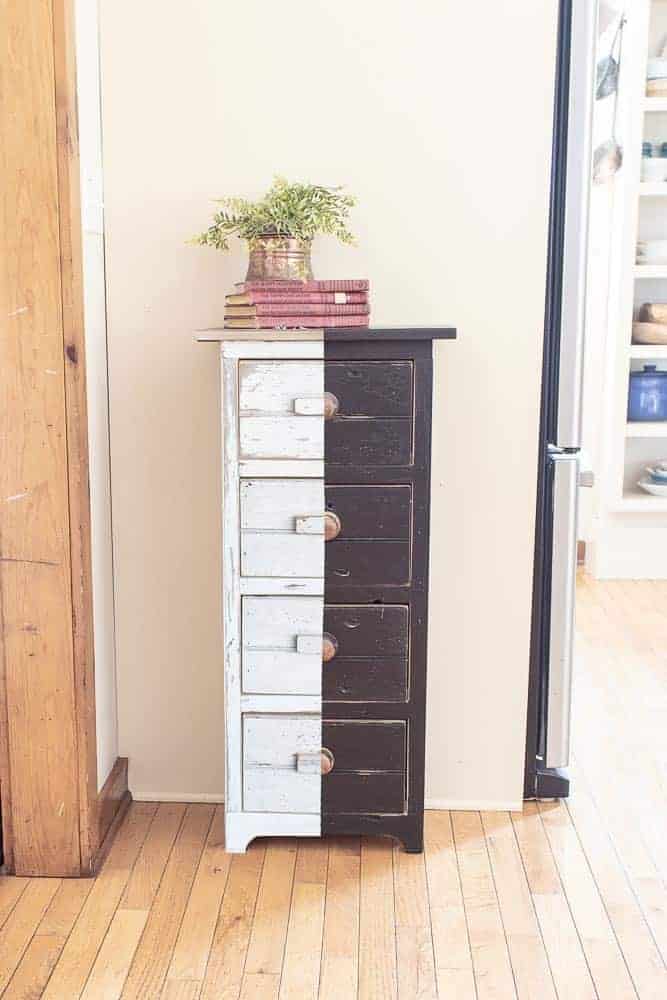
Aren’t the custom knobs perfect on this piece? I love the antique oak next to the black paint!
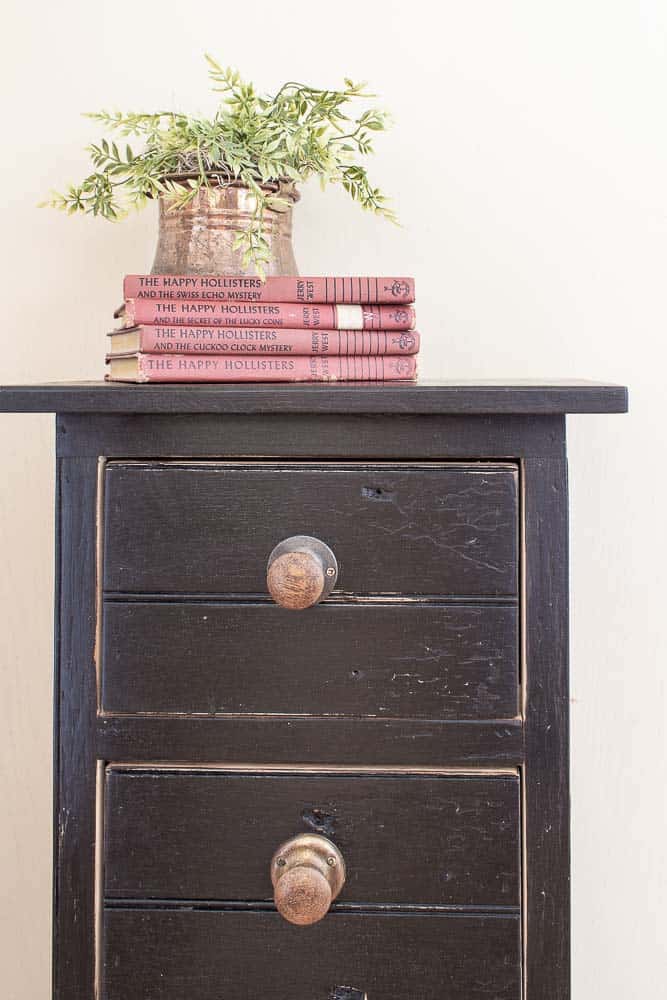
Can I get an amen for texture?? The leftover paint along with the other ‘imperfections’ make this piece perfect in my book!
Our client was searching for a plant stand for her home and when she came across this handmade piece at a local shop, she realized she could use the storage as well.

The piece would be great near a front entrance……
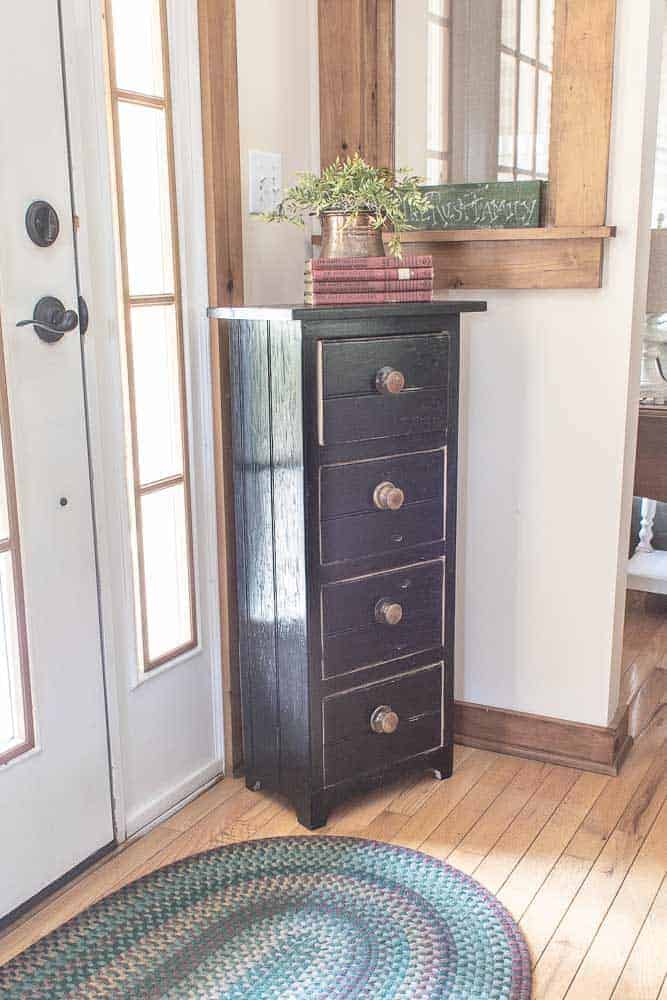
…or near a back door. It could hold gloves and scarves in the winter and flip flops in the summer!
easy storage chest makeover
Wasn’t that an easy transformation? Here is a little fun before and after of this storage chest makeover! Even though the original chippy white paint finish is currently trending, the new Typewriter Milk Paint finish will fit perfectly in our client’s home!
Tell me, which finish do you prefer? Or are you like me and it is just too hard to choose?? Let me know in the comments!
Here is a little something for you to pin as a reminder to not always choose the trend but choose what you love for your home!
Looking for a few more easy makeovers? Here are a couple I think you will enjoy!
Step Ladder Upcycle Side Table
Follow along on our reinventing journey by subscribing to our email list! Promise, I won’t spam you or sell your email! Join us on Instagram and Facebook for more projects!

Cindy,
Both looks are great, I think it depends on the room in which you are going to showcase it and the other pieces of furniture adjacent to it. I love it.
Thanks for sharing
Wanda
Thanks Wanda for the ideas and the opportunity?