
Black Wood Box with Mid-Century Legs – Farmhouse Storage

Hello and thanks for coming back to see some of the projects we have going on here at Reinvented Delaware! We love to choose items that had one purpose and transform them into beautiful home decor pieces with a completely different purpose!
Storage is such an issue for most of us. We need places to put the things we accumulate and things we need for our lives to function. But we don’t want to use plastic storage bins in our homes 😉 Not exactly the farmhouse look we are all loving right now!
Old wooden tool boxes are one of the best ways to store and hide away the things we need in our homes but don’t necessarily want to see them in our homes. We have transformed lots of wooden tool boxes. They are by far one of my favorite things to repurpose. You will see plenty of these types of projects on this blog!
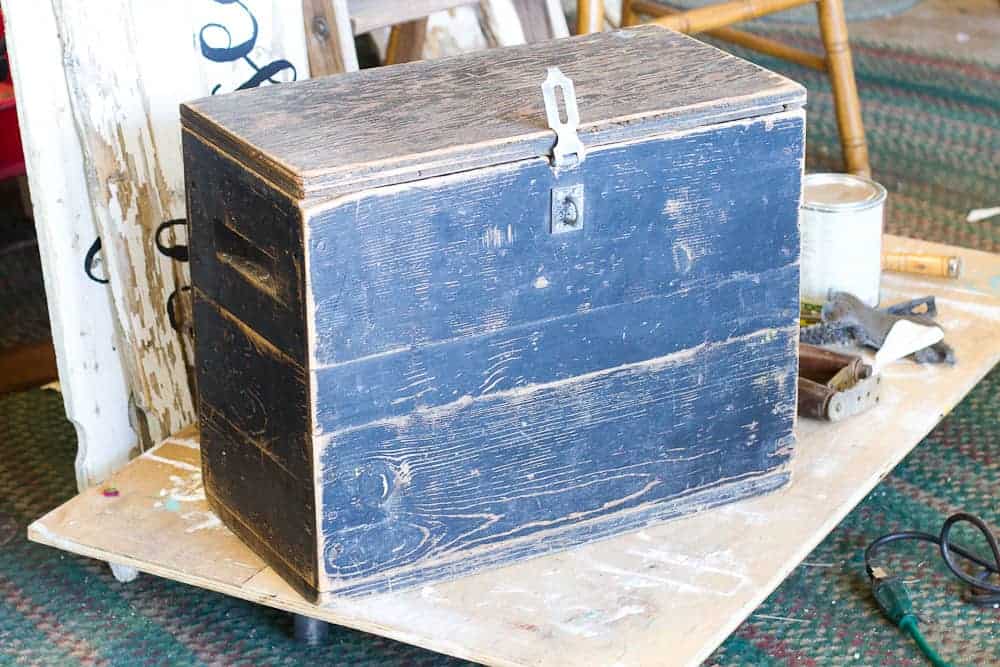
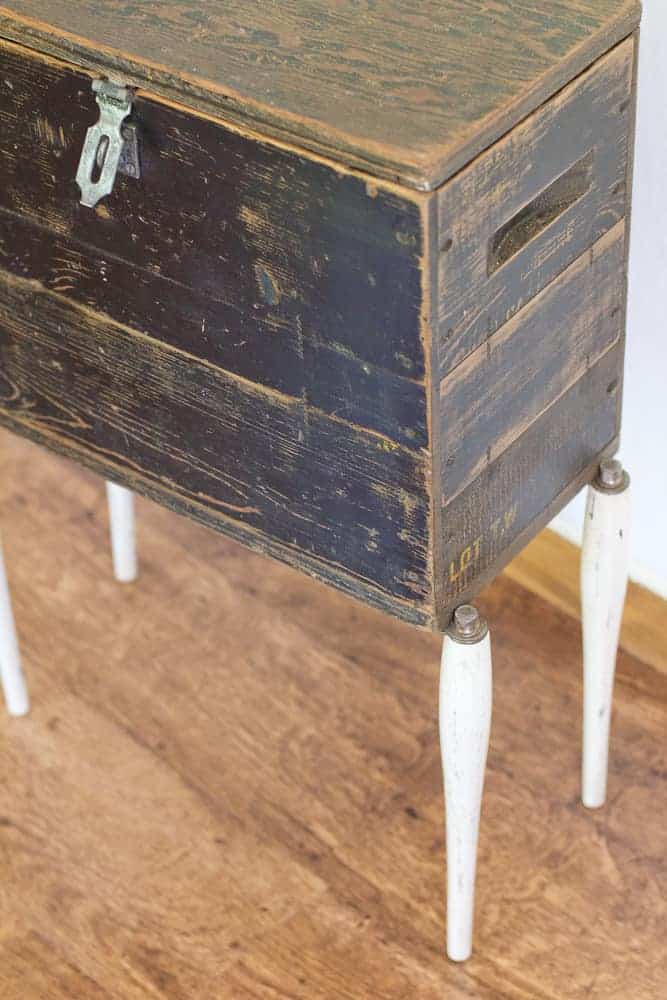
This black wooden box measures about 20″ tall 20″ wide and 10″ deep. It has a metal insert and carved out handles on the sides. I am not sure what it was used for – the metal insert implies there might have been liquids stored inside – maybe paint cans or bottles of cleaners. The metal insert got a good washing with Dawn soap and a micro fiber cloth. It wasn’t even dirty, but I wanted to be sure it was clean. It sat out in the sun to dry and I called that part of the project a done deal!
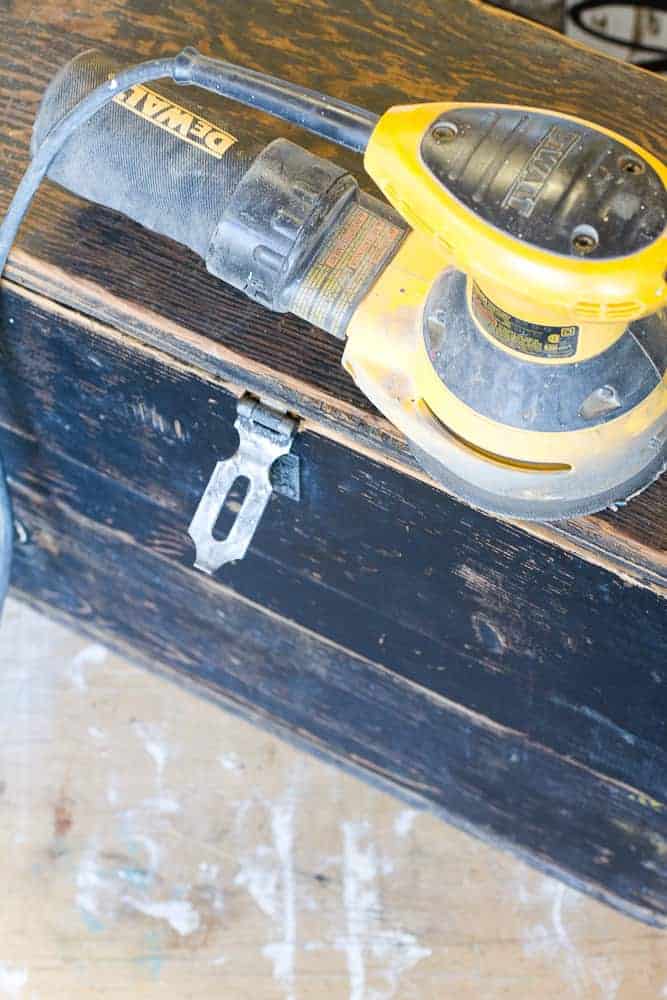
The first step I usually take in working with the wood boxes is to sand them. Often they have splinters and rough spots. This is going in someones home and I don’t want any mishaps. The sanding also removes any dirt and even oil that might be on the box. These boxes were work horses for someone so they have seen a lot in their lifetime. I was careful not to sand too much of the black paint on the box. The exterior is so full of character and I don’t want to loose that! I used a 150 grit sandpaper. That is my go to grit. Afterwards, a good vacuuming and wiping down with a damp micro fiber cloth.
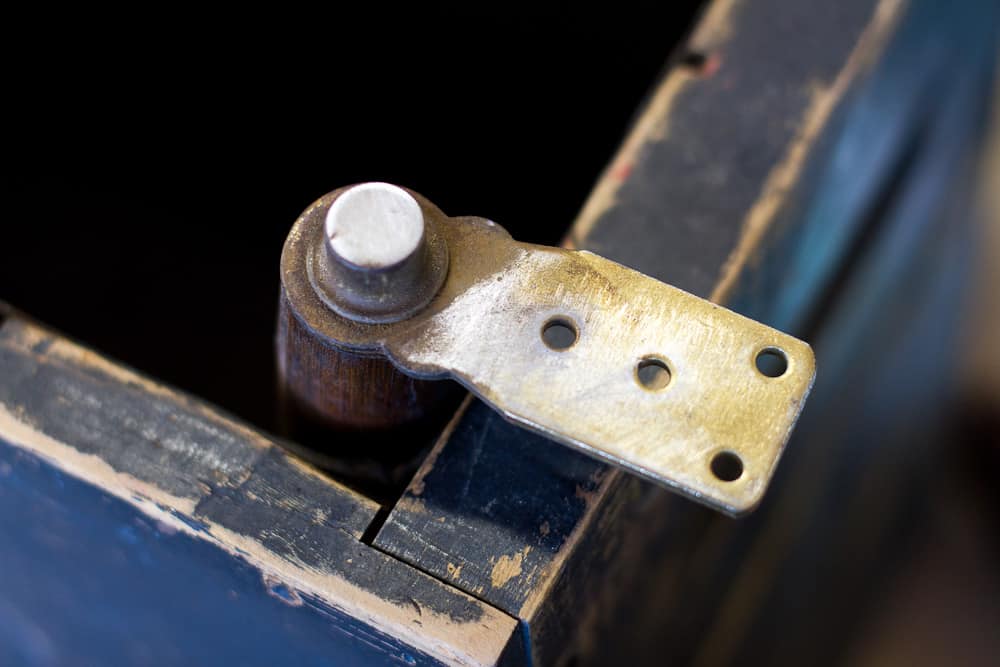
Onto the legs – my favorite part of this project! We came across two little formica-covered tables that had adorable mid-century style legs. It’s a good thing we had two of these table because each only had three legs! I needed four. Whew!
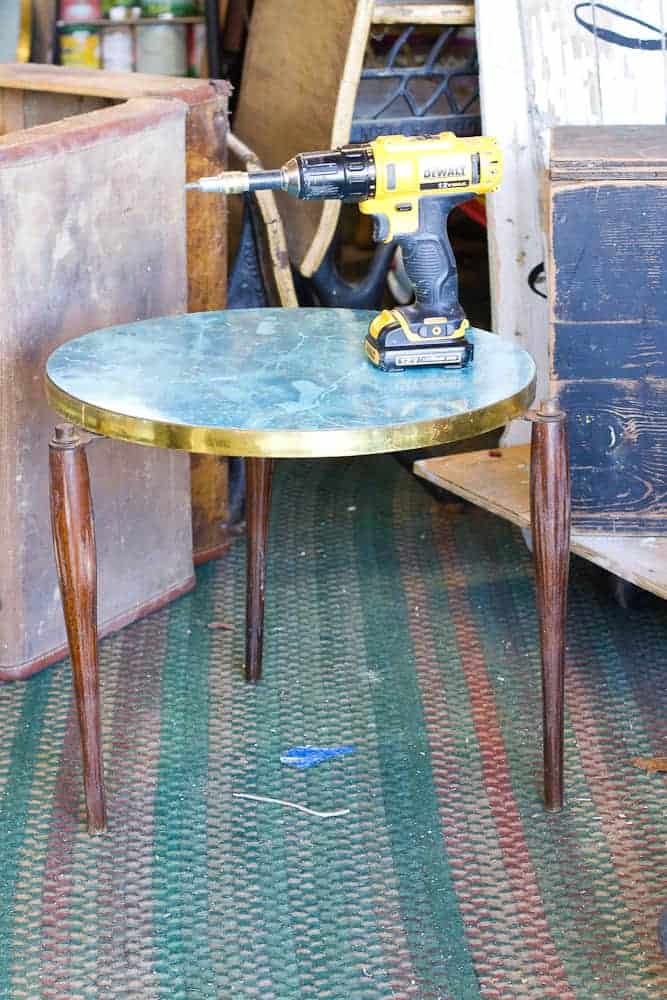
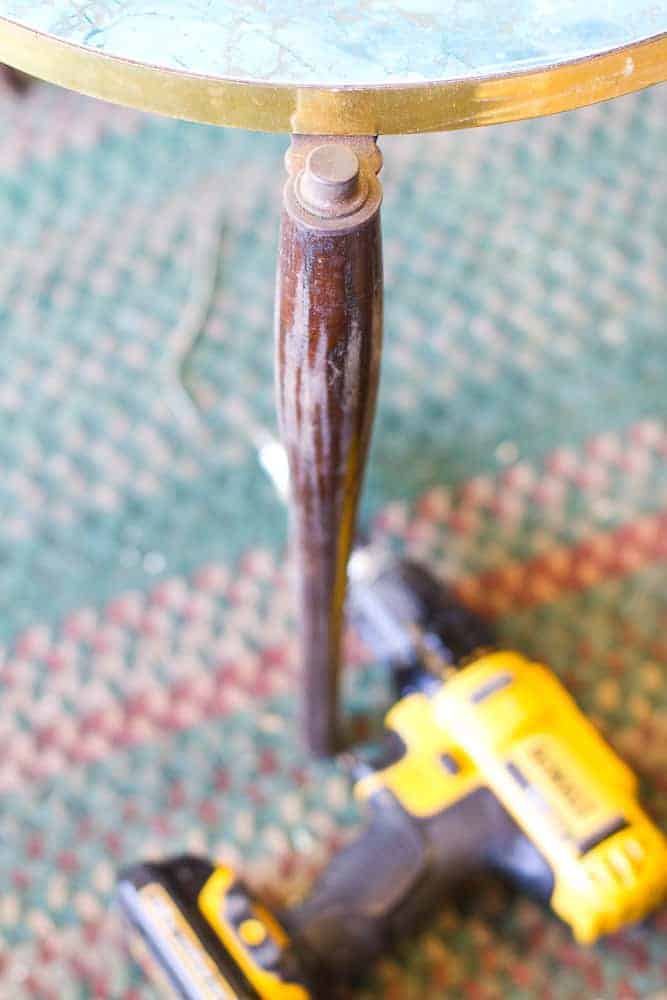
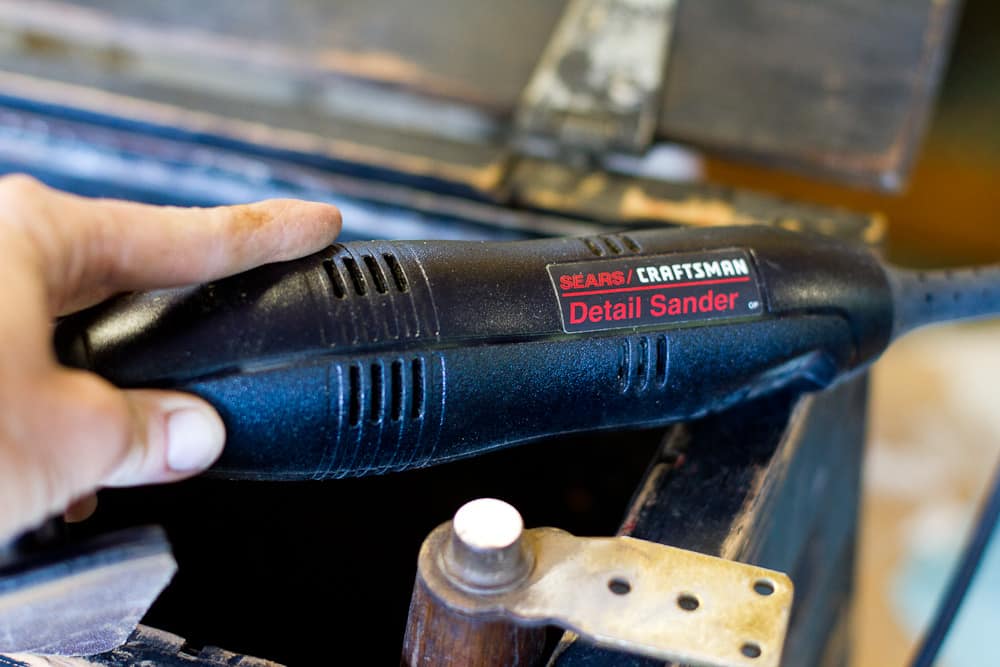
A couple of screws and they were no longer attached to that ugly formica! Yay for freeing the legs! I used this Craftsman Detail Sander with a worn out 150 grit sandpaper on the hardware. This is an easy way to clean up hardware with minimal scrubbing. The sandpaper was well used so it wasn’t as scratchy as a new piece. I believe in using the sandpaper to the very end 🙂 After sanding a bit, I realized that the hardware would unscrew from the wood part of the leg. That made sanding much easier 🙂
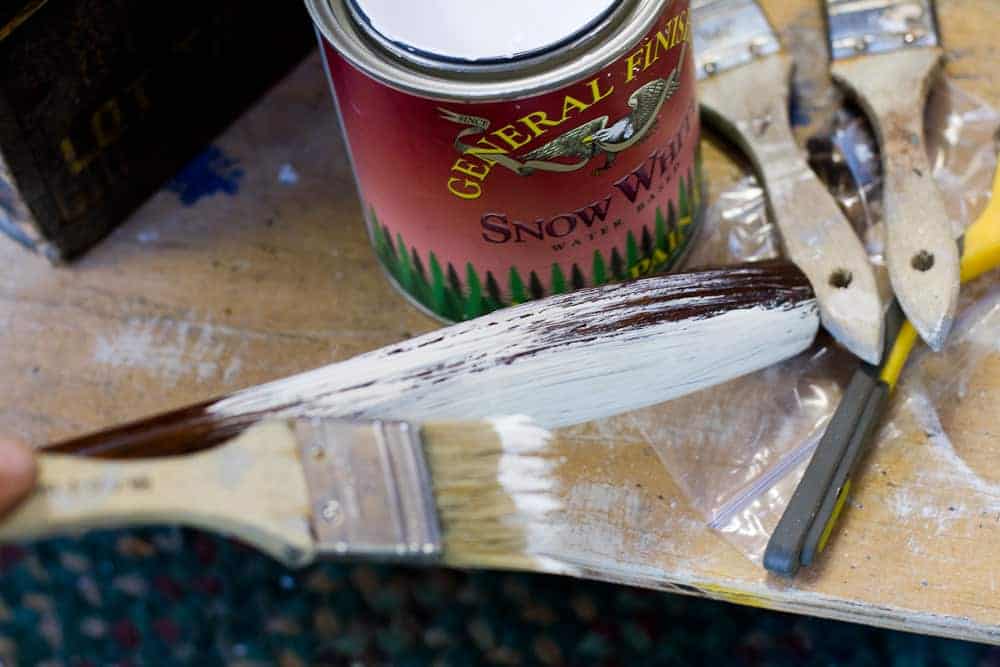
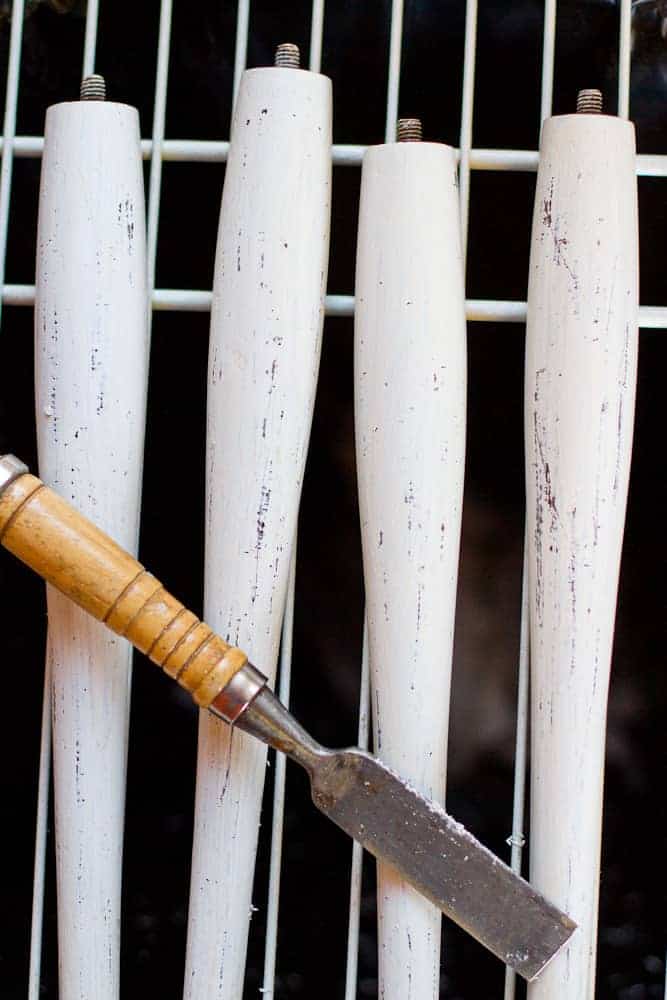
Two coats of General Finishes Milk Paint in Snow White served these legs well. The contrast between the black box and the white legs would look perfect!
Old wire shelving makes for great drying space for these legs. I was able to stand them upright which made the drying time perfect! Milk paint dries fairly quickly depending on the temperature. My workshop has a small heater so that helped with drying time.
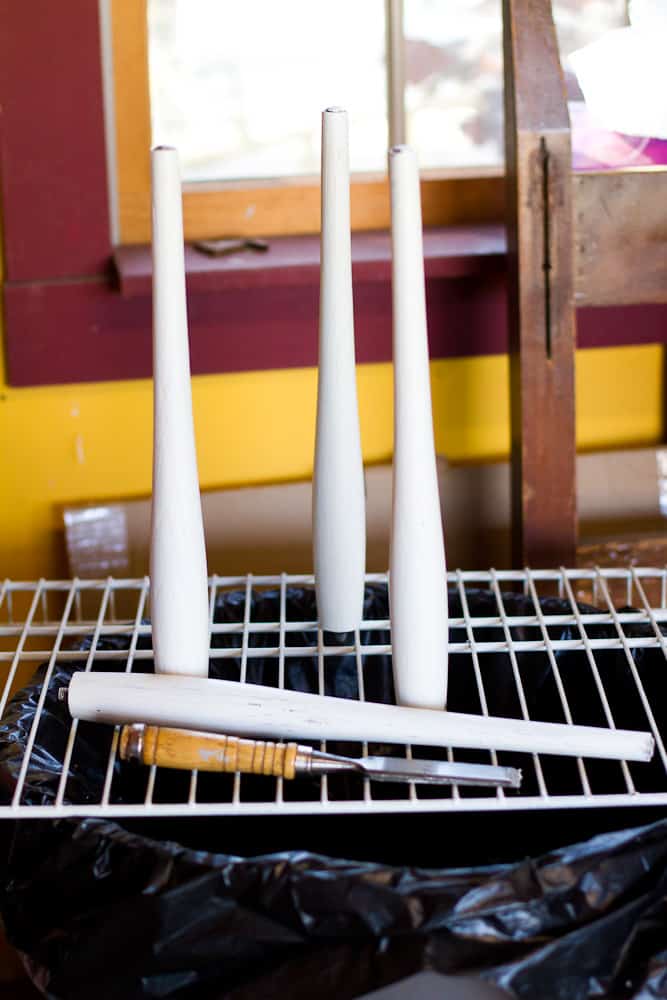
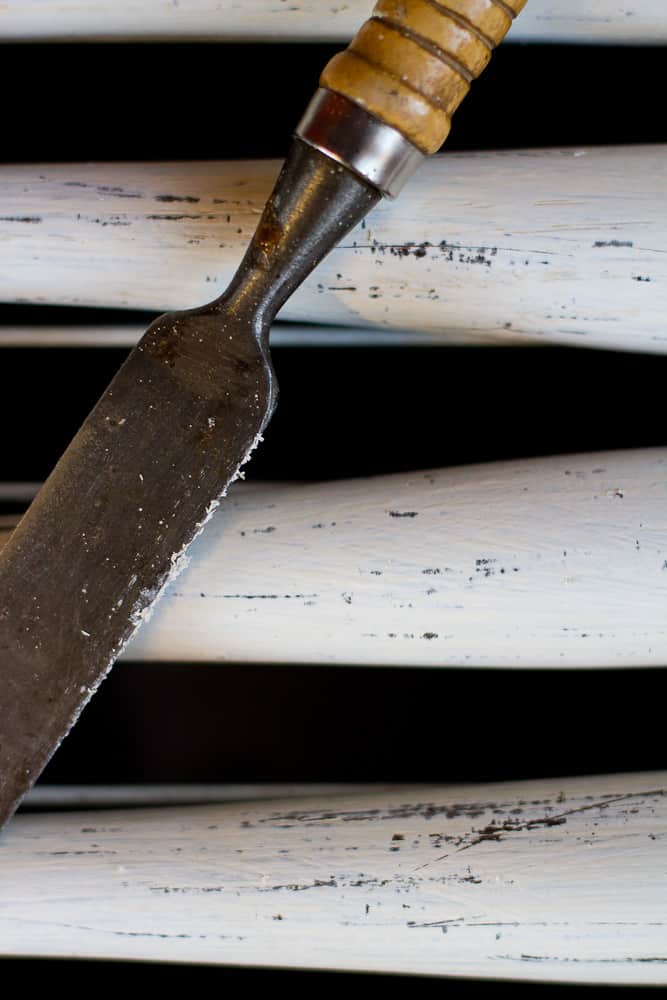
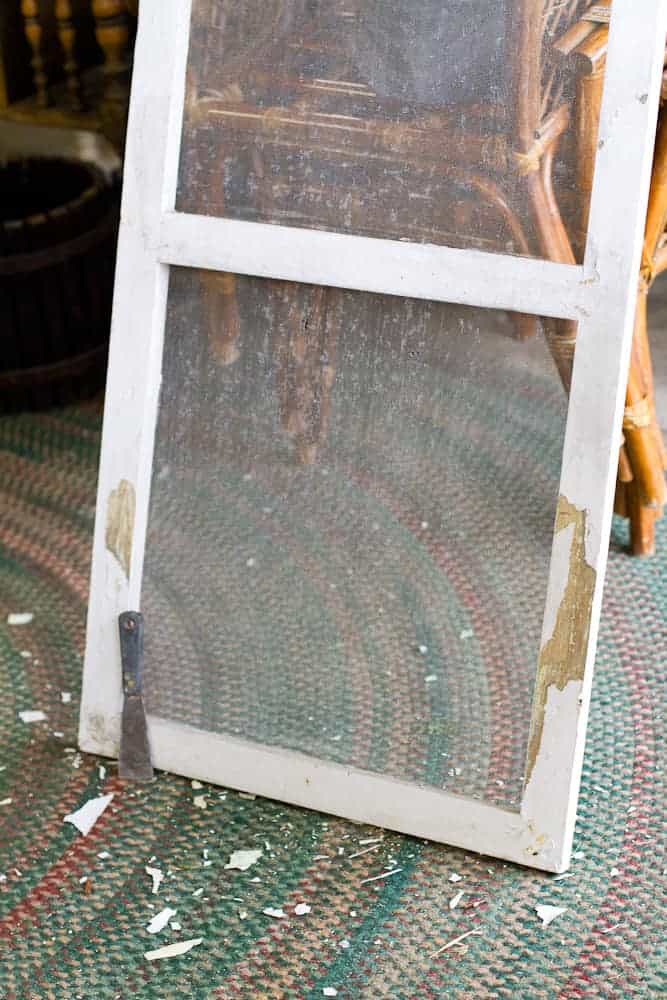
Distressing is next! General Finishes Milk Paint distresses beautifully! I used this chisel to scrap away some of the paint. Use a light hand here because it will distress in no time. If you don’t like the amount of distressing, just paint it again and start over! The farmhouse look we all love so much these days is so forgiving! Be sure to vacuum the pieces when finishes. The bits of scraped off paint will mess up the clear coat or the wax you choose to finish it in.
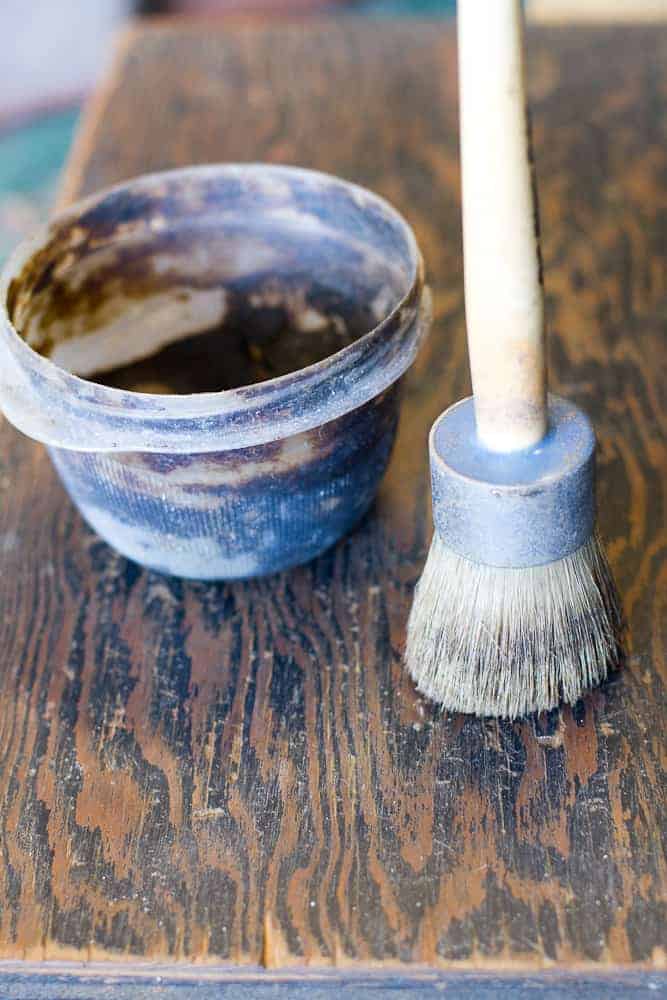
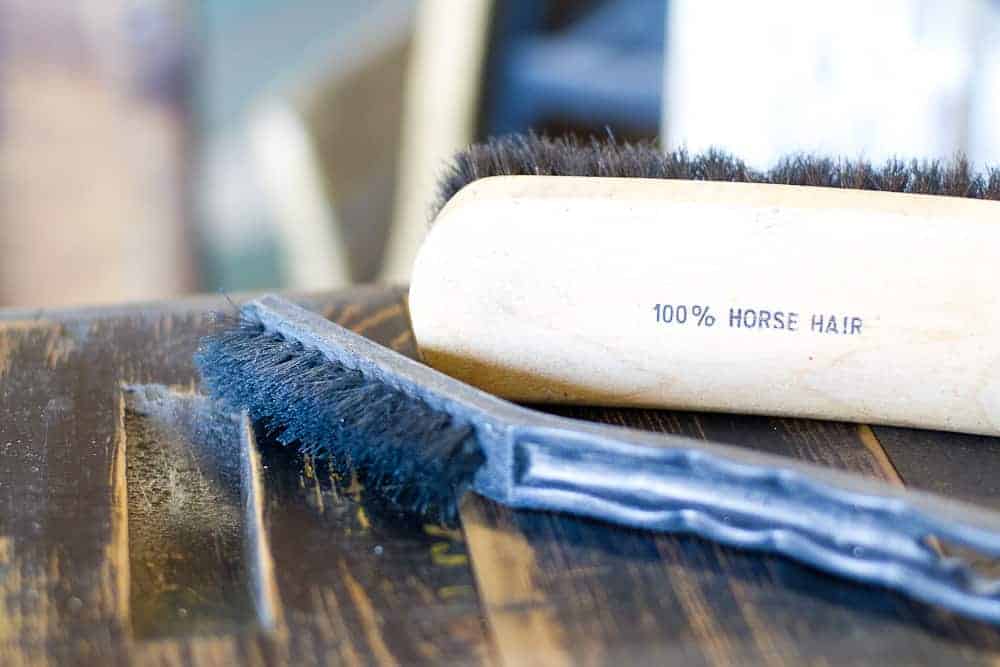
Some projects really need to be waxed. The wood on this box was dry and thirsty looking so I decided waxing would help the wood come back to life. The wax will give an old feel to the box and bring out the finish beautifully. This isn’t the kind of project that needed a lot of protection. Minwax Paste Wax is an affordable product that I use on many of my projects. It comes in Natural and Special Dark finishes. In this instance, I mixed the Minwax Paste Wax Natural with another wax I love, Briwax in Walnut. I mixed the two colors using just a bit of the Briwax. It was pretty dark. I applied the wax with this stiff, round bristly wax brush. You have to put a little muscle into it if the outside temps are chilly. Consider it a little upper body workout 😉
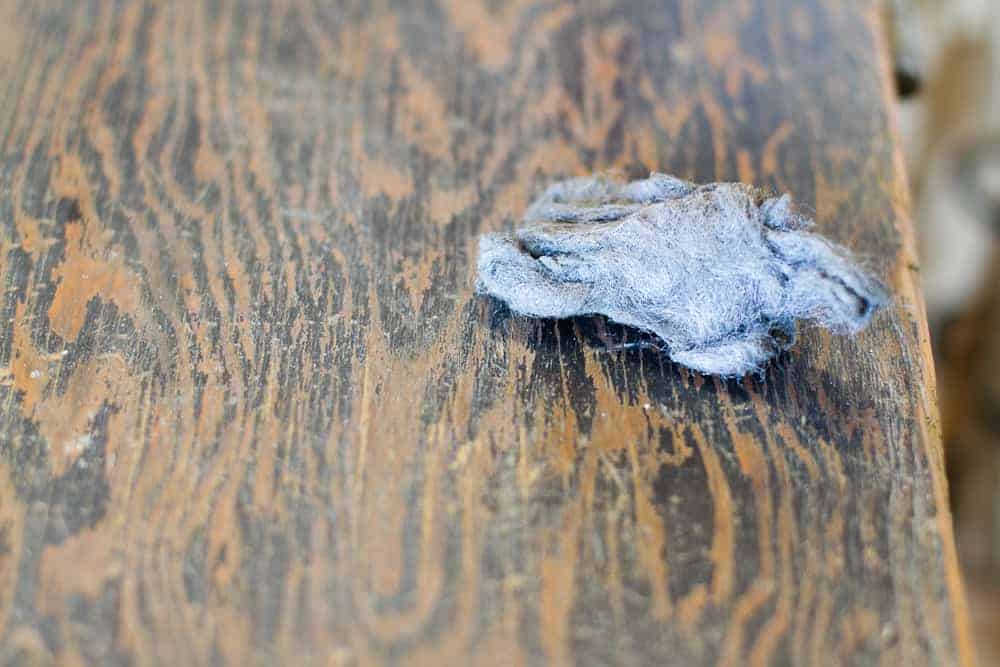
My favorite way to buff the wax is using #0000 steel wool. Wear gloves, it can be hard on your hands but it will produce a beautiful result! Nothing else like it.
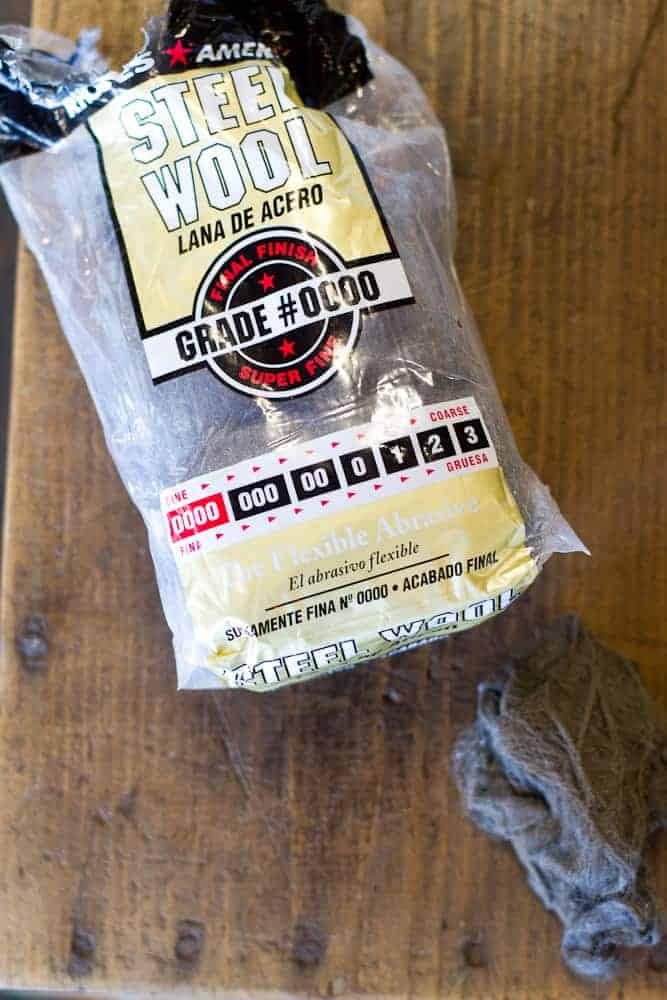
You can start to see the shine come through on the little section to the right.
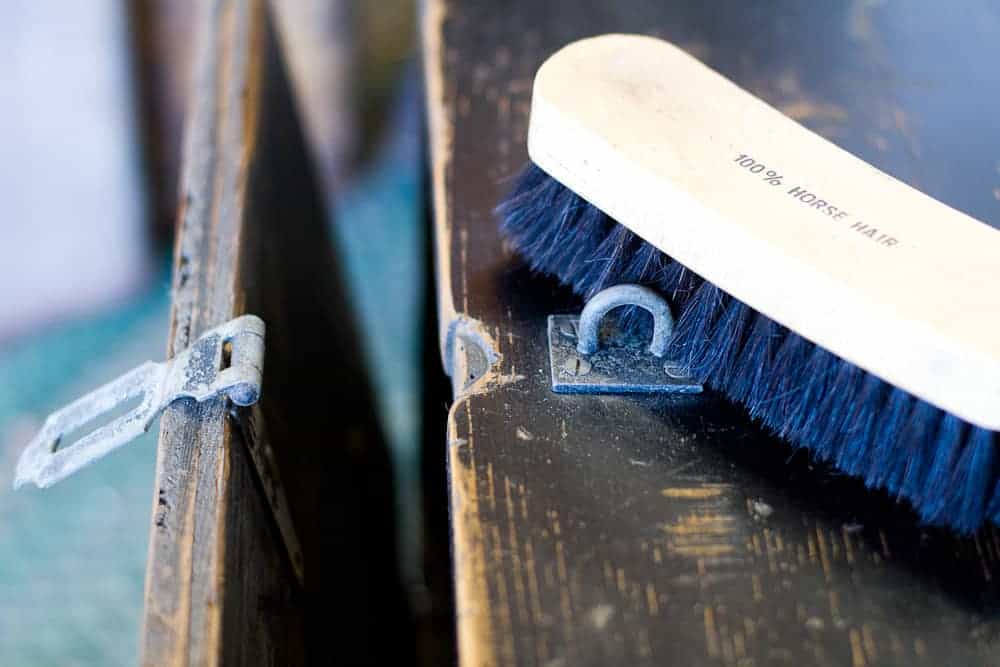
Shoe polishing brushes are great for getting around the hardware and latch on this box. Even these little nylon bristle brushes that you can by at the hardware store in economy packs are great for buffing around the hardware.
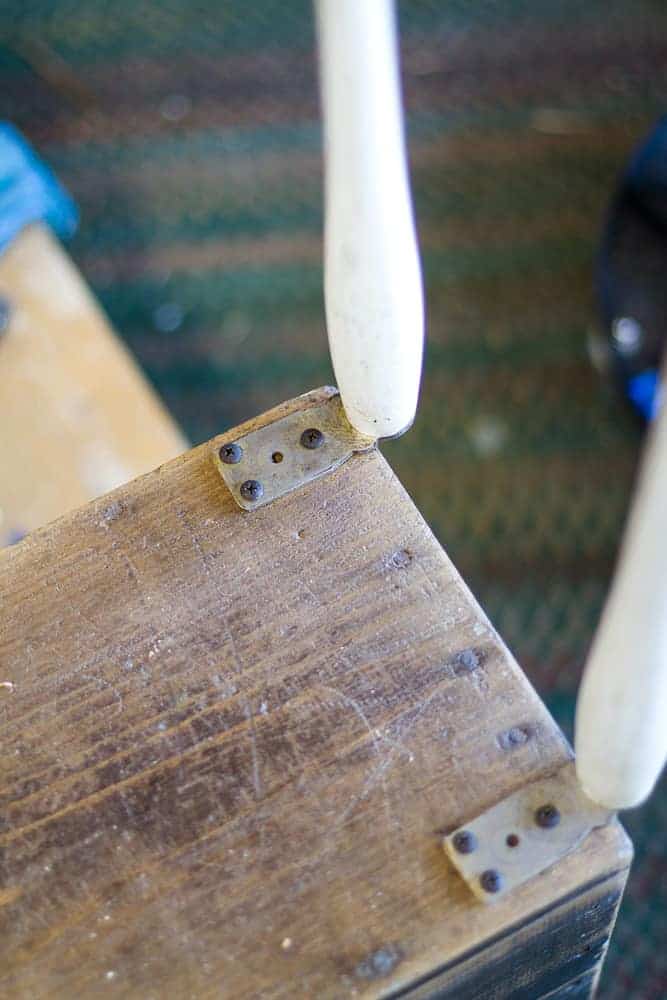
I reattached the hardware to the legs and then attached them to the underside of the box. Pre-drill the holes before trying to screw into the box. This will save a lot of frustration! In this case, I was careful to have all the legs in the same direction and mirrored them on the opposite side. These legs have a distinct look to them.
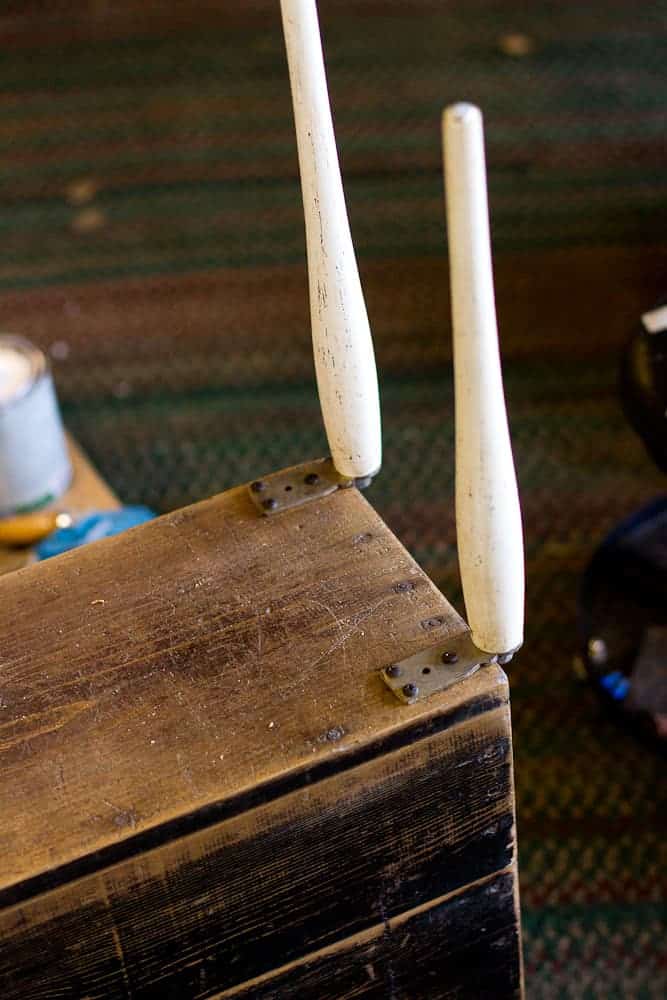
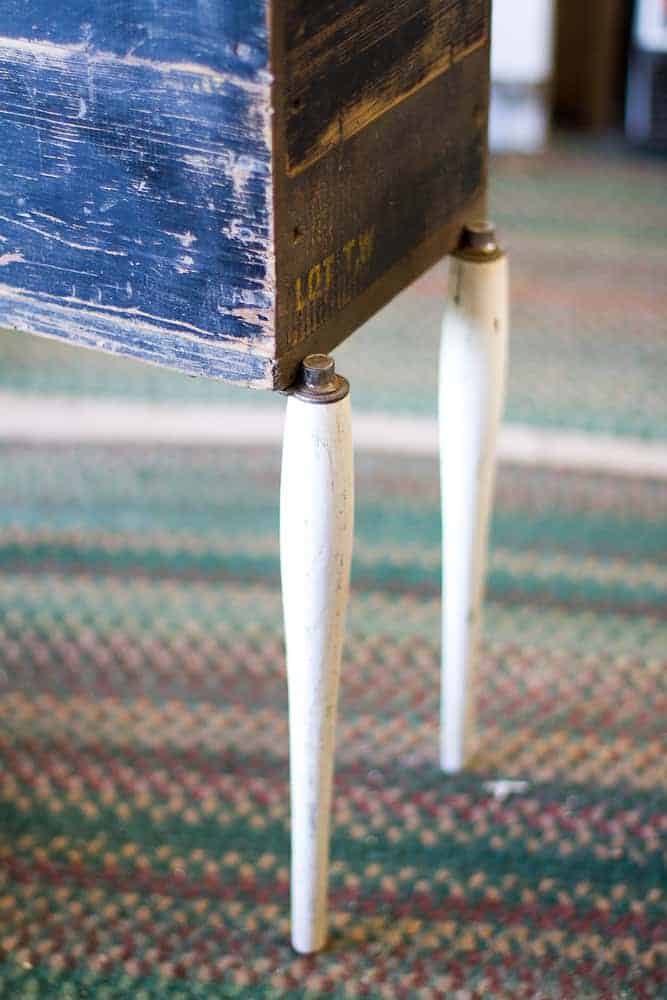
So stinking cute!! I love the contrast of the delicate looking leg with this sturdy workhorse of a box! Like many of my projects, this one had a hard time leaving my house 😉 In fact, it lived in my kitchen for a few weeks!
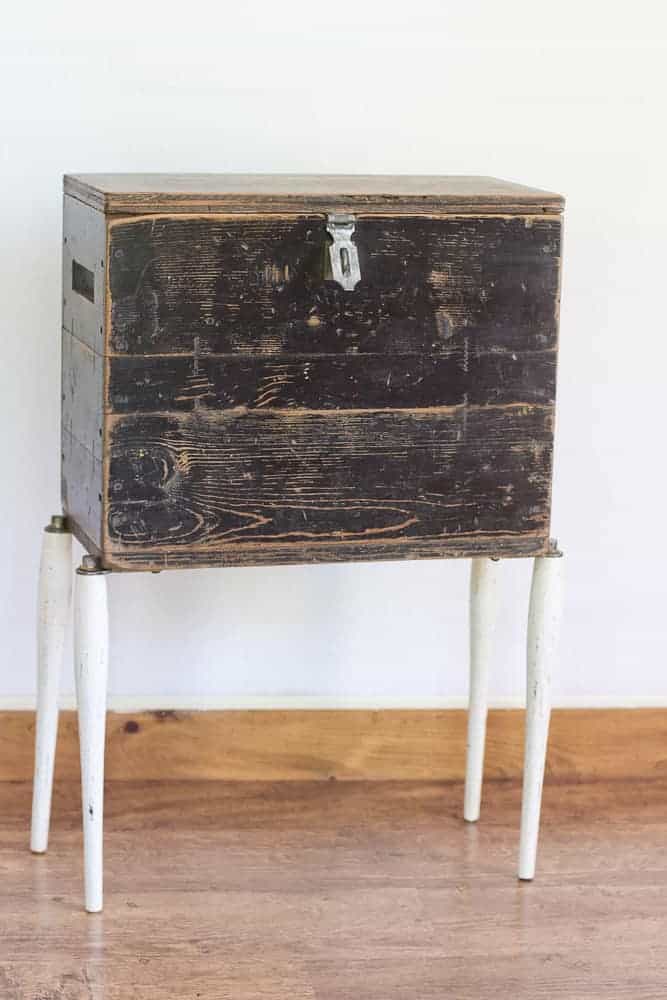
And here she is finished! The black surface of the box is smooth to the touch and has a nice soft sheen. The metal insert is clean and inside the box, I just forgot to get a picture of it! This repurposed wood box would be great storage for files in an office, games for game night, craft supplies or even laundry soap and fabric softener in the laundry room! A box like this is perfect for anything you need for your daily life but you don’t necessarily want to look at all day in your home. I say hide it in a gorgeous box like this!
Thanks for stopping by to see how we transformed this old wood box into a beautiful storage solution for any home! Let me know in the comments below how you might choose to use it in your home! I would love to hear from you!

I love this look! Very unique 🙂
Thanks Tracey! These box conversions are so easy and look amazing when they are finished 🙂 Be sure to let me know if you do one for yourself!