The Blue Wooden Box
Old wooden boxes are among my favorite finds. Most were probably used as a tool chest. Often when I come across them at auctions, they are full of old, rusty hammers and saws and such. I imagine some man using the box to tote his tools around from work site to work site. He probably used the tools over and over and threw them back in the box. I get all sentimental thinking of the completed projects that the box would have helped someone complete. Something about working with your hands is so satisfactory 🙂
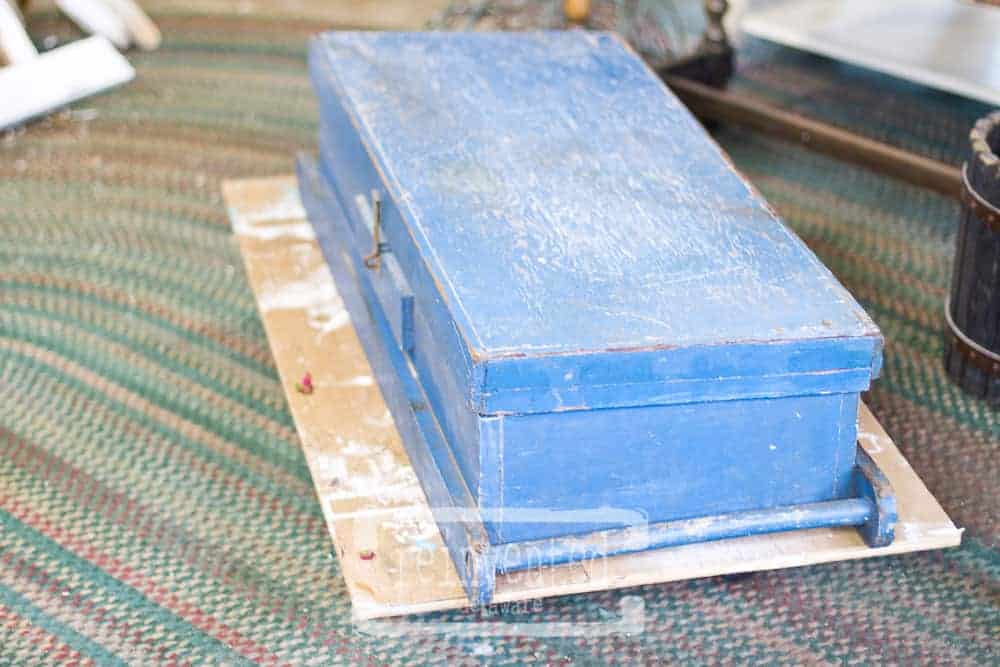
This blue box caught my eye at an auction a few weeks ago. The color was screaming my name saying, “Bid on me, bid on me!” I won the bid! Great news for this blue wooden box!
The first step I took in transforming this piece into a useful piece of furniture was to clean it. Usually I like to take the hose to it with a bucket of soapy water and a scrub brush, but it was raining the day I chose to work on it. Plan B was to use a wire brush and my shop vac. I used the wire brush to loosen the ground in dirt and debris on the inside of the box. The outside wasn’t too dirty so it only required a light touch with the wire brush. A good vacuuming removed all of the loose, yucky stuff!

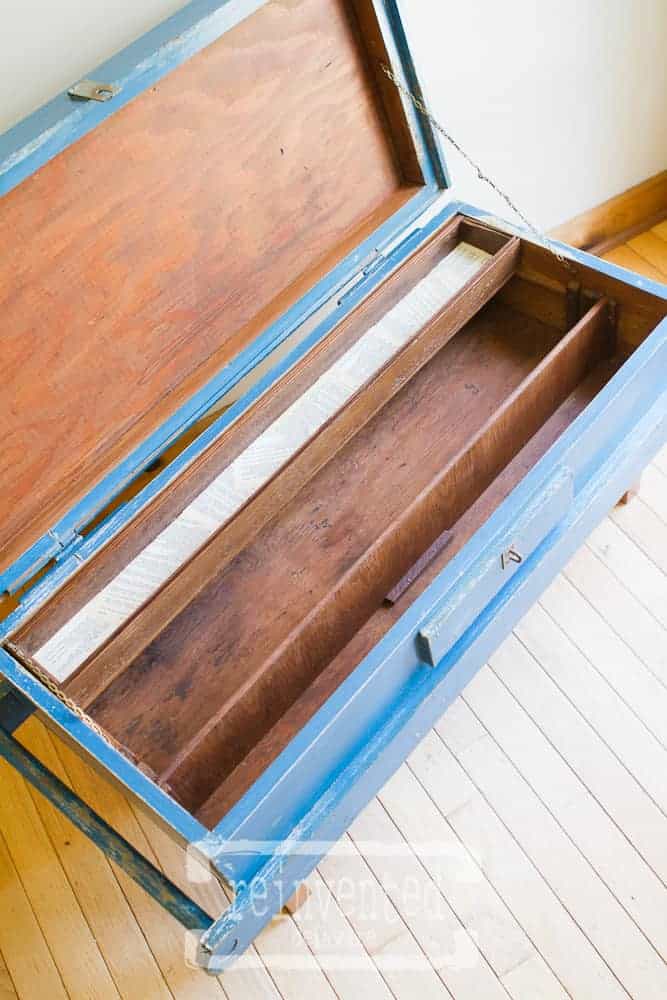
You will notice that the interior of the box had two wooden dividers – I decided to remove them both but then later decided to keep just one divider. The man that used this box probably stored a saw blade in the narrow opening the two dividers created. I didn’t think the narrow space would work for todays needs. The extra divider will be used to build a small tray for the inside of the box.
The blue paint that seeped into the inside of the box when it was originally painted was a little messy for my liking, so my sander came out to work. I have a Dewalt Orbital Sander that I use practically daily! Love that little missy 🙂 With a light hand and 120 grit sandpaper, I ran the sander using the flat side along the surface with the extra blue paint. Sorry for not having photos of this process, I just got carried away before I remembered to pick up my camera! If there is still a roughness to the wood I will change sandpaper to a finer grit such as 180 or 220. Often I just use old and used sandpaper – it usually has a softer grit to it and it saves a little money 🙂 After a good sanding, I used the shop vac again and vacuumed every little bit I could. It’s important to have a clean surface before moving onto the next steps.
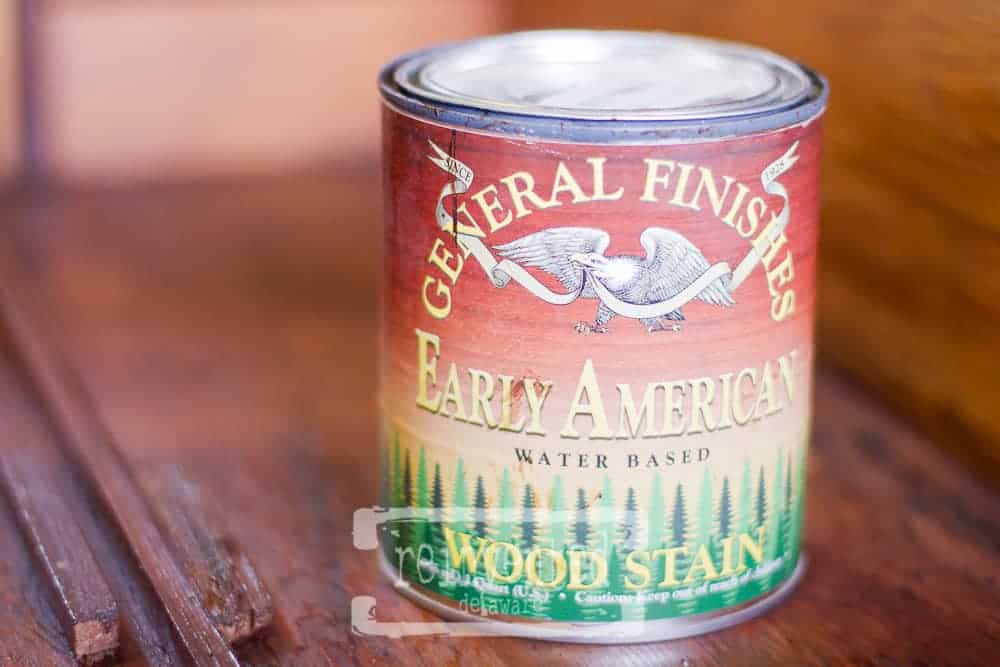
The inside of the box was not very attractive – the color was flat and a bit too raw looking. So I decided to use my favorite stain. General Finishes Water Based Wood Stain is a great product! No fumes, thick & easy to control consistency and gorgeous colors to choose from! My color of choice for this project was Early American. It creates such a beautiful warm rich depth to the wood. Using a chip brush, I applied the stain with even, consistent strokes being careful when I was close to the inside edges. If you are not careful, you will get an overlap of stain creating a blotchy look. One of the great things about this stain is the working time. Because it is thick, you have a good amount of time for working the stain into the wood.
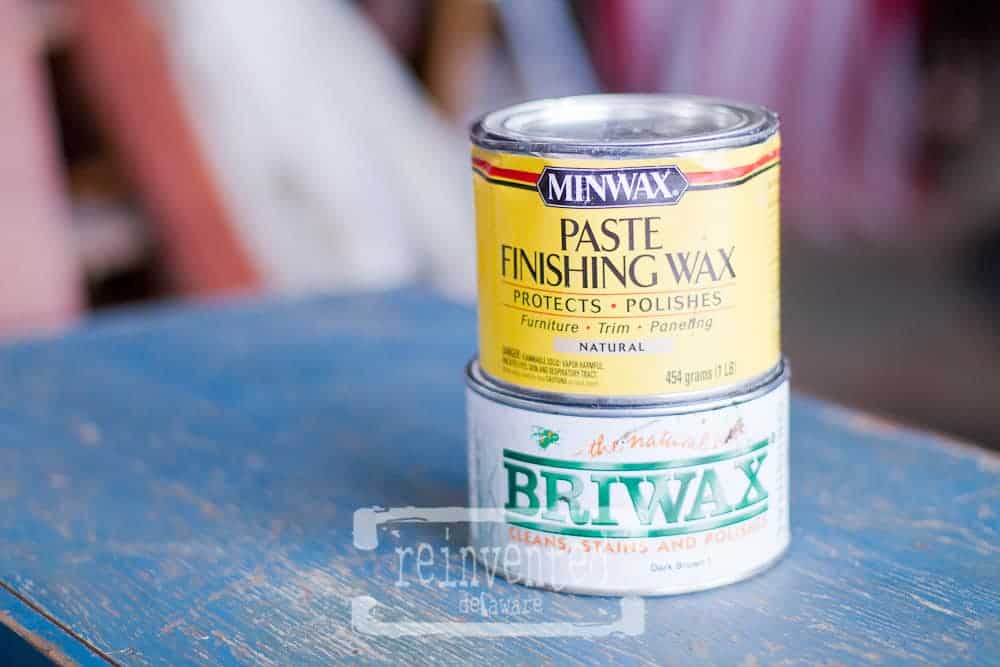
While the stain was drying on the inside, I started on the outside of the wooden box. Waxing is a great way to preserve the wood while bringing it back to life. One of my favorite waxes to use is Minwax Paste Finishing Wax. It is affordable and easy to purchase (especially if you are an Amazon fan like me!) One of my other favorite waxes is Briwax in Dark Brown. It can be used as a stand alone or what I often do is mix the two to come up with my own custom version. Usually I mix a 1 part Briwax to 3 parts Minwax Paste Finishing Wax. So far that has worked well for me to add age to a piece.
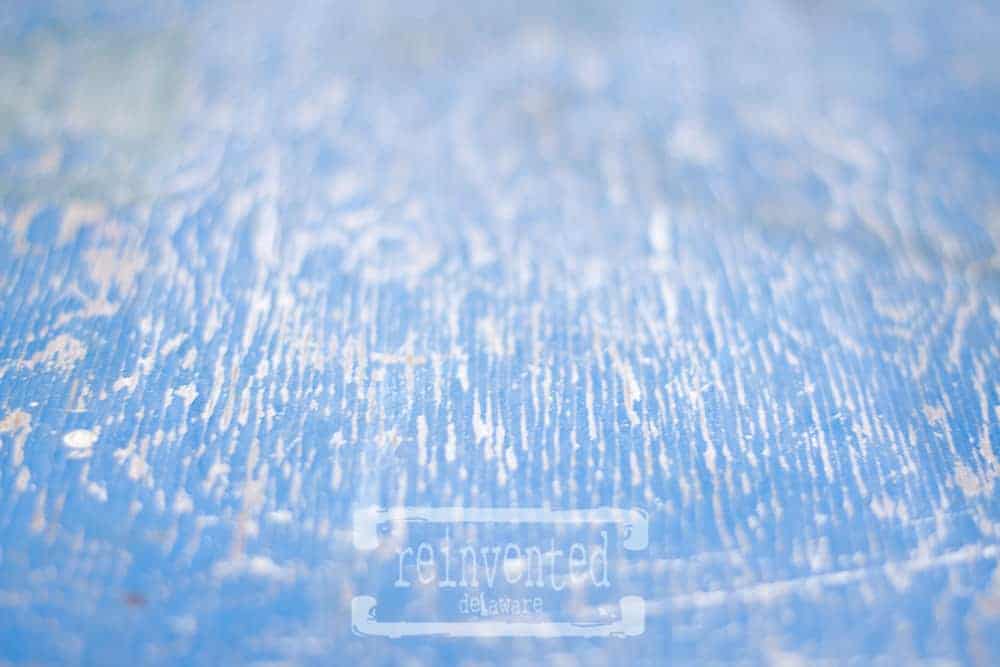
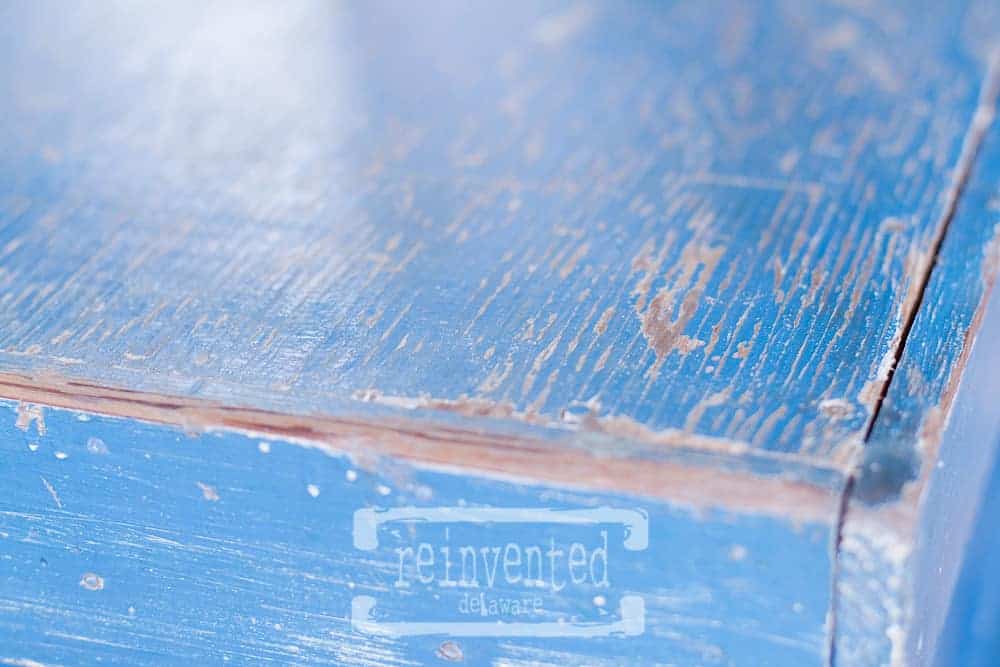
The surface of the blue box was pretty dry – years of use had taken its toll on the poor little thing 🙂 It was in desperate need of some TLC 🙂 You can see in the image below that the wood on the top of the box was very dry and worn out.
Here are the supplies that I like to use for waxing – except for the brush I love to use! Totally forgot that photo! I will be sure to post about that at another time 🙂 It is a round shaped brush that is perfect for adding wax. Only a thin coat of wax in needed – not too much. In fact, you use such a little amount of wax that you can practically buff the wax with the same brush. But I like to take it one step further by using #0000 steel wool and a shoe polishing brush for areas around hinges and handles.

Look at the difference just one coat of wax made! The sheen, the depth of color – that wood was thirsty! The steel wool can leave a grayish tinge but on the blue paint it is not noticeable. Be sure to vacuum the box to remove any bits of the steel wool.
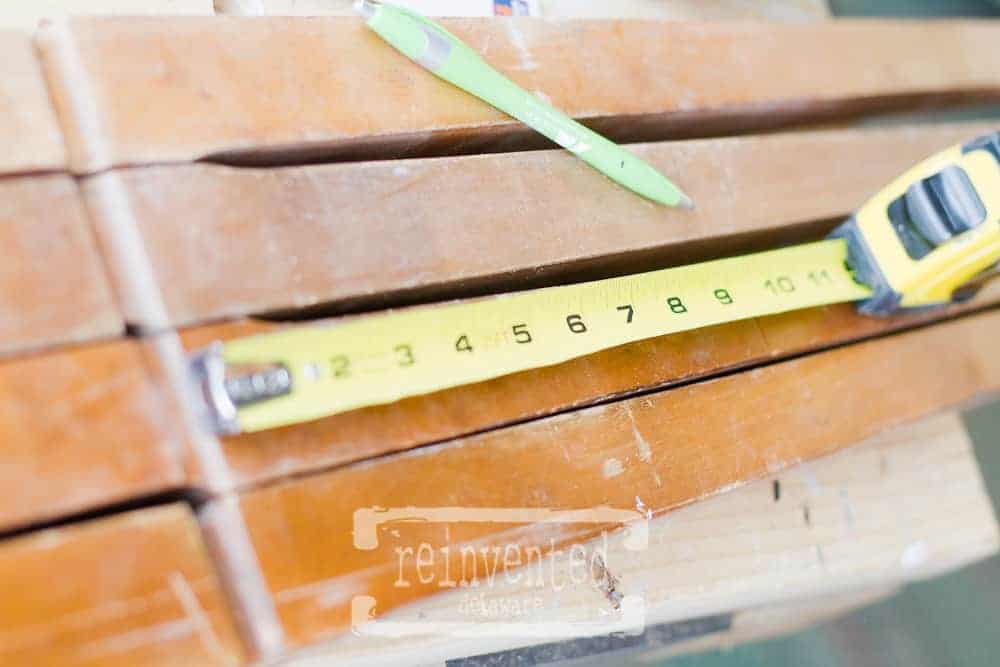
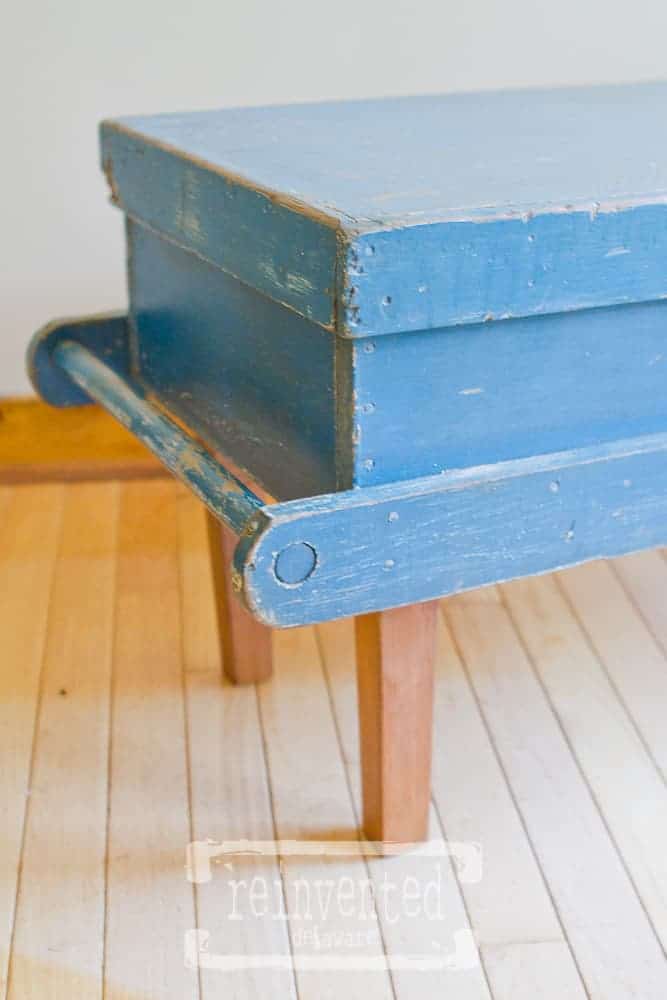
Next step is to add legs. I collect spindles and legs from old chairs and tables and really anything that has a spindle or a leg 🙂 I cut them off depending on the final height I want the tool chest table to be – usually between 16-18″ for a coffee table. Each tool box will be a different depth so some measuring and some math will have to happen!
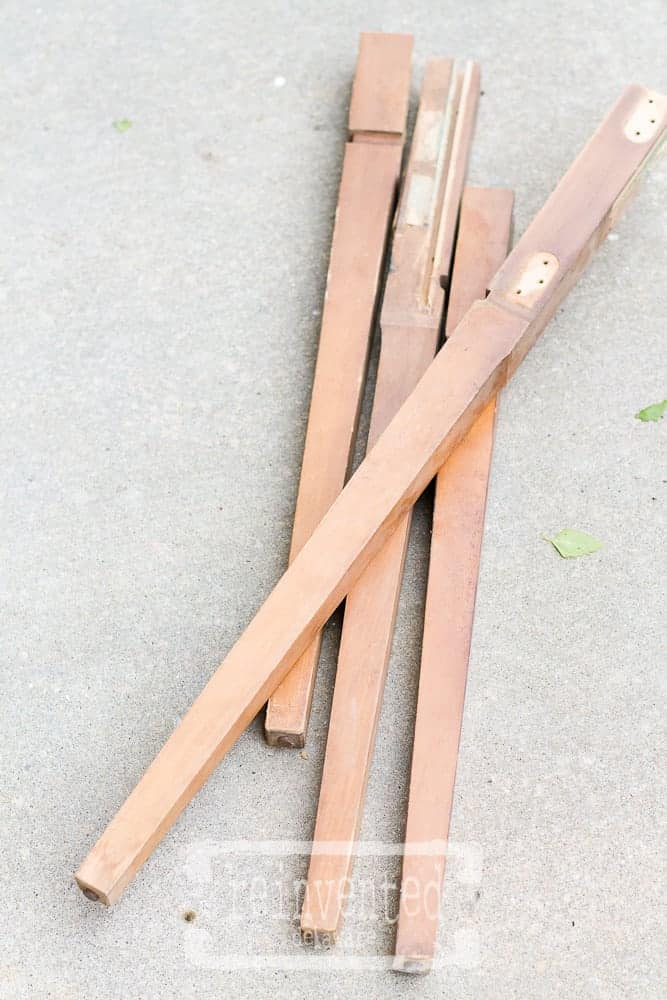
I saved the remainder of the legs for future projects! Unfortunately, excitement to finish the project got the best of me and I left my camera on the work bench not to be picked up until the project was finished. After cutting the legs, I attached them to the bottom of the tool box by pre drilling the legs and the bottom of the box exactly where I want the legs to be. I used long, heavy screws along with wood glue to attach them. A coat of the same wax mixture brought them back to life as well! I promise in the future to be better at photographing each step, pinky promise!
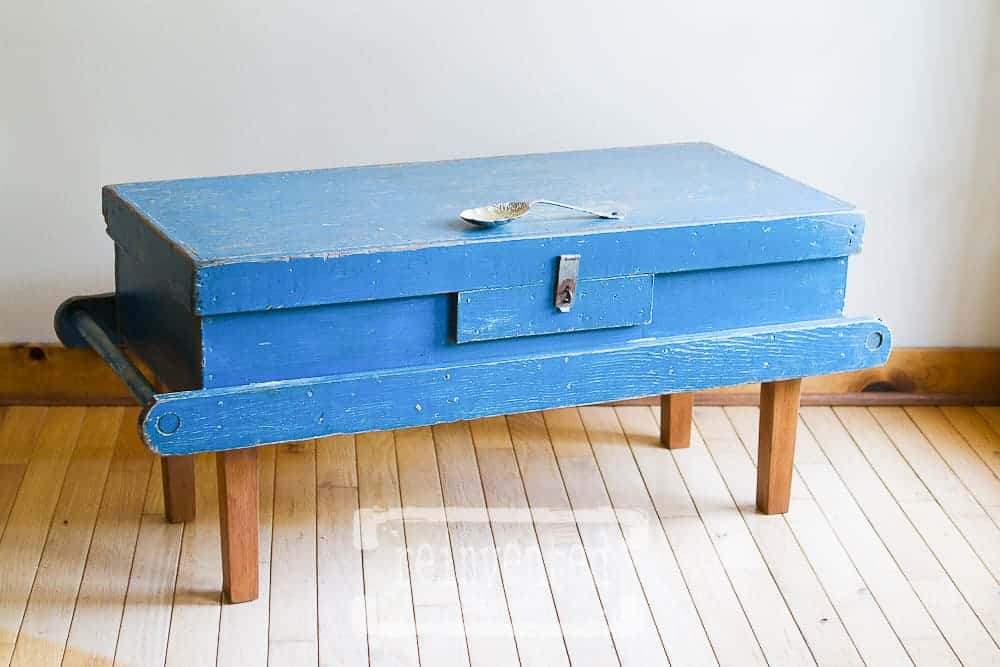
Here is the end result! I had a hard time putting this beauty in my store. She really wanted to live in my house! It was only in the store for about 3 days before it sold!
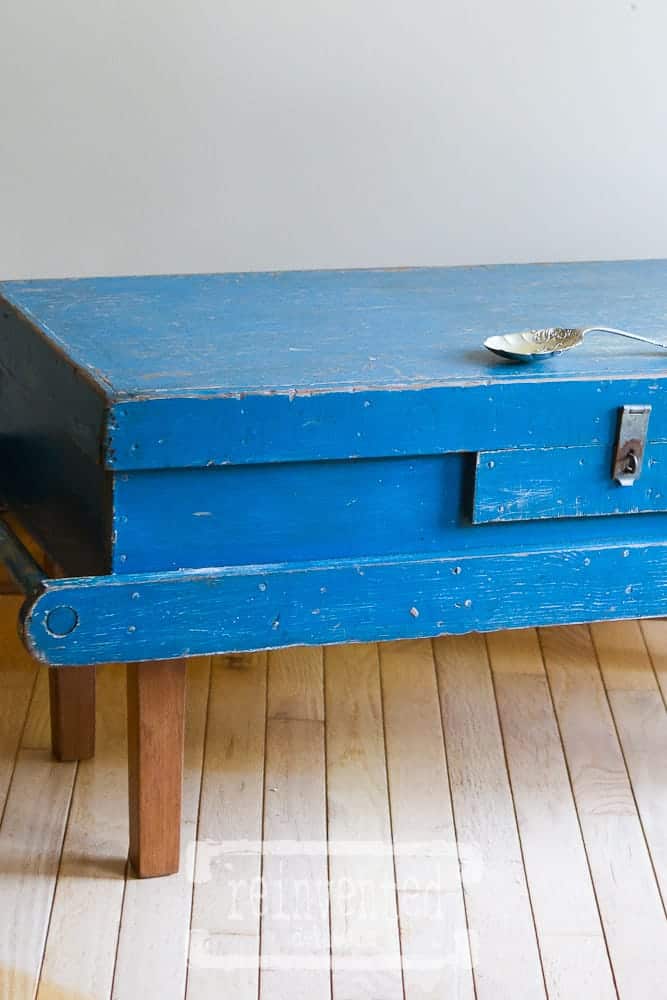
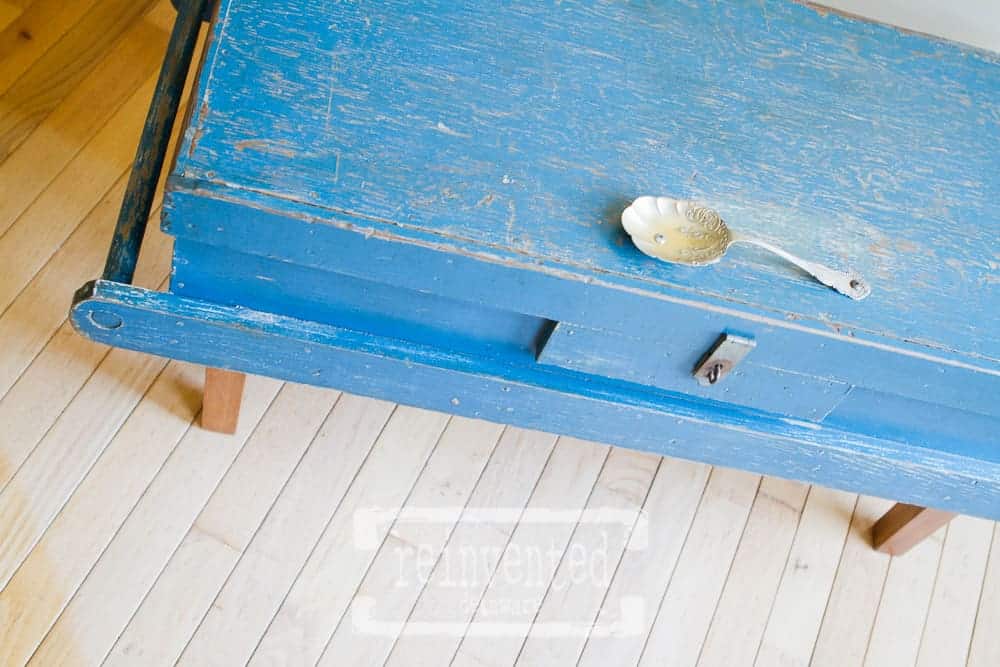
The spoon handle was from among my silverware collection. Pre drill holes and attach!
I especially love the dowel rods on each side of this wooden box 🙂
Notice the interior with the cleaned up edges I mentioned at the beginning of the post. Also I built a small tray from the divider I mentioned at the beginning of this post along with some scrap wood. Then I mod podged (is that a word?!) old book pages to. Just a nice little finishing touch! I will be sure to do a tutorial on that in the future 🙂 Clear coat on the interior and she is ready for a new home!
Thanks so much for joining me on this tutorial! Hope you are inspired to take something old and transform it into something new for your home! Feel free to comment below with any suggestions for future projects!