
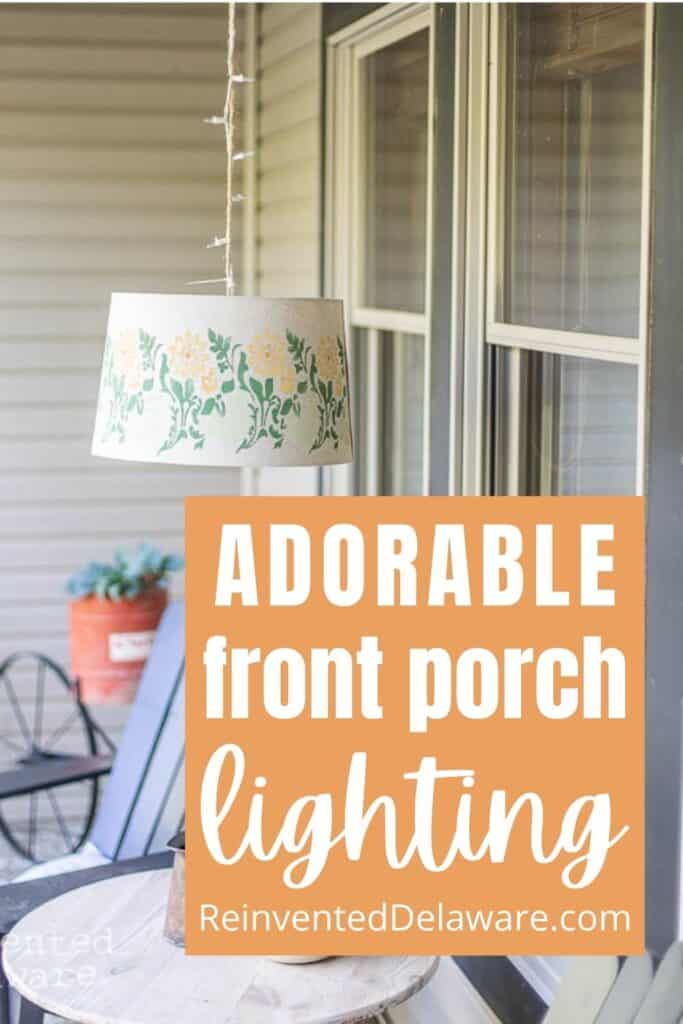
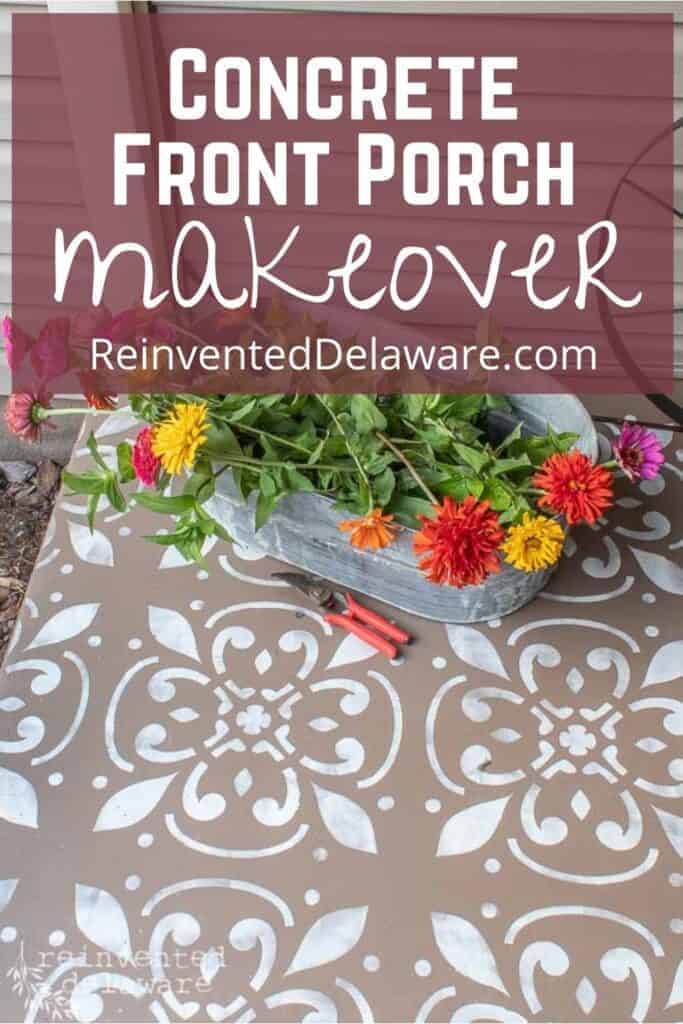
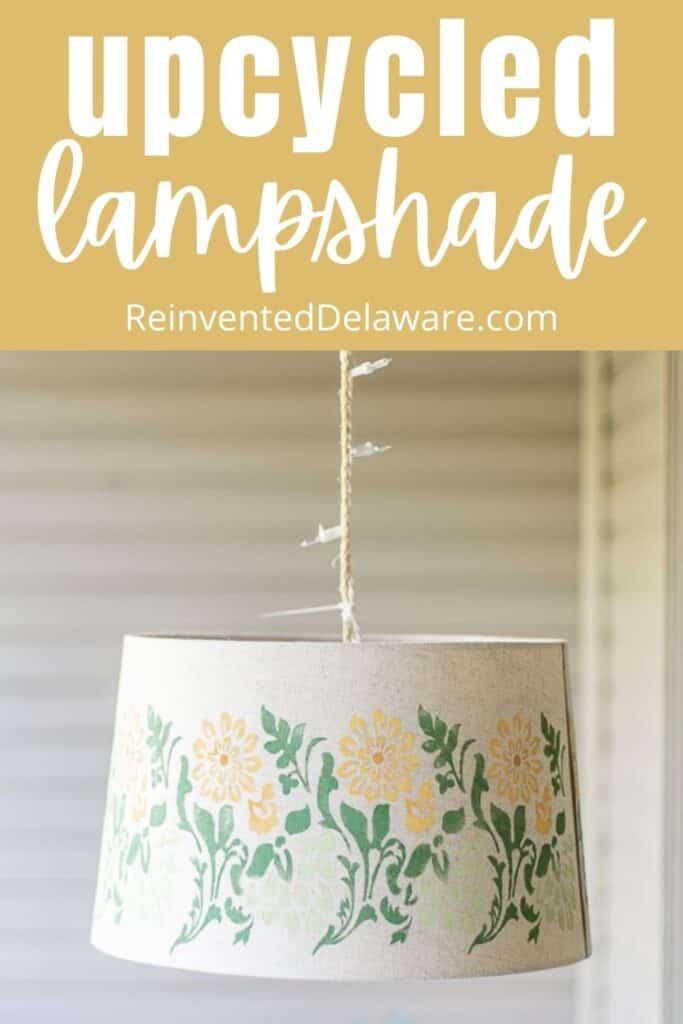
Lampshade Makeover Idea for a Front Porch
An adorable lampshade makeover idea for your front porch lighting! This is a fast and fun upcycled lampshade project just for you!
Thank you Dixie Belle Paint Company for sponsoring this post! Although I am compensated for this post, all opinions are my own.
Thrift Store Decor
This post is part of a blog hop I did with some of my thrifty blogging friends! Be sure to visit their posts to see the fun projects they have to share with us! You’ll see links to their posts at the bottom of this tutorial!
lampshade makeover idea
When I saw this lampshade in my local thrift store, I could hardly believe it! The price tag said $5 and I knew instantly it was a steal.
It was clean, didn’t have any weird folds in the shade, and looked practically new. I even liked the fabric on the shade.
It just didn’t have a lamp to go with it!. No worries. I needed a fresh idea for lighting on our front porch and thought I could come up with an idea for this lampshade makeover.

The supplies for this easy makeover are simple: a thrifted lampshade (or one you have stuck in a closet somewhere!), paint, and a stencil.
You’ll see the products I used listed below.
The following post may contain affiliate links. That means if you click and then buy something, I will make a small commission at no additional cost to you! Thank you for supporting my blog. full disclosure here.
list of supplies:
- stencil (click HERE for the stencil I used)
- Kudzu chalk mineral paint (darker green)
- Farmhouse Green chalk mineral paint (light green)
- Daisy chalk mineral paint (light yellow)
- Colonel Mustard chalk mineral paint (darker yellow)
- painters tape
- small sponge brush set
- small zip ties
- jute rope
- extension cord
- outdoor timer
- string lights with white cord (mine came directly from my local Walmart)
- thrifted wire basket
Stenciling was my first choice as an idea to makeover this lampshade. As I said, it was in great shape to begin with. Adding a cute design to it just added a nice touch, don’t you think?
step one: plan the design
Most round lampshades are slightly wider at the bottom than at the top. That means that a stencil will not go around the circumference of the shade evenly. That also means you need to do a little planning. More about that later in the post.
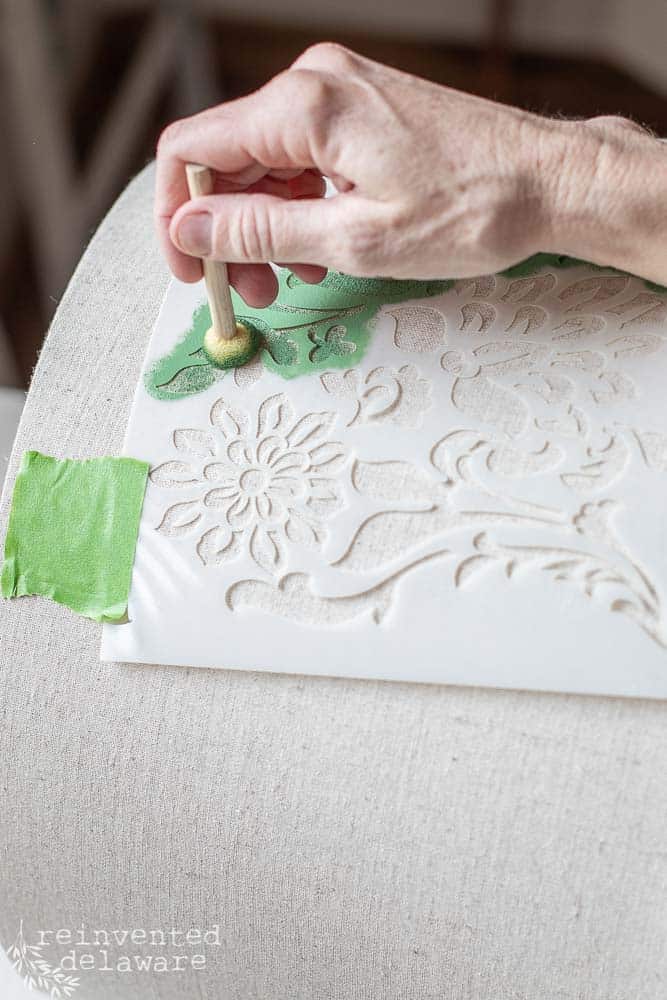
If you lay the stencil so that it is flat around the top of the lampshade, it will slightly curve at the bottom of the lampshade. Before you start to stencil the lampshade, check the bottom to make sure you won’t cut off any of the design. Use painter’s tape to hold the stencil in place.
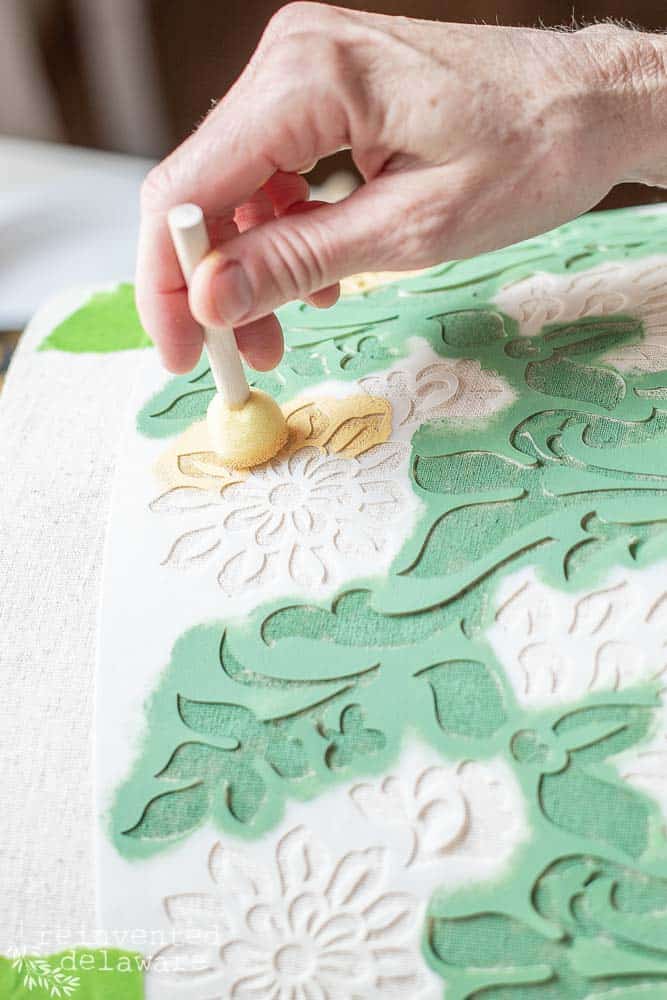
You will also need to decide what parts of the stencil you want in green colors and in yellow colors. Obviously, my design had flowers so I used two shades of yellow for those areas.
The leaf areas were a little tricky but I found an area that could be stenciled in the lighter green and then other areas that could be stenciled in the darker green.
You’ll see the areas as we move through the post.
repurpose old lampshades
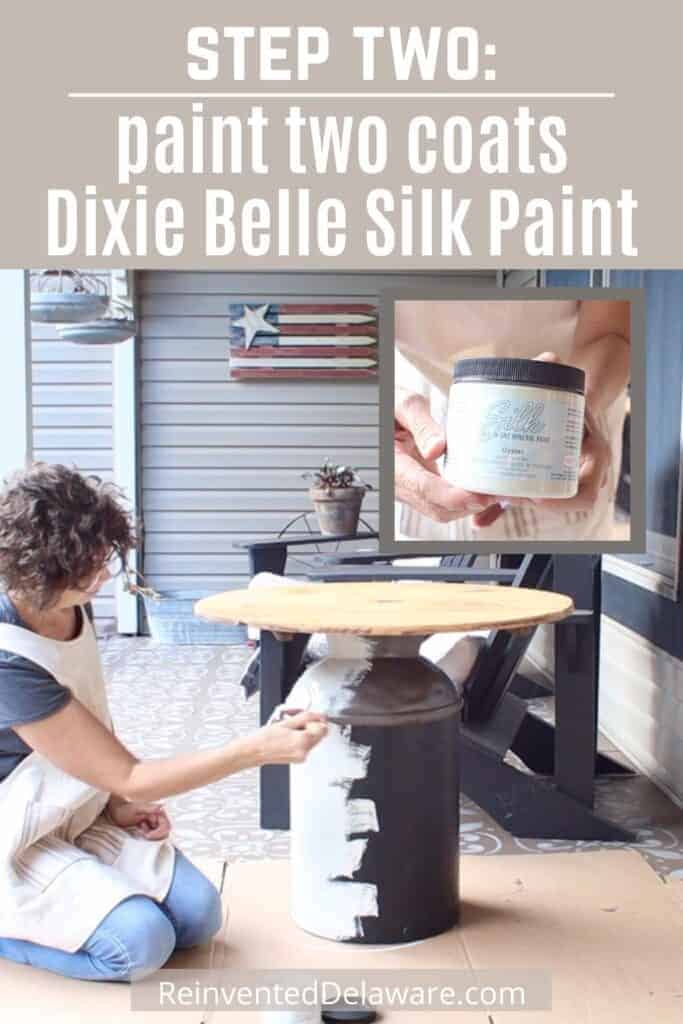
Painting a lampshade is a great way to repurpose it. You could also choose to paint your lampshade a solid color especially if the original fabric is in bad shape.
We’ve painted lots of lampshades around here. You can see a quick reel of a painted lampshade on my Instagram by clicking HERE.
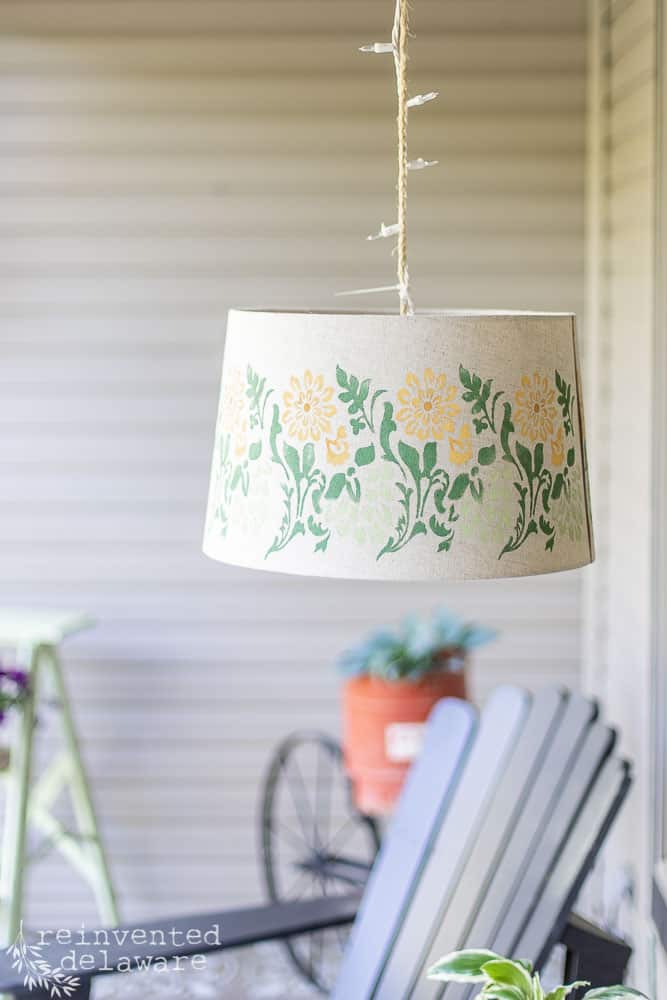
upcycle a lampshade
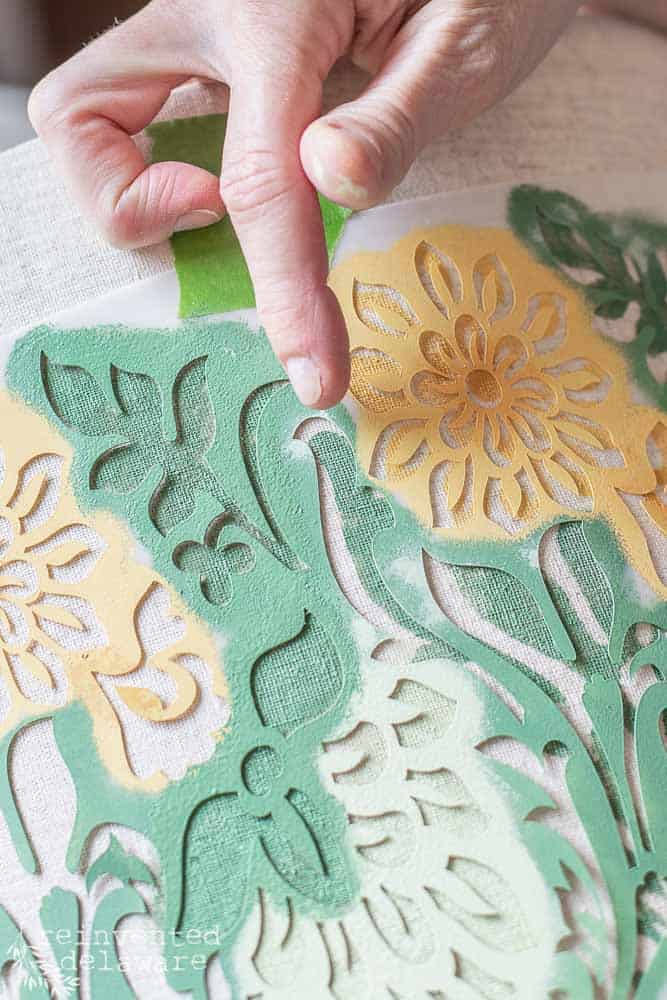
step two: stencil the design
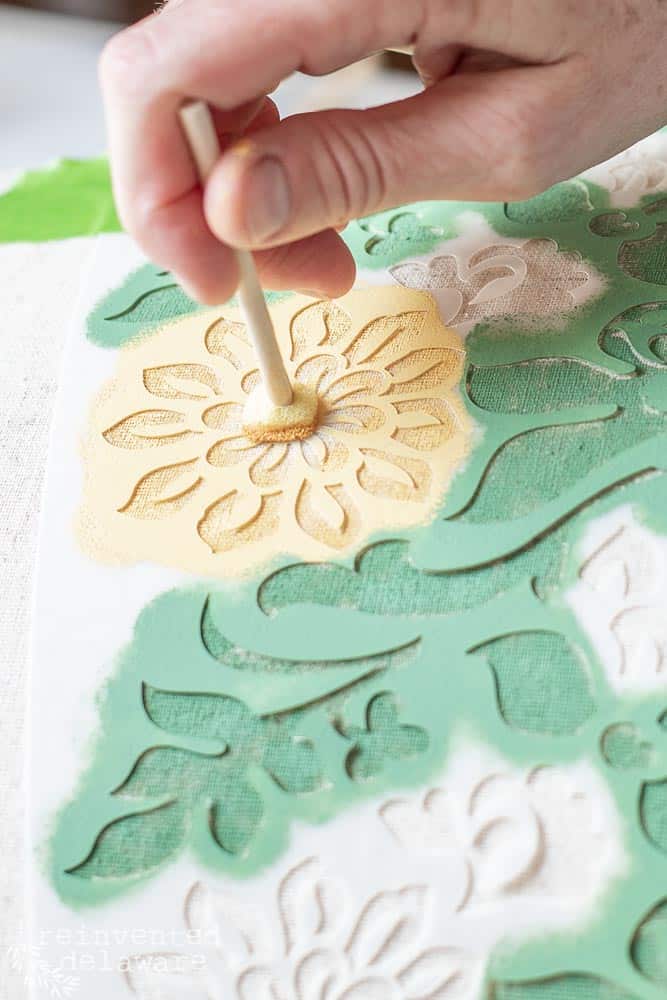
It’s not completely necessary, but I decided to add some dimension to the flowers by using two shades of yellow. Most flowers have a yellow center so I added a darker yellow to the middle of the flowers.
BTW, these little sponge brushes come in handy for small areas like the centers of the flowers. They wash up so easily too!
If you haven’t stenciled before, keep in mind that you want the sponge on the dry side so that paint doesn’t seep under the stencil. Use a paper plate with a bit of the paint on it, dab the sponge in the paint, then dab off most of the paint on a paper towel. You’ll repeat this step several times while stenciling.
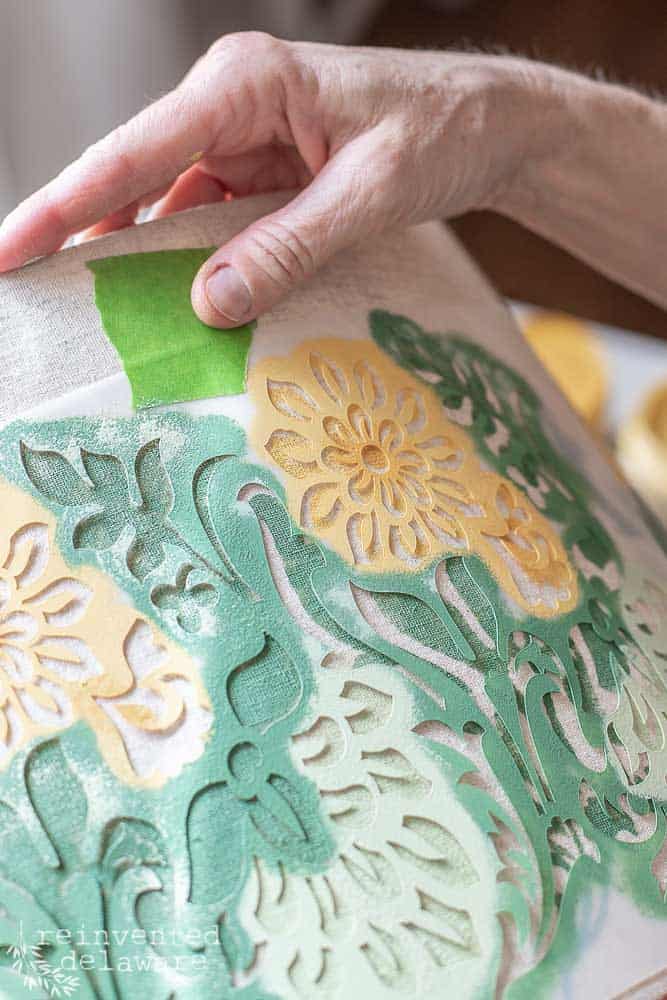
step three: move the stencil
Moving the stencil is easier than you think. Remember I said that most lampshades are not the same size at the top and the bottom? Because of this, when you need to move the stencil to the next section, the repeat won’t line up exactly.
You will have to do a little guesswork. Move the stencil close to the repeat and make sure you are not cutting off any of the bottom parts of the design.
You can see below that I am pointing at the spot that is ‘close to the repeat’ I carefully applied the paint to the next leaf area on the left without getting any of the paint on the area that doesn’t line up perfectly (I’m pointing at that spot. – and I hope that makes sense!)
Handy tip: Prepare Ahead!
Do a test run with the stencil all the way around the lampshade before starting to stencil with paint! Also, start at the back seam and work your way around. That way, the beginning, and ending will be on the back of the lampshade!
repurpose lamp shade idea
Go ahead and stencil from that point on. I moved my stencil to the left each time working around the whole lampshade.
step four: hang the light and add the lights
Most of my projects are still in the development stages as I am working on them. I rarely have the whole plan in mind at the onset of any project. Usually, I just figure it out as I go. 🙂
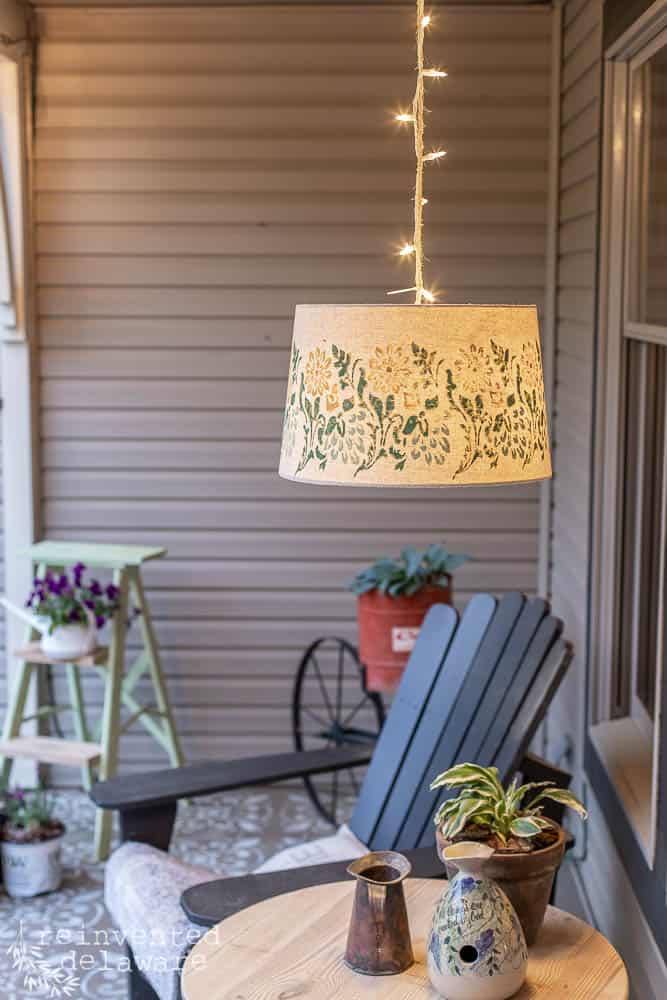
The same is true with this DIY hanging light. Our front porch has had the same hanging light for years and I still love it. It’s just time for a change so I came up with this lampshade makeover idea.
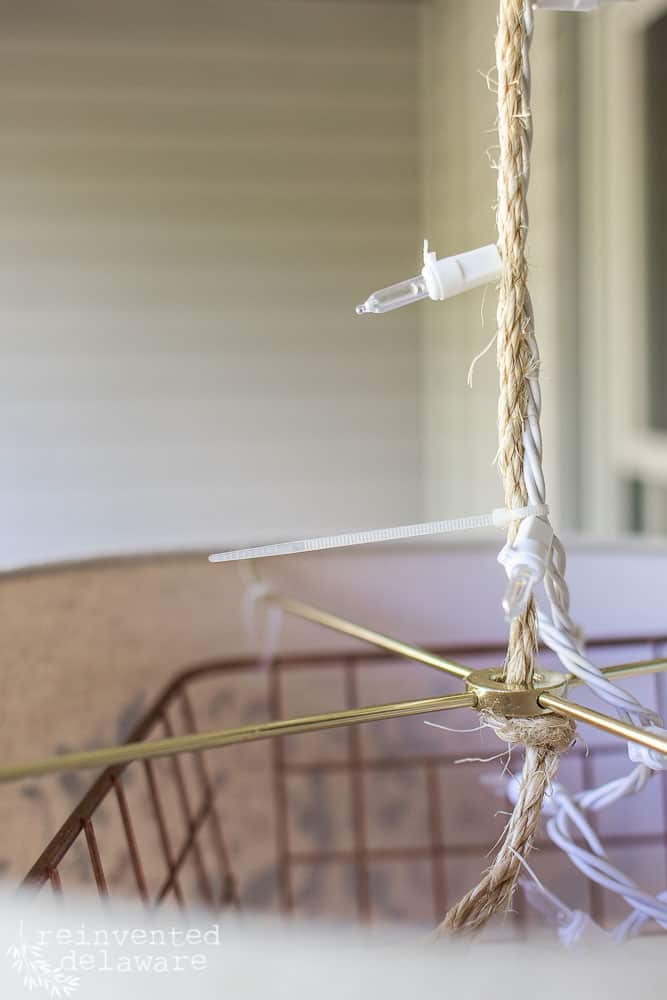
Jute rope is a staple in my workshop. We use it for all sorts of projects. I cut a piece so that the lampshade would hang at the height I wanted it over our little milk can table. The rope fits perfectly through the hole that the lamp harp would have gone through. I tied a knot to prevent it from coming through completely.
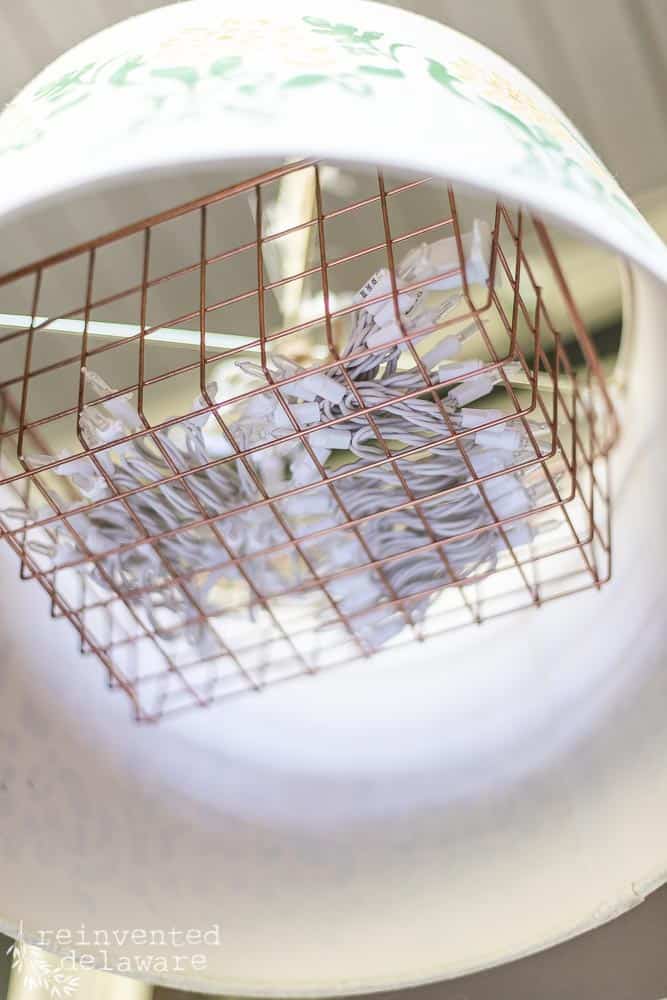
The only thing I had to purchase was the white string lights. I could have grabbed some from our Christmas decor but going up into the attic didn’t sound like much fun! Local Walmarts are a girl’s best friend! This strand was only $5 in the gardening department!
You can see below that I put the lights in a thrifted wire basket I had in my stash and then attached the wire basket to the wire part on top of the shade with small zip ties.
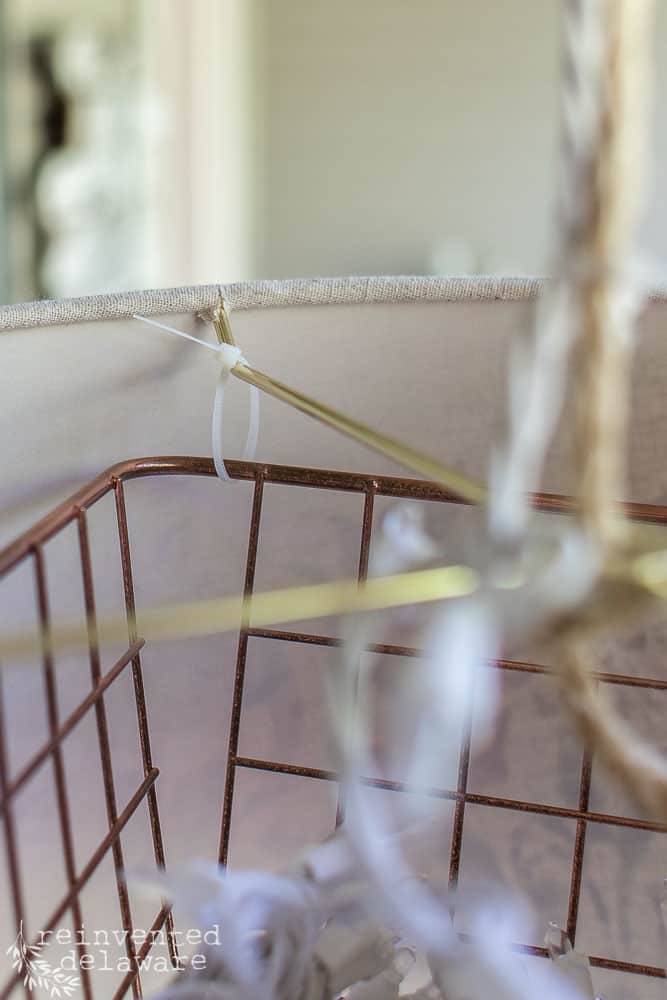
DIY hanging light
The rope was pretty long in order to hang the lampshade at the height I wanted it so some of the lights had to go up the rope so that the lights could be plugged in.
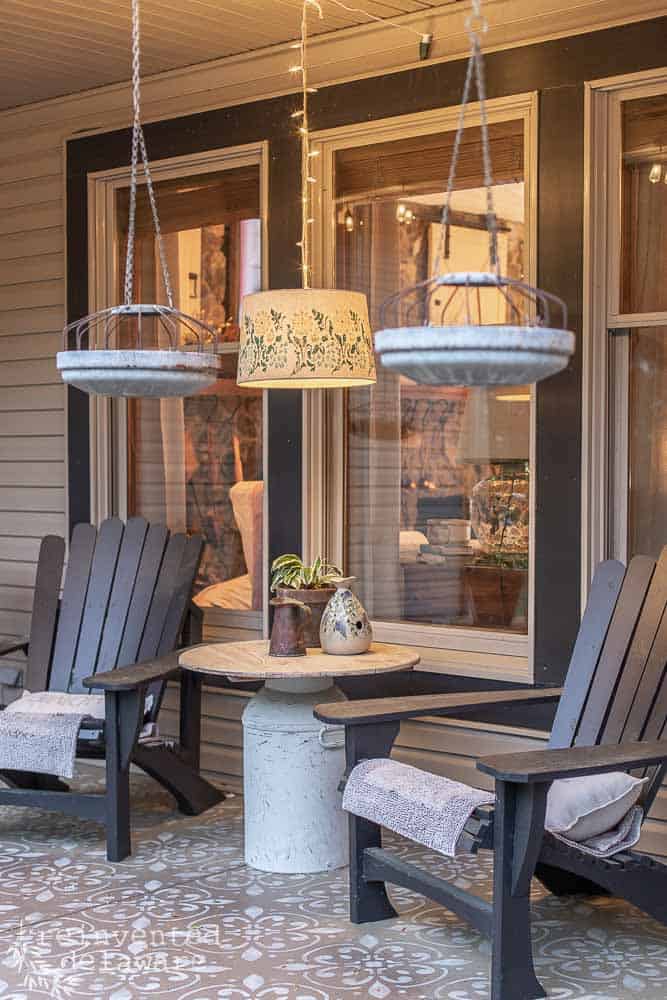
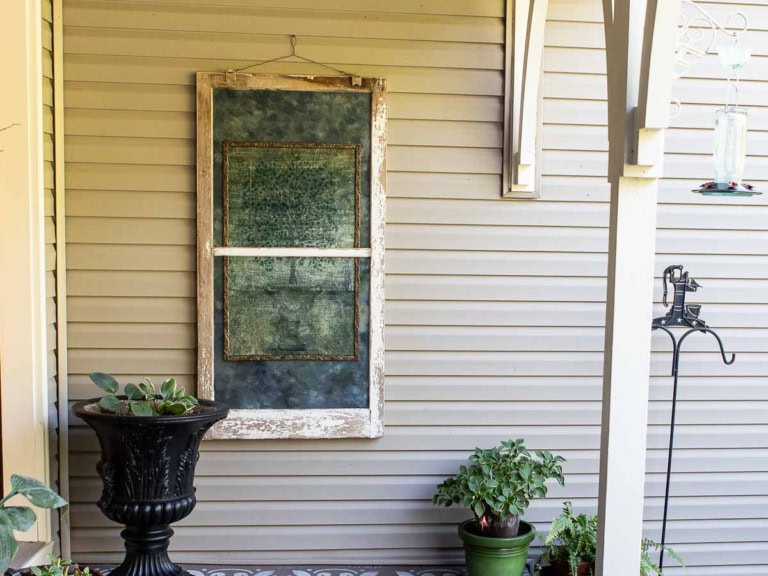
There is an exterior heavy-duty electric cord that is secured on the ceiling or our porch. If you look closely at the image on the right near the top you will see the exterior electric cord coming out of the channel that goes around our windows. The electric cord goes through the channel and down on the left side to the spot where our outdoor socket is located.
It’s also hooked to an outdoor timer so the light will come on and go off when I set it. That’s such a convenient way to light any space – timers are on my must-have list!
BTW, the two hanging planters are vintage chicken feeders I turned into planters. The image is deceiving and they don’t hang on either side of the hanging lampshade. The chicken feeder planters are hanging from the front soffit of the porch.
They’re not planted yet because I am still getting my front porch spiffed up for spring and summer. Stay tuned for that post and video coming soon!
more inspiring posts!
Here are a couple of other posts about our front porch I think you will enjoy! Remember to stay tuned to my blog posts for an upcoming update on our sweet front porch!
Just click the image to see the post!
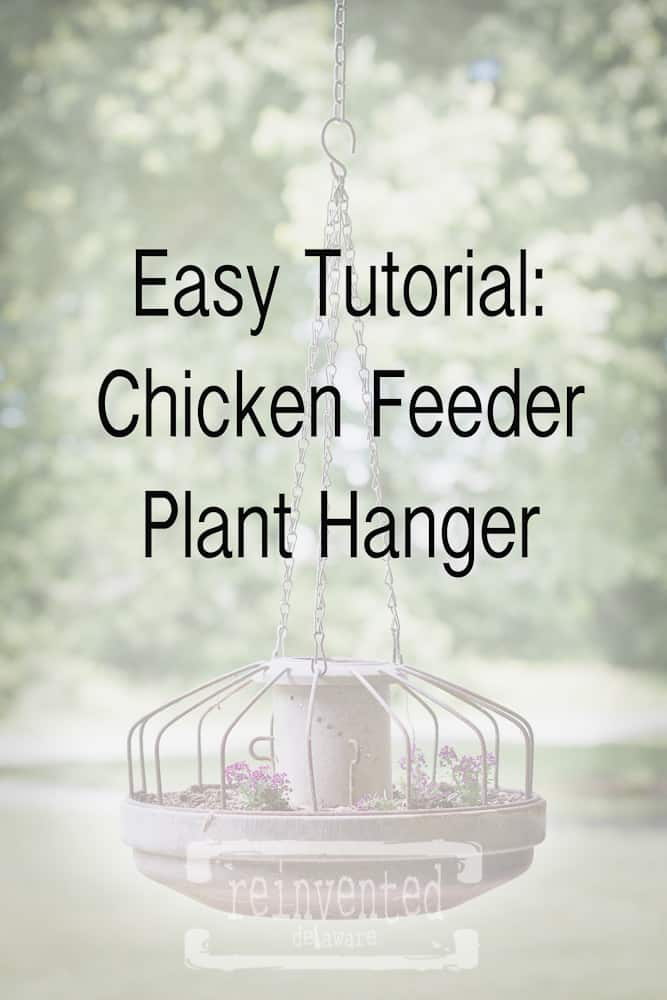
adorable front porch hanging light
step five: enjoy your hanging light!
Using a timer on your lampshade makeover hanging light will make this light even more enjoyable. Set the timer to whatever setting you prefer and you’ll have light anytime you use your front porch. Ours is set to stay on 8 hours after dusk and that works perfectly for us!
Thrift Store Decor
This post is part of a blog hop I did with some of my thrifty blogging friends! Be sure to visit their posts to see the fun projects they have to share with us! You’ll see links to their posts at the bottom of this tutorial!
Check out the amazing projects my friends did this month! Just click the links below!
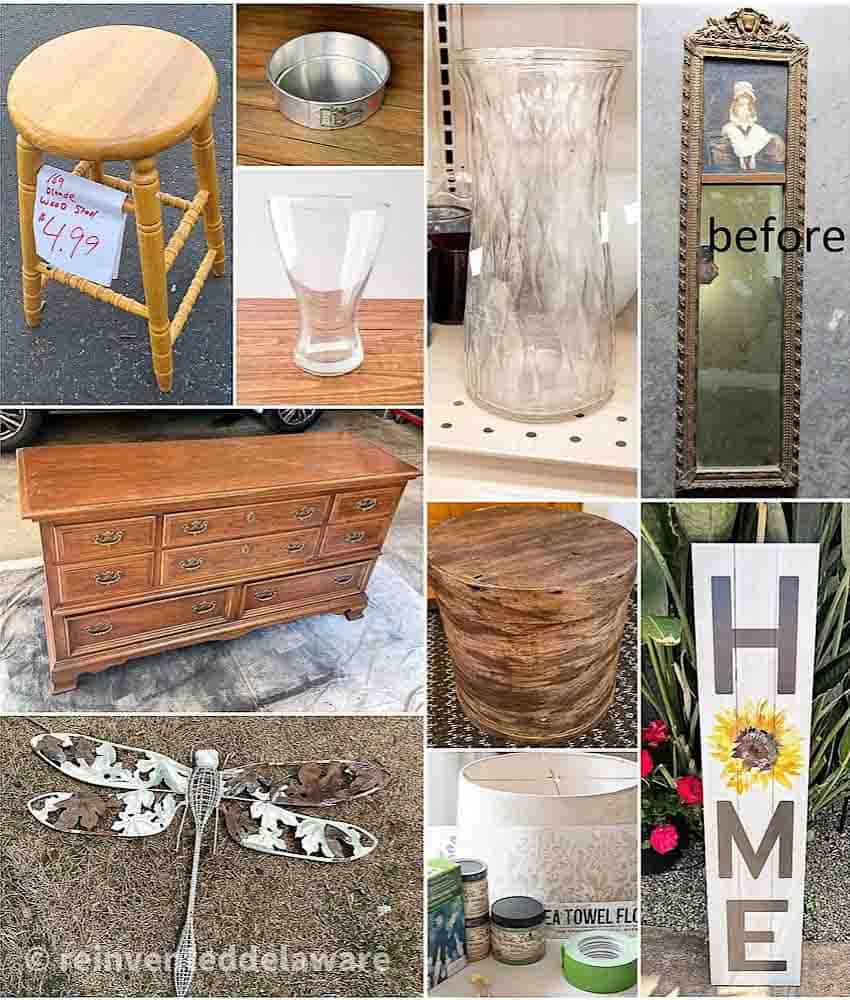
- DIY Frosted Seaglass Vase by Maryann of Domestically Speaking
- Farmhouse Bar Stool by Gail of My Repurposed Life
- Spray Paint a Trumeau Mirror by Kathy of Petticoat Junktion
- How To Strip and Bleach Wood Furniture by Christy of Our Southern Home
- DIY Welcome Porch Sign by Kristin of My Uncommon Slice of Suburbia
- Making Boho Vases from Clear Glass Vases by Sarah of Sadie Seasongoods
- Repurposed nautical Farmhouse Planter by Pam of House of Hawthornes
- Round Wooden Box Sunflower Table by Carlene of Organized Clutter
- Metal Garden Dragonfly Refresh by Sue of Shop At Blu
- Lampshade Makeover for a Front Porch (that’s me!)

Pin the image below to your home decor and furniture boards! Just click the pin button at the top left corner!
Thanks for joining our journey!
Thanks so much for joining us for this post! Join our journey so you don’t miss any of the fun projects, tutorials, and inspiration that we share with you each week! You can follow us on Instagram, Facebook, and YouTube. We share even more inspiration on Pinterest!
click below to purchase supplies!
Visit my Amazon Storefront!
Click the button below and head over to our online shop on Amazon!


You did a great job! I stencil all the time and I had trouble on a lamp shade! Pinned!
It was a bit tricky working around the weird curve of the lampshade but I’m happy with the results! 😊
What a cute idea, Cindy!!
Thanks, Jenn! It was a fun project 😊
You’re totally blowing my mind with the lights in the basket! Great idea!
It kinda blew my mind too Pam! Thanks for stopping by! 😊
This turned out so cute, it’s perfect for your porch. I love the lights attached to the rope as well, so creative!
Thanks, Kristin! I’m thrilled with this easy lighting idea!
I love it, wonderful idea and work!
Thanks, Vonna! So glad you enjoyed the project!😊
What a darling light. I love your choice of stencil and color. It turned out beautiful.
Thanks, Tammy!🥰
Wow! Cindy, I love, love, love your porch lightshade. What a great idea to hang it. Who needs a lamp when you have a great lampshade?
Pinned!
gail
My thoughts exactly! And it was sooooo cheap! Thanks for pinning Gail! 😊
So pretty and perfect for the warm months ahead!
We’ll be eating our dinner most evenings in this very spot! Thanks for stopping by Maryann! 😊
This is so pretty and looks great on your porch! Hope you are having a happy birthday week 🙂
Thanks, Marie! Our front porch is one of my favorite spots to be! Thank you also for the birthday wishes 🥰
L♡VE This! I have a lampshade to do this. I think i will grab some battery operated lights with a remote. I have purchased many from Amazon fairly cheap & rated indoor outdoor as well. They hold up excellent out in the yard,my shed,etc. They have a timer option as well. I use them at Christmas for window wreaths too. You have another new fan here! I love the color of the Adirondack chairs very much, did you paint those and do you recall the color by chance? Thank you for sharing.
I’m so glad you enjoyed the lampshade project, Robyn! Battery-powered lights are a brilliant option! I’m sorry I don’t remember the name of the black paint we used – hubby had some leftover from another project in his workshop. So glad you have joined our journey here at Reinvented Delaware. 😊
Cindy your tutorials are so thorough! What a great addition to your porch!
Thanks, Sue! I can be a bit long-winded with my tutorials 😉
Not at all! Well thought out!
Wow, this is so darn cute! I love how you stenciled the lampshade and the colors you picked. What a clever idea, Cindy. Pinned!
Thank you so much, Crissy! I appreciate you pinning the post 🥰
This is such a great idea Cindy! I love that you use twinkle lights as they are easier to deal with than trying to hang a large bulb light,.
I also really enjoyed your podcast last week with Lynn, way to go!
The lights were only $5 – cheap speaks to me loud and clear 😉 Thanks for listening to the podcast – I’m excited to hear your interview too!
I love this idea, Cindy! Makes me want to create one for my pergola! Thanks for sharing!
This would be perfect for a pergola Kim!
Oh my goodness, Cindy!! This is one of my favorite DIY projects that I’ve EVER seen!! That lampshade was probably close to $30 retail!! I LOVE how it turned out and the pattern that you used looks incredible. Such a super cool idea!!!
We are kinda loving it too Rachel! It adds the perfect amount of light to our porch. 😊
This is so fun! I absolutely love how the shade turned out, but the unexpected hanging technique steals the show!!!
Thank you, Christy! We upcyclers like to think on our feet, don’t we?!😊
Cindy – This turned out so well! I love the colors you selected for the stencil. You probably already know this – but you can buy a light pendant kit form amazon for fairly cheap. You could then attach your stenciled shade to the pendant. Of course, the string lights are also lovely and perfect for summer. I always love soft lighting in the summer on a porch!
That’s a great idea, Anna! Thanks for sharing it! 🥰
Love your thrift store finds! I think my fav is the front porch lamp-it brings such a homey atmosphere to your already-inviting porch! Your technique and video make it look so doable!
Thanks, Patti! So glad you enjoyed the project! 🥰