
Antique Settee | Part Two
Want to know how to reupholster an antique settee that is broken? In this post, I will teach you how to make the repairs needed to restore this antique settee!
how to repair wood furniture
The question was asked, “How do you eat an elephant?” The answer, of course, is, “One bite at a time!”
That’s no different than asking, “How do you reupholster an antique settee that is broken and has a seemingly unrepairable wood frame??”
Yeah, I’ve got the answer for ya’! Keep reading!

tools & supplies:
- pnumatic staple gun
- air compressor
- shop vac
- sewing machine
- tack remover
- needle nose pliers
- scissors
- steamer
- rolling stool
- glue gun and glue sticks
- webbing
- jute trim
- batting
- cambrick/dust cover
- staples
- fabric of choice
TOOLS YOU’LL NEED

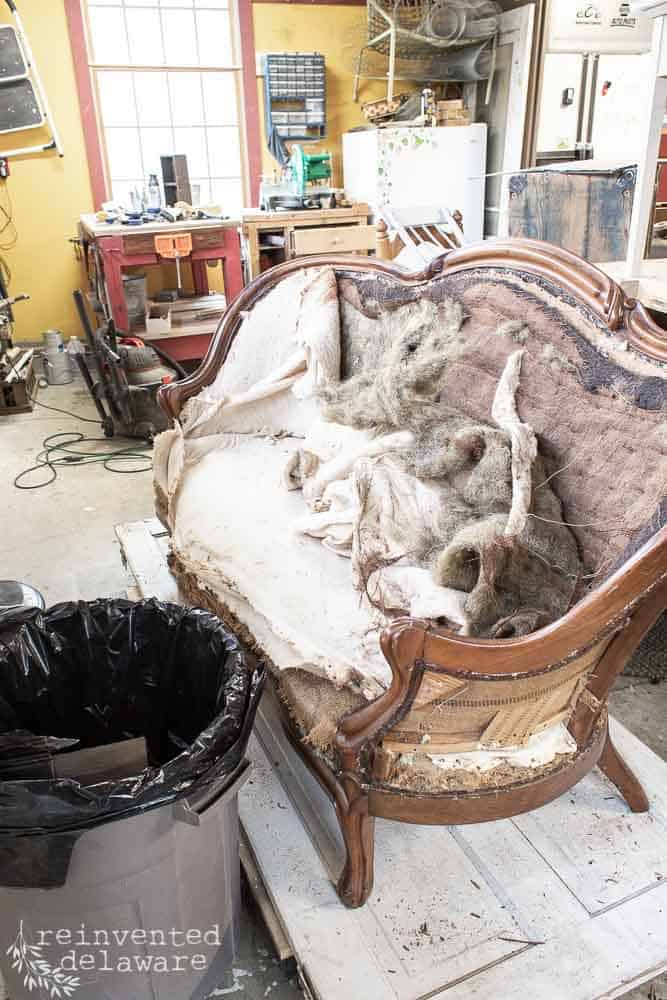
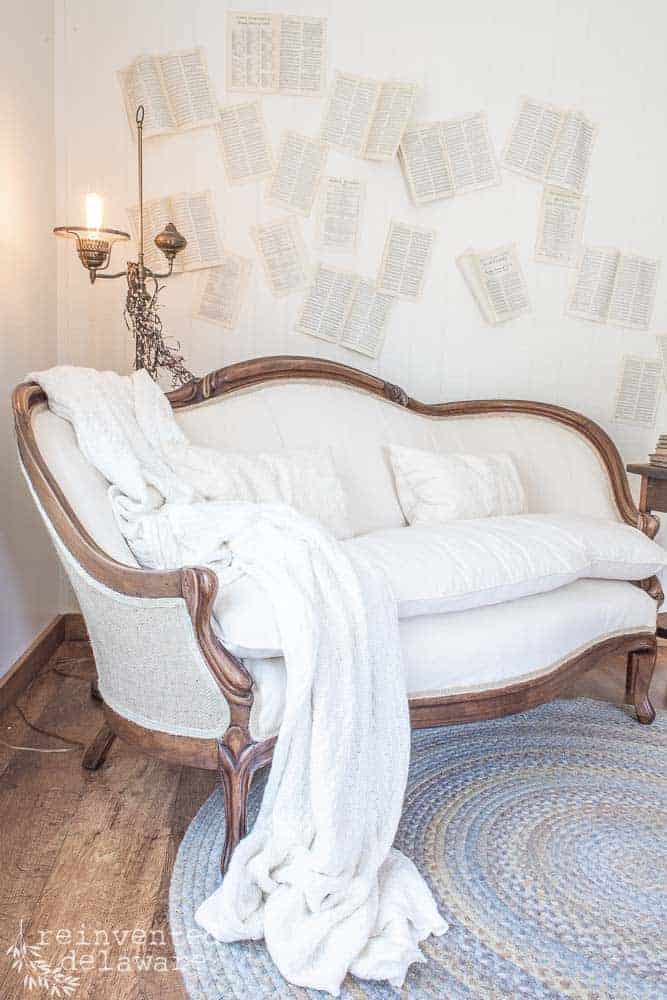
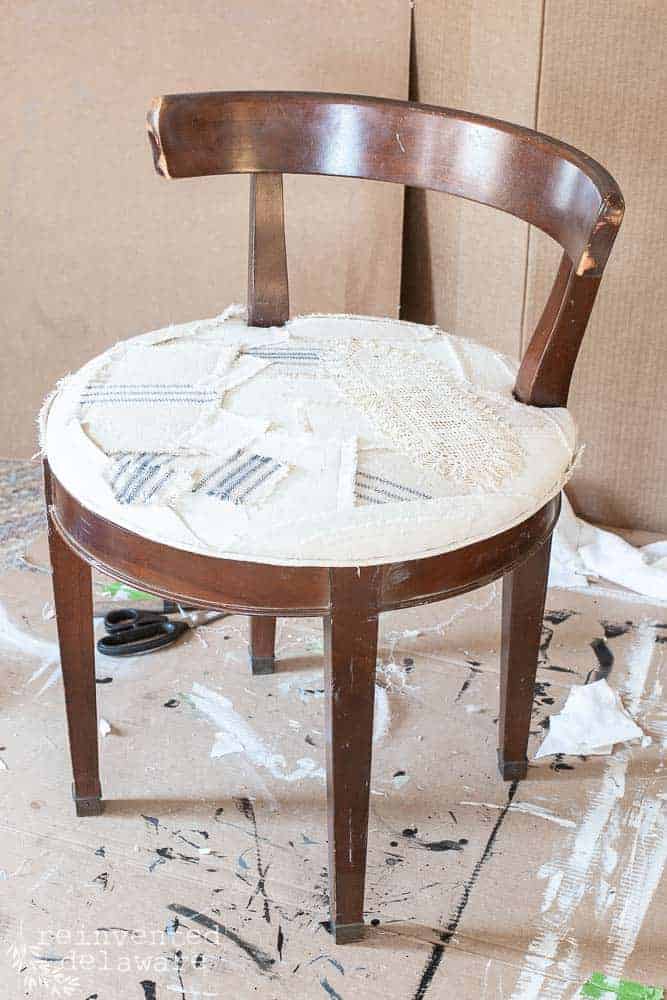
Remember where we left off with this gorgeous antique settee? It looked something like this.
It’s not exactly gorgeous yet!
wood furniture repairs
I started some of the repairs in our last post, but today, I will share even more repairs.
This settee was in really rough shape. In fact, the more layers I removed, the more I realized just how bad the situation was.
But we were up for the challenge!
broken furniture repair
The back was literally broken in a couple of areas like the one you see below. Fortunately, the breaks were clean and a little chunk had been taped to the piece! Someone knew my hubby and I would need that little piece 🙂
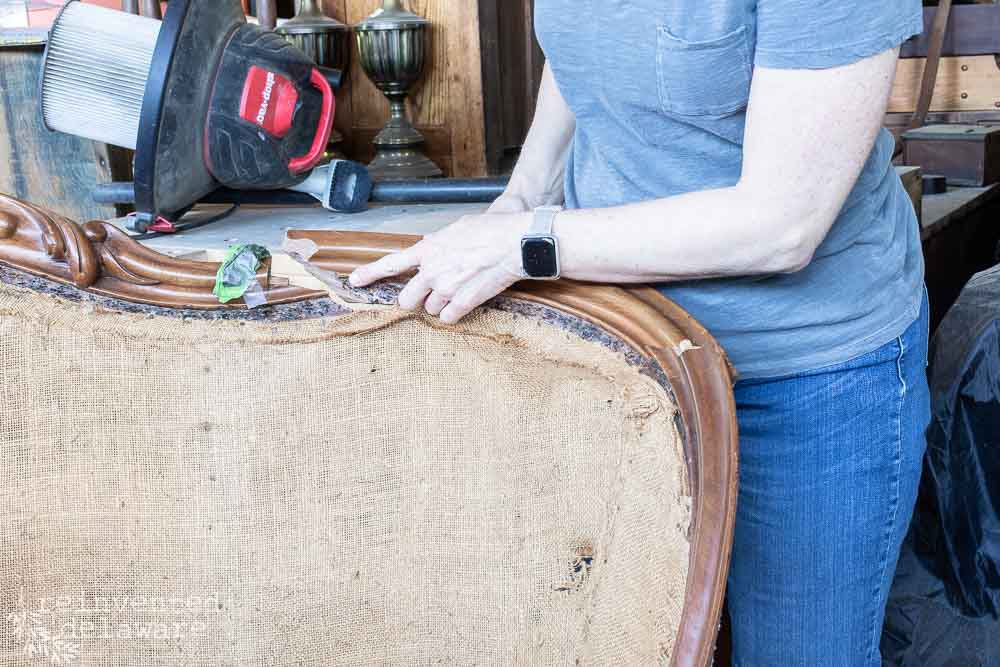
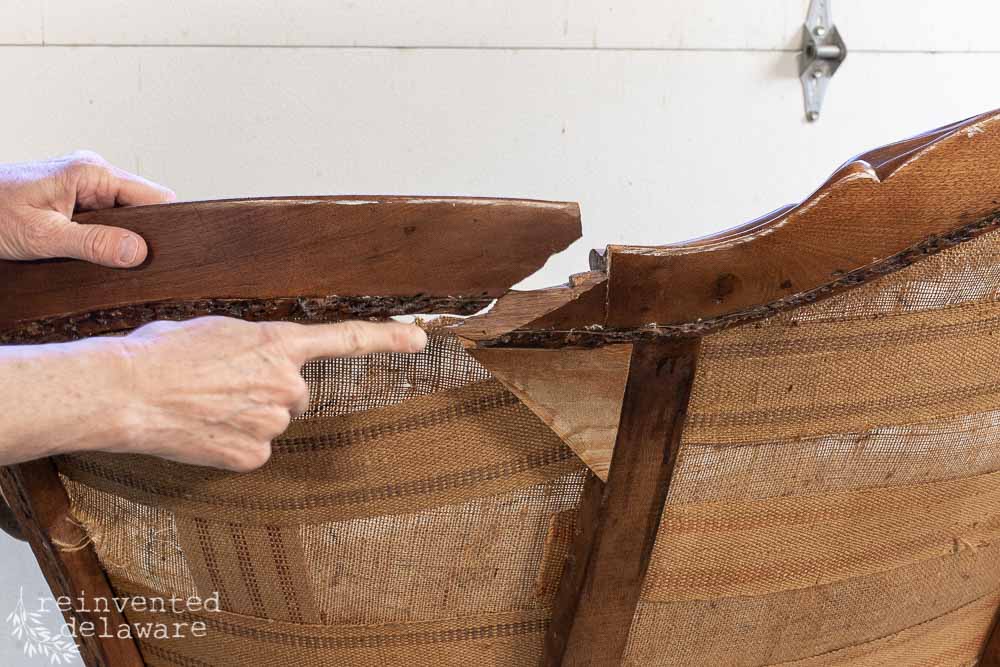
See what I mean about a clean break in the image on the top right? I had an idea of how this should be repaired but I wanted to run it by my repairs department, aka, my hubby; He seems to have a knack for figuring out these things.
One thing I knew would have to be done was to create a brace. This brace would stretch from the broken section to a section that was still intact.
I cut a piece of scrap oak to fit the area. It took a couple of cuts to get the angel right. If you do this type of repair, be patient and take small cuts at a time to get the angle correct.

wood glue and clamp
Here is another section that was completely broken. I cut a piece just like the first one, making a couple of cuts until the angle fit just right. Before attaching it, I used wood glue on both of the broken surfaces…..
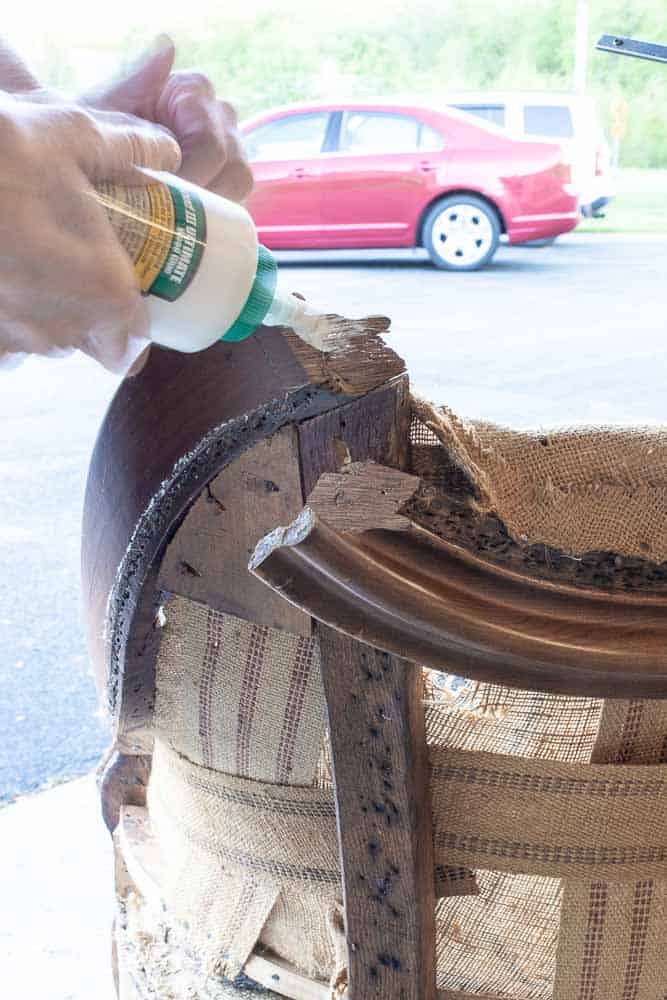
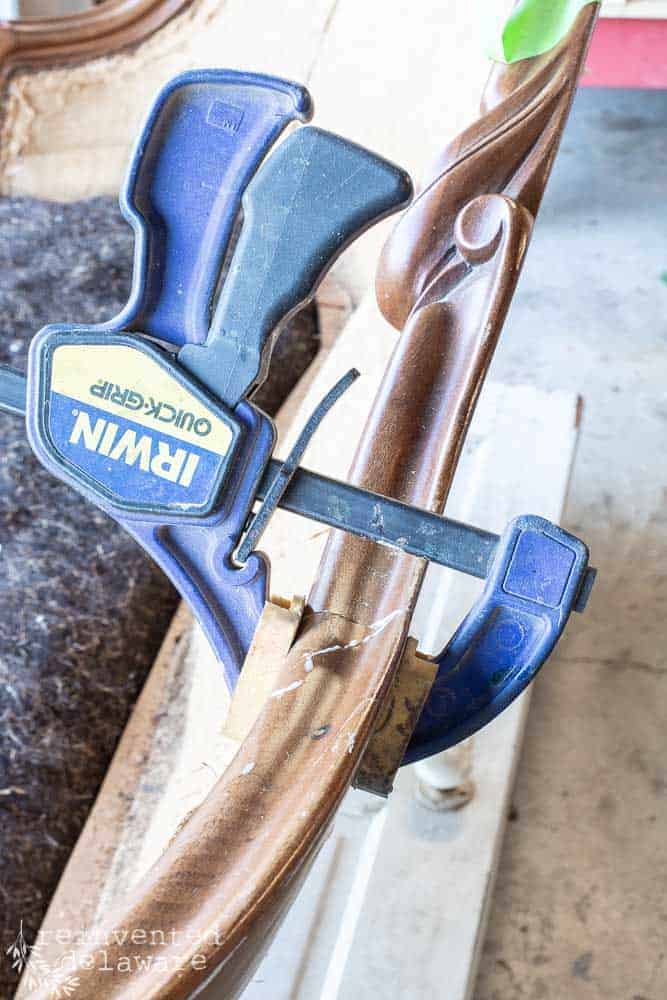
….then I clamped it tightly. You can see here that I allowed the glue to squeeze out a bit. That way, I insured good contact. I wiped off the excess with a damp paper towel.
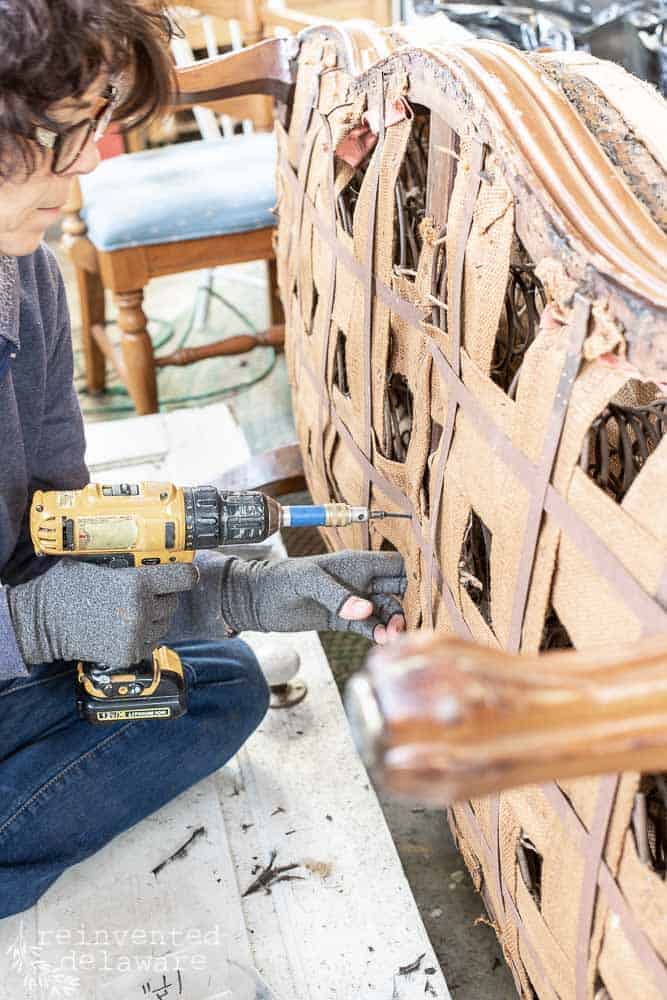
Next, I attached the wood piece that I cut. I predrilled holes and then used screws long enough to span from the piece of wood into the frame of the antique settee.
You can see that I angled it so that the screw would reach into the frame.
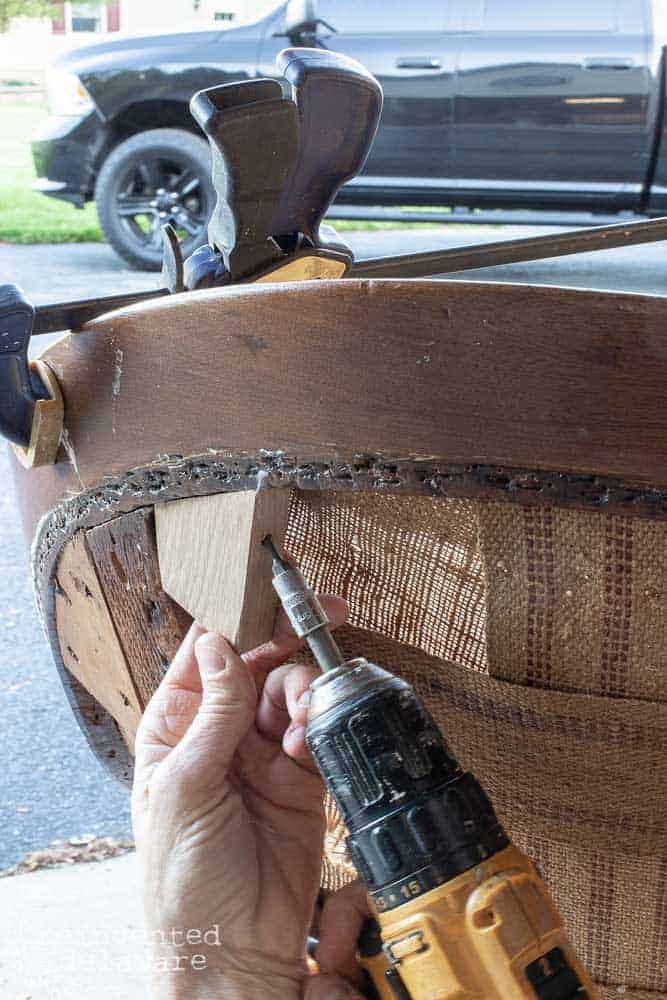
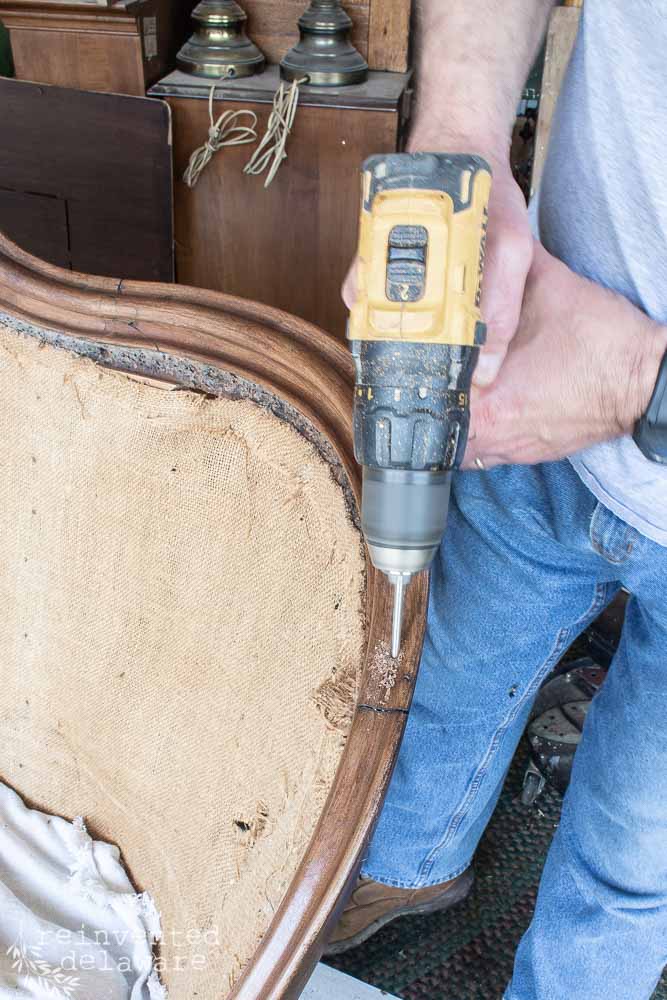
Let me show you how to guesstimate the angle for the drill bit….
…see how my hubby held the drill alongside the area that needed to be repaired? Doing this step first, before drilling can give you an idea of the angle and how deep to drill with the drill bit.
We used the same technique to find the angle for the next repair.
how to repair broken furniture
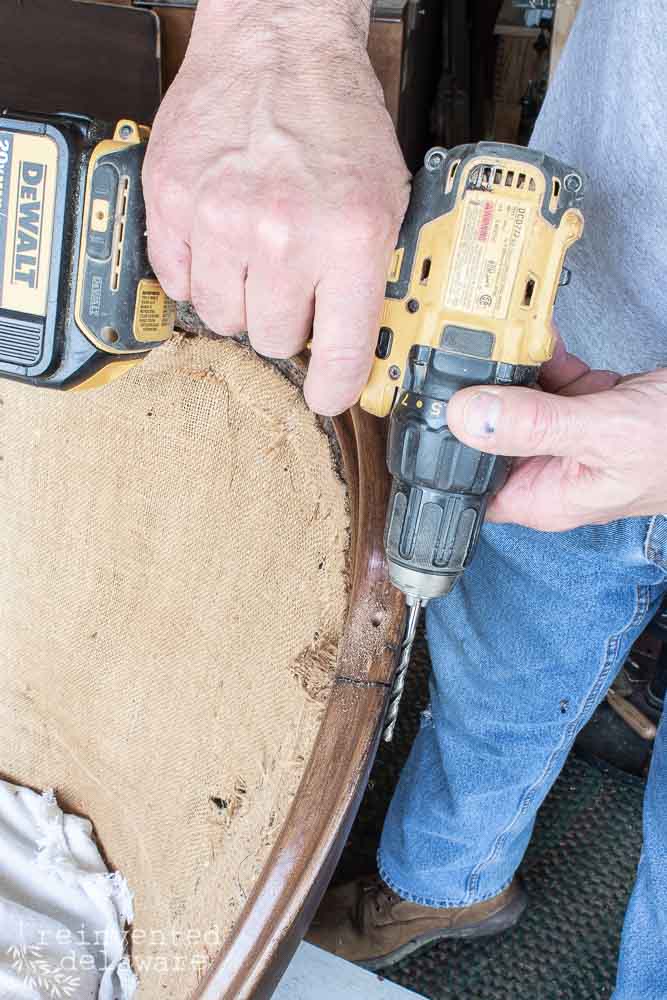
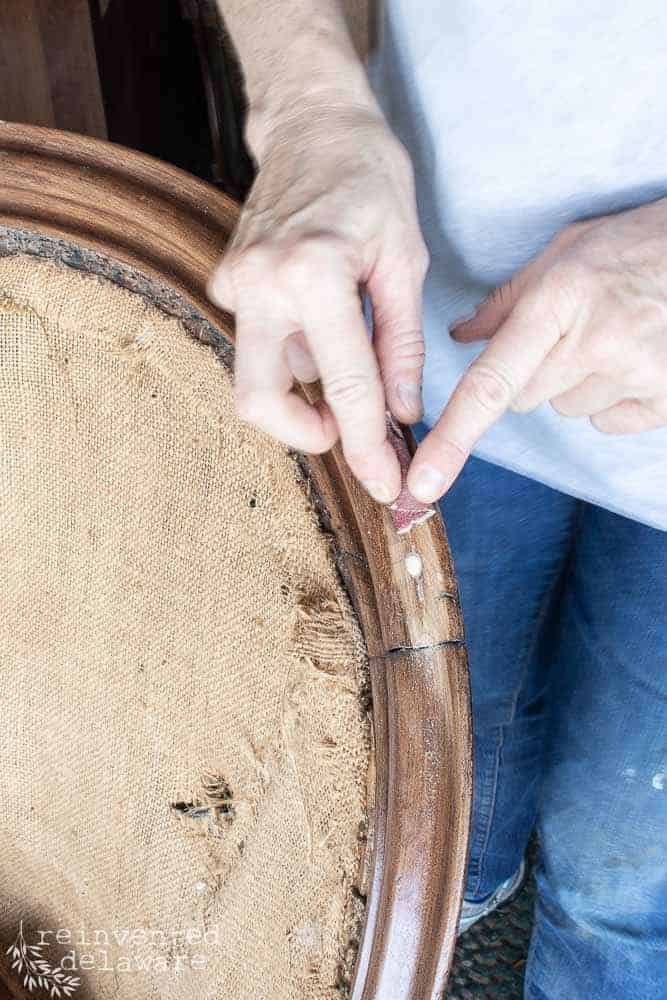
This repair on the antique settee would be more visible than the repairs I did earlier. We like to use this method to make this type of repair:
- drill a hole through sections that need to be reconnected
- use a drill bit the same diameter as the dowel rod you will use (we used a 5/16th” dowel and drill bit)
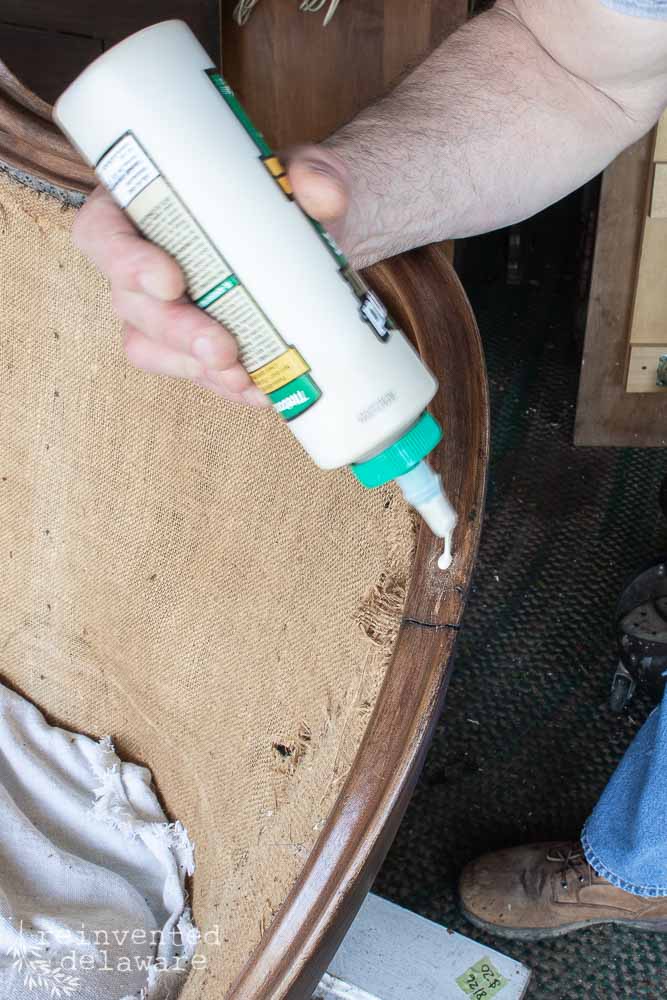
- fill the hole with wood glue, we like Titebond
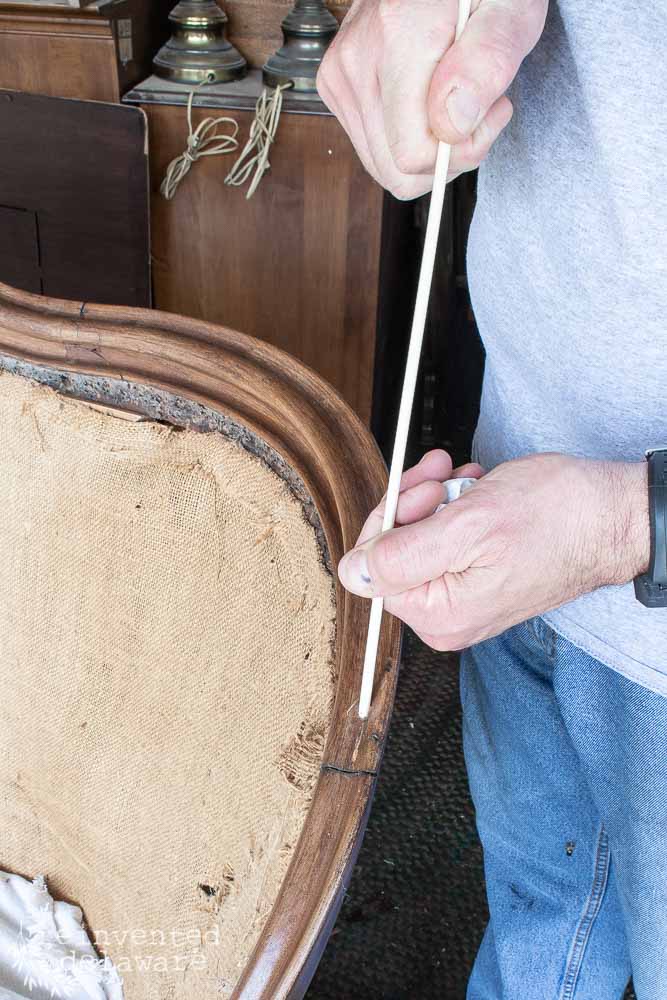
- mark the dowel the length of the drill bit (so you know when it has gone all the way in!)
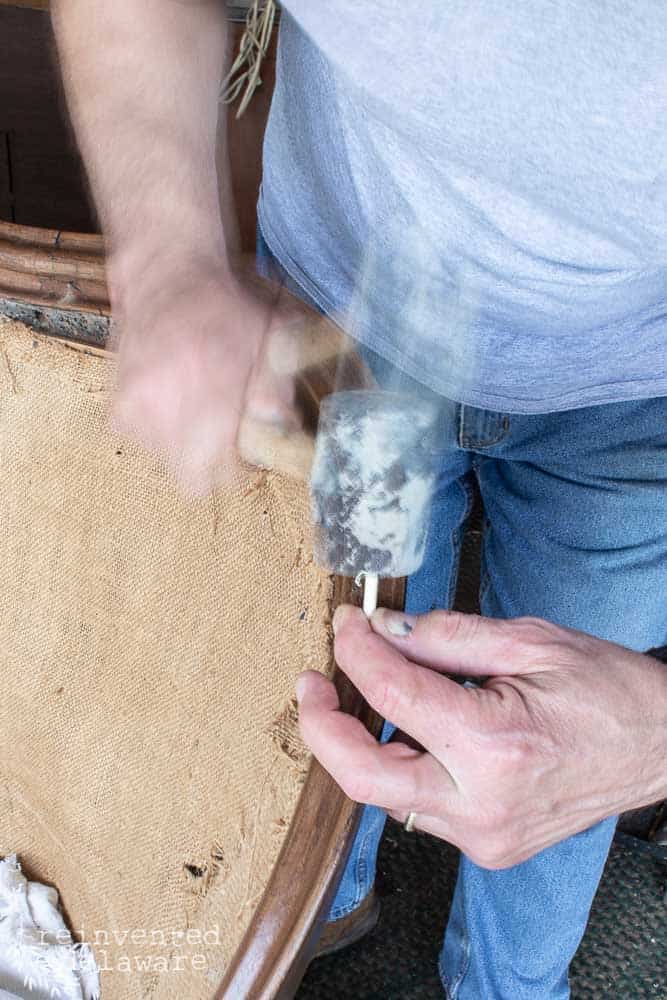
- insert the dowel and tap in with a mallet to the mark
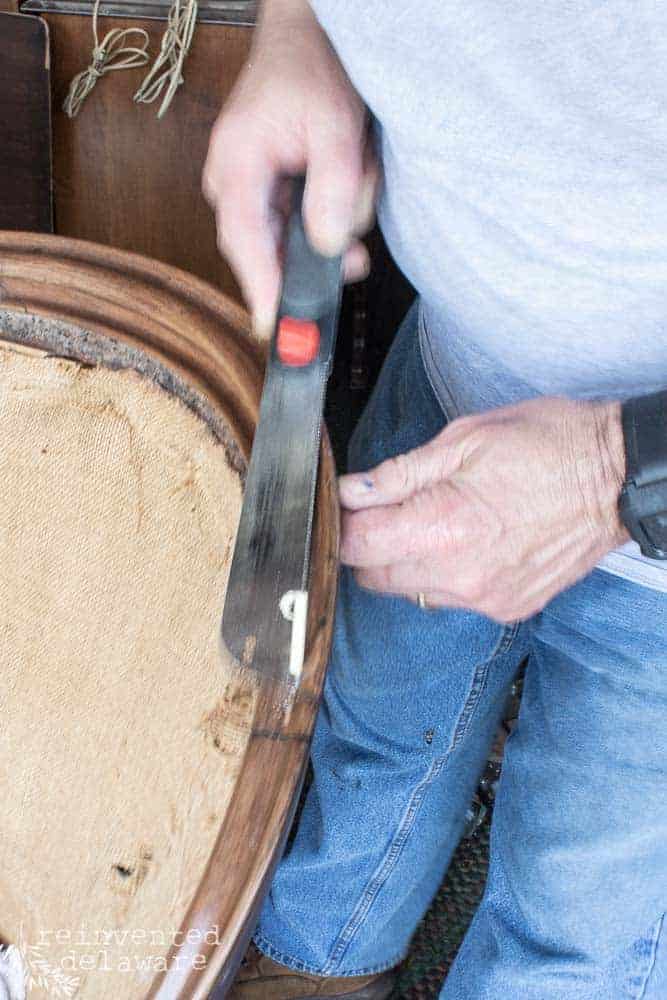
- cut off level with the surface using a flexible hand saw
- use 150 grit sand paper to smooth out the surface
- stain or use another finish to blend the dowel with the piece.
The images below should help you understand the steps:
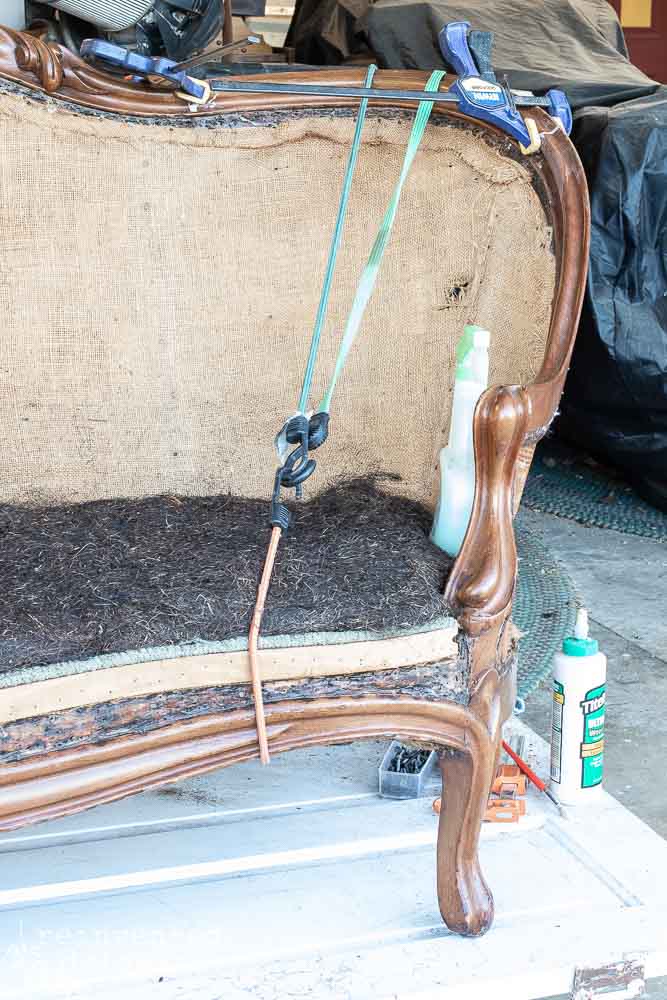
bungee baby!
We did this on all four of the broken sections of this antique settee! Whew!! That’s a lot of work! When we were finished, we used bungee cords to hold everything as tightly as we could. Then we let the piece dry overnight.
You can see this post for another way we use dowel rods to repair furniture:
Transform Vintage Vanity Nightstands
freshen up old furniture
See the bottle sitting on the seat of this antique settee? That’s is my own mixture of fabric softener and water. You can also use FeBreeze.
I sprayed the whole piece down several times during this process of repairs. The piece is pretty old – at least 100 years old – and even though I vacuumed it well, it is just plain musty and dusty smelling. This mixture really helps to conquer the mustiness 🙂
Well, that’s it for today! This series will be pretty long because I want to show you all the details when reupholstering an old piece of furniture like this antique settee!
Here are tools and supplies you will need to repair broken furniture:


join the journey!
Join our journey so you don’t miss any of the processes!
You can also join our reinventing journey on Instagram, Facebook, and YouTube! You will find us in all the places at @reinventeddelaware!
Pin any image in this post to your project boards for future reference!
more posts in this series
Just click any of the images to head over to the post! (This post is part two!)

Oh my, so talented and such a big undertaking. You have shared such great detail
So glad you enjoyed the tutorial, Cindy! Thanks for hoping over to the other post in this series!
Hello there! I have the same exact problem with my antique sofa! Snapped clear through at the top. I was just going to epoxy it and use a metal bracket from one side to the other as I wasn’t sure what else to do. Do you think I should do the dowel insert vs glue/epoxy and then a metal bracket?? 🤔 It’s just been sitting here for 8 years because I wasn’t sure how to go about fixing it and I am so petrified to spend a ton having it reupholstered if the frame is just going to break again. I’m glad I found your tutorial! How has the couch held up with body weight and such? Hasn’t come apart at all?
Hi Britt! I’m so glad you found this post and that it is inspiring you to tackle your own antique sofa project! If I were you, I would use every method of repair you mention to ensure it will hold together. As for how well this sofa is holding up – this was a custom piece I did for a client for their wedding. I’m not sure how it is fairing now but I do know they planned on this sofa sitting in a formal room that didn’t get much use. I hope that info helps! Email or comment here if you have any more questions and I will help the best I can!