
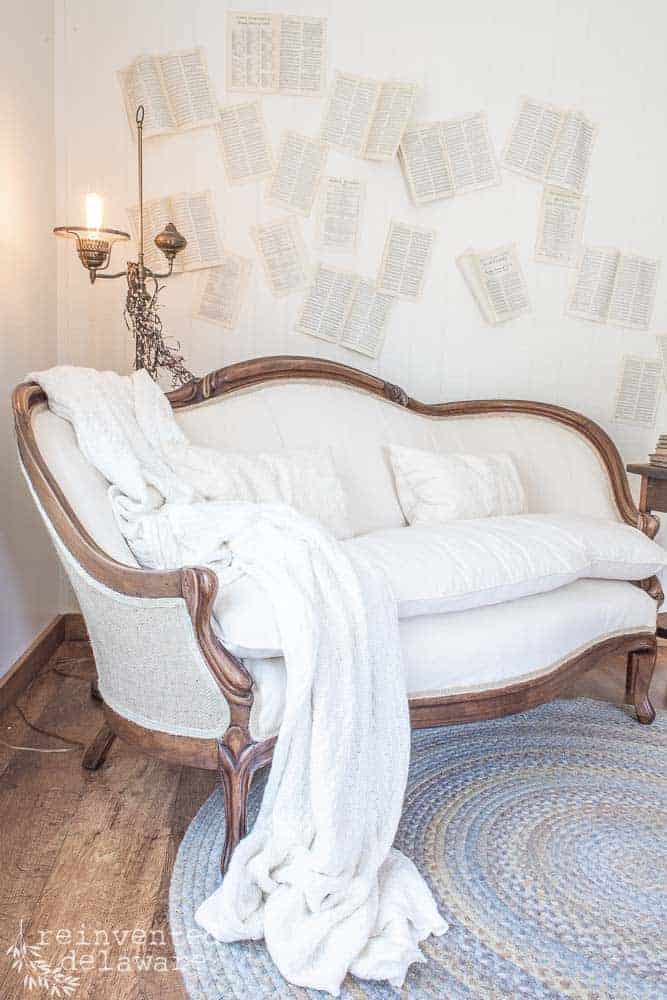
Vintage Settee Makeover | Part Three
We have been busy covering all the details of this vintage settee reupholstery tutorial over the last couple of weeks. Today, we will dive into the final parts of the tutorial! Let’s begin with the finish on exposed wood on this settee…..
tools & supplies:
- pnumatic staple gun
- air compressor
- shop vac
- sewing machine
- tack remover
- needle nose pliers
- scissors
- steamer
- rolling stool
- glue gun and glue sticks
- webbing
- jute trim
- batting
- cambrick/dust cover
- staples
- fabric of choice
antique settee reupholstery tutorial 1 & 2
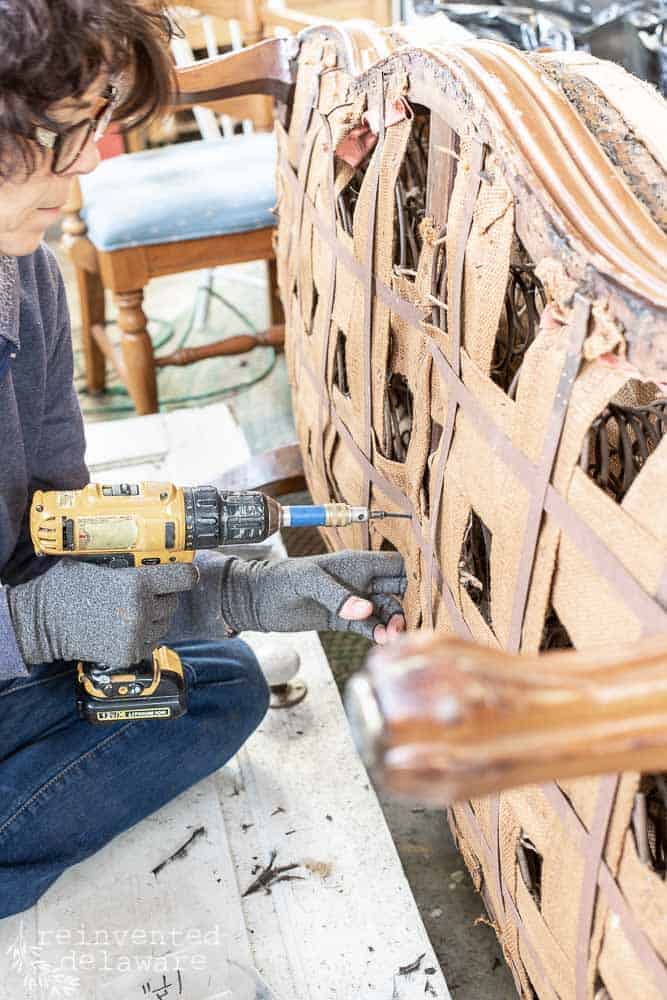
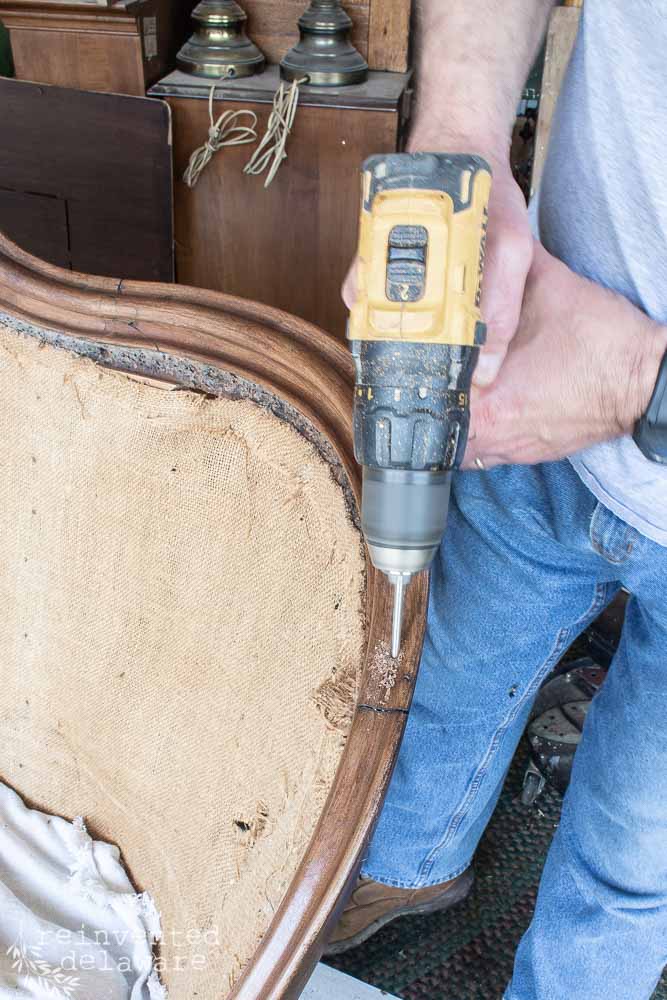
O golly, there I go again getting ahead of myself! Maybe you need a refresher of the deconstructing and the repairs we did on this vintage settee first! Here are those two posts:
refinish carved wood furniture
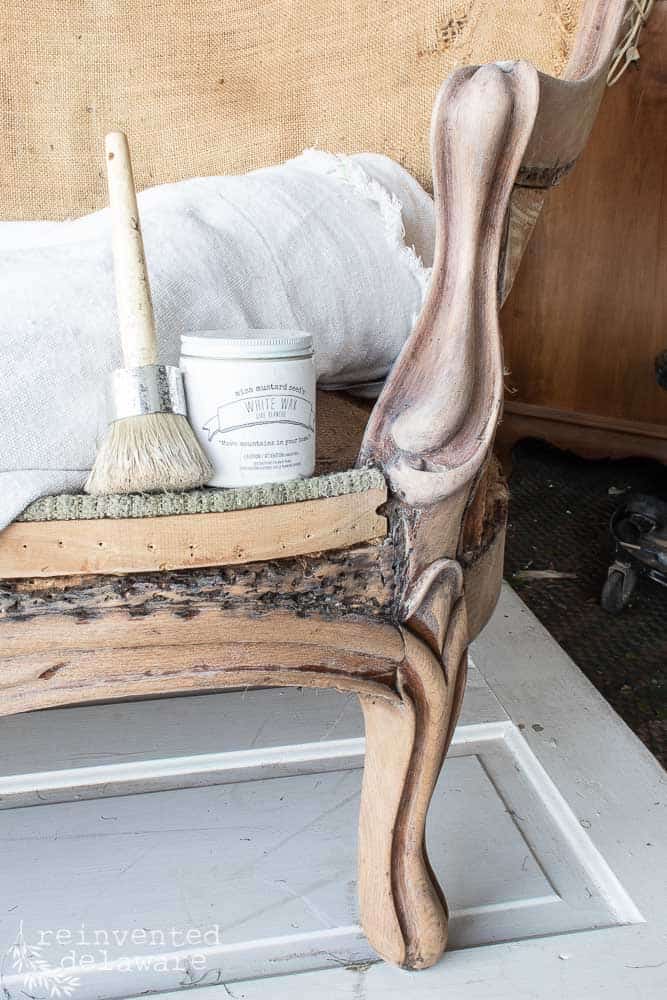
OK, so back to the carved wood sections of this vintage settee. Antique furniture often has exposed wood with detailed carving. I love to highlight the wood tones while lightening up the wood at the same time.
I did a bit of sanding with my Surf Prep Rad Pad just to scuff it up a bit. The pads are soft and pliable and go around the carved wood with ease.
Then I pulled out my jar of Miss Mustard Seed White Wax and got to work on this beautiful wood section.
But it wasn’t exactly the look I had in mind. It certainly is lovely in its own right, just not the look I wanted.
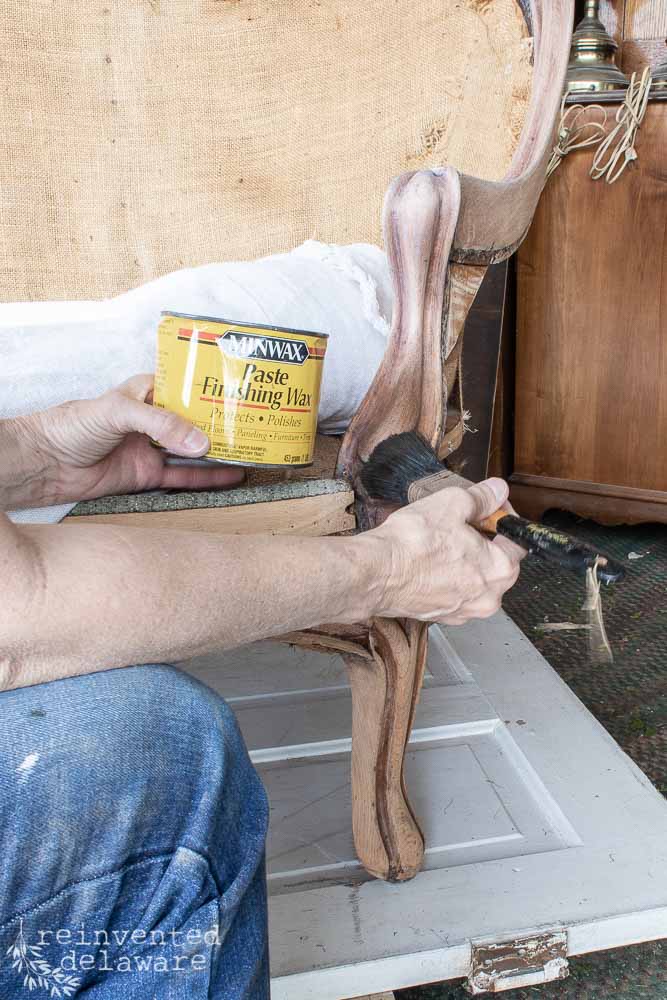
how to remove wax from wood furniture
So I tried another wax. First I used odorless mineral spirits to remove the white wax and once it was dry I used Minwax Paste Finishing Wax in the Special Dark color.
Still not what I had in mind.
dark wax for wood furniture
Maybe you think I am fickle and maybe I am, but I couldn’t pinpoint in my mind what I was looking for, I just knew when I saw it, I would know. I often say I have to do back-flips over something before I am sure it. 😆
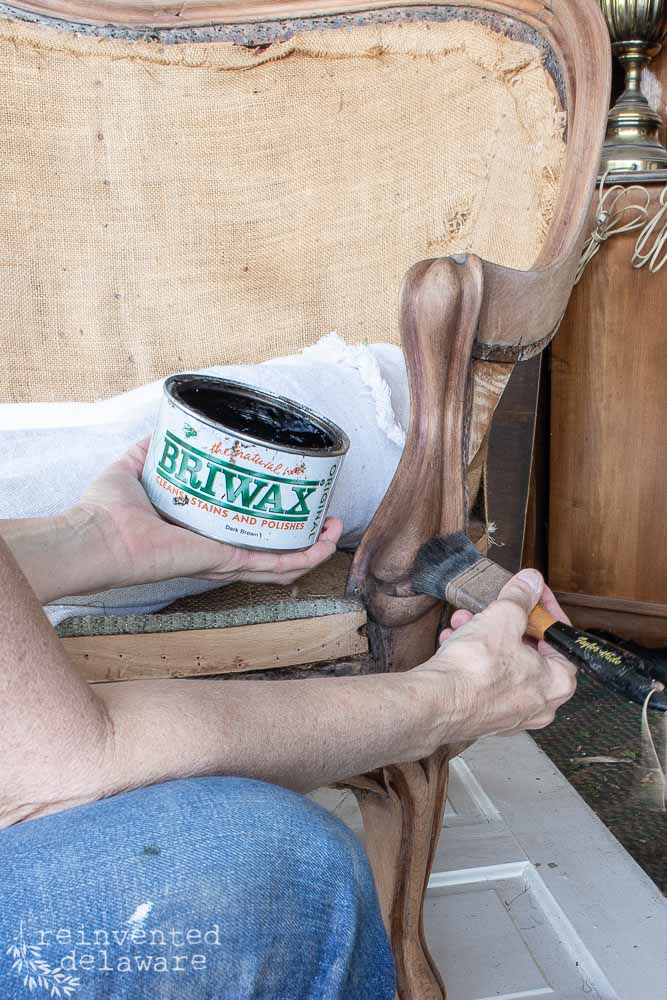
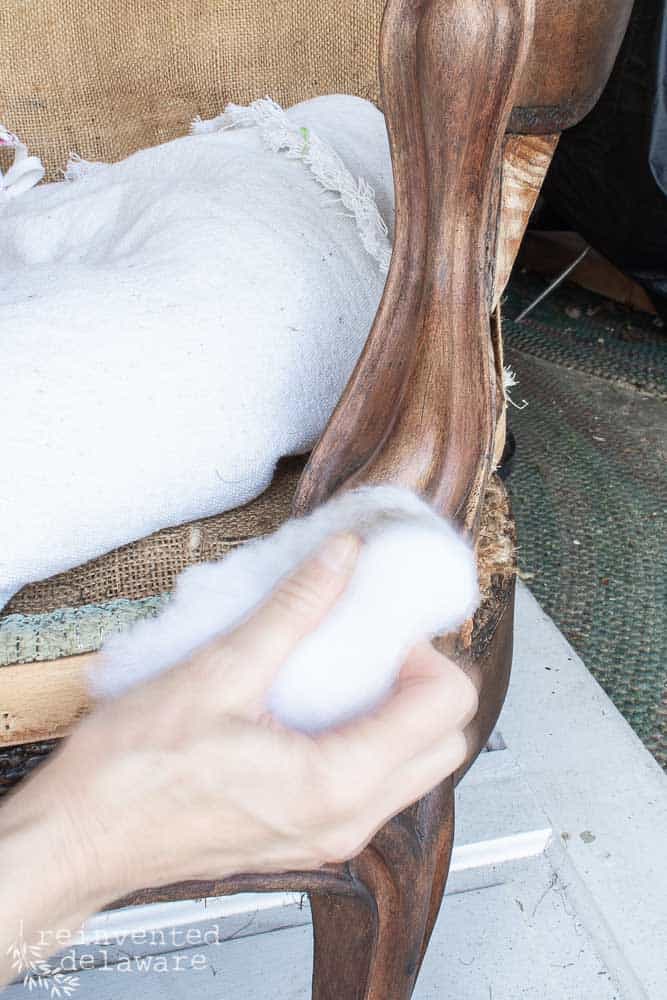
Once it was dry, I used a chunk of upholstery weight batting to buff it to a soft sheen.
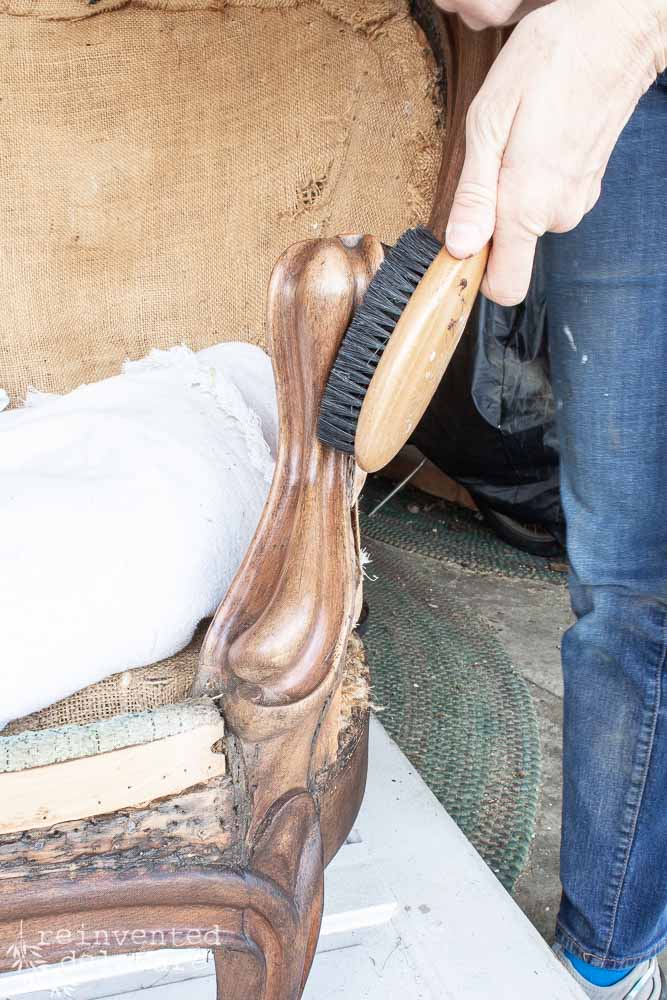
I also used an old shoe polishing brush to buff the areas in the nooks and crannies.
Once I saw the buffed dark wax on the wood furniture, I knew I found what I was looking for.
what is upholstery batting?
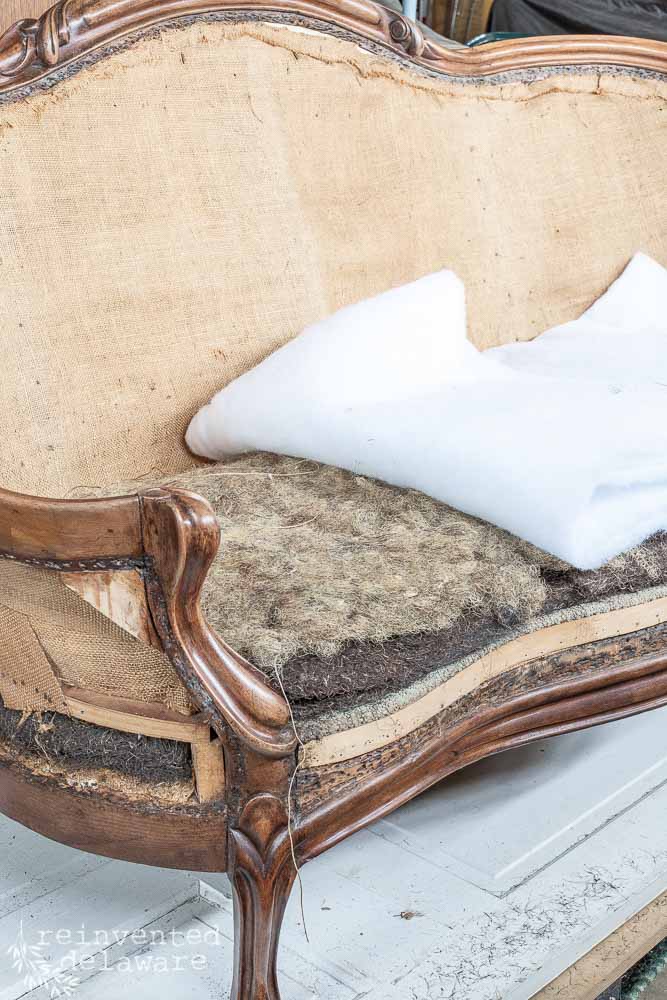
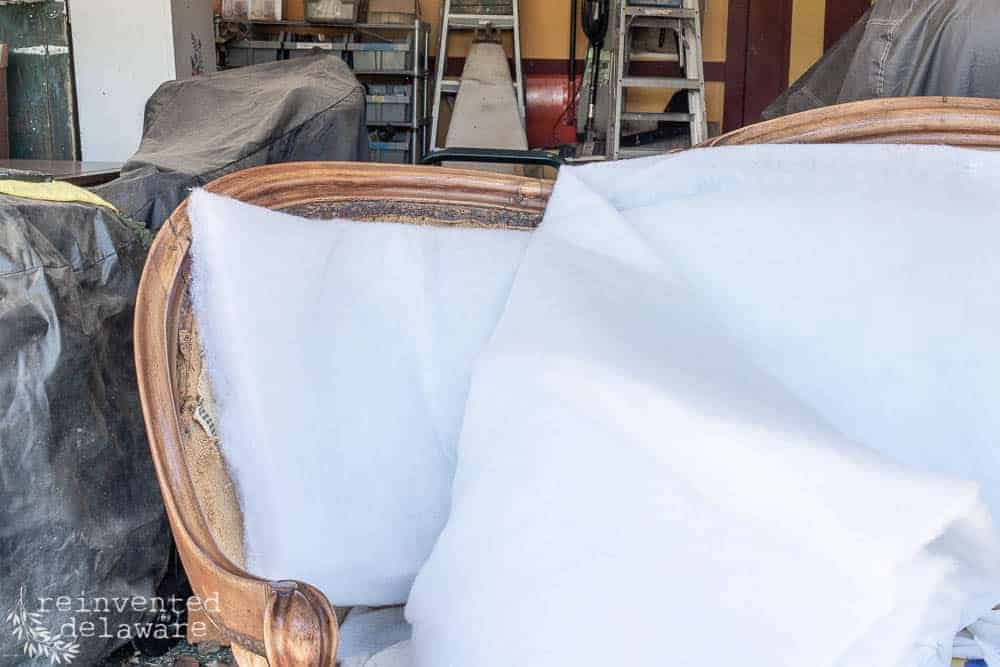
The next step is to add the upholstery batting. Batting in the world of upholstery is the cushioning or the part that makes the seating area comfortable. It can also be made of different materials including cotton, wool, and polyester.
Believe it or not, horsehair can be used for batting as well! We even recovered dining chairs that had shredded paper as part of the batting!
I kept the original horsehair batting because it was in good shape but I knew that adding a new layer of batting would just add to the smoothness and softness of this vintage settee.
what is the underlayer in upholstery?
After cutting down the batting to fit, I added a layer of heavy muslin fabric as the underlayer. The underlayer helps to hold the batting in place. Since I was adding to existing batting, I thought this would be a good idea for this vintage settee.
You can read more about cutting around the frame in this Victorian Chair Reupholstery post.
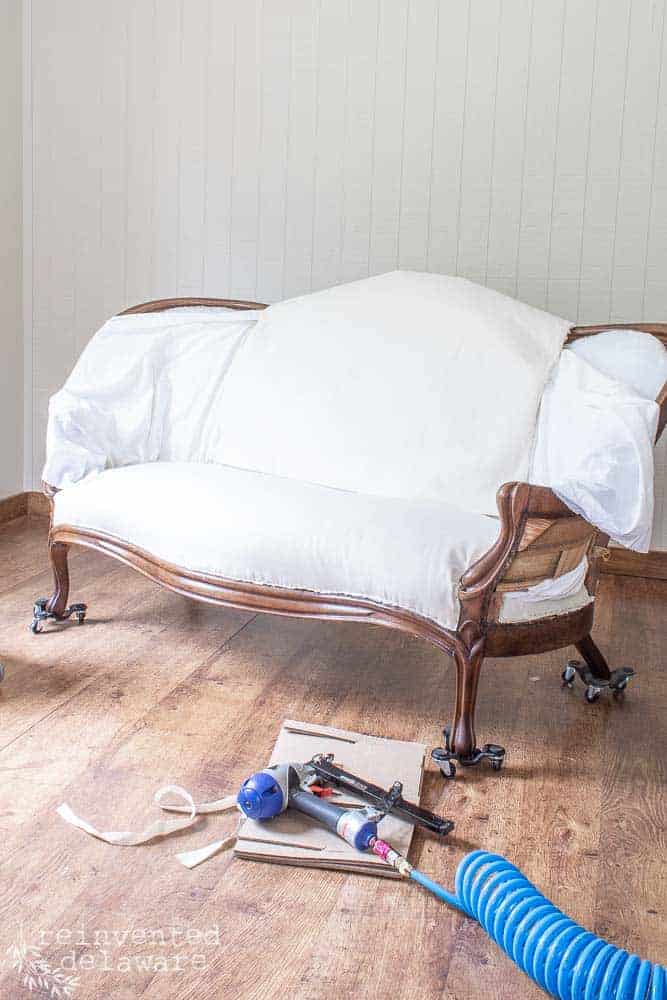
attach the upholstery underlayer on vintage settee
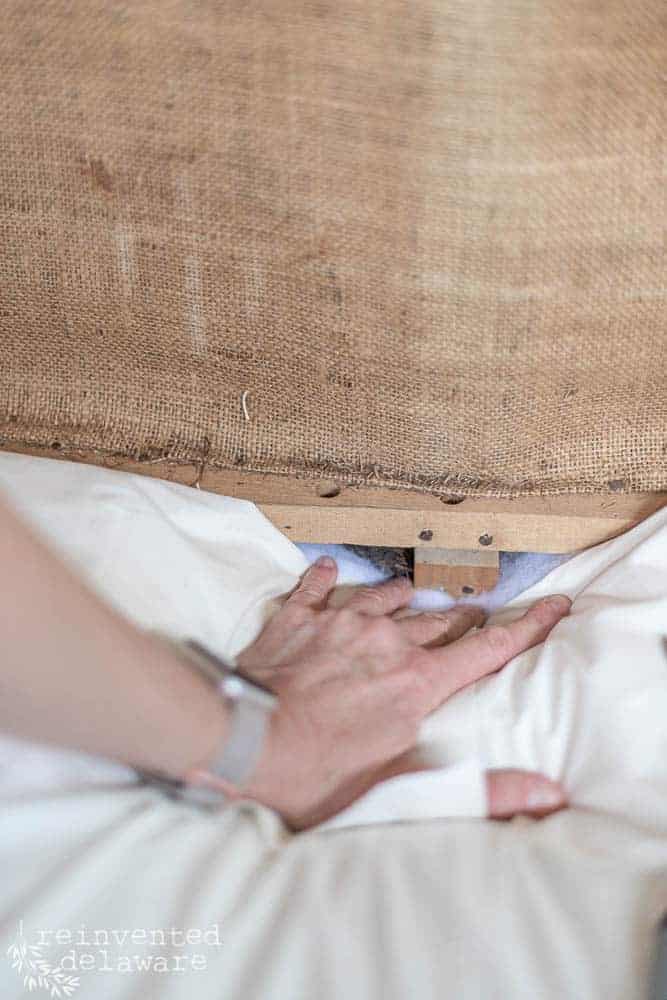
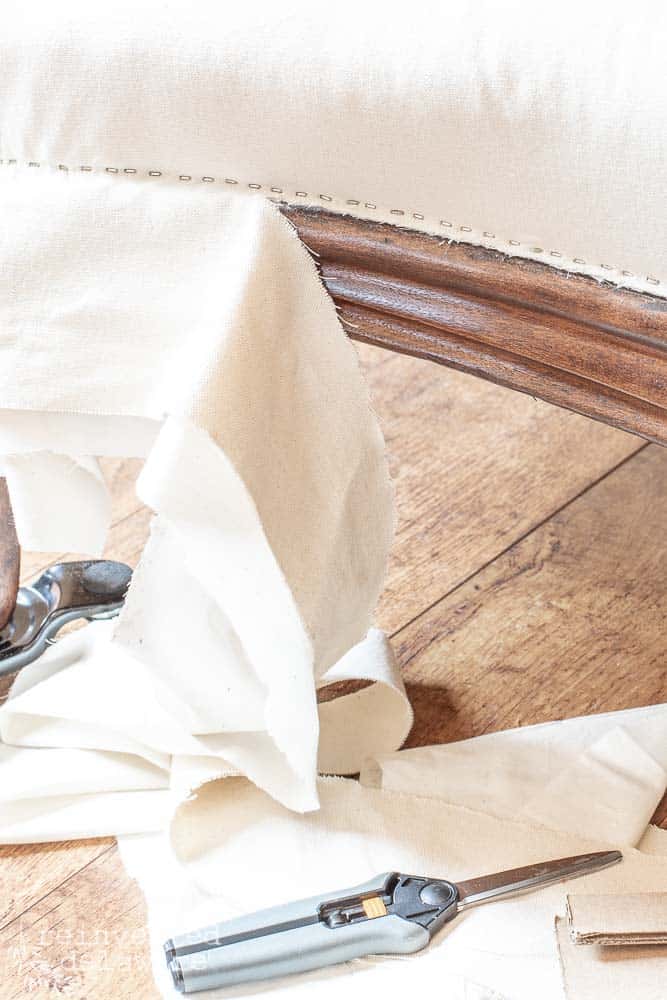
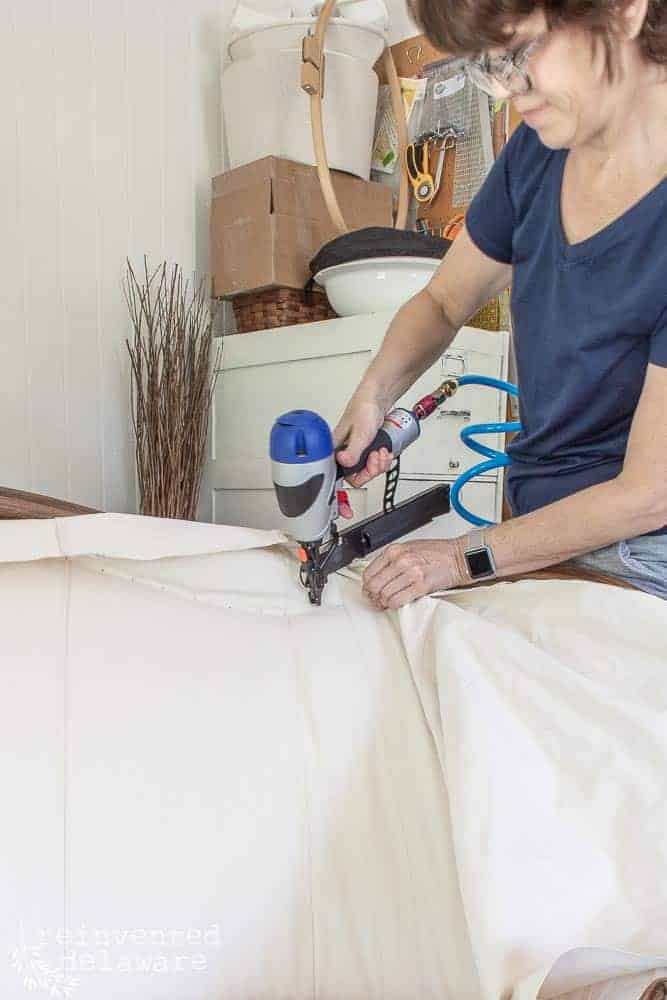
See how I have pulled the fabric through to the back and stapled it down to the bottom section of the back of the vintage settee? That is what we will do with the entire back of this piece.
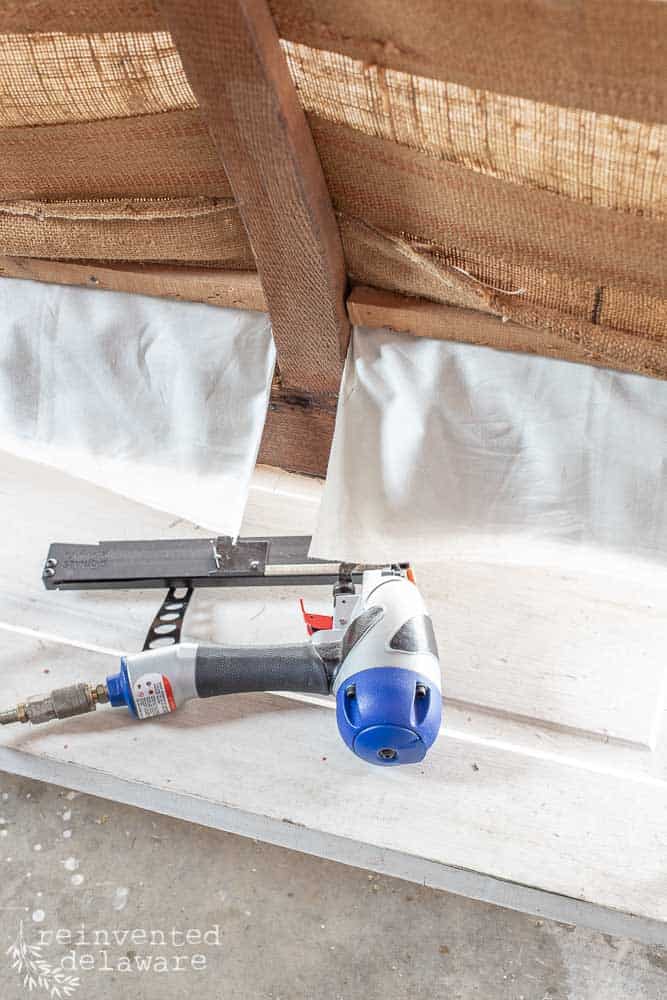
Once all the seat fabric had been attached, I then attached it to the front. See the area I am pointing at in the image below? That is where I ran the row of staples while pulling the fabric taught.
When attaching any fabric, start at the center and work outwards, pulling it taught. A Pneumatic staple gun is sooooo helpful!
soft back for vintage settee
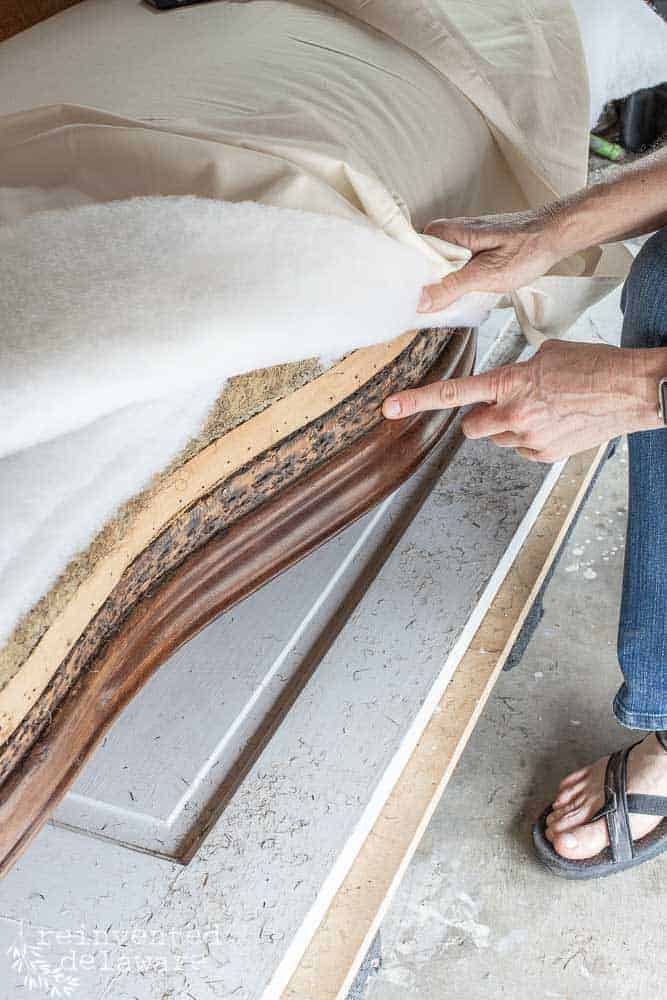
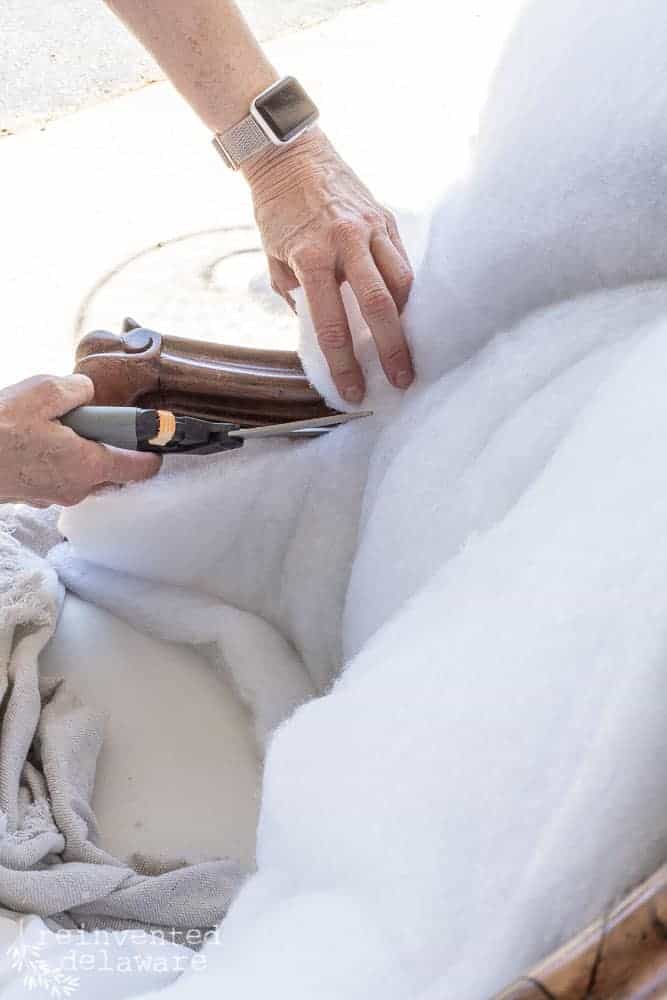
I went through the same process with the back of the vintage settee but as you can see in the image below, I added an additional layer of batting. The layer of original horsehair batting wasn’t in as good of shape as the seating area. So it needed an extra layer of batting.
I used short scissor cuts to go around the curves of the settee as I removed the excess batting.
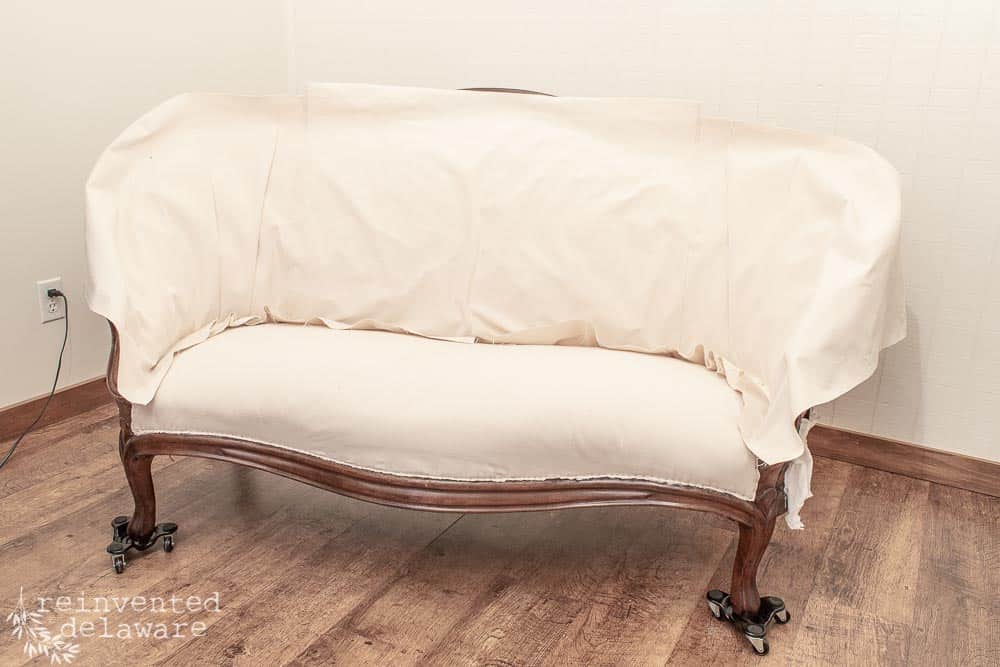
indoor upholstery workroom
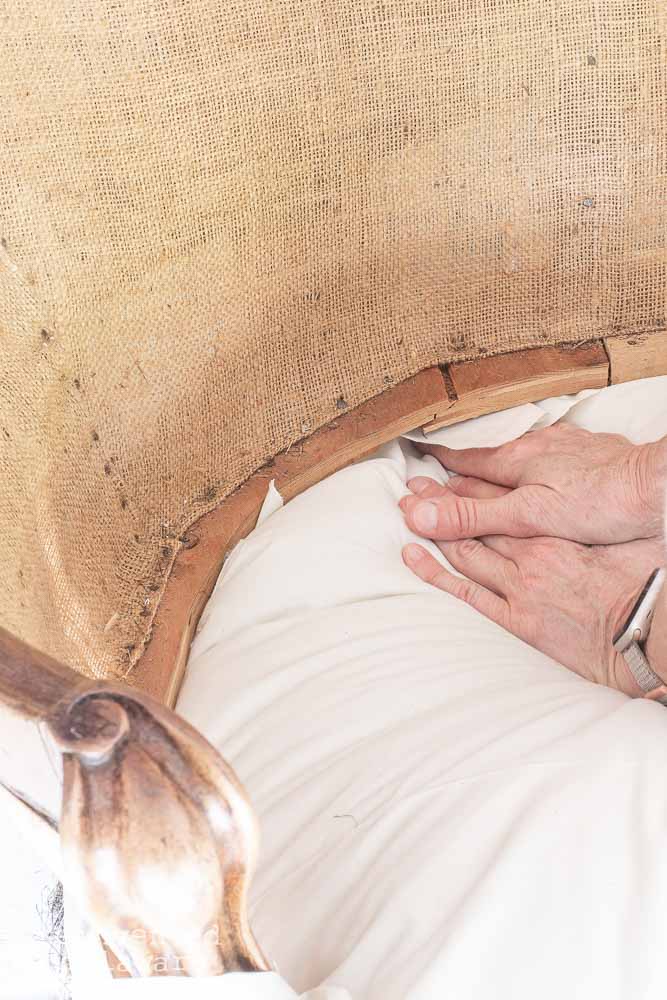
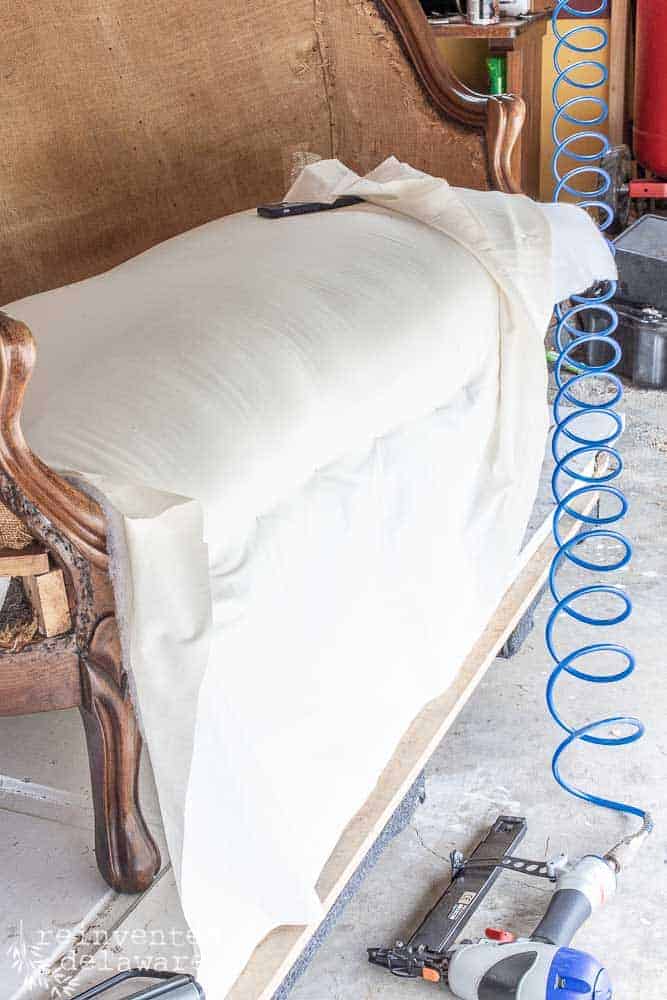
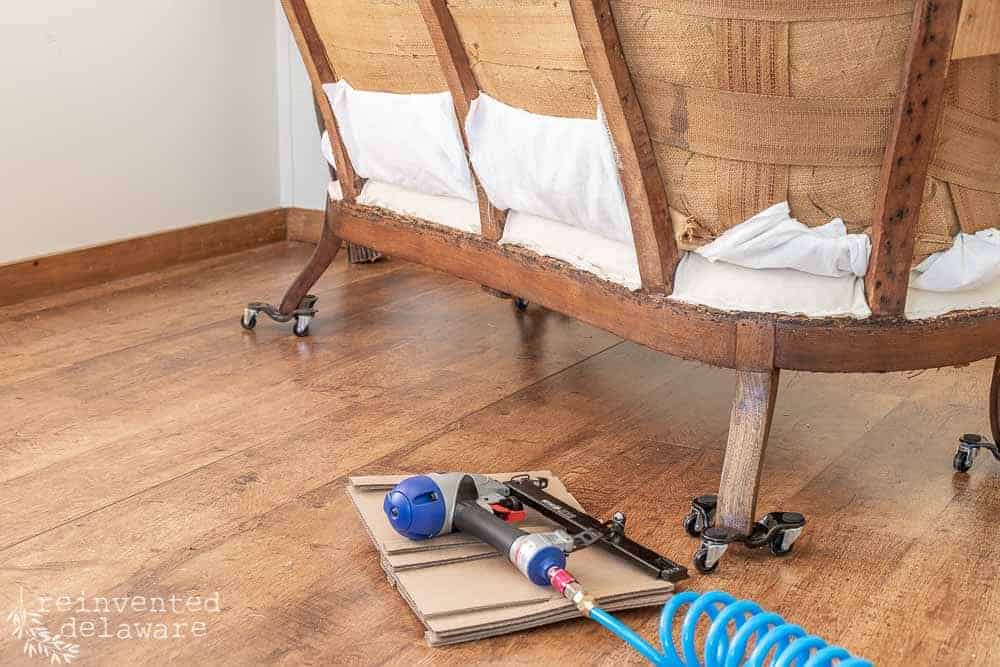
The vintage settee had to come into the house for the next steps. I would be attaching the good fabric and my outdoor workshop can be a bit dusty. You can also see how the back looks after attaching the seat and back fabrics.
See where the two separate? I can still fit my hand in the area from the front and come out on the back. This is super important so that the good fabric can be attached the same way as the underlayer of fabric.
attach upholstery fabric
When attaching the underlayer of fabric you only need to use a few staples to hold it all in place. But when you get to the upholstery fabric, be sure to use many more staples.
You can see here that they are very close to one another. Think of sewing – the stitches are close to one another to hold the fabric pieces together. Upholstery is similar only instead of thread you are using staples while you connect fabric and wood together!
tight back vintage settee
Mapping out the back of the vintage settee, I realized it would be best to treat the whole back as one. That meant I would have to sew panels together to accommodate the size of the settee.
how to sew upholstered tight back sofa
I decided the seams would run along with the back vertical framing on either side. I found the middle of the settee and the middle of the fabric and lined them up together.
Then I marked where the frame was on each side with a light pencil mark. I also added a 1/2″ seam allowance. I cut the center back piece of fabric as well as enough fabric for the two side panels.
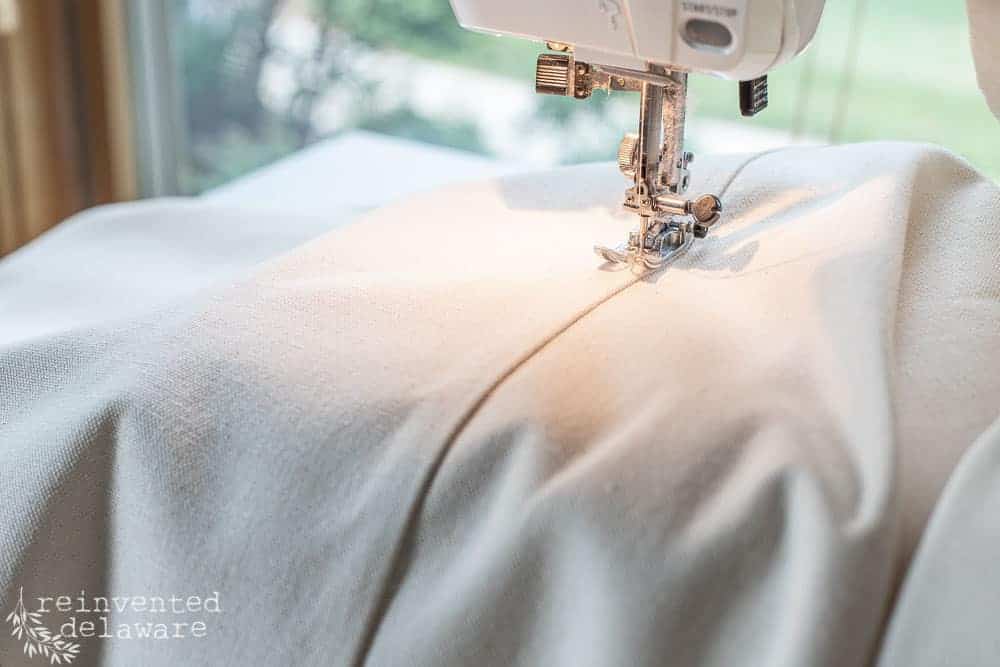
how to sew flat felled seams
Next, I sewed the seam. I choose to use a flat-felled seam. Sounds fancy, but it isn’t. Let me tell you how to sew this flat-felled seam!
Stitch the seam right sides together. Then press the seam to one side. Stitching from the top side, run a stitching line approximately 1/4″-3/8″ away from the seam.
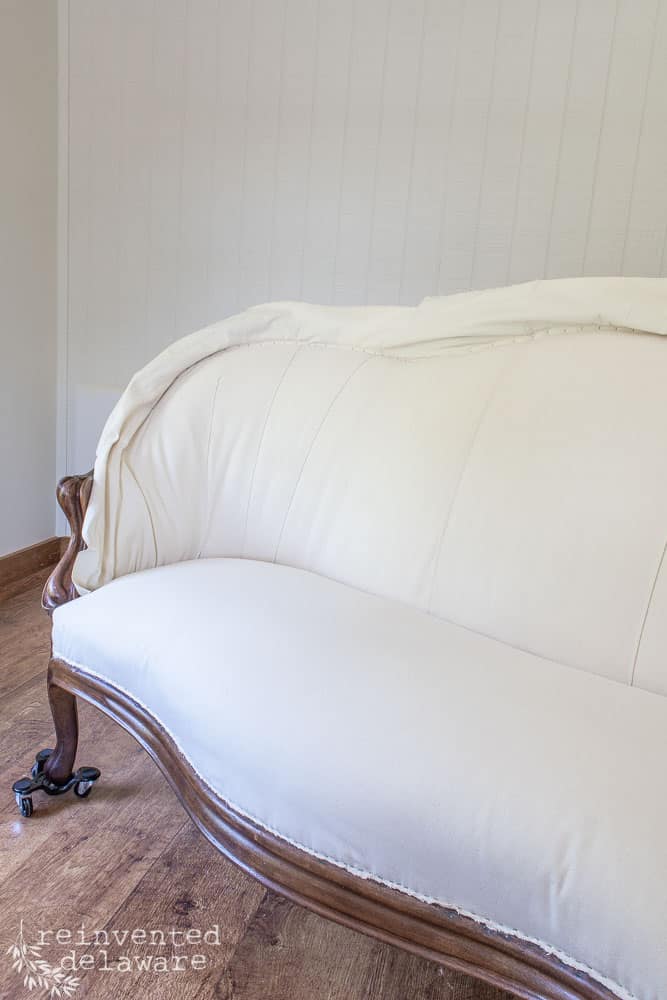
This seam just adds another layer of character to the piece, don’t you think?
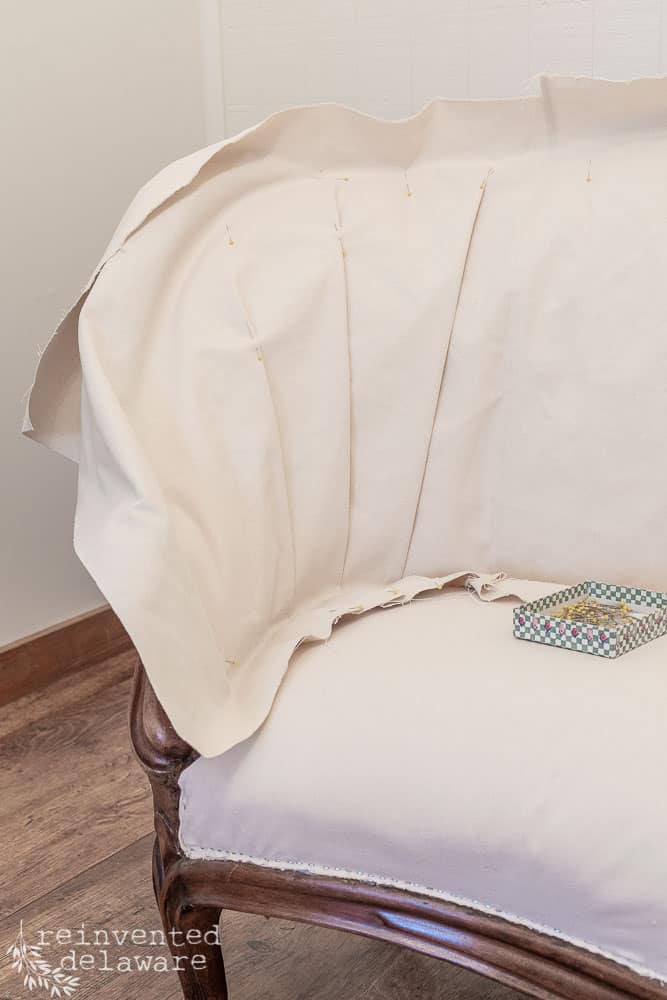
how to add pleats to a tight back sofa
I also knew that going around the curve would be a challenge. The top curve was wider than the bottom curve on this vintage settee.
Pleats were my solution. I folded and pinned as I moved around the curve until it laid flat. Once I was satisfied with the fit, I took off the whole panel, folded it in half, and transferred the pleats to the other side. Pay close attention to which direction you make the pleats go. You want a mirror image on the opposite side!
Back to the machine, I top-stitched the pleats down.
Next up was to pull the bottom of the top (hope that makes sense!) through to the back and staple it just like I did with the underlayer.
Then it was time to staple the top edge. Remember to start at the center and work outwards. Go slowly and pull the fabric taught as you go!
calling it a day!
Whew! That’s enough for one day! Next time we will add the rustic burlap backing and jute trim. I can’t wait for you to see this whole piece finished! I will share all the reveal photos along with a fun wall decor idea in the next and final post of this Reupholstery Tutorial series!!
Thanks so much for joining us for this reupholstery tutorial! You can see how much work it is. But when you break it down in steps, it is certainly doable!
Follow along on our reinventing journey on Instagram and Facebook. We love showing behind-the-scenes of many of our projects! Feel free to pin any of the images you see for your future reference on your Pinterest boards!


The dark wax looks so good! You buffed it so well, it looks like a satin sealer.
Thank you! The dark color is such a nice contrast with the light-colored fabric too!
Thank you for your tutorial. I was wondering about how much fabric it took to do your settee. I have one I need to do and it has matching 2 chairs. It is a bit more complicated than yours and it still has it’s original fabric on it. I might have missed it in your article. I apologize if I did. Thanks.
Hi Linette! So glad you enjoyed the post. Measuring fabric for each piece is unique. I always buy more than I need. Take measurements of your piece and envision how you will transfer those measurements to the width of the fabric you decide to use. Then buy at least a yard or two extra! You can always make pillow covers if you don’t need it for the upholstery. Better safe than sorry!
I’m not sure how old this post is but I just got a free settee that looks pretty much identical to this one you restored. I tore it apart and still have the hay / horsehair but the seat portion was much less intact than the back padding. Should I still try to reuse as much as I can or what layers would you suggest I use on the seat part instead? I’m a little intimidated because of the open springs.
Your settee sounds like it needs some serious work! There are so many factors – are the springs in good working order? Is the original horsehair batting in good condition? If yes to both of these, I would recommend using layers of high dense foam in the thickness that seems best for what you have and then layers of upholstery weight poly batting along with linging fabric and ultimately the pretty fabric. Good luck! You can do this!!
Fun to watch
So glad you enjoyed watching!