
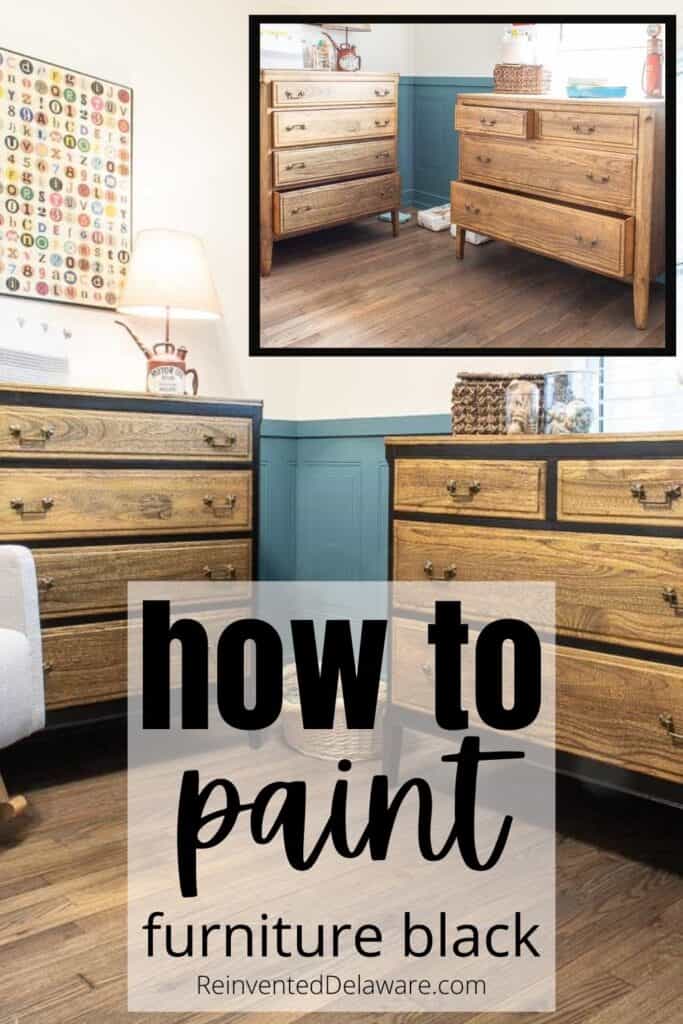
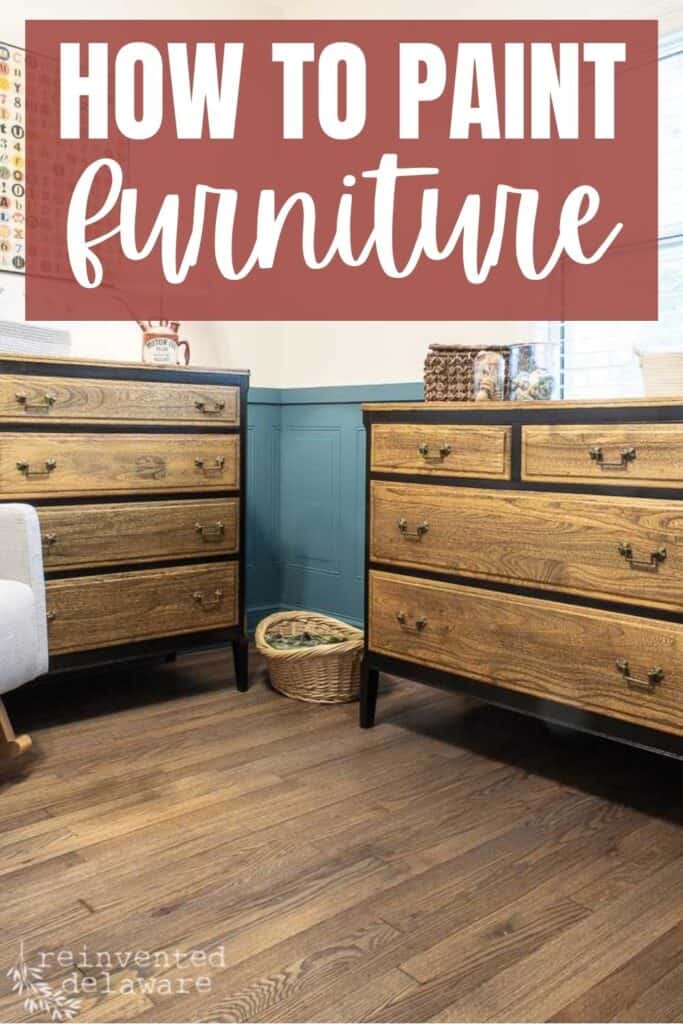
How to Paint a Dresser Black with Chalk Paint (5 Easy Steps)
Do you have an old dresser that needs an upgrade? Learn how to paint a dresser black or any other color with this easy tutorial.
As furniture refinishers, we spend a lot of time painting furniture! This black dresser makeover is one of my favorites for several reasons. First, you’ll quickly see how easy it is to paint a dresser black or really any other color.
With just a bit of paint and a little prep work, you can make these older pieces look so much better! Even more importantly, these two-tone dressers are going to someone very special in my life, and I can’t wait to share them with you!
The following post may contain affiliate links. That means if you click and then buy something, I will make a small commission at no additional cost to you! Thank you for supporting my blog. full disclosure here.
This post is sponsored by Dixie Belle.
how to paint furniture black
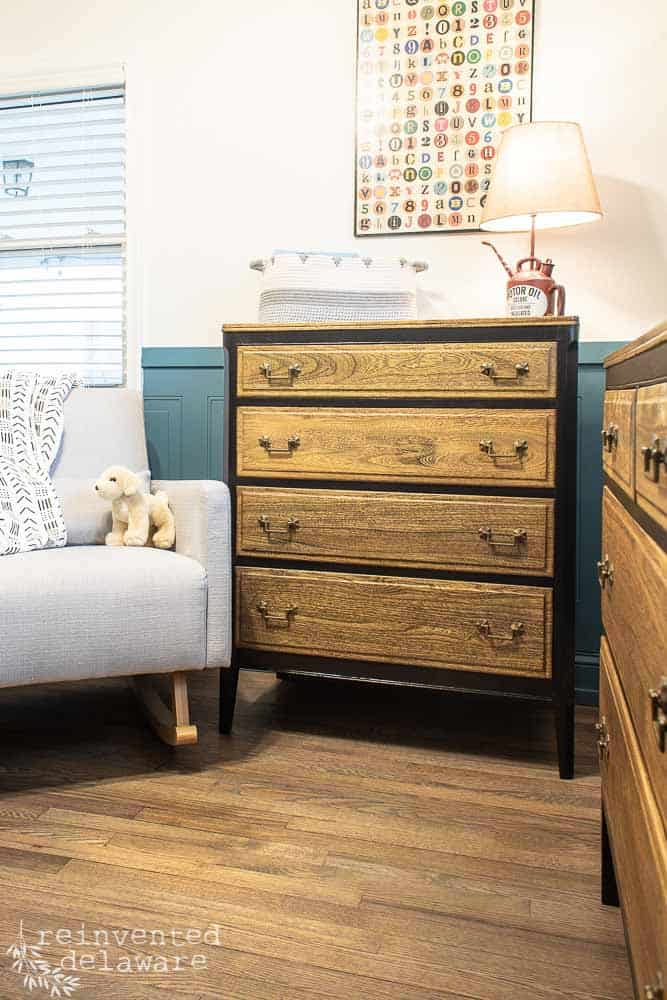
One of our daughters is expecting a little boy this August and she and her hubby have been busy beavers getting the room ready for him.
black vintage dresser makeover
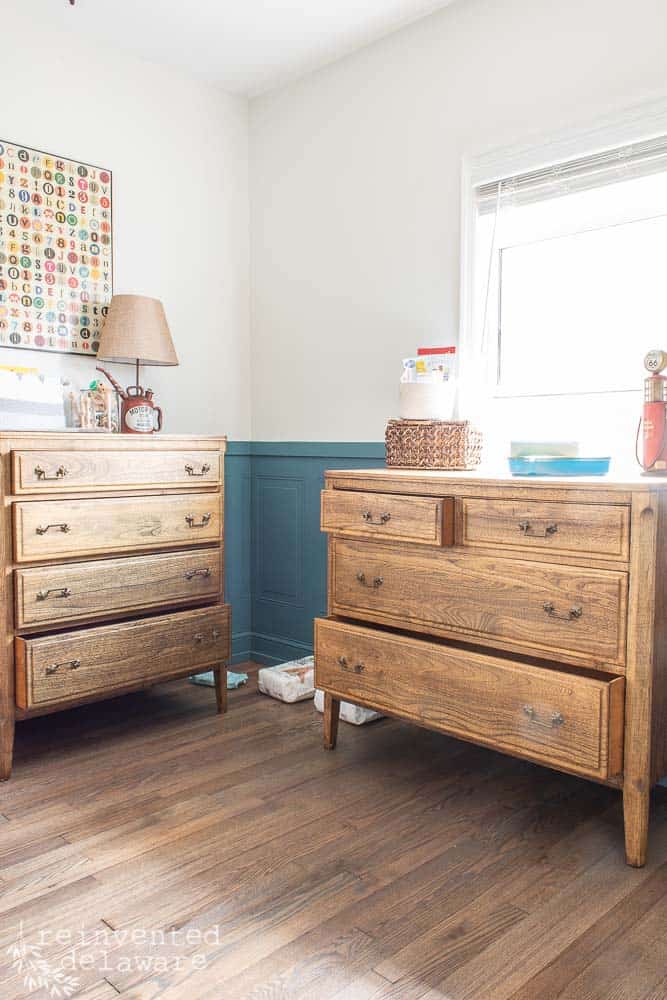
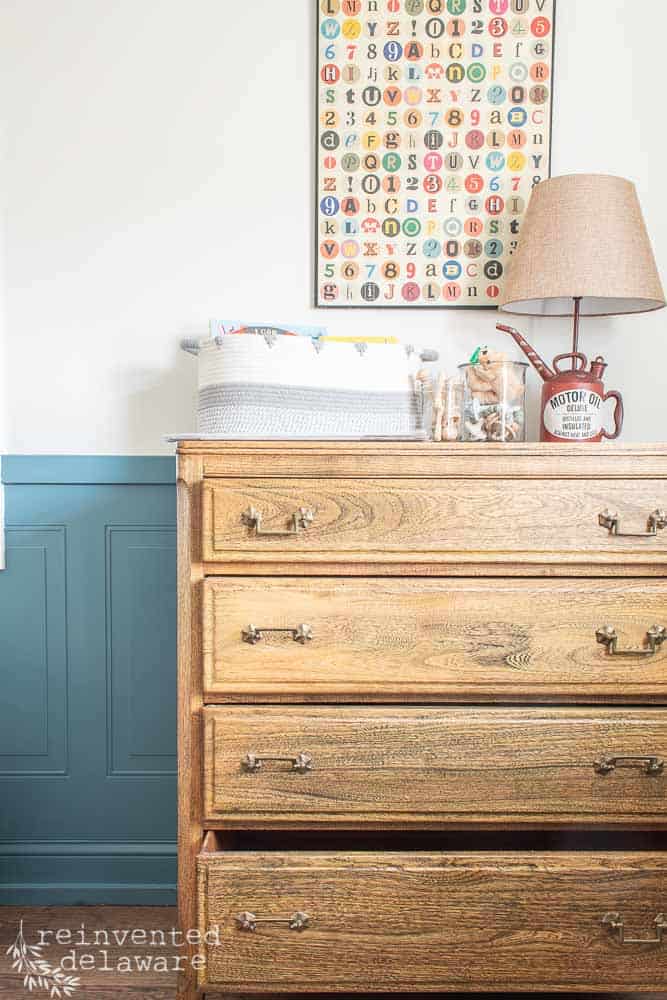
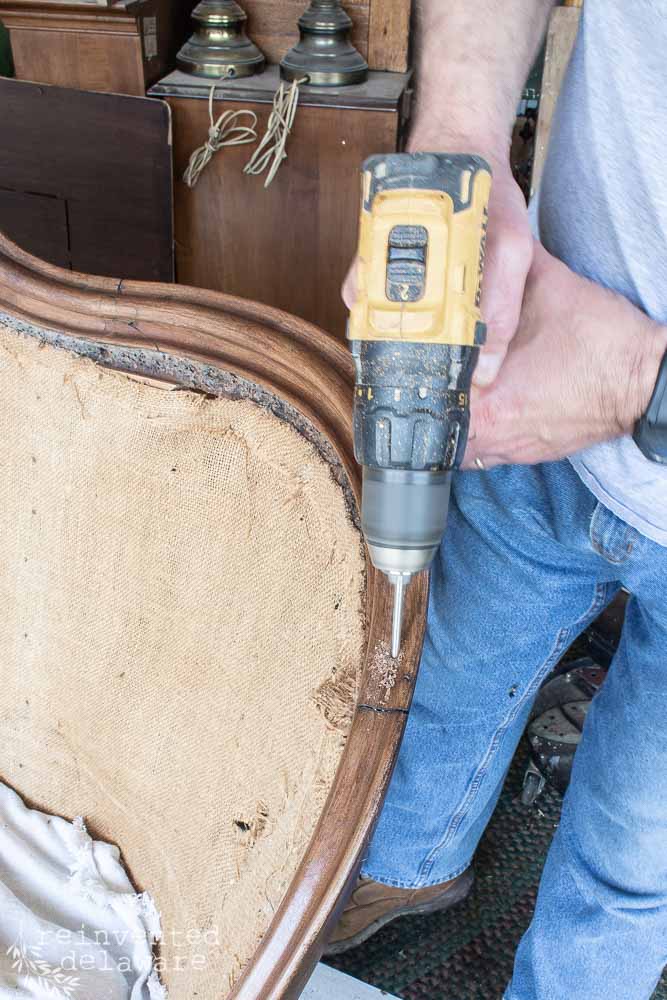
They came across this set of dressers on Facebook Marketplace for about $310, and they jumped on them. Both dressers are in really good condition, so we didn’t need to make any repairs. If you have any dents or deep scratches in your dresser, you can fill them with wood filler to get a smooth surface.
The finish was in great shape, too. But our daughter wanted a different look for them. Her hubby wanted wood, and she wanted them painted.
No worries – we have a solution for both! Hubby also wanted to go with a garage theme for the nursery since he is a master technician, and our daughter wanted the dressers to last their little boy for years to come and not necessarily baby-themed.
The look that they are going for was carried through to the dressers.
how to paint a dresser black
Repainting a dresser isn’t nearly as complicated as you’d think! It just requires a little patience to follow each step, and you’ll end up with a gorgeous dresser you’ll love for years to come. This black vintage dresser looks stunning with a fresh coat of paint and is a real heirloom piece that should last for years and years.
list of supplies:
Supplies for this project are very few. Cleaning products, sanding sponge, paint color, and sealer with a few other items are all you will need!
Use the links below to purchase some of the supplies for this project! You are helping to support this blog and all the free tutorials we offer here! Thanks so much!😊
- White Lightning Cleaner
- micro-fiber cloths
- dust-buster (or shop vac)
- Caviar Chalk Mineral Paint
- Big Mama’s Butta in Flannel
- chip brush
- small round synthetic paintbrush
- sanding pads
- blue shop towels
- stencil (I used Trippy Blocks by Dixie Belle)
- sponge applicator
best black paint for wood furniture
If you love the rich, luxurious look of black paint, it’s so important to find the right black furniture paint for the job! Although there are lots of black paints you can choose from, I’m especially partial to chalk paint.
The color Caviar from Dixie Belle is such a bold, rich color that looks amazing with the natural wood color. Since it’s chalk paint, it’s such an easy kind of paint to use, even for beginners, and it gives you a really smooth finish. No matter what color you’re looking for, Dixie Belle has the best paint for a durable finish and professional look!
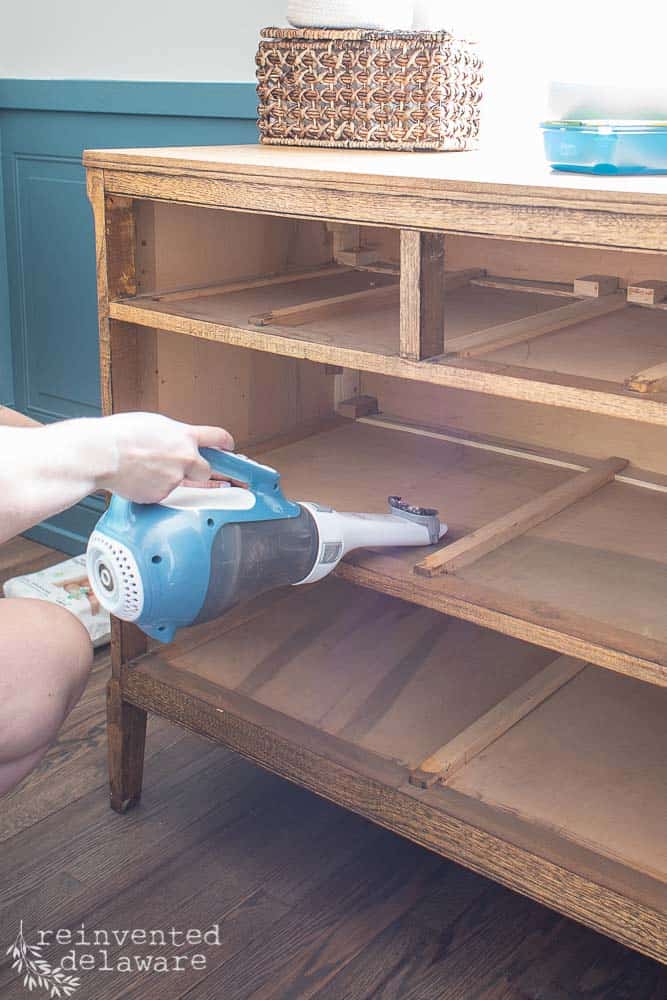
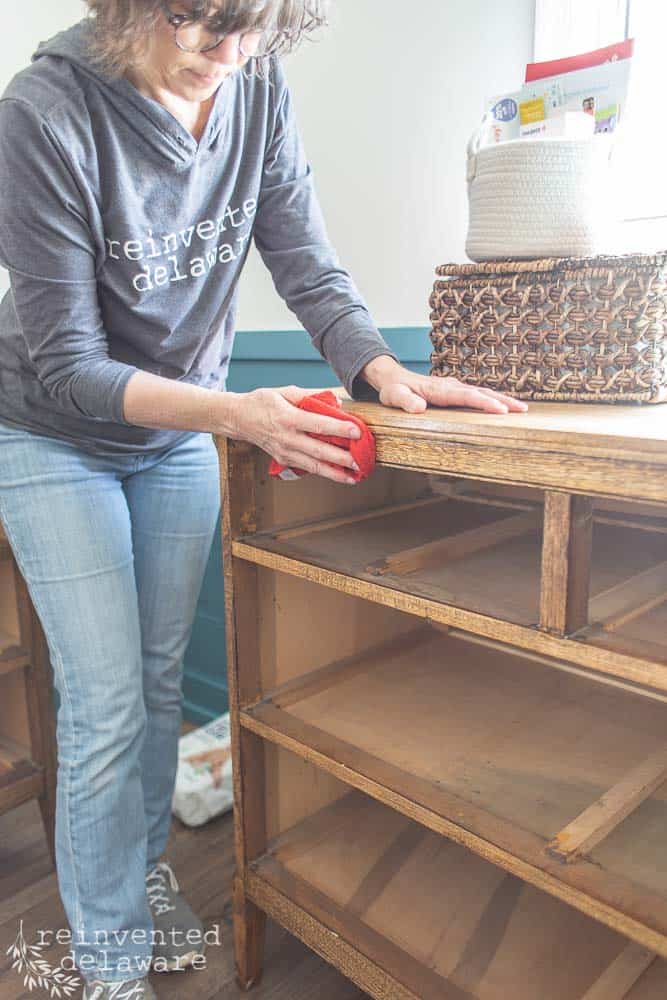
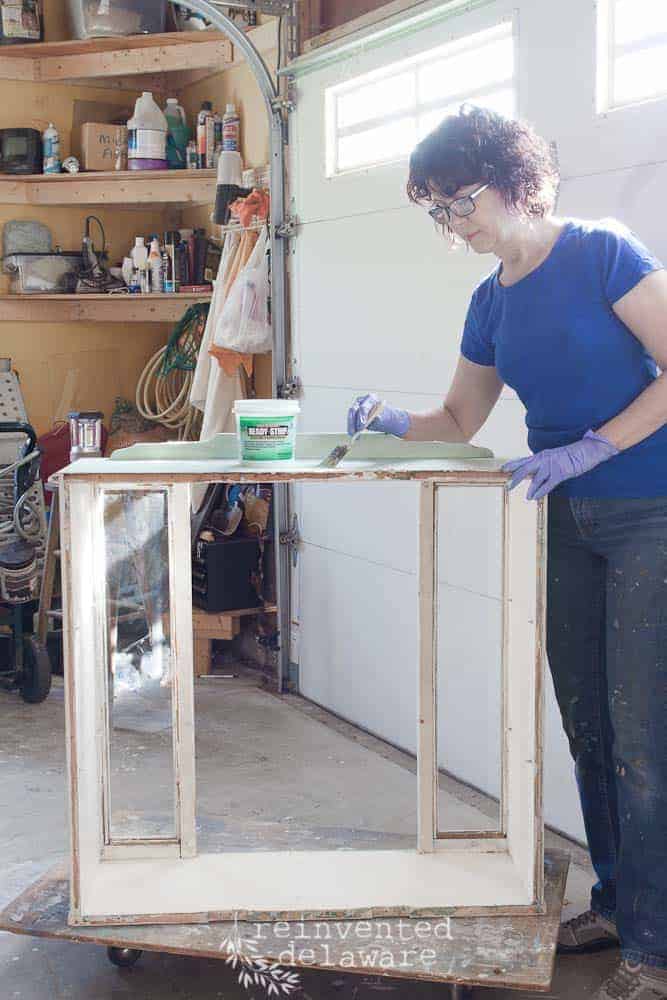
step one: clean the dresser
Before we dive into painting this dresser black, let’s prep the furniture pieces for painting. Many paint companies say that you do not need to prep furniture for their paint, but I always recommend, at the minimum, to clean the piece really well.
My daughter used her hand-held dust buster to clean the drawer cavities after we removed the drawers. They were so dusty inside!
Getting the dust out will also help to get rid of some of the old smells that vintage and antique furniture can have.
After vacuuming the piece, I used a solution of White Lightning cleaner and a microfiber cloth to clean the whole piece really well. After the cleaning, I went back over the whole piece with a clean, damp microfiber cloth to remove any residue from the cleaner.
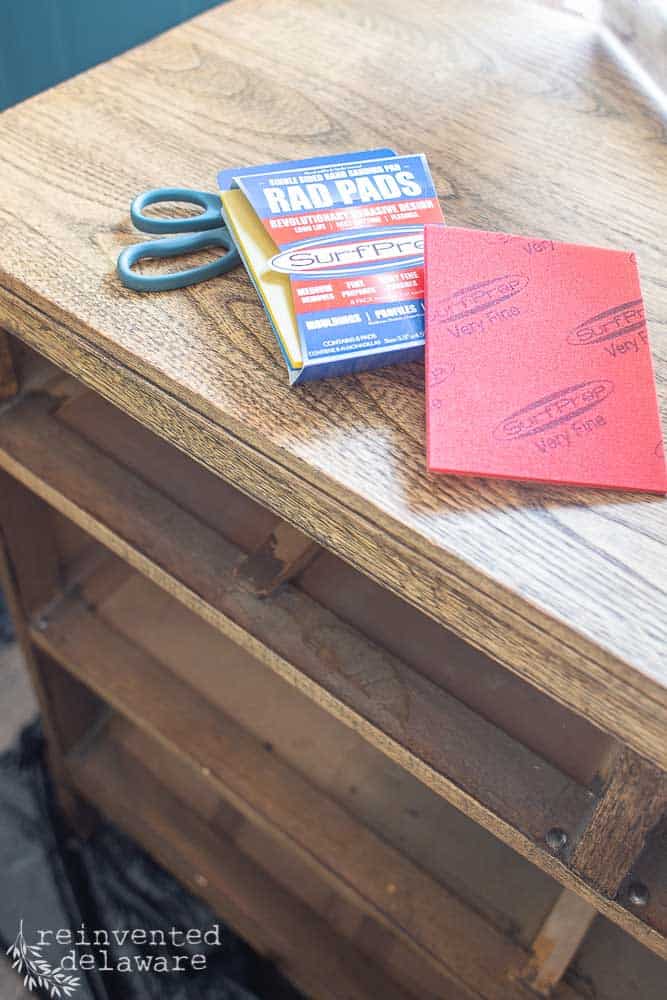
step two: scuff up the surface
The next step is to scuff the surfaces. We are only painting the framing and the sides of the dressers, not the top of the drawer fronts.Dixie Belle makes the most amazing sanding pads. They are flexible and make the scuff sanding quick and easy work.
When I finished the scuff sanding, my daughter went over all of the sanded surfaces with a dry microfiber cloth to remove the dust.
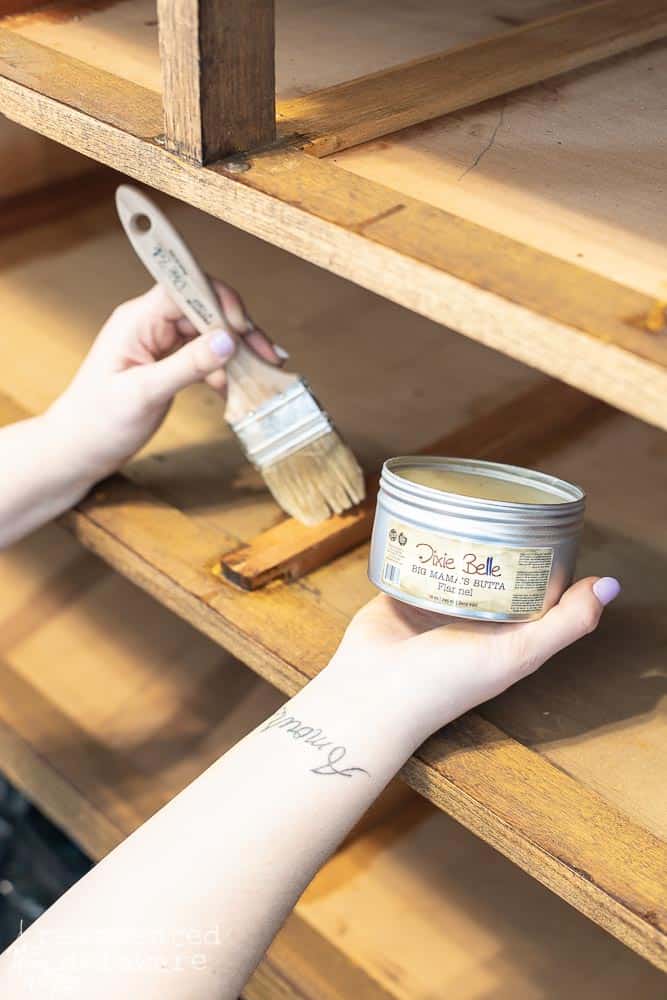
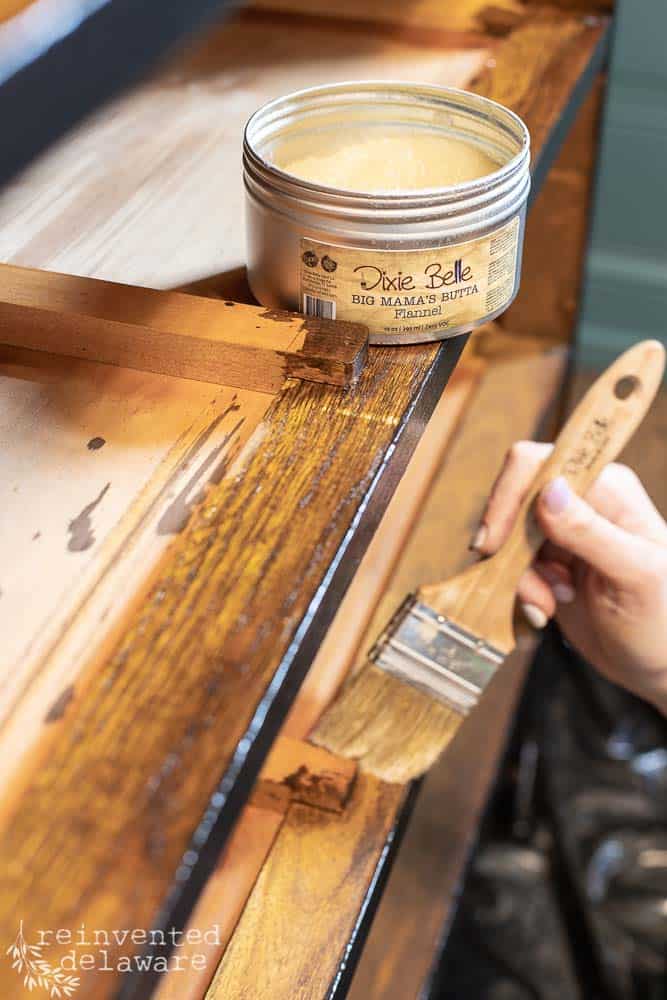
step three: seal the inside of the dresser (optional)
We tagged teamed this whole project – while she vacuumed, I removed the drawers and cleaned them. Then while I scuff-sanded one dresser, she used Big Mama’s Butta in Flannel scent (seems appropriate for a little boy doesn’t it?) on all of the interior sections where the drawers belong.
The Flannel scent smells so handsome! Big Mama’s Butta is a sealer that is a blend of Carnuba wax, hemp seed oil, coconut oil, and beeswax. It nourishes wood, seals chalk mineral paint, and smells amazing!
It works wonders on natural wood too, so she applied it to the entire dresser when I was finished painting, including the back and underneath both dressers.
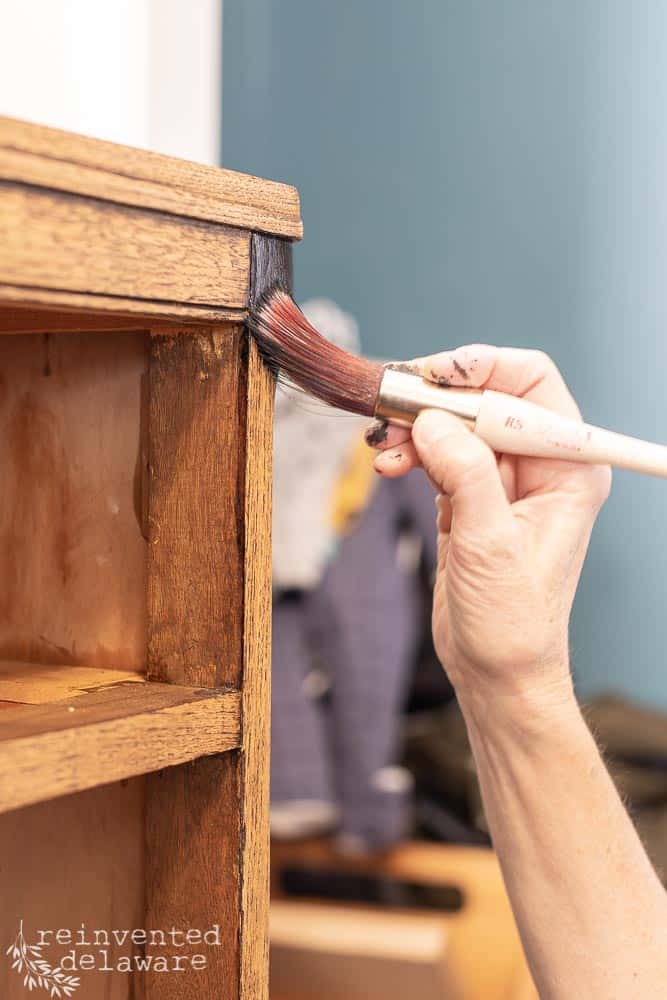
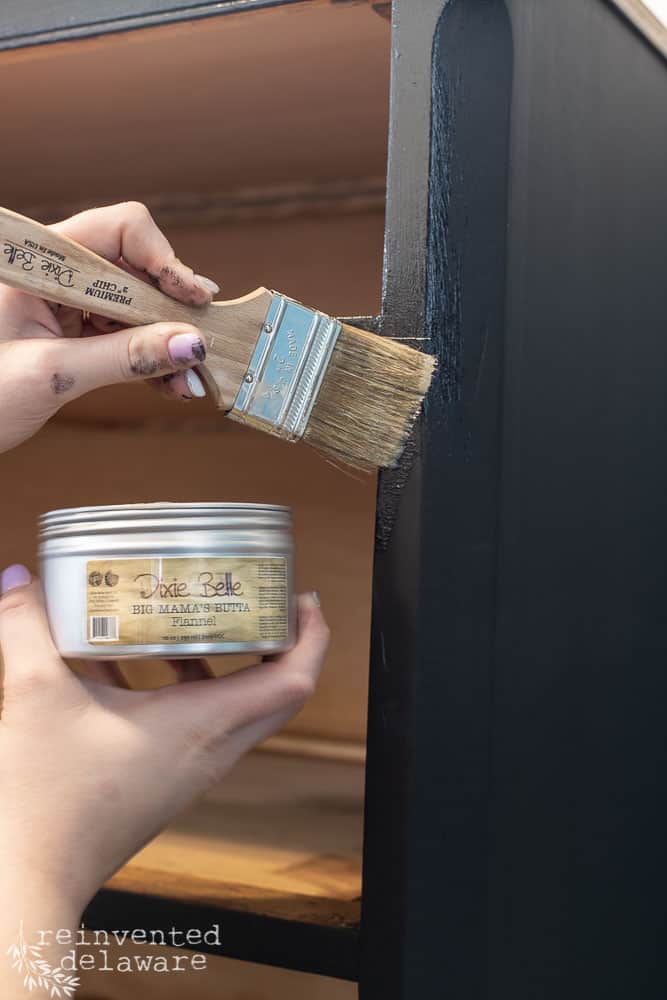
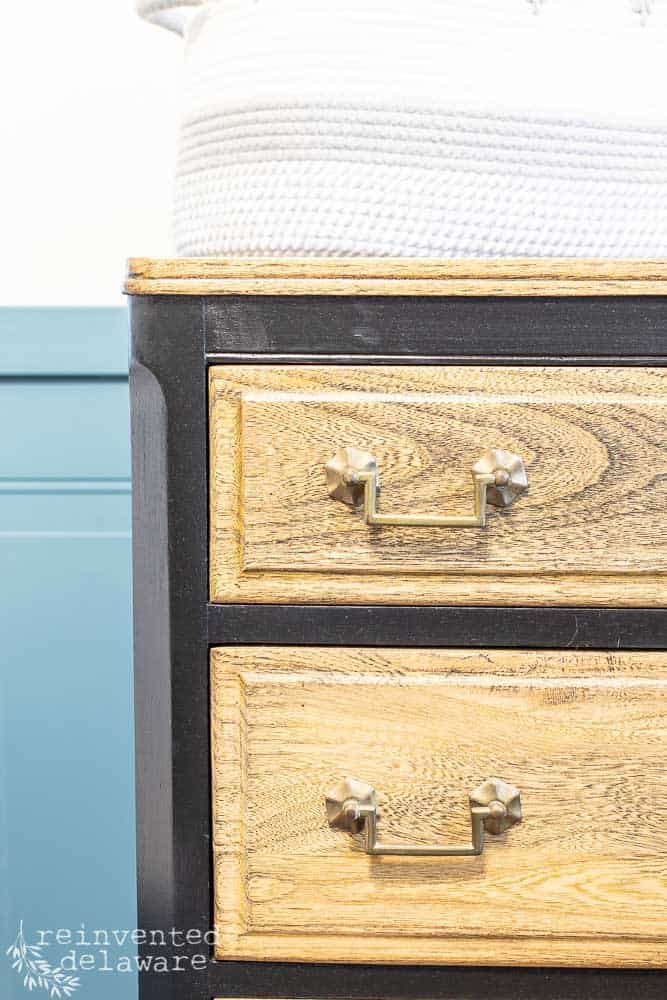
step four: paint the dresser
I applied two coats of Dixie Belle’s chalk-based paint in black called Caviar. It’s a rich black that covered the wood perfectly in just two coats.
After both coats were completely dry, we applied Big Mama’s Butta to all of the painted surfaces. We used a chip brush to brush it on in sections then went back over the area with a blue shop towel to remove the excess.
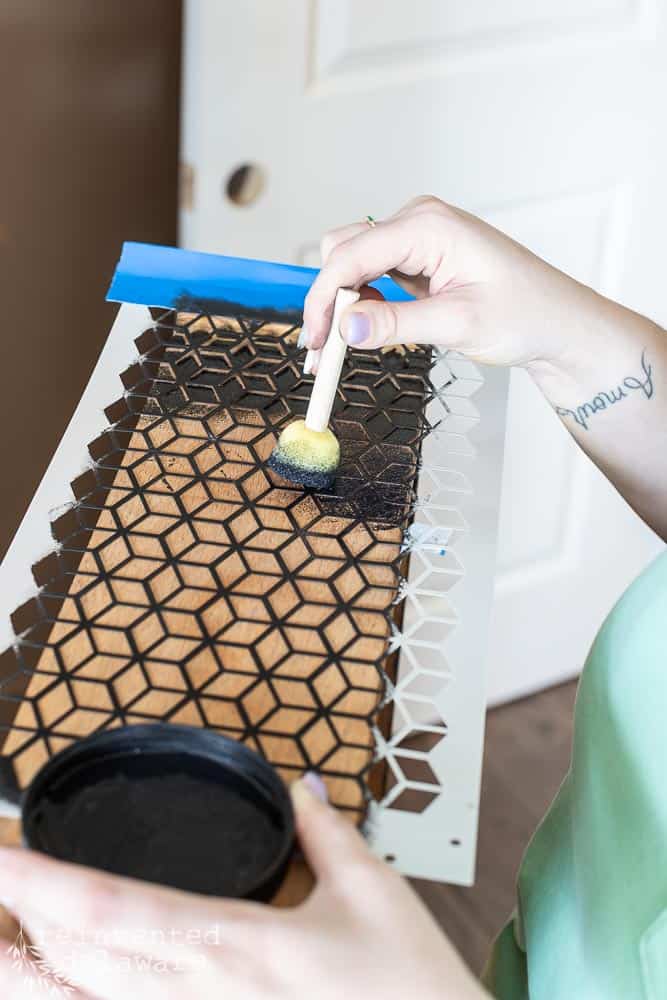
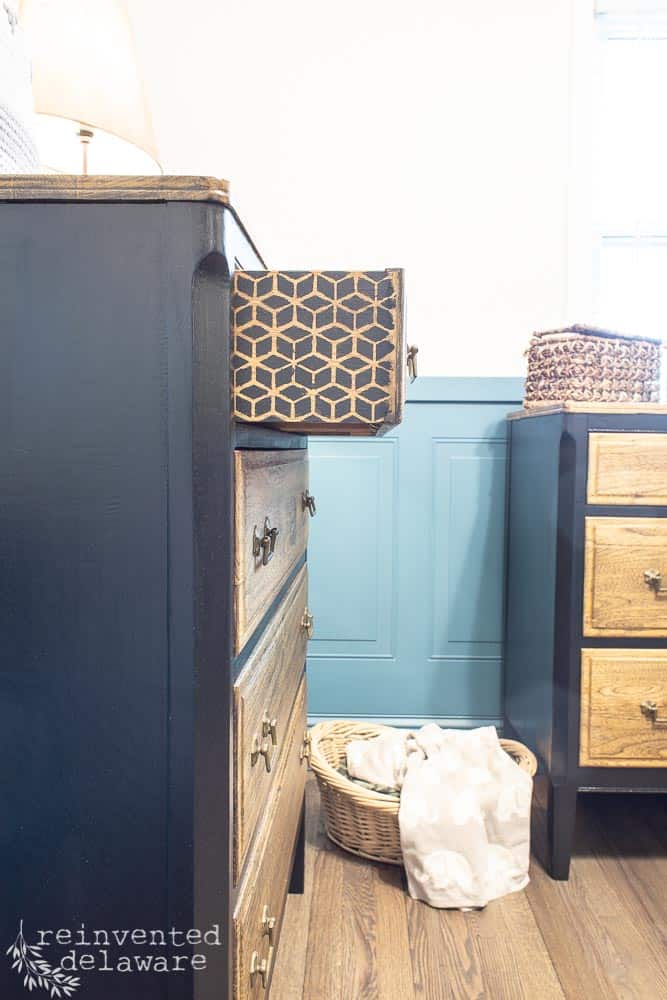
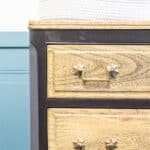
optional: add a stencil detail
While the paint was drying, we decided to add a stenciled design to the sides of the drawers for a little added surprise each time the drawers are opened. Trippy Blocks is such a cute design for littles but I also think it looks like diamond plate.
Diamond plate is a rough surface that is used in industrial settings to prevent slipping. Since my son-in-law owns his own garage as a master technician, it seemed to be the perfect design for the dressers!
My daughter used a little sponge applicator to stencil the design on the top drawers of both dressers. Time limited us, so we were not able to stencil all of the drawers.
BTW, stencils are not just for furniture! I used stencils on a tote bag and got great results!
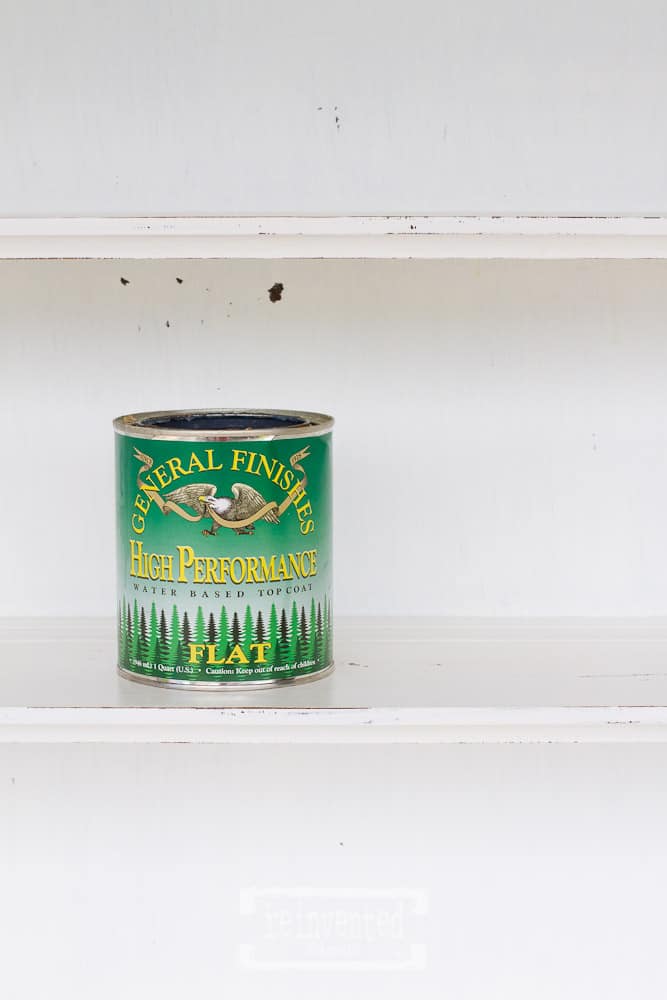
step five: seal the dresser
You can see in the images above that Big Mama’s Butta was really put to good use. That’s something I wanted to mention when you are painting furniture with black paint. If you seal it with a water-based top coat, it can take on a whiteish appearance.
Sealing the paint with natural products like Big Mama’s Butta is a perfect solution. The oils in the blend actually soak into the paint and into the wood. The paint and wood both just love it! And it’s a great way to get a true black.
Handy tip: Seal with Natural Oils!
Big Mama’s Butta is an amazing sealer made from natural oils for chalk mineral-based paints. After applying a coat, the paint will take on a depth of color that is just gorgeous, especially black!
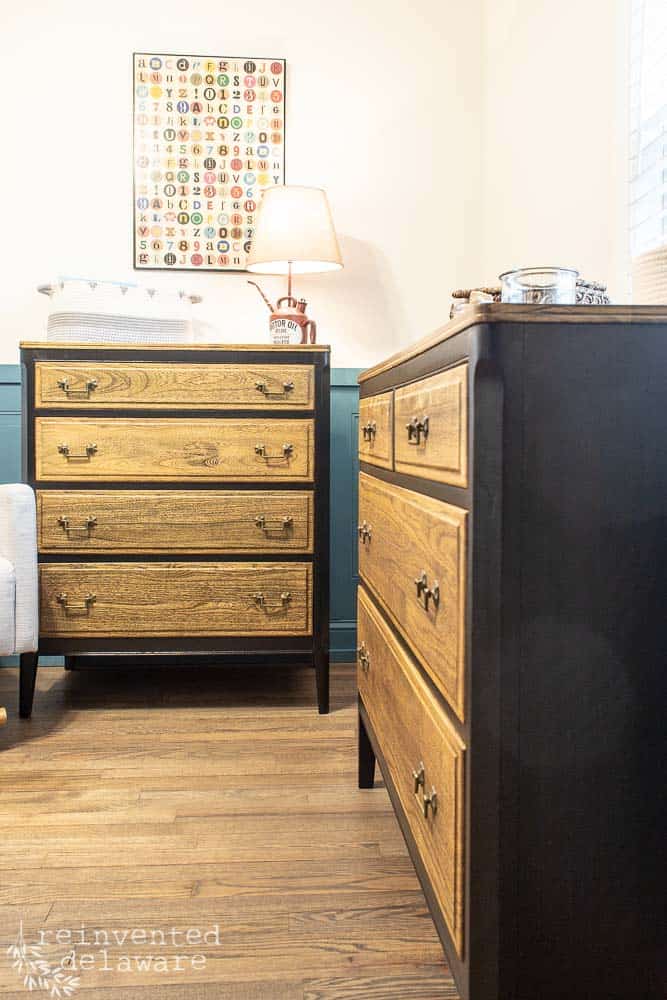
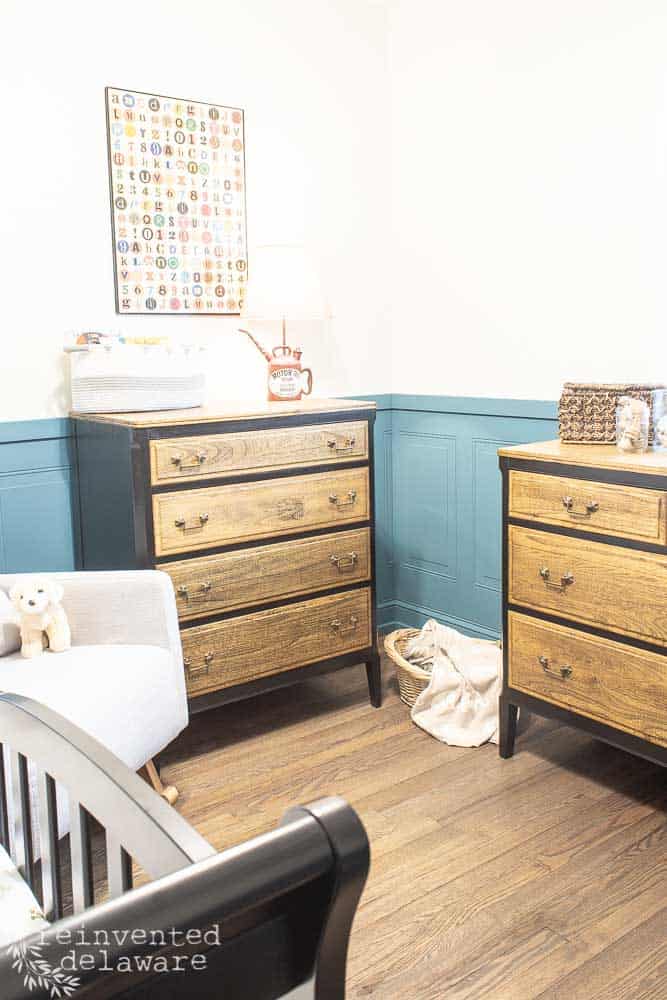
painted dresser idea
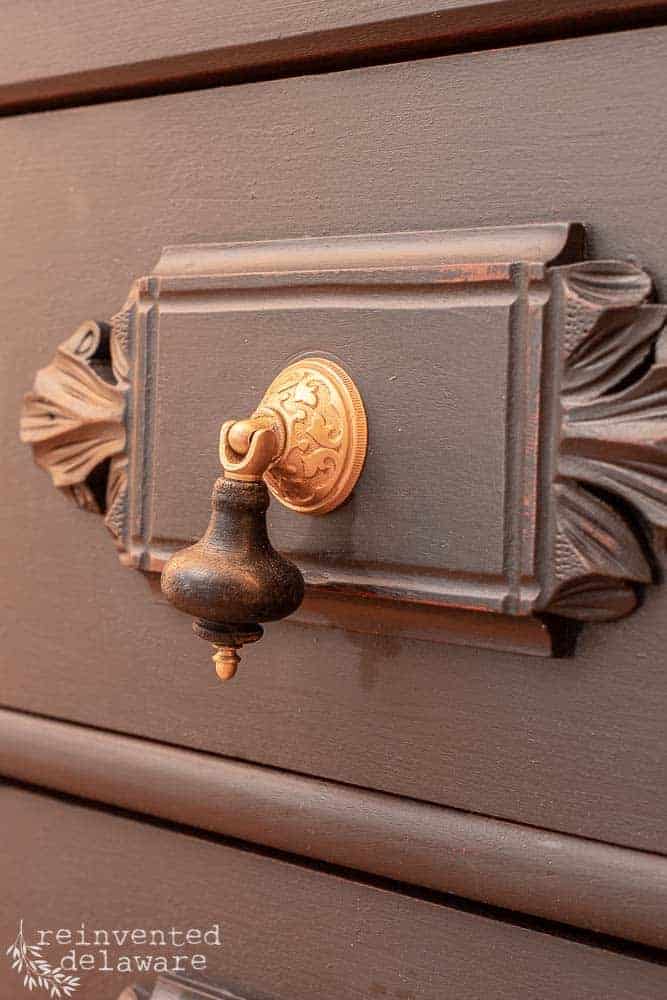
Painting the frame of a dresser is a great idea for those who love the wood look and the painted look. The painted framing actually helps the wood grain to stand out even more than it did before it was painted, don’t you think?

black painted dresser before & after
Be sure to scroll back to the beginning of this post the see the before shots of this antique dresser. The difference is amazing!
I would love to know your thoughts on these DIY projects. Do you like the two-tone look of wood grain with painted areas too?
more furniture makeovers!
Here are two more posts to show you how beautiful painted areas go along with natural wood areas on a piece of furniture.
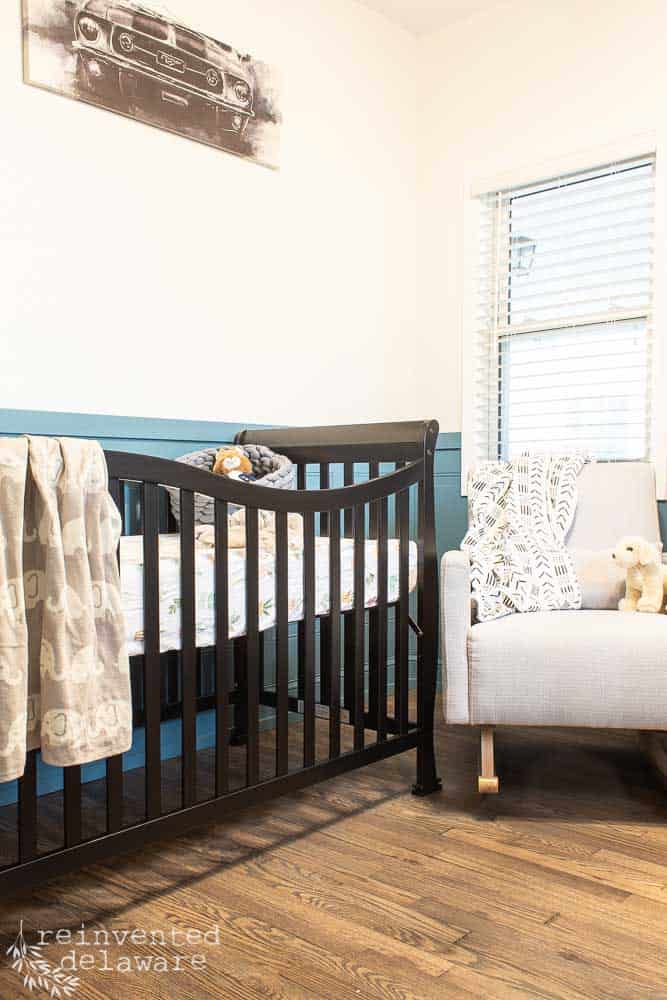
DIY black dresser makeover for a baby boy nursery
Here is the whole baby boy nursery! The room still needs a few things, but they have both really added some fun touches to the room, don’t you think?
See the Mustang poster above the crib? The empty space just below it will have a ‘lower grille’ hanging on the wall. It’s a car thing that looks like the grill on the front of a car. My son-in-law is excited to get it on the wall!
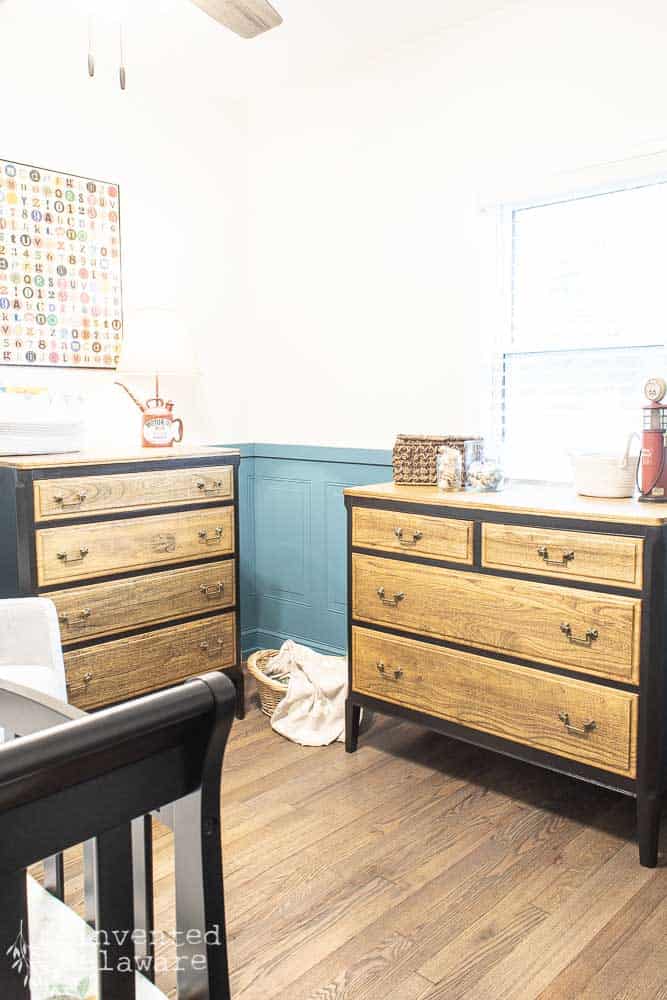
So, what do you think of this pair of antique dressers? Gorgeous, aren’t they? Our little grandson is going to have years and years of use from this set. I can imagine him taking them off to a trade school or college or maybe into his first home.
The best part about painting these dressers was not the color or the amazing Big Mama’s Butta or cleaning the pieces.
The best part of this whole project was spending time with my daughter, who is carrying our grandson. I’m so excited to meet him and then watch him grow as he uses this special pair of dressers!
BTW, the shorter of the two will be used as a changing table! Isn’t that a great idea? My daughter will add a pad to the top of it soon.
FAQs
Do you need to prime a dresser before painting?
This is a great question! I typically recommend priming before painting furniture because it will block any stains or odors and help any type of paint get a great adhesion. However, there are times when it’s not necessary. For example, these dressers were in great shape and had never been painted. The paint will stick well to them without primer. However, if your dresser had been painted before or you have a laminate dresser, a really great primer like Zinsser will give you the best result.
Do you have to sand a dresser before painting with chalk paint?
It’s always a good practice to at least scuff up the entire piece before you begin painting. This will give the paint something to attach to, especially if your dresser has a high sheen. This is a good practice for any type of paint, including chalk paint.
How do you paint a wooden dresser with chalk paint?
Chalk painting a wood dresser is similar to painting any piece of furniture. You should typically follow this process:
- Clean the dresser with a vacuum and your favorite cleaning solution.
- Scuff up the surface with medium grit sandpaper and wipe away any dust with a damp rag.
- Then, apply the first coat of paint with your paint brush. Allow it to dry completely before adding the second coat.
- Once the paint is fully dry, seal the paint with natural oils. This is especially important if you’re using a dark color like black paint. Let the dresser try completely before putting it to use.
Do I need a paint sprayer to paint a furniture piece?
Although painting a dresser can be much easier with a paint sprayer, it’s not necessary at all! You can get a gorgeous finish with just a paintbrush. You will have brush strokes, but those can actually make a piece have more character and dimension than just spraying them down.
Consider going over your chest of drawers with clear wax and a wax brush to really make your painted piece of furniture shine.
Get more ideas from these easy dresser makeover projects!
DIY painted dresser ideas
Instead of just painting your dresser black or beige, try giving them a bit more character or dimension with these DIY furniture ideas:
- Stencil the sides of the dresser drawers (the diamond effect looks amazing and you just need a stencil)
- Paint the dresser body black and leave the drawers plain
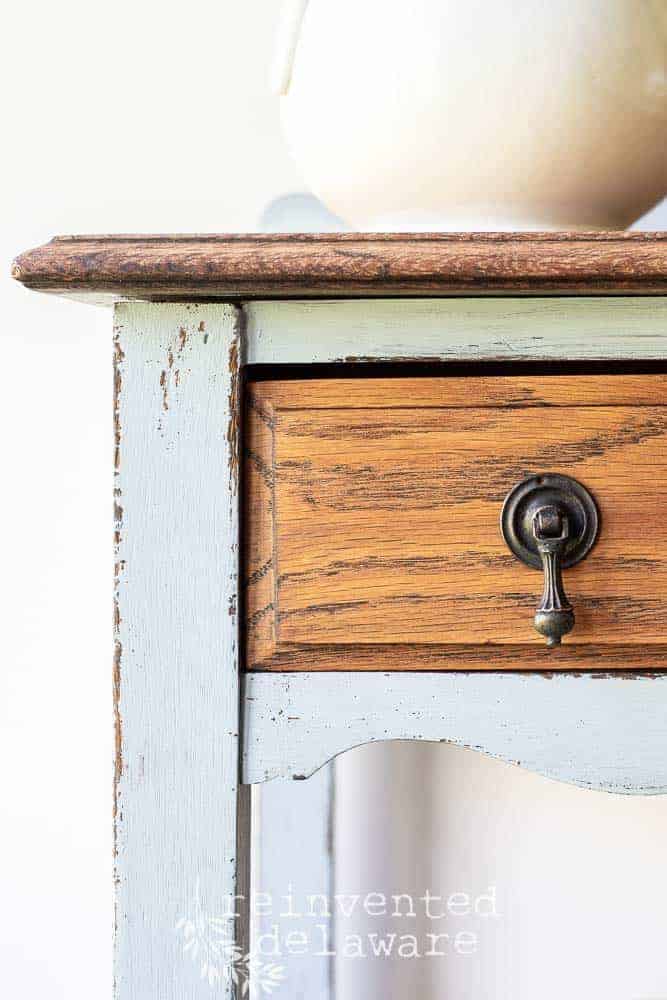
- Sand the top of the dresser down to bare wood and stain it for a contrast with the painted dresser
- Add vinyl decals or rub on transfers for personality and color
- Distress it for extra age and character (this particular dresser looks fantastic with some intentional wear)
- Line the drawers for a fresh look
- Change out the furniture or paint it for a totally different aesthetic
Decoupage paper for a unique look that fits any space

Pin the image below to your home decor and furniture boards! Just click the pin button at the top left corner!
Furniture painting is one of the best ways to make inexpensive pieces from the thrift store look totally new! It’s really not that complicated. Even if this is your first time painting furniture, I know you can do a great job.
Now that you know how to paint furniture, give it a shot! Be sure to share your progress by tagging me in your photos on Facebook or Instagram! I’d love to see your final paint job.
How to Paint a Dresser Black
Materials
- White Lightning Cleaner
- micro-fiber cloths
- dust-buster or shop vac
- Caviar Chalk Mineral Paint
- Big Mama’s Butta in Flannel
- chip brush
- small round synthetic paintbrush
- R.A.D. sanding pads
- blue shop towels
- stencil I used Trippy Blocks by Dixie Belle
- sponge applicator
Instructions
- Clean the dresser with a vacuum and your favorite cleaning solution. I like to use White Lightning TSP alternative.
- Scuff up the surface with medium grit sandpaper and wipe away any dust with a damp rag.
- Then apply the first coat of paint with your paint brush. Allow it to dry completely before adding the second coat of paint.
- Once the paint is fully dry, seal the paint with natural oils. This is especially important if you're using a dark color like black paint. let the dresser dry completely before putting it to use.
Notes
Thanks for joining our journey!
Thanks so much for joining us for this post! Join our journey so you don’t miss any of the fun projects, tutorials, and inspiration that we share with you each week! You can follow us on Instagram, Facebook, and YouTube. We share even more inspiration on Pinterest!
click below to purchase supplies!
Visit my Amazon Storefront!
Click the button below and head over to our online shop on Amazon!


I love the way these dressers came out! The contrast is stunning! Their little boy will get lots of use out of these! The detail trimming really adds to the look, too! They look great with the black crib! This great aunt is excited to meet the new little one👶👶❤️❤️
And he is looking forward to meeting his great-aunt Patti!
Cindy- these dressers turned out amazing. Congratulations on your up and coming grandbaby. I love that you were able to spend time with your daughter and help her with this project. You are such a great Mom/Grandma. Thank you for sharing your tips and ideas with us. (I particularly like the stencil on the sides of the drawers)
Arent’ those stenciled drawers a fun surprise? I love the look too!
I love the classic look of this dresser. The stencil on the outside of the drawer sides adds a pop of the unexpected. Beautiful!
Thank you, my friend! Have a great week Tammy!
Oooh, what a nice style-boost! I love the black with the natural wood. Great idea for guys or gals but especially good looking for a boys room.
I agree Karen! It’s such a handsome look for a little boy and it will last him for years!
Cindy another beautiful piece with great info.!
Pinned!
Thank you Cindy! I appreciate you stopping by and pinning!