
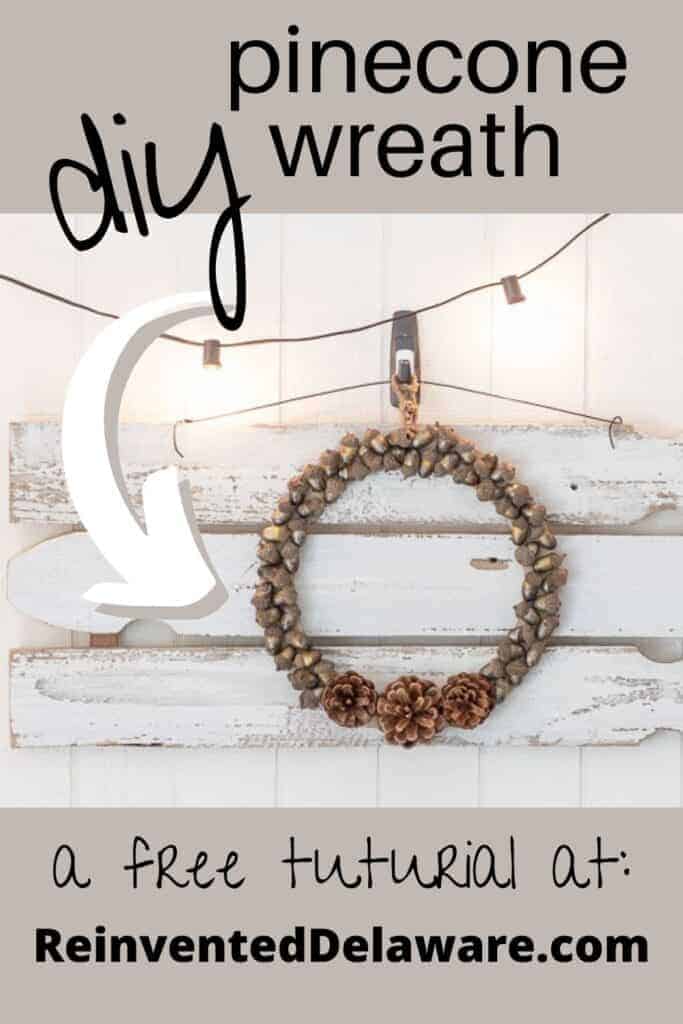
DIY Pinecone Wreath with Acorns
If you are looking for a simple wreath to make, then you will love this diy pinecone wreath with acorns! Let’s get started!
Before I get too far into the tutorial, I want to mention that my friend Anna, from Skylark House.com, and I joined up to do this project ‘together.’ She lives in New York and I live in Delaware. So we chatted on Facetime and came up with this plan to craft together!
We are sharing a fun Instagram Reel of how we crafted this DIY pinecone wreath with acorns together. I think you will get a kick out of it! Just click HERE to see it!
I will share a link to her version of this wreath at the bottom of this post. She used a different gold spray paint and I like it better than the spray paint I used!
The following post may contain affiliate links. That means if you click and then buy something, I will make a small commission at no additional cost to you! Thank you for supporting my blog. full disclosure here.
diy pinecone wreath with acorns
Ok, back to the tutorial!
Gather your supplies. I have them listed below with links. If you have your own pinecones in your yard, by all means, use them for this fall wreath! I have tons but I wanted to be sure that what I offered you could be accessible in case you didn’t have any pinecones or acorns!
Speaking of acorns, if you use fresh acorns from your yard, bake them first. Yes, I said to bake them!
They have little winged critters and we need to……well we need to take care of that little problem 😉
Place them on a cookie sheet in a single layer and put them in a 200* oven for about 20-30 minutes. Let them cool and then you can use them for this fall wreath idea.
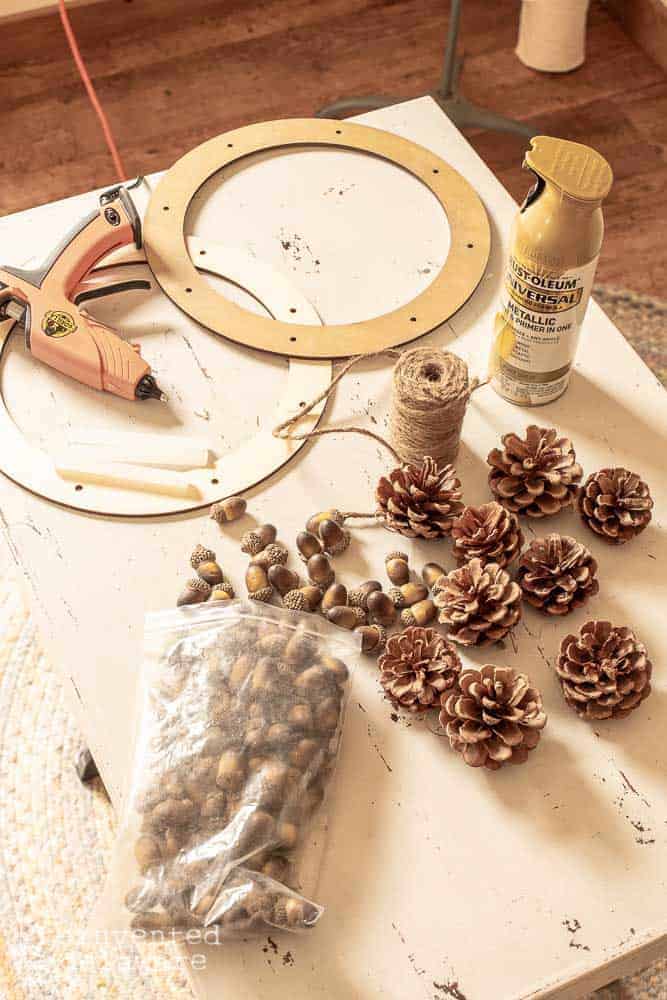
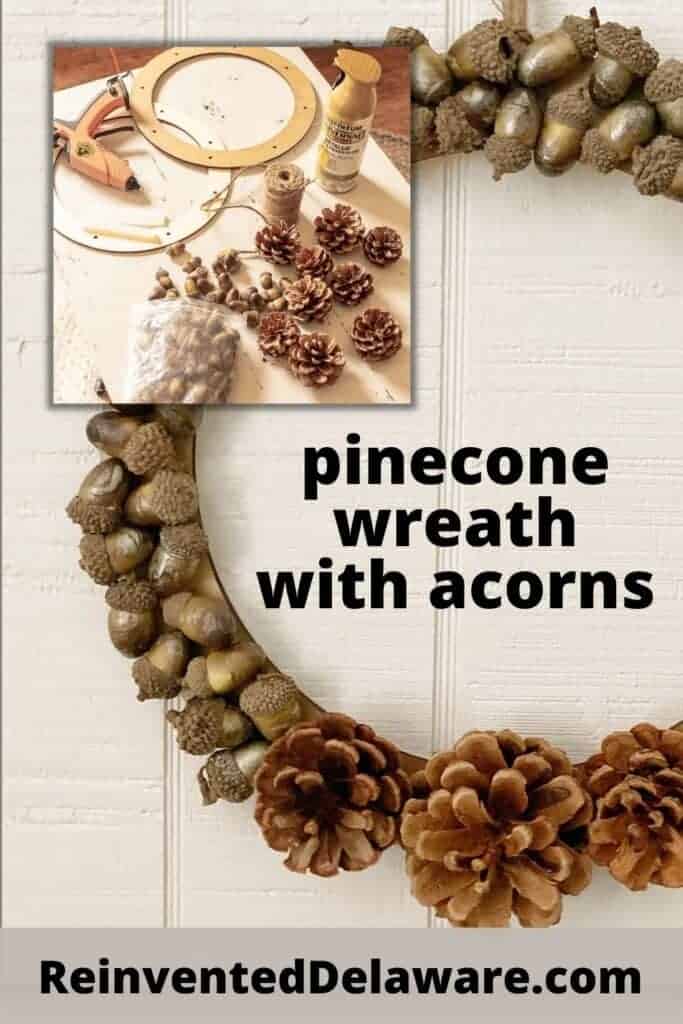
list of supplies:
- wood wreath form
- package of pinecones
- package of acorns
- jute twine
- hot glue gun
- glue sticks
- gold spray paint (the one linked here is extra shiny)
- disposable cup of water

step one: spray paint the wreath form
The first step is to spray paint the wood wreath form with gold spray paint. I did this outside and I applied two coats allowing time to dry in between coats.
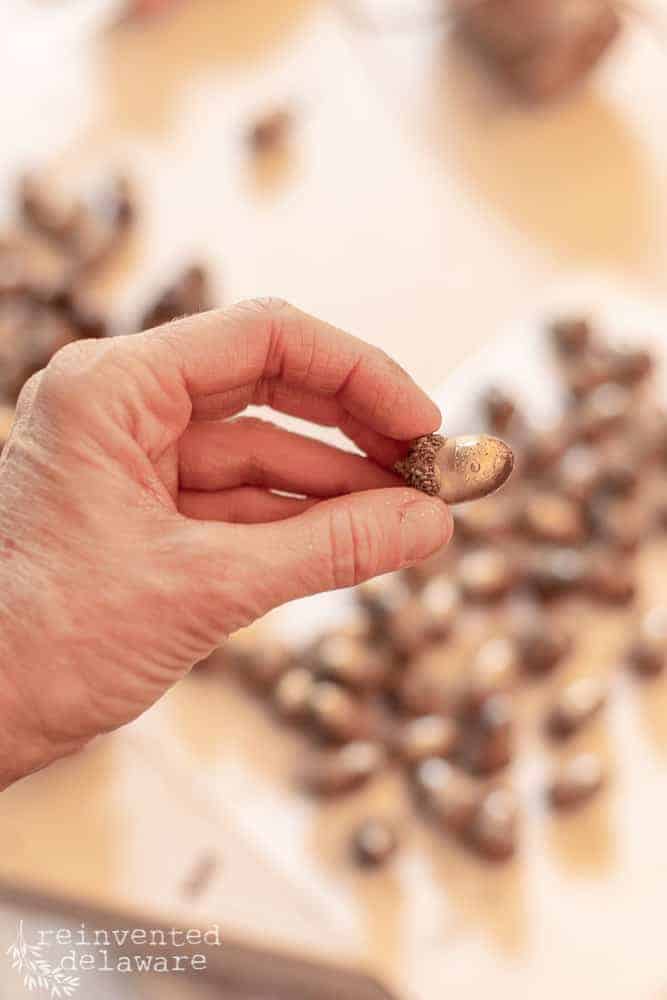
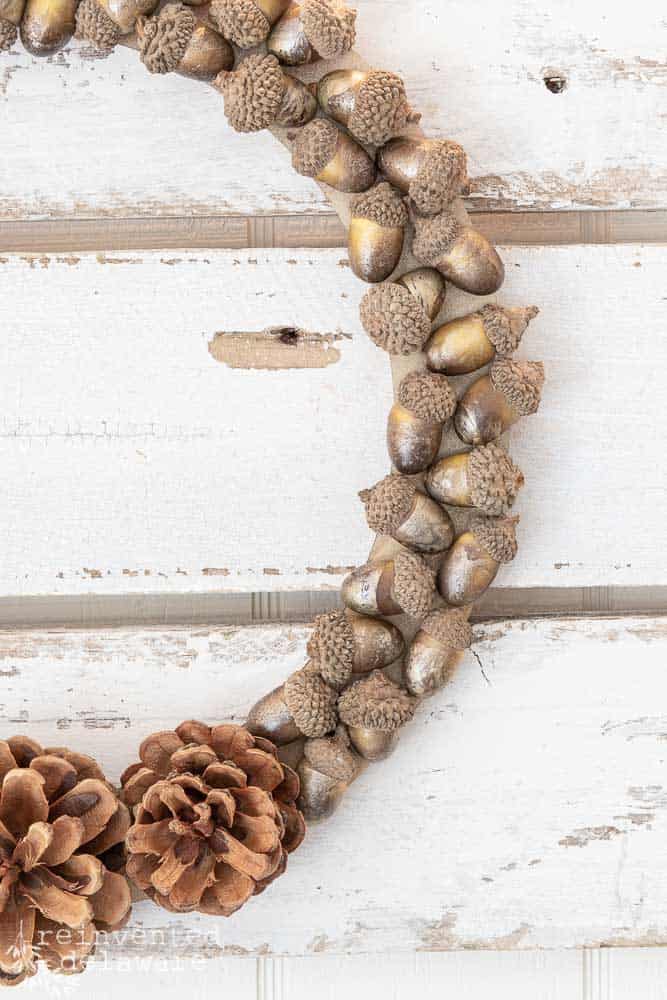
The next step is to get the gold paint onto the bottom area of the acorns. The gold paint adds a little pizzaz. Like I said earlier, Anna used a different spray paint that has more pizzaz than mine.
Be sure to check out her wreath at the bottom of this post!
I sprayed the gold spray paint onto the water in the disposable cup. Just a couple of squirts of paint at a time. I show this inside my house but I actually did the spraying outside. And then I kept coming in and out of the house till I was finished covering all of the acorns.
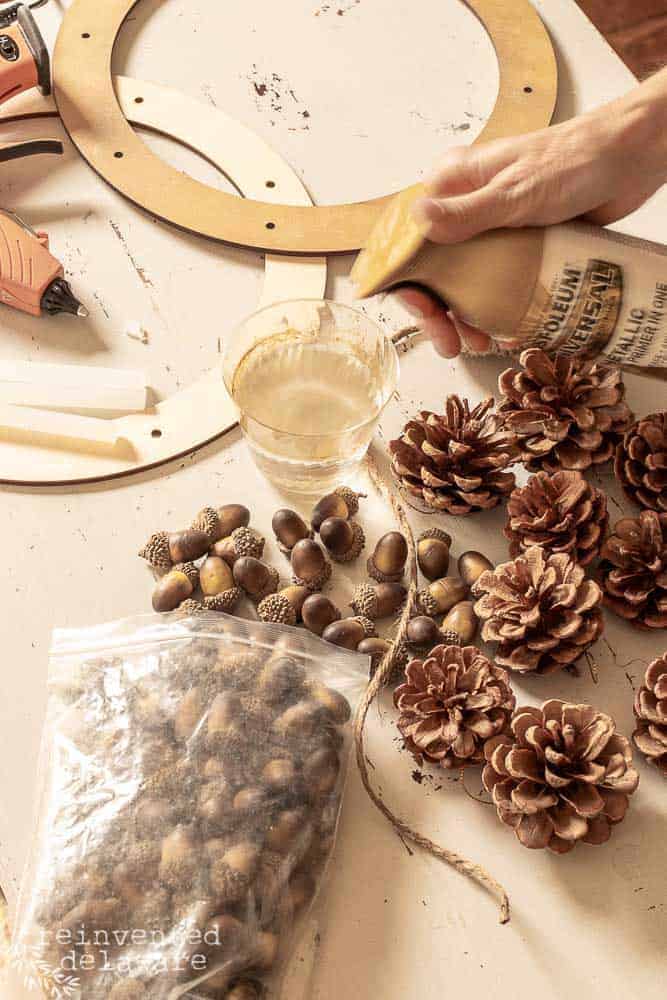
step two: paint the acorns
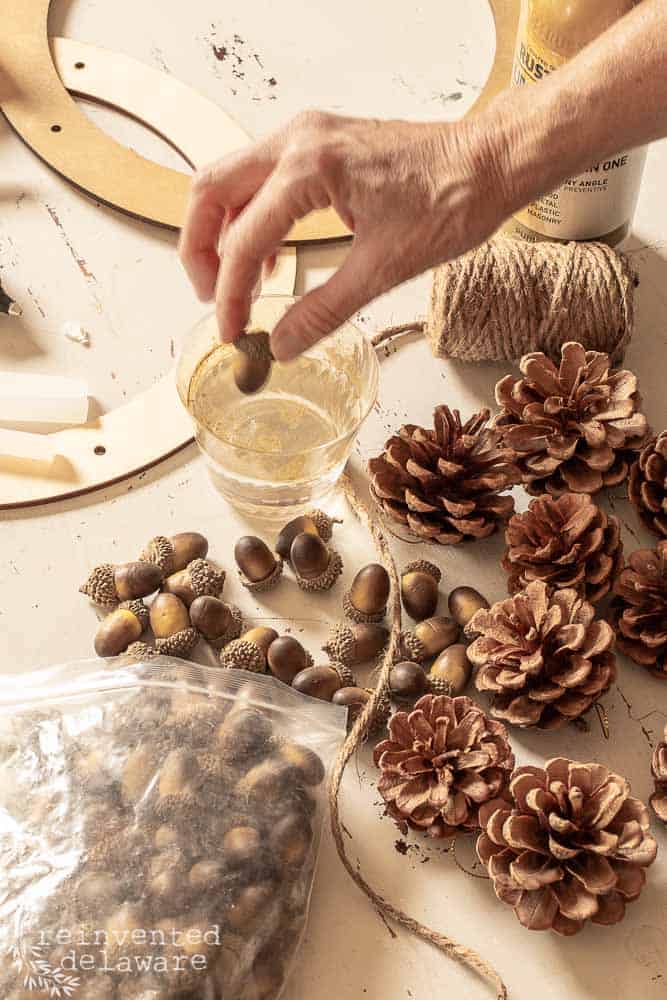
The spray paint will lay on top of the water without drying for just a minute or so.
Then I dipped the bottom end of the acorn into the water – the paint will adhere to the acorn. I laid out each acorn on a scrap piece of paper until they dried. And I repeated the dipping step until I had enough acorns to go around the wood wreath form.
BTW, you could use a different color of spray paint for your DIY pinecone wreath. I can see this wreath with different fall colors in muted tones. That would be so pretty!
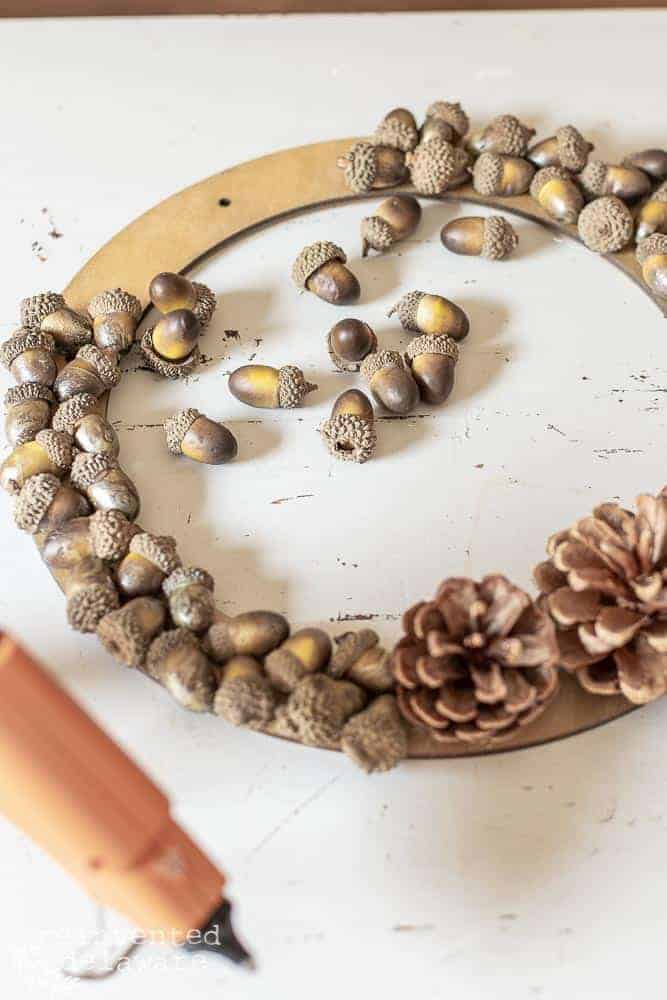
step three: attach pinecones to the wreath
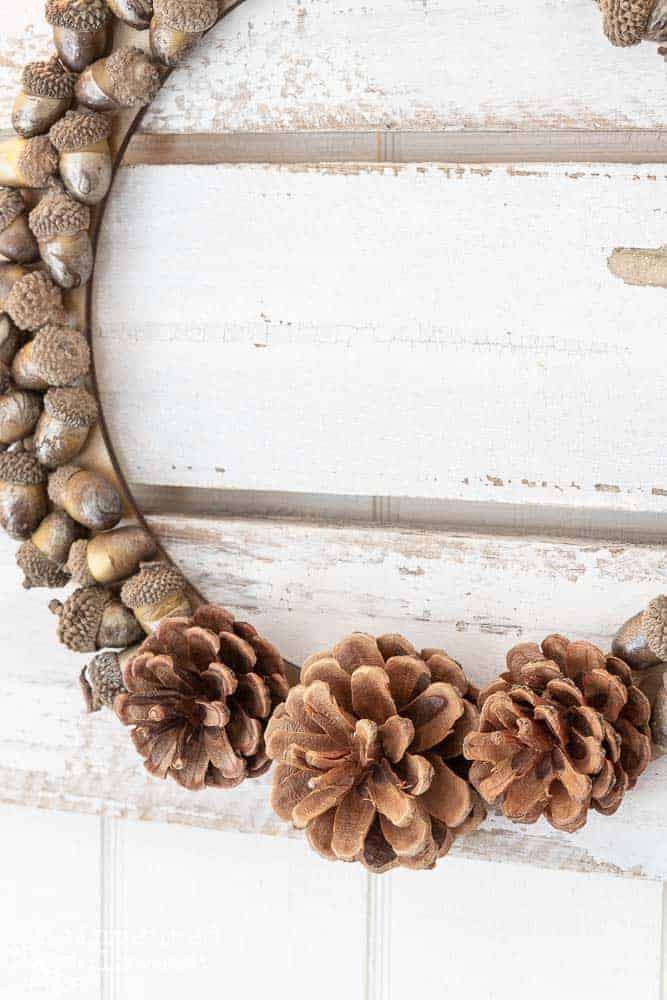
This fall wreath also has pinecones! The package I have linked has a couple of different sizes of pinecones. I picked one larger and two smaller pinecones.
I used my hot glue gun to stick them to the form. See the holes in the form? I kept in mind that I would use one of those holes at the top for the jute twine hanger. The pinecones are centered (somewhat) at the bottom of the wood wreath form.
Don’t get too picky about this! Remember crafting is fun
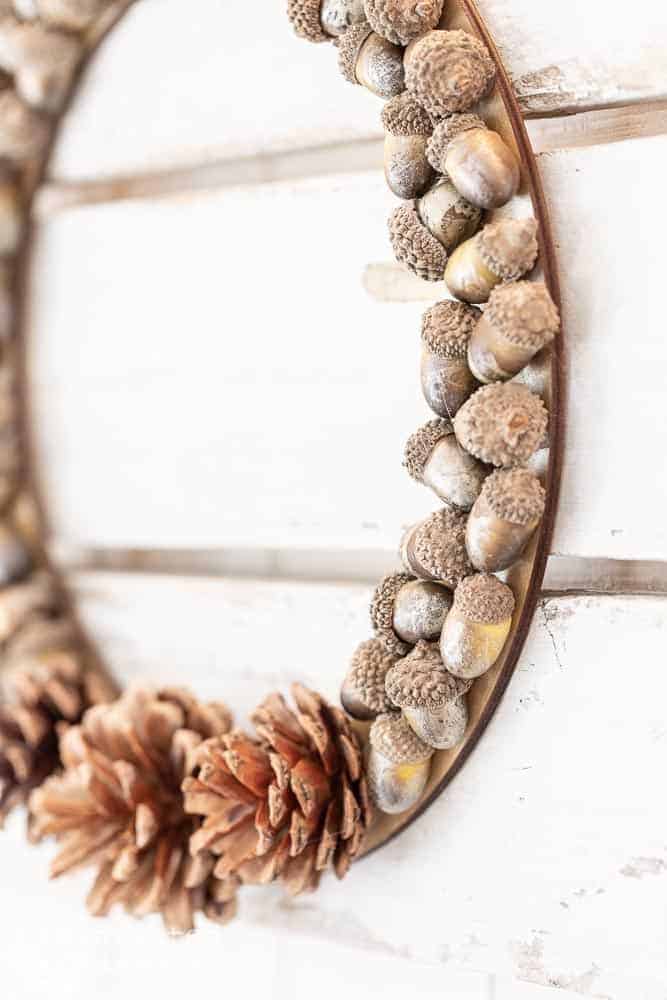
Here is a close-up of the acorns after the paint has dried. The gold paint adds just a little shimmer!
step four: attach the acorns to the wreath
I used hot glue to attach the acorns all the way around the wreath form leaving the top area open. I wanted to attach the jute twine hanger before I finished gluing the acorns on.
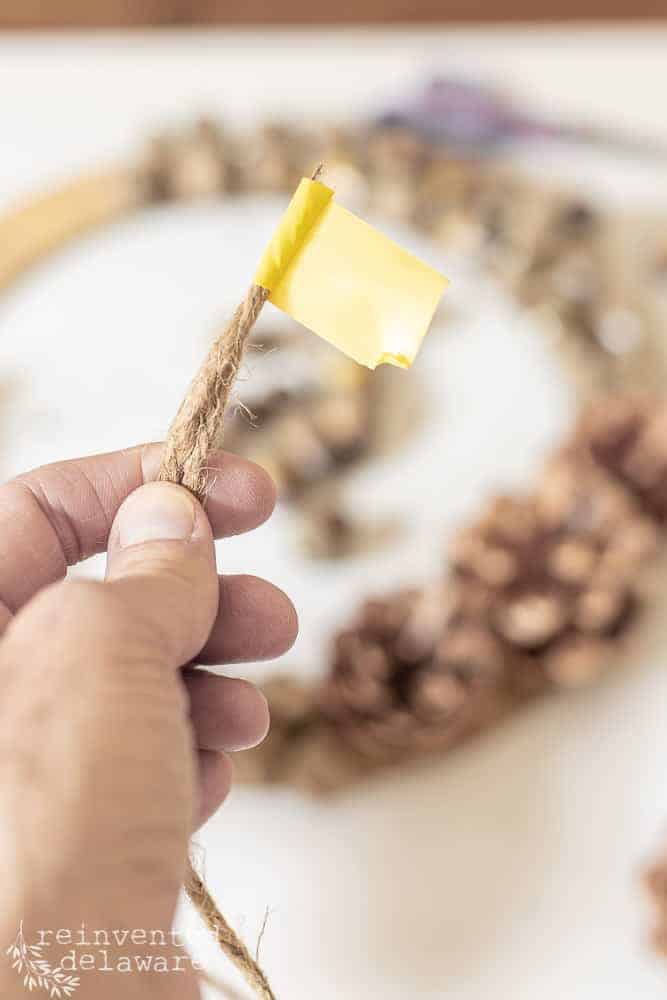
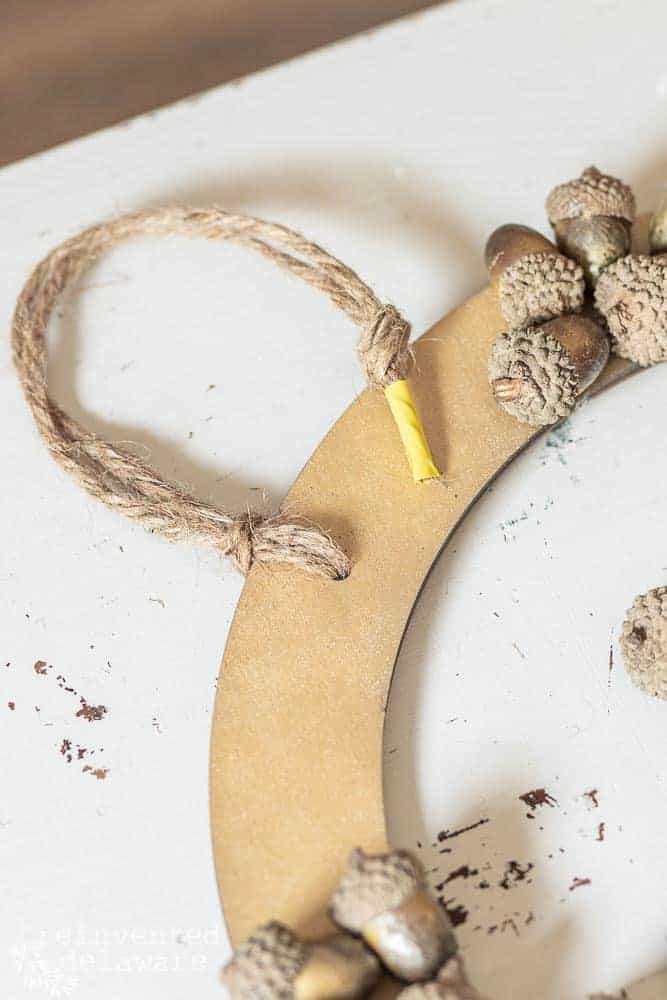
step five: add the jute twine wreath hanger
The jute twine that I keep in my project stash is heavy and thick. I knew it would be troublesome to thread it through the small hole on the wreath form. The tape will take care of that.
I taped the two ends of the jute (cut at about 24″) and wrapped it tightly. The tape will be cut off after getting through the small hole.
See what I mean? That hole was small!
I came up through the back and then back through the loop of the jute twine.
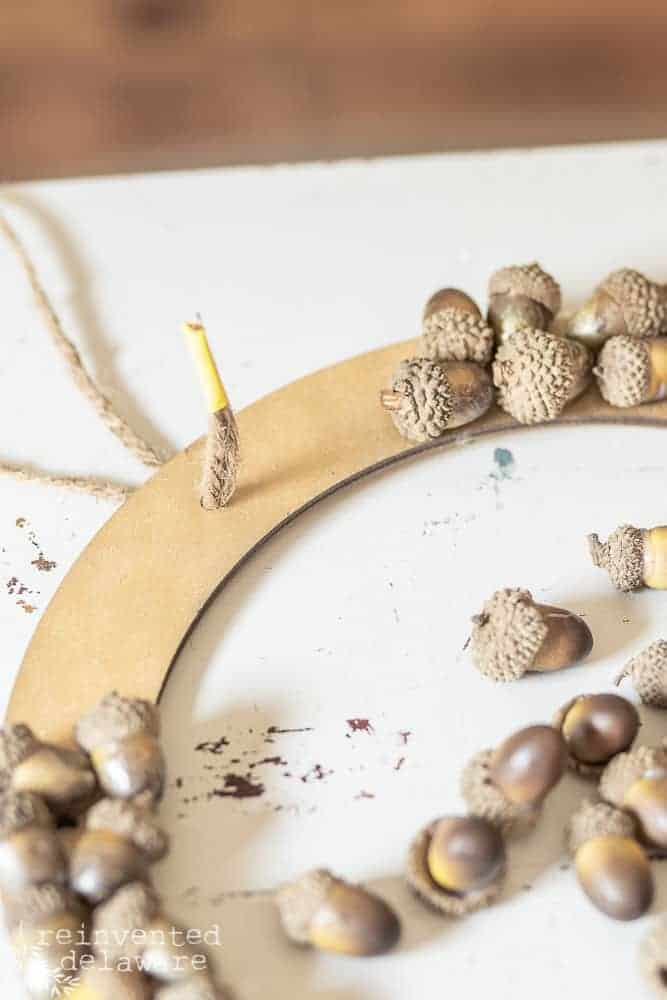
Then I pulled it tight and tied the end in a knot. Be sure to cut off the tape – it’s not that attractive 😉
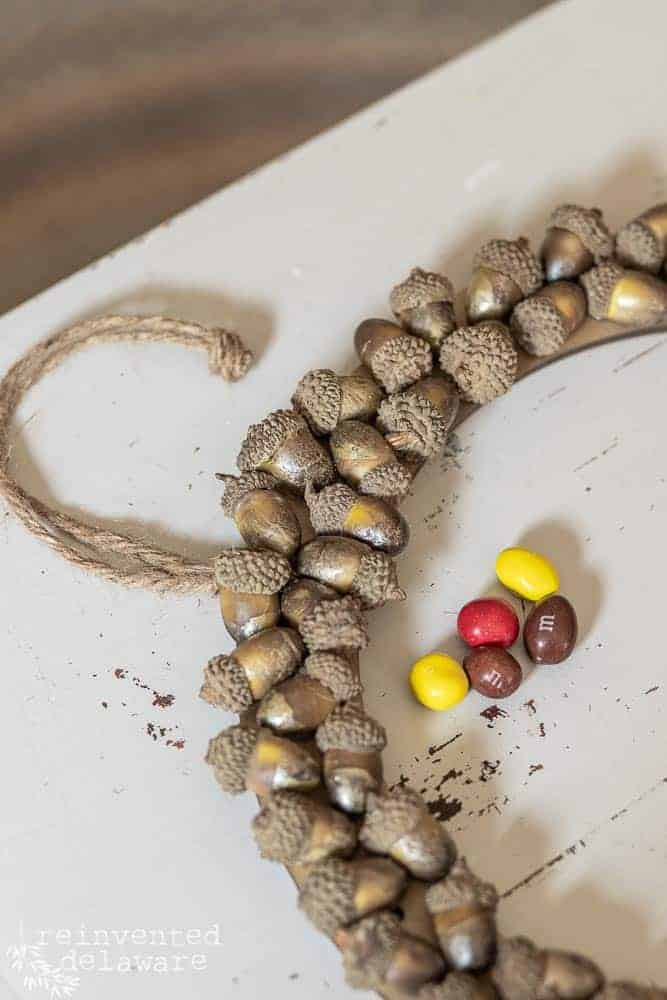
peanut m&m’s??
Ok, ok, you caught me!
I like to snack during a good crafting session! Hubby knows this truth about me so when he came home with a large bag of the deliciousness that Peanut M&M’s has to offer, well, I was just pleased as punch!
I literally ate every one of them for lunch.
diy fall wreath ideas
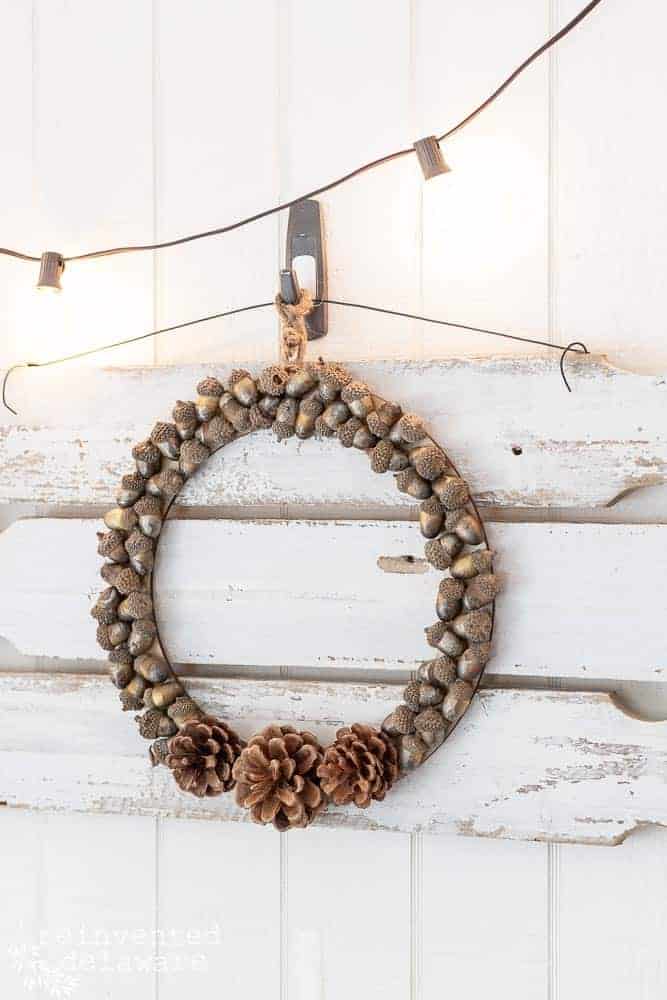
Here is the finished DIY pinecone wreath! Isn’t it so pretty? I love easy and simple projects like this.
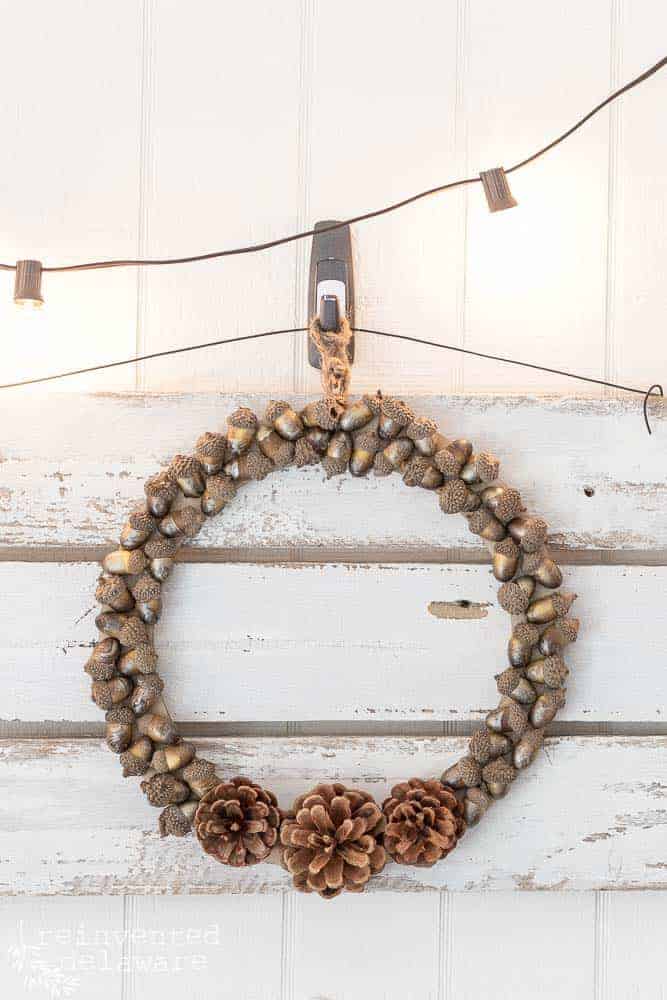
When the projects are simple and easy, I enjoy them at a whole new level.
So many of our projects are big and detailed that doing this type of project is refreshing.
Of course, we still love doing the bigger projects around here!
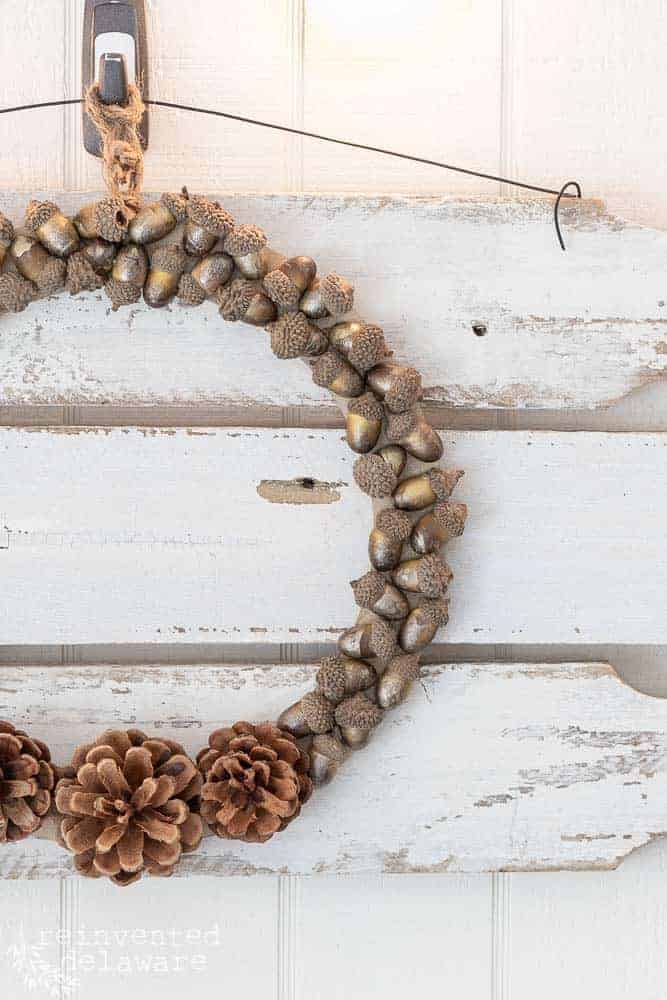
DIY pinecone wreath
One thing I love about this DIY pinecone and acorn wreath is that it can be used for Christmas too! You could spray paint the whole thing in gold spray paint and add a Christmas ribbon.
Wouldn’t that be pretty?
how to repurpose a wreath
It would be the wreath that keeps on giving! Talk about reinventing and repurposing!
I have my wreath hanging on a sign we make from picket fences. This one doesn’t have any words painted on it and I kinda like it that way 🙂
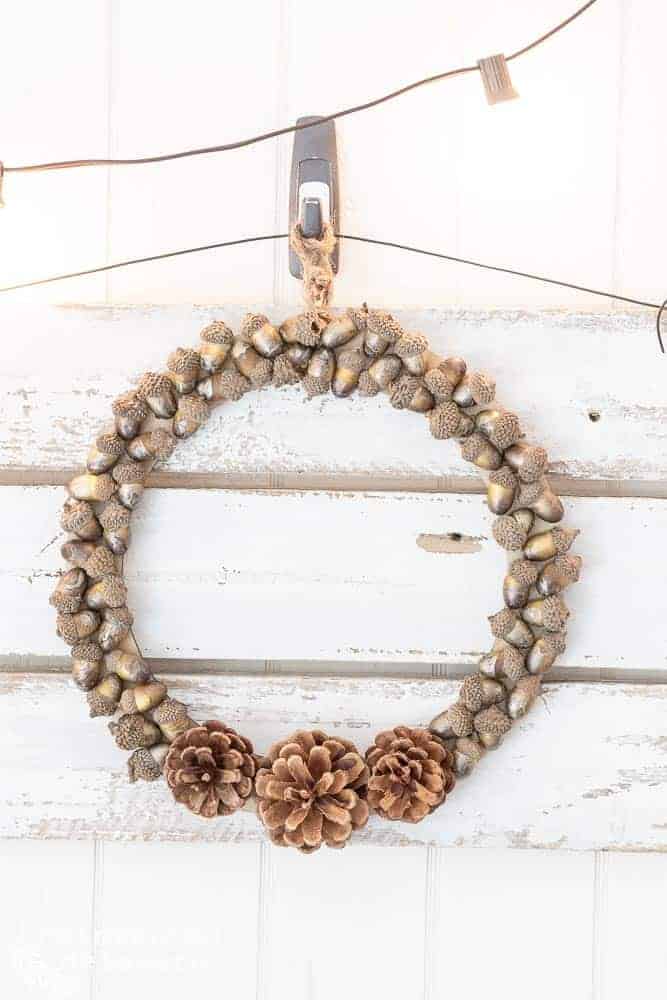
You can see the acorns were glued on randomly. I didn’t want a pattern to appear so I turned the acorns in different directions as I glued them around the wreath form.
I would love to know what you think of this easy DIY wreath! Let me know in the comments below. Would you use real acorns and pine cones? Or would you rather skip the critters and have store-bought?
Be sure to visit my friend Anna’s blog post to see her version of this easy fall wreath project! Just click the button below and head on over there!

Pin the images below to your fall home decorating and easy project boards on Pinterest. Just click the pin button at the top left corner!
Here is another image for you to pin! Let your friends know about this super easy project! I bet they would appreciate it!
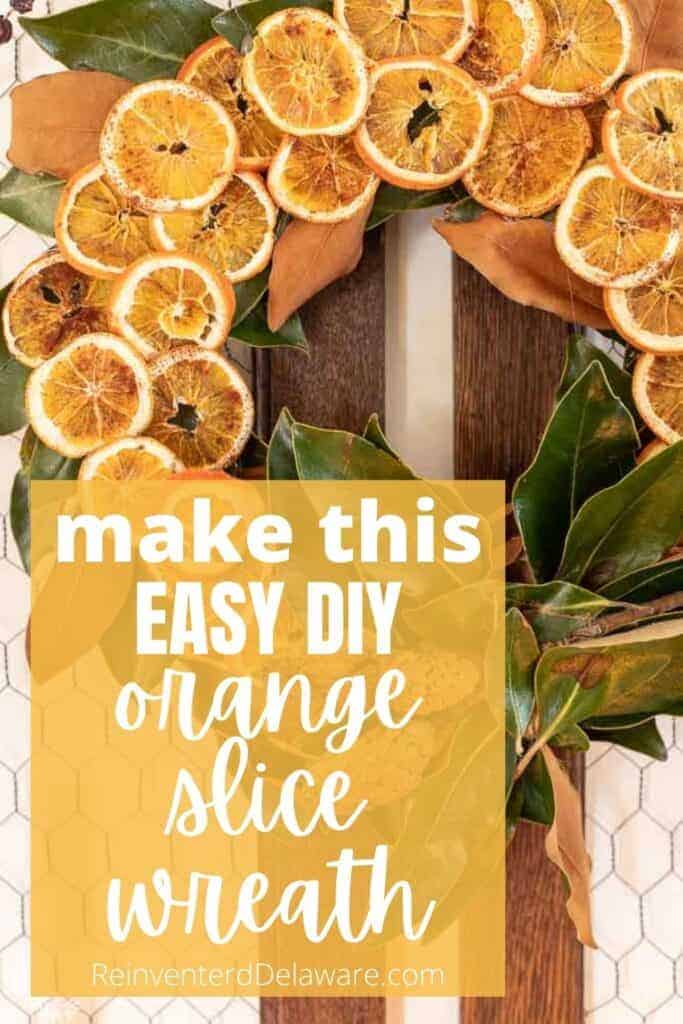
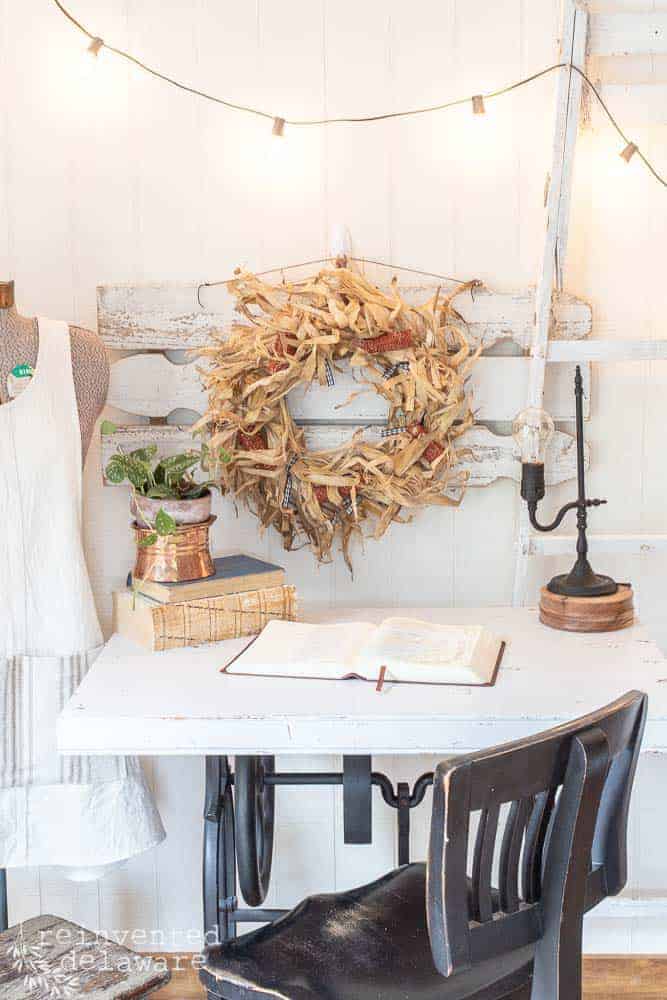
Here are a few more wreath tutorials for you! Click the image to head to the post.


Thanks for joining our journey!
Thanks so much for joining us for this post! Join our journey so you don’t miss any fun projects, tutorials, and inspiration we share with you each week! You can follow us on Instagram, Facebook, and YouTube. We share even more inspiration on Pinterest!


You are so right Cindy, this craft has me written allover it big time. As I mentioned the other day I love acorns. Pinned beautiful my friend!
I have done a gold technique on mine with dry brushing. Love this tip.
So glad you liked the post! You are planning a post with those acorns, arent’ you?? I think you told me that you are! I would love to know about the dry brush technique. Thanks for stopping by my friend!!
I love the wreath that you created and think that it is so much fun that you teamed up with Anna for your project. I saw you IG reel earlier today and loved it.
Thank you Paula!!
Thanks Paula! The reel was fun to make but I must admit, it was complicated!
This is so cute! I love it.
Cute and fun to make! Thanks Elizabeth!
The Reel was really fun to watch! Such a fun way to collaborate. I also enjoy peanut M&Ms and snacking while making 🙂
Snacking and crafting go together! Thanks for stopping by Marie!
This is so gorgeous!! You’re a wreath magician!!
Haha! Thanks Christin!
Cindy!!
Your photos are AMAZING!!
You are so talented!! It was so much fun putting this project together.
Thanks for the sweet words about the photos! I certainly love to snap a bunch of images – sometimes too many :). It was such a fun collaboration with you Anna!
I love making wreaths and this is such a great idea! It different which I like! Thanks for sharing…
You are most welcome Karen! So glad you enjoyed it and I hope you get a chance to make it!
I loved watching the wreath toss between you and Anna Cindy! It was a lot if fun watching! I have to do this wreath and I love how you show how to paint the acorns-a fairly easy tactic that for a painting layman like myself, more paint on the acorn than on me! Video was so much fun to watch!
Wasn’t that reel on Instagram fun? Thanks for watching! Glad you enjoyed it 🙂
Cindy, I love all of the natural elements of this wreath. A great tip with the water and gold spray paint. What a great way to add a touch of glimmer to it.
My friend Anna from Skylark House came up with the water and spray paint idea – so smart! Thanks for stopping by. Blessings to you Tammy!
Thanks, I always learn something new from your posts! I have never seen a wood wreath form like that! It’s perfect for hot gluing natural items like pinecones and nuts! Also loved how you put the spray paint in the water! That’s such a pretty effect! Happy first week of Fall! Blessings, Donna
One of my blogging friends shared the wood wreath frame with me – isn’t it awesome? I love that we learn from each other. The blogging community is awesome and I am blessed to be a part of it. Have a great day Donna!😊