
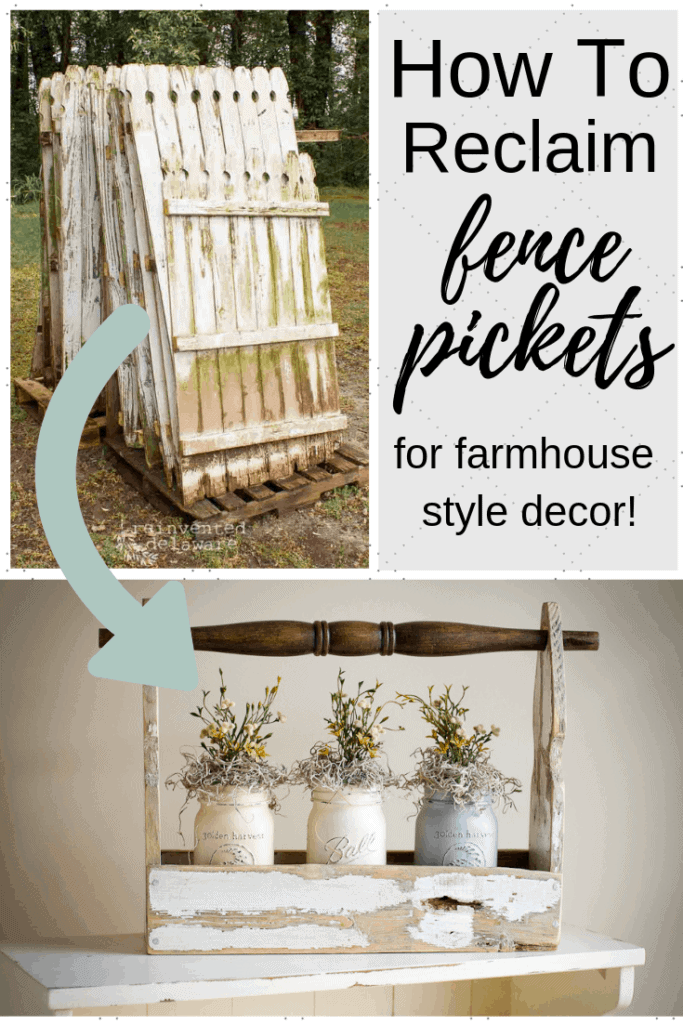
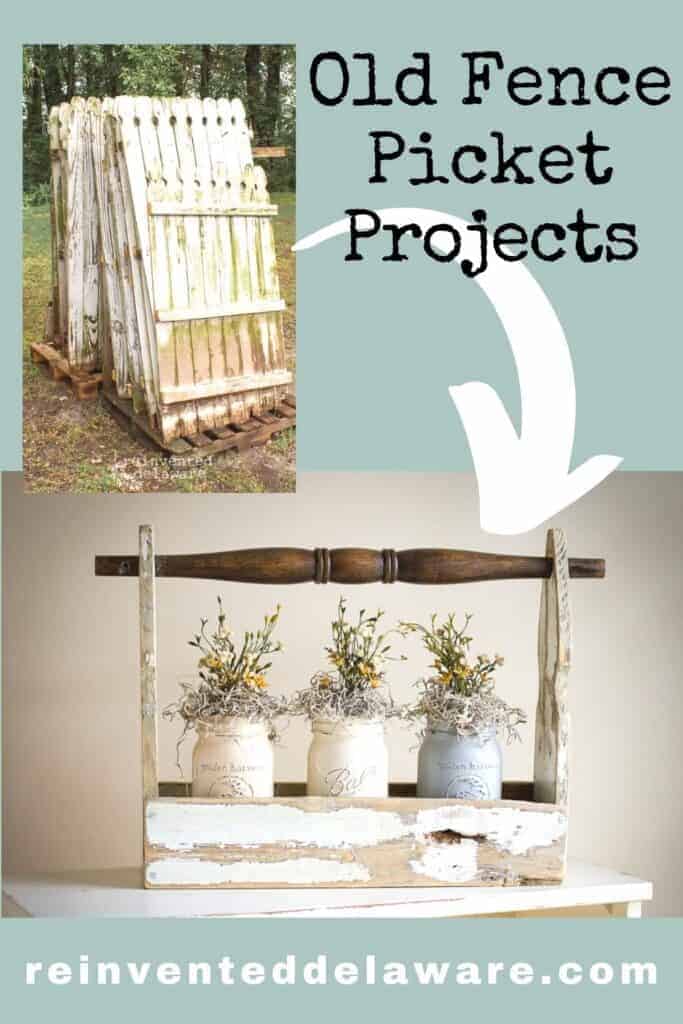
Old Fence Picket Projects
Looking for some fun farmhouse-style old fence picket projects? Here are a few you are going to love and will be making them in no time!
The following post may contain affiliate links. That means if you click and then buy something, I will make a small commission at no additional cost to you! Thank you for supporting my blog. full disclosure here.
pick up where we left off
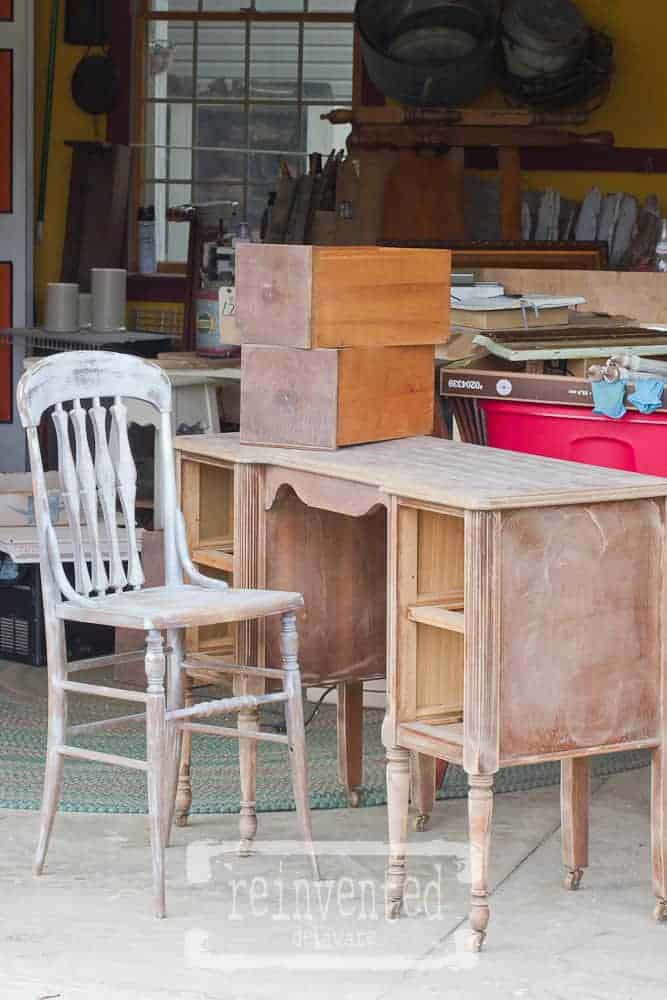
Last time, I showed you how we take tired and old picket fence sections apart. Check out that post and then ask your neighbor if they still like their picket fencing ;).
Just kidding! Read that post to see how all this started for me!
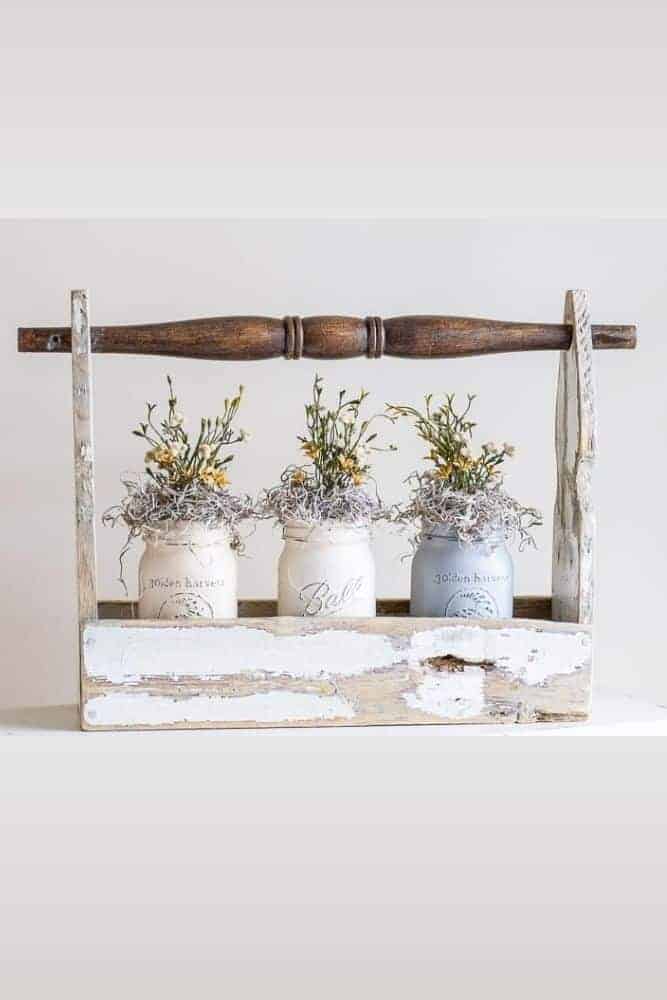
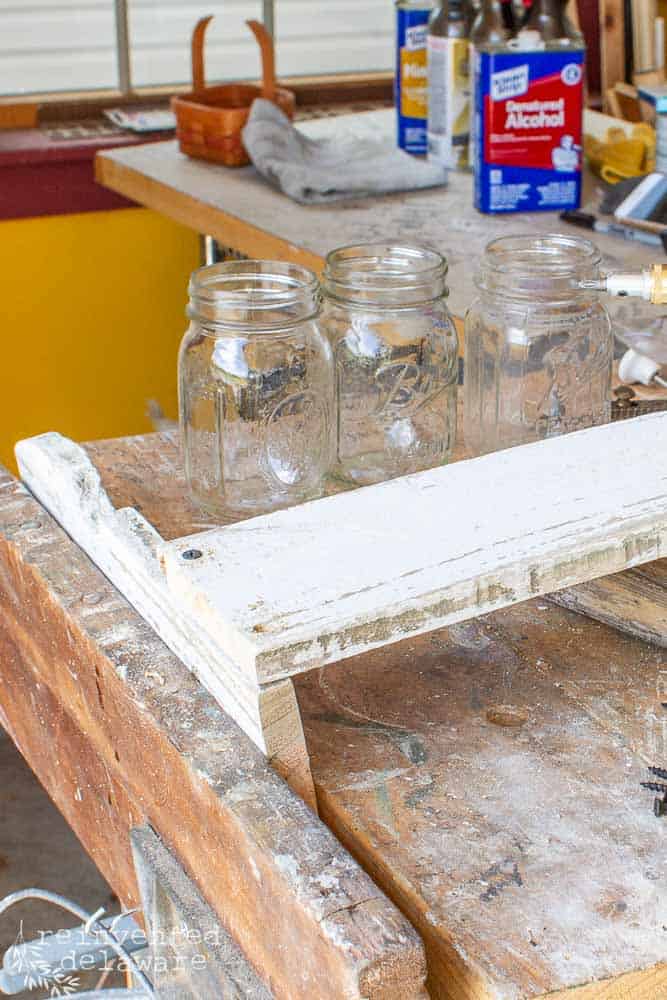
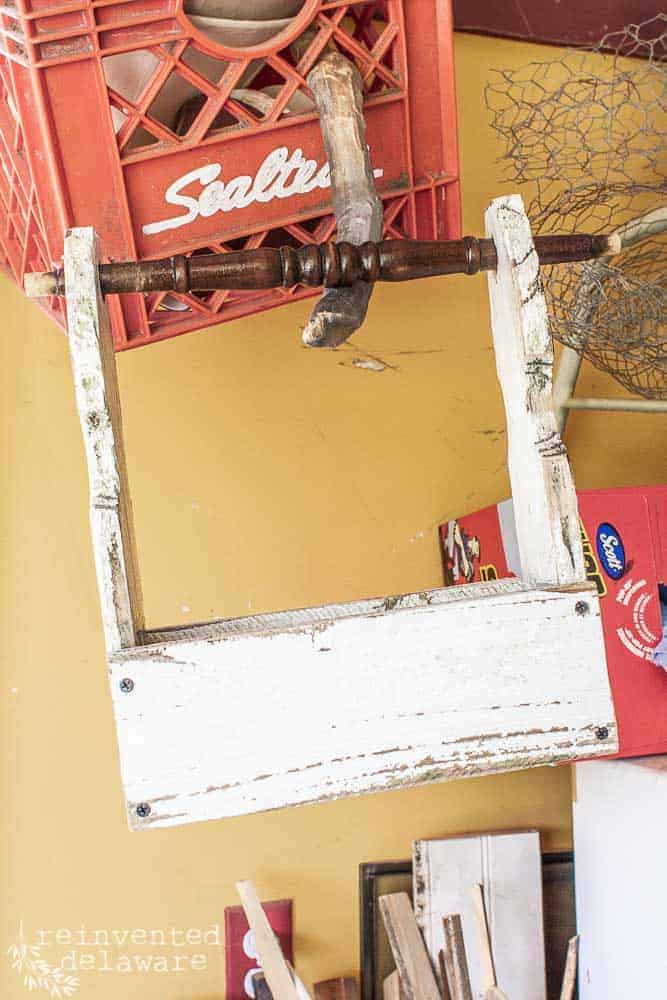
These little picket fence crates have been so popular in our shop. I have painted Mason jars in this crate but you could really put just about anything in them.
Let’s get this project going!
supply list:
- two reclaimed chippy paint fence pickets (or two new pickets)
- reclaimed chair spindle or a thick branch
- basic cleaning supplies
- battery-powered circular saw (or miter saw)
- measuring tape
- carpenters square
- orbital sander
- cordless drill & driver
- Forstner drill bit
- 1″ black wood screws
- wood glue
- clamps
- Poly-crylic Protective Finish in Flat

Most of these tools are common in workshops. The orbital sander could be exchanged for a palm sander which are a little less expensive. You could also cut the pickets with a less expensive hand saw and build a little muscle at the same time 😉
old fence picket projects
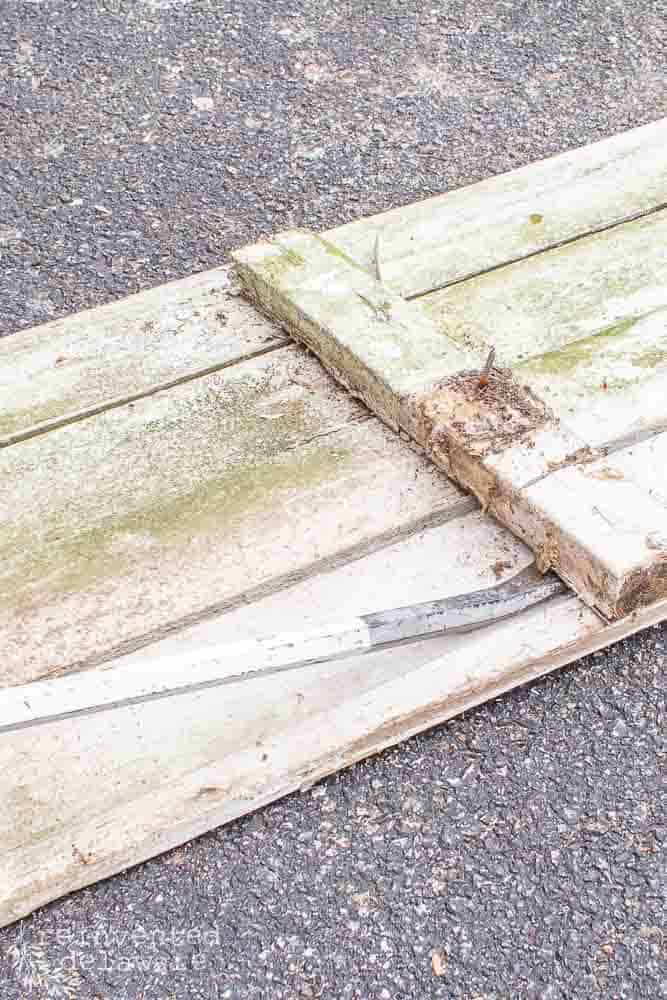
step one: disassemble the fence sections
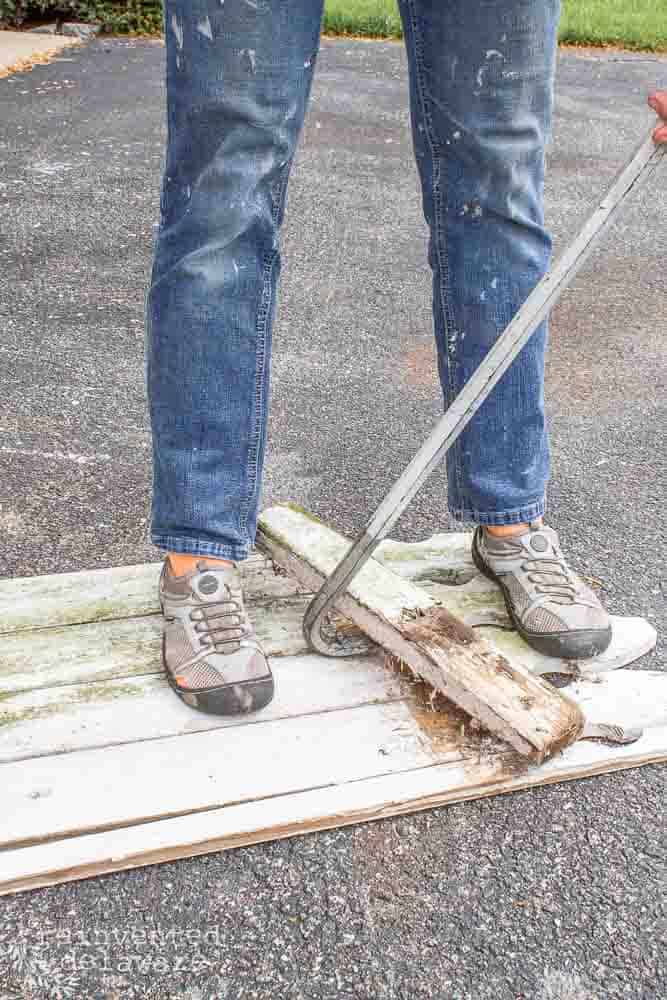
A crow bar comes in handy to remove the railings from the pickets. The railing boards run perpendicular to the pickets and hold them together. Often the sections can be 8′ wide. The pickets section we had were about 4′ wide.
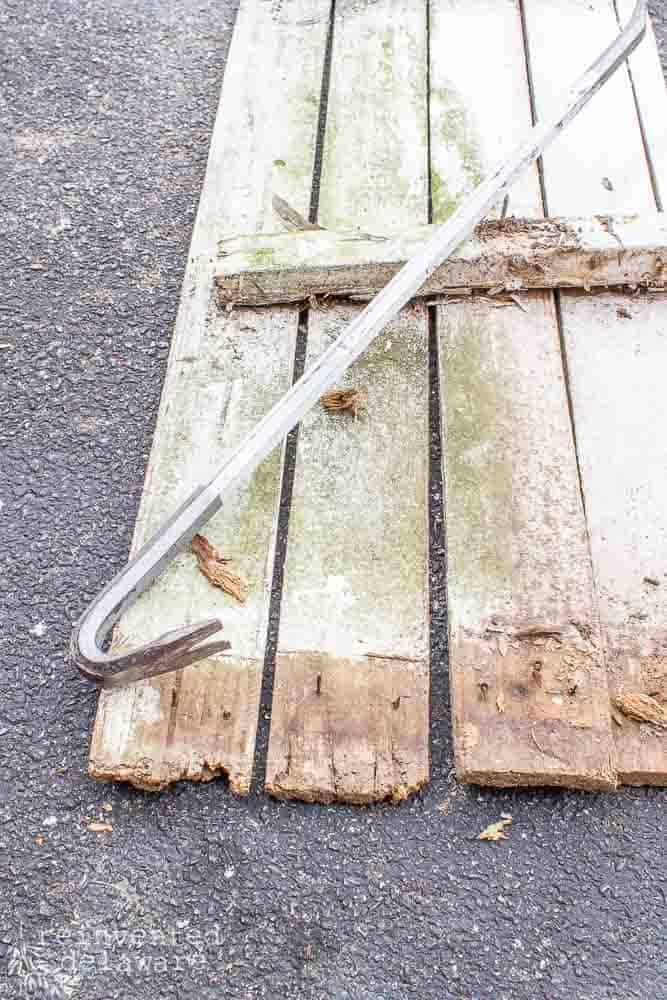
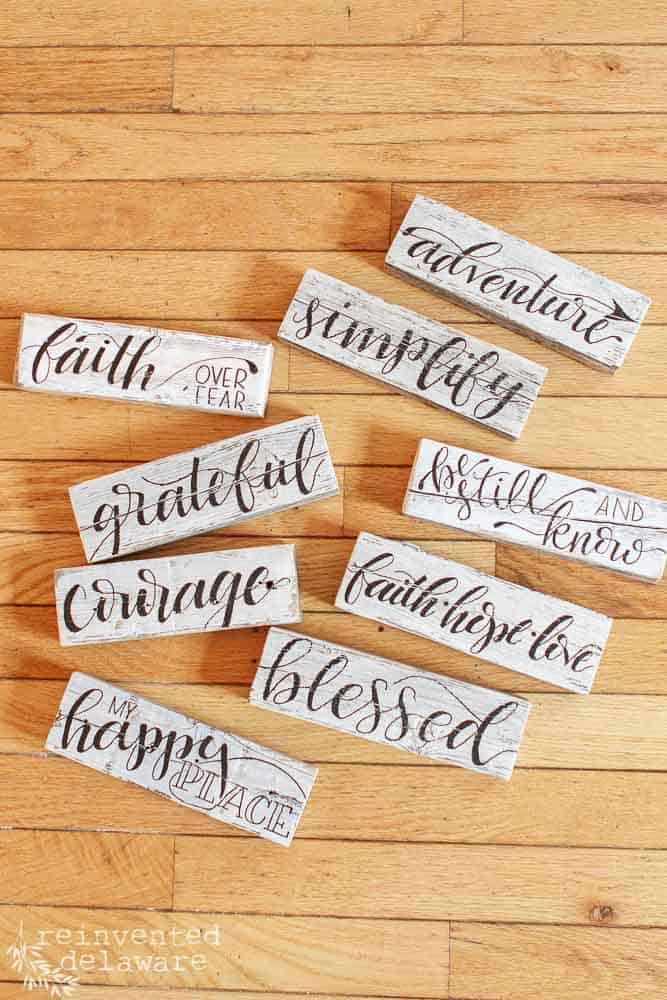
The railings can be used for other projects so hold on to those! I made some really cute signs you will see later in this post. You’re going to love them!
I should mention that I don’t have the safest shoes for working around rusty nails. Believe me, I was extra careful where every rusted nail landed because our vehicles use this driveway everyday!
All the nails had to be removed and you can see more about that in this post where I show you step by step how we removed them!
step three: scrub the pickets
The pickets are usually pretty dirty since they are used outdoors. They can have splashed dirt and even green algae growing on them if they were in the shade.
No worries! A good scrubbing with standard cleaning supplies will do the trick! You can read how I clean our vintage items here.
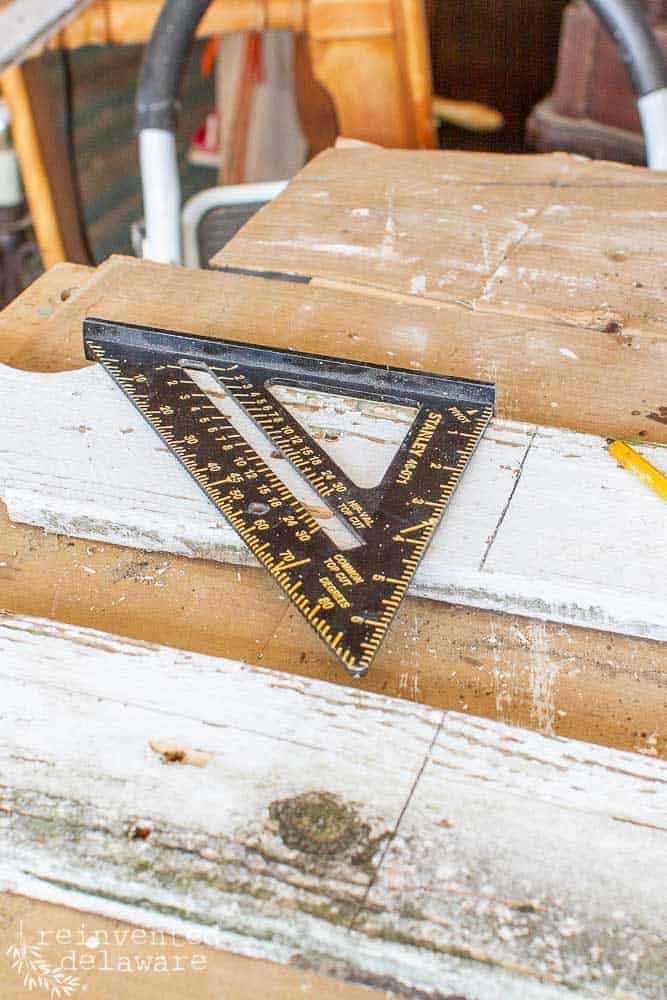
step four: measure and cut the fence pickets
With the pickets taken apart, grab two of them, the carpenters square and a pencil. Here are the measurements I use in most of our picket crates, but you could certainly make adjustments for your specific needs. I wanted three masons to fit comfortably in the crate.
- 2 picket end pieces cut at 14″
- 2 side pieces cut at 11 1/2″
- 1 bottom piece cut at 10″
The two picket end pieces are measured from the top of the decorative picket end. Use the carpenters square and a pencil to draw a straight line on both pieces.
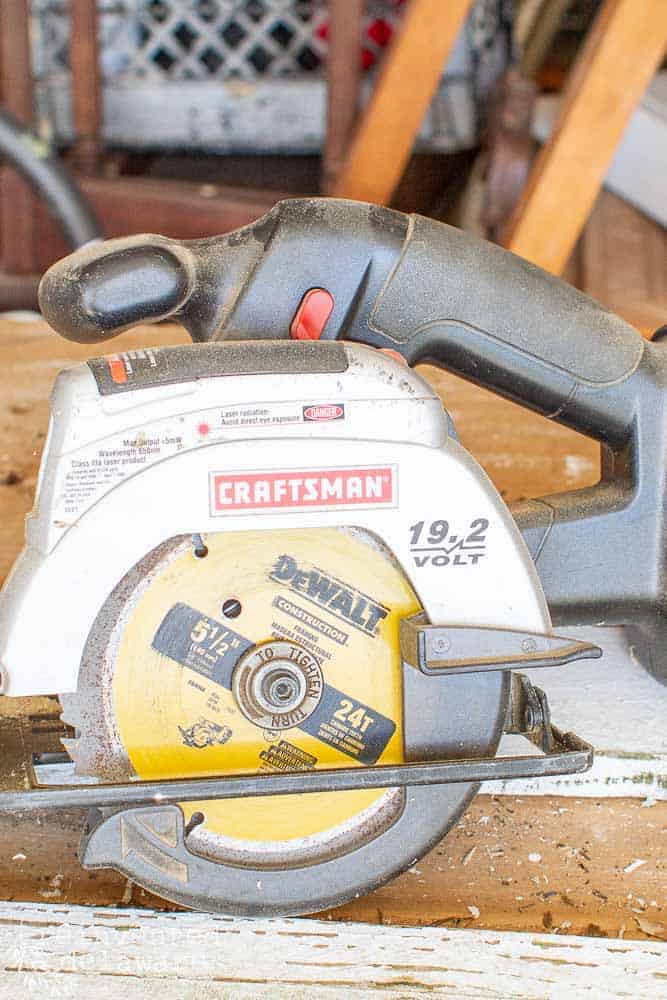
Cut the two end pieces first.
I am a fan of batch working but let me caution you when cutting these sections: do not measure and mark all of the pieces at once and then cut! This might not sound like a big deal but remember the saw blade takes up space. Each new measurement has to start at the cut edge.
After the two end pieces are cut, measure and mark the two side pieces. Cut the two side pieces. Measure, mark and cut the bottom piece.
This Craftsman Circular Saw came in handy for the cuts. Since I made these picket crates the first time, hubby purchased a miter saw for my workshop. Ahhhh, gifts from hubby!
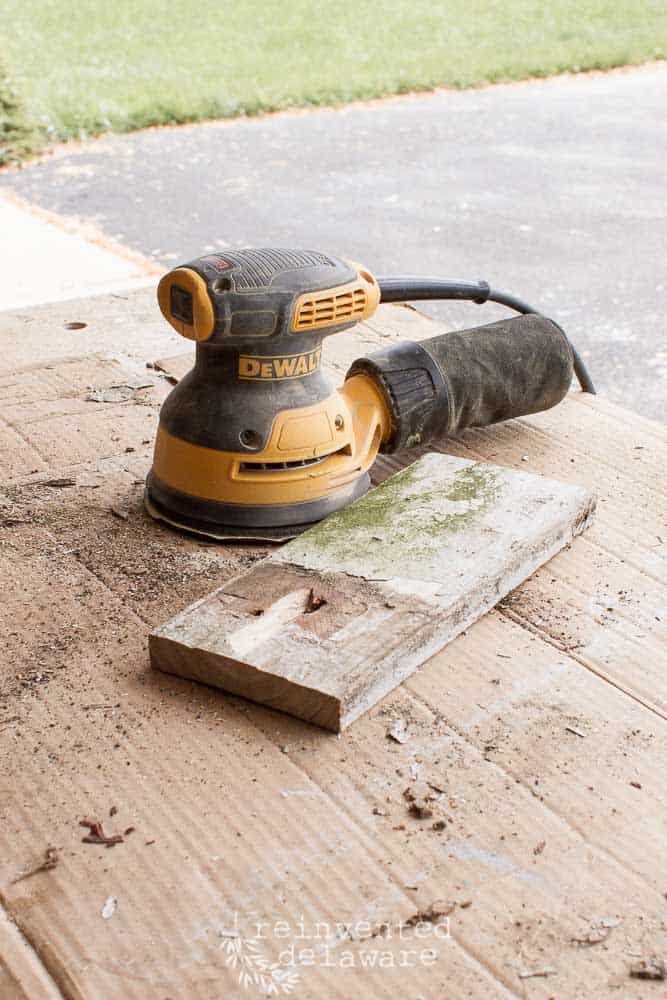
step five: sand the rough spots
When all five pieces are cut, pull out the sander. I like to sand off the cut edges to remove and roughness.
I also like to sand off any loose paint as well. Be careful not to remove all of the chippy paint!
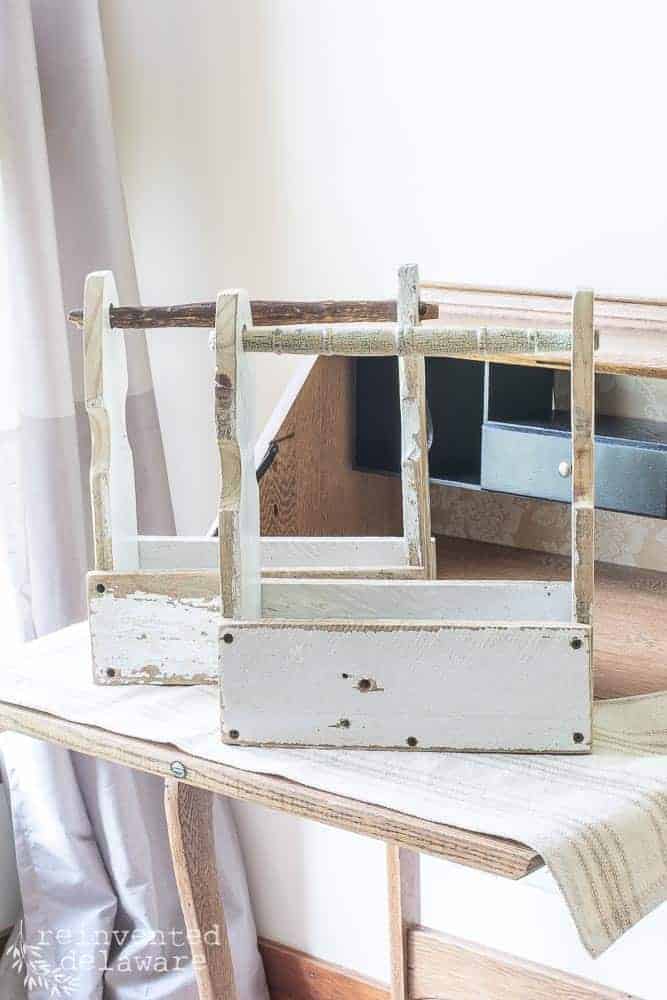
step six: assemble the sections
Now to assemble the five sections! My workbench has a vice grip of sorts that will hold sections steady while I attach the other sections. If your workbench doesn’t have this feature, use clamps to hold the sections to your surface. Clamps can act as another set of hands!
Attach the side pieces to the picket end piece using wood glue and two of the black wood screws using the drill/driver. Look closely at the second image to see the placement before attaching the sections.
By the way, I always pre-drill the holes to prevent the wood from splitting :). My hubby taught me that!
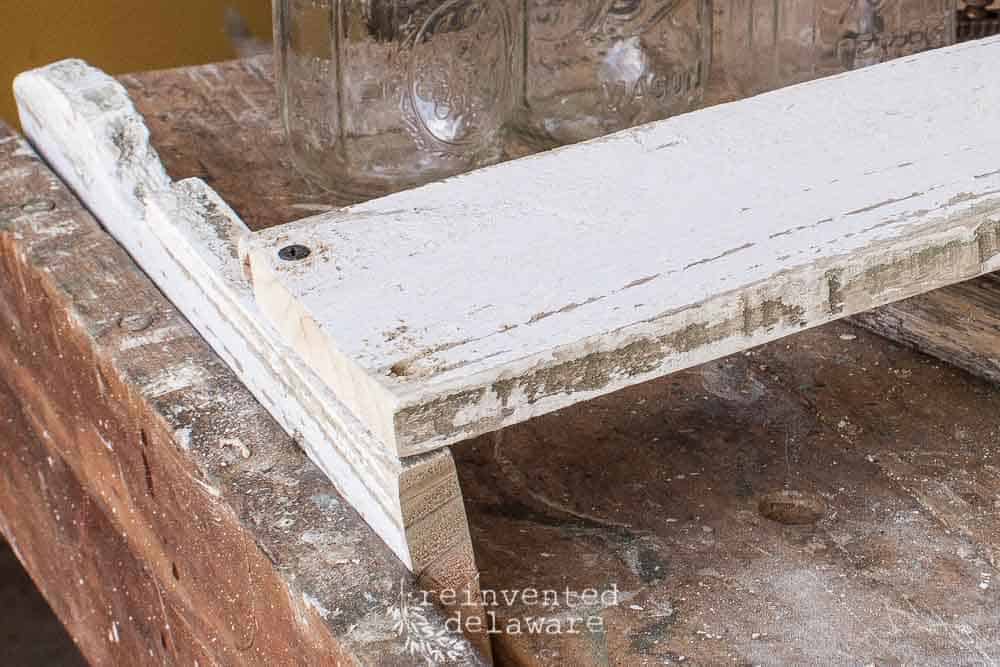
After attaching the two end pieces and the two sides, the bottom piece can be attached. The bottom piece fits just inside the crate and is attached with two wood screws on each end going through each end piece. Check the image for placement of the screws.

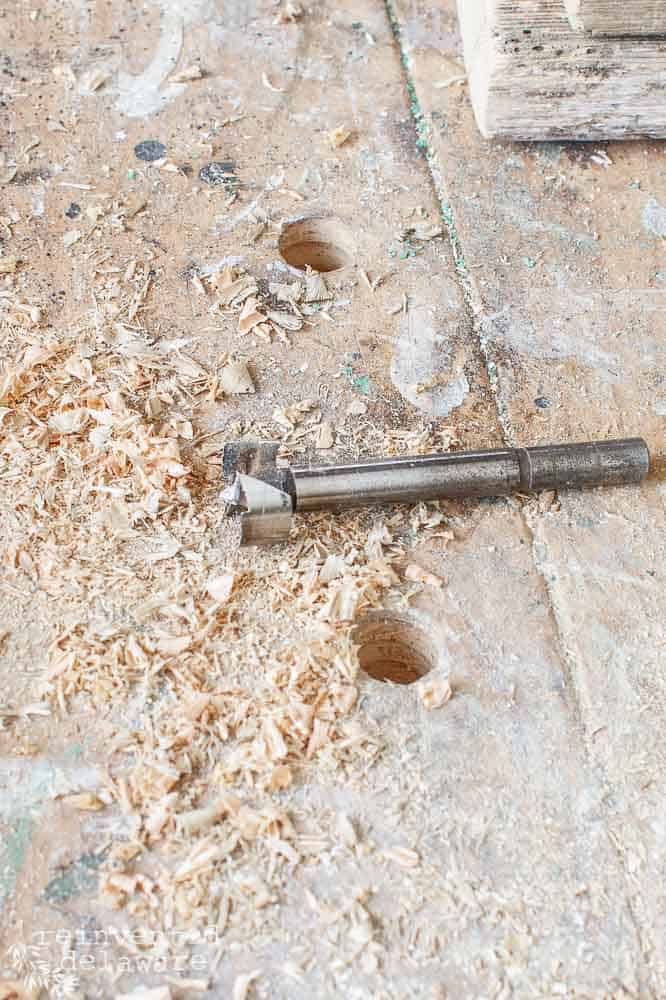
I often use a reclaimed chair spindle for the handle on the crates. Drilling a large hole using a special Forstner bit will allow the spindle to fit between the two end pieces nicely.
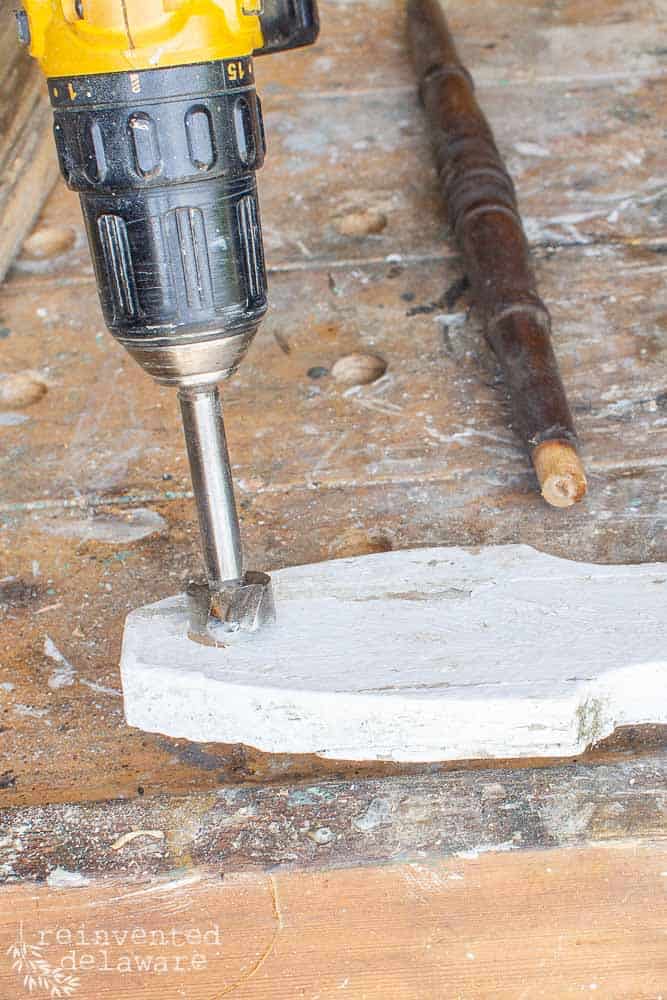
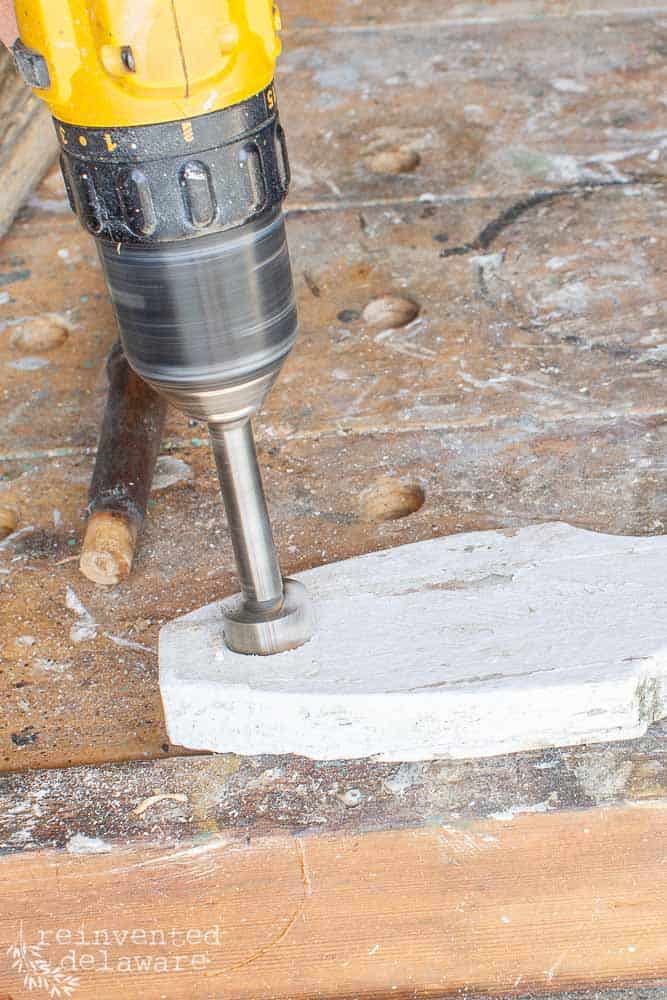
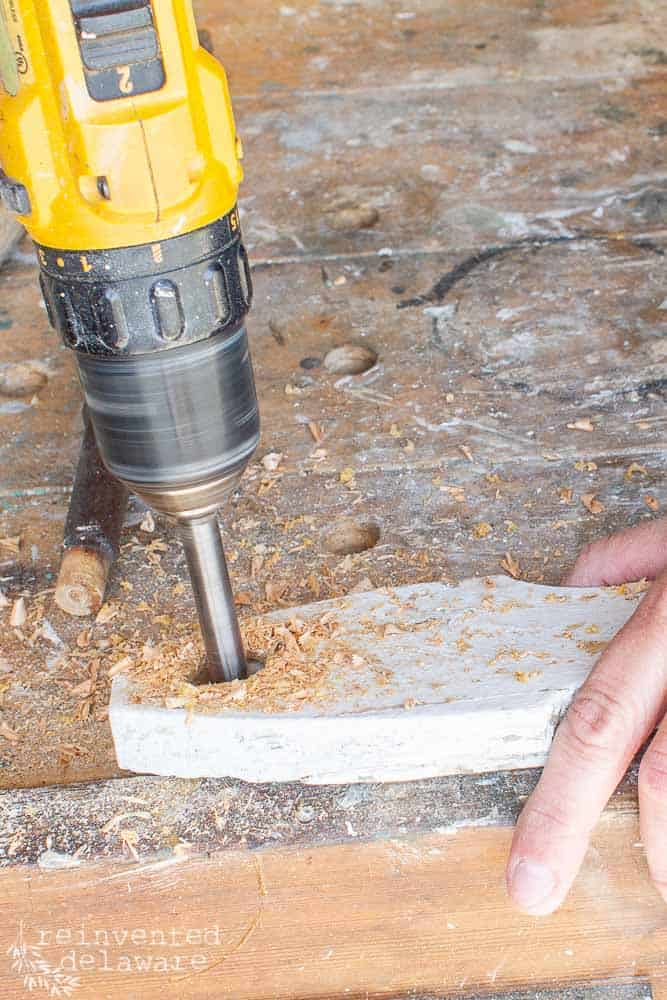
Here is a close-up of the Forstner bit. It fits my DeWalt power drill/driver and can drill a large hole like the ones you see here on my workbench.
do as I say, not as I do!
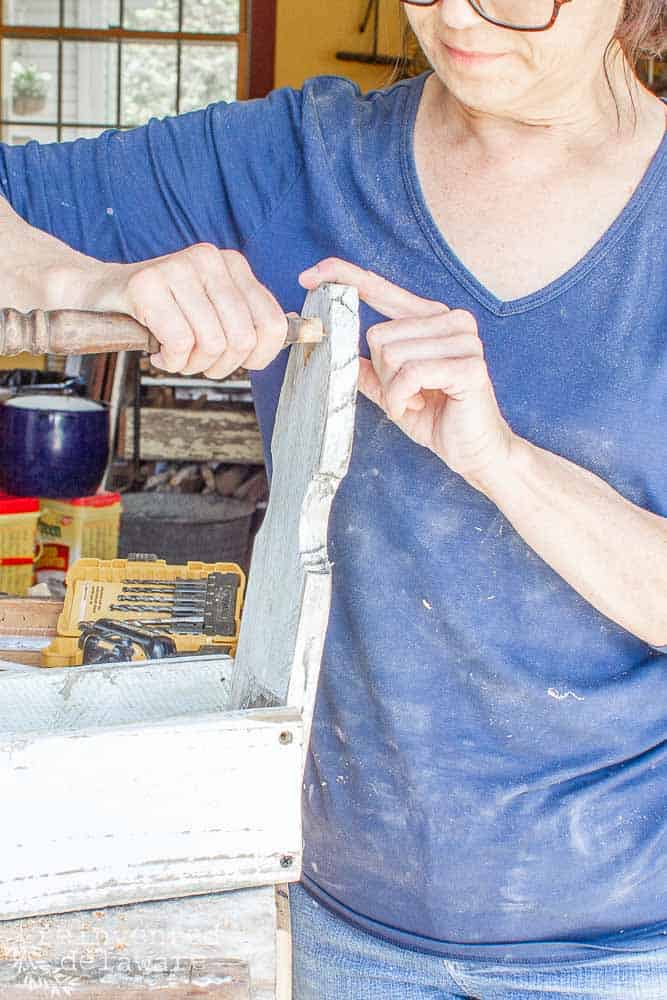
Ok, so this is where I say “Do as I say, not as I do!” It is much easier to insert the chair spindle BEFORE assembling the crate!
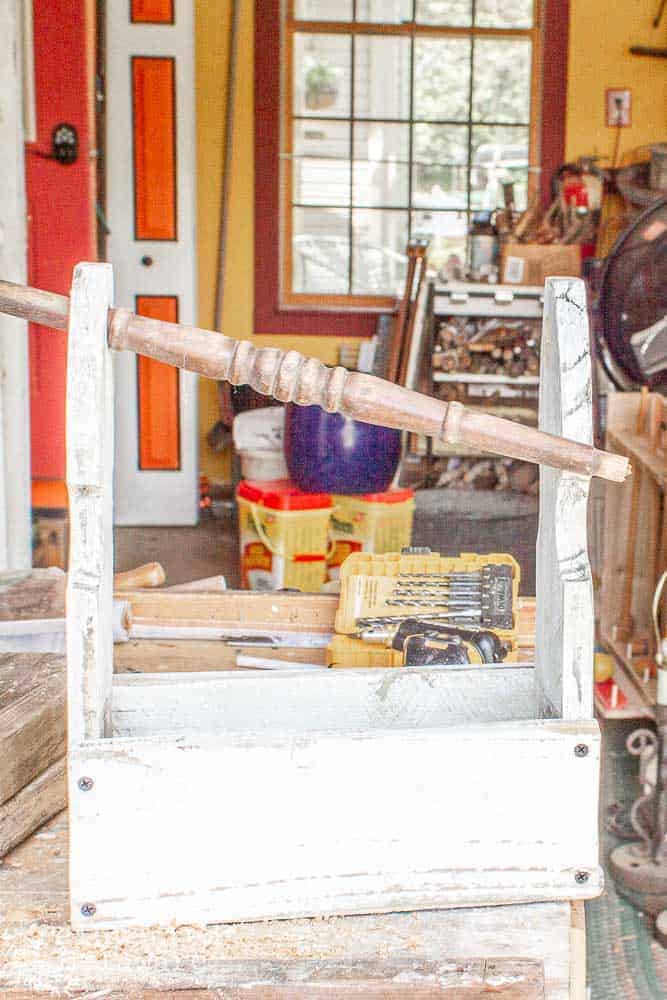
Since I forgot to drills the holes and insert the spindle before assembly, I removed the top screws where the side sections meet the end sections on one side. That allowed me to pull the end section away just enough to get the spindle inserted. Problem solved!
By the way, you can see some more chair spindle projects in this post.
step seven: clear coat to seal
I gave the picket crate a nice coat of Polycrylic to seal it. It is hanging out to dry!
cutest picket crates in town!
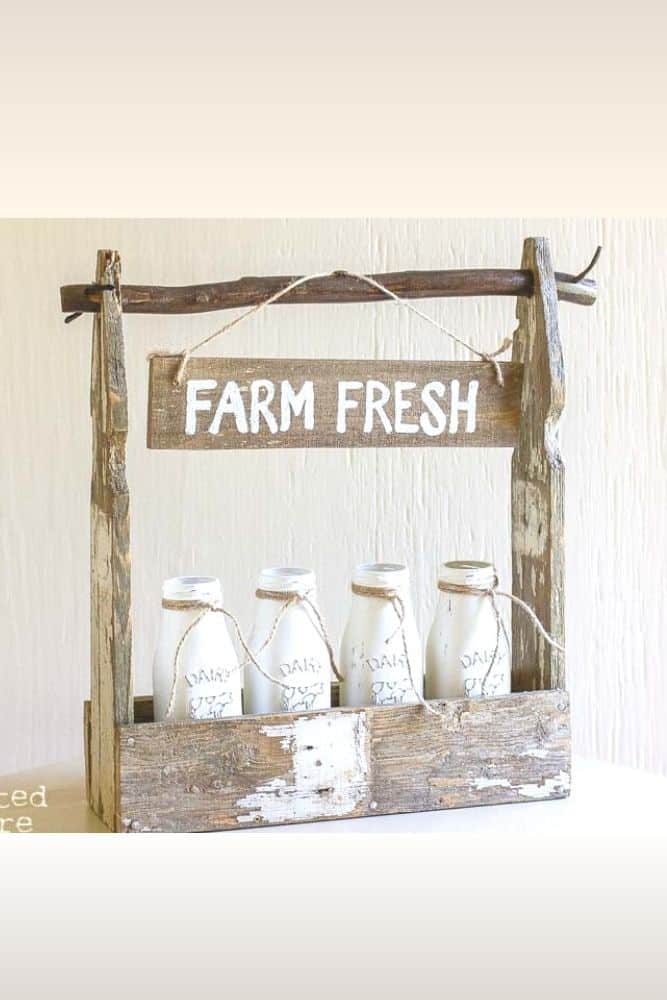
Aren’t these the cutest old fence picket projects?? The one below was made using different measurements than I give in this post and I also used a branch from a live tree as the handle!
picket options
There is good news if you can’t find already-painted-and-chippy picket fences!
Stores like Lowes and Home Depot carry individual pickets for just a few dollars each! Paint and distress and you have yourself a supply of pickets for this project!
And you won’t have to remove any nails!! Win, Win!
a few more old fence picket projects
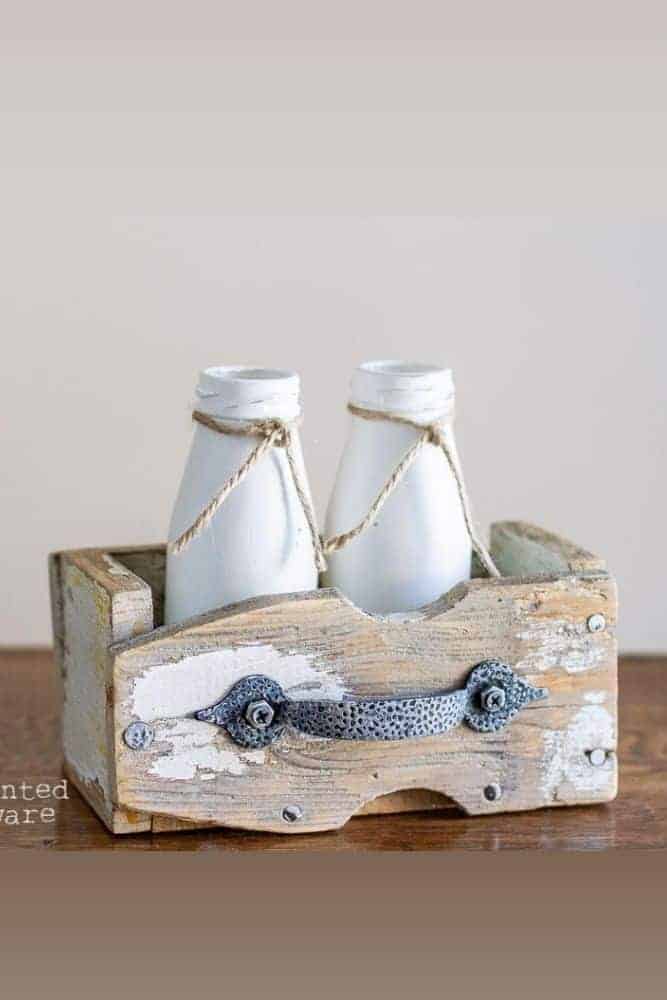
Here are a couple of variations we have made over the years. They are just too cute!

adorable farmhouse storage
What do you think about this old fence picket project?
Isn’t this a good use of old pickets??
Storage, yes! Casters, yes! Farmhouse adorableness, yes, yes and yes!

Remember the railings I said to hang onto??
This is why! A little bit of handpainted modern calligraphy and you have the cutest tabletop inspirational sign!
thanks for dropping by!
So glad you popped by today for these old fence picket projects!
I would love to know how you would use them in your home! Or better yet, let me know if you make one yourself! Share we me in the comments 🙂
Feel free to pin any of the images in this post for your future reference and to share with your friends on Pinterest or Facebook!
We love reinventing the old and forgotten into adorable home decor pieces! Follow along on Instagram, Facebook for more fun projects! Feel free to pin this project on Pinterest!
Until next time…

I’m Dianne from the Milton Chamber of Commerce. Are you a member?
I love your blog and I’d love to help promote you.
Do you sell at our festivals?
Dianne
Thanks so much for the inquiry Dianne! I am not currently a member of the Milton Chamber of Commerce but I would love to chat about it and about promotion possibilities! Can you contact me through Instagram and we can share contact info through DM? I am @reinventeddelaware on Instagram. Thanks so much for your kinds words about our reinventions and our blog!
Great idea. I have a section of a picket fence I’m going to try this with.
Yay!! Tag me on Instagram when you finish it! I would love to see it??
So adorable, Cindy! Wow, these are so great. Pinning to two boards!
Thanks Crissy!! So glad you like them??
These are SO lovely, Cindy! I love your finished product photos, too! Great photography, and great product! Can I use LOVE once more?!
Thanks Julie! Photography is really my first creative love?
Thanks Hannah! I will check it out?
Hey Friend!
Just letting you know that your little picket fence projects are one of my features this week at Homestyle Gathering! Thanks so much for sharing at HG!
>>> Kim
Thanks so much Kim!! What an honor??
Thanks for the feature!! I really appreciate it! BTW that BBQ sauce looks amazing! Can’t wait to try it!?
Such a cute and clever idea.
Thank you for stopping by Rachel!
Just wanted you to know I’m share this on my Sunday Dirt Road Adventures! It will have a link back to your page. Thanks for the inspiration!
These are so gorgoues. I love ethem so much! I want to and buy one for myself!
Arent’ they the cutest?? Our local customers have bought tons of them! Thanks for stopping by!
I love these ideas. I’m so excited to see you this week.
And I am excited to see you too!!
So pretty, Cindy!! I LOVE That old spindle!!! All of these projects are just beautiful. You do such amazing work!
Thank you, Rachel! Picket projects are so much fun!😊
Love this…..cant wait to start
Yay!! I hope you enjoy making projects from old fence picket boards. I’ve added a couple of new projects to the blog using pickets. Use the search bar at the top right of my blog to search ‘picket’ and you will see more posts! Have fun!!