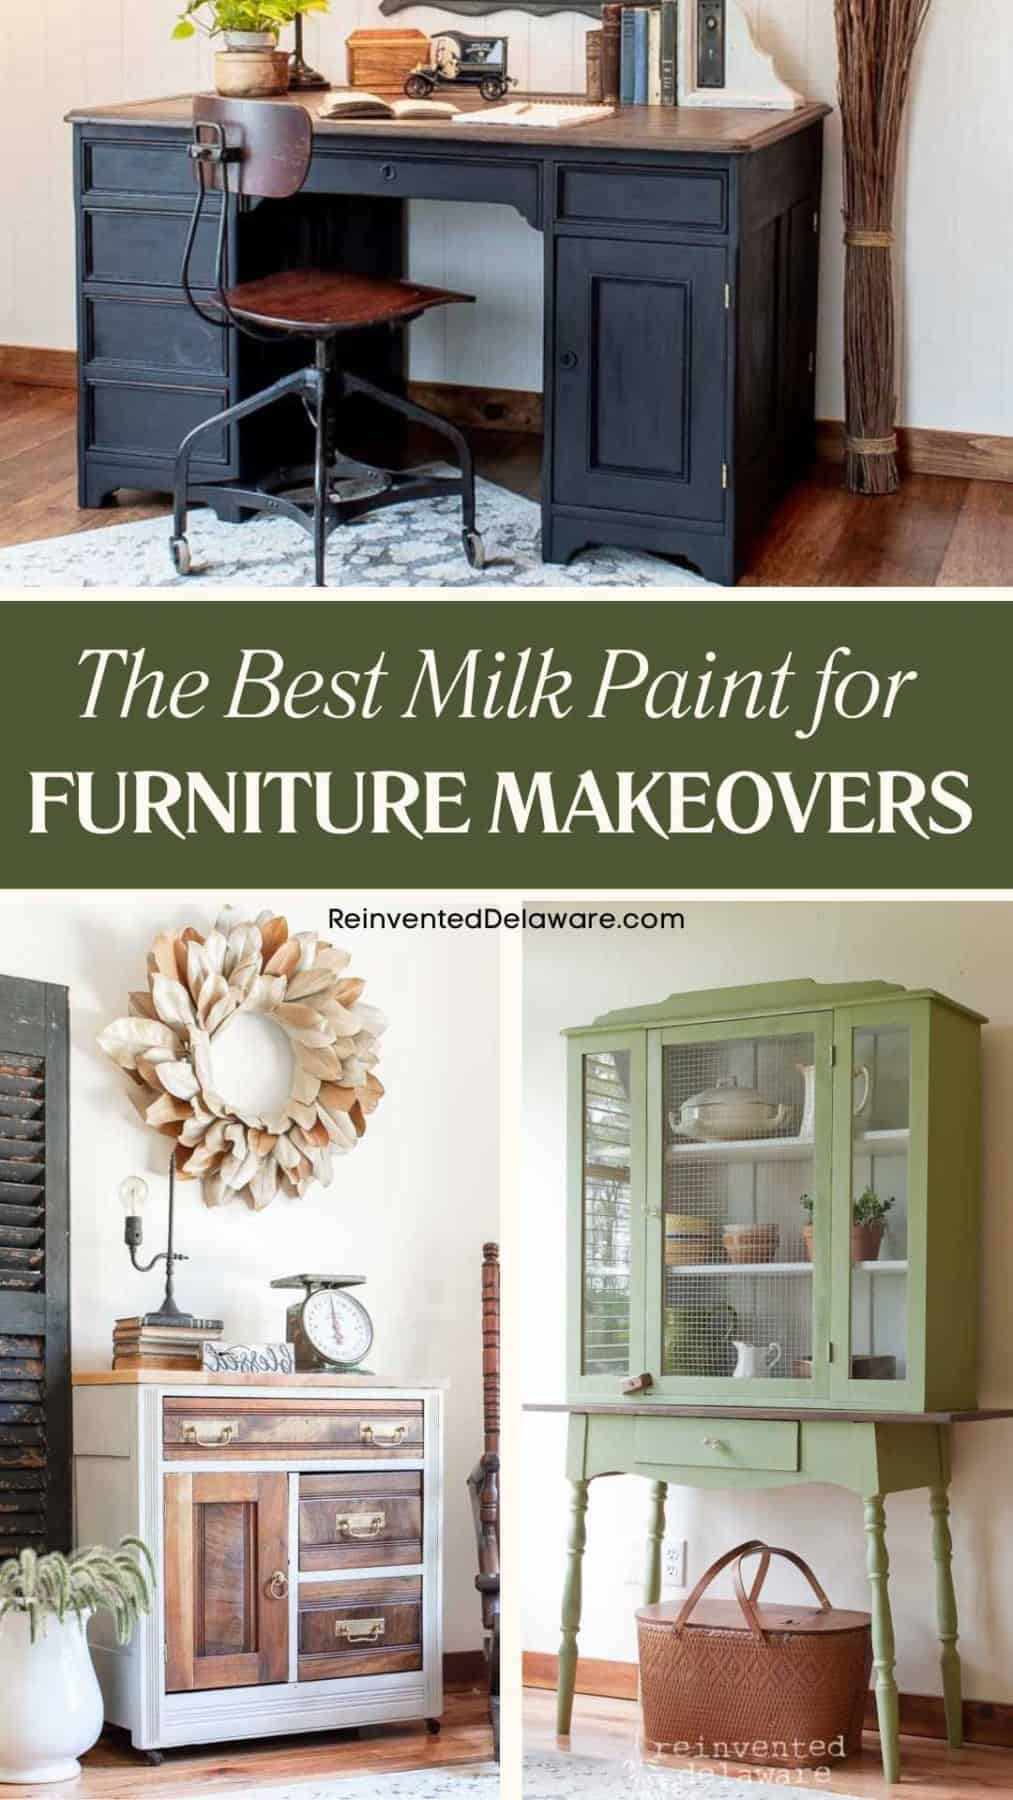
The Best Milk Paint for Old Furniture Makeovers
Discover the top milk paint options for furniture, along with application tips and inspiring before-and-after photos.
In this article, I will share my knowledge and experience with milk paint to help you choose the best option for your furniture projects. We will start with an understanding of what milk paint is and how it differs from other types of paint. Then, we will discuss the preparation and application process for milk paint, including tips for achieving the best results. Finally, we will explore advanced techniques for using milk paint and how to maintain and care for your milk-painted furniture.
As an antique furniture fanatic, I know how important it is to choose the right paint for your projects. Milk paint has been a popular choice among furniture painters for years due to its unique finish and durability. However, with so many options available on the market, it can be challenging to determine which milk paint is the best for your furniture.
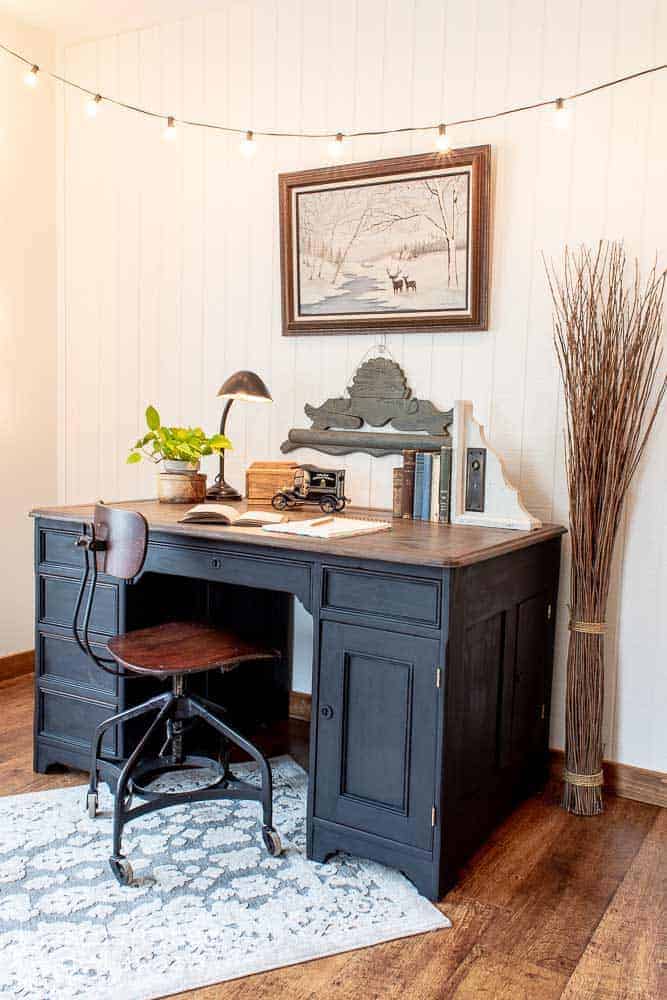
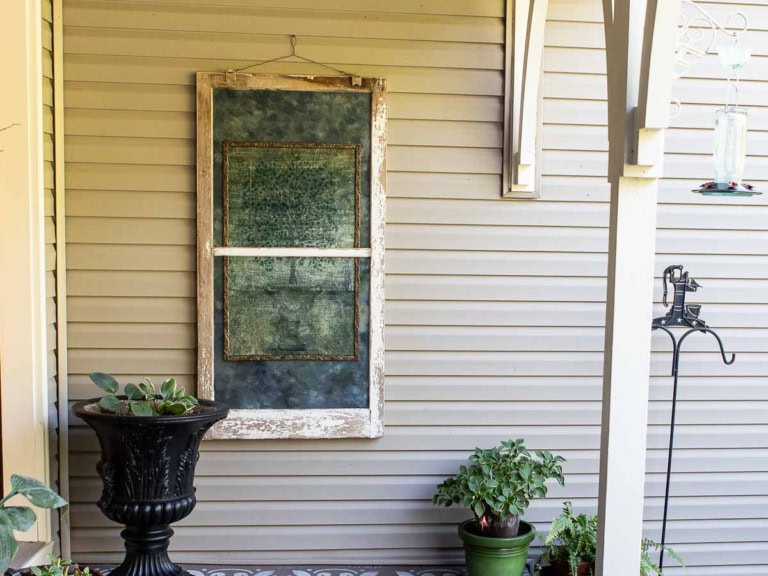
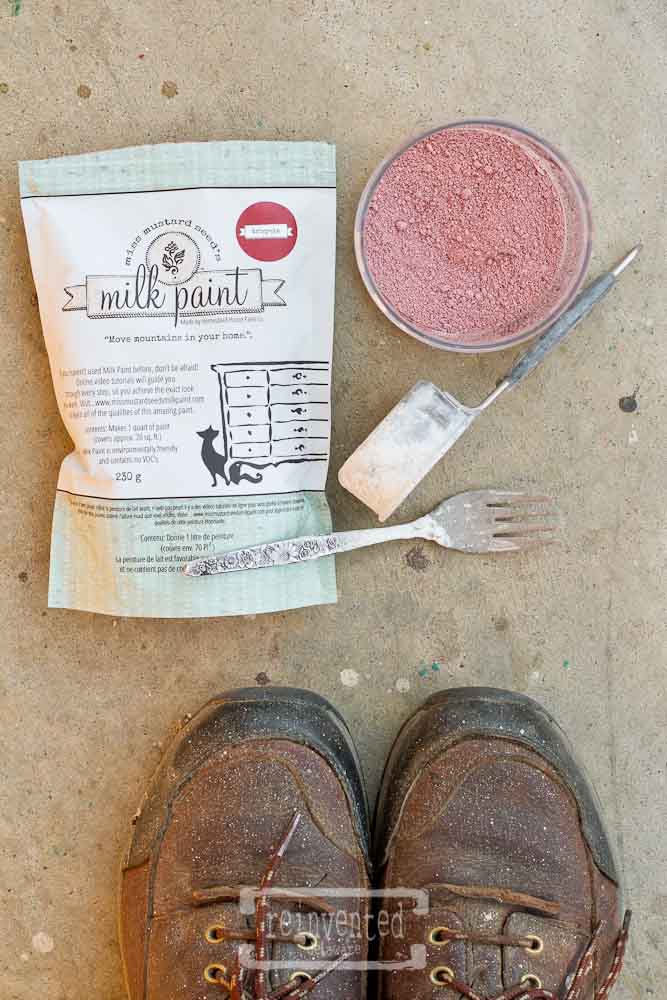
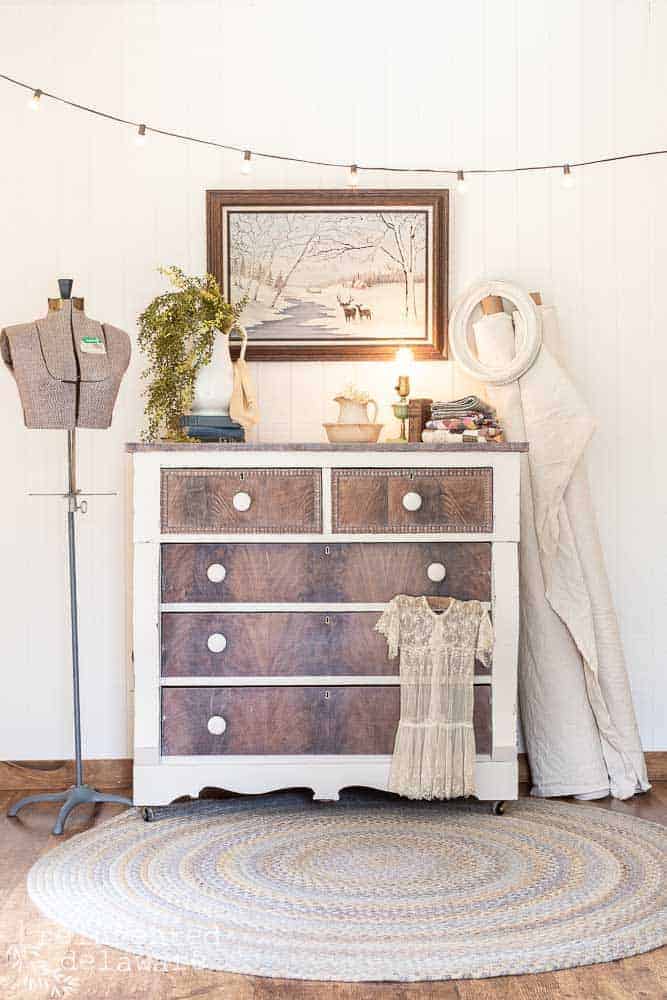
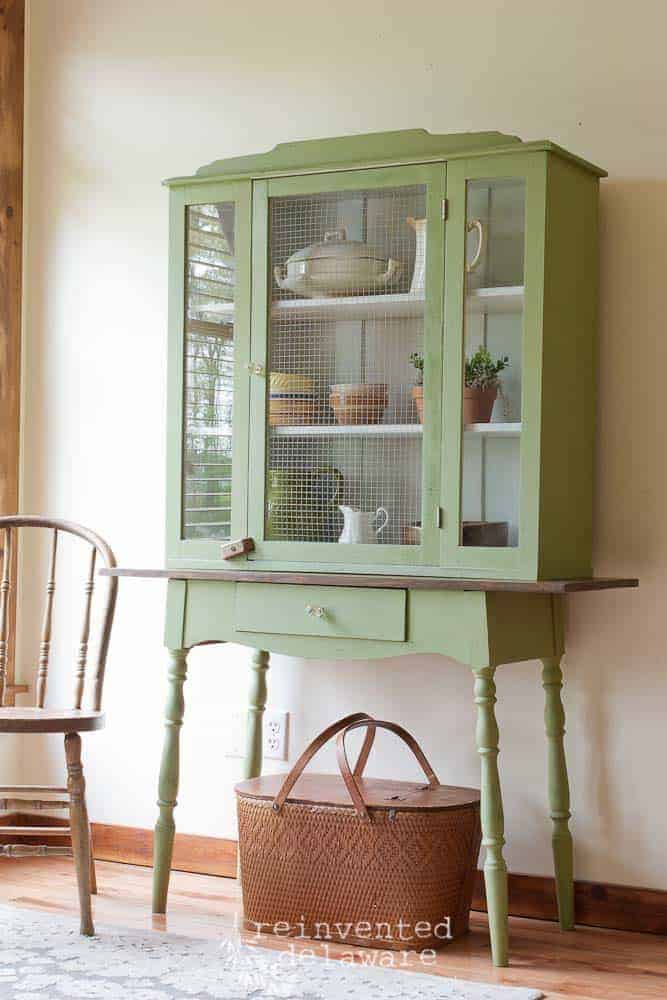
I first discovered this unique paint through Miss Mustard Seed’s website. The colors of the paint line caught my attention due to the aged appearance of the color tones. The colors have the vintage and antique tones that I love for our home and for my furniture makeovers!
The following post may contain affiliate links. That means if you click and then buy something, I will make a small commission at no additional cost to you! Thank you for supporting my blog. full disclosure here.
Understanding Milk Paint
Milk paint is a type of paint that has been used for centuries to decorate and protect furniture, walls, and other surfaces. It is made from natural ingredients such as milk protein, lime, and natural pigments. Let’s look at the history and composition of this amazing paint, how it differs from chalk paint, and its safety features.
History and Composition
I’ve been using this unique powder form paint for almost ten years but it’s been around for thousands of years, dating back to ancient Egypt and Rome. It was commonly used in colonial America and Europe, where it was used to paint furniture, barns, and houses.
Think colonial times in Williamsburg and all of the beautiful colors that the era has to offer and you can get a good idea in your mind about this old-fashioned paint!
Milk paint is made from milk protein, usually casein (this ingredient makes the paint have great adhesion), and lime, which acts as a binder. The lime also gives the paint a unique texture and finish. Natural pigments, such as iron oxide or clay, are added to give the paint color.
Milk Paint vs. Chalk Paint
Chalk paint and milk paint are often compared, but they are very different. Chalk paint is a thick, water-based paint that contains chalk or calcium carbonate as a filler. It is often used for furniture and can be distressed to create a vintage look.
Milk paint, on the other hand, is made from natural ingredients and has a unique texture and finish. It is has a thinner consistency than chalk paint and it can also be distressed, creating an authentic, aged look.
Natural Ingredients and Safety
One of the main benefits of milk paint is that it is made from natural ingredients, which makes it safe to use. Milk paint is non-toxic and does not contain harmful chemicals, making it an ideal choice for those who want to avoid paint fumes. Milk paint is also biodegradable and eco-friendly, making it a great choice for those who are environmentally conscious.
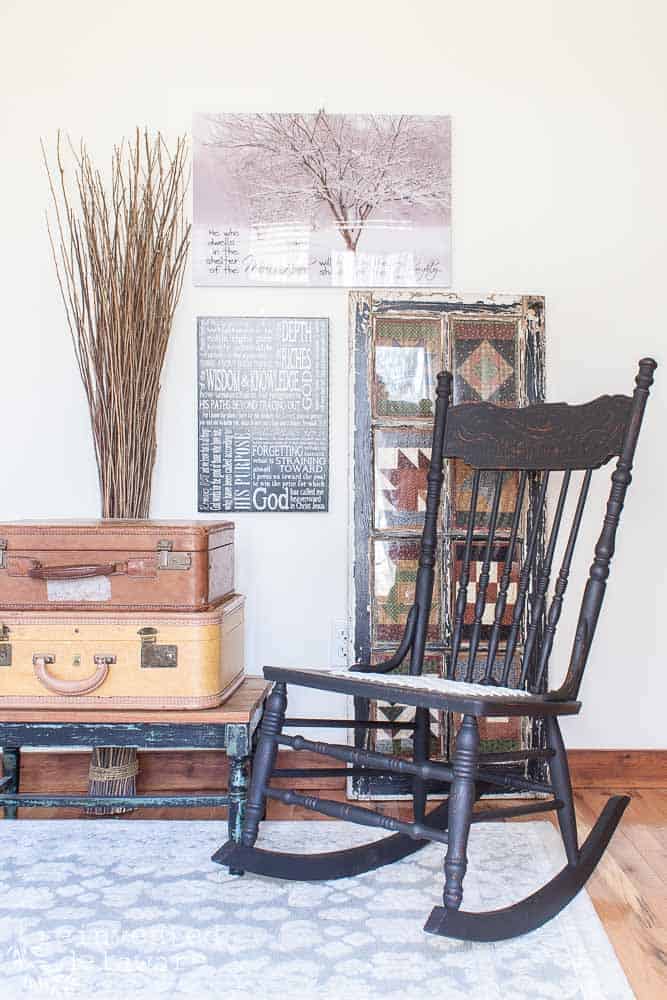
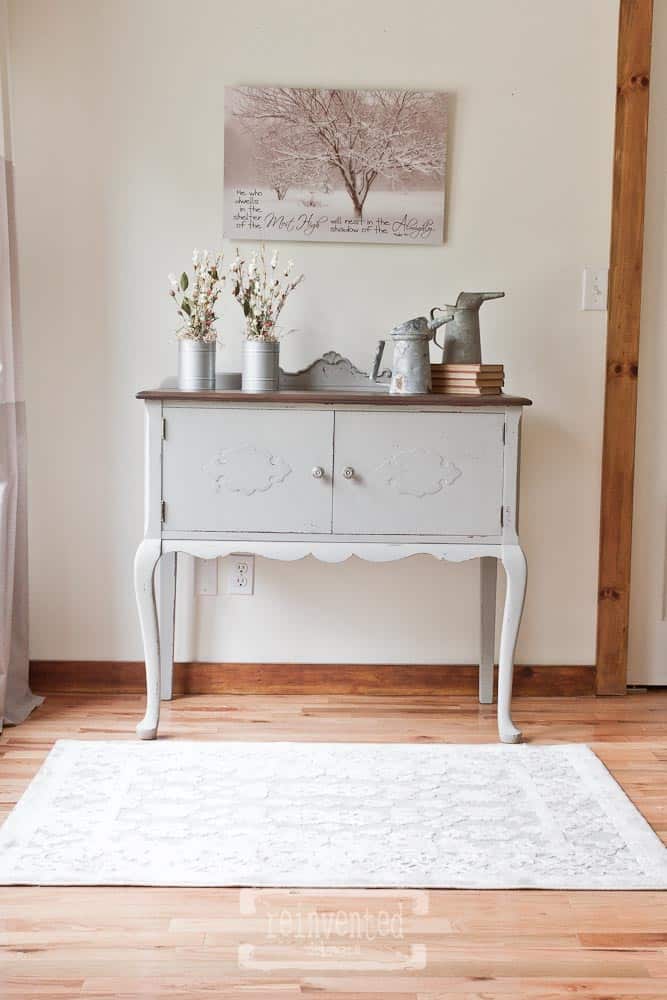
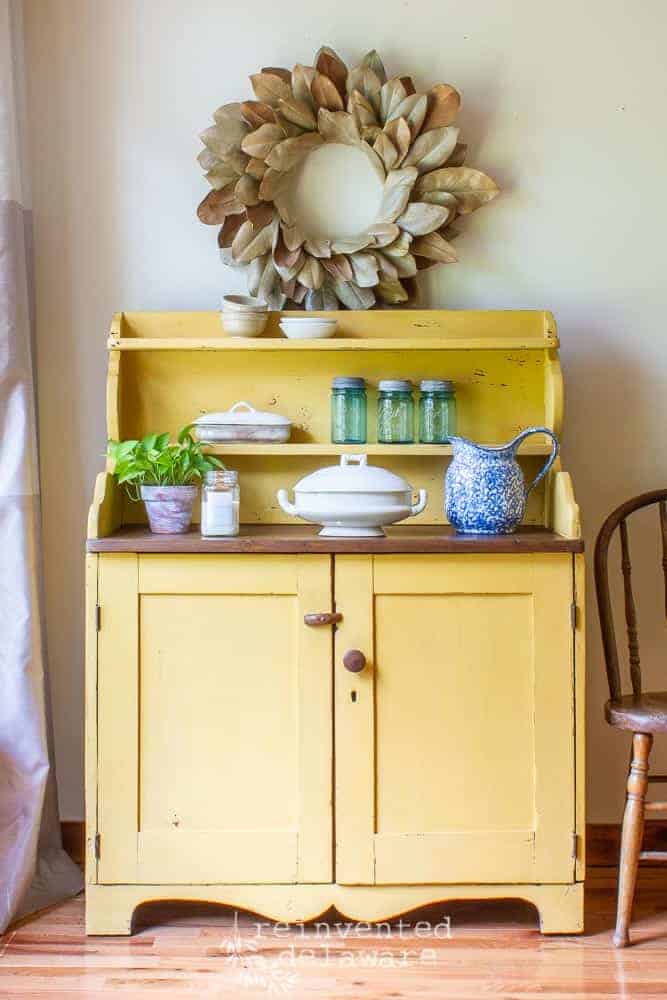
Overall, milk paint is a unique and versatile paint that has stood the test of time. Its natural ingredients and safety features make it a great choice for those who want to create a vintage or authentic look for their furniture or walls. That’s the best part of using this paint! The chippy look this paint creates looks perfect on my furniture makeovers!
Preparation and Application
Surface Preparation
Before applying milk paint on any surface, it is essential to prepare the surface properly. Completely clean the furniture piece. Use a solution of warm soapy water and a microfiber cloth and wipe down the furniture thoroughly. Go back over the piece as often as needed to remove built-up dirt and grime. Then go over the piece with clean water and a clean cloth to remove any soap residue and allow the wood to dry.
For raw wood or porous surfaces, sanding the surface with 180-220 grit sandpaper is recommended to ensure the paint adheres to the surface.
If the piece of furniture has an existing finish, it can be lightly scuff-sanded to ensure good adhesion. The bare wood should be clean and free from any wax, oil, or dust before scuff sanding.
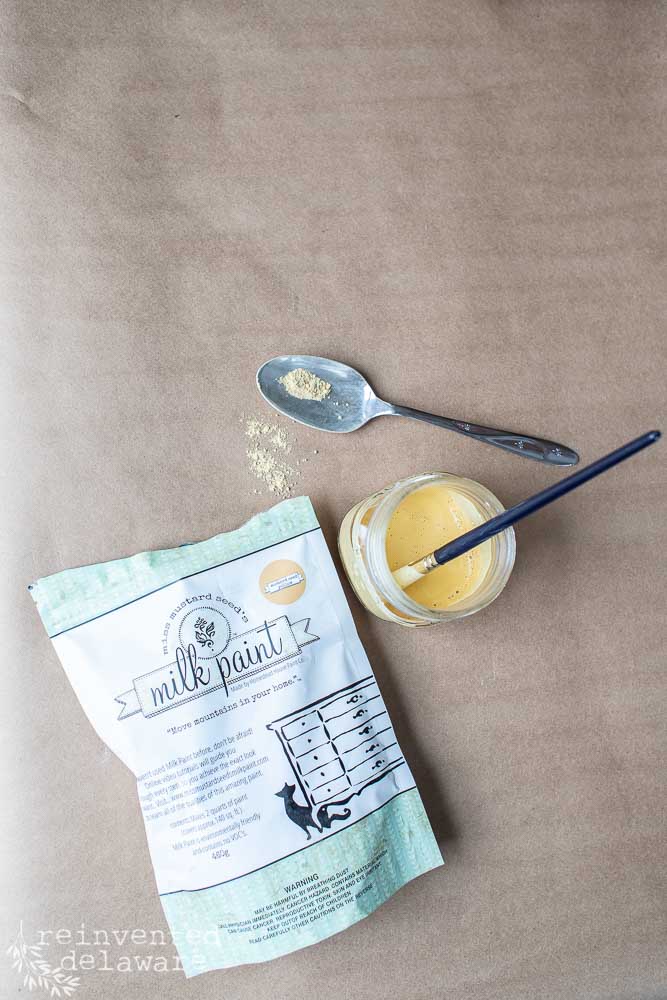
Mixing Milk Paint
Mixing milk paint is a simple process. I prefer to mix the paint in a container that has a lid. I start by adding powder to the container and then adding warm water. Then I mix the paint using a whisk until there are no lumps in the mixture. It is important to allow the mixed paint to sit for at least 15 minutes so that all of the water is absorbed into the milk paint powder. This will also help the color to be consistent throughout.
Applying the First Coat
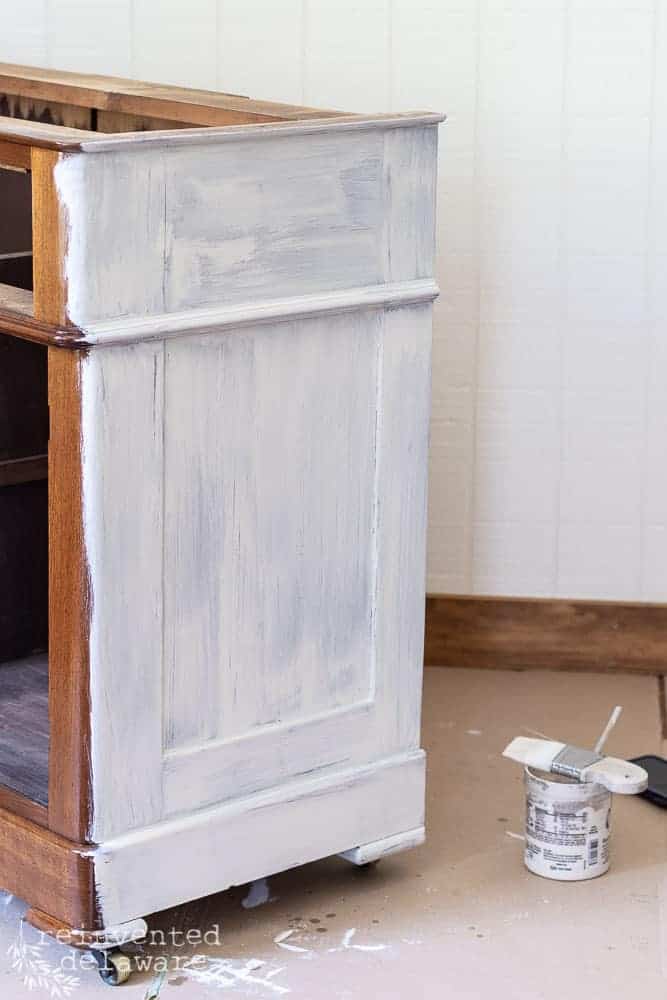
The first coat of milk paint acts as a base coat, and it is essential to apply it evenly to the surface. I recommend using a brush to apply the first coat of paint. Apply the paint in long even strokes. After applying the first coat, allow it to dry for at least two hours before adding another coat. Keep in mind that the first coat of paint always looks terrible! Don’t worry. the remaining coats will give complete coverage.
Adding Subsequent Coats
After the first coat has dried, apply the second coat. Some furniture painters like to sand between coats. I don’t usually do this but if you can by lightly sanding the surface with 220-grit sandpaper to remove any roughness. It is essential to remove any dust or debris before adding another coat of milk paint. I recommend adding at least two more coats of milk paint to the surface to ensure that the paint is evenly distributed.
After the final coat has dried, lightly sand the surface with 220-grit sandpaper to create a smooth surface. This is also when you can distress the painted surfaces. We will talk more about that later in this post.
Using Top Coats for Durability
While milk paint has a unique finish, it can be prone to chipping and wear over time. To protect your furniture and ensure it lasts for years to come, I recommend using a top coat. Hemp oil is a popular choice for a natural, non-toxic finish. Simply apply a thin coat of hemp oil with a brush or cloth and let it dry completely. For the best finish, apply a second coat of hemp oil after 24 hours.
By following these steps, you can achieve a beautiful and long-lasting finish on your furniture.
thanks for being here!
I hope you are enjoying this project! Let me know if you have any questions. Or leave me a comment to tell me about your project and ideas!
thanks, Cindy 😀

Choosing the Right Milk Paint
When it comes to painting furniture, milk paint is a popular choice due to its natural ingredients and ability to create a smooth, matte finish. However, with so many milk paint brands and colors available, it can be overwhelming to choose the right one for your project. In this section, I’ll discuss some factors to consider when selecting the best milk paint for your furniture.
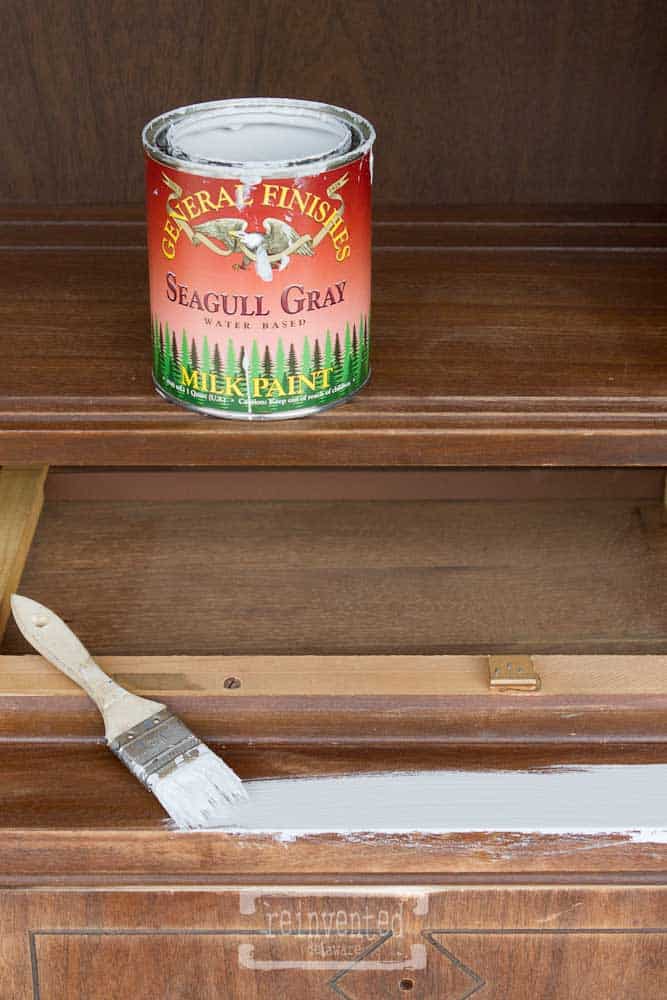
Best Milk Paint Brands
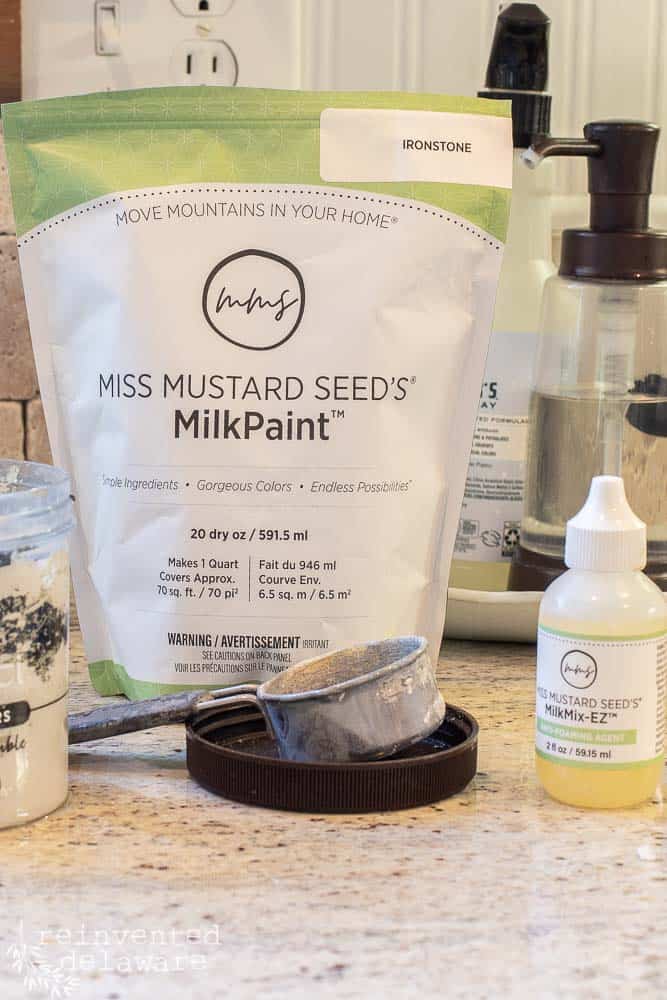
Two of the most popular milk paint brands are General Finishes Milk Paint and Miss Mustard Seed Milk Paint. General Finishes offers a wide range of colors and finishes, including a smooth finish that mimics the look of latex paint. Miss Mustard Seed Milk Paint, on the other hand, has a more old-fashioned look and is known for its chippy finish. Both brands are high-quality and offer excellent coverage, so it ultimately comes down to personal preference.
Colors and Finishes
When choosing a milk paint color, consider the overall style and color scheme of the room where the furniture will be placed. Neutral colors like white, black, and gray are versatile and can work with a variety of styles. However, if you’re looking to add a pop of color, consider shades like navy blue or emerald green. As for finishes, milk paint typically dries to a matte finish, but some brands offer a satin or gloss finish if you prefer a bit of shine.
Special Considerations for Furniture
When painting furniture with milk paint, it’s important to consider the type of wood and any existing finishes. If the furniture has a glossy finish, it may need to be sanded or primed before applying milk paint. Additionally, some woods may require a bonding agent to ensure the paint adheres properly. It’s also important to note that milk paint can sometimes chip or flake, so it may not be the best choice for high-traffic pieces like dining tables or desks.
Overall, choosing the right milk paint for your furniture comes down to personal preference and the specific needs of your project. By considering factors like brand, color, and finish, you can ensure that your furniture looks beautiful and lasts for years to come.
Advanced Techniques
As an experienced furniture painter, I have developed some advanced techniques for achieving unique finishes with milk paint. Here are some tips for creating a distressed look, using top coats for durability, and custom color mixing.
Creating a Distressed Look
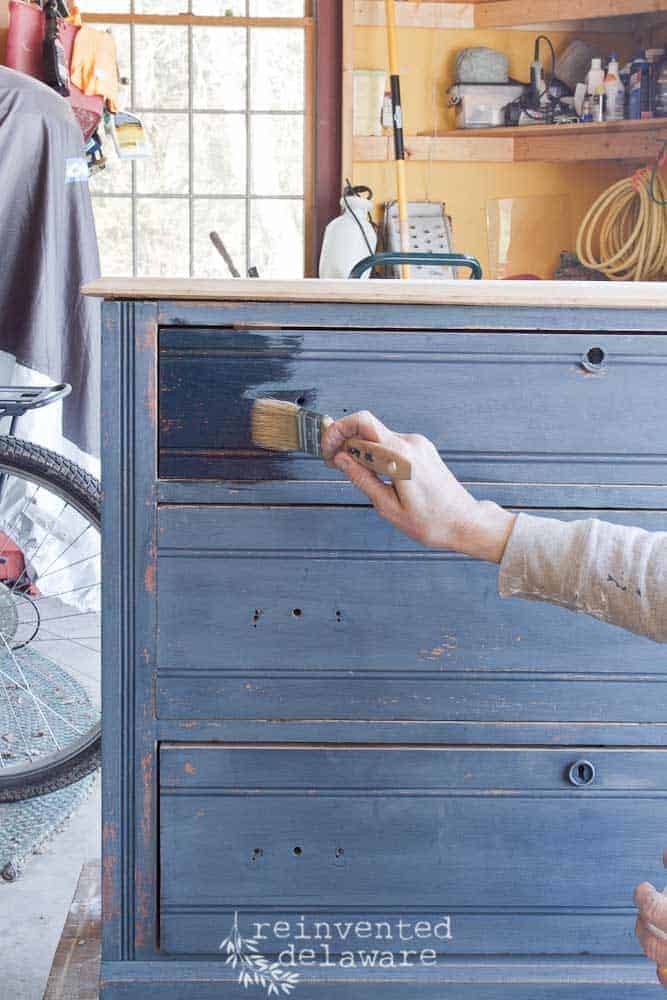
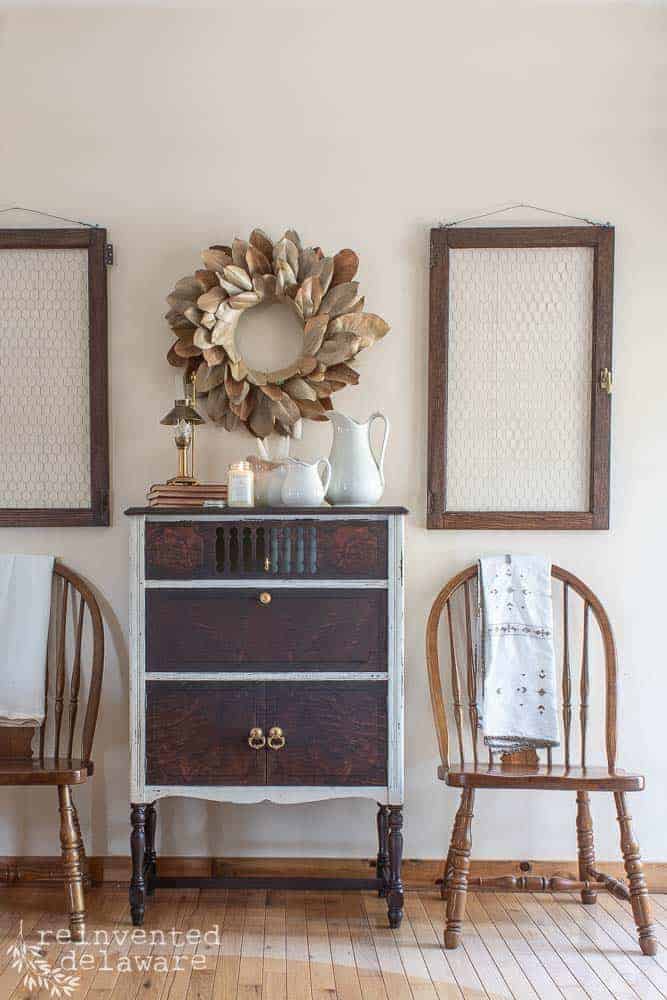
Milk paint is perfect for creating a chippy, distressed look on furniture. To achieve this effect, I recommend applying a base coat of milk paint in a color of your choice. Once the first coat of milk paint is dry, apply a second coat in a contrasting color. As the second coat dries, use a scraper or sandpaper to remove some of the paint, revealing the first coat underneath.
Natual chipping can occur on milk-painted furniture. That’s one of the beautiful aspects of this amazing paint! It has a mind of it’s own and can create an authentic chipping look all on it’s own!

Custom Color Mixing
One of the best things about milk paint is the ability to mix custom colors. To achieve the perfect shade, start with equal parts of the colors you want to mix and adjust as needed. I recommend mixing small amounts at a time to ensure consistency. Remember that the color of the first coat of milk paint will affect the final color, so choose your base coat wisely.
In conclusion, these advanced techniques can help you achieve unique finishes with milk paint. Whether you’re going for a distressed look or want to protect your furniture with a top coat, these tips will help you get the best results. And with custom color mixing, the possibilities are endless.
Milk Paint for Different Surfaces
When it comes to milk paint, it can be used on a variety of surfaces. In this section, I will discuss the different surfaces that milk paint can be used on and provide some tips for working with them.
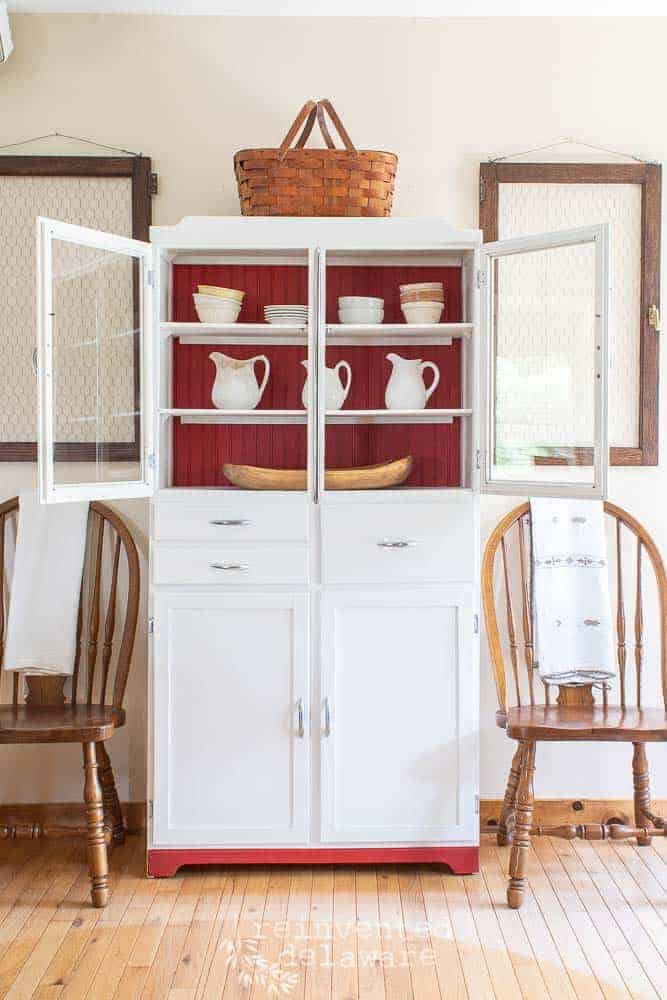
Working with Kitchen Cabinets
Milk paint is a great option for kitchen cabinets because it is durable and can withstand the wear and tear that comes with daily use. When painting kitchen cabinets with milk paint, it is important to use a bonding agent to ensure that the paint adheres properly. It is also important to choose a high-use surface finish to protect the cabinets from spills and stains.
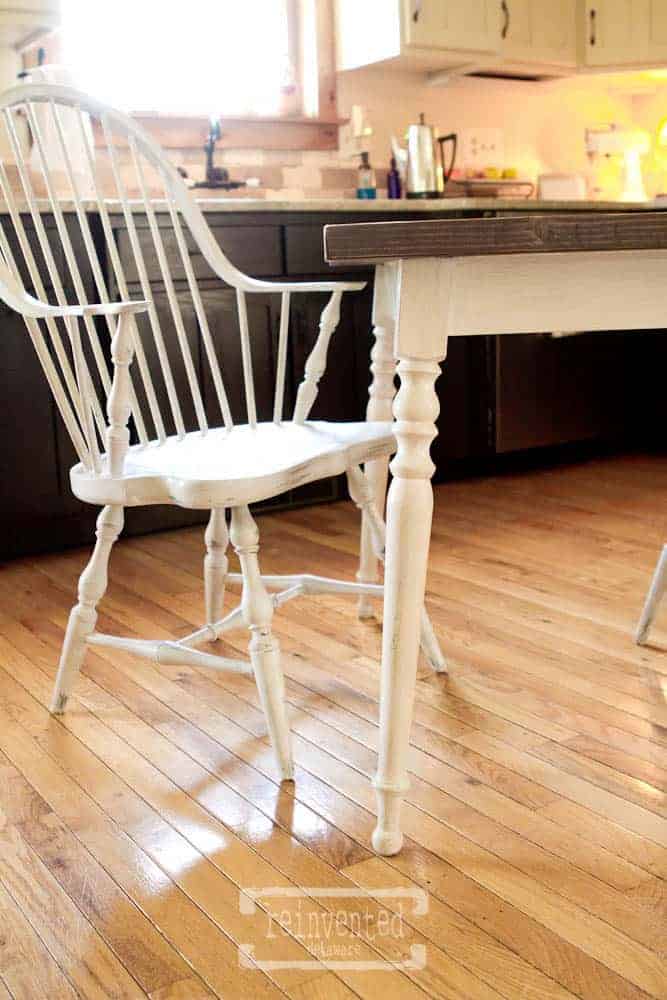
Furniture Restoration
Milk paint is a popular choice for furniture restoration because it can be used to achieve an authentic antique look. When restoring a piece of furniture with milk paint, it is important to properly prepare the surface by sanding it down and removing any existing finish. Milk paint can be used on a variety of furniture pieces, including a chest of drawers, chairs, and tables.
Exterior Applications
Milk paint can also be used for exterior applications, such as painting a front door or a wooden fence. When using milk paint for exterior applications, it is important to choose a type of finish that is weather-resistant and can withstand the elements. It is also important to properly prepare the surface by cleaning it and removing any existing finish.
Overall, milk paint is a versatile option that can be used on a variety of surfaces. Whether you are painting kitchen cabinets, restoring a piece of furniture, or painting an exterior surface, milk paint can provide a durable and authentic finish.
Maintenance and Care
As someone who has used milk paint on various pieces of furniture over the years, I can attest to its durability and longevity. However, like any painted surface, proper maintenance and care are essential to keep your pieces looking their best for a long time.
Cleaning Painted Furniture
To clean painted furniture, I recommend using a soft, damp cloth to wipe down the surface. Avoid using harsh chemicals or abrasive cleaners as they can damage the paint film. If there are stubborn stains or dirt buildup, a mild soap solution can be used. After cleaning, make sure to dry the surface thoroughly to prevent any water damage.
Touching Up and Repairs
Even with proper care, pieces of furniture can experience wear and tear over time. Thankfully, milk paint is easy to touch up and repair. To fix any scratches or chips in the paint film, simply sand the affected area lightly and apply a thin layer of paint. Allow it to dry completely before applying a second coat if necessary.
It’s important to note that a good paint film is essential to the longevity of your painted furniture. Make sure to apply the paint in thin, even coats and allow each coat to dry completely before applying the next. This will ensure a smooth and durable finish that will last for years to come.
Environmental Impact and Sustainability
As a conscious consumer, I understand the importance of choosing eco-friendly options when it comes to furniture and home decor. Milk paint is a great option for those who want to minimize their environmental impact.
Eco-Friendly Paint Options
Milk paint is made from natural ingredients such as milk protein, lime, and clay. Unlike traditional paint, it does not contain any petrochemicals or synthetic additives. This means that it is a safer and healthier option for both the environment and the people who use it.
In addition, milk paint is biodegradable and can be safely disposed of in the trash or composted. This makes it a more sustainable option compared to other types of paint that can take years to break down and may release harmful chemicals into the environment.

Disposal and Recycling of Milk Paint
One of the great things about milk paint is that it can be easily recycled or reused. If you have any unused paint, you can simply mix it with water and use it for future projects. This not only reduces waste but also saves you money in the long run.
If you need to dispose of milk paint, it is important to do so responsibly. You can safely dispose of it in the trash or compost it if it is completely dry. However, it is important to avoid pouring it down the drain or into any bodies of water as it can harm aquatic life.
Overall, milk paint is a great option for those who want to minimize their environmental impact while still creating beautiful and unique furniture pieces. Its natural ingredients, lack of petrochemicals, and biodegradability make it a sustainable option that is both safe and healthy for the environment and its users.
Shelf Life and Storage
As someone who has used milk paint for furniture for several years, I can confidently say that shelf life and storage are important factors to consider when working with this type of paint. Milk paint typically has a shelf life of around 6 months to a year, depending on the brand and storage conditions. It is important to store milk paint in a cool, dry place, away from direct sunlight and heat sources.
If you have leftover paint, you can store it in an airtight container in the refrigerator for up to a week. However, keep in mind that milk paint can spoil quickly, so it is best to only mix the amount of paint that you need for your project.
Troubleshooting Common Issues
While milk paint is a popular choice for furniture painting, there are some common issues that you may encounter. Here are some troubleshooting tips to help you avoid and address these issues:
- Chipping or Flaking: If your milk paint is chipping or flaking off, it may be due to poor adhesion. Make sure that you are painting on a clean, dry surface and that you are not applying too thick of a coat. You can also try sanding the surface lightly before painting to improve adhesion.
- Uneven Coverage: If your milk paint is not covering evenly, it may be due to improper mixing or application. Make sure that you are mixing the paint thoroughly and applying it in thin, even coats. You can also try using a paint sprayer for more consistent coverage.
- Cracking or Peeling: If your milk paint is cracking or peeling, it may be due to poor surface preparation or improper application. Make sure that you are painting on a clean, dry surface and that you are not applying too thick of a coat. You can also try sanding the surface lightly before painting to improve adhesion.
Overall, milk paint is a versatile and eco-friendly option for furniture painting. By following these tips and troubleshooting common issues, you can achieve beautiful and long-lasting results with milk paint.
Frequently Asked Questions
What are the differences between milk paint, chalk paint, and latex when painting furniture?
Milk paint is a water-based paint made from milk protein, lime, and pigments. It has a matte finish and is known for its unique, antique look. Chalk paint is also a water-based paint that has a matte finish, but it contains chalk powder and requires little to no prep work before painting. Latex paint is an oil-based paint that has a glossy finish and is more durable than milk or chalk paint. When choosing a paint for furniture, it’s important to consider the look you want to achieve and the level of durability you need.
How does Rust-Oleum Milk Paint compare to General Finishes Milk Paint in terms of quality and durability?
Both Rust-Oleum and General Finishes milk paints are high-quality, durable options for painting furniture. Rust-Oleum milk paint is known for its easy application and fast drying time, while General Finishes milk paint is known for its exceptional coverage and long-lasting finish. Ultimately, the choice between the two comes down to personal preference and the specific needs of your project.
Can you use milk paint on kitchen cabinets and expect long-lasting results?
Yes, milk paint can be used on kitchen cabinets with long-lasting results. However, it’s important to properly prepare the cabinets before painting and to seal the finished product with a protective topcoat. Milk paint can be more prone to chipping and wear than other types of paint, so taking the necessary precautions will ensure a beautiful and durable finish.
What are the common drawbacks or limitations of using milk paint on furniture?
One common drawback of milk paint is its tendency to chip and wear over time, especially in high-traffic areas. It also requires more prep work than other types of paint, such as sanding and priming. Additionally, milk paint can be more expensive than other types of paint, and it may not be the best choice for those who are looking for a glossy or shiny finish.
Is it necessary to sand furniture before applying milk paint for an optimal finish?
Yes, sanding furniture before applying milk paint is recommended for an optimal finish. Sanding helps to remove any existing finish or debris from the surface of the furniture, allowing the milk paint to adhere properly. It also helps to create a smooth and even surface for the paint to be applied.
What paint finish is recommended for achieving maximum durability on furniture?
A satin or semi-gloss finish is recommended for achieving maximum durability on furniture. These finishes provide a protective layer that helps to prevent chipping, scratching, and wear over time. They also provide a slight sheen that adds depth and dimension to the finished product.
Recreate and Decorate
Join the Facebook Group and Share Your Projects With Us!

Thanks for joining our journey!
Thanks so much for joining us for this post! Join our journey so you don’t miss any of the fun projects, tutorials, and inspiration that we share with you each week! You can follow us on Instagram, Facebook, and YouTube. We share even more inspiration on Pinterest!
Visit my Amazon Storefront!
Click the button below and head over to our online shop on Amazon!


Cindy Rust
Cindy has been decorating her home with thrift store finds for 40 years. She is an avid thrift store shopper who loves to makeover the items she finds into vintage-inspired home decor and furniture. When she isn’t thrift shopping or painting a piece of furniture, you can find her making homemade butter, working in her garden, or painting with watercolors.
Before and After Furniture Refinishing
A feast for the eyes, this post will inspire you to refinish and makeover an antique piece of furniture!
Gorgeous 1800s Desk Makeover
You will be amazed at the transformation of this 1800s antique desk from drab to fab!