Repairing Caned Chairs | An Alternative Method
Have you ever found a gorgeous antique chair with damaged or missing caning?? Read on for my alternative method of repairing caned chairs!
repairing caned chairs
You know those days that you are meandering around a yard sale or auction and you see chair after chair with missing or damaged caning??
If you are a thrifter or yard-saler (is that such a thing?? I hope so because I am one!) than you know what I mean.
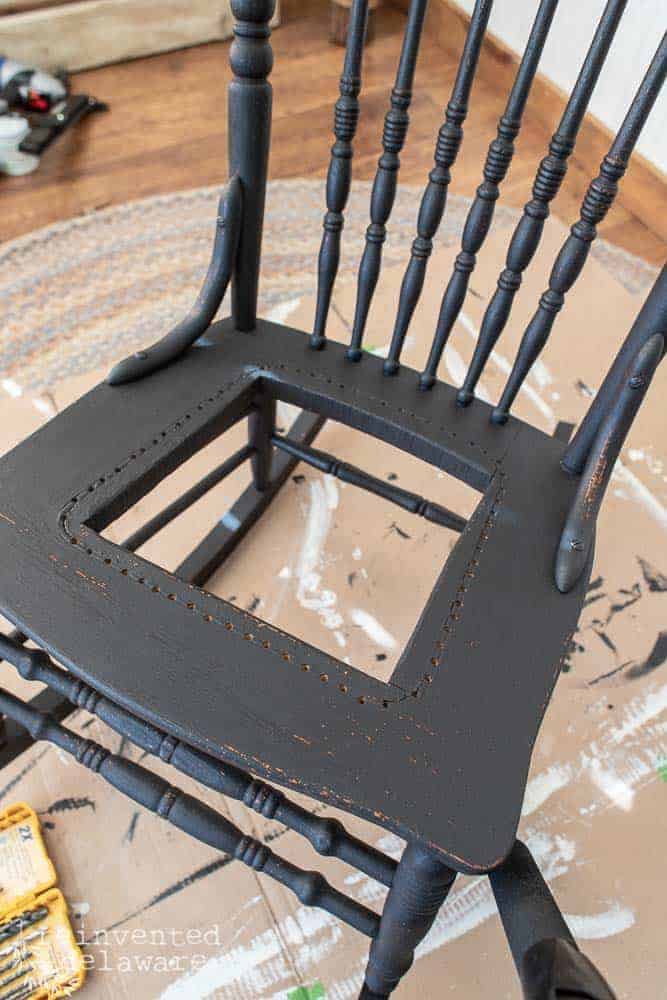
Broken or damaged caning is a common problem. Caning can become brittle over time if it is not properly cared for. Once it is brittle, it can crack and break very easily.
And it is pricey to have it professionally repaired.
alternative method
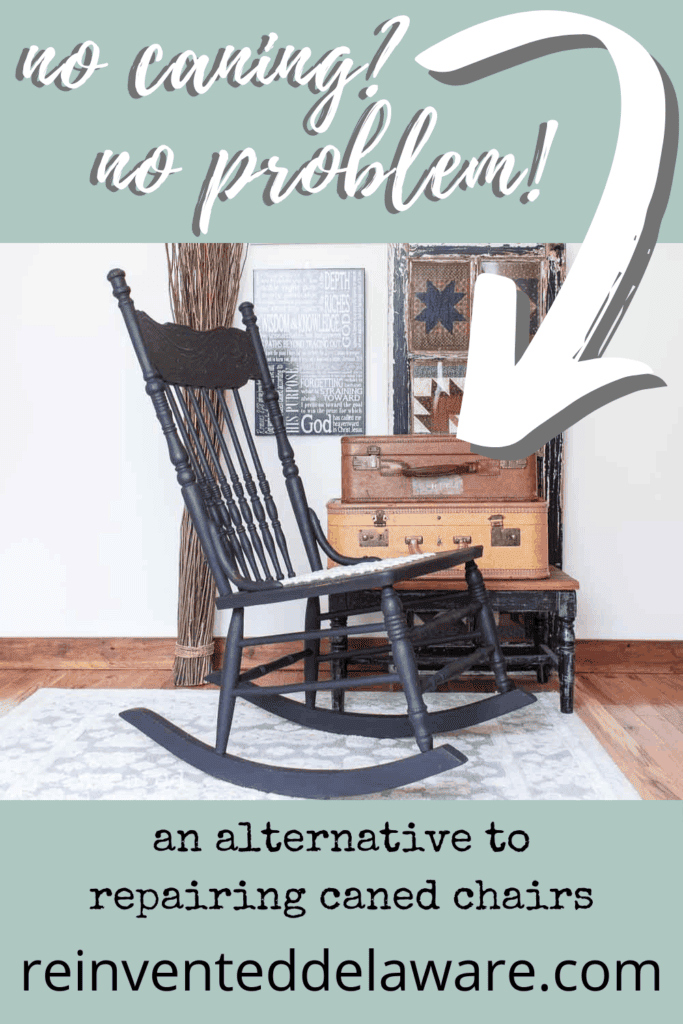
But we have come up with an alternative method for repairing caned chairs like this rocker.
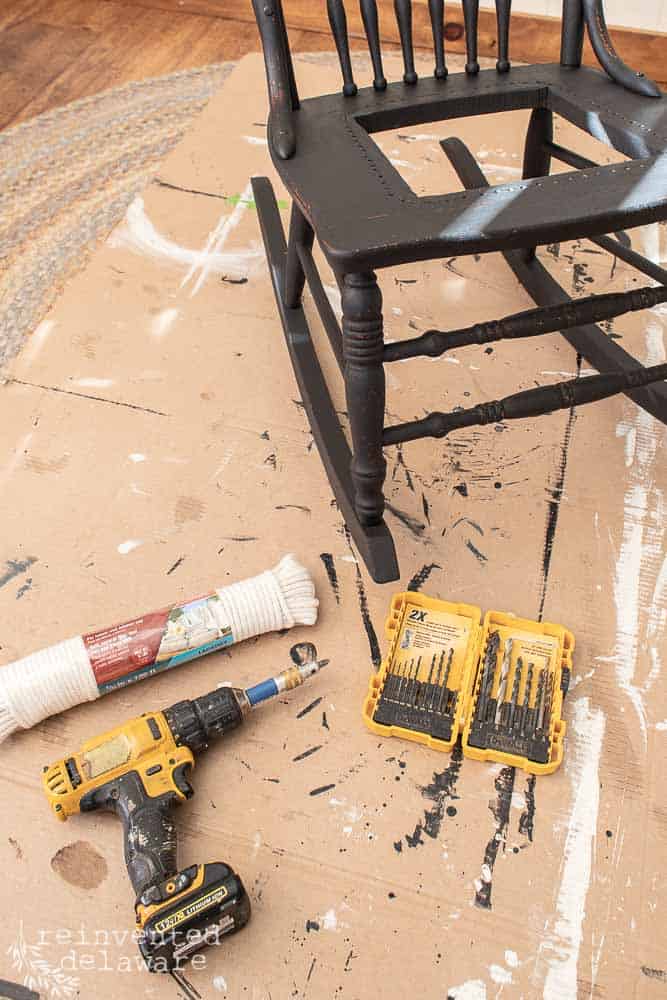
All you need are a few easy-to-find supplies:
- clothesline rope
- power drill
- large drill bit to fit the rope
- E6000 glue
- Gorilla Tape
Before you begin the project, let me warn you that it can be a bit scary to drill a large hole into an antique chair or rocker like this one.
Especially when the rocker belongs to someone else 😉
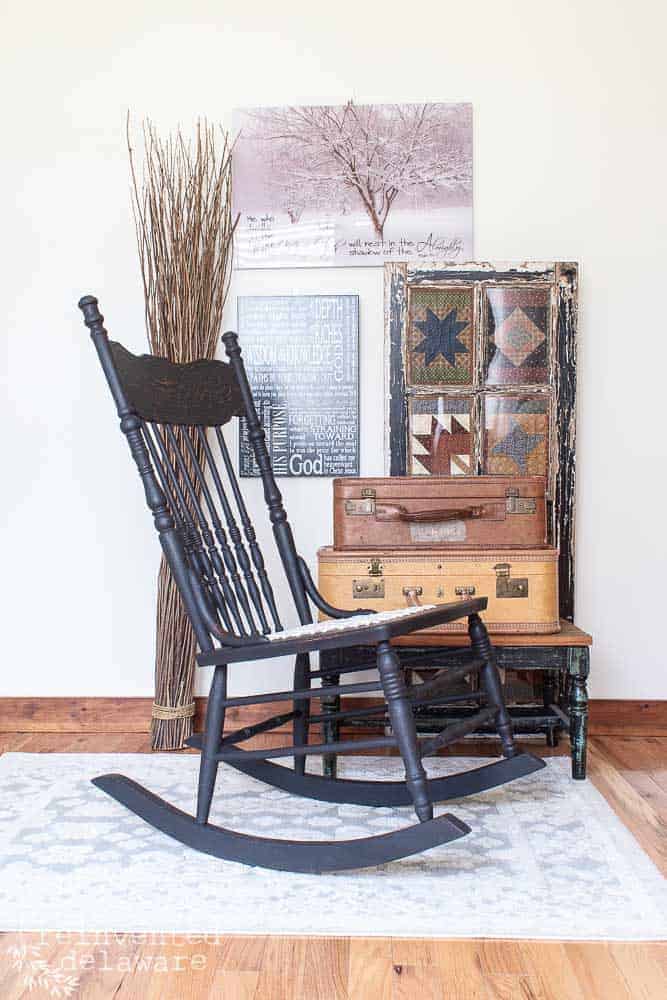
Yes, this rocker is a custom piece for one of our clients. She wanted the rocker painted and repaired.
So we prepped and painted the chair using Miss Mustard Seed Milk Paint in Typewriter and finished it with a hemp oil finish
Aaaaahhhhh, the classic look of an antique rocker!
Now for the scary part!
JUST KIDDING!! IT ISN’T SCARY AT ALL!!
I’m going to walk you through it step by step in the video below!
video tutorial
I’ll see you here when you finish watching the tutorial!
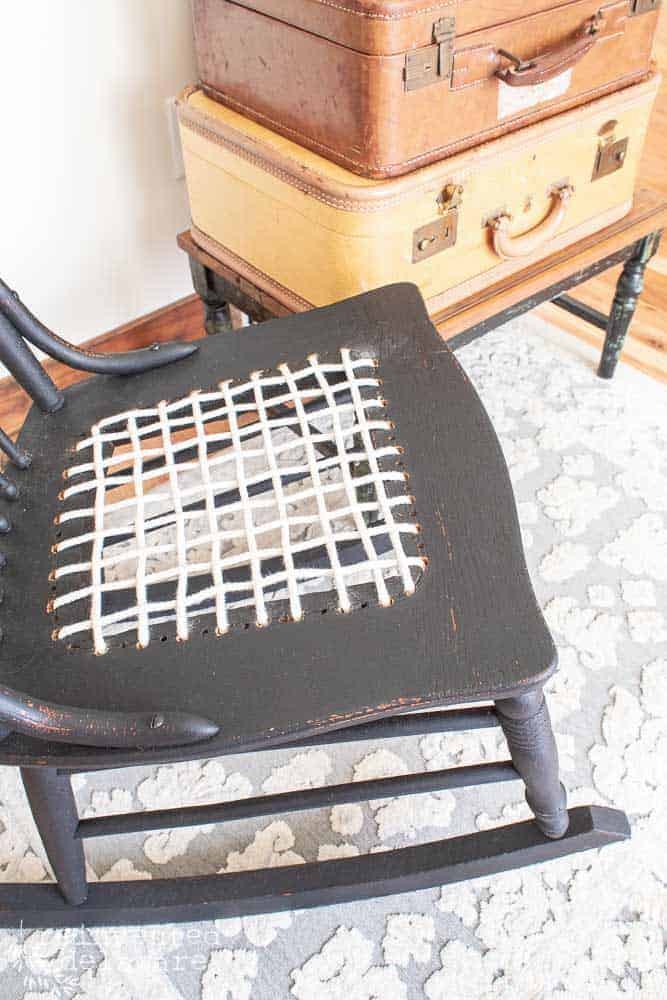
See, that wasn’t scary at all, was it?? And look at the results!!
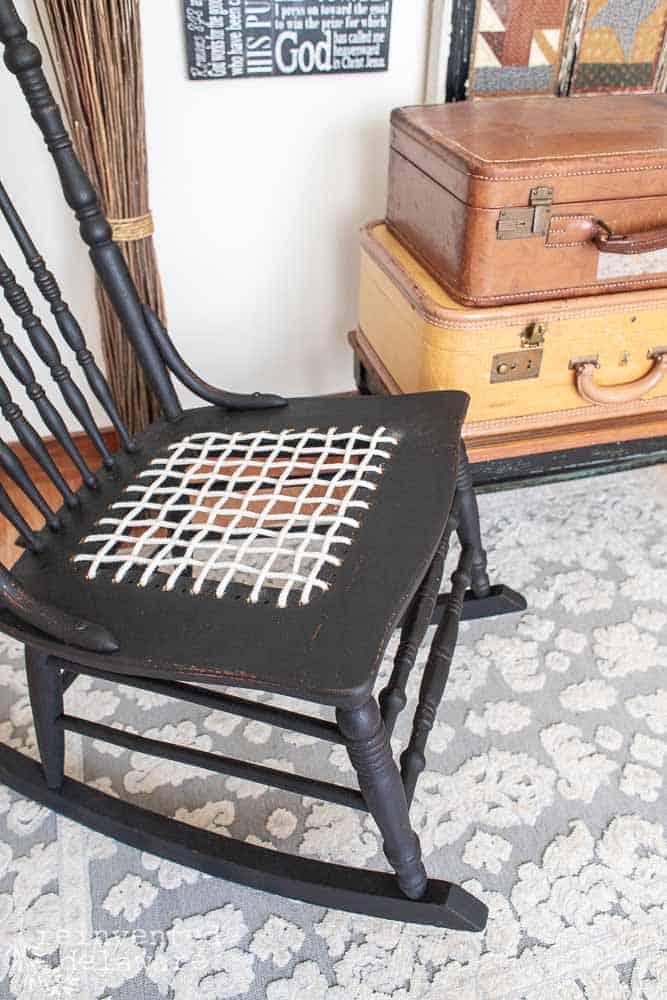
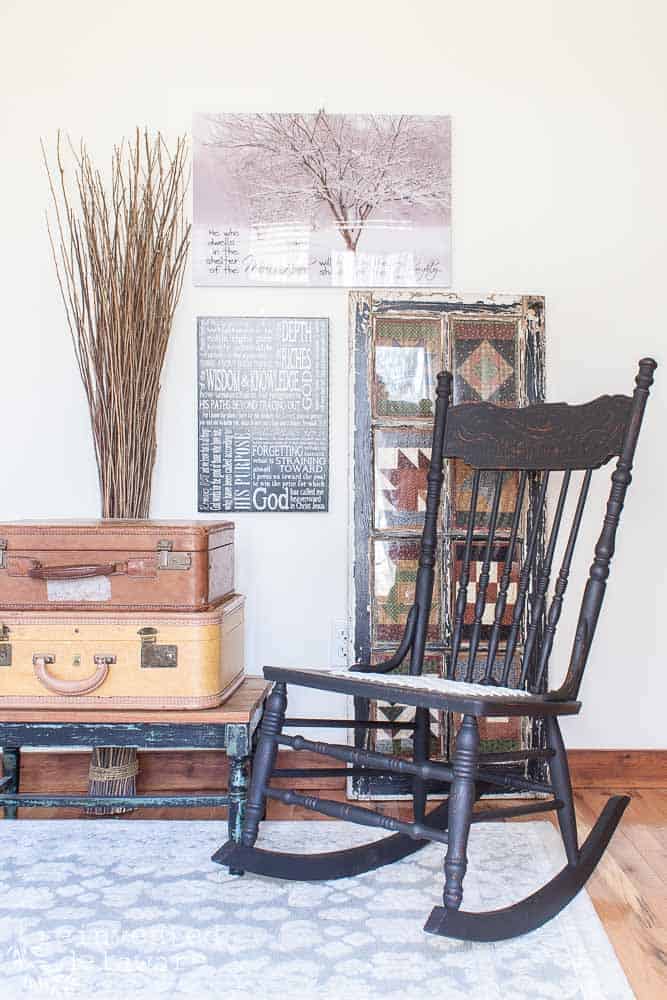
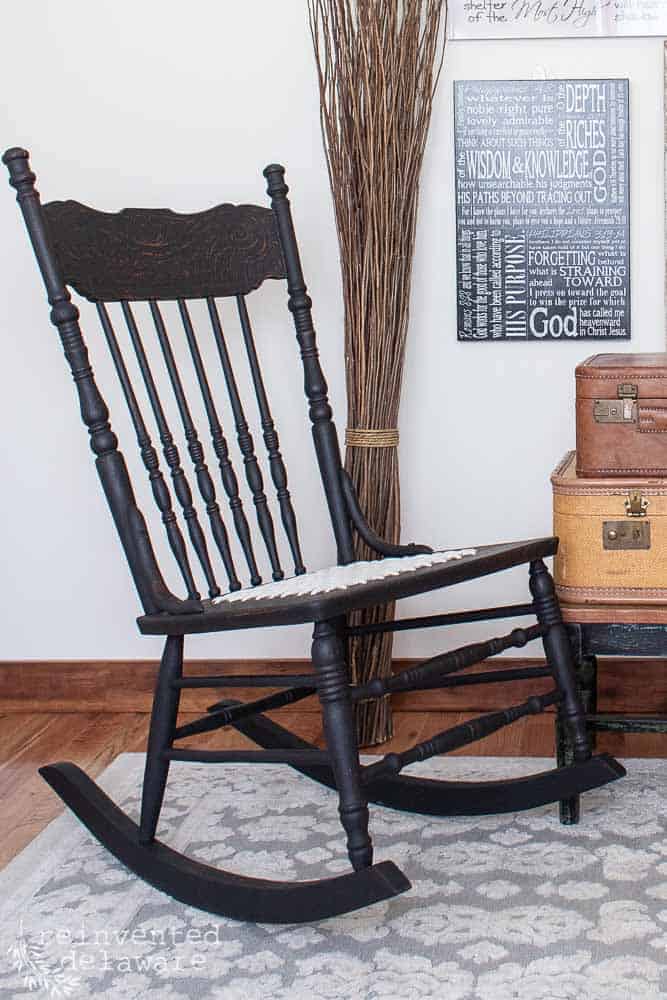
The cotton clothesline fits in perfectly with the style of the chair!
strong and durable
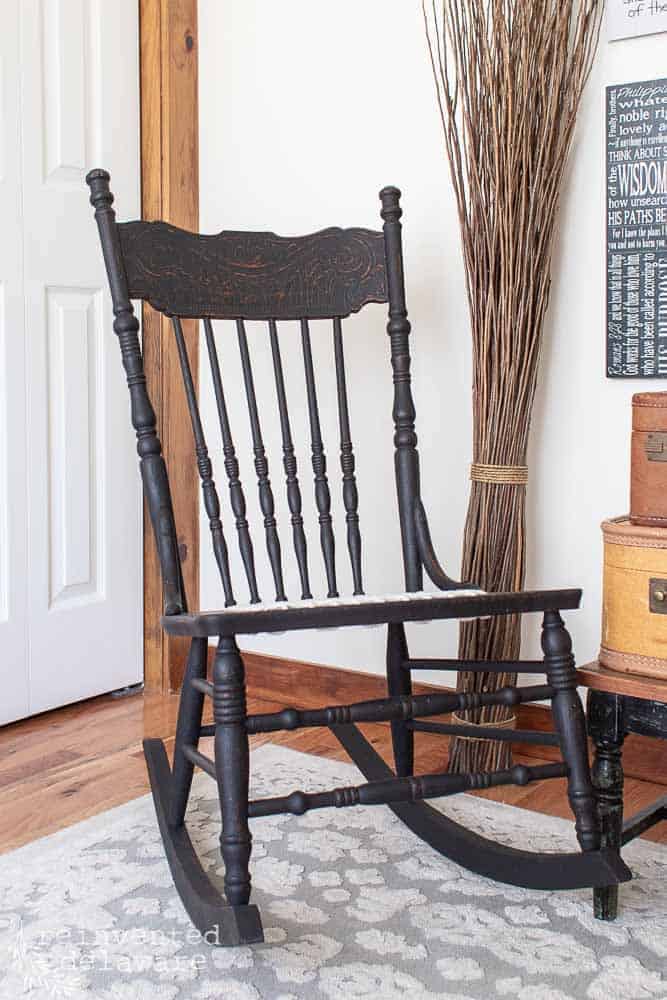
The clothesline rope is strong and will last for years. Think about how long clothesline rope can last outside in the elements with wet laundry hanging from it! It really is very durable!
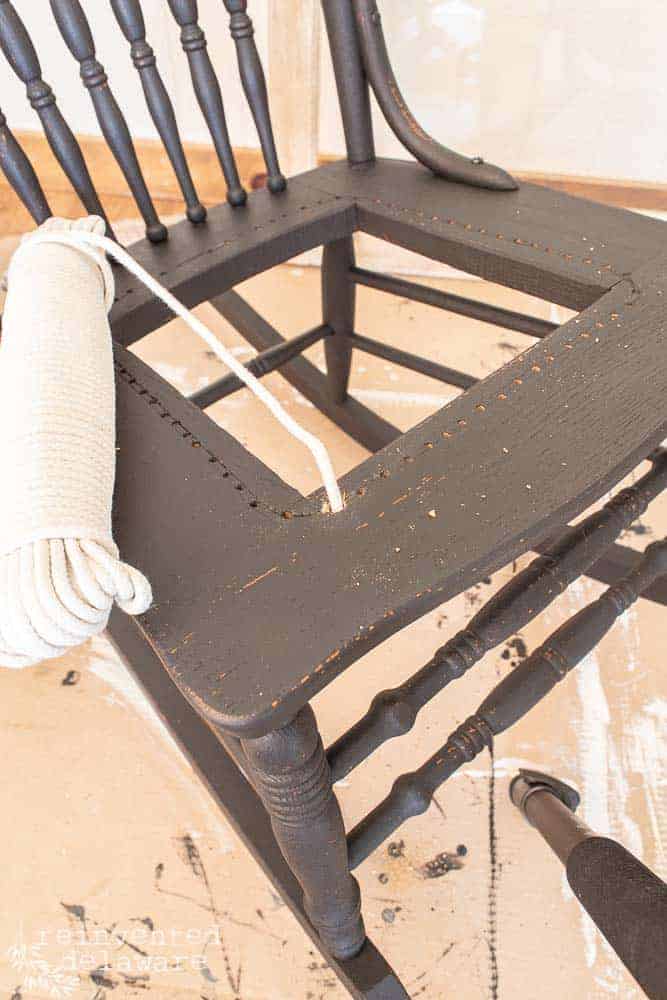
You’ll notice that I drilled out every other hole. On this rocker, the holes had been drilled very close and very small to hold the caning.
But since I needed larger holes to fit the rope, I was only able to drill every other one. If I had drilled each hole, it would have weakened the chair seat.
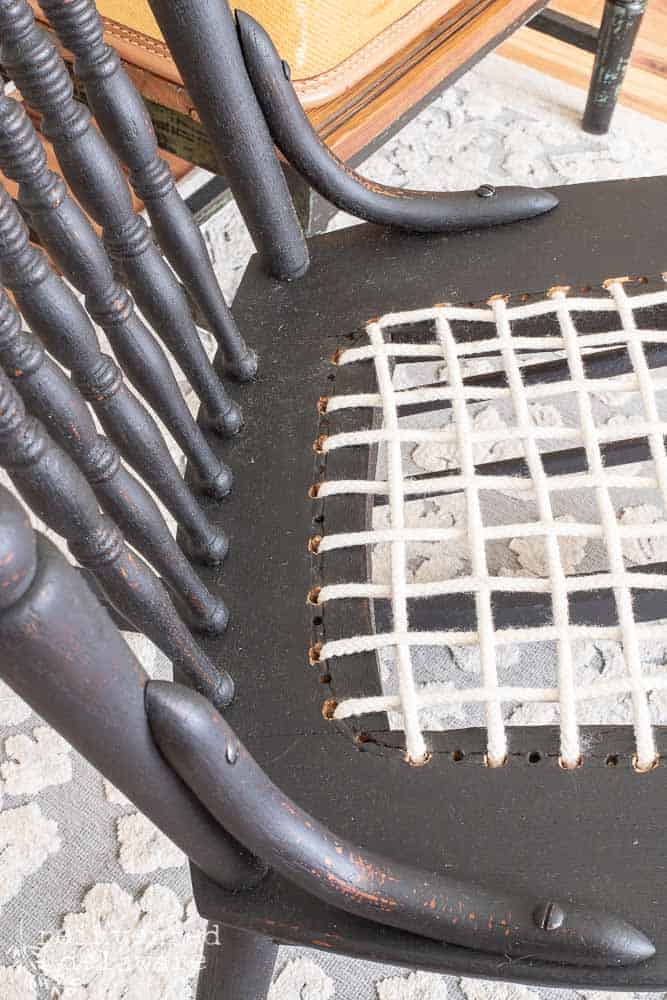
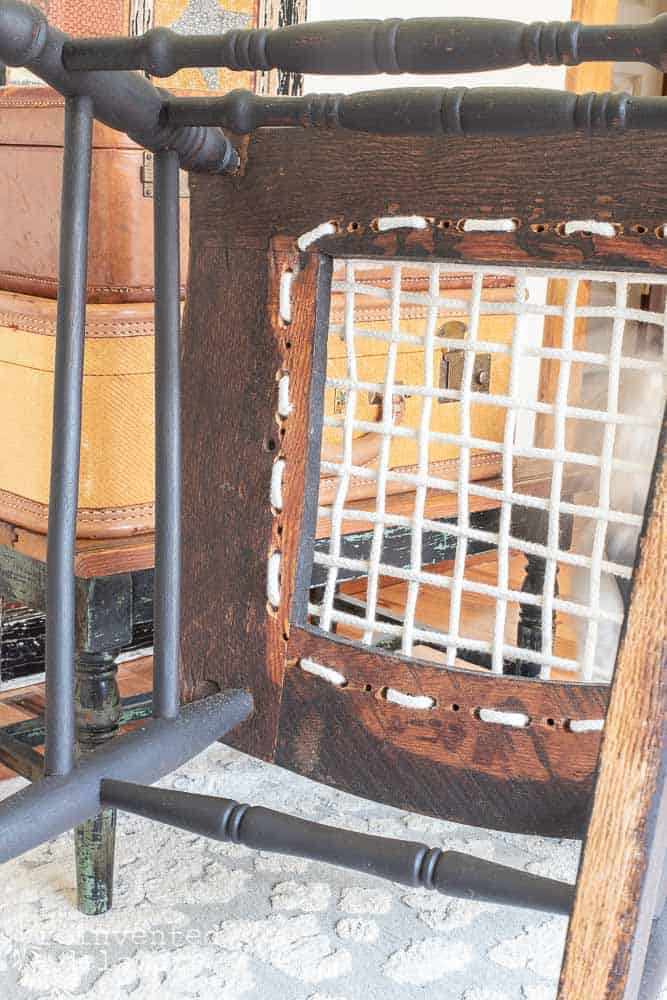
The underside of the rocker shows more detail about the weaving process. Plus it looks neat and tidy 😉
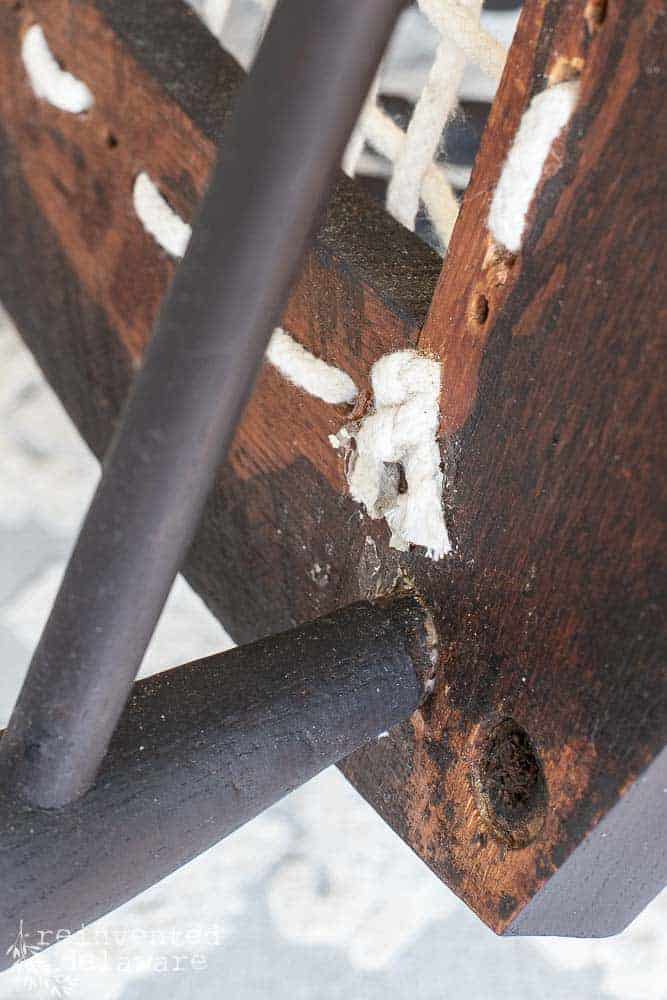
If the woven rope ever needs to be replaced, it would just be a matter of cutting the knot and pulling the rope out.
I added some extras security to the knot by gluing it with E6000 glue. Best. Glue. Ever.
paint choice
Let’s chat about the paint choice my client and I made. She wanted the distressed, chippy, antique look but wanted to change the look of the rocker.
She also wanted to highlight the carved details on the back of the rocker.
Milk paint was the obvious choice.
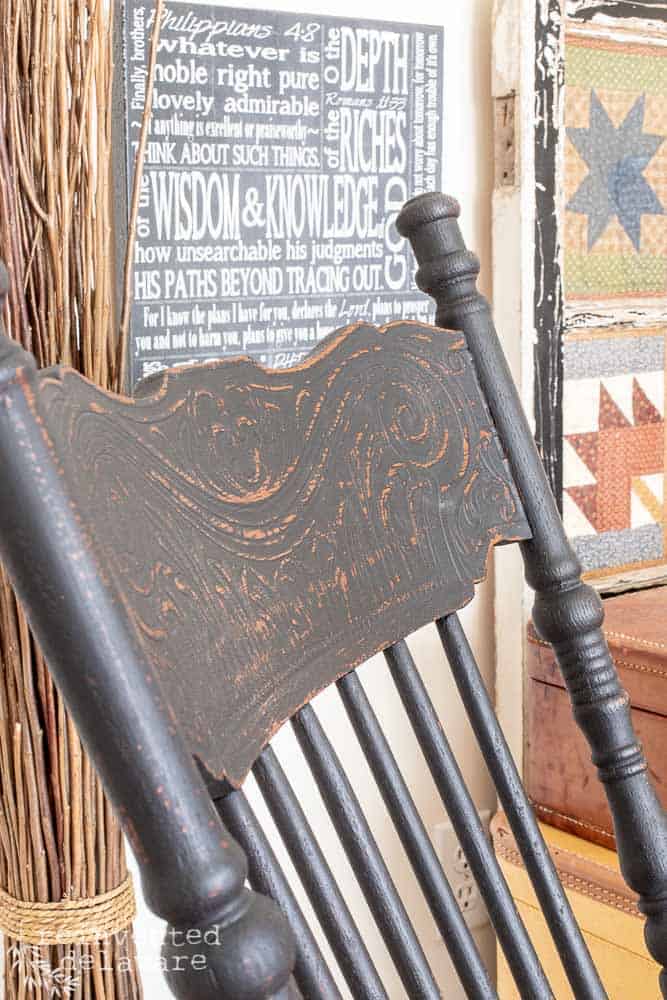
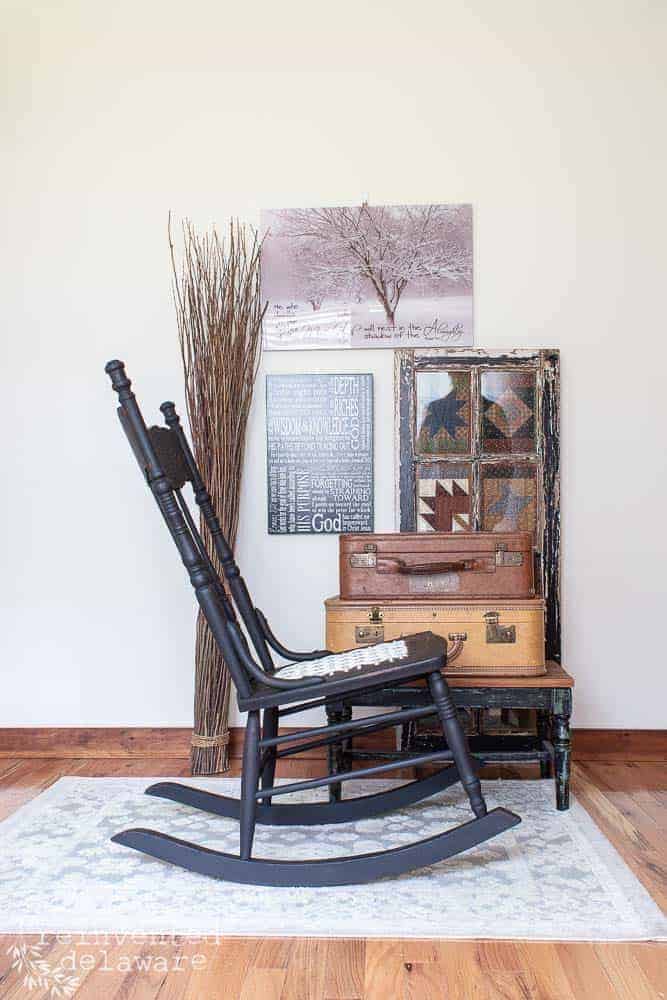
She chose Miss Mustard Seed Milk Paint in Typewriter after we discussed the benefits of milk paint.
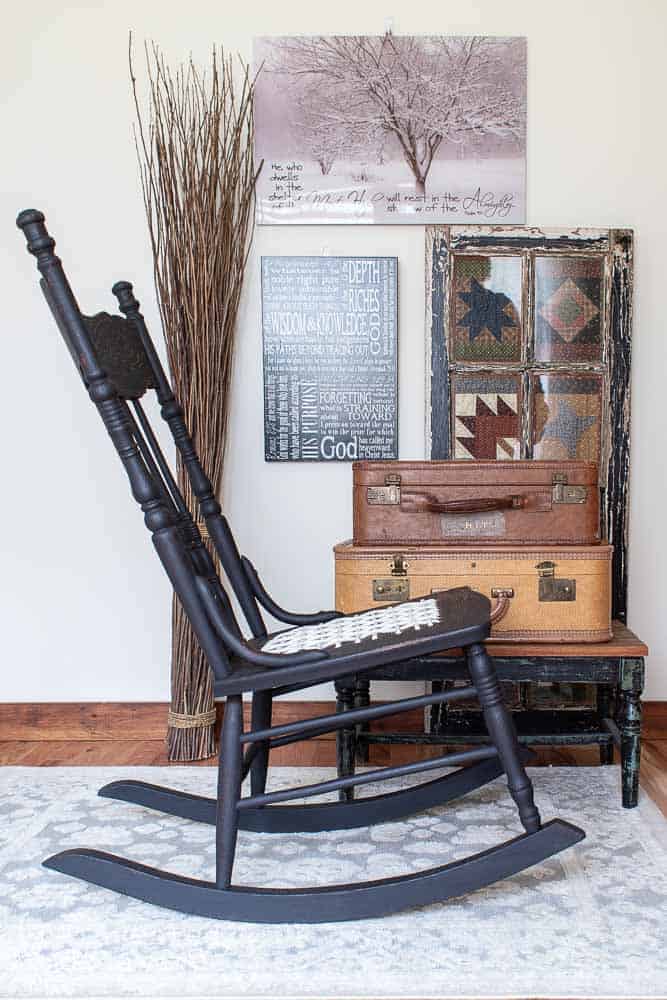
Milk paint delivers all the vintage goodness every time!
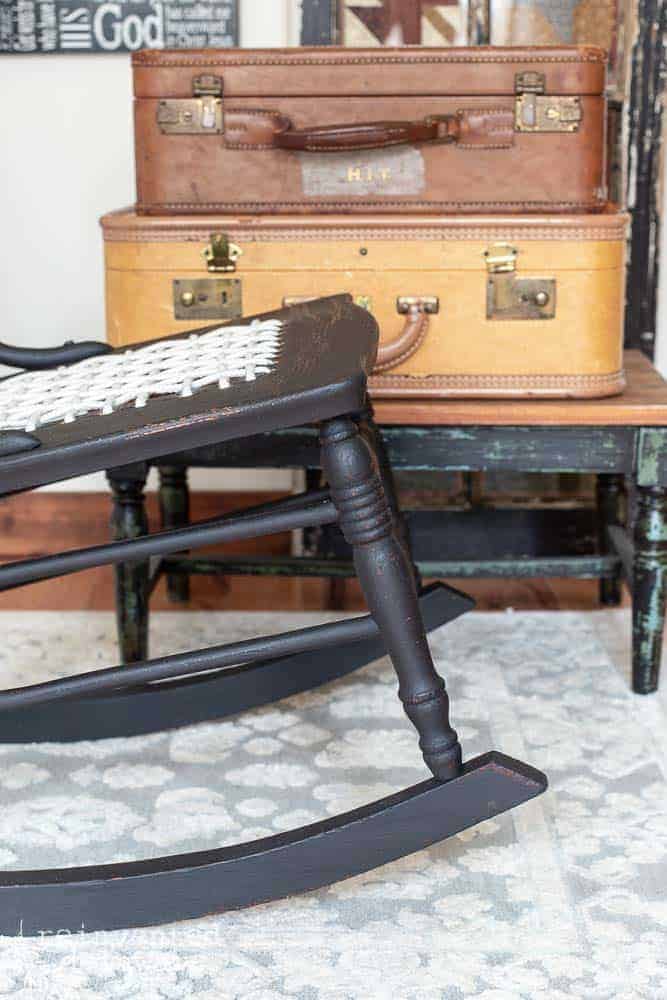
glad you’re here!
Thank you for stopping by today! You know we love sharing these free tutorials of our projects with you!
join our journey
You can also join our journey on Instagram and Facebook!
Feel free to pin any image to your DIY furniture boards! This alternative method for repairing caned chairs might come in handy someday
We are on Pinterest too so be sure to join us there.
Want to learn more about furniture repairs? I’ve gathered a couple of post just for you’1
Repair Damaged Furniture | Oval Coffee Table

Until next time…..


I love the framed quilt you have behind the rocking chair in the photo with this post. Can I commission you to frame a quilt for me in a similar manner?
Isn’t that quilt in a vintage window pretty?? It is actually mini quilts within each window pane. Each one is about 6″x9″ ish. But we can possibly find a way to frame your quilt! Send me an email and we can chat! Thanks for reading!