
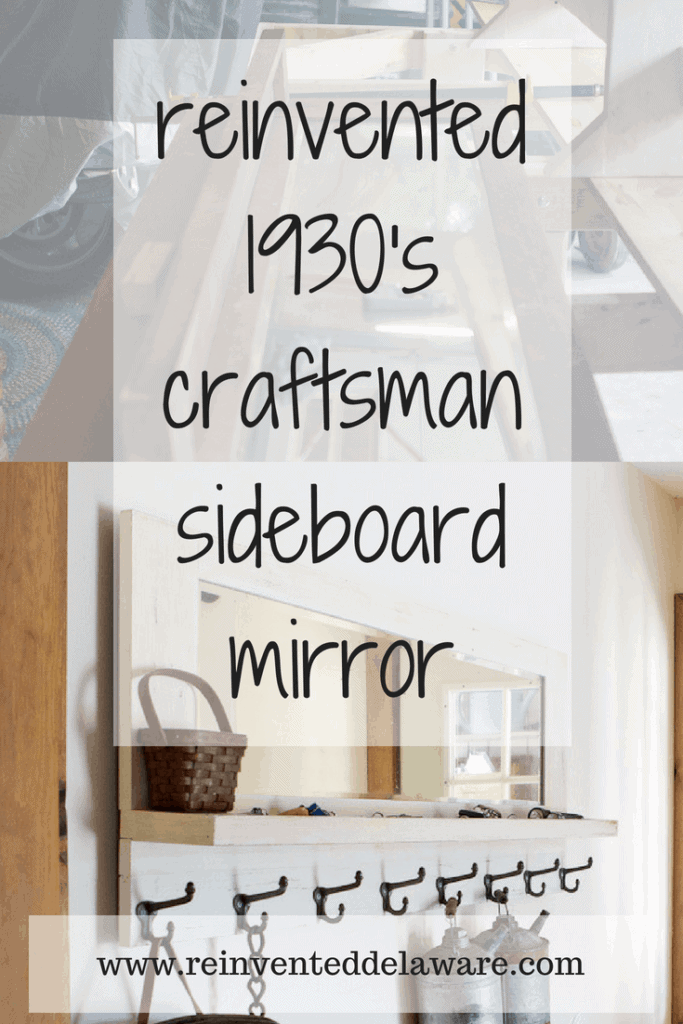
Repurposed Vintage Craftsman Mirror | Coat Rack
Vintage craftsman style furnishings
can be used in the modern farmhouse style of homes today. Let me show you how!
Craftsman style homes and furnishings are classic.
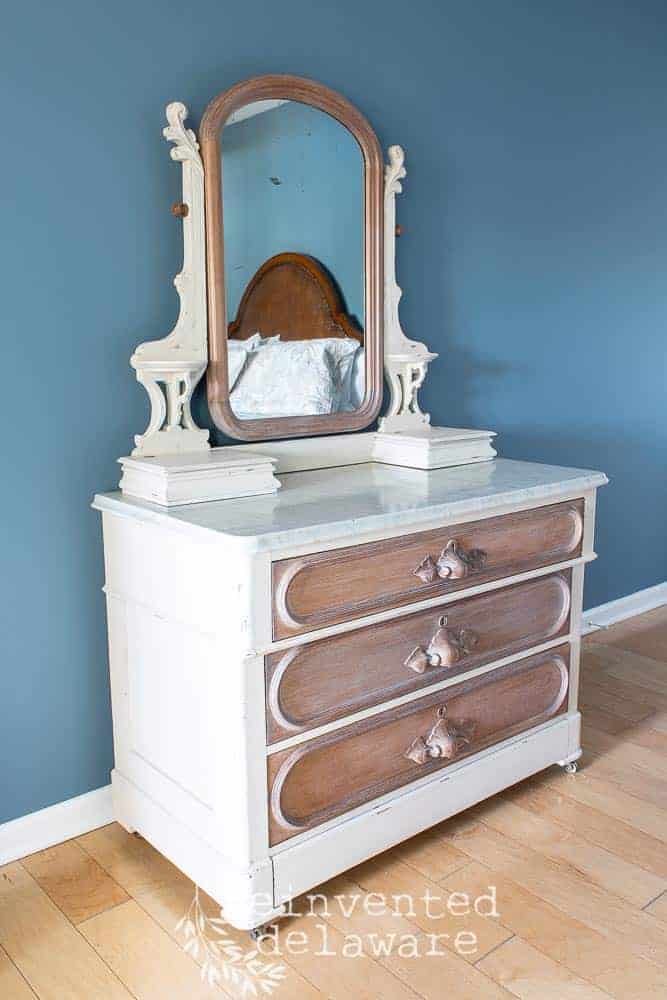
The age of the craftsman style came about after the Victorian era. People were wanting more of a simple look, clean lines without the frills and much less decorative than the Victorian era had produced.
Many of the homes have fallen into disrepair since the craftsman style faded around the 1930’s. With those houses being taken down all over the country, many of the built-in pieces can be found at auctions and estate sales.
Here is an example of a craftsman built-in sideboard. Dishes were stored in the cabinetry and platters of food would be been placed on the surface. See the mirror? Keep reading…..
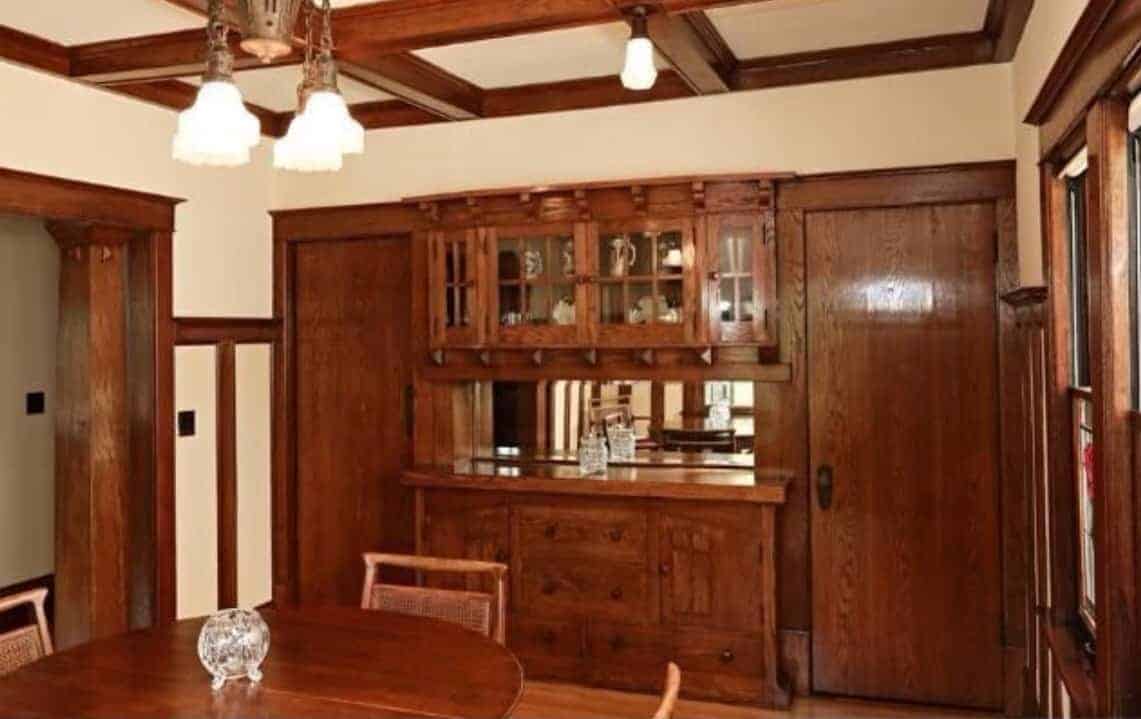
Image found on Pinterest – source unknown
This mirror is similar.
We came across it at the Annual Eastern Shore Threshermen & Collectors Event held each August in Federalsburg, Maryland. This piece would have been part of a built in sideboard in a dining room. Not all of the pieces came with it – the cabinetry that would have surrounded it was not with the mirror.
(BTW forgive the blurry look to this image – taking a camera straight from and air-conditioned house to a very hot and humid workshop without giving the camera time to adjust before taking pictures is never a good idea!)
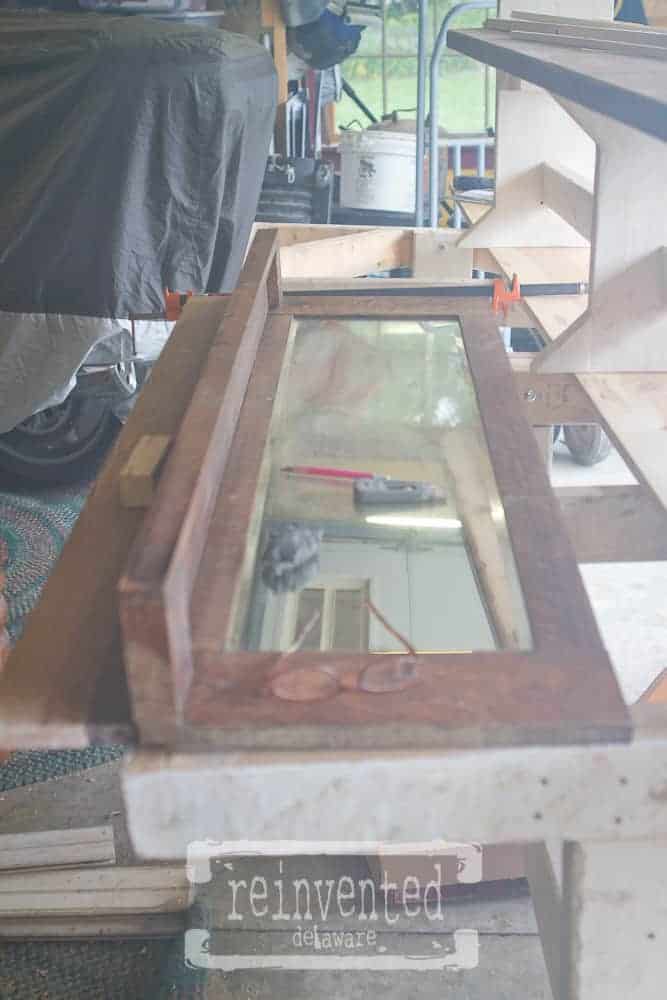
The piece is solid oak and very heavy. The mirror is beveled and had all of the aging crackles that old mirrors get with time. Perfect for the curated vintage look we have worked towards all of our married years!
See all the crackling goodness?? Just the kind of vintage I love!

But what in the world could I do with this large, very heavy leftover piece of history?
How could I make it a useful piece of furniture in our home without the rest of the piece being in tact?
My brain started moving pretty quickly when I realized the shallow shelf you see on the left of the mirror would be a great place to drop keys as we come in the back door located in our laundry room. Plus the mirror would make the laundry room feel larger. This is the entrance we use on a regular basis even when guests come – we are back door kind of people 🙂
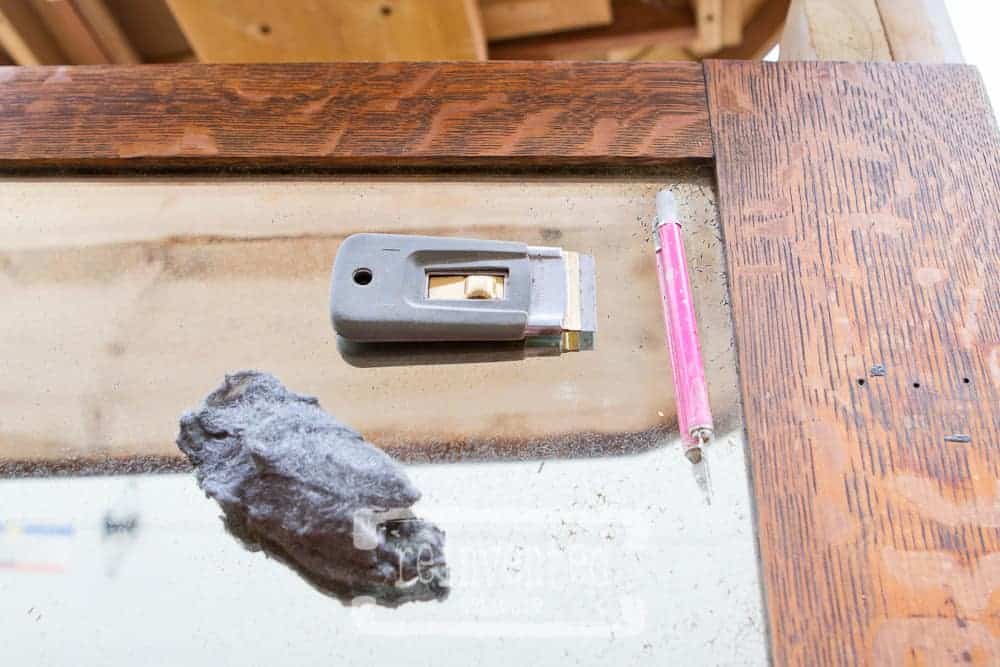
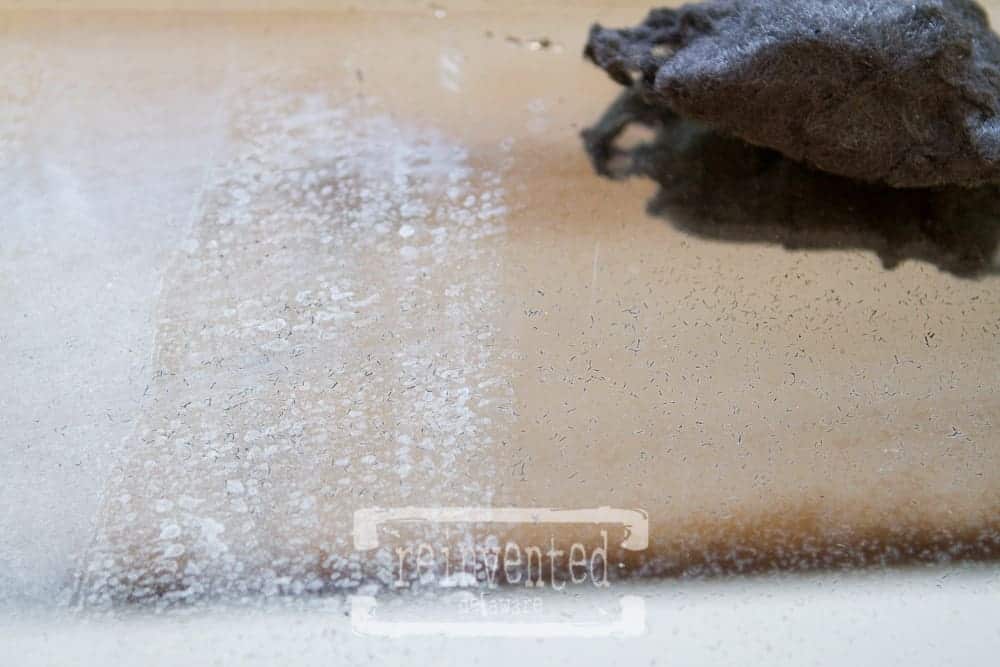
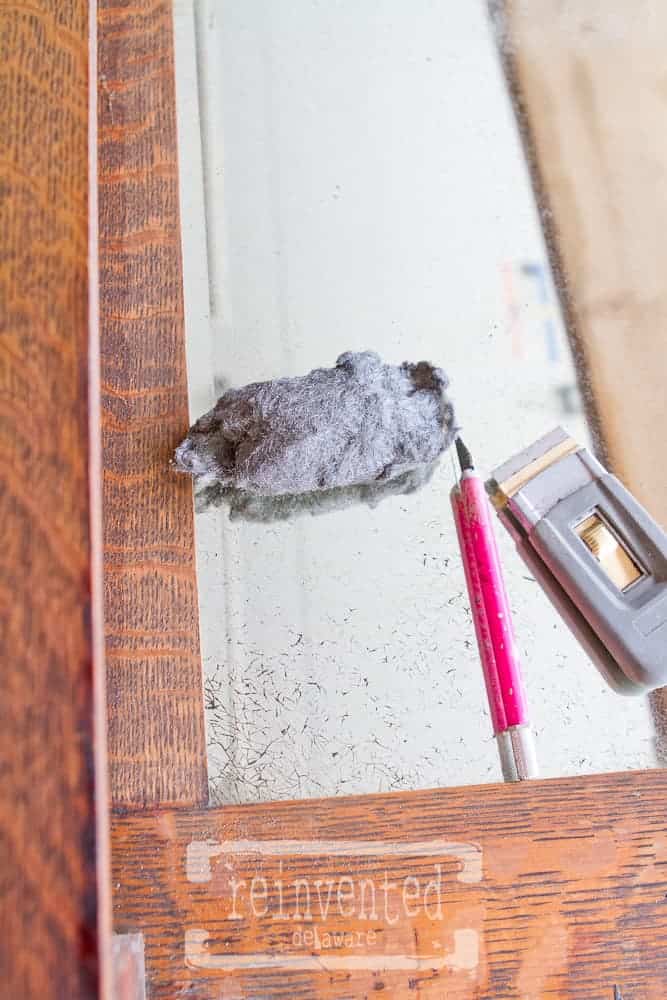
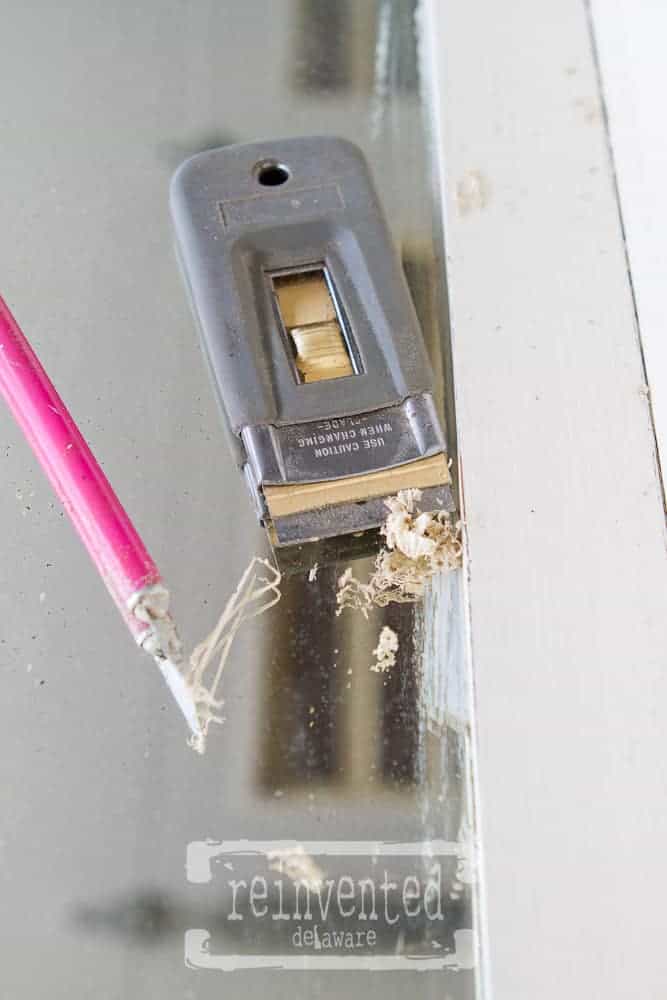
While I worked out the plan in my mind of how to use this near our entry way, I started to clean it. I decided to tackle the mirror first. Windex was not going to clean the gunk that had built up over the years. A straight razor blade and an X-acto knife scraped off a lot of the rough spots. Then #0000 steel wool brought out the beauty of the glass. I used a shop vac to get rid of all of the bits that I scraped and polished off. Be careful if you ever need to use a razor blade and X-acto knife. They are generally pretty sharp. Even the steel wool can cause some damage to you hands. Were gloves and a dust mask – the fibers and dust can be in the air as you are using the steel wool.
See the beautiful crackling on the glass? Don’t worry, I didn’t damage any of that aged goodness – it is all on the back of the mirror 🙂
As I worked on the mirror, I realized that this mirror could also be a great way to hang coats.
I had already planned on it being near the back door, so it was a no brainer. I just had to figure out how.
The mirror itself was large and the shallow shelf under the mirror ran the length of the mirror. But I had no place to add coat hooks. There was a small board just under the shelf but it was only about 1″ wide. Certainly not big enough for the vintage coat hooks I had in mind.
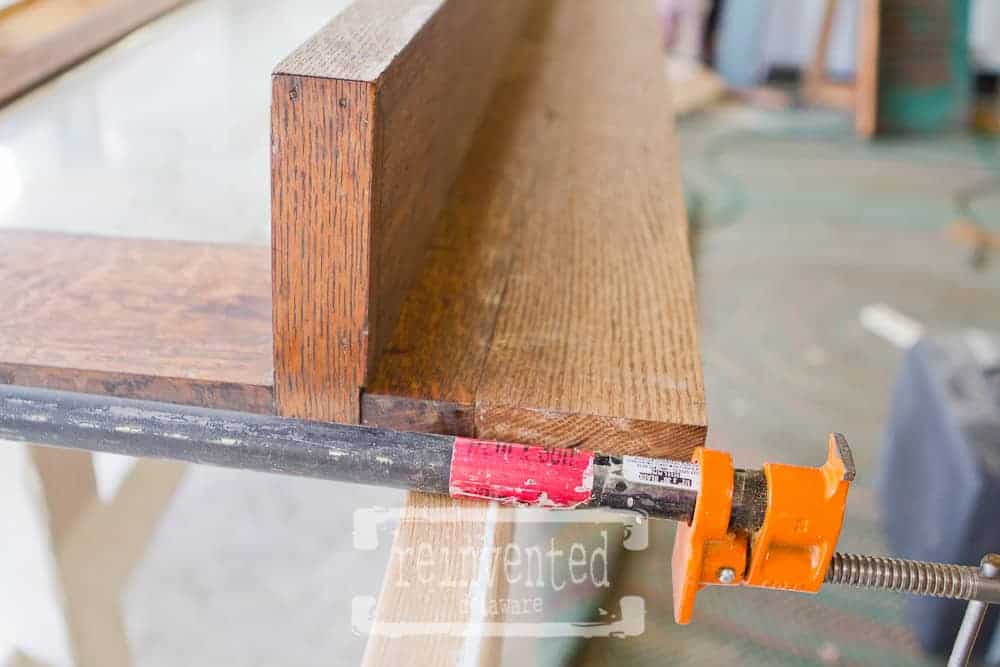
Can you see the line that runs the length of the board about an inch under the shelf? You can really see the line if you look just above the red label on the bar clamp. My husband had an oak piece of wood about 4″ wide and long enough to run the length of the mirror. Boom! Problem solved.
As with many of our projects, my camera could not keep up with our working hands!
So trust me on this one – it was a fairly straightforward plan for attaching the oak board to the mirror.
He drilled holes the size of a 1/4″ dowel rod in both the mirror bottom edge and the oak board edge being careful to line up the holes on each board. I cut the dowel into 2″ pieces and enough of them to fit the pairs of the drilled holes. I think it was about 6-7 pieces. Using wood glue and a wooden mallet we attached the oak board to the mirror. The dowels act as an invisible peg securing the two pieces together. Two bar clamps held everything snug while the glue dried. We also added metal mending brackets on the back of the mirror and oak board for added strength. Doing this made the section under the shelf wider – enough so that the coat hooks would fit.
Look closely at the image above and hopefully this will all make sense! I really need to get better at getting every shot of the the process with my camera!
Next up…. painting! I am a big fan of General Finishes products. The quality is out of this world! I even used their milk paint and gel stain to redo our kitchen cabinets five years ago. You can see our kitchen here. The cabinets are still in great shape 🙂
I chose to custom mix my own color using Linen and Snow White. Linen was more yellow than I wanted and Snow White was, well too white. I knew this combination would be perfect!

I don’t use any measuring tools when mixing my custom colors. We are going for the curated-over-time look in our home and I don’t want anything matchy-match. Not my style :). I like to use these little containers for mixing because they have a screw on lid for any leftovers. Plus I need a reason to buy the ice cream. Really? Not really – Talenti is just so yummy!
Let me mention here that I completely cleaned the wood first with one of my favorite cleaners, Simple Green. A bit of this solution in a bucket full of warm water works wonders on built up dirt! I don’t use much of the cleaner and I prefer a micro fiber cloth. The texture of the cloth helps to grab some of the dirt.
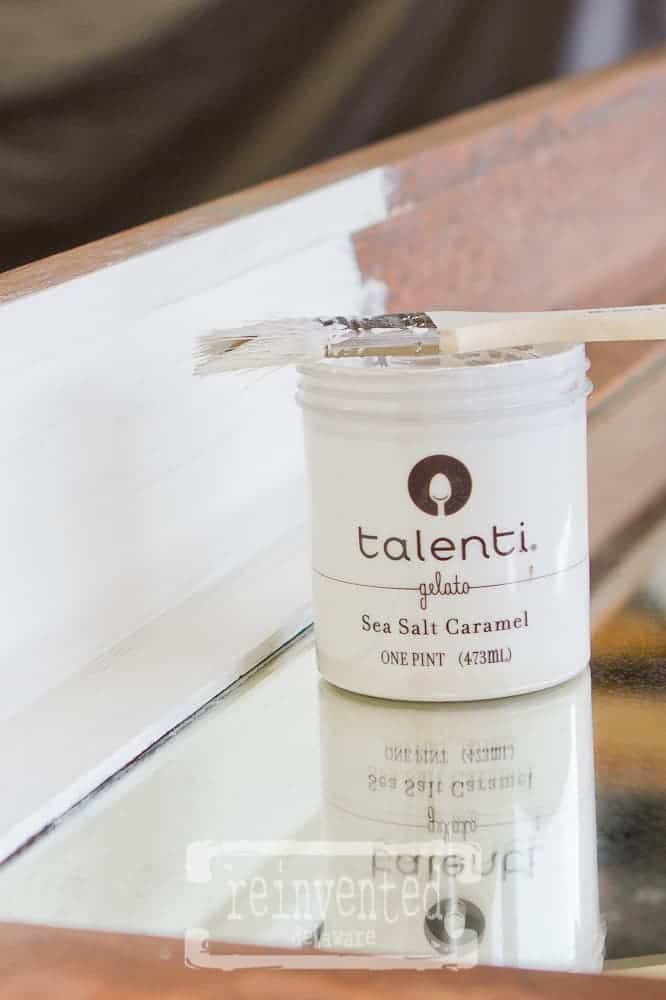
Two coats of paint is all it took! I did get some paint on the mirror but it came off very easily with the straight razor blade I already had available.
Let’s chat about the direction of painting.
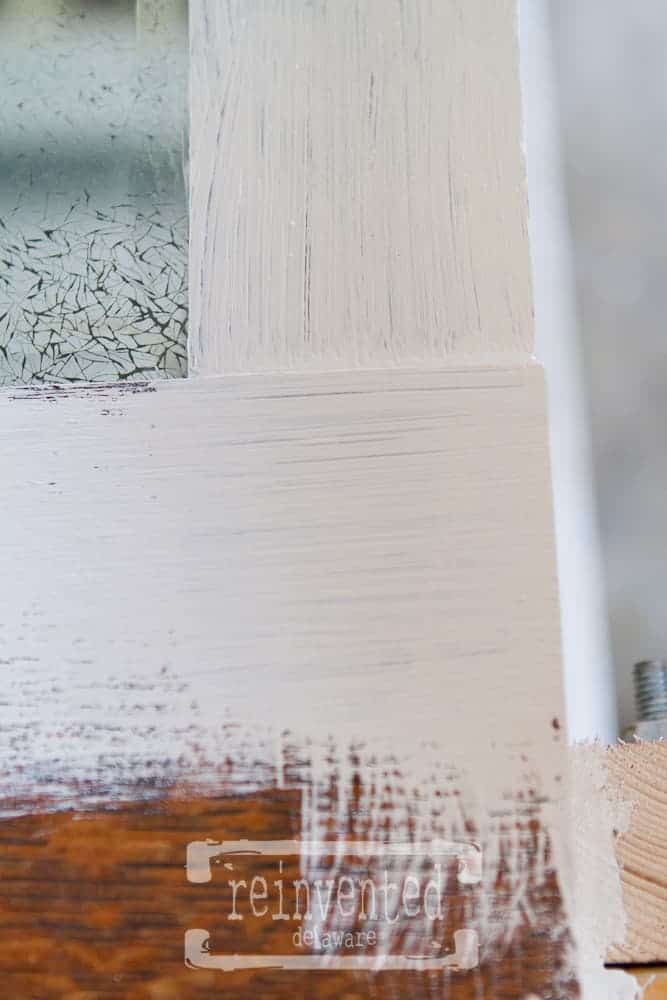
I am not a perfectionist when it comes to applying paint for the simple reason I want my painted pieces to have a do-it-yourself appearance. I like the feel of some imperfections in my painting but I do paint with the grain. That being said, I pay close attention to the areas of a piece that meet up with a section of wood that runs in a different direction. You can see below this kind of area. I paint with the direction of the grain but I am careful to clean up the edges.
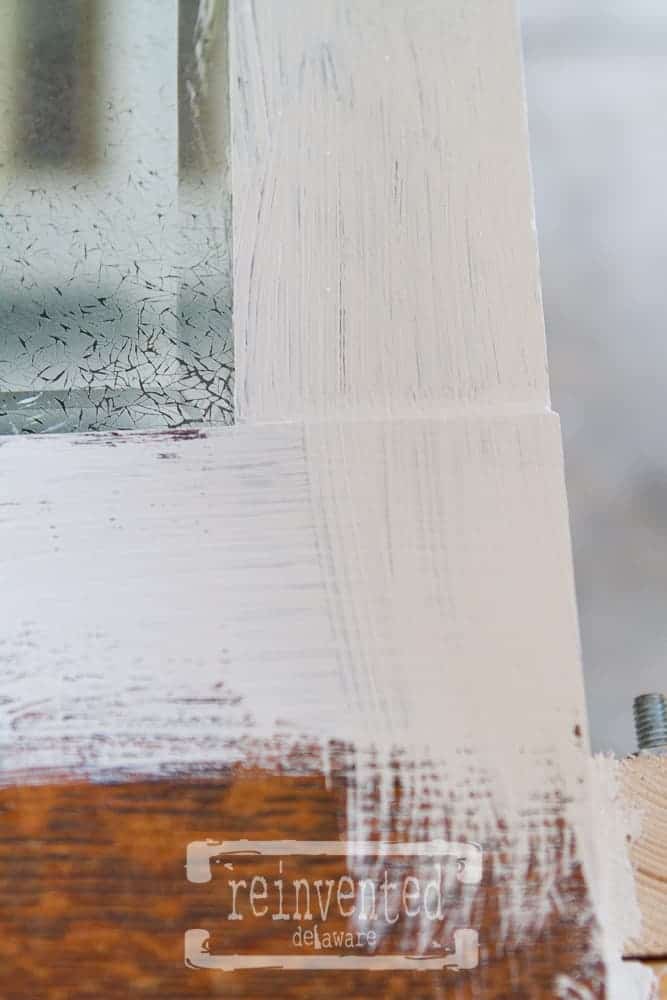
After painting the first direction I then go back and paint over the wood that goes in a different direction. Do this before the paint dries and be sure to pay attention to the grain of the wood! It does make the finished project more polished, in an imperfect kind of way 😉
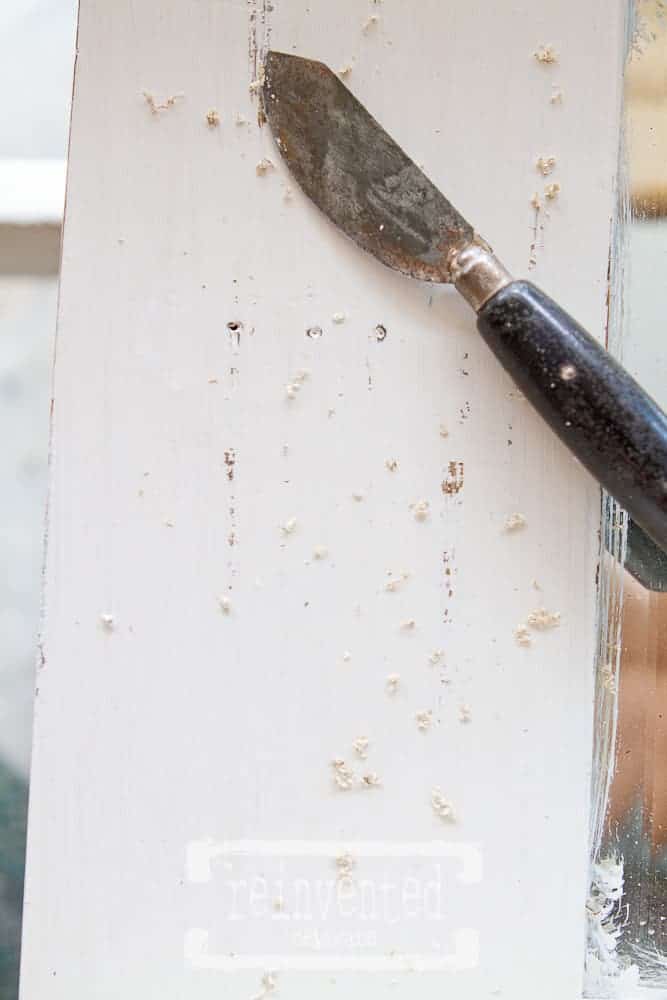
One of the methods I use for distressing furniture is with this little knife. I am very careful not to gouge the wood with the knife by holding the blade at a 45* angle as I carefully scrape off the high points in the piece. I also do this on the edges and any place where natural wearing would occur.
The coat hooks we chose to use have special meaning to us.
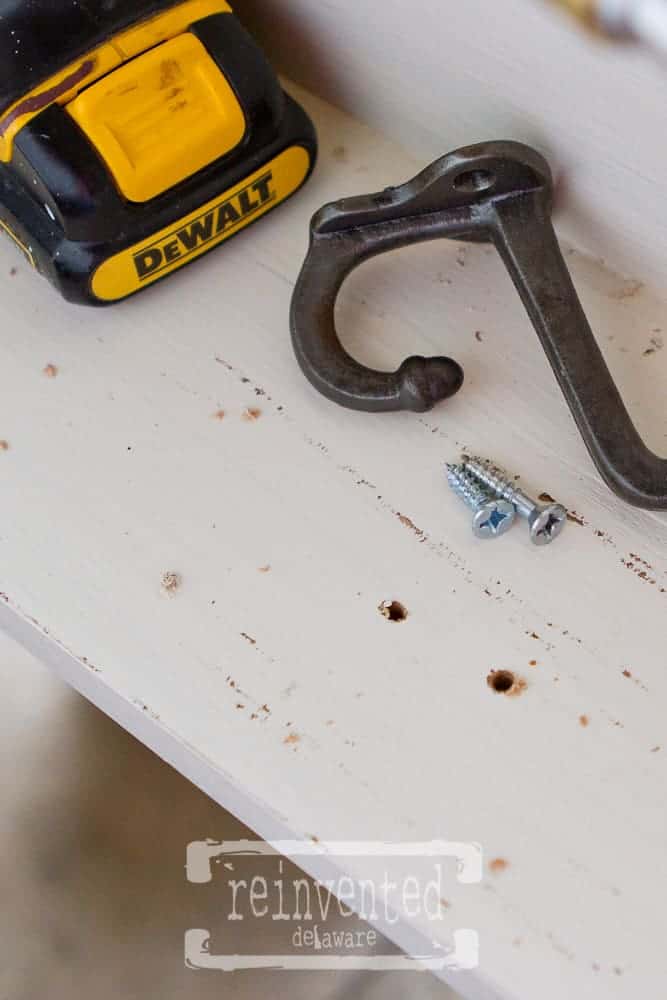
My husband’s father worked for the school system in our area in the maintainence department for many years. He came across so many things that he was told to throw out. Yes, I mean the garbage! Things like children’s oak desks and school chairs, wooden lockers and cast iron coat hooks! Can you believe that? He had no problem getting theses things out of the dumpster and we are grateful he did! Look at those coat hooks!
We measured and spaced them out evenly along the 4″ oak board we added to make the bottom wider. Be sure to always predrill. It makes the process of attaching the hooks so much easier.
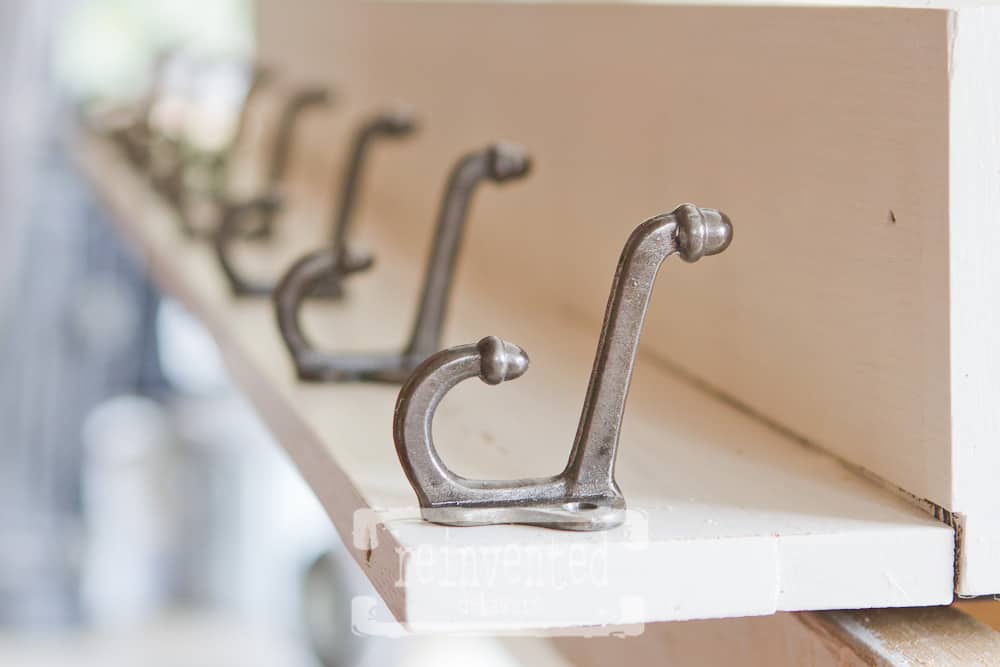
They look like little soldiers ready to do their job :). You can see here where the new board meets the original 1″ wide part under the shelf.
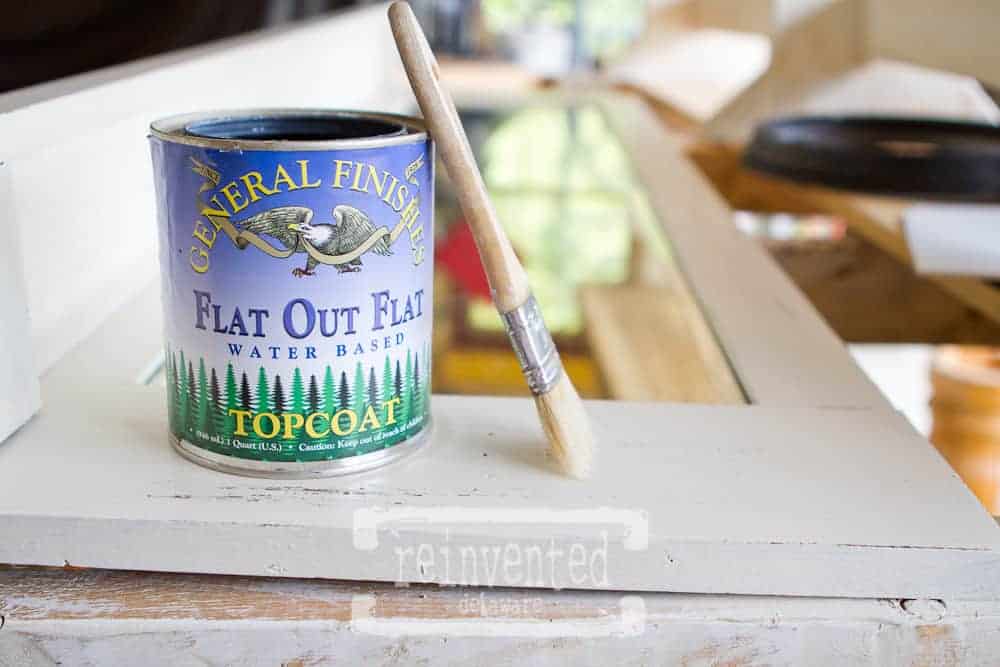
By the way, before adding the hooks I used General Finishes Top Coat in Flat Out Flat. It left a beautiful flat finish that helped to keep the integrity of the age of the piece.
And here is the finished reinvented coat rack!
We installed it on the wall using a French cleat to hang it. I will do a post on making a French cleat soon. It is a way to secure a heavy, fairly flat piece to the wall. We hung this in our laundry room in the summer so we don’t have any coats on it yet.
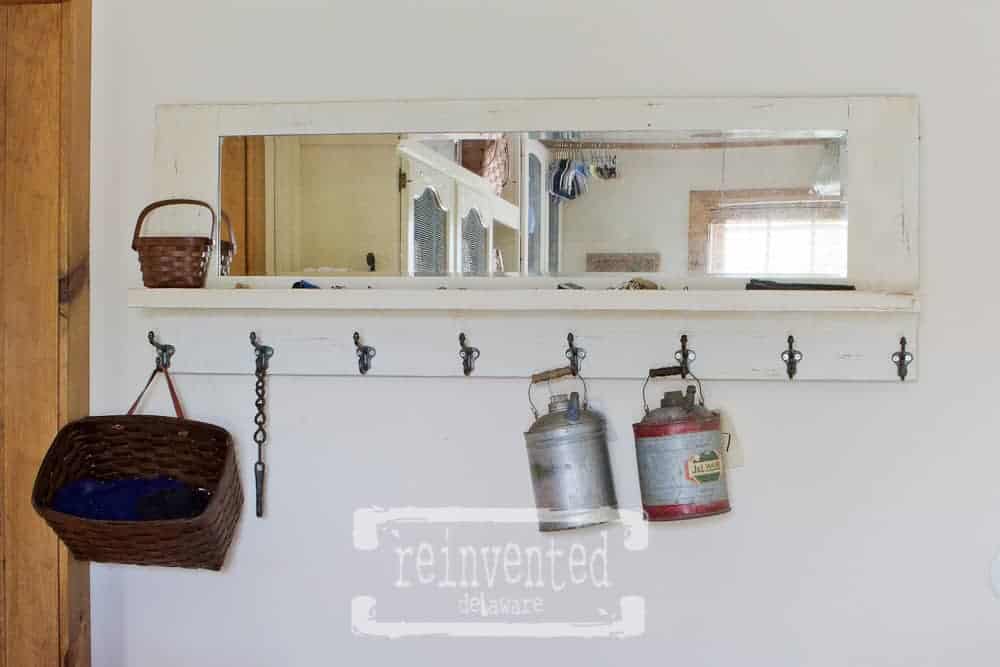
The shallow shelf makes a perfect drop off for keys. And the mirror makes for a nice place for a last glance before going out of the door. The room even feels a bit larger because of the reflective aspect of the mirror.
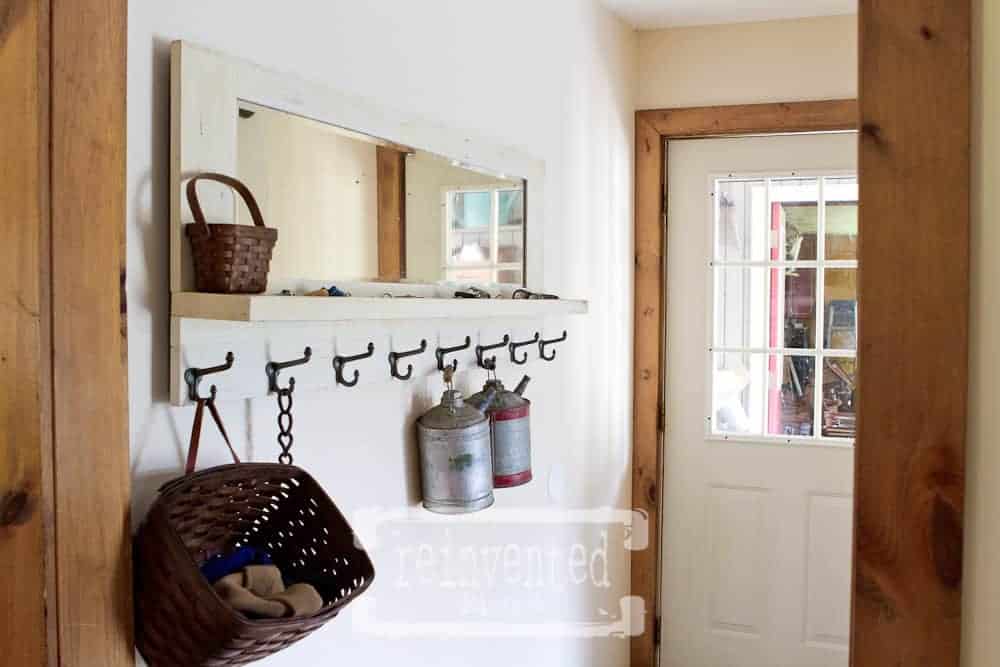
Thanks so much for stopping by for this tutorial! This has been one of my all time favorite reinventions to date. Who knew you could turn a section from a 1930’s craftsman built-in sideboard into a useful coat rack for you laundry room!
Let me know of a project you have reinvented! I would love to hear from you :). Feel free to pin this image for inspiration in your own home!
Until next time, keep reinventing!


Your husband is SOOOOO talented!!!
Isn’t he thought?? Where on earth did all that talent come from I wonder!