
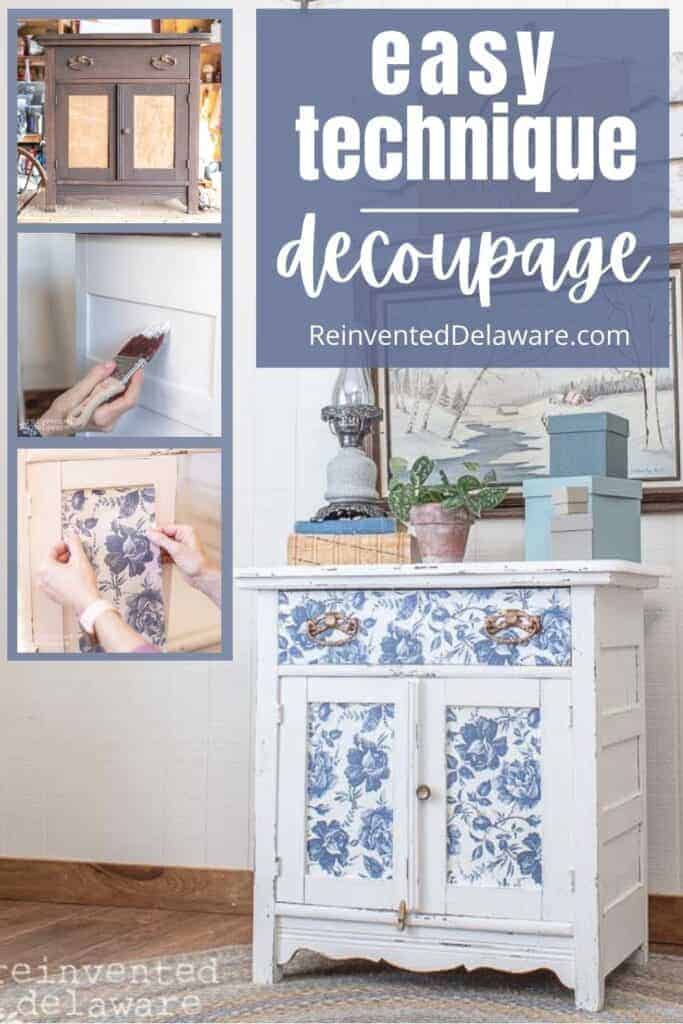
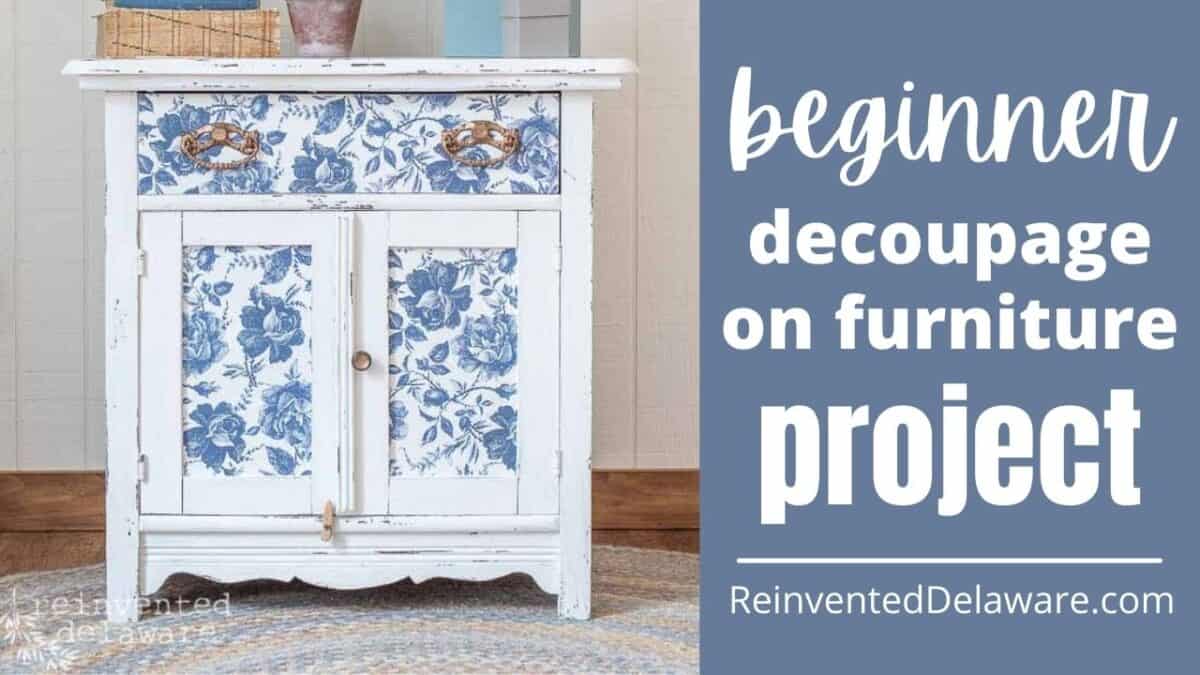
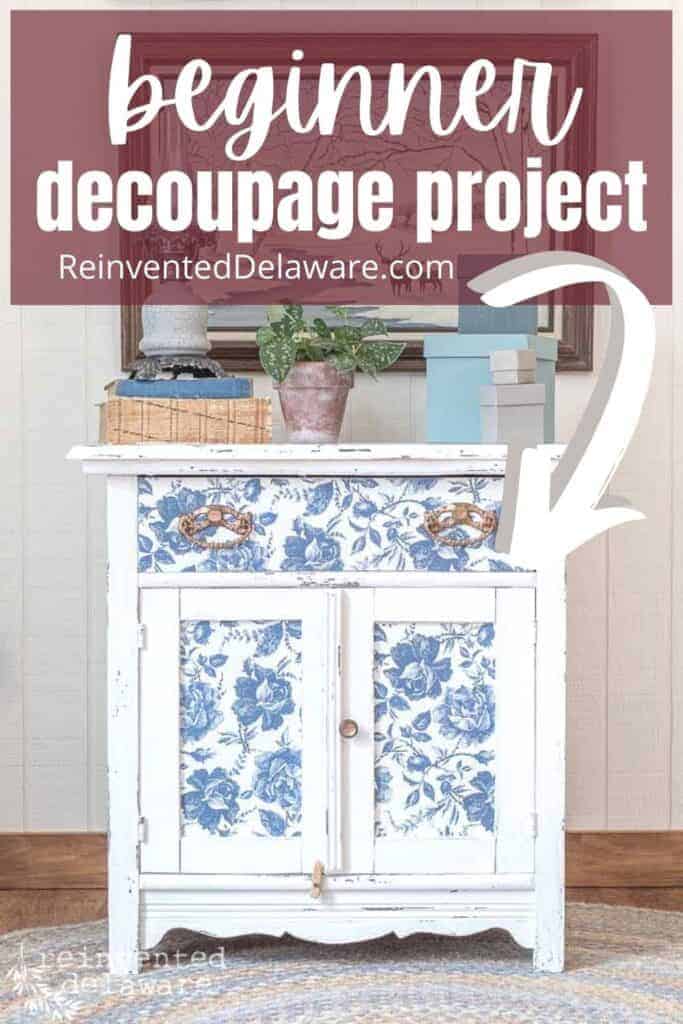
How to Decoupage Furniture A Step-by-Step Guide
A step-by-step guide teaching how to apply decoupage paper on old furniture pieces for an easy DIY furniture makeover project.
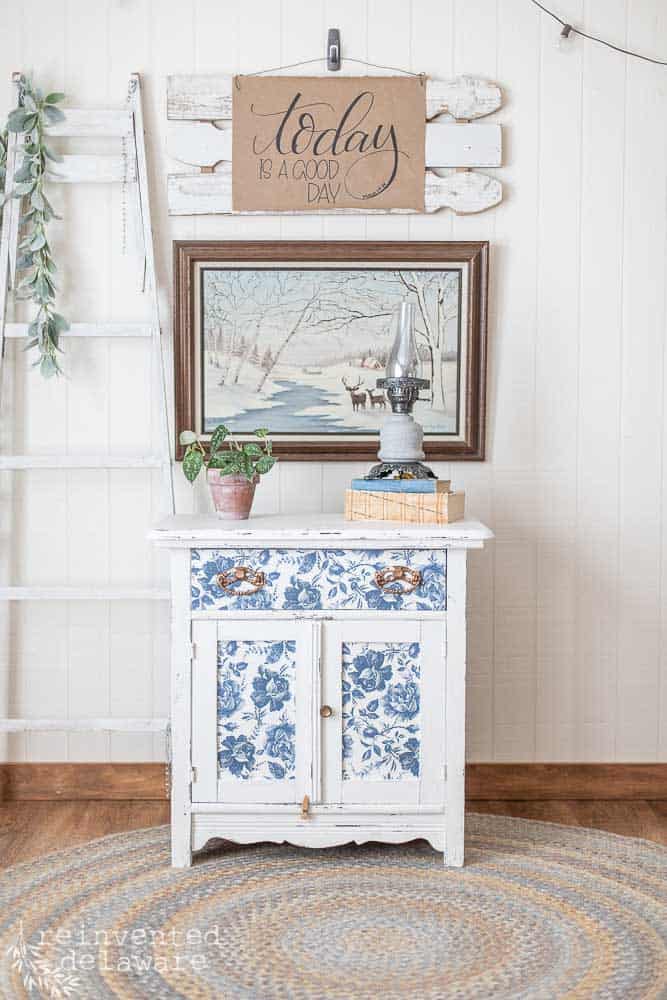
decoupage ideas for vintage furniture
Decoupage projects are making a comeback!! Yay! In the last few years, I have noticed more and more decoupaged furniture projects including dressers, armoires, and washstands. Decoupage is a creative way to upcycle home decor and furniture.
So, I am jumping on that bandwagon and I want to show you decoupage techniques that are beginner-friendly.
The following post may contain affiliate links. That means if you click and then buy something, I will make a small commission at no additional cost to you! Thank you for supporting my blog. full disclosure here.
This post is sponsored by Dixie Belle. All opinions are my own!
prep for decoupage
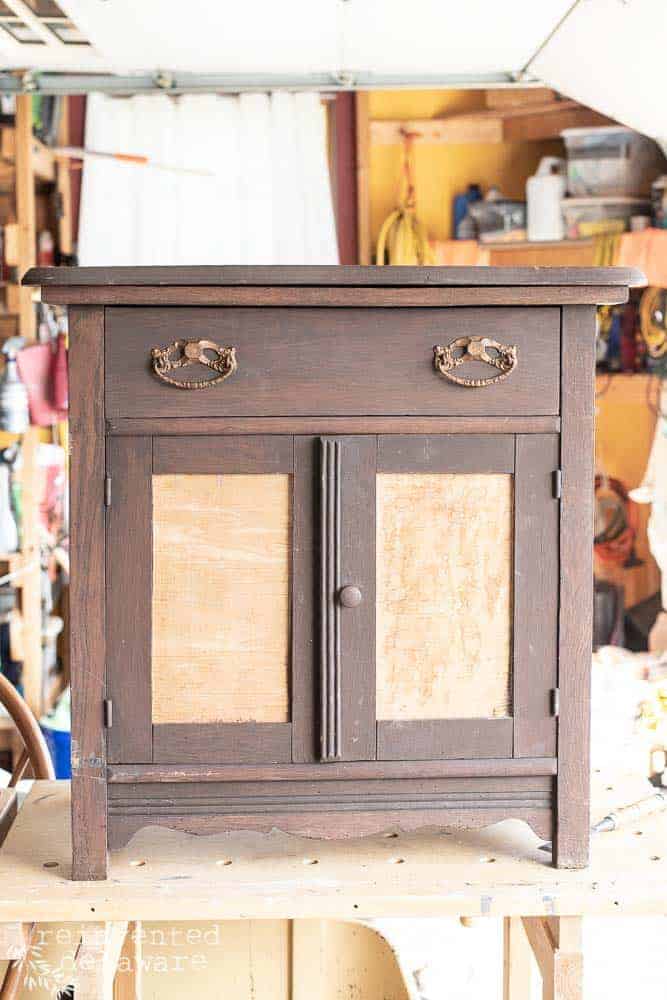
The first step in any decoupage furniture projects you do will be the prep. These steps will help you to get the best results for a fresh look on an old furniture piece of any kind.
Below are the basic prep steps I take with most of our pieces. Later in the post, I will share a short video tutorial of the process of creating a vintage look like you see on this washstand.
You will also find my guide to Before and After Furniture Makeovers post helpful! Be sure to check it out for more details!
Furniture Prep Steps:
- remove hardware
- remove loose veneer
- fill big gaps or holes with Dixie Belle Mud
- lightly sand, especially in the areas the veneer was removed
- clean with a shop vac
- wash with a solution of White Lightning Cleaner and hot water
- rinse with a hose or wipe down with clean damp cloth
- allow to dry thoroughly in the sun
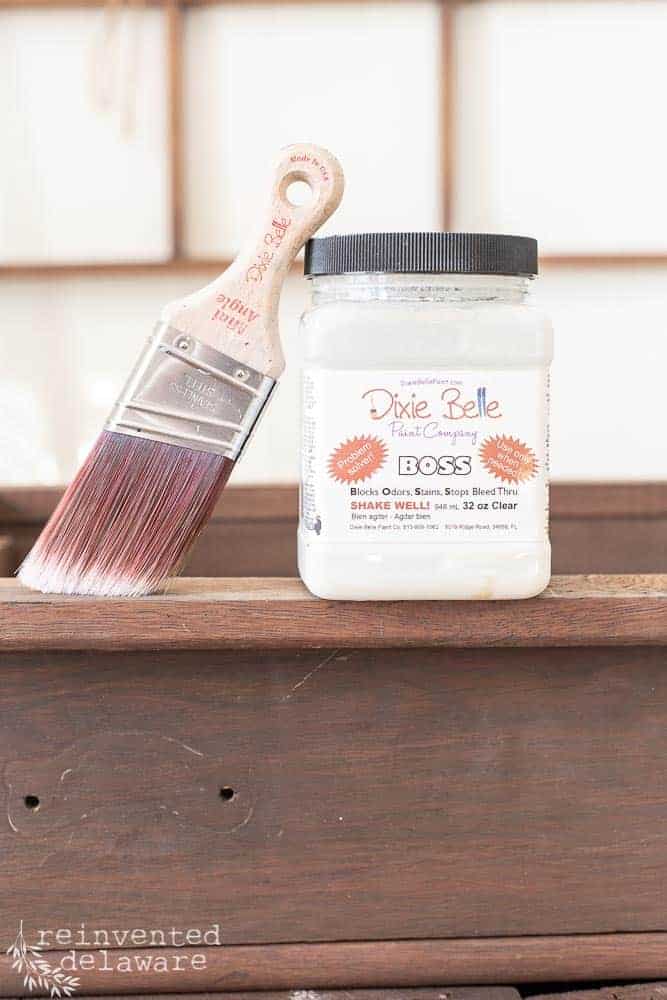
- apply two coats of stain/odor blocker like Dixie Belle BOSS
chippy paint the wood furniture
This piece called for a chippy paint finish and it’s a great way to add a personal touch to furniture makeovers. It’s an easy paint finish to create.
step one: seal odors and stains
This step is optional. If the piece of furniture has stains and odors, it’s best to seal those before painting and after cleaning. I use an all-in-one stain and odor-blocking product. Apply two coats and allow the coats to cure overnight for the best results.
step two: apply beeswax resist
After prepping this antique washstand, I used a chunk of beeswax in areas where I wanted the paint to chip away. I am a huge fan of chippy paint. Simply rub the beeswax on those areas you want chippiness and then get ready to paint.
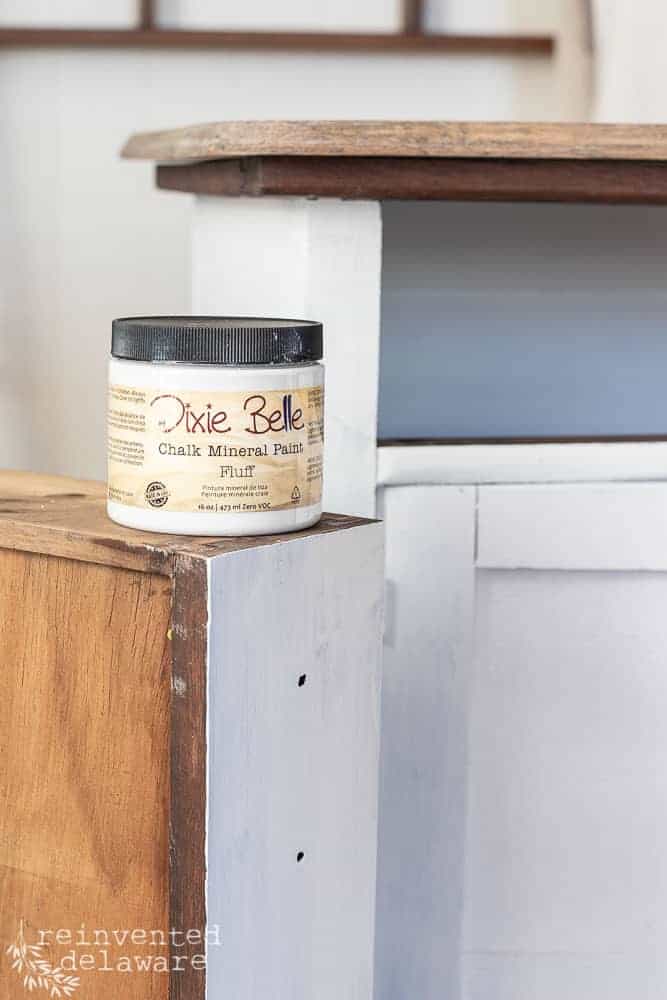
step three: paint the furniture surfaces
Then I applied two coats of Dixie Belle Chalk Mineral Paint in Fluff. The white tone of the paint matches perfectly with the background of the decoupage paper I chose for this furniture piece. Allow the paint to dry thoroughly between coats and after the second coat.
step four: scrap off the paint
Gently use a putty knife and scrape away the paint in the areas where you applied the beeswax. The paint will easily come off in those areas creating a chppy vintage look. By the way, don’t wait too long before you scrap away the paint. Chalk paint will stick to anything and when it cures, it can be hard to remove even in the areas with the beeswax resist. Don’t wait any longer than a day and preferably the same day you paint the piece of furniture.
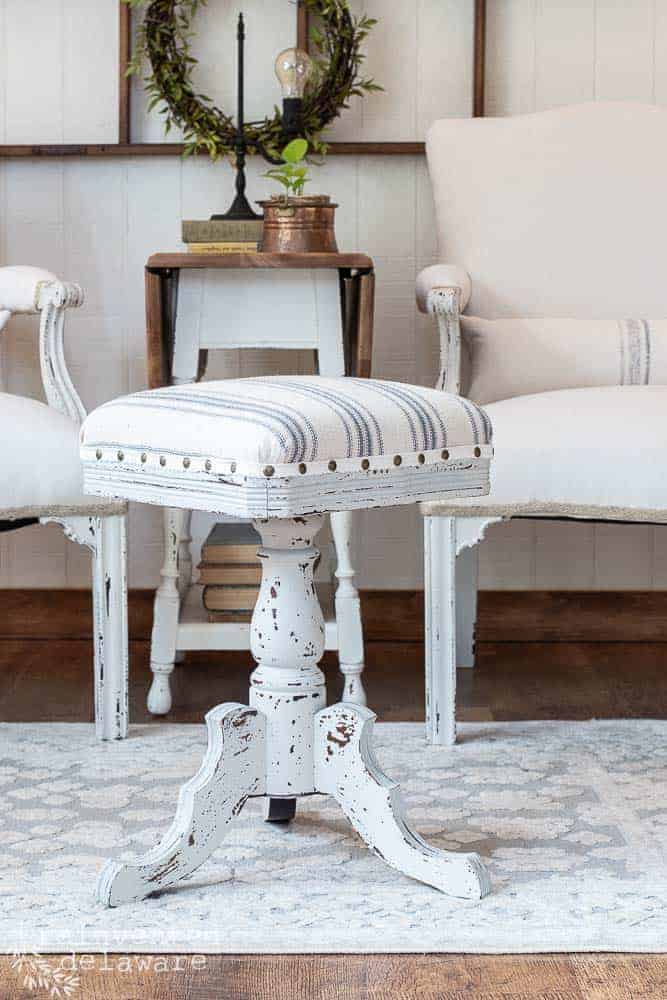
Click the button below if you want to see this process in action on small step stool!
old piece of furniture musty smell
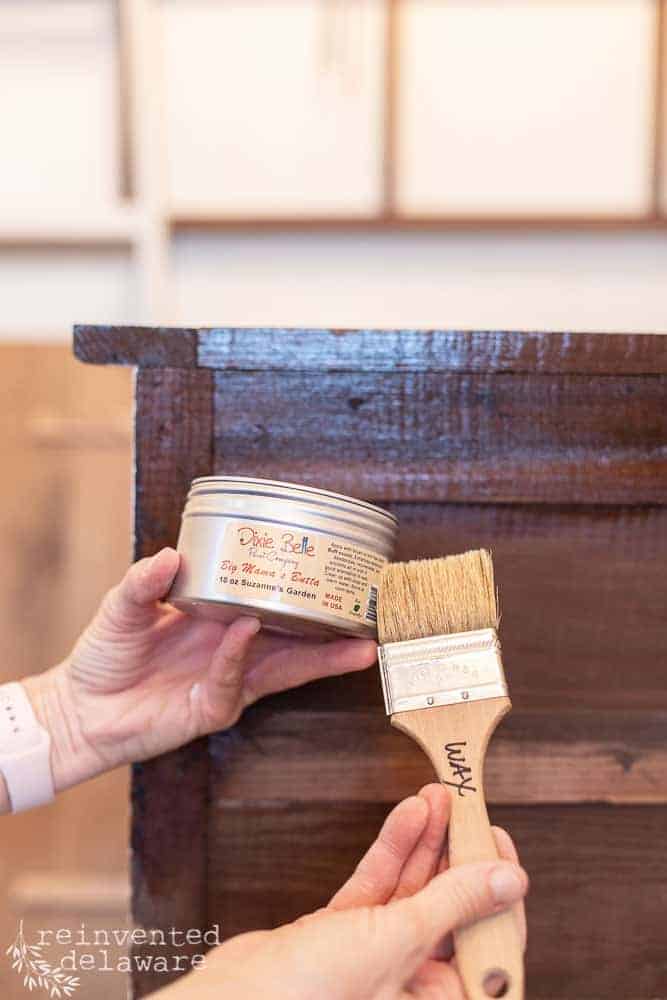
I didn’t apply the stain and odor-blocking sealer to the back of the piece. Instead, I applied a product that would hydrate the wood as well as add a loving scent to the furniture piece.
Using a chip brush, I applied a thin coat of Big Mama’s Butta in Suzanne’s Garden. My workshop smelled so good and the dry wood furniture loved the moisture it provided!
the art of decoupage step by step
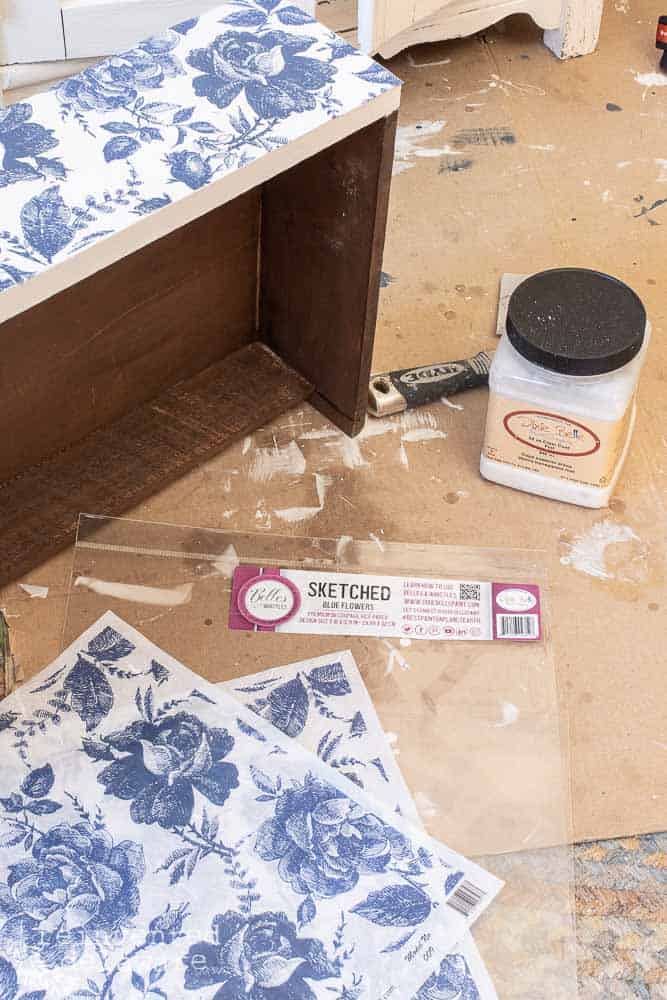
step one: precut the decoupage paper
Measure the area where the decorative paper will go. Then cut out the decoupage tissue paper a bit larger than your measurements. I like to add about 1/2″ all the way around.
step two: apply the decoupage medium
Apply a thin coat of the decoupage glue of your choice. I will chat more about the glue options later in the post. I used a water-based clear coat. You can use a foam brush or a small chip brush to apply it. Move to the next step quickly because the wood surface needs to be wet with the medium so the paper can adhere to it.
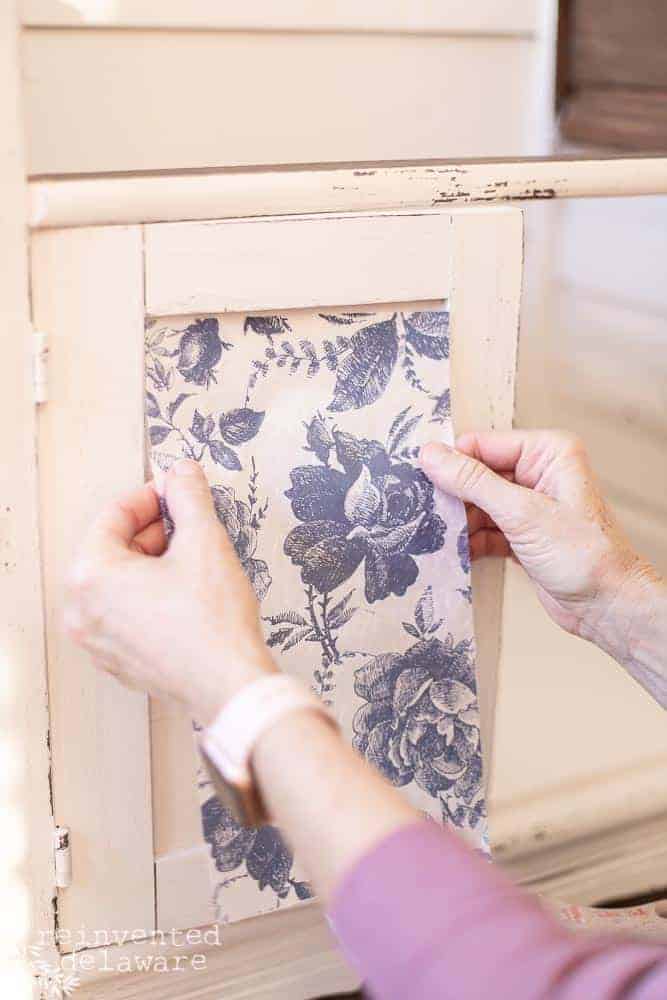
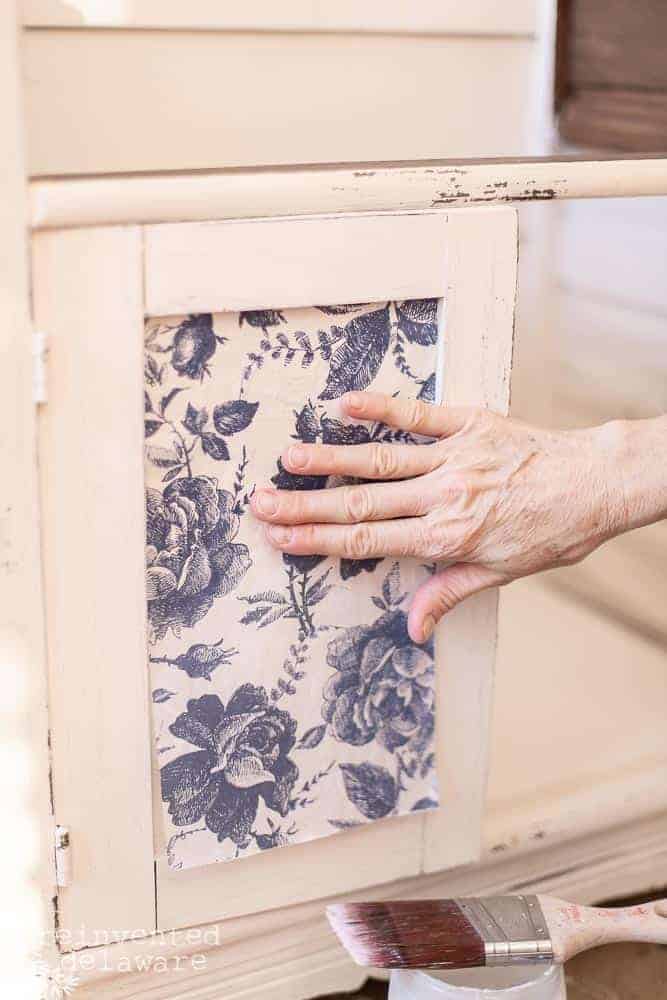
step three: apply the pretty paper
Starting at the top, apply the paper along the top edge then slowly allow the back of the paper to adhere to the wet decoupage medium. Smooth any air bubbles starting in the center and working your way out.
Some people find it helpful to smooth out the decorative paper using a piece of scrunched-up plastic wrap. I didn’t need to do that with this project but it’s a good idea to have it close by. The paper I used is a thicker paper and is easier to use than thin paper. We’ll chat more about different types of paper later in this post.
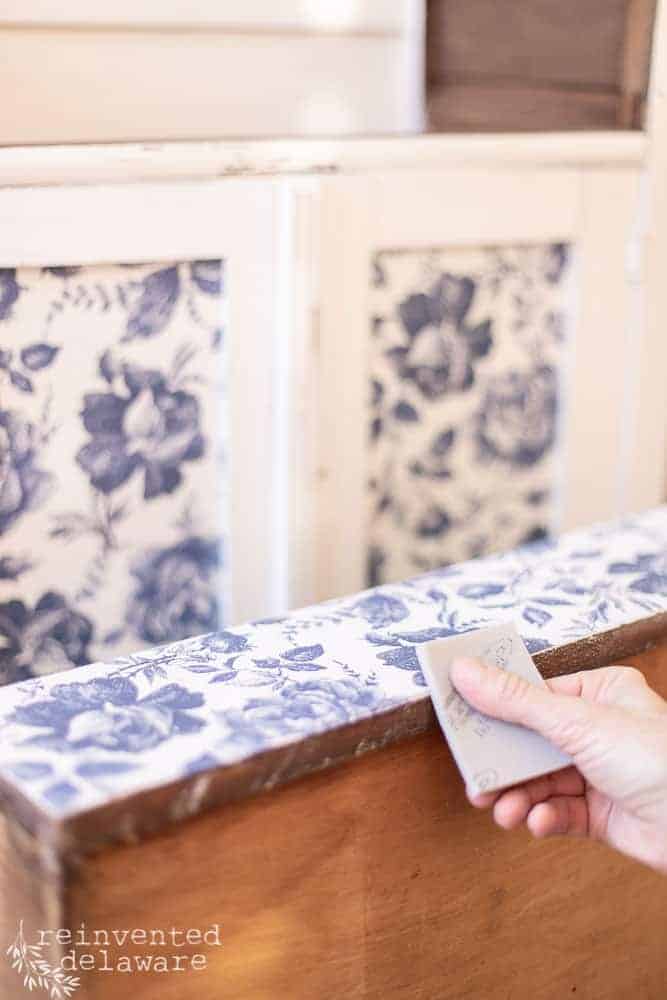
Use an Xacto knife to carefully cut away any excess paper in areas as you see on this washstand door inset before it dries. For areas like the drawer fronts, allow the decoupage medium to dry then use a sanding block held at an angle and sand off any excess paper.
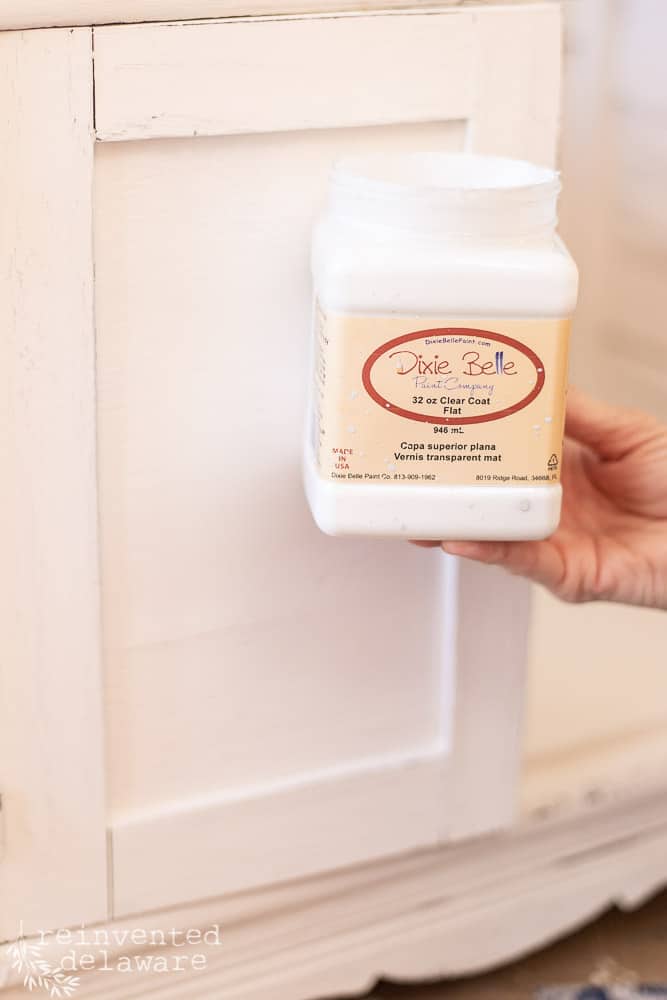
step four: seal the paper
The great thing about using a clear coat as the decoupage paper glue is that it is one of the easiest ways to seal the whole piece. A clear coat sealer made for chalk mineral paint will seal the paint as well as the paper.
Apply two thin coats and allow it to dry completely between coats. Watch out for runs near the insets of the doors and around the hinges. You don’t want to mess up your beautiful work.

list of supplies:
- Fluff chalk mineral paint
- Caviar chalk mineral paint
- White Lightning Cleaner
- decoupage paper (I used Blue Sketched Flowers)
- BOSS Stain and odor Blocker
- Clear Coat (I use Flat finish)
- Big Mama’s Butta in Suzanne’s Garden
- Paintbrush (I like the 2″ mini angle brush)
- chip brush
- Gemstone Mouse in Amber (no longer available!)
different materials for decoupage projects
types of paper
You can use many types of paper to decoupage, but if this is your first furniture decoupage project, I highly suggest using decoupage rice paper. In my opinion, it is the best paper for your first project. It is strong and stable enough to handle moving and positioning it on flat surfaces.
The type of paper you choose is your choice but my favorite is rice paper especially for the beginner!
Here are some other types of paper to use for your decoupage projects:
- wrapping paper (test this paper before using it on a surface to see if it will bubble up and wrinkle too much)
- scrapbook paper (so many beautiful designs to choose from!)
- old sheet music (one of my faves)
- vintage tissue paper (this can be tricky and I don’t advise you to use this thin paper for your first project)
- book pages (also another one of my faves especially if the pages are heavy paper!)
- paper napkins (this can also be a tricky paper to use!)
- paper cutouts (you can cut your own or purchase them)
thanks for being here!
I hope you are enjoying this project! Let me know if you have any questions. Or leave me a comment to tell me about your project and ideas!
thanks, Cindy 😀

types of decoupage mediums
You have a couple of options to adhere the paper to your furniture project. My favorite is what I have on hand and that is usually a water-based top coat. If you are unsure, grab a couple of these options and test them out with the paper of your choice.
My experience has been mod podging (is this a verb now?? so funny that it seems to be!) like I did in this drawer liner idea, this secretary desk makeover, and this transformed washstand.
Here are a couple of popular choices for decoupage glue. This article about decoupage glue options will be helpful to you too!
Whatever option you choose, the general method is to apply one thin coat of the glue medium for the printed papers to adhere to and then a couple of coats of Mod Podge (or another medium) to seal the paper.
- Mod Podge
- dedicated decoupage glue
- Elmers School Glue
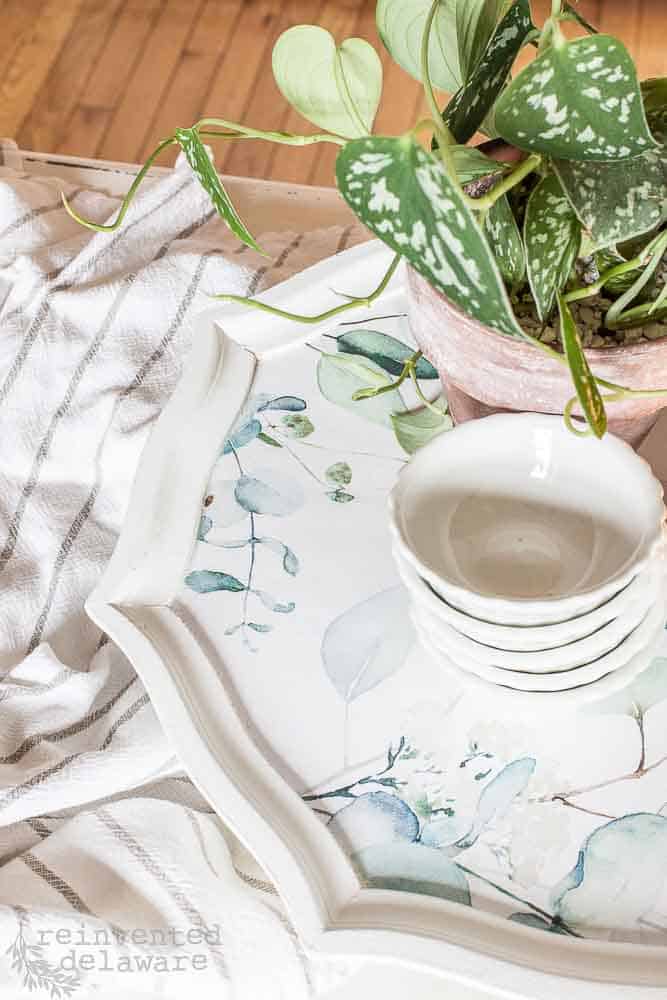
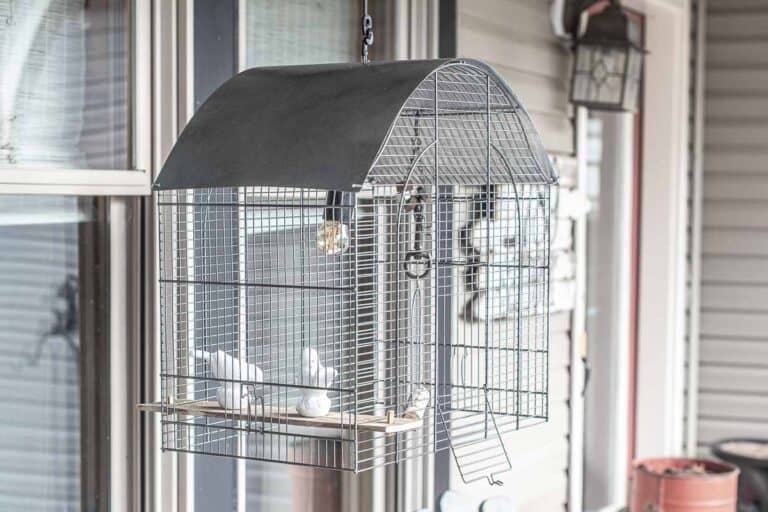
decoupage furniture ideas
Here are some additional ideas for breathing new life into furniture pieces using decoupage paper. This method of adding intricate designs to various surfaces is an affordable way to decorate your home. Plus you will enjoy the time you spend curating a unique touch to your home!
Enjoy this inspiration from others!
YouTube video tutorial
Here is a quick video made just for you! Simply tap the image below to watch. Be sure to subscribe while you are watching so you don’t miss new videos!
basic tools and supplies
Some of these tools and supplies may be needed for your project. Deciding on the final look of the piece that you want and the condition it is in will determine what supplies and tools you need.
- paint of your choice for the furniture piece (I used chalk mineral paint in a light color that would coordinate with the rice decoupage paper)
- paint brush
- clear top coat in flat to seal the piece
- orbital sander and sanding discs if needed
- sanding block
- TSP cleaner, microfiber cloth, and spray bottle
- wood filler
- decoupage paper
- decoupage medium (I used a clear top coat)
decoupage for furniture doors & drawers
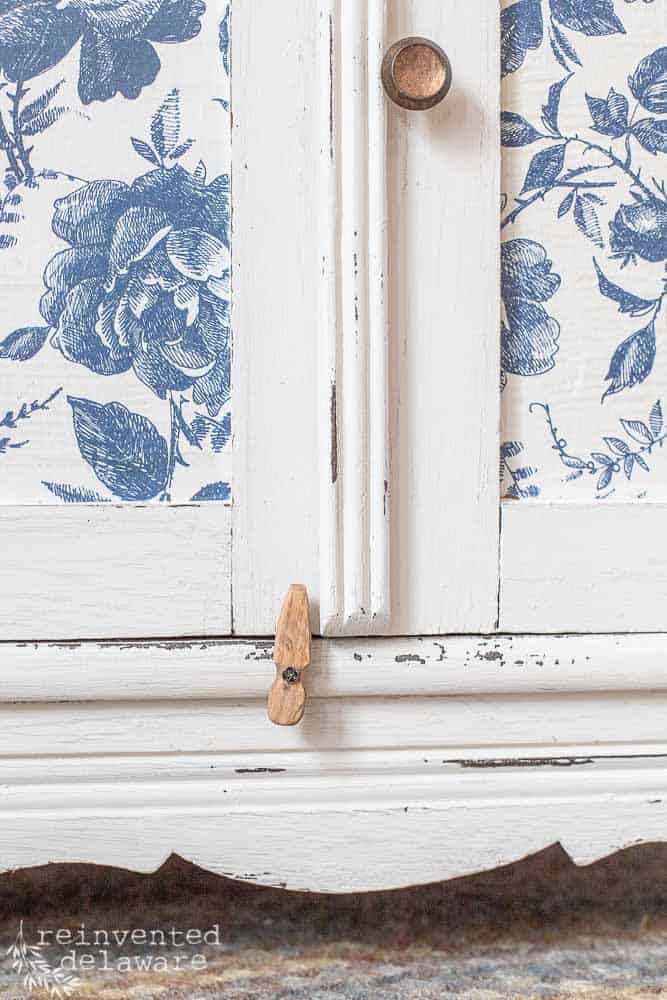
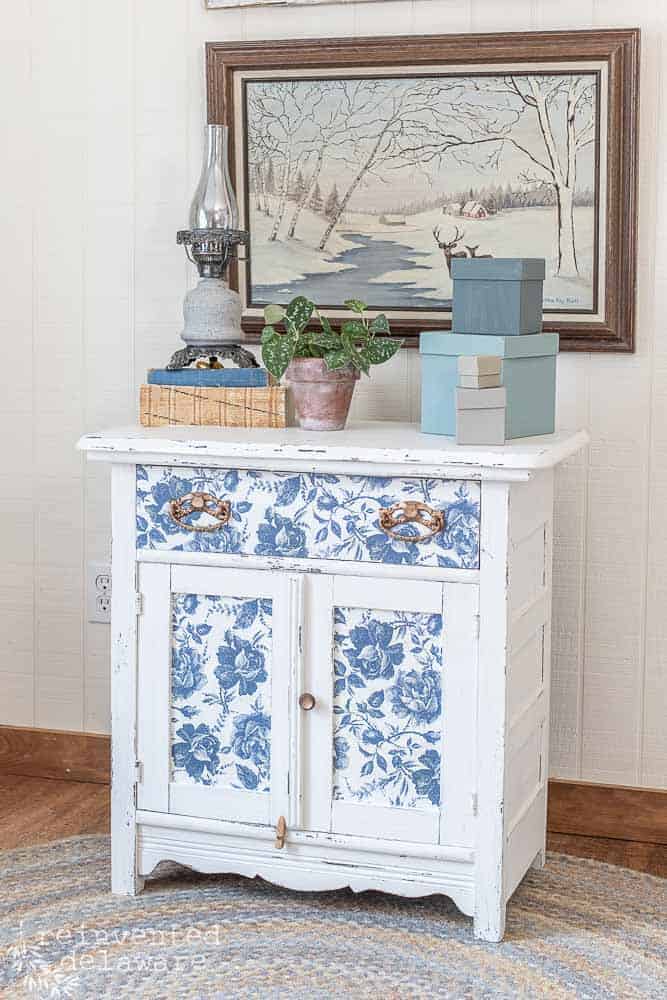
Take a good look at the two cabinet doors. I was careful to change the orientation of the rice paper so that the doors would not match exactly.
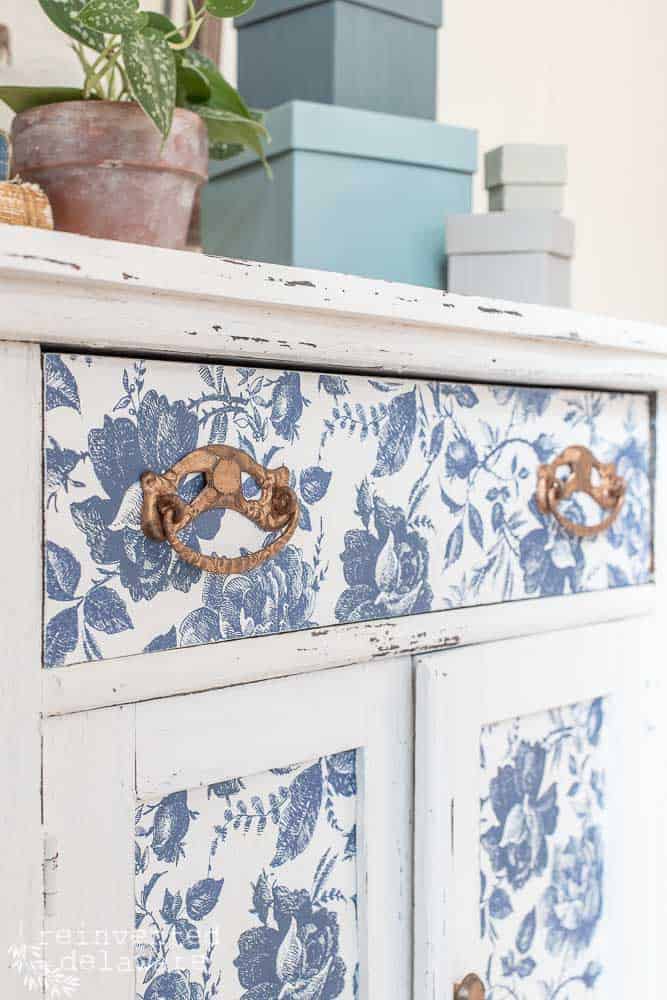
The drawer was wider than the decoupage paper so I matched up the seam by cutting around some of the flowers as best as I could. This created a jagged edge that I puzzle-pieced together with small pieces of decoupage paper. That helped to hide the place where the two separate pieces come together. Can you see where they are joined?
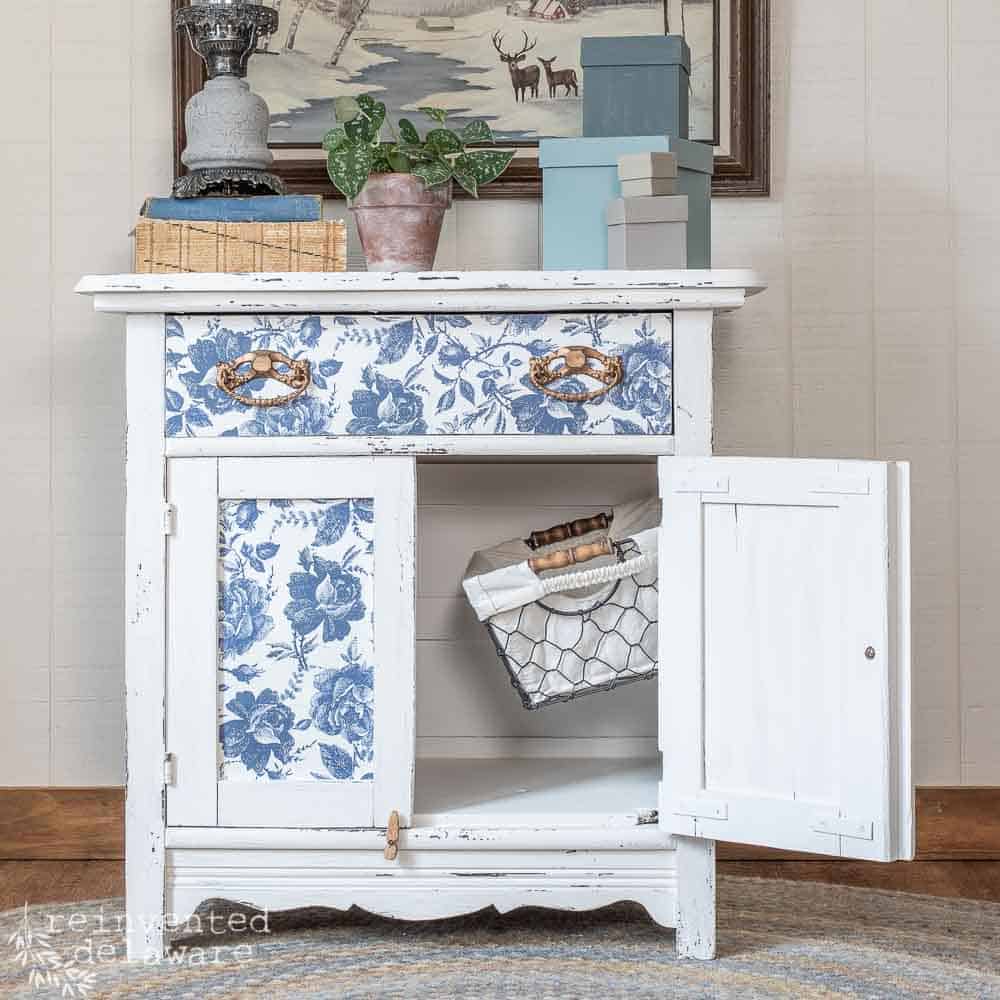
Usually, I don’t paint the interiors of cabinets but this piece needed it! The Fluff white paint brightened the inside. I also hung a wire basket to two cup hooks that I screwed into the side of the washstand. This basket will add to the storage possibilities for this little washstand. And it can be easily removed too!
was this helpful?
Thanks for stopping by today! My hope is that you have been inspired to work on a fun project like this one for your home or for someone else.
If I haven’t answered your questions about this project, please reach out me by adding a comment at the bottom of this post. I would love to help you get that project completed!

Pin the image below to your home decor and furniture boards! Just click the pin button at the top left corner!
thanks for joining our journey!
Did you enjoy this post? I hope so! Feel free to pin any image in this post to your furniture makeover boards!
Thanks so much for stopping by today! I hope you are inspired to take on a decoupage project for your home!


Cindy Rust
Cindy has been decorating her home with thrift store finds for 40 years. She is an avid thrift store shopper who loves to makeover the items she finds into vintage-inspired home decor and furniture. When she isn’t thrift shopping or painting a piece of furniture, you can find her making homemade butter, working in her garden, or painting with watercolors.

Another beautiful washstand makeover. This decoupage paper is so fresh and clean. It’s perfect with the white. You always inspire me. Pinned!
The paper is amazing to work with and I am sure I will use it again and again! Thanks for pinning!
Oh, this brings back memories Cindy! I did this to a washstand that belonged to my great grandmother for my daughter’s nursery over 30 years ago.
I have done this to the sides of dresser drawers recently.
I just love how yours turned out and the paper is lovely!
What a treasure you have Michele! Thanks for sharing your memory 😊
You always do a great job. I look forward to seeing what you are up to. Well done, my friend. That blue and white paper is stunning.
I’m in love with the paper too – I’m looking for another project to use it on 😊
Hi Cindy!! I love it!! So cute and very cottage core. Pinned.
Thanks for pinning Cheryl! I appreciate it so much 😊
Cindy – I love the decoupage and I am happy to hear it’s making a comeback. The vintage wash stand looks fabulous! Pinned!
Beautiful Cindy!! I love it. Great tutorial!
Glad you enjoyed the tutorial Cindy 😊
Isn’t the paper amazing?? I can’t wait to use it again! Thanks for pinning 😊
I just love, love this project!! You did a beautiful job and it makes me want to try decoupage. The blue is so cheerful, too. Thanks for sharing!
You have to try it Kim! It’s so fun and so easy! 😊
I love the blue and white that you used to decoupage this piece Cindy. I have never thought to do that to a piece of furniture. It I really love the cottage feel it gives. Pinning for later.
This was my first time using rice paper for decoupage – and it was fun to do! Thanks for pinning 😊
I love how easy this it and it gives your furniture such a custom look. Pinned to try later.
Thanks, Janet for stopping by! And for the kind words 😊
What a fantastic furniture makeover! The floral pattern adds a touch of whimsy that I love.
Happy New Year,
Kippi
Thank you Kippi! Happy New Year to you too!😊
I’m glad decoupage is making a comeback if it looks like this! Your furniture makeovers are always the bomb, Cindy and your styling is the icing on the cake! Beautiful, pinned!
Thank you for the encouragement and kind word Jayne! And thanks for pining 😊
Very pretty makeover; love the decoupage paper you chose.
Thank you Sara! Dixie Belle’s rice paper is so easy to work with too!
Beautiful piece. I love the floral pattern you chose.
Isn’t that rice paper perfect?? 😊
Love the makeover. Great work!
Thanks so much!😊
This is gorgeous, Cindy! I’m always amazed at how creative you are and this piece is no exception. I love the paint color you chose and the decoupage rice paper. The whole thing is just amazing. Loving and pinning, CoCo
You’re the best CoCo! Thank you for your kind words of encouragement and for pinning 🥰
I am in love with this piece! I actually have one just like it and would love trying this new look. Super cute!
You will love using rice paper for decoupage Cindy! I would love to see your finished project 😊
What a fun new life you gave this piece, Cindy! I love recycling vintage pieces into something fresh and new and this is such a great inspiration. What a brilliant way to add pattern to a piece!
Isn’t decoupage amazing? The rice paper makes it so easy to create a big impact on an otherwise plain piece of furniture! Thanks for stopping by Janet 😊
I adore this piece, and you make it look so easy Cindy. The blue and white is right up my alley. Thanks for sharing this fantastic idea.
Yes, it would! Thanks for stopping by Wendy!
Lovely pieces. I can’t find rice paper now, like I did a few years back. Can you find it online? Where and how do I buy some. Your ideas are great, thanks for help.
I’m so glad you enjoyed the project! I get my rice paper from Dixie Belle. They have some beautiful papers! I’m loving the Distressed Damask paper right now! Here is a link that you can use to see what they have available: https://bit.ly/49wamPb