
Antique Heywood Wakefield Wood Desk Restoration
Discover the art of wood desk restoration with our step-by-step tutorial and breathe new life into your old furniture.
Heywood Wakefield desk
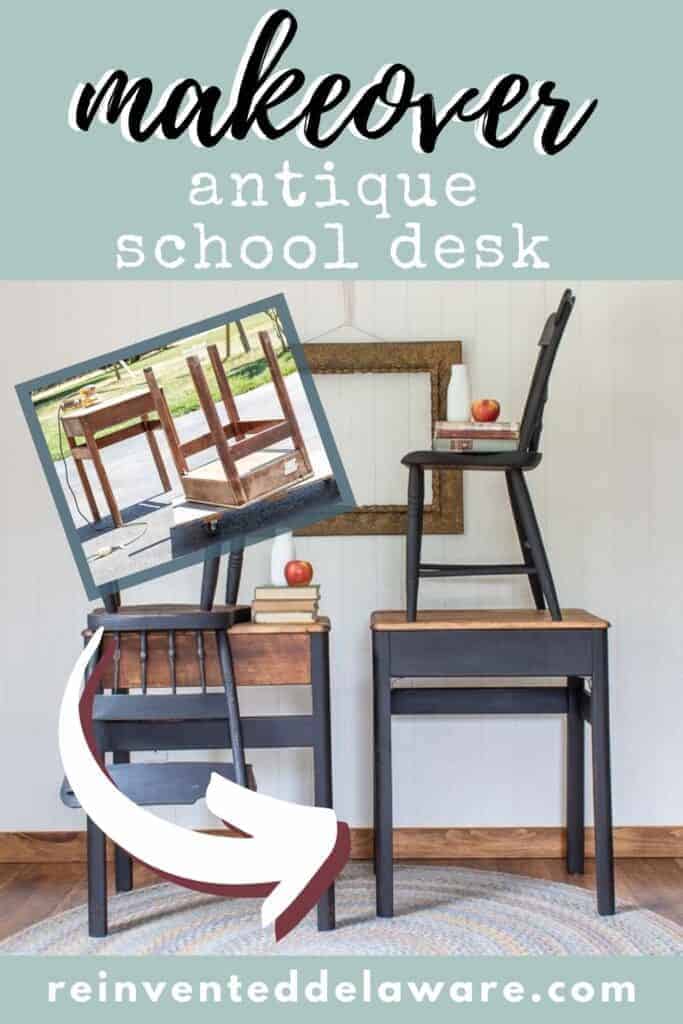
In this post, I will show you how to restore a vintage Heywood Wakefield desk into a gorgeous natural wood desk with a little bit of paint. This furniture makeover can be used on other pieces of old wooden furniture such as an antique writing desk, a small secretary desk, or even an old church pew!
Let’s get started with this restoration project!
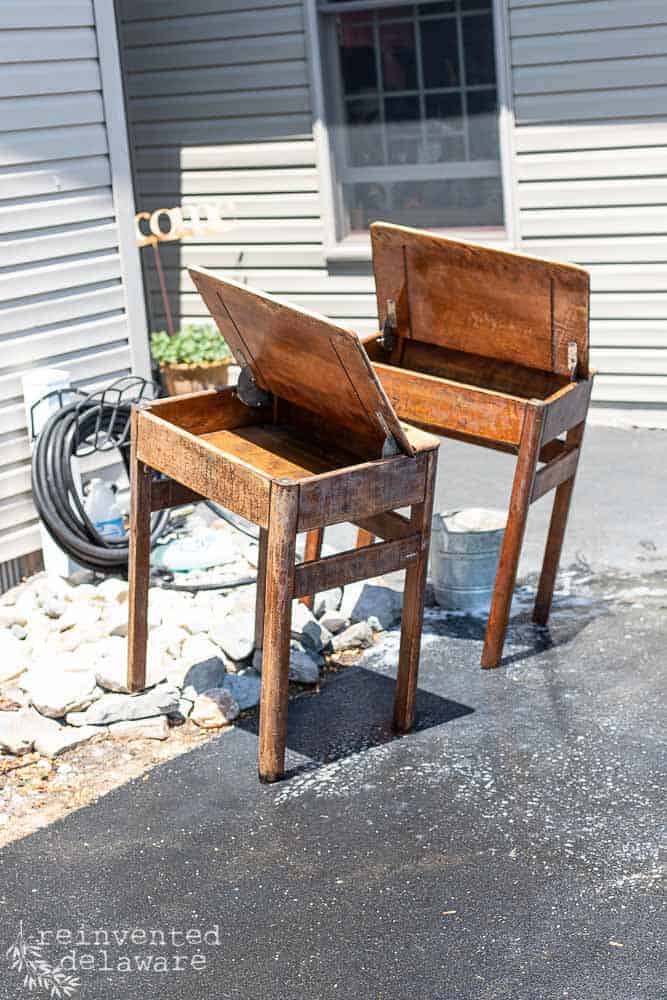
One of my friends asked if I was interested in this pair of Heywood Wakefield desks. The existing finish on each desk was in bad shape and she didn’t want to tackle the big DIY project that this job would take. The desks were completely free to me so of course, I said yes!
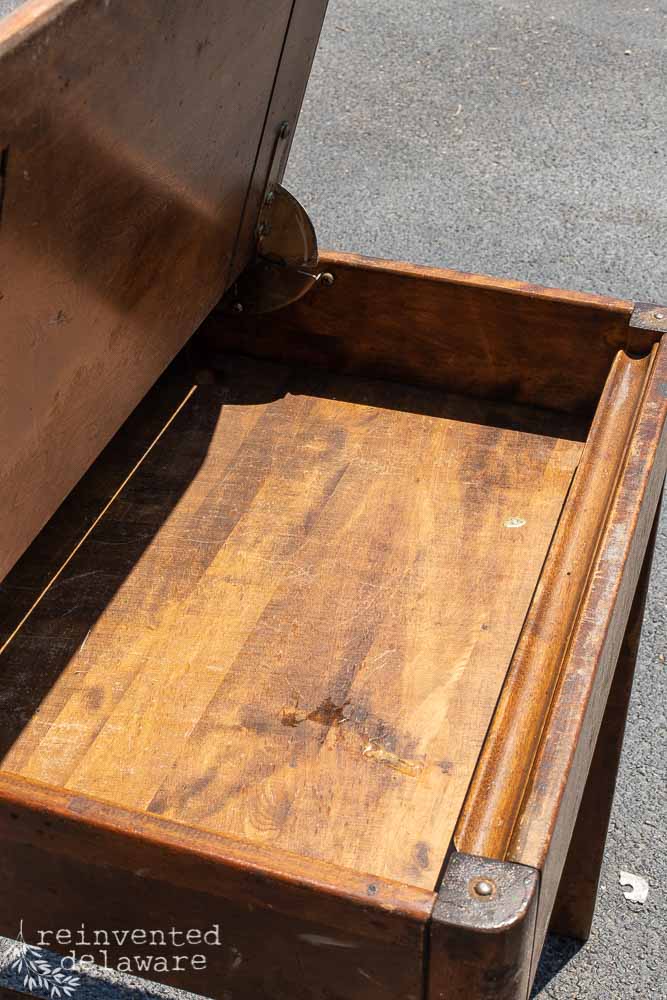
The desktop had deep scratches from students etching their names into the wood surfaces. On the underside of the desks was gum. Yep, wads and wads of gum were stuck to the underside of both of these old-school desks!
Also, old paint drips and adhesive had been spilled on the desks! Seriously, these desks had seen better days!
Heywood Wakefield desk history
Let’s take a look back at a bit of furniture making history. The Heywood Wakefield company started as two separate furniture companies in the 1800s. The Heywood Brothers and Wakefield Company combined to create the Heywood-Wakefield Company.
By the early 1900s, they had established their furniture style and made a name for themselves. Much of their furniture became well-known during the mid-century modern era. I will link an article later in this post that will give you even more history in case you are interested.
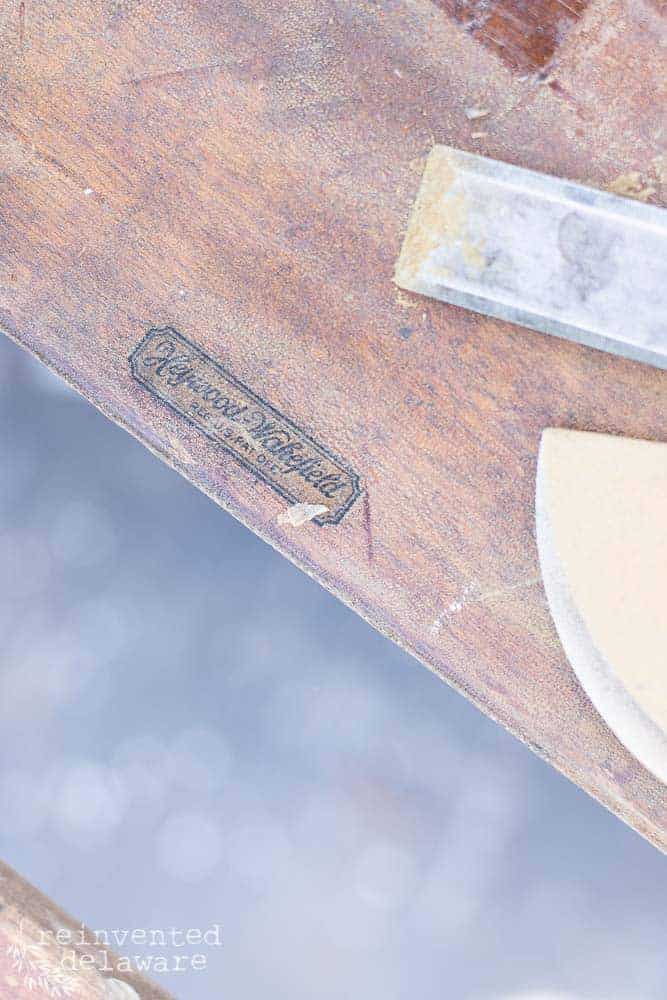
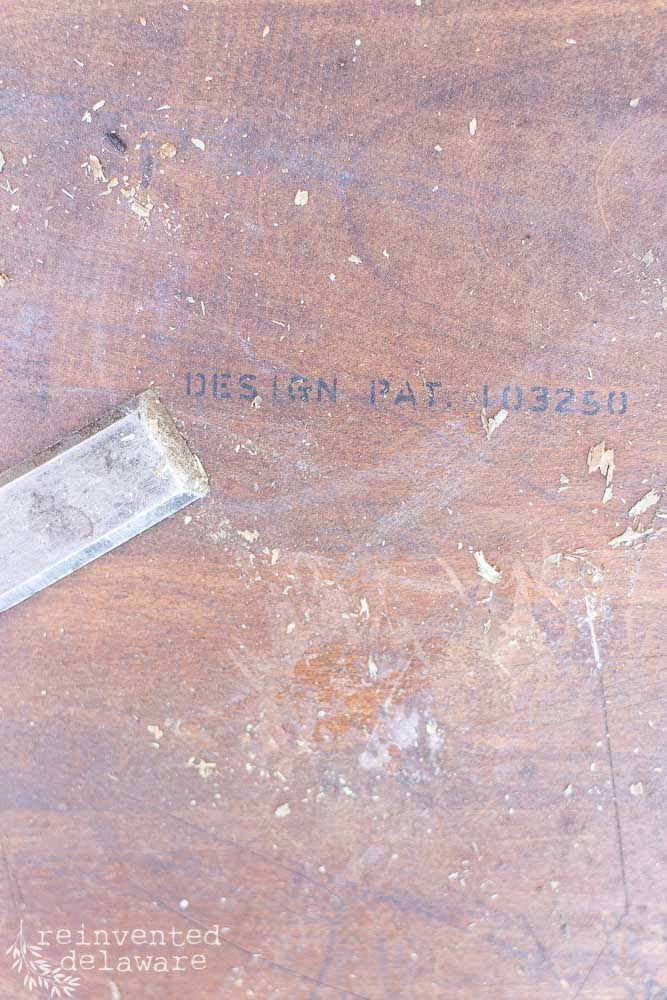
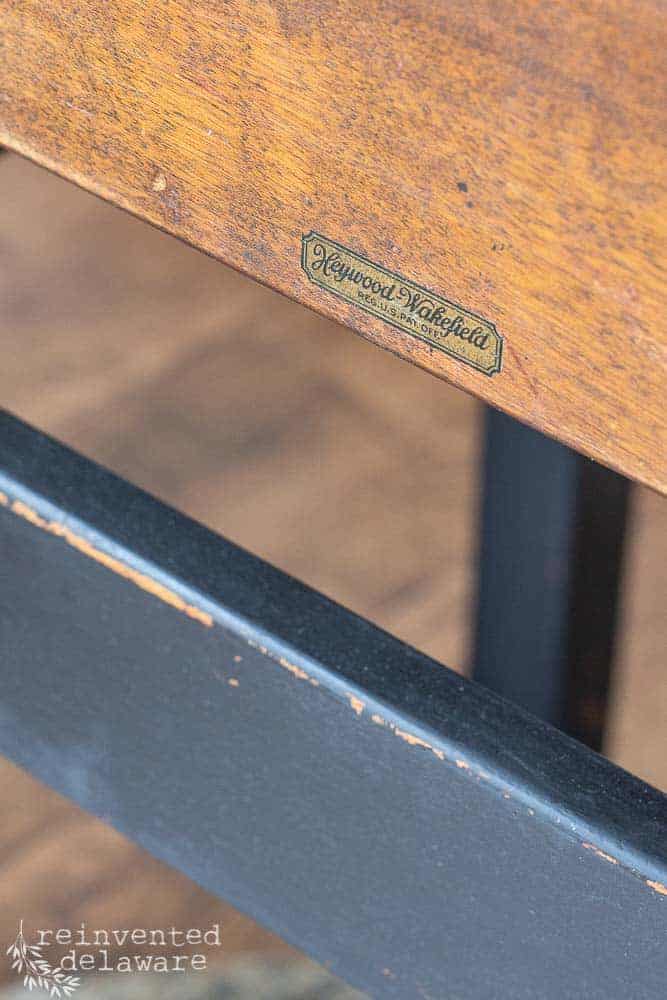
Modern mid-century is not my favorite era for furniture design but I can appreciate a quality wood furniture piece here in the United States. I also knew that someone would appreciate the furniture refinishing that I could do to a pair of vintage desks with an amazing maker’s mark stamped on the bottom!
how to restore an old desk
step one: clean the wood furniture
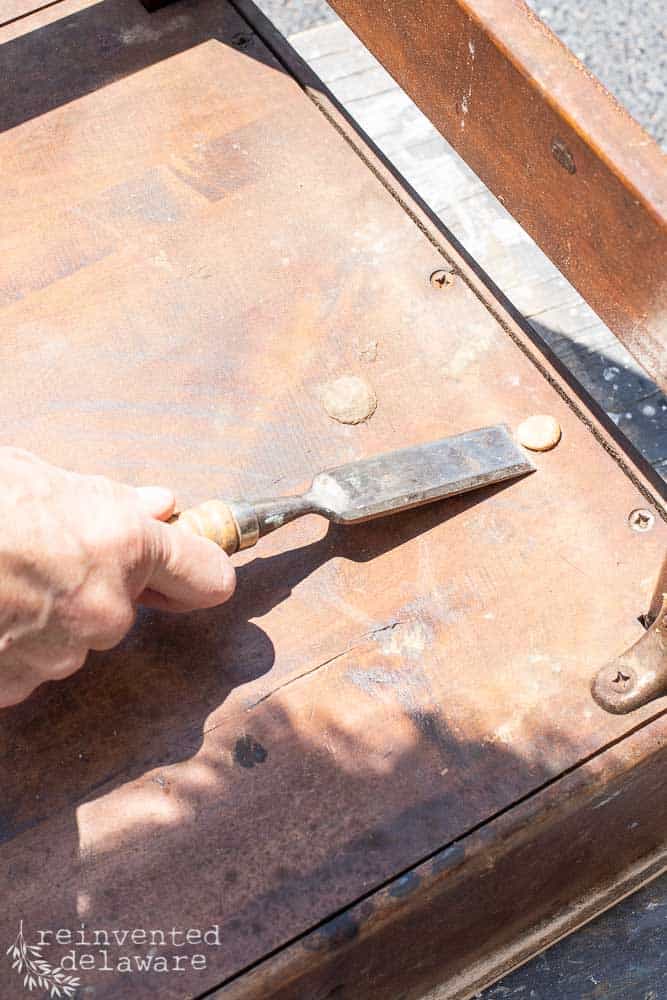
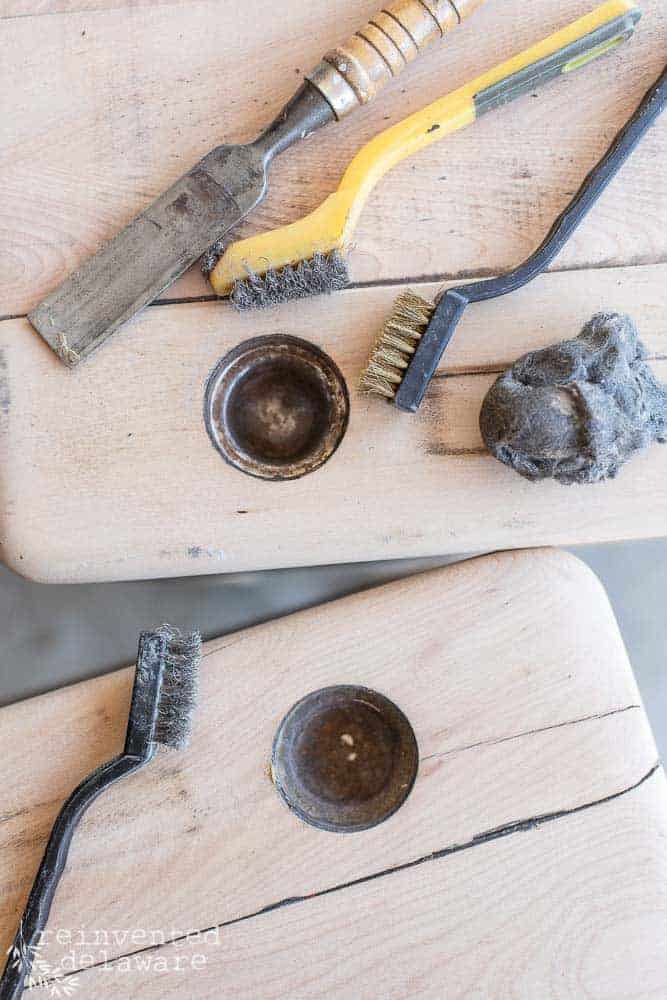
The first step in antique furniture restoration is to clean the piece. A chisel came in handy to remove the dried-up gum. A putty knife would have worked as well.
Then I used warm water with a mild cleaner called Simple Green. I gave the desks a good scrubbing, rinsed them down with clean water from the hose, and allowed them to dry in the sun.
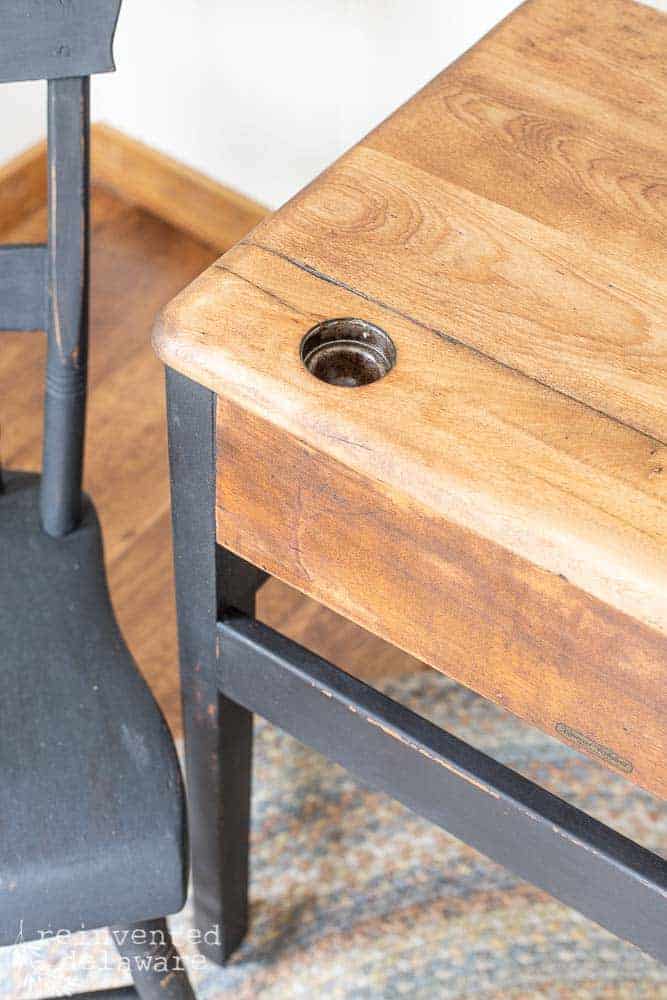
The ink wells were rusted so I used a small wire brush and steel wool to remove the rust.
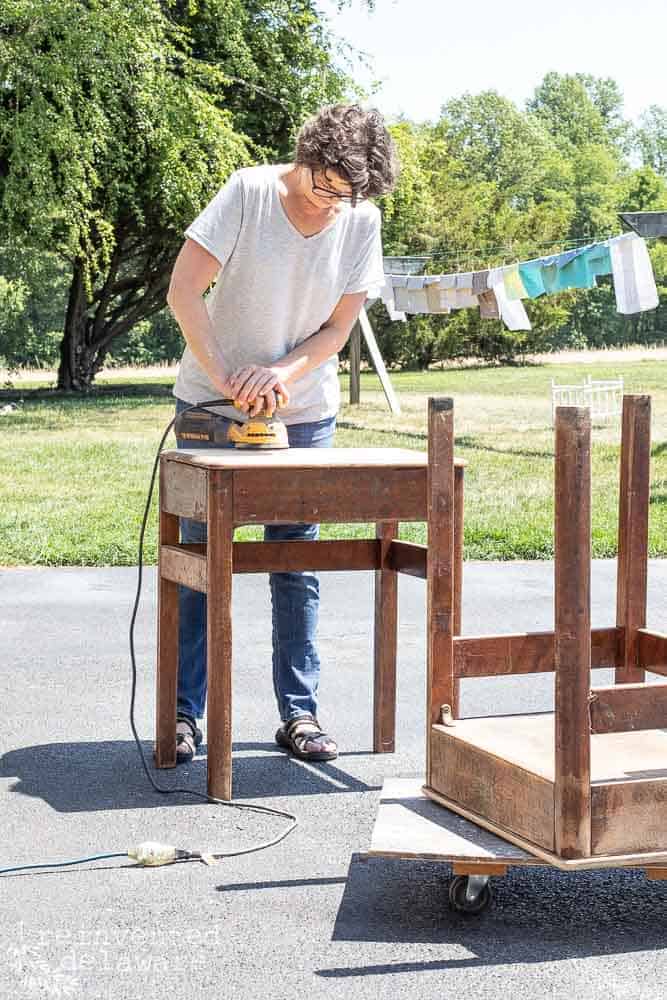
step two use an orbital sander
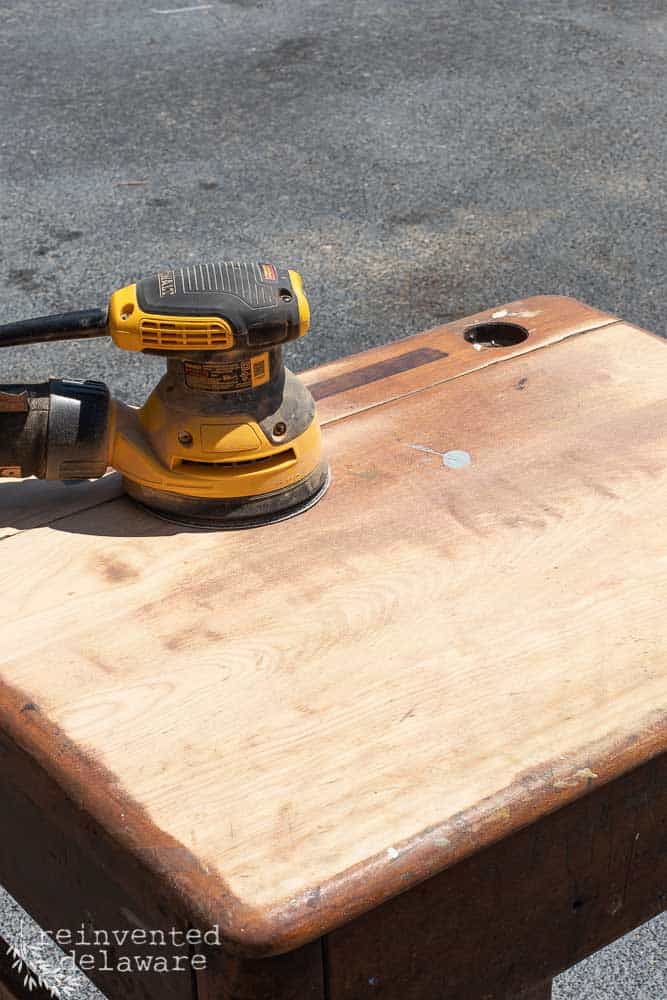
The next step was to tackle the old finish. I wanted the desk top to be natural wood to show off the grain of the wood so I grabbed my orbital sander and heavy grit sanding discs. I sanded a lot but not enough to remove all of the marks. I like an old piece of furniture to show off its story; these desks had years to talk about!
After the initial sanding using 100 grit sandpaper, I finished off the process with fine-grit sandpaper (220 grit) on the orbital sander to create a smooth surface. This step could have been accomplished with a hand-sounding block as well. It’s important to do this final sanding to eliminate any sanding marks from the orbital sander.
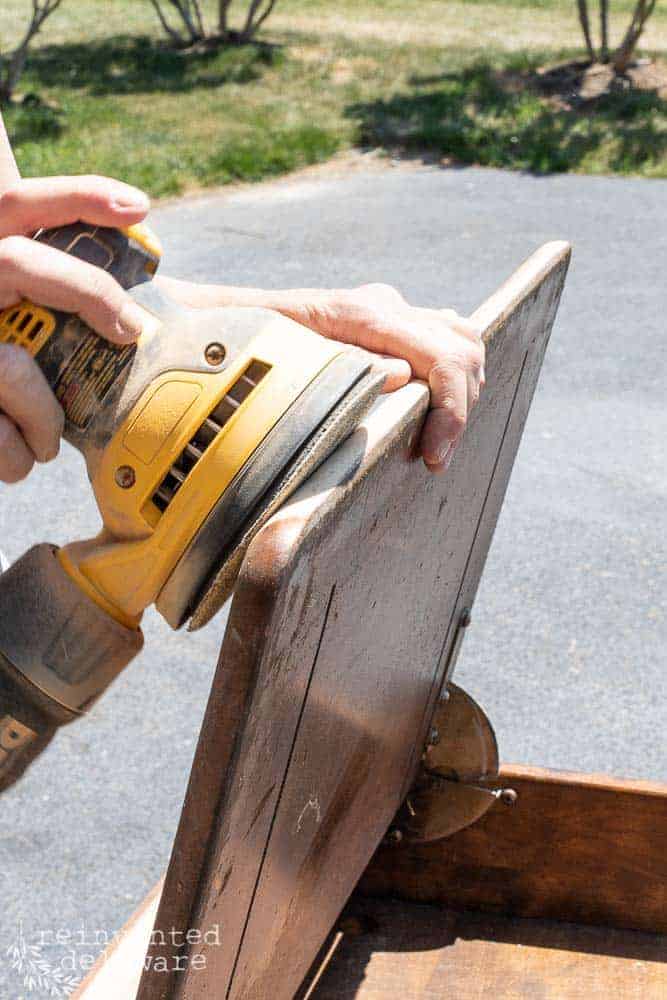
The base of the old desks would be painted so they only needed a light scuffing with the fine grit sanding block.
Once all of the sanding was finished, I used my shop vac to remove most of the sanding dust then went over the desks with a dry microfiber cloth to pick up any leftover dust. You can also use a tack cloth to remove the dust.
As a side note, I was very careful when I sanded around the maker’s marks on these antique desks. I didn’t want to damage these beautiful stamps!
step three: paint the base of the desk
Do you like the look of natural wood finishes along with paint? It’s one of my favorite looks and it satisfies the desire for the natural wood to show as well as a lovely painted surface to bring color to a room.
I chose to use milk paint for this project. You could use any type of paint you like. Chalk mineral paint is a great option as well. I do not recommend using latex interior wall paint on furniture. Choose paint made specifically for wood furniture.
Milk paint is easy to use and one of the best aspects (there are many!) is storage. You do not have to concern yourself with freezing paint out in your garage if you use milk paint.
It is mixed with a one-to-one ratio of water to dry milk paint powder. You can also combine colors for a custom paint color.
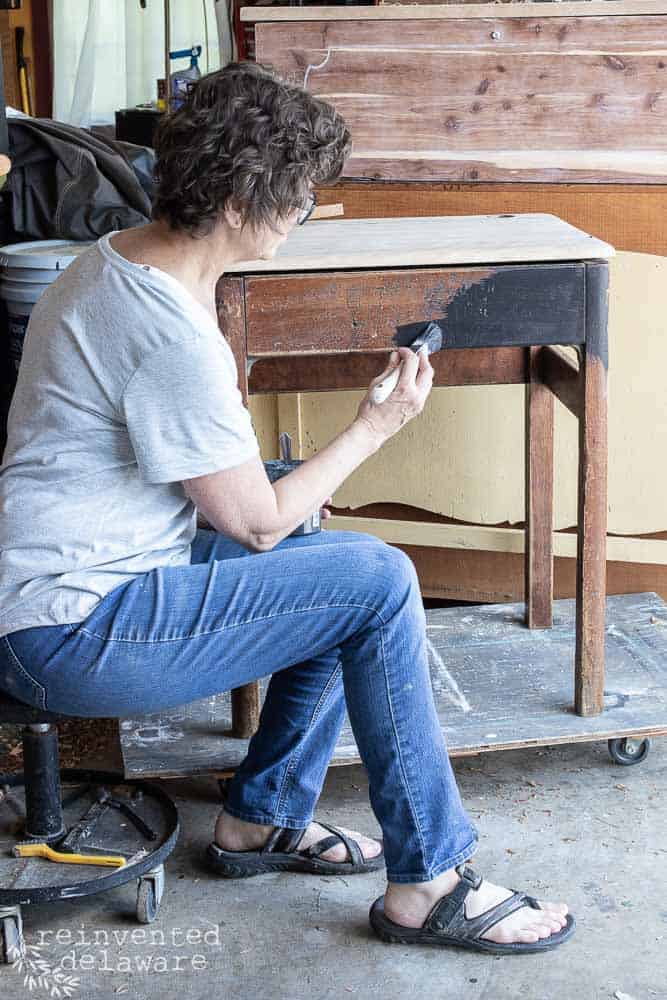
That’s what I chose to do for this furniture makeover project. I mixed Miss Mustard Seed Typewriter (black) with Miss Mustard Seed Curio (warm brown) to create this gorgeous dark neutral color.
I applied the first coat of paint and then by the second coat, the wood was completely covered. By the way, I didn’t sand out all of the scratches and dings in the desk base. I wanted the history of this old wood furniture to still be visible.
You will notice on the painted surfaces that I used a technique to create a chipped paint look. You can see more of that technique in The Best Vintage School Desk Makeover post.
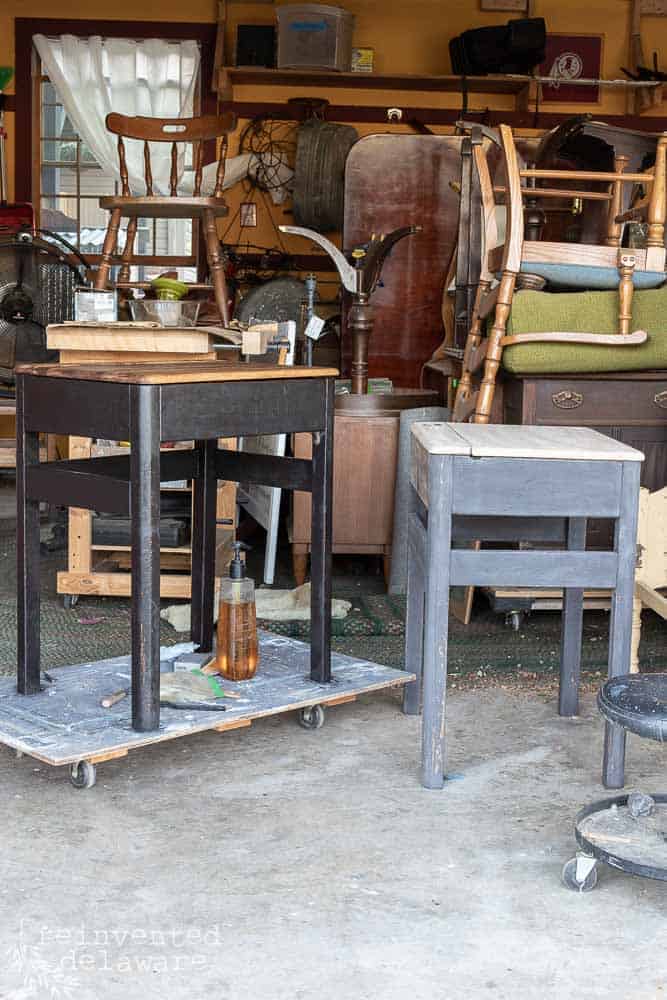
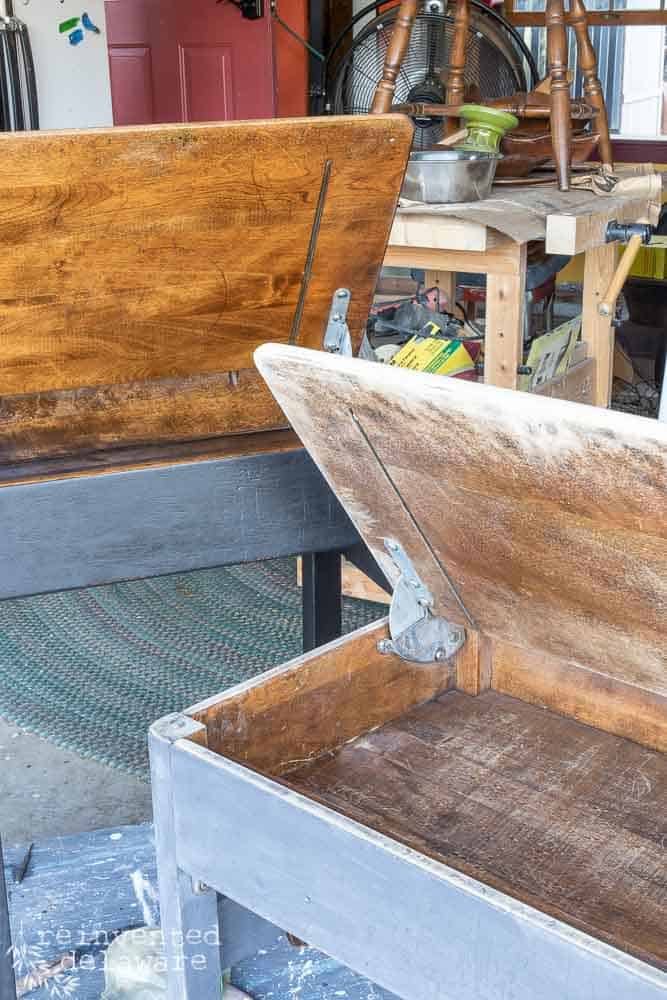
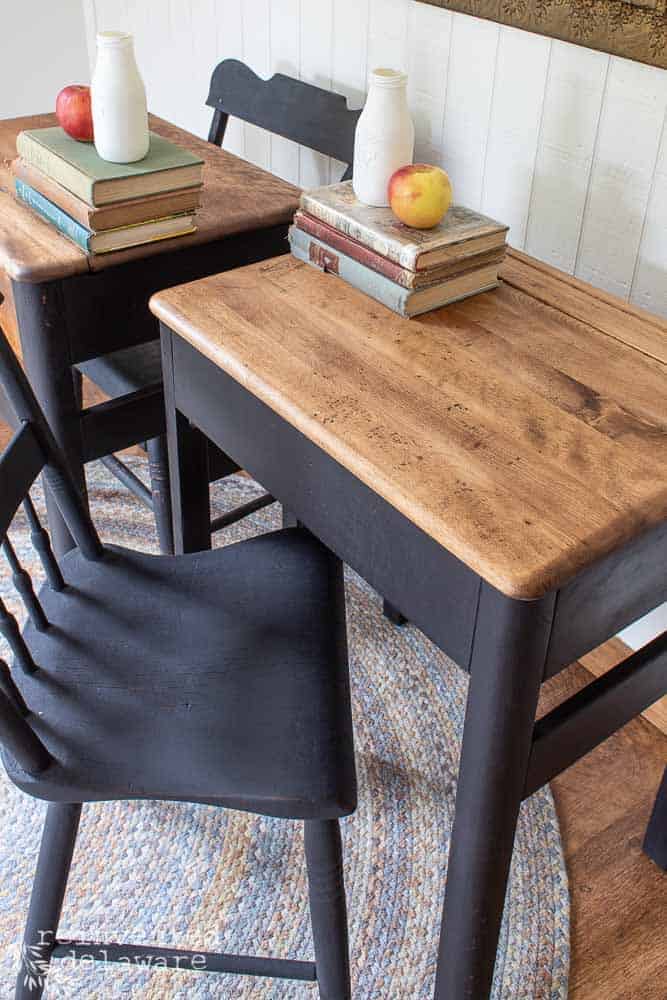
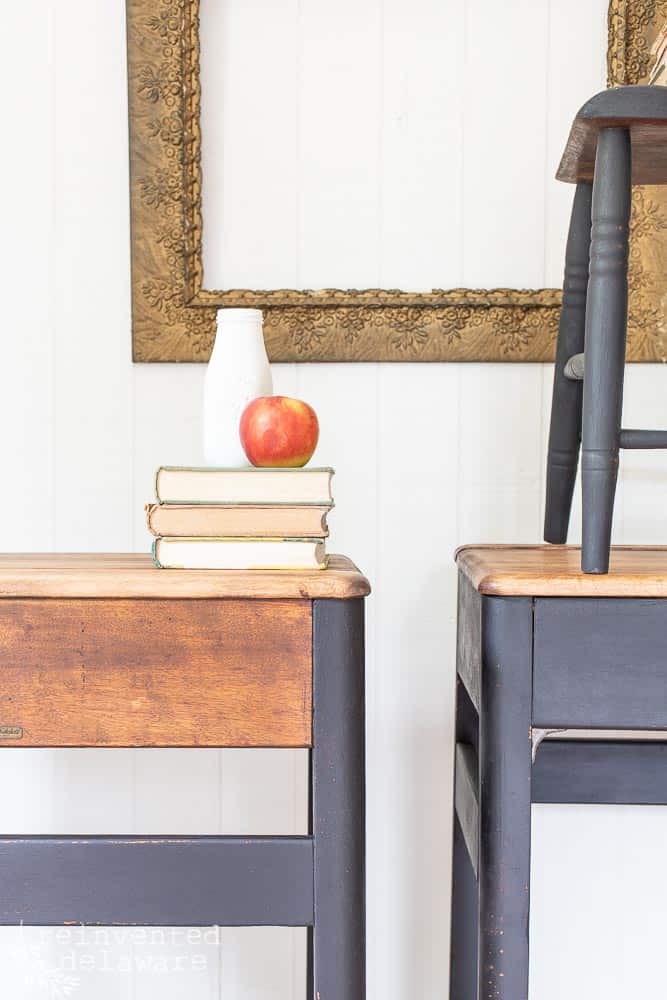
The desk on the left has been sealed with hemp oil and the desk on the right has not been sealed yet. You can clearly see the difference hemp oil makes to the color. We will get the sealing the milk paint later in this post.
step four: desk top natural finish
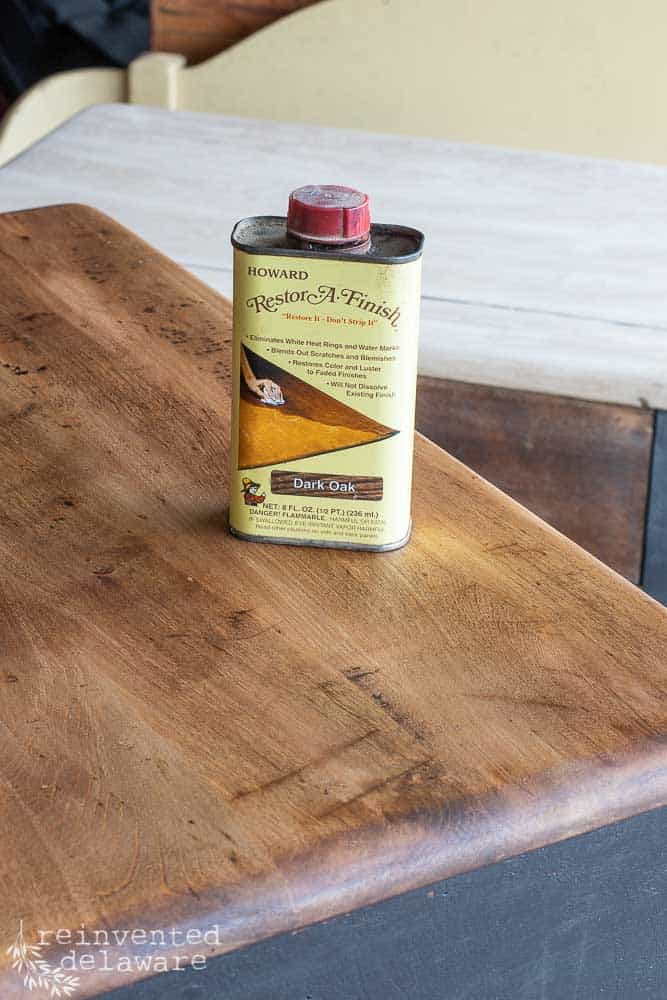
The desk tops still had marks of wear and tear that I wanted to highlight even more. Restore-A-Finish is an easy-to-use product that contains stain and mineral oil to create an authentic antique finish to old furniture pieces. It’s a simple wipe-on-wipe-off process using a soft clean cloth. It removes white rings, water marks, sun fading, and light scratches.
Restore-A-Finish will settle in the deeper scratches and make them more pronounced especially if you use a color darker than the original wood like I did.
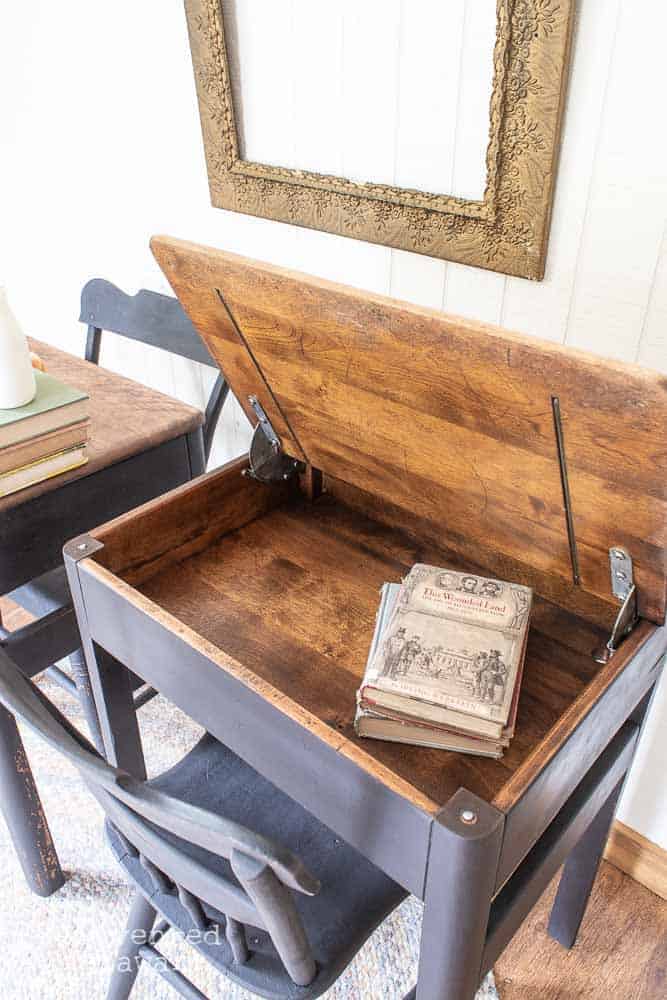
There are lots of colors to choose from and I chose Dark Oak. I thought it would look best with the paint color. I simply wiped it on and then wiped it off with a clean workshop towel. I also used this finish inside the desk storage area.
Here are some other options to choose from:
- gel stain (I like General Finishes brand)
- oil-based stains from Minwax
- lacquer finishes such as shellac
- Water-based stains (Dixie Belle offers many colors!)
It’s a good idea to allow the stain you applied in step four to dry completely before moving to the final step of sealing the wood pieces. Depending on what kind of stain or product you use will determine the dry time. Read the labels on the products you choose to use.
I allowed the Restore-A-Finish to soak in and dry overnight before moving on to the last step of this furniture makeover.
thanks for being here!
I hope you are enjoying this project! Let me know if you have any questions. Or leave me a comment to tell me about your project and ideas!
thanks, Cindy 😀

step five: seal the wood surfaces
This is an important step you do not want to skip! I applied natural hemp oil to the desk tops as well as the desk bases. This helps to nourish the dry wood much like applying moisturizing lotion to your skin. It also enriches the color of the milk paint.
After a couple of hours, I applied two coats of furniture wax to the entire surface of each desk using a stiff paint brush. I like to use a small chip brush that I have cut the bristles off of to create a disposable wax brush. This saves on clean-up time. They can be used several times before you dispose of them.
A little bit of buffing on the waxed surfaces was all these desks needed to create a durable finish! You could also use a water-based top coat to seal the tops of these desks if the desk will get lots of use.
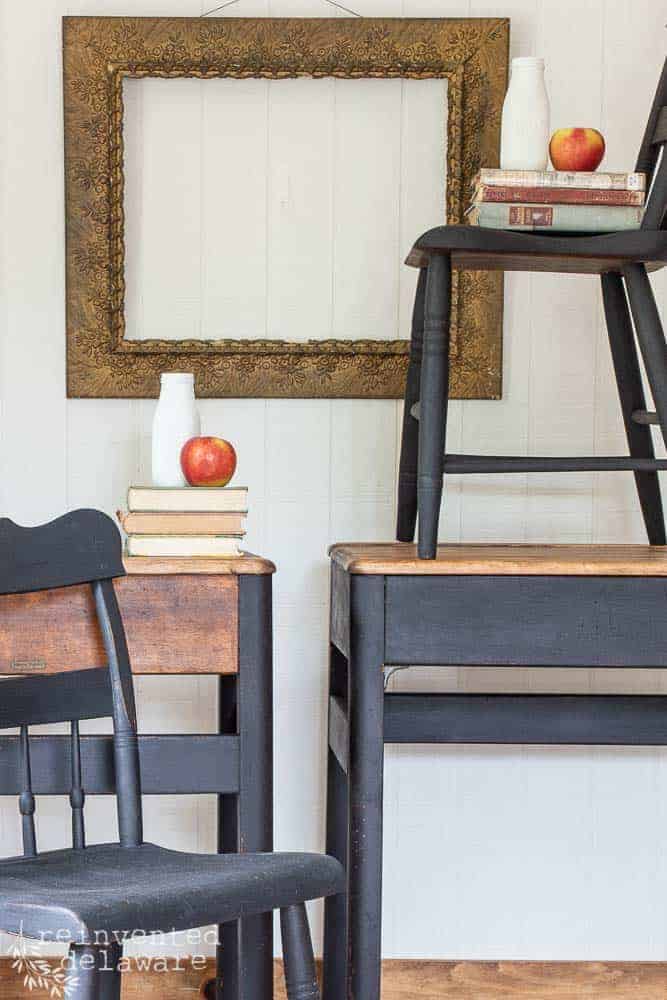
family heirloom for someone!
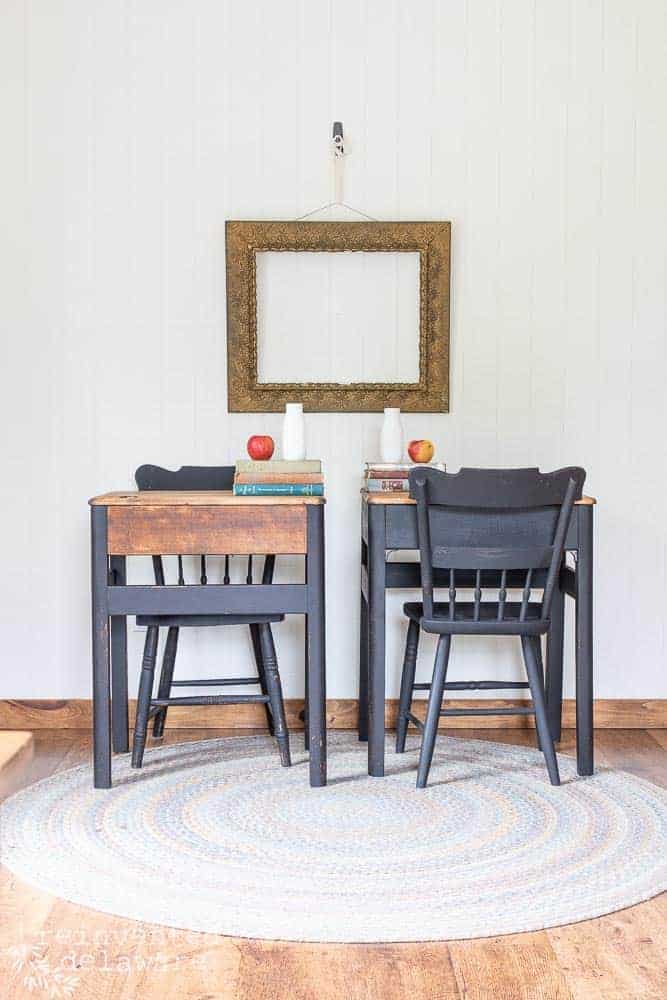
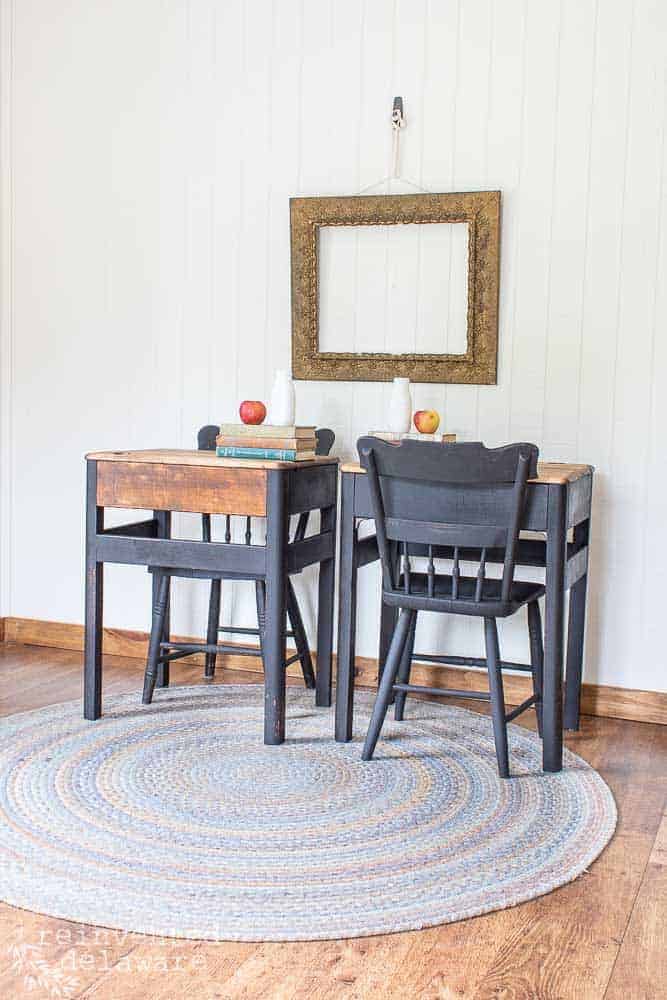
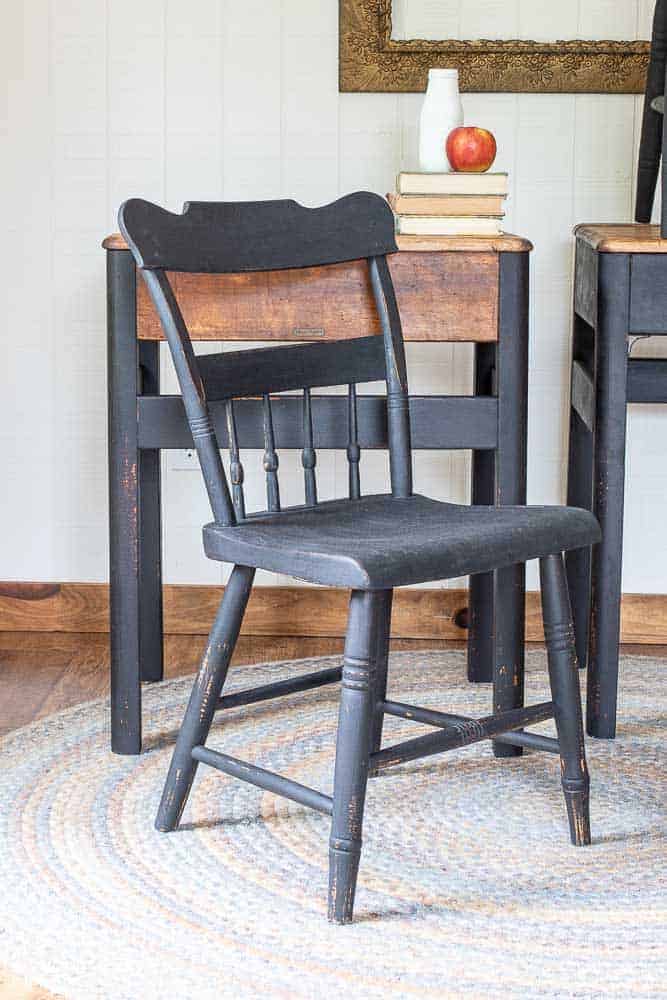
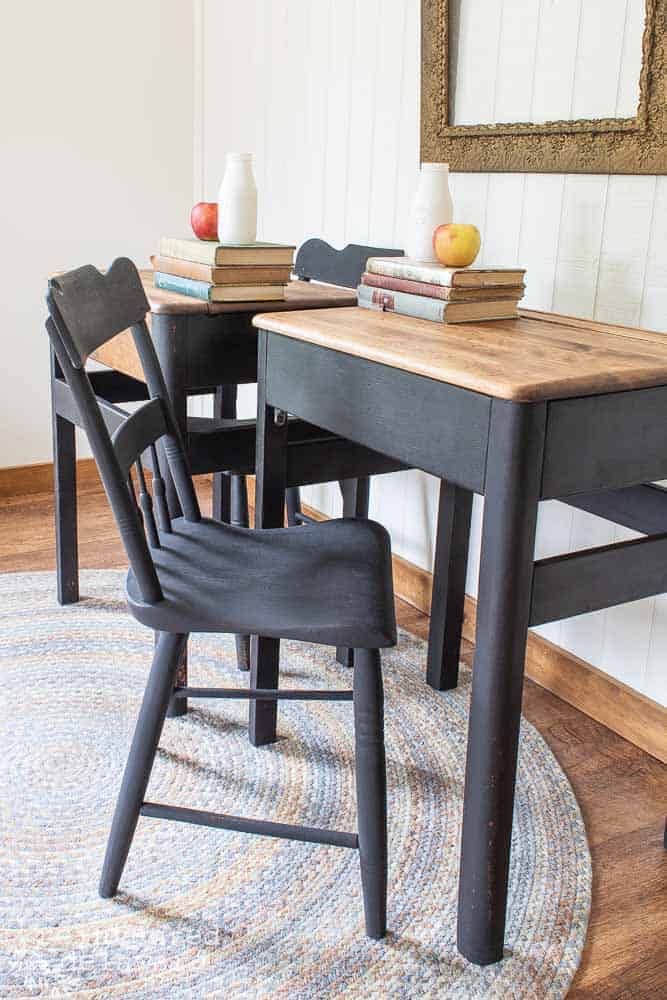
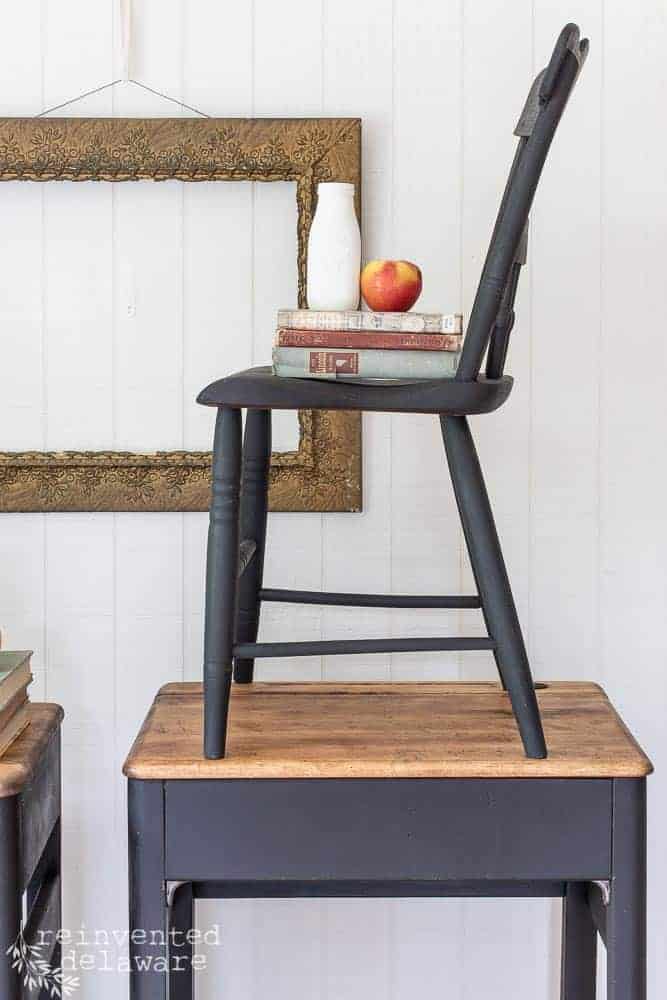
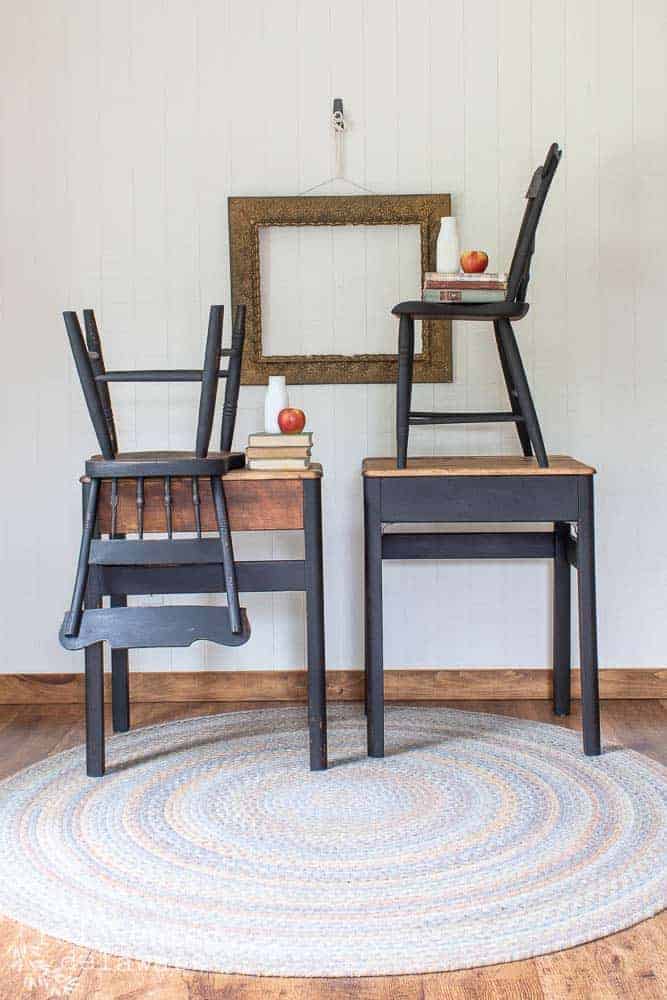
Aren’t these desks gorgeous?? Fortunately, I had two chairs in good condition that would look perfect with these desks. They complete the set!
I gave the chairs a new finish with the same custom mixed milk paint I used on the desks. These unique pieces of furniture will look amazing in someone’s home! Since we didn’t need this pair of desks in our own home, I put them in our vendor booth in a local shop. They sold within weeks of delivery!
The ink wells on the desks look so much better, don’t you think? The desks also have a hole cut in the inside of the desk near the hinge on the right side. I think this would be perfect for a laptop charging cord!
FAQs
How should I restore a wooden desk?
There are different methods to restore your wooden desk. Ask yourself a couple of questions to get you started with the process. Do you like a natural wood finish? Do you want to paint the old desk? Do you want to give it a coat of stain to change the wood tone of the desk? What room will this desk be used in? Who will use this vintage desk? Answering these questions will be the first step in the restoration process.
How do you sand down a wooden desk?
For best results, you will need to use a power sander like an orbital sander, sheet sander, or detail sander. Wood furniture restoration is hard work and using power sanders will save you time. You could use a sanding block and sandpaper and do this step by hand but it will increase the amount of time it takes to get a smooth surface.
How do you refinish wood furniture without sanding it?
You can use a chemical stripper to remove the original finish from wooden pieces of furniture. There are precautions to take when using these products. Read the labels carefully and follow all of the instructions for the individual product you are using. More than likely, you will use mineral spirits in this process. Also, there is almost no way to completely eliminate the need for even light sanding for original wood restoration.
I’ve created a full guide for the best paint strippers for wood furniture makeovers that I am sure you will find helpful.
How can you make wood furniture look new again?
If the furniture piece is in relatively good condition, you can go over the whole piece with Restore-A-Finish to make the furniture piece look new again. It might not be perfect but it will give you a lovely piece of furniture without a lot of time involved.
Where can I buy old furniture pieces to restore?
There are many places to purchase an old piece of furniture to restore. Your local thrift store is a great place to find solid pieces of furniture. Many people donate items from their home because they want something new. You can also find pieces on Facebook Marketplace. Search for specific pieces and check on the results often. Vintage and resell shops offer a variety of furniture pieces that are usually in good condition and do not need much in the area of furniture repair. Auctions are one of my favorite places to shop for vintage and antique furniture.
how to decorate with an antique desk
Let’s chat about how to use a pair of antique desks like these Heywood Wakefield desks.
They could be used as a desk most definitely. There is a place to store books, notepads, and such. Or maybe a laptop or iPad?
No matter the school supplies your child uses, there is plenty of storage.
Or maybe these desks will be used as an at-home office. One of these desks is small enough to tuck away in a corner of your living space or a bedroom. When you are finished work for the day, hide the laptop inside and out of sight!
Here’s another idea you might not have thought of. One of my followers on Instagram suggested that they make great nightstands in a bedroom! Isn’t that a great idea?? They could also be sofa end tables in a living room.
Let me know you’re ‘outside of the box’ decorating ideas for a pair of antique Heywood Wakefield desks in the comments!
history of Heywood Wakefield
Here is the link I promised! This is a great article about the beginnings of this amazing furniture company!
A Quick Look at the Origins of Heywood-Wakefield Company

Thanks for joining our journey!
Thanks so much for joining us for this post! Join our journey so you don’t miss any of the fun projects, tutorials, and inspiration that we share with you each week! You can follow us on Instagram, Facebook, and YouTube. We share even more inspiration on Pinterest!


Cindy Rust
Cindy has been decorating her home with thrift store finds for 40 years. She is an avid thrift store shopper who loves to makeover the items she finds into vintage-inspired home decor and furniture. When she isn’t thrift shopping or painting a piece of furniture, you can find her making homemade butter, working in her garden, or painting with watercolors.
Antique Wood Desk Restoration Tutorial
Instructions
- Clean the wood furntiure with warm water and mild detergent. Look for any necessary repairs. Make the needed repairs.
- Sand the piece of furniture using a power sander for a smooth surface. Start with 80-100 grit sandpaper and sand back using 220 grit sandpaper for best results.
- Paint or stain the wood furniture in your desired colors.
- Seal the paint and or stain with the appropriate top coat such as hemp oil, water based top coat or oil based top coat. This depends on the products used in the previous step. Read labels on the products for recommended sealers.
- Enjoy your new to you piece of furniture!


You find great pieces! Love how these turned out. You are great at what you do!!!!
These desks are so charming! Great job Cindy!
Oh my stars / these are amazing! You did
Such a fantastic job.
Thanks Emily! They look much better without the gum don’t you think 🙂
I have been waiting to see this since you showed it on Instagram! It did not disappoint! Just turned out so amazing, it brought me back. And your stating is gorgeous! Love the touch of the apple!
Thanks Melba! The apple seemed to be the right staging piece!
What a treasure to find two of these beautiful old desks to restore. You did a fabulous job and the end result is so pretty.
Thanks Paula! We’re hoping someone will snatch them up quickly!
These turned out beautifully! I can’t believe there was gum all over them. That is so crazy! LOL.
I can definitely see these used as bedside tables or end tables! As I was reading through your post I was watching an old episode of Flea Market Flip and there was a Heywood Wakefield school desk! Not as cute as these of course 😉
Omgoodness, I love Flea Market Flip! Thanks for stopping by Marie!
Cyndi, you did an awesome job on these desks. I just love them.
Me too! Aren’t they amazing?? Have a great holiday weekend!