
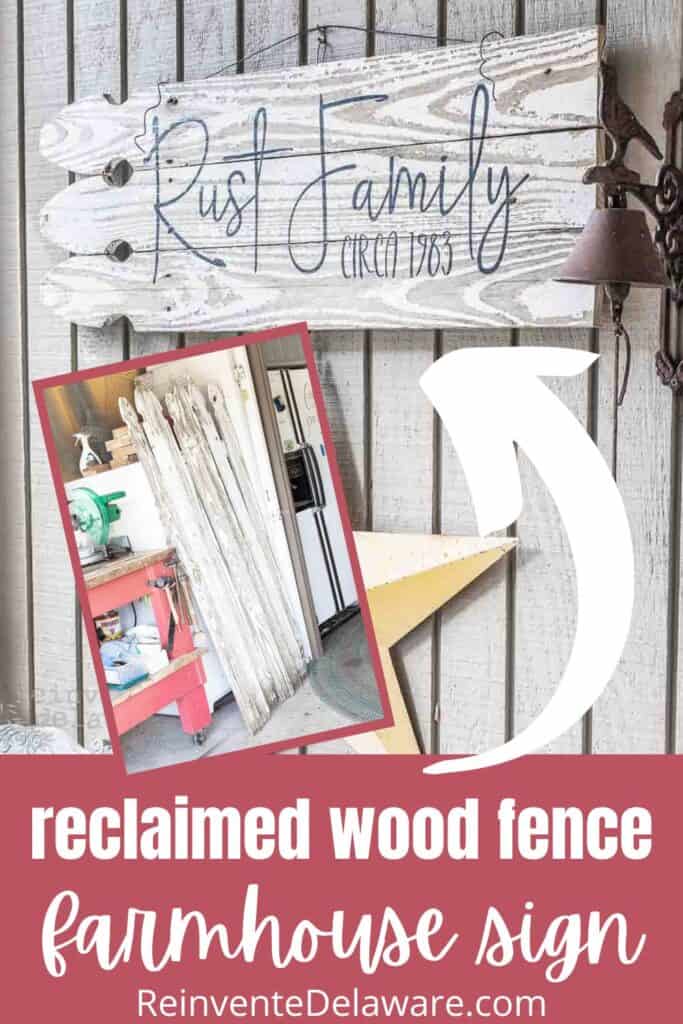
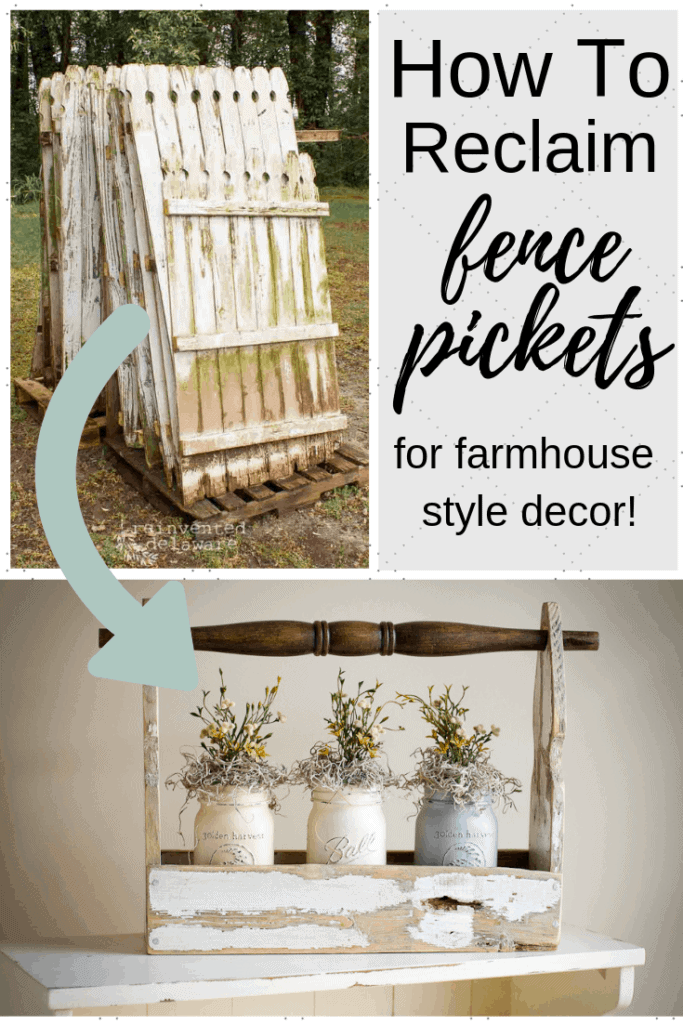
Reclaimed Wood Fence Sign
Learn how to make an easy DIY reclaimed wood fence sign for your home! You will see how easy it is to make this farmhouse sign to use as farmhouse wall decor!
The following post may contain affiliate links. That means if you click and then buy something, I will make a small commission at no additional cost to you! Thank you for supporting my blog. full disclosure here.
reclaimed wood fence sign
Why one earth do I have a thing for picket fences? There are a couple of reasons:
- the nostalgia of them gets me every time – I love the idea of a little house behind a white picket fence
- one of my daughters and I painted our picket fence together when she was in the eighth grade and I loved spending time with her doing something with a paintbrush
- people are taking their wood picket fences down and replacing them with vinyl fencing – that means the pickets are easy to come by!
- they are so easy to repurpose into ‘new’ farmhouse home decor pieces!
Our own fence pickets were in bad shape as far as fences are concerned. So after 20 years of having a hand-me-down fence (yes, yes, we had fence sections given to us!), we took it down.
And we saved those pickets because I knew I could make something out of them! And we’ve made lots of ‘somethings’ for our vendor booth!
It’s high time I show you how we have made some of our most popular reclaimed wood fence signs!
list of supplies:
Use the links below to purchase some of the supplies for this project! You are helping to support this blog and all the free tutorials we offer here! Thanks so much!😊
- Chop Saw
- Orbital Sander
- Power Drill
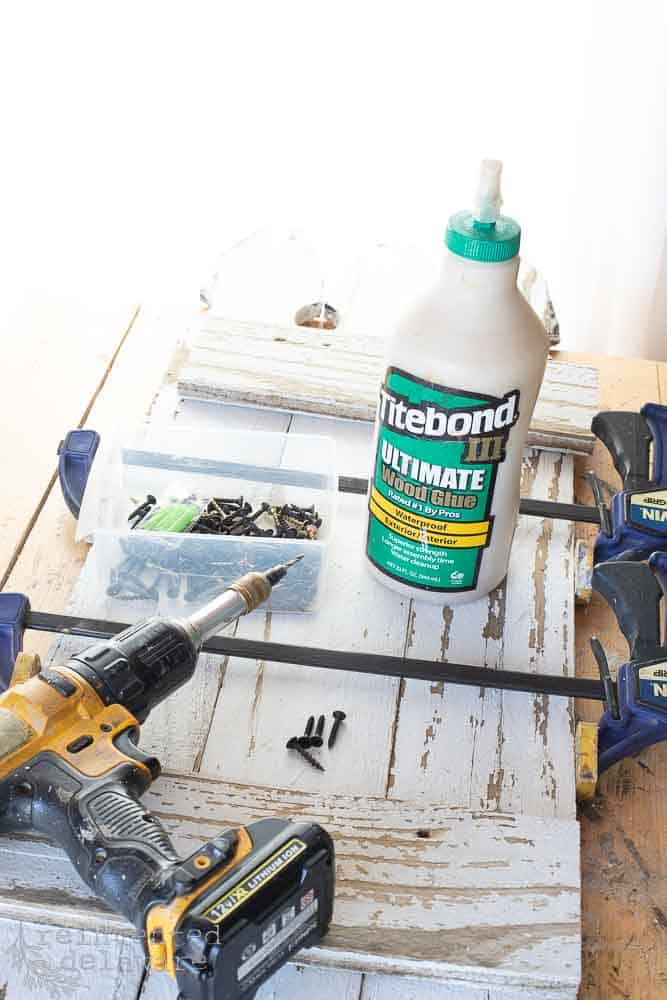
- Wood Glue
- Truss Head Screws (for the hanging wire)
- 18 gauge wire or chain
- Quick-Grip Clamp Set
- Drill Flip Drive Attachment
- Cricut
- Black Vinyl
- Transfer Sheet
- Miss Mustard Seed Milk Coat Sealer

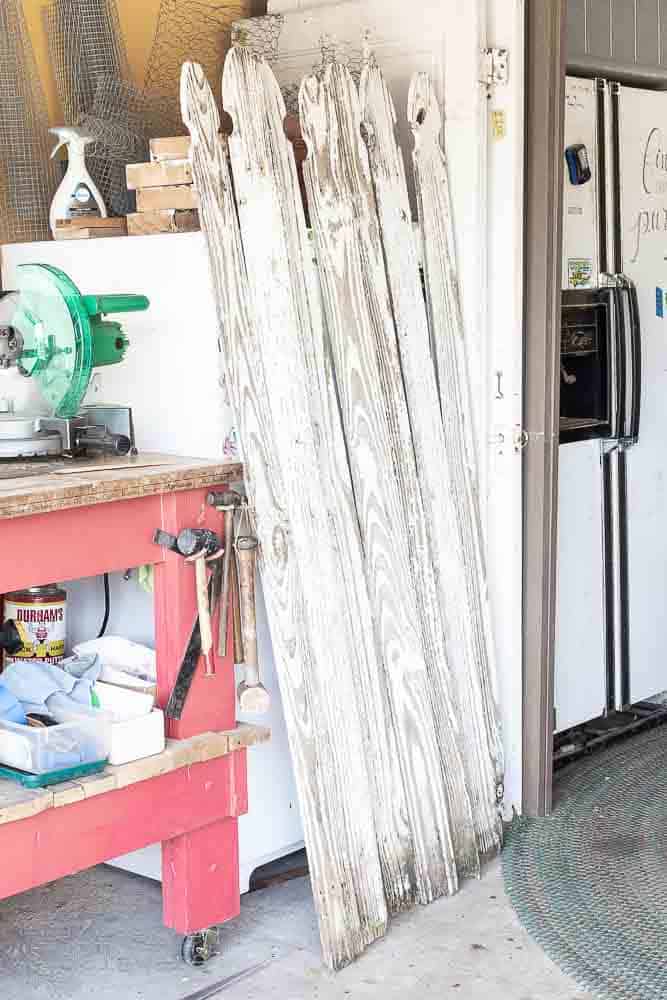
And of course, you need fence pickets! The picket fence pieces that I used are reclaimed and already had chippy white paint on them. You can also purchase individual fence pickets at your local home improvement box stores like Home Depot or Lowes. They are usually located in the back of the gardening department. Give them a quick chippy paint finish and boom – your pickets will look like they have been around for 20 years!
If you would rather watch the video, scroll down a bit further in this post. I made a step-by-step video tutorial for you!
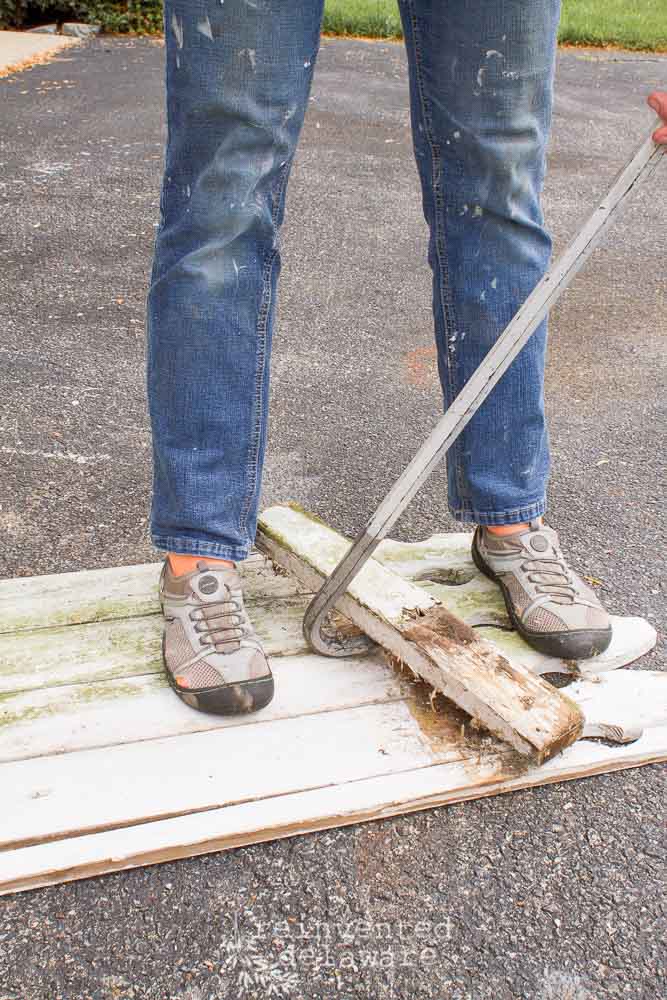
The first step after taking the picket fence sections apart is to clean them. Use a garden hose, a stiff brush, and bleach water to scrub them and remove any green algae on the pickets. Let them dry overnight before cutting the pickets.
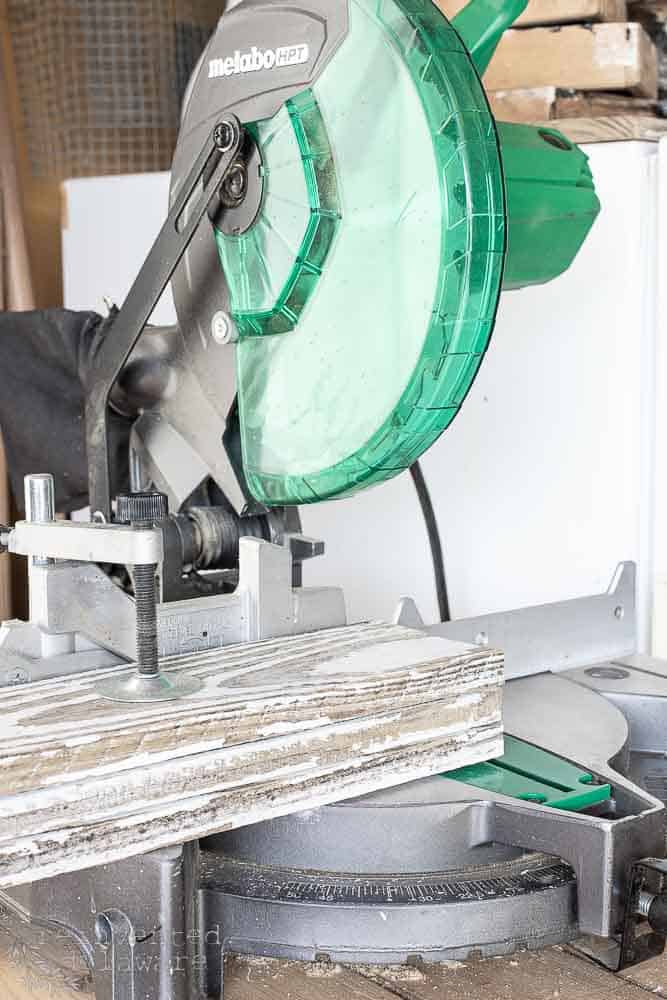
The next step is to cut three of the pickets in the size that you need for your reclaimed wood fence sign. Using my chop saw, I cut my lengths at 34″.
picket fence ideas
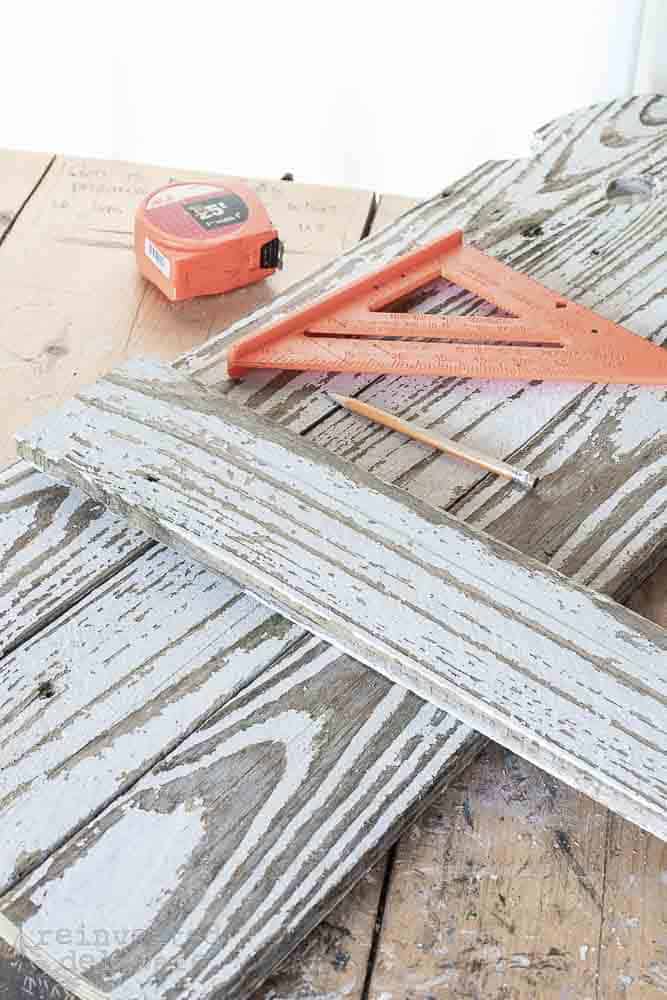
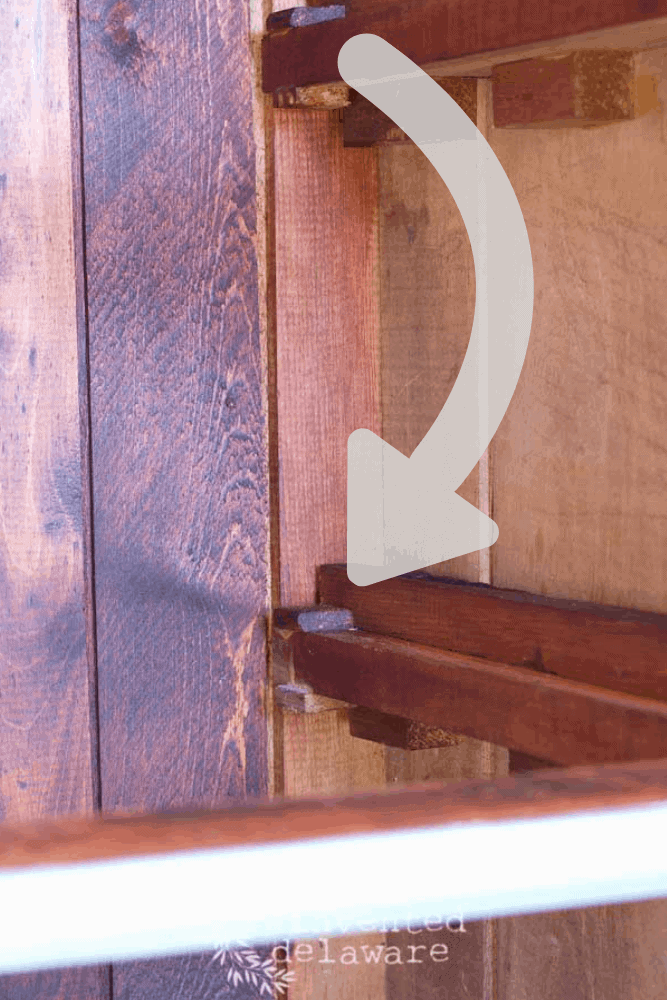
The next step is the cut the pieces that will hold the three pickets together when they lay next to each other to create the DIY farmhouse sign. Use the scraps you just cut for the brackets. My sign measured approximately 11.5″ across the three boards so I cut two brackets each at 11″ in length.
Just make sure you cut the two brackets long enough to attach all three of your boards when they are laid side by side.
assemble the farmhouse sign
Now that all of the pieces are cut, it’s time to put them together!
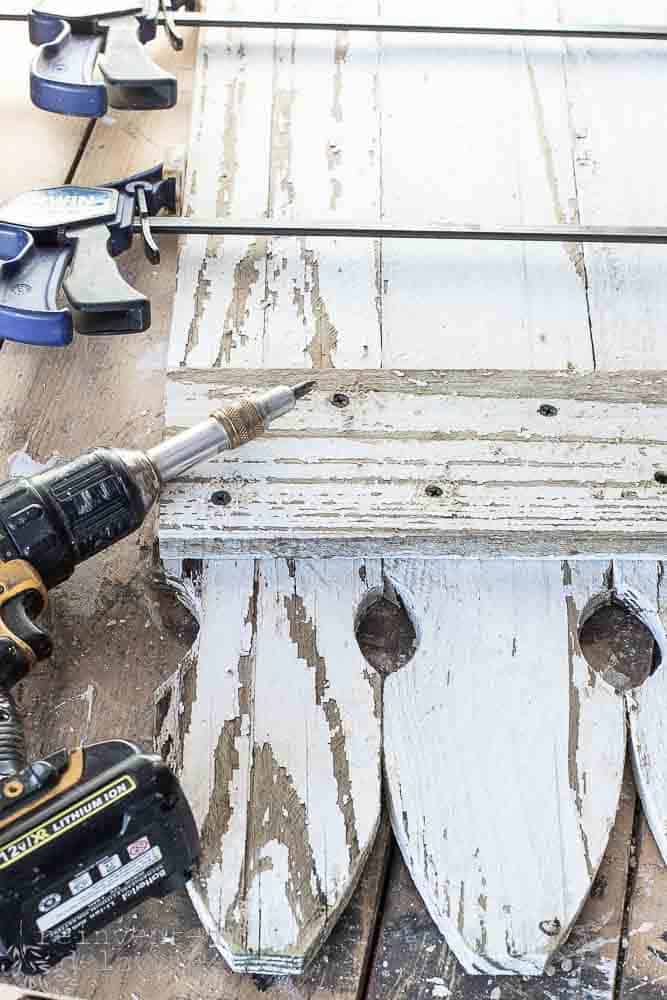
Lay the pickets with the gothic end (the decorative end) lined up and even and also facing down. Then lay the cross brackets on the top of the backside of the pickets. I placed one of the brackets just below the gothic design so that it couldn’t be seen from the front. The second cross bracket was placed the same on the opposite end of the reclaimed wood fence sign.
Next, use the Quick Flip drill bit in your power drill to pre-drill the holes and insert the screws. You will have a more in-depth look at this step on the YouTube video.
Use clamps to hold the sections together and prevent them from moving around. Glue the surfaces before attaching the screws for additional bonding strength.
Handy tip: Use Clamps!
Often in the workshop, I need an extra set of hands. Quick-Grip clamps are work horses in my workshop. They are among my favorite tools that I use each time I am working on a project!
scrap wood projects
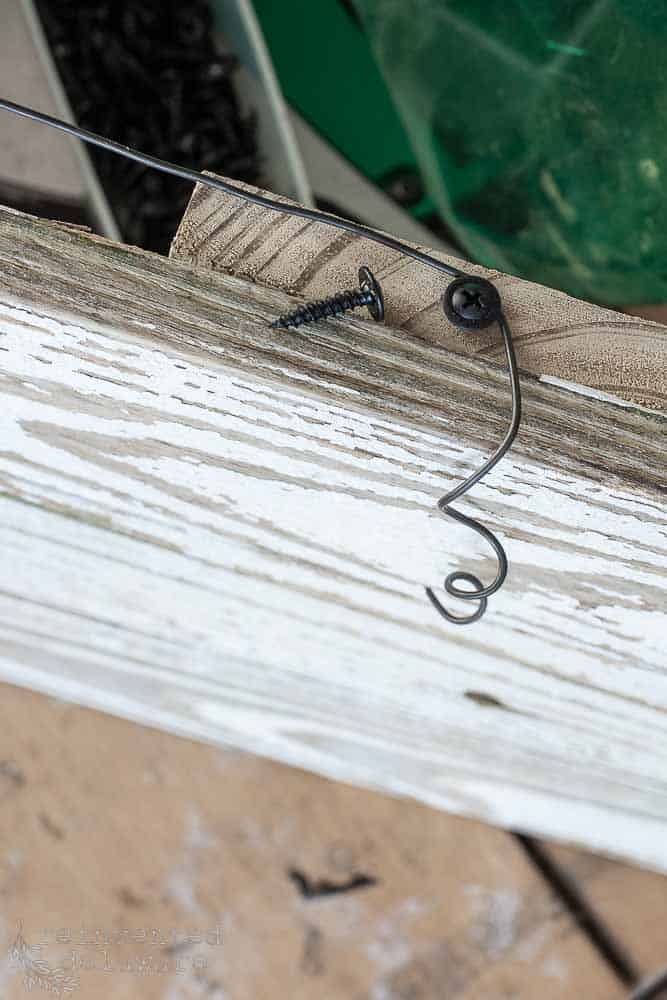
You can choose to hang your farmhouse sign any way you like. I used 18 gauge wire to hang mine along with these truss head screws. The screws have a head-on them kind of like a washer that helps to hold the wire in place.
Pre-drill the holes using your quick flip drill bit attachment (I love this little tool so much and I use it daily in my workshop!) Then screw in the truss head and screw about halfway down. That will leave room for you to wrap the wire around the screw and then finish installing the screw all the way down to hold the wire securely.
Watch the YouTube video to see my fancy-schmancy method of making the little squiggly end!
DIY wood farmhouse sign
When you watch the video, you will see how I added the words. I am borrowing my daughter’s Cricut to see if I like using it and so far I love it! It makes sign-making super easy and you can resize the design you create to any size you need!
Be sure to watch the video I made for you to see how to add the letters to the sign!
If I keep using it, I will have to write a tutorial to show you how to use it. As for now, I am still learning!
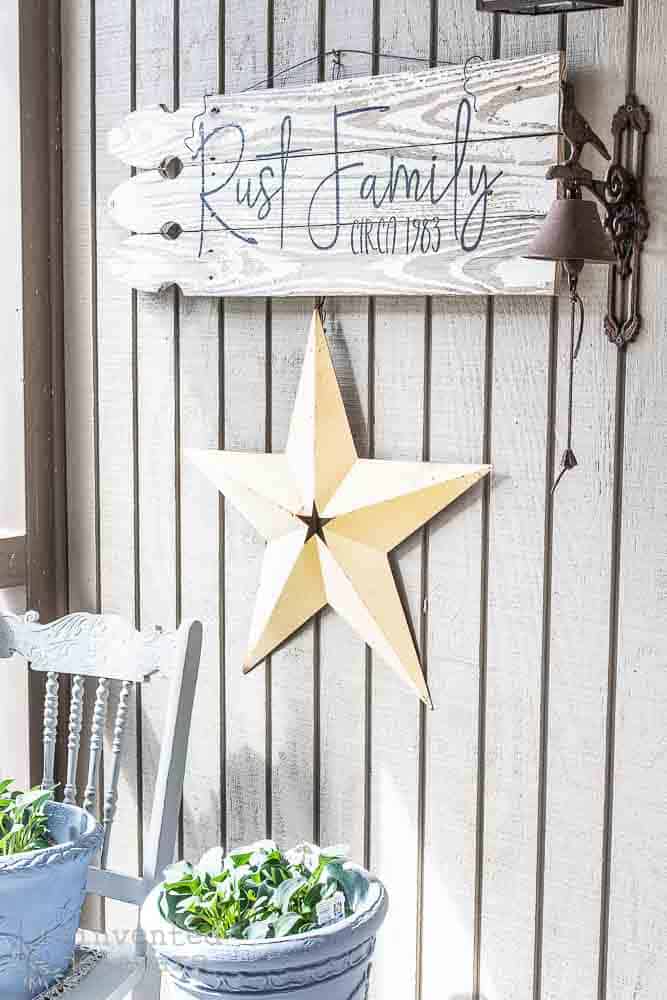
What do you think of the sign? Isn’t it so adorable?
Here are some ideas for words or phrases for your sign:
- single words like thankful, blessed, family, welcome
- short phrases like: give thanks, follow your fear, choose joy, pray anyway
- your street address (you can see my front porch sign in this post)
- your family name and the year it began
The ideas are endless! These reclaimed wood fence signs would make great gifts too. Personalize them to make them extra special for the recipient!
BTW, the only piece of adorable upcycled home decor is the repurposed seed spreader I made a couple of years ago. It would look adorable with this sign – too bad I sold it!
YouTube video
Some of us like to watch the process so here is a YouTube video showing you this reclaimed wood fence sign. Plus you will be able to see how I create and added the words to this DIY farmhouse sign! Enjoy 🙂
more inspiring posts!
If you would like even more reclaimed wood project ideas, here are two more posts just for you! Click the image to see the post!
BTW, I plan on having even more projects with fence pickets to share with you in the future! Be sure to sign up for our email so you don’t miss any of the fun projects! Scroll back just a little bit and you will see the sign-up form!

Pin the image below to your home decor and furniture boards! Just click the pin button at the top left corner!

Thanks for joining our journey!
Thanks so much for joining us for this post! Join our journey so you don’t miss any of the fun projects, tutorials, and inspiration that we share with you each week! You can follow us on Instagram, Facebook, and YouTube. We share even more inspiration on Pinterest!
use code: 10OFFRD at checkout and save 10%!
Visit my Amazon Storefront!
Click the button below and head over to our online shop on Amazon!


What a great tutorial, Cindy!! It turned out great! I have done a very similar thing using old fence boards from my in-laws old fence that they tore down. I’ve also used that same wood to build a shiplap wall in my bedroom! So much fun using old wood! Happy 4th to you!
I love your idea about a shiplap wall with your fence boards! Great idea Rachel. Have a happy 4th!
I love this sign so much! It makes me want to go out and search for old fence posts! I love the font you chose for your name! Sounds like you are having fun with the Cricut! I love mine! Have a wonderful week, Donna
The Cricut is still new to me but I am enjoying it! Have a great week Donna!
Cindy – this is such a cute idea. I have always wanted to own some land with multiple small one room cottages that I could rent out as air bnbs. I would make one of these signs for each cottage. Great idea. Pinned.
Your idea of owning some cottages to rent out sounds amazing! I would be your first renter! Thanks for pinning!🥰