
Build Your Own Charming Window Boxes with Fence Boards
Build charming window boxes from fence boards with this easy DIY guide! Step-by-step instructions for beautiful, affordable planters.
Update: We have had our planter boxes on our home for two years and they are holding up great! This summer I will add another coat of the stain I originally used for a fresh look.
Looking to add some curb appeal and vibrant greenery to your home? Learn how to create your own beautiful DIY window planter boxes using readily available and budget-friendly fence boards!
This easy, step-by-step guide will walk you through the process of building charming window boxes that will enhance any window. Forget expensive store-bought options – discover how simple and rewarding it is to build your own window boxes and bring a touch of nature right to your windowsills.
window planter box dreams
We’ve had our home built in 1998 and since the day we moved in, I’ve wanted to add a wooden window box to each of the double front windows on our home. Some projects need to take some planning! Maybe 25 years is a bit much as far as planning goes, but I had plenty of time to dream!
Window planter boxes are a great way to add curb appeal to any home and I just knew that they would look amazing on our home. But the cost of purchasing ready-made window flower boxes just wasn’t in our budget. Besides, we are serious DIYers around here!
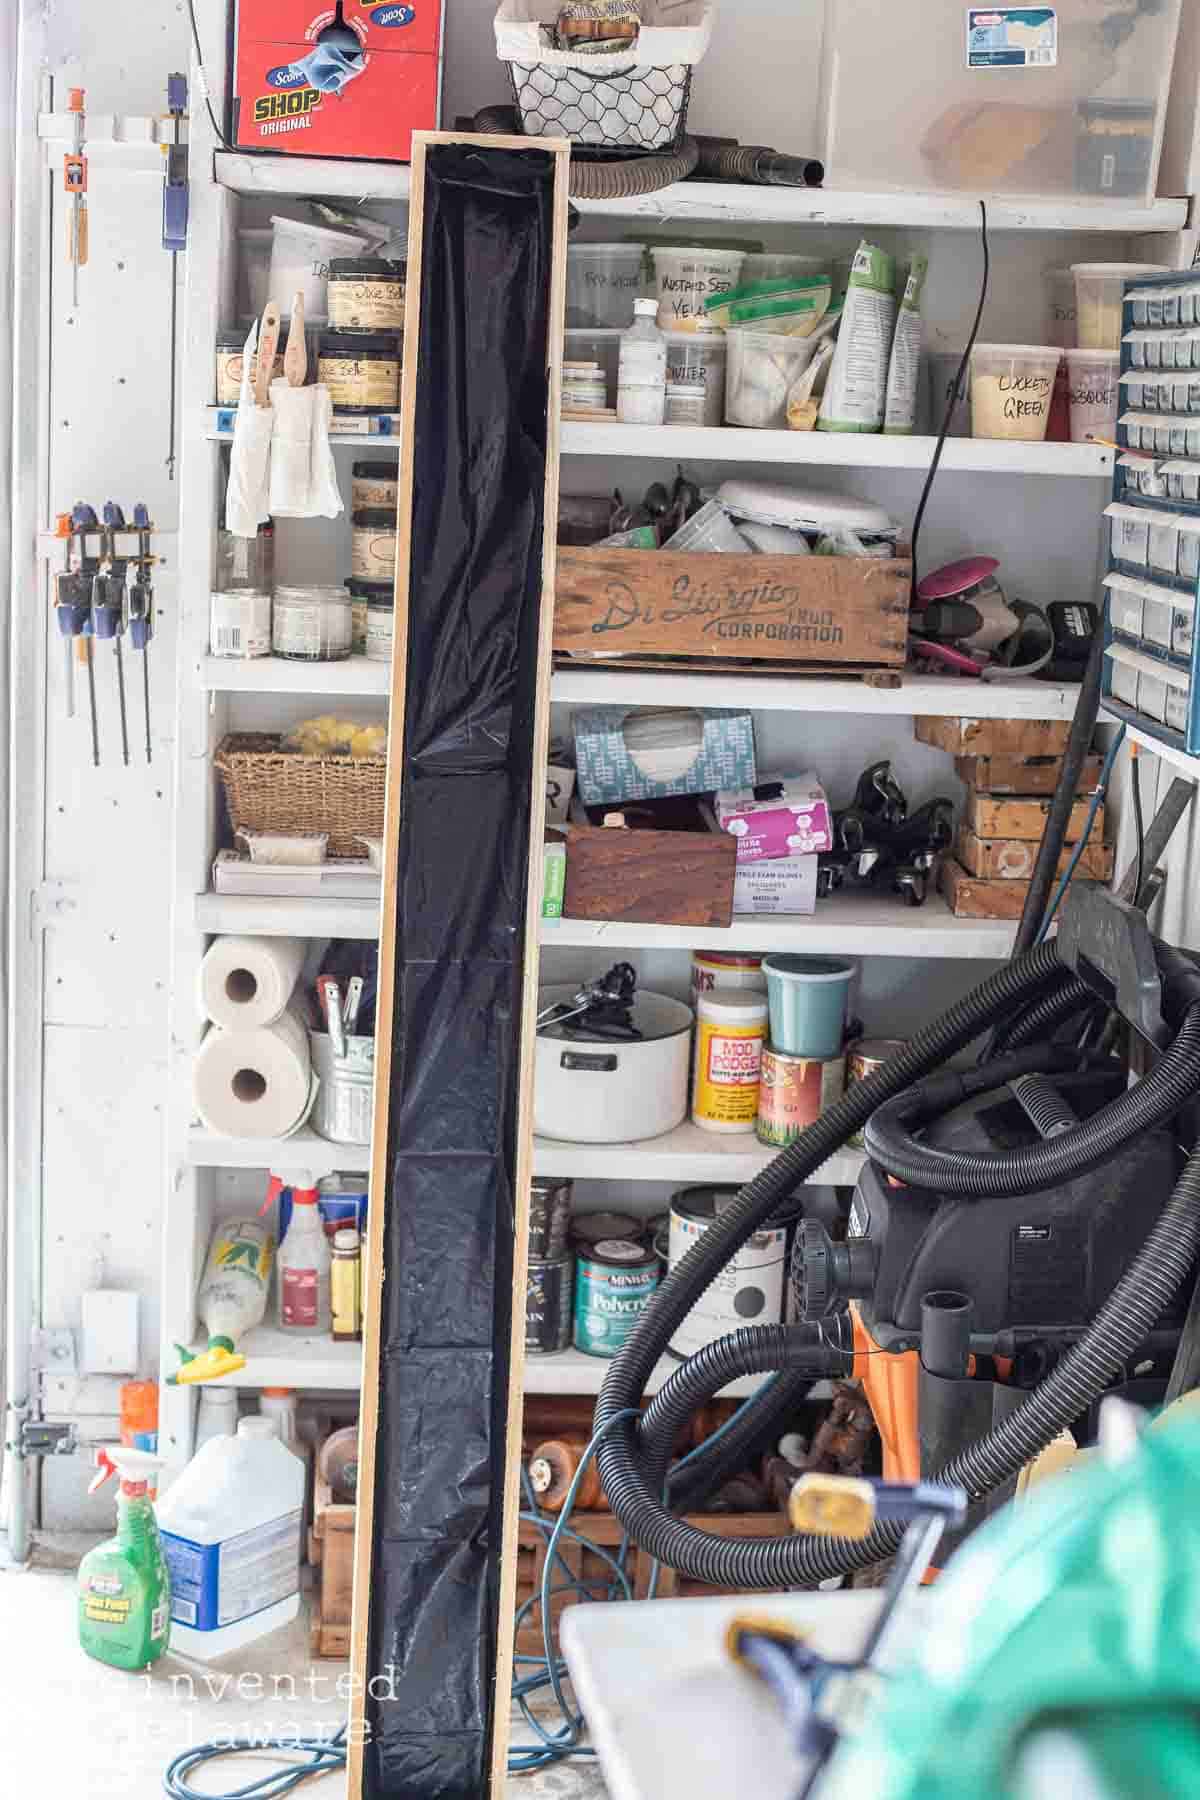
So a DIY window planter box was the next option. We have some scrap wood pieces left over from other projects but my hubby really wanted to use cedar boards. We didn’t have any of those so my brain started to work.
thanks for being here!
I hope you are enjoying this project! Let me know if you have any questions. Or leave me a comment to tell me about your project and ideas!
thanks, Cindy 😀

diy window boxes
We have cedar fence boards left over from a project but they weren’t long enough for this diy project! Agh! Obstacles at every turn!
The window frames that these planter boxes will go on are each about 3′ wide and there are two of them side by side as well as the wide trim around the windows making the whole distance about 7.5′ wide. We decided to head to our nearest box lumber store (Home Depot and Lowes are within 30 minutes of our home).
We knew this would be the time of year to purchase picket fence boards to make our DIY window box planters. The boards were located in the lumber department but we have also found them in the gardening department.

The following post may contain affiliate links. That means if you click and then buy something, I will make a small commission at no additional cost to you! Thank you for supporting my blog. full disclosure here.
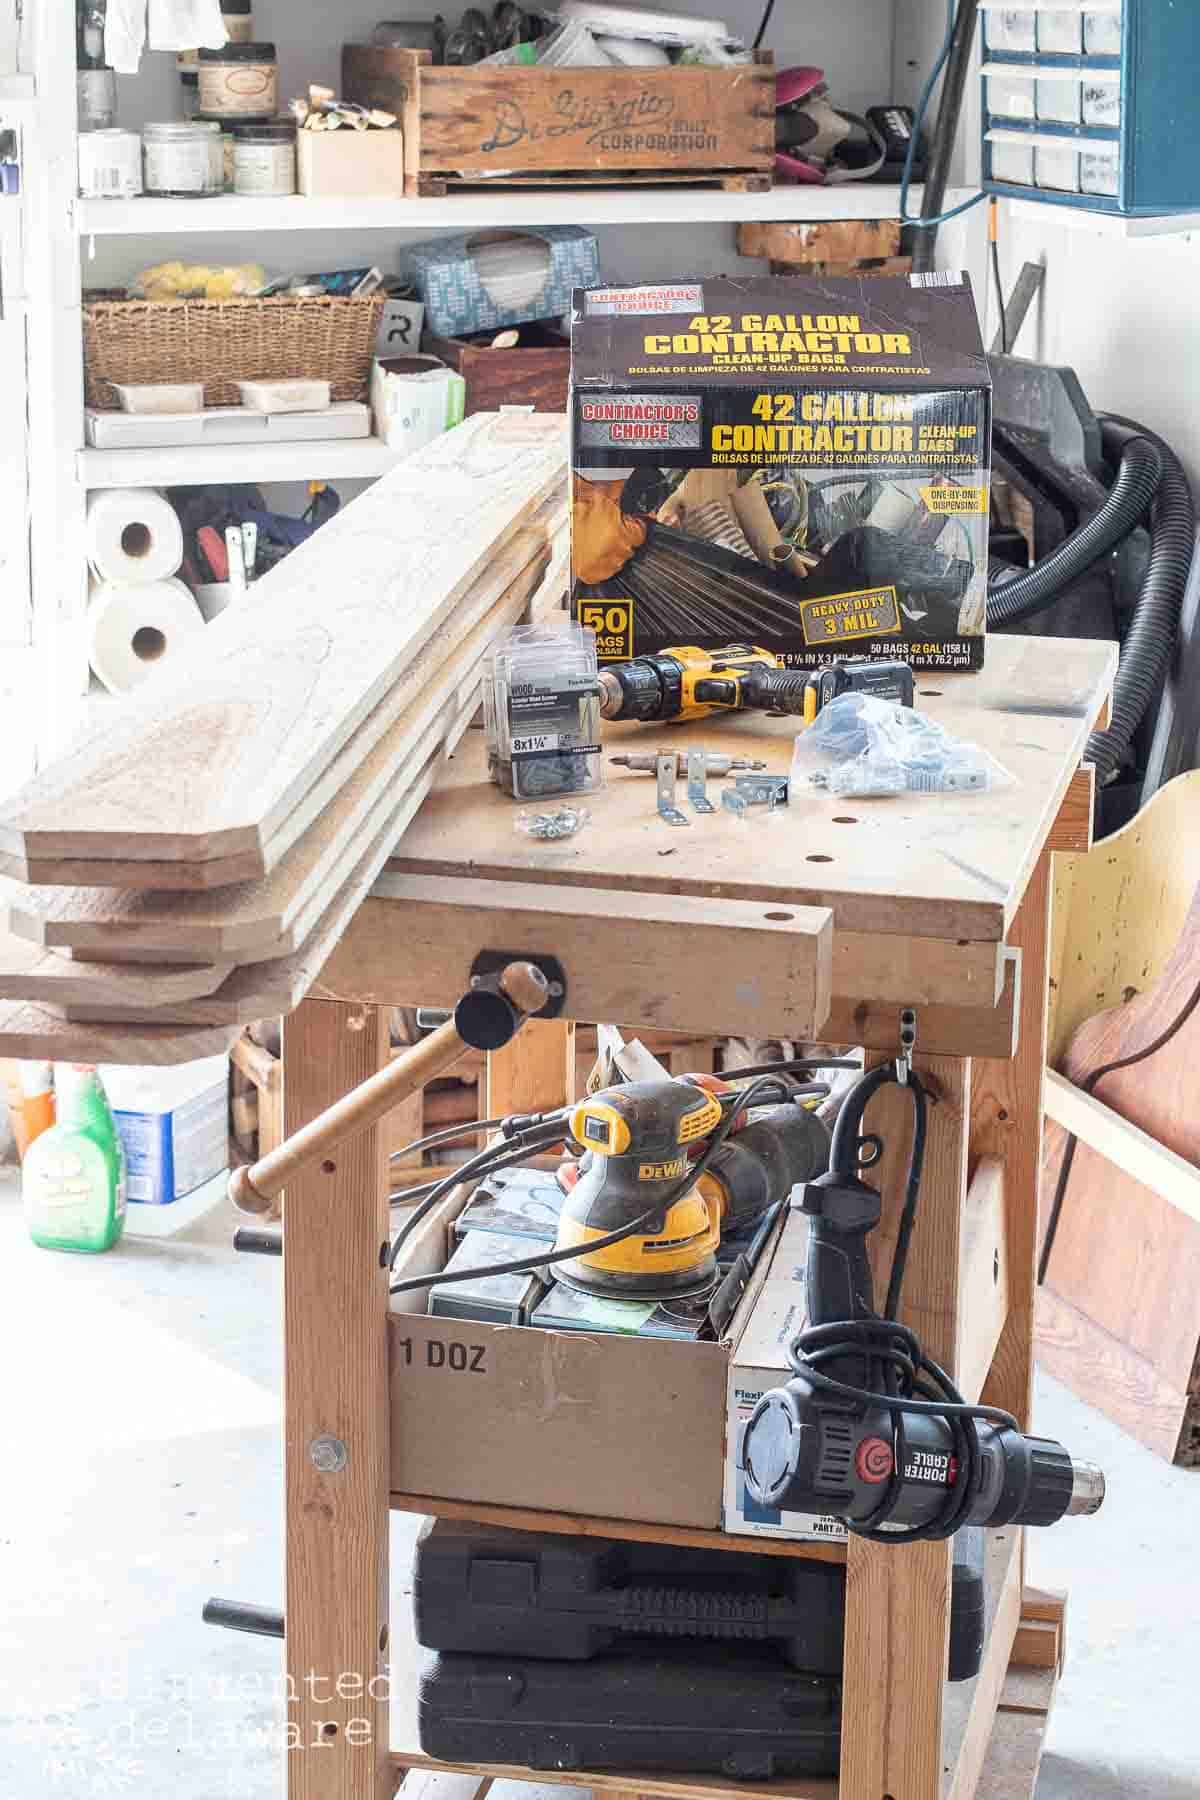
supplies and tools
Here are the supplies and tools we used to build our easy DIY window box planter. We built two of them exactly the same. I’m sharing the supplies for one window box that measure approximately 6′ x 6.5″ x 5.5″.
- 3 1/2 – 6′ long cedar dog ear fence boards (measuring about 5.5″ wide)
- large contractor-grade trash bags
- 1 1/4″ wood screws for outdoor use
- L-brackets (optional for additional security)
- clamps
- wood glue
- 2 – 4′ x 4′ outdoor posts (we used 6′ long posts)
- 1 bag Sakrete
- outdoor stain (we used Valspar exterior stain and sealer in Black)
- various plants (we’ll chat about that later in the post)
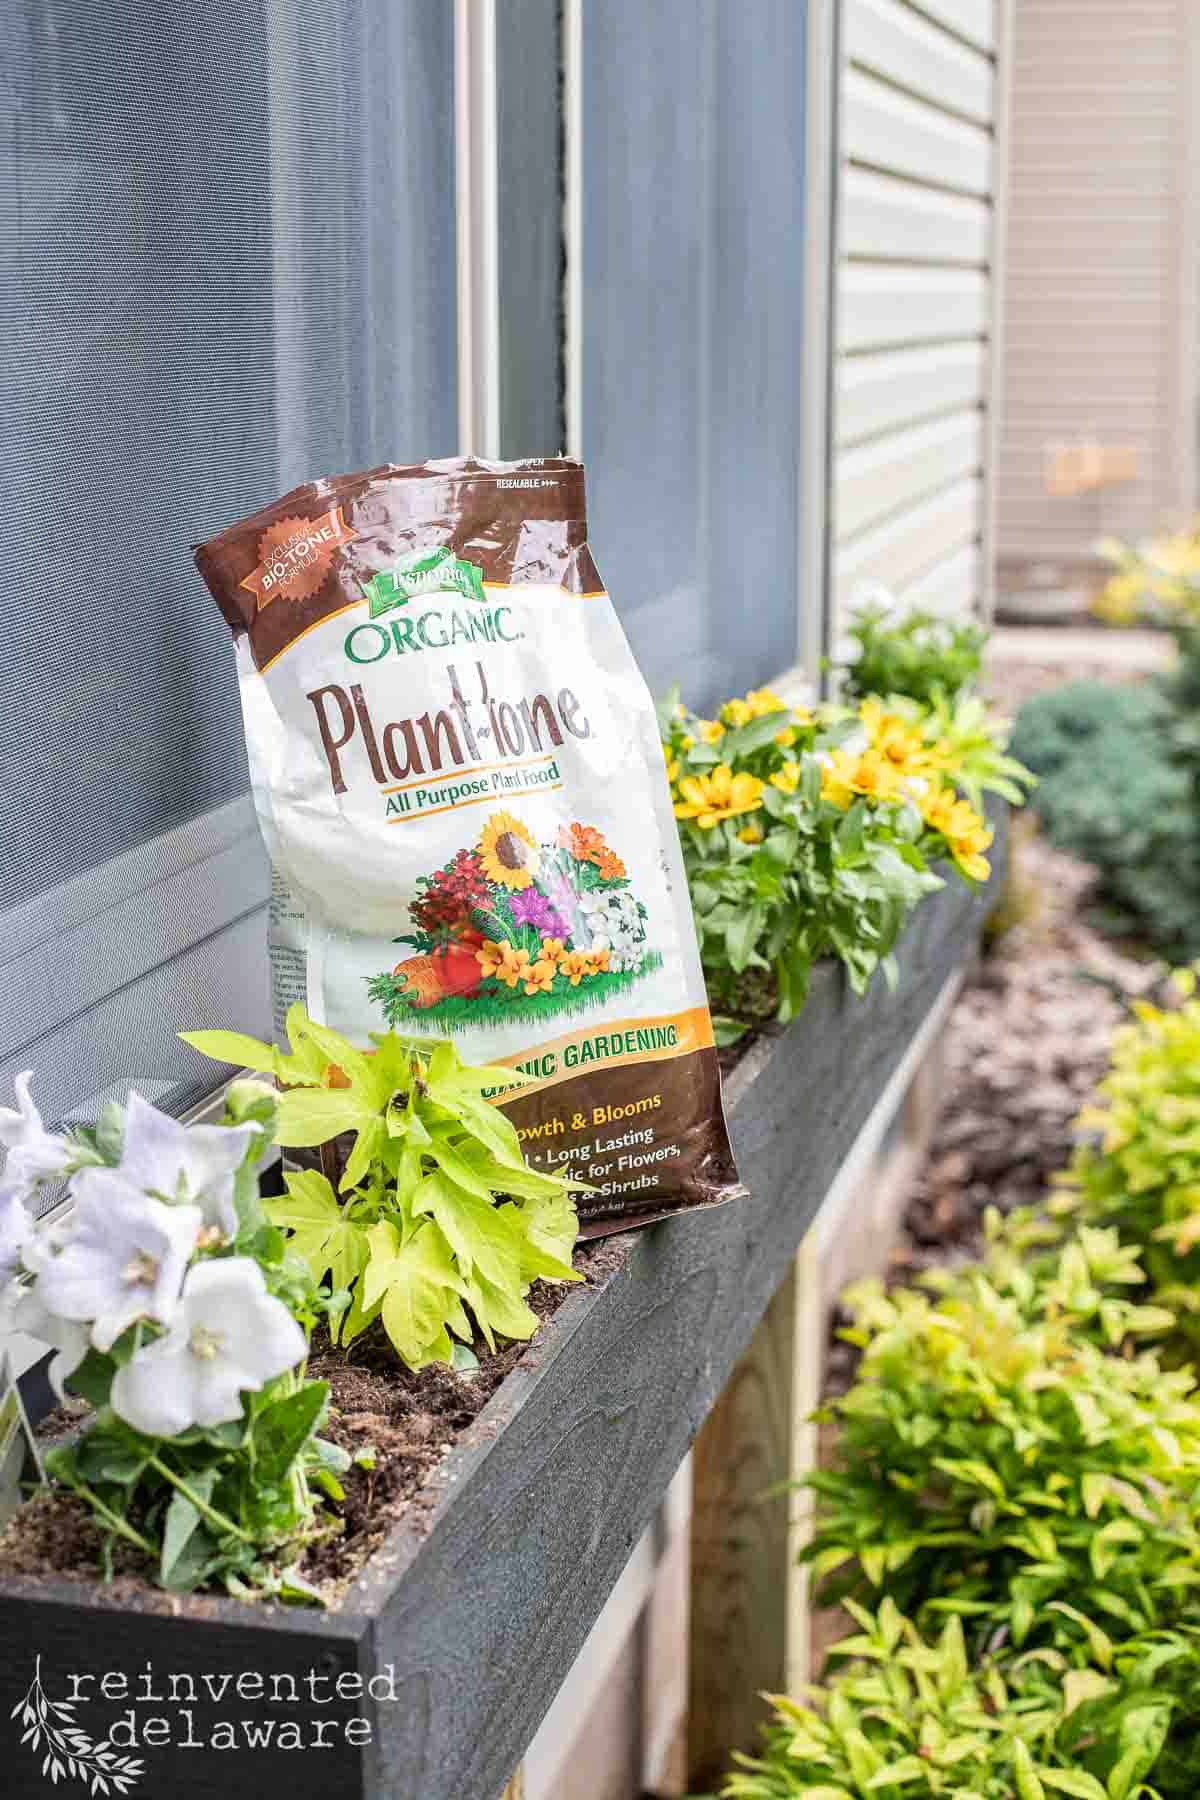
- Plant-Tone All-Purpose Plant Food
- container soil
- miter saw (or a hand saw, or circular saw)
- drill driver
- quick flip drive
- measuring tape
- 1/4 inch drill bit
- manual staple gun and staples
You might be wondering about the 1/2 board in the first item of that list. This extra board is for the side piece that will go on each of the two window boxes we built. You might also be wondering what the 4′ x 4′ posts are used for – we’ll get to part soon!
step by step guide: building window boxes
Now that we have the tools and supplies gathered, let’s build the window boxes!
step one: prepare the fence boards
The first step is to cut off the dog ear section of the cedar wood boards. It’s a cute detail for a fence but we don’t need that detail on this project.
Some pickets have the corner angles cut off so that they do not go straight across. This is a simple design element called a dog ear.
The easy way to trim pieces from the top is to line up the boards and cut them all at once. I lined up the boards and then used my miter saw to remove the top of these wooden planks. Easy peasy!


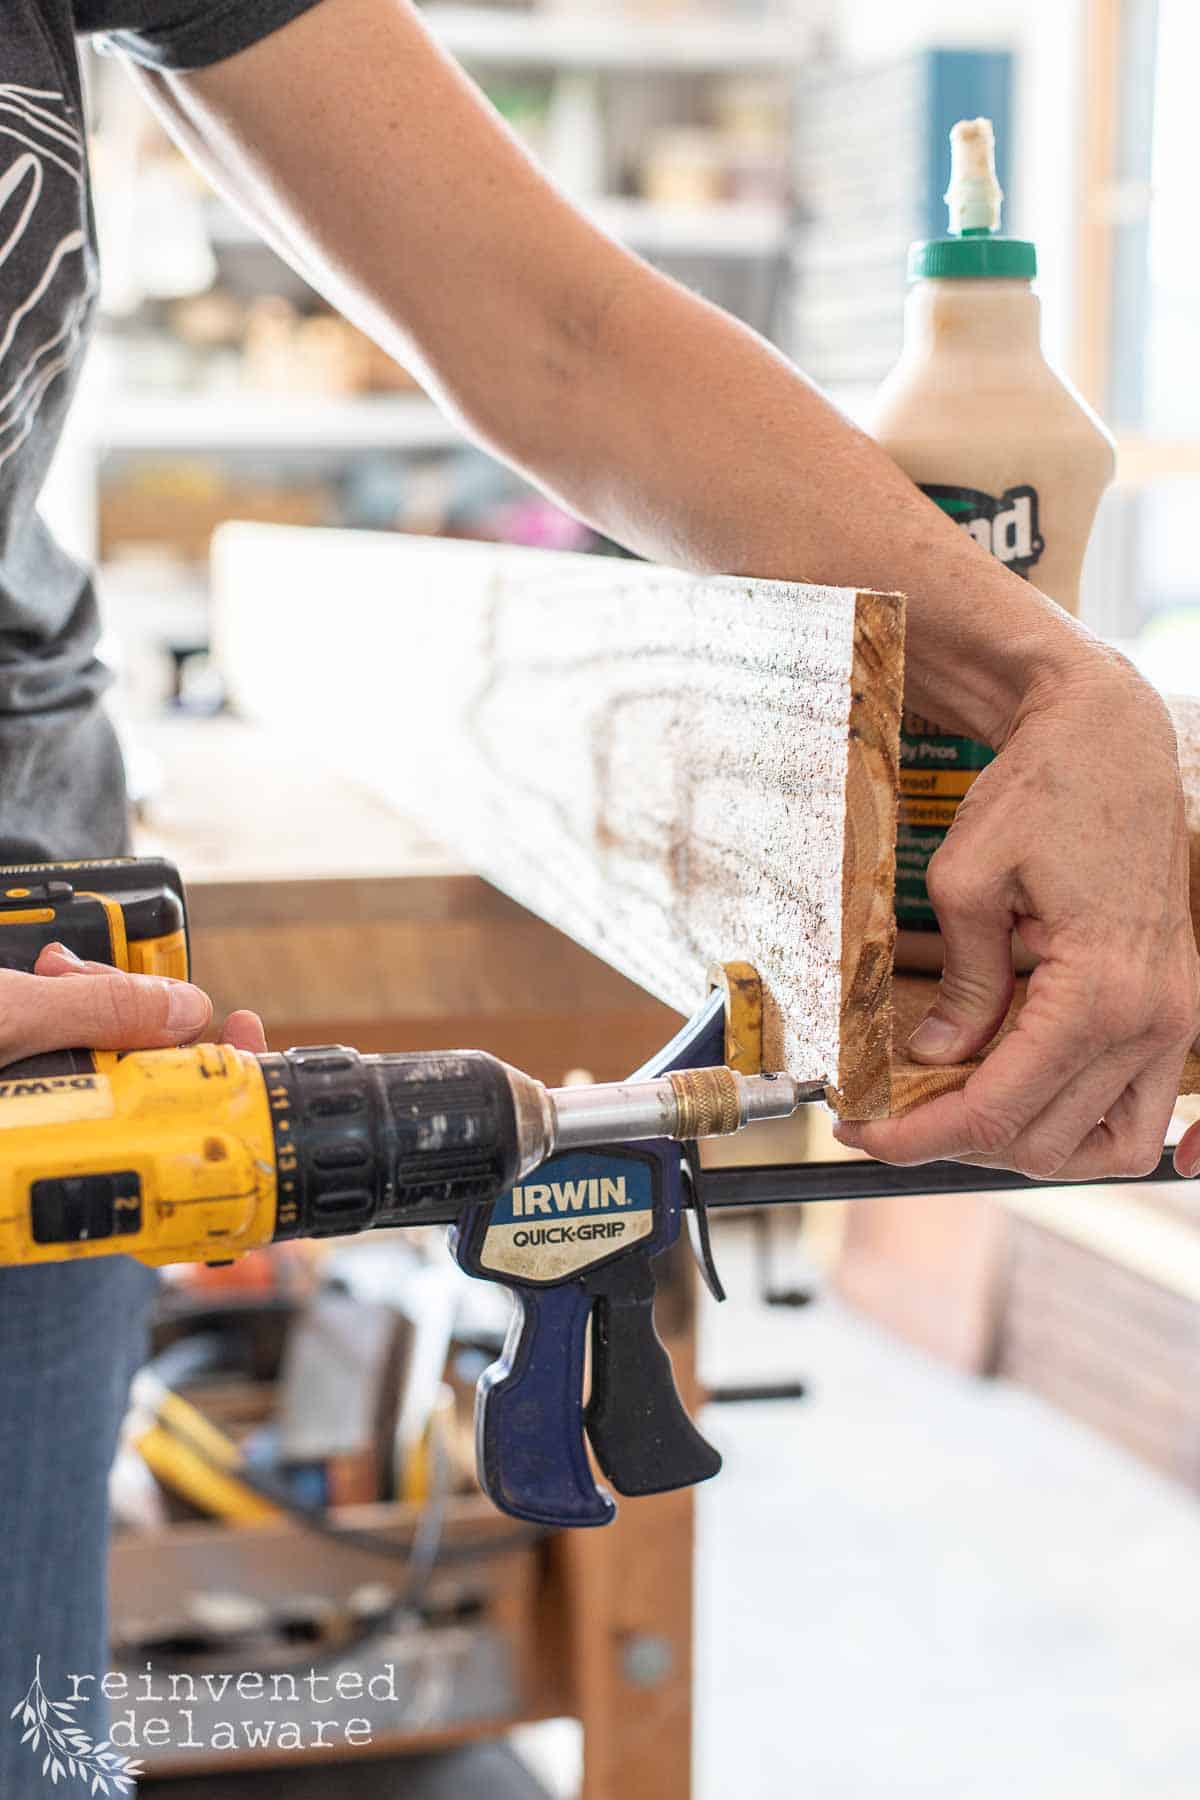
step two: assemble the box frame
The next step is to assemble the three pieces of wood to form the long box shape of this wood window box. I attached two side boards to the bottom board using wood screws and a bead of glue.
BTW, drilling pilot holes to keep the wood from splitting. That’s where the quick flip drive comes in handy. It’s seriously my most used tool in the workshop! Clamps are so helpful with a DIY project like this wooden planter box.
Once the three long edge boards were assembled, it was time to add the end pieces to the window box. Remember the extra 1/2 cedar board I mentioned? Grab that and cut a wood piece for each end. I cut a total of four since I had two window boxes.
Attaching the short end boards to the long pieces of the box can be tricky. I attached the short-end pieces to one of the longer pieces first. Then using a little bit of pressure, I pulled the edges of the boards to line up. This made the window boxes square.
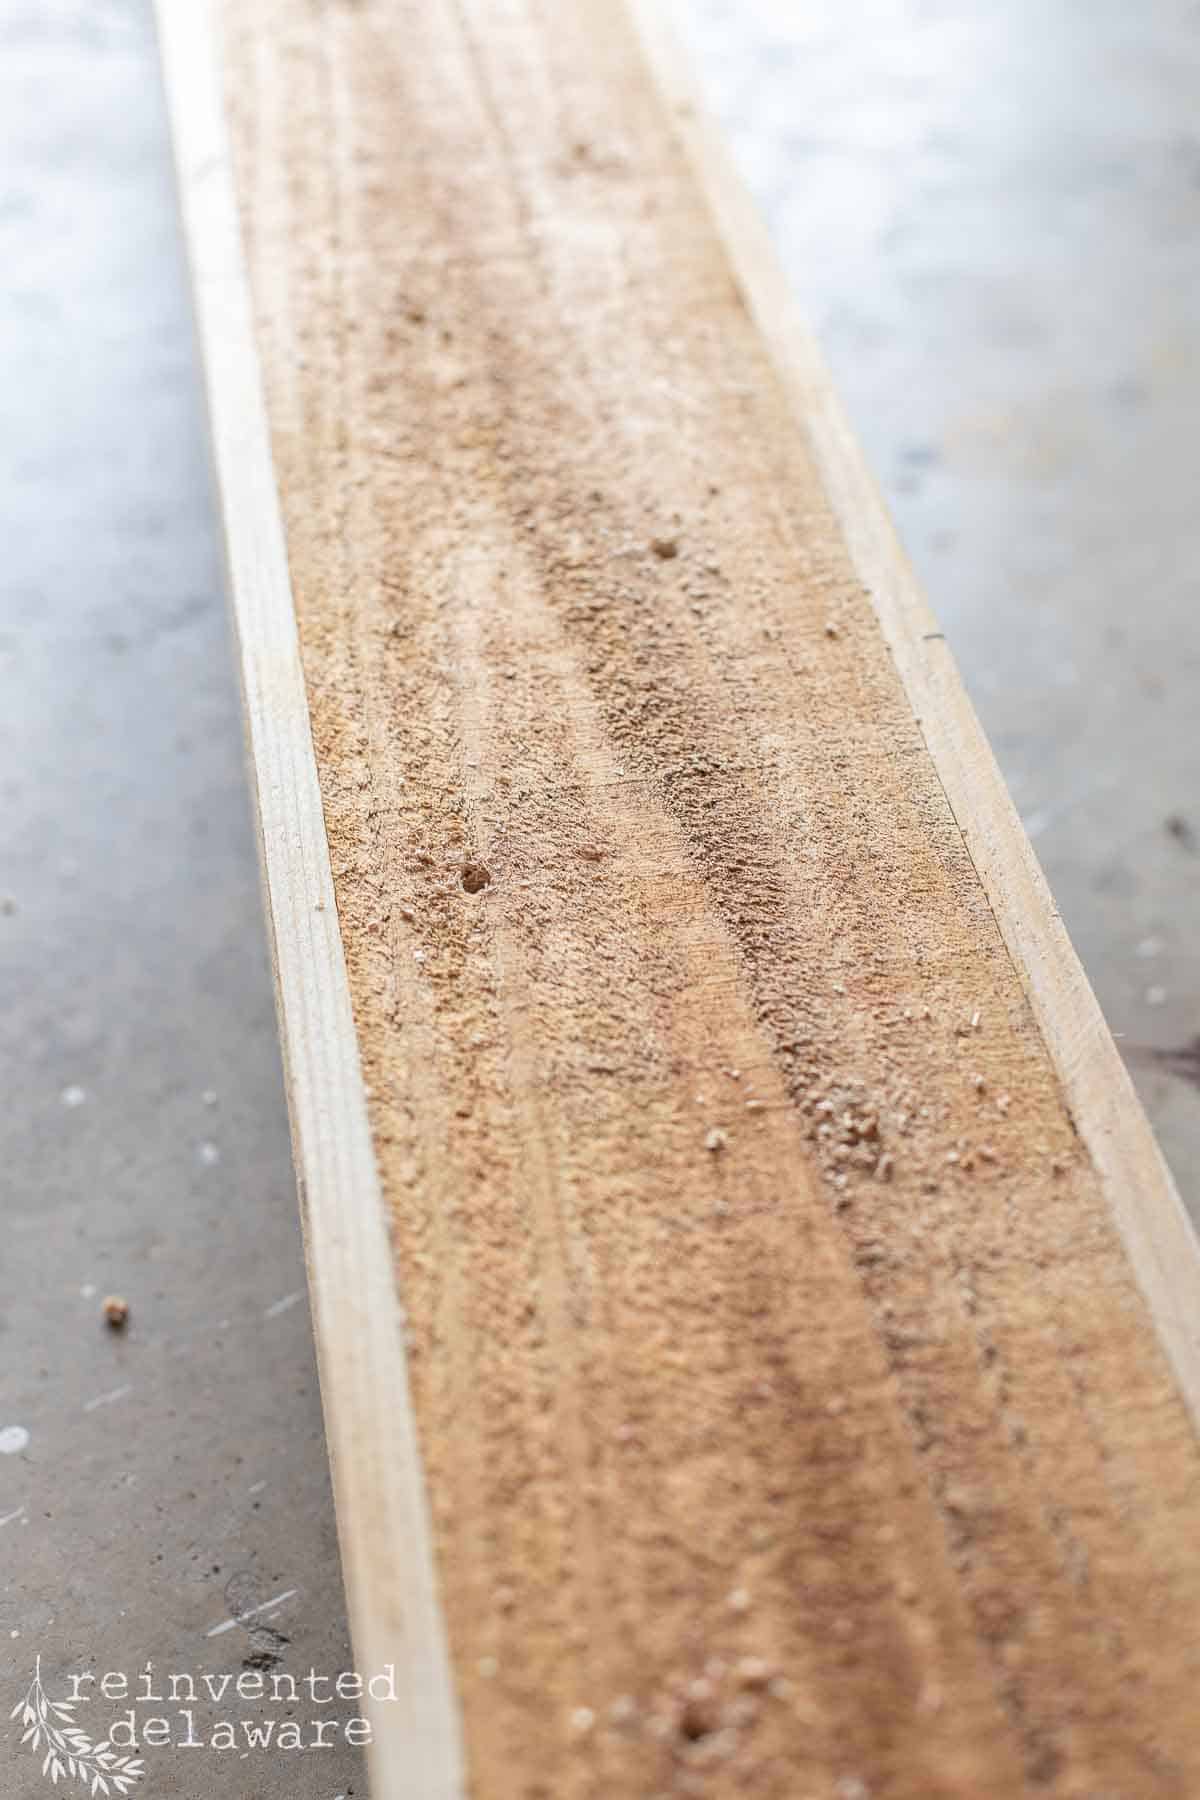
step three: allow for proper drainage
Now that the adorable DIY window boxes are assembled, it’s time to add drainage holes to the bottom of the box.
Drainage is so important when planting anything. Your beautiful flowers don’t want to sit in a puddle of water! The drainage holes will allow excess water to escape.
Using my 1/4″ drill bit on my drill, I drilled holes about every 4-5″ apart in a zig-zag pattern. on the bottom of the window boxes.
step four: lining the boxes
The next step is to line the window boxes. This step is optional but I think it’s a good idea so that the planters will last longer. The best way to do this is to use contractor-grade trash bags. The bags are huge when you cut them out and they are usually 3ml thick!
This is such a great way to line a planter box of any kind. You can’t beat the price plus you can use the trash bags for project cleanup!
I used two bags for each planter box. The bags are easy to cut open with scissors. Then I laid them flat inside the wooden boxes and attached them with my manual staple gun. If you have a brad nailer, use it! That would make this step go even faster. Be sure the nails don’t come through the other side!
Take your time with this step. Cutting and folding the liner can be tedious but it’s worth it. Once your colorful flowers are in the boxes, you will be glad you did it! When the line is completely attached, remove the excess and cut a couple of holes in it to allow for drainage. Try to cut near the holes you already drilled in the bottom of the window box.
Helpful tip: don’t try to drill holes through the liner!! It will get tangled in your drill bit and cause you heartache. Ask me how I know!
step five: stain and seal the boxes
After seeing the progress he was making, I headed back to my workshop to finish off the wood. You could leave your wood natural or seal it with an outdoor clear coat.
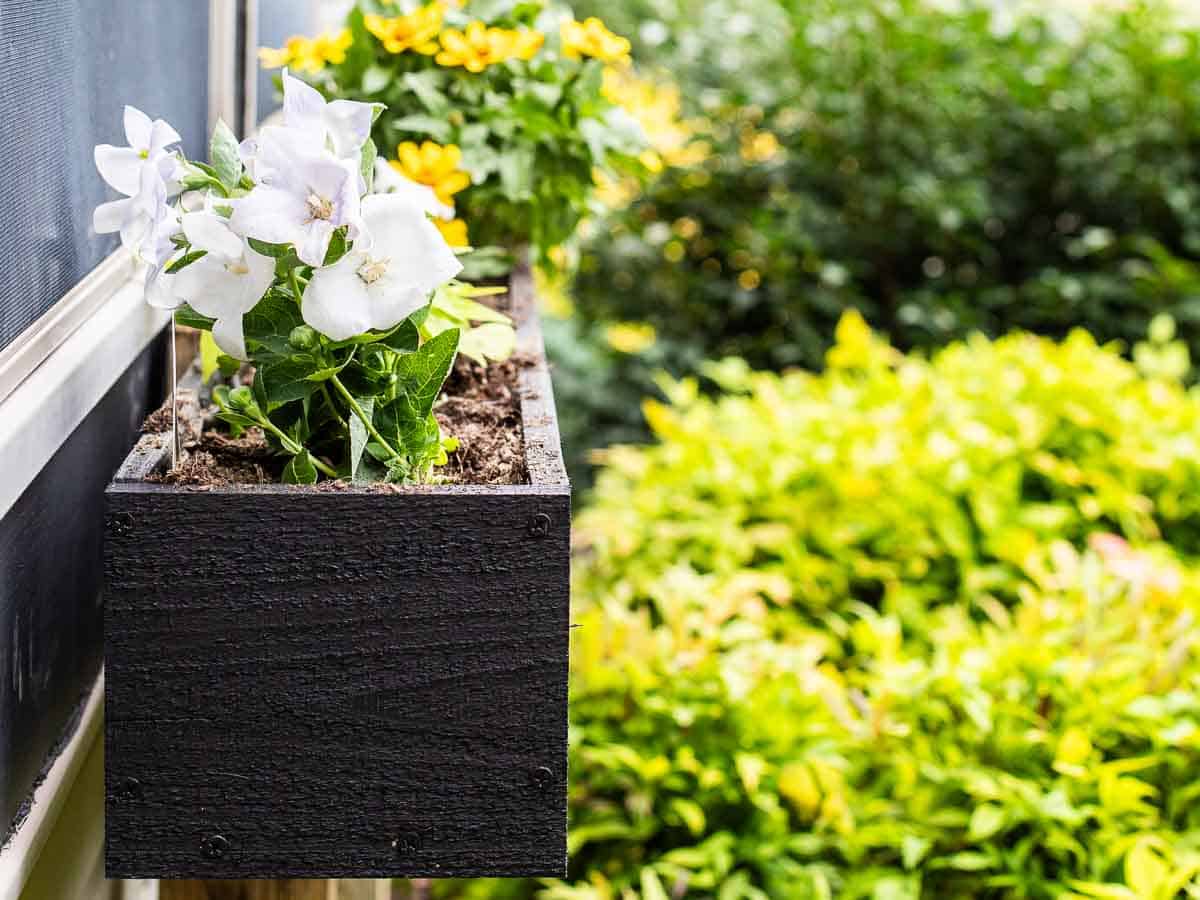
I wanted the window boxes to go with our trim so I applied one coat of stain and sealed them at the same time in deep charcoal black as our house trim. You could also use an exterior paint on the boxes.

free-standing window box foundation
While I was building the window boxes in my workshop, hubby was preparing the 4′ x 4′ posts for the second part of this project. He didn’t want to attach the window flower boxes to the vinyl siding or the vinyl trim around our windows. So he came up with a great solution!
After cutting a notch in each of the posts, he dug holes in the ground about 2′ deep as close to the exterior wall of the house as possible. Then he
If you want to have free-standing window boxes, here are the steps he took to avoid directly attaching the window boxes to the exterior of your home.
- cut notches in the 4′ x 4′ of the post to fit the depth and height of your window box
- dig holes close to the foundation about 2′ deep
- add 1/4 bag of Sakrete to the hole and tamp it down around the post, leveling the post as you go
- pour water over the Sakrete until it is damp
- add another 1/4 bag of Sakrete and more water
- allow to set up overnight
The next day, I attached the window boxes to the posts using wood screws on the back boards and on the bottom piece of each window box.
The posts will help us to remove the window box if the need arises. We love adding functionality to our projects. We even added casters to a thrifted outdoor planter for our back patio!
BTW, I will be painting the 4′ x 4′ posts the same color as the vinyl siding. They will hardly be noticed once they are the same color as our home!
If you choose to attach the window boxes to your home’s exterior be sure to use heavy duty lag bolts. These planters can get heavy one you have soil, plants and water as you care for them.

planting and care tips
Now it’s time to plant!! Woohoo! Do you love to get your hands in the dirt? I love it! And I don’t use gloves. The feel of the dirt, the roots of the plants…. well it just makes my heart happy!
After adding fertilizer-rich container soil to the new window box, I mixed in Plant-Tone to further enhance the soil. Then I added the plants! For each box I planted the following:
- Balloon Flowers on each end
- dwarf Zinnias in the center
- white Petunias on each side of the Zinnias
- sweet potato vine in chartreuse
If you are concerned about the weight of the plants and the dirt inside the boxes, you can add metal brackets like the L brackets I mentioned in the supplies list. I mounted one bracket inside each box near the top of the box.

window boxes add curb appeal and charm
The look of window boxes is such a cozy look. And knowing that I built my own window boxes makes me happy! I’m also thankful for my hubby who solves issues like saving our vinyl siding!
We added curb appeal to our front porch too! It was so easy to paint and stencil and the results are amazing!

DIY window box ideas
Let’s chat about some other DIY window box ideas:
- Add a window box to the side of your house so that you can see it from a bedroom, kitchen, or even a bathroom.
- Add fresh herbs like oregano, basil and thyme to a window box outside of your kitchen window for a lovely herb garden. Mint would be especially nice near an open window!
- Use a DIY window box for your guest room window so they can experience a flower bed while visiting you.
- Plant the box in foilage plants like coleus, sweet potato vine, and mouse ears hostas if you have a shaded window.
- Consider creating a window garden using all succulents!
- Change the flowers for the seasons! In the fall you could add small pumpkins and mums. In the winter add evergreen branches with tiny light for a festive look!

Do you think you will build your own DIY window box planter for your home? I hope you do! It’s an easy way to add visual interest to your home and bring a little joy to your heart!


Recreate and Decorate
Join the Facebook Group and Share Your Projects With Us!
Thanks for joining our journey!
Thanks so much for joining us for this post! Join our journey so you don’t miss any of the fun projects, tutorials, and inspiration that we share with you each week! You can follow us on Instagram, Facebook, and YouTube. We share even more inspiration on Pinterest!


Cindy Rust
Cindy has been decorating her home with thrift store finds for 40 years. She is an avid thrift store shopper who loves to makeover the items she finds into vintage-inspired home decor and furniture. When she isn’t thrift shopping or painting a piece of furniture, you can find her making homemade butter, working in her garden, or painting with watercolors.

I hope you enjoyed this post and the inspiration from the book Father of the Bride. Be sure to read the posts my blogging friends were inspired to write.
Lynn from Living Large in a Small House
Erin from Erin Evolving
Crystal from Sweet Valley Acres


A Beach Wedding on a Budget
shop the post
Tap the images below to shop for supplies!

Visit my Amazon Storefront!
Click the button below and head over to our online shop on Amazon!


Great project Cindy and such thorough instructions. I love the end product! It looks so good! Nice to see you finally get your much wished for planter boxes.
I waited a long time and it was worth the wait!
Cindy, these are so perfect for your house. There is nothing like the charm of flower boxes on a window spilling with beautiful flowers. Great post. Thanks for sharing.
Those window boxes are so charming! Am always impressed with the window boxes in Charleston: they serve as my inspiration and are a great starting point. Wanted to suggest Bookbub for book club. I read about two books per week and they offer books for $2-3, plus you can pay for them via Amazon, etc. It’s been a real money saver and they offer a wide variety of books.
Thanks, Kim for the suggestion of using Bookbub! I’m looking it up now! And I’ve seen the window boxes in Charleston – there are so many beautiful homes there. The houses are gorgeous and the plantings….my dream!
We are loving the window boxes! They are the perfect addition to the front of our home. Thanks for stopping by Wendy!
Hey Cindy!
Brilliant idea to use 4×4 posts to support the DIY plantar boxes. They look great. We have brick and I’ve always wanted them too. Now I know. Thanks for sharing. pinned 📌
Hubby had a great idea about the 4×4 posts. I hope you get to add some to your gorgeous home Do! Thanks for pinning!
I love this so much. The window box looks amazing! Happy Summer!
Thanks Renae! We are loving the window boxes 🙂
These are so cute and add so much curb appeal!
It’s details like window boxes that can make such a difference! Thanks for stopping by Michele
What a great tutorial! The window boxes add so much charm, and I love your husband’s solution to installing them without damaging the siding.
Didn’t he come up with a great idea? Hubby’s love to think outside of the box Haha!