
Repurpose Picture Frames: Create an Antique Vintage Look
Transform old thrift store frames into beautiful antique vintage wall art! This simple DIY uses paint techniques and free printable artwork for a stylish, budget-friendly upgrade.

why repurpose old picture frames?
The answer is obvious to people like you and me! We want to create a new piece of art for our homes. Perhaps you’ve found the perfect printable vintage artwork but need a frame that’s just the right size – and not the hefty price of a new one!
Instead of letting those forgotten frames get lost in the garage, why not upcycle them into something beautiful?
Repurposing old picture frames is a simple project that allows us to decorate our homes with a unique look while being kind to our wallets and the planet by choosing to upcycle.
It’s about the joy of creation and achieving a personalized style without spending a fortune.

The following post may contain affiliate links. That means if you click and then buy something, I will make a small commission at no additional cost to you! Thank you for supporting my blog. full disclosure here.
This post is sponsored by Dixie Belle. All opinions are my own!
supplies for your thrift store frame makeover
Now that we know why we want to repurpose old frames, let’s look at the supplies we will need. By the way, this is only the tip of the iceberg as to what we can create! I will list some other ideas for you later in this post.
- old picture frames
- watercolor paper
- paper cutter
- Clear Top Coat in Flat
- Antique Gold Gilding Wax
- Clear Wax and Dark Wax
- free printable art (later in the post!)
- printer or online printing service
- brown chalk paint
- black chalk paint
- point tacker
- paintbrushes
- Mod Podge
- WoodUBend
- picture hanging hooks (if needed)
diy antique vintage frame makeover: step-by-step
Now you are ready to transform old frames! Follow our quick step-by-step guide for an easy DIY vintage frame makeover. Let’s create beautiful wall art!
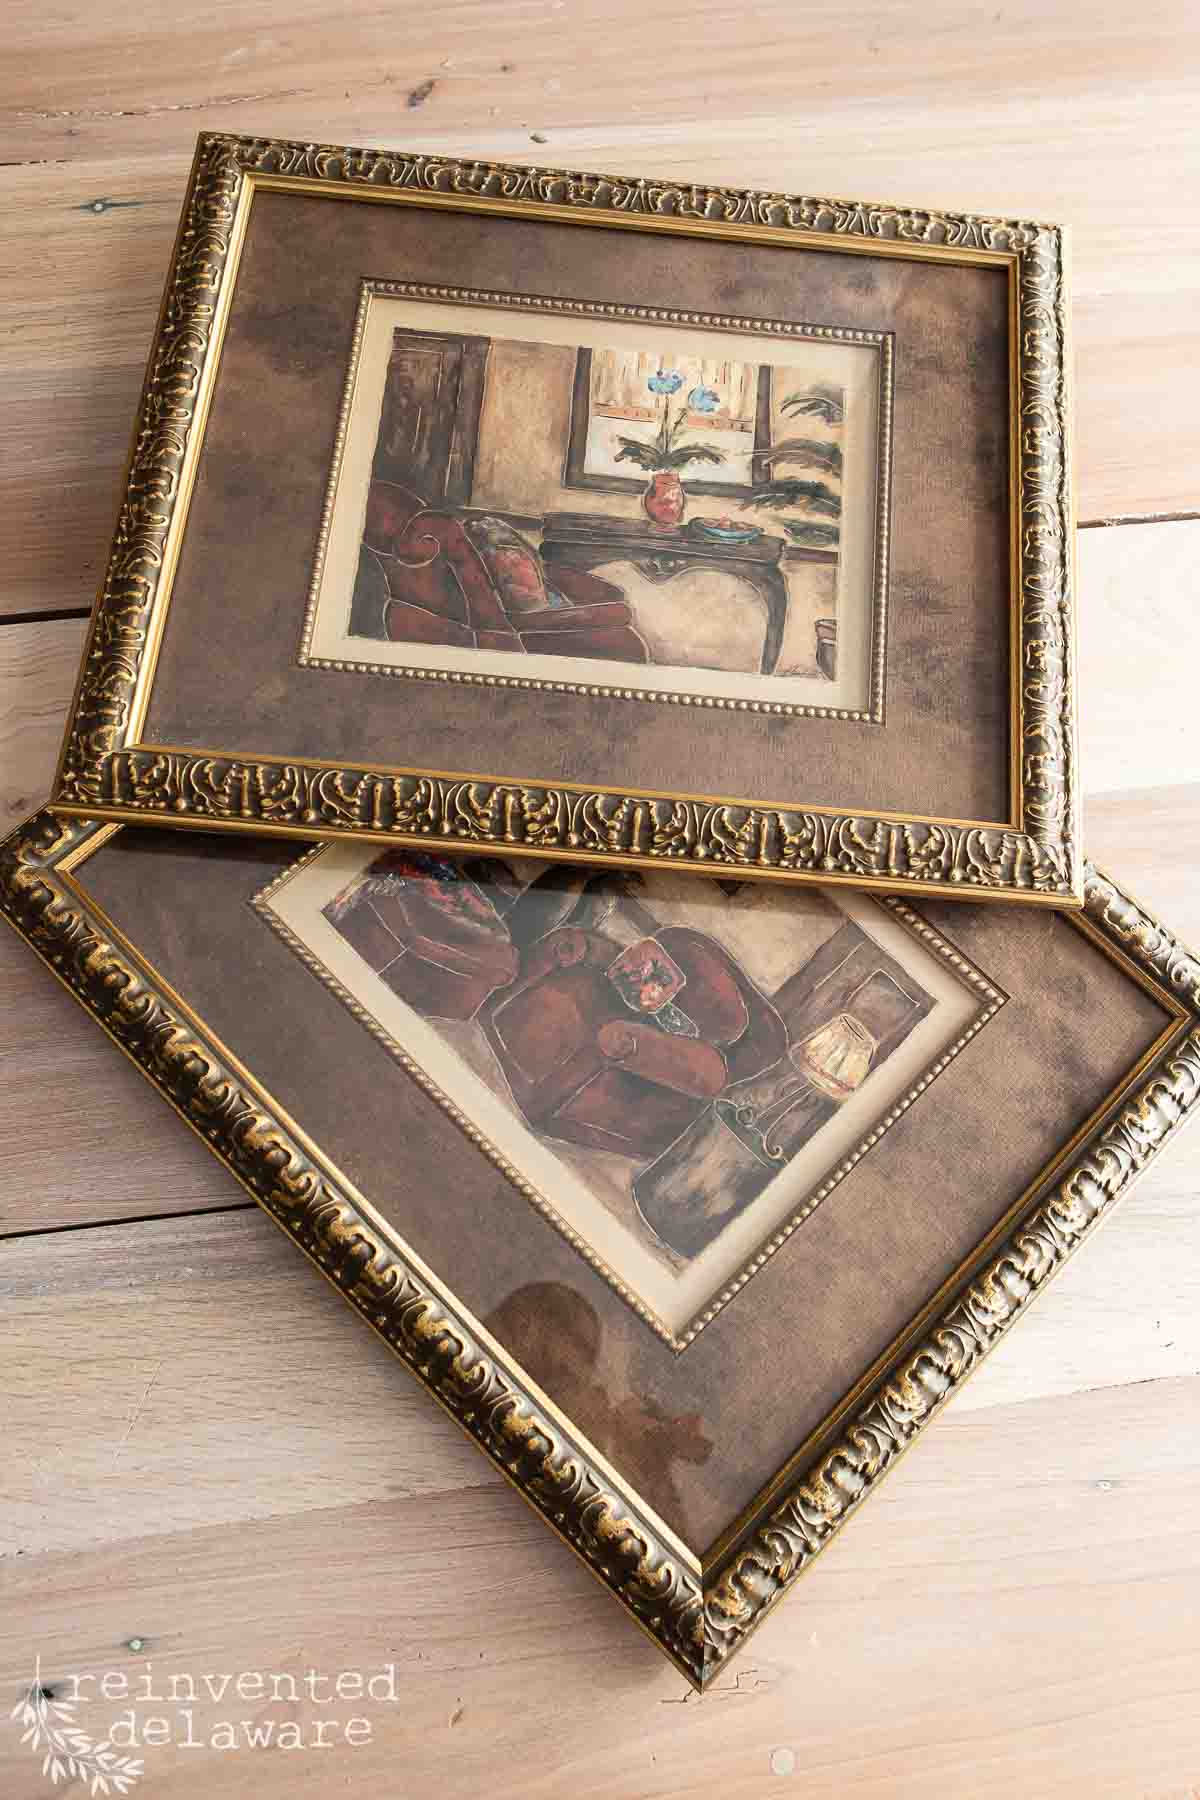
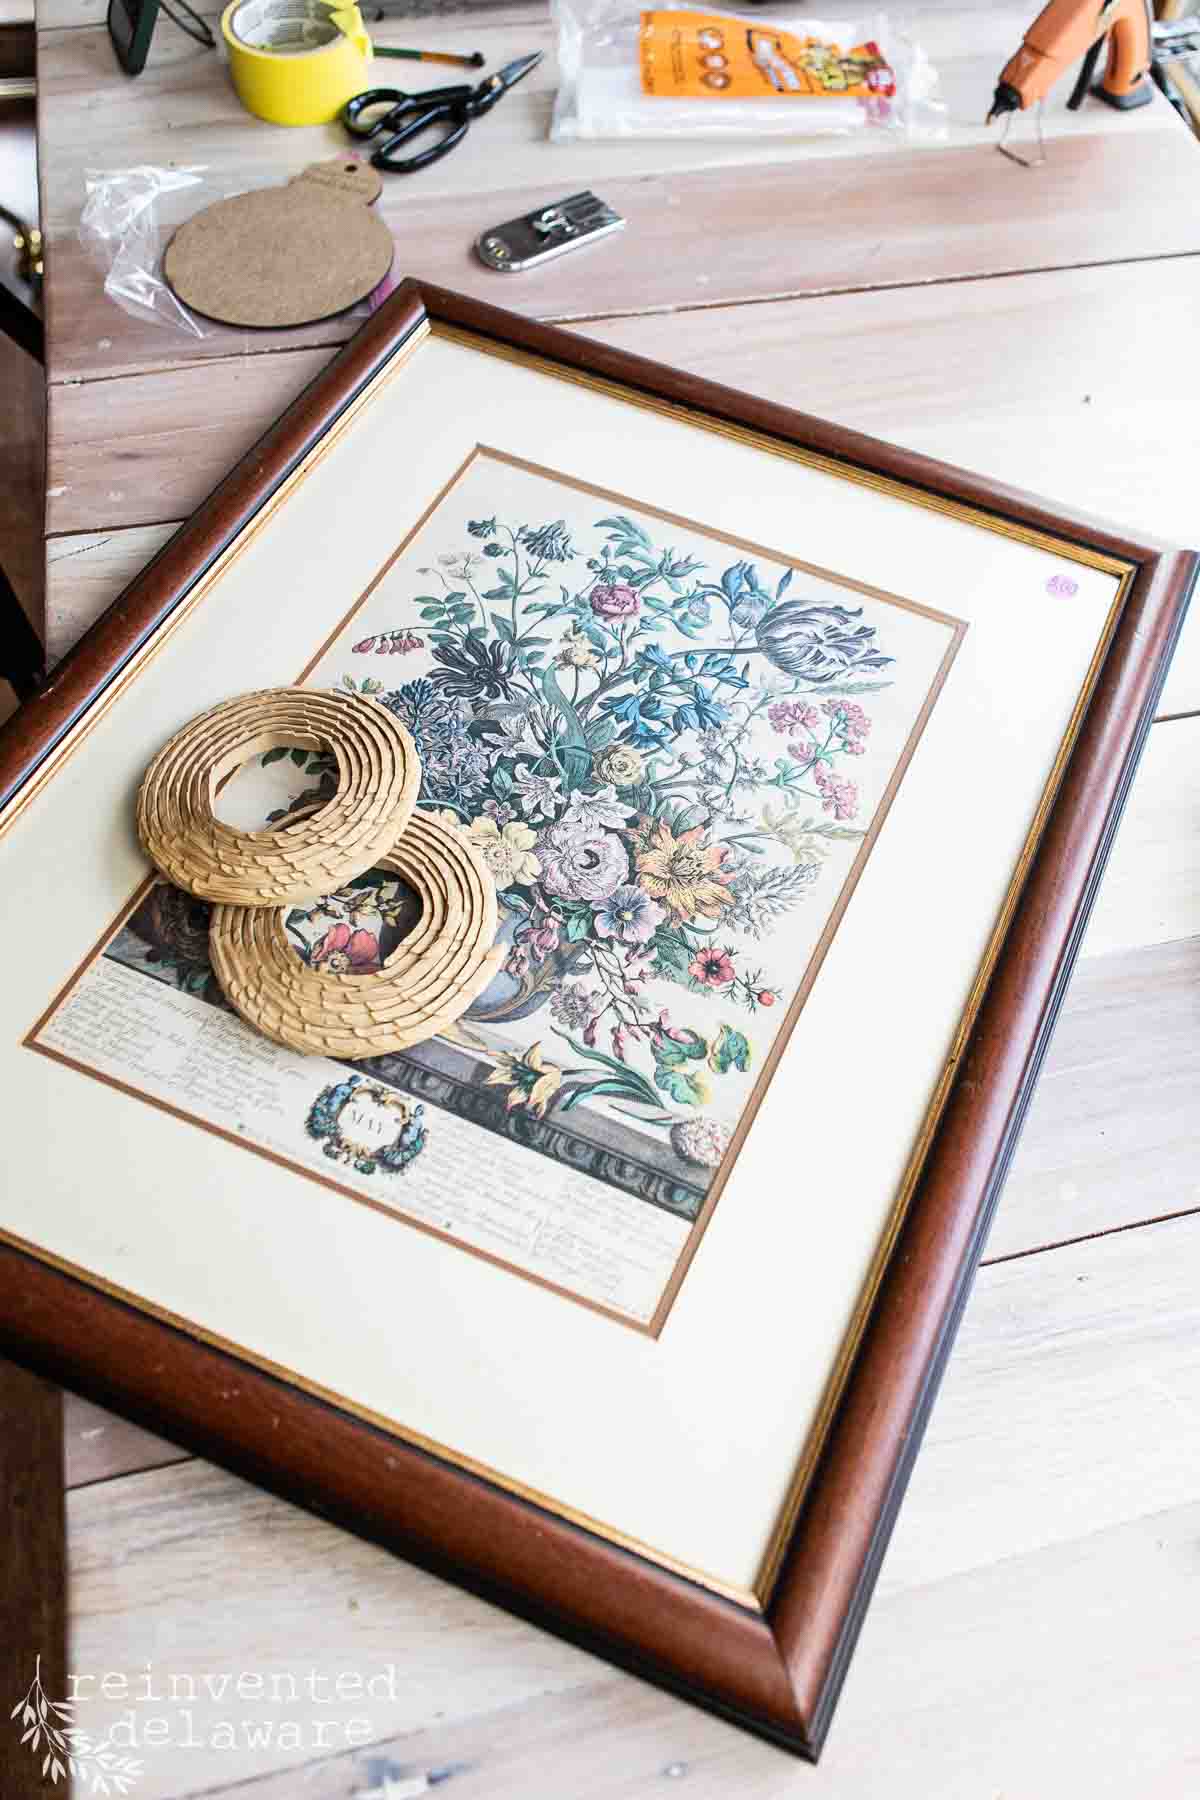
choosing thrift store frames for a vintage look
You’ve gathered most of the supplies you need for this easy DIY project, but maybe you are still looking for picture frames. This is the fun part!
Head out to thrift stores, yard sales, estate sales, and auctions to find old vintage frames. Don’t worry if they have ugly prints in them! I’m going to share with you a way for you to print FREE vintage and antique artwork to replace those ugly prints!
Look for frames that are in good shape, have decorative details that you like and are the sizes and shapes you prefer. Find square and rectangle shapes to create a unique wall gallery for your home.
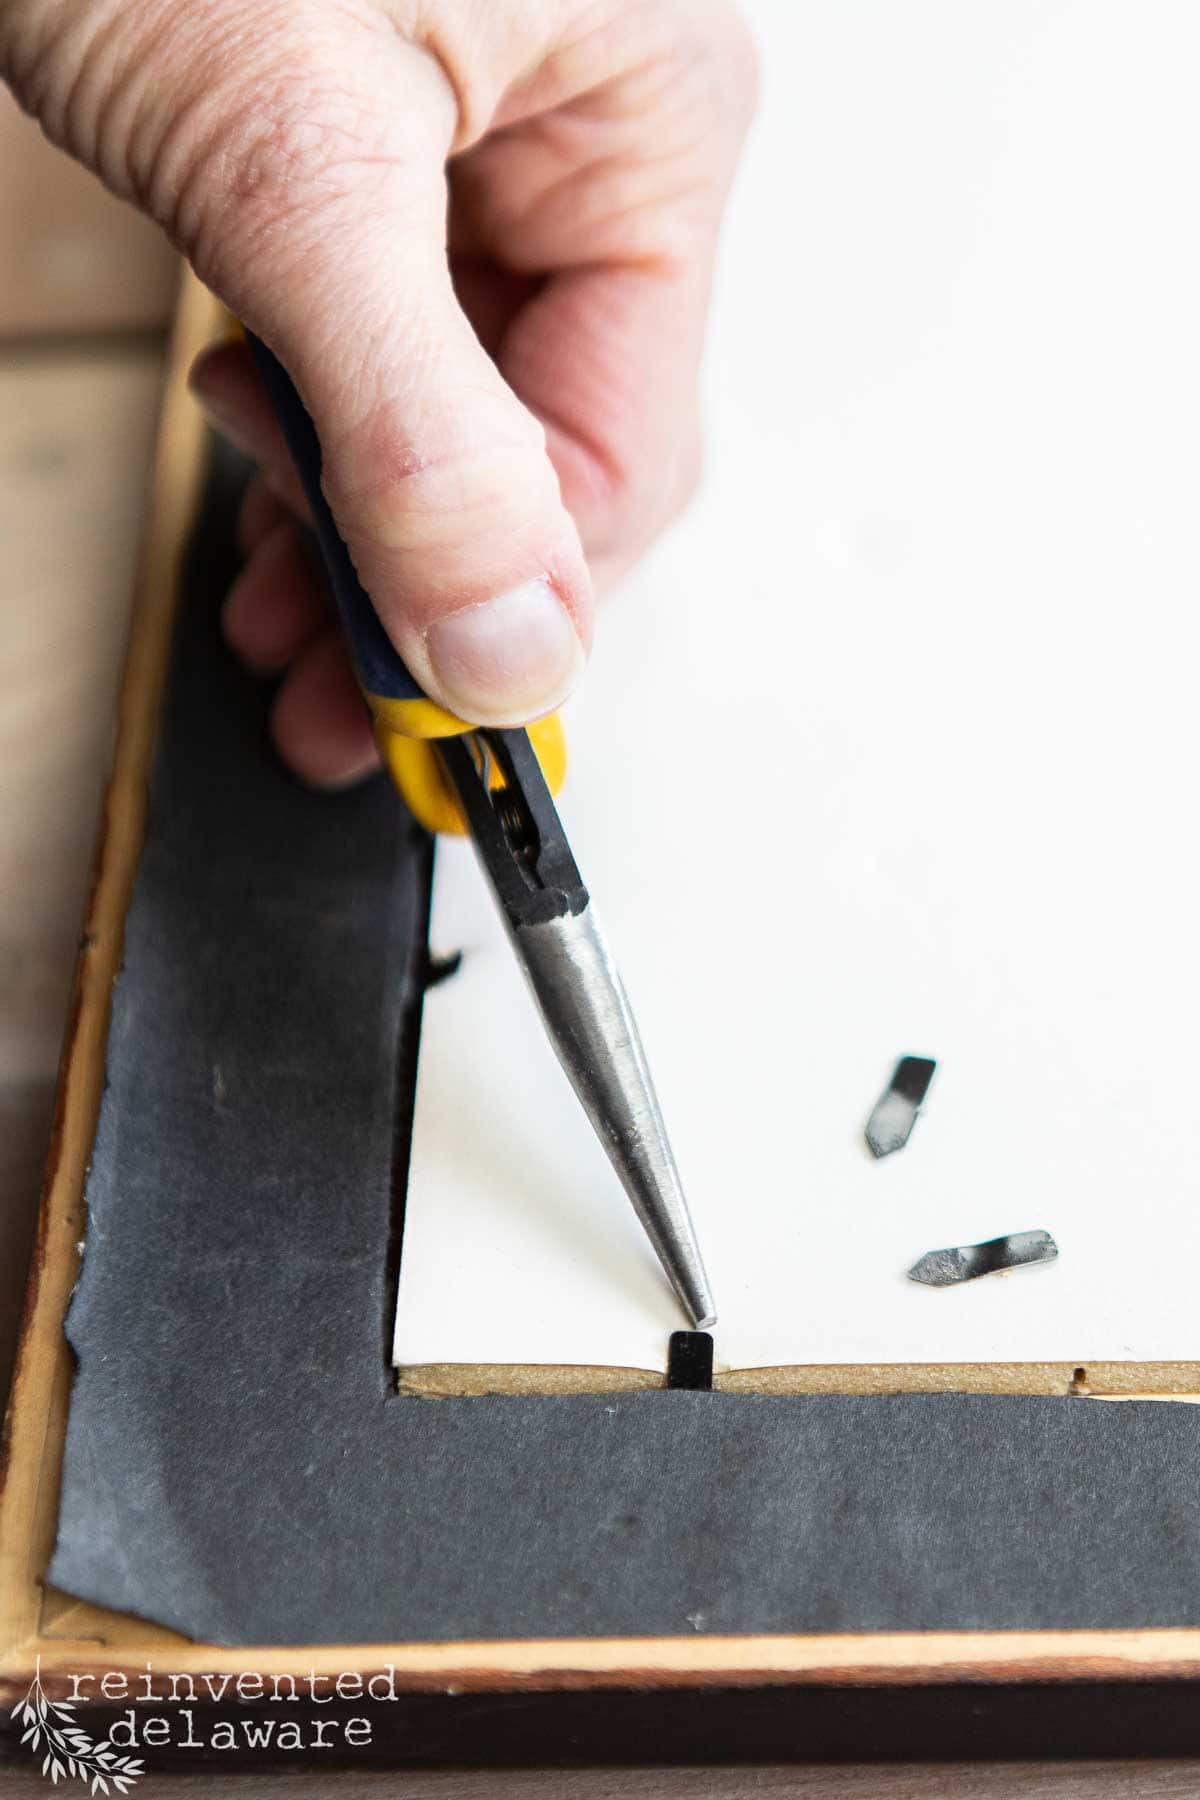
prepping old picture frames for a makeover
Once you have gathered the old frames, it’s time to get them prepped for the makeovers. I’m sharing several old frame makeovers in this post (and YouTube video!) to get your creative mind in motion.
Some frames will have a paper backing. Use a utility knife to carefully cut it so you can remove the backing. You will also remove the cardboard that holds the artwork in place.
thanks for being here!
I hope you are enjoying this project! Let me know if you have any questions. Or leave me a comment to tell me about your project and ideas!
thanks, Cindy 😀

Remove any small nails from the backs of the frames. Most vintage frames were assembled with nails, and most of those are bent. Take care as you remove them and make sure they end up in the trash!
Be careful when removing the piece of glass if it has one. Set it aside in a safe place if you plan to use it again.
Clean the frame to remove any built-up dirt or dust. Some frames might have accumulated residue from years of hanging in someone’s home. Use soapy water on a microfiber cloth to thoroughly remove any oils or furniture wax on the frame.


give the frames a vintage look
Giving old frames a fresh vintage look is so easy! There are several ways you can create an antique feel to the frame. Here are just a few ideas!
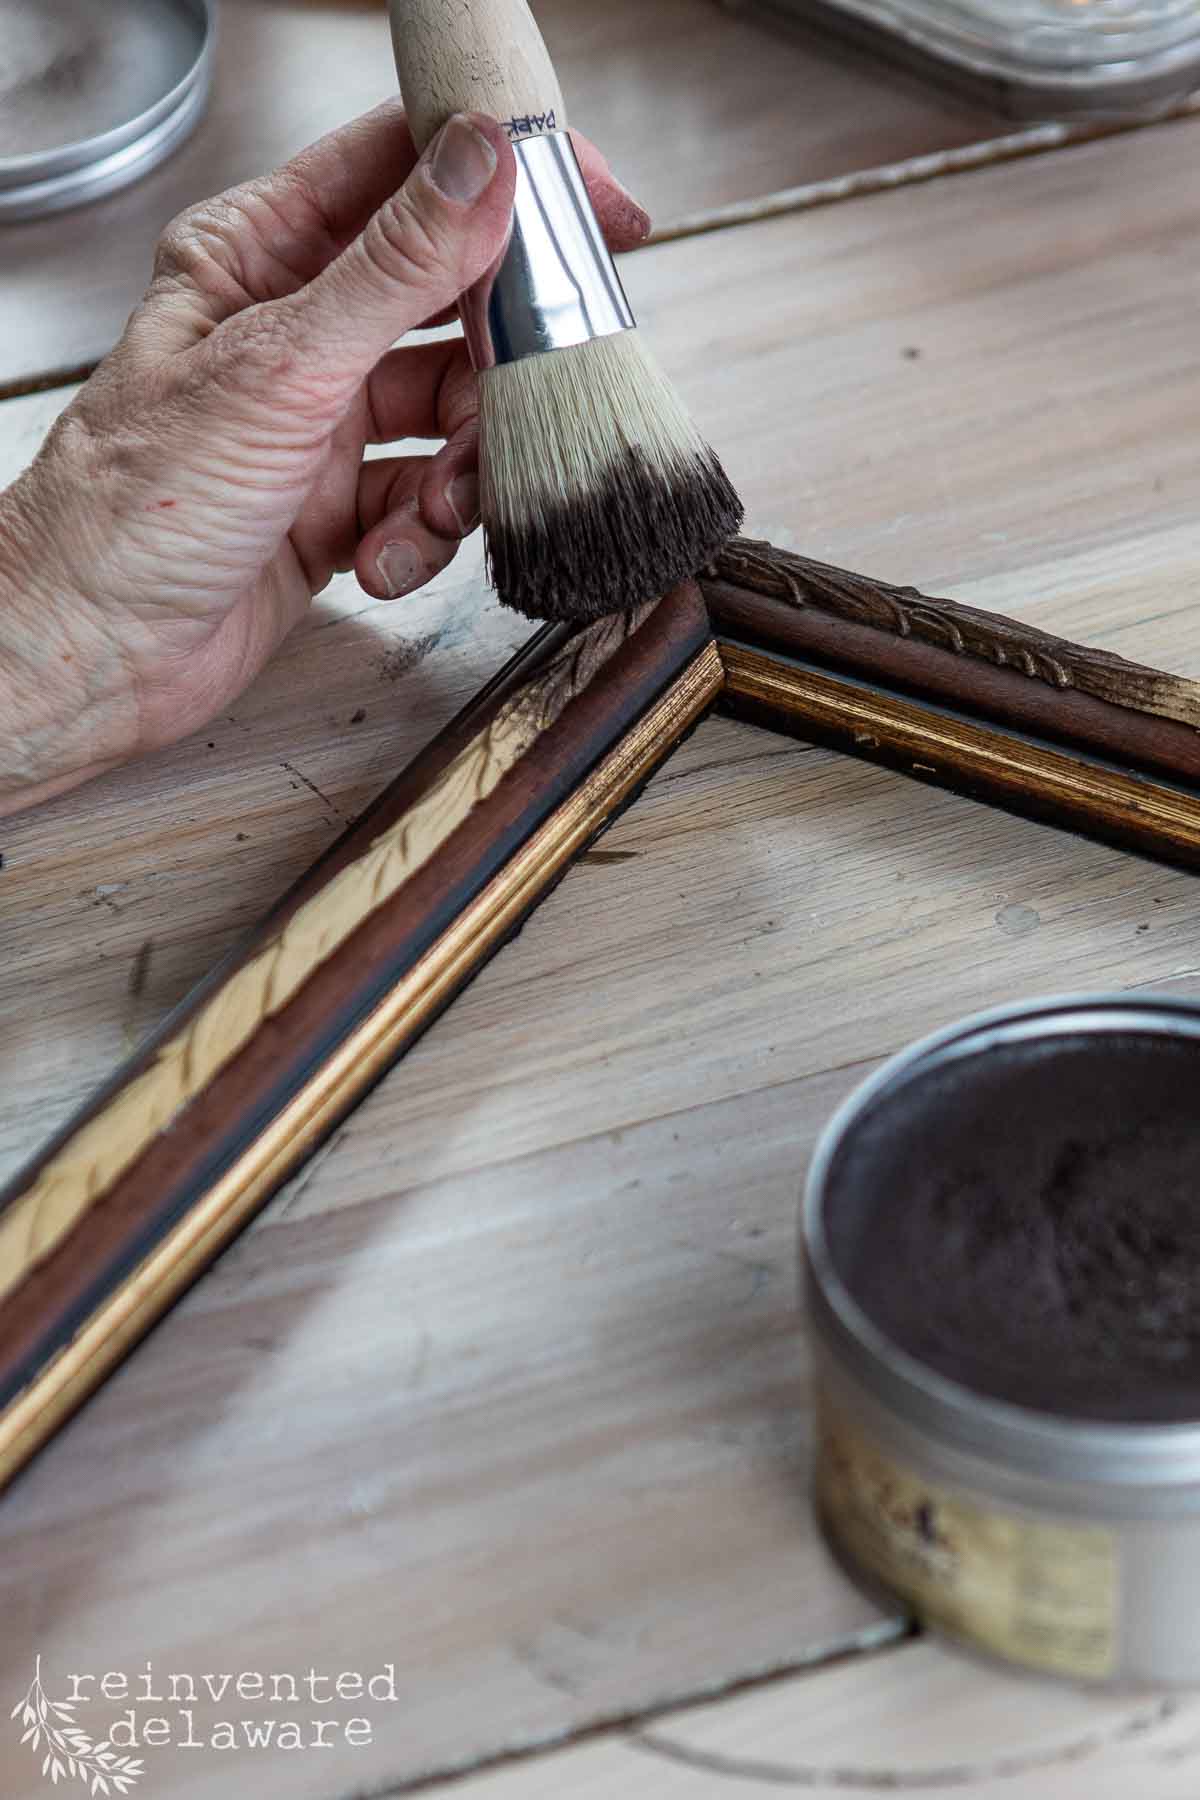
- Paint an ornate frame in a dark chocolate brown chalk paint, then apply gilding wax on the high spots to bring out the decorative details. By the way, if you use chalk paint, you can skip the primer!
- Apply layers of deep brown chalk paint and black chalk paint using a dry brush method so that the under layers show through. The two dark colors create a time-worn look.
- Paint the first layer in a dark color like deep brown or black. Once the paint is dry, apply some beeswax in areas. Then paint the frame in a light color like white or ivory. Once the light paint color is dry, use a dull knife and scrape away the paint in the areas where the beeswax is to create a chippy paint finish.
- Apply decorative molding like WoodUbend to a plain frame, creating a more ornate look. Finish the look by applying dark wax to the whole surface.
- If the gold frame already looks vintage but the gold is a bit harsh, scuff it just a bit and apply gilding wax. I love to apply an antique gold gilding wax for a vintage appearance. You can also use dark wax over the gilding wax to enhance the vintage look.
- If the old frame already looks vintage but just needs a refresh, apply dark wax. Simply apply it with a brush and then buff back to a soft sheen!
I hope these ideas inspire you the next time you want to refresh an old picture frame! You can use these ideas and make any frame look like an antique!
adding printable vintage artwork to the old frames
Now that the frames have a vintage look, let’s add some vintage and antique artwork! I discovered a way to print copyright-free antique art! The art is free to download from Wikimedia Commons. You can read about them by tapping the link below.
CLICK HERE TO READ ABOUT WIKIMEDIA COMMONS
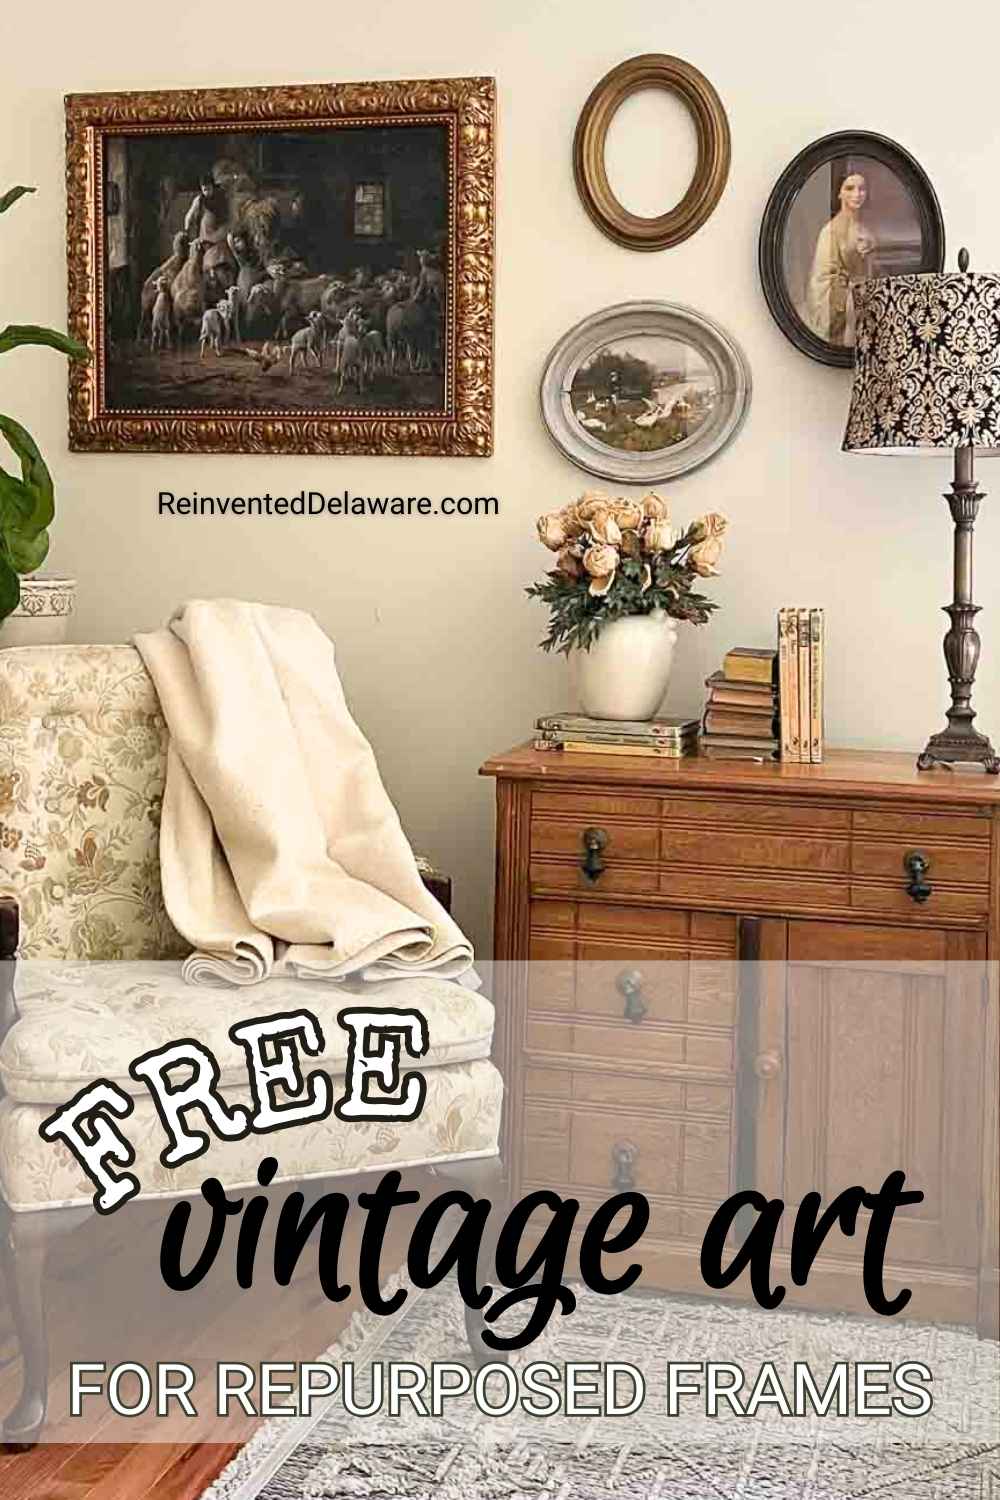
Instead of searching through the thousands of files they offer, I like to use Simple Joy Art, a site that has already sorted through the art and linked to vintage-styled art that I enjoy. I will list the art pieces I chose for these frames, but you can also search through Simple Joy Art to choose more!
- Feeding Time (large ornate gold frame)
- A Shepherdess Watering Her Flock (one of the two matching frames)
- A Young Shepherd With His Flock (one of the two matching frames)
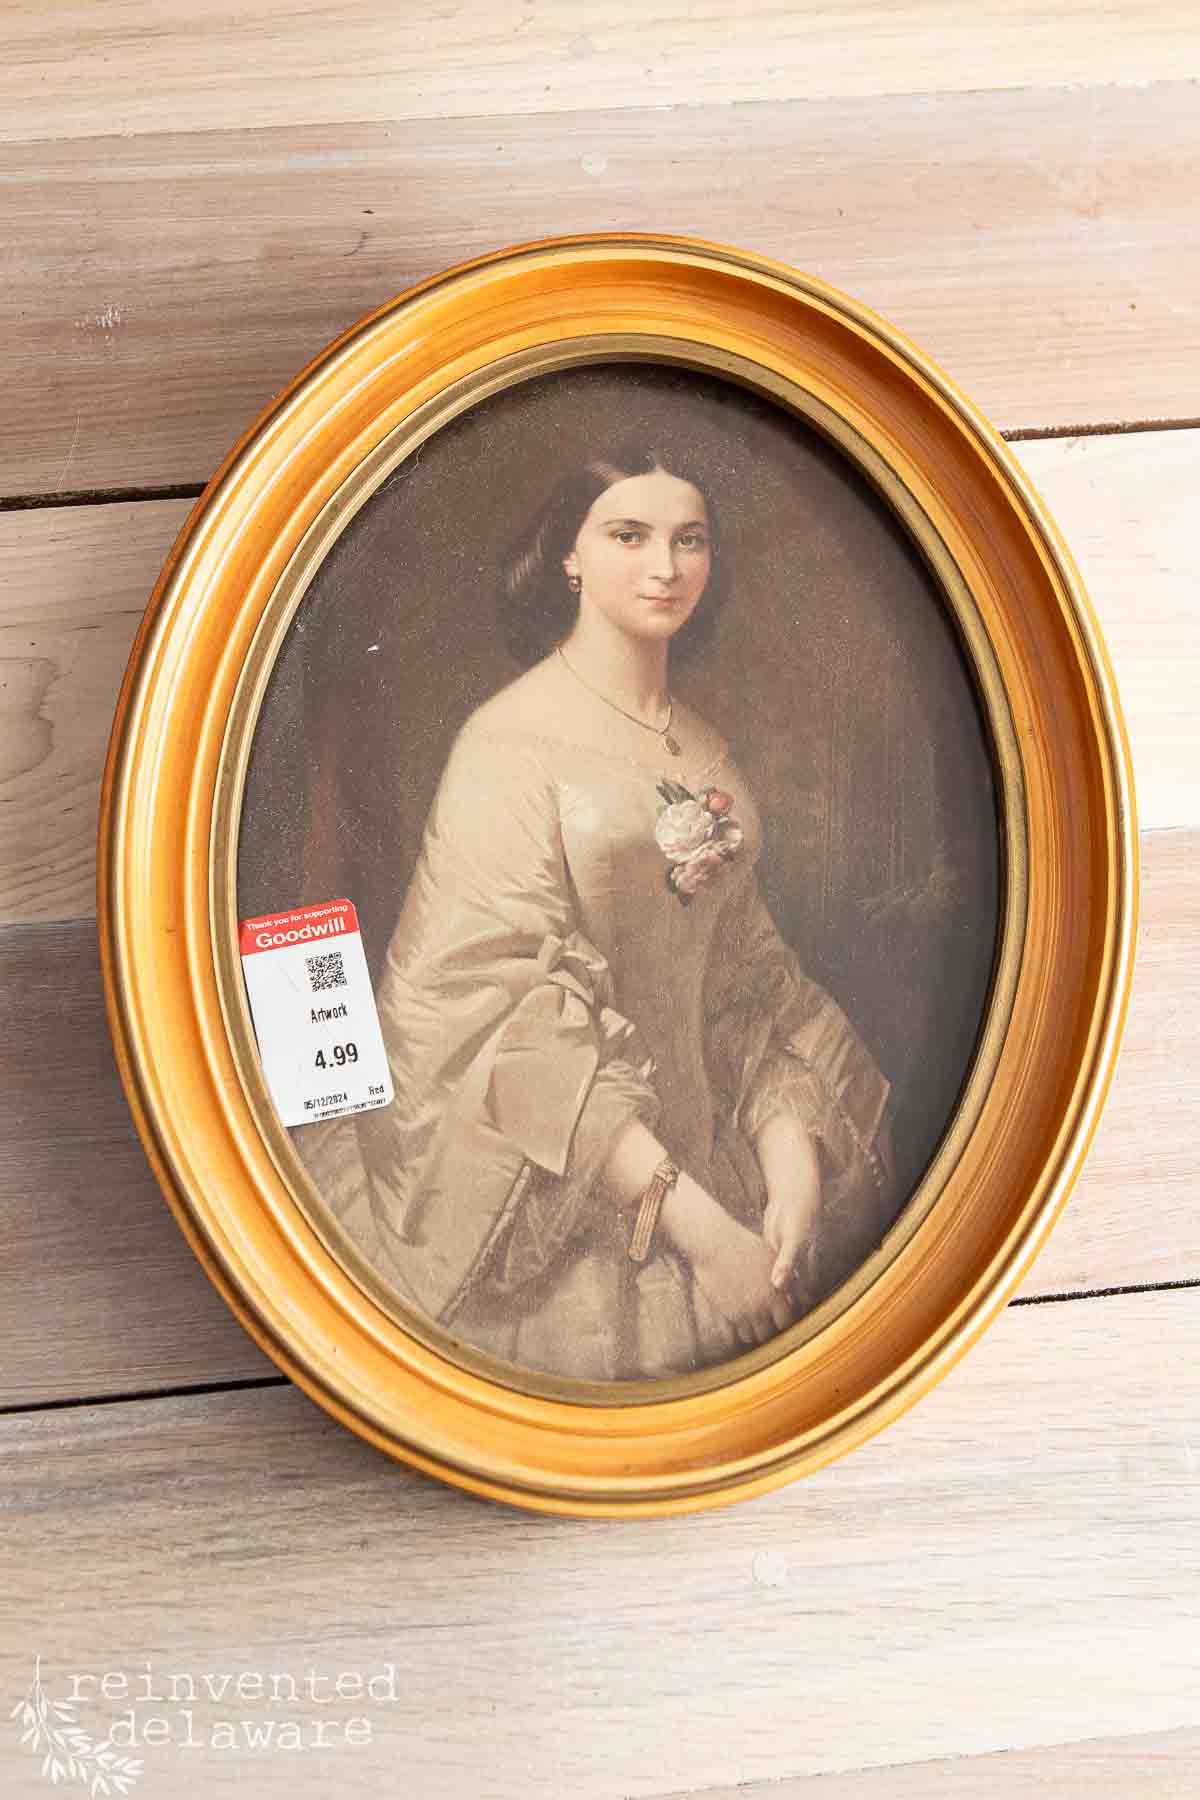
- Young Boy Tending Geese (small chippy white oval frame)
- Shepherdess and Her Herd (on our TV Frame)
Once you find art that you like, tap on the link that Simple Joy Art provides. You will be directed to Wikimedia Commons. From there, choose a download link just below the image. Choose the highest resolution and pixel size for large prints and smaller sizes for smaller prints.
IMPORTANT NOTE: I always choose the largest size to download in case I want to use it on our Samsung Frame TV. Also, it’s a good idea to create a folder on your computer to save all of these downloads in so that you can access them anytime you need them!

printing the vintage artwork
There are several options for printing the downloaded vintage art. For smaller prints, I use my home printer at the highest quality settings. I also love to use real watercolor paper for printing. You might have to cut the watercolor paper down to fit your printer.
Resize the art to fit your frame. You can do this within the print settings on most home printers. The excess blank paper will be similar to a matted look for the art.
Once I have it sized to fit my frame, I print it and allow the ink to set. Then I apply one thin coat of clear wax and then dark wax to the edges of the paper. This really helps to create the vintage look I love for this freshly printed art!
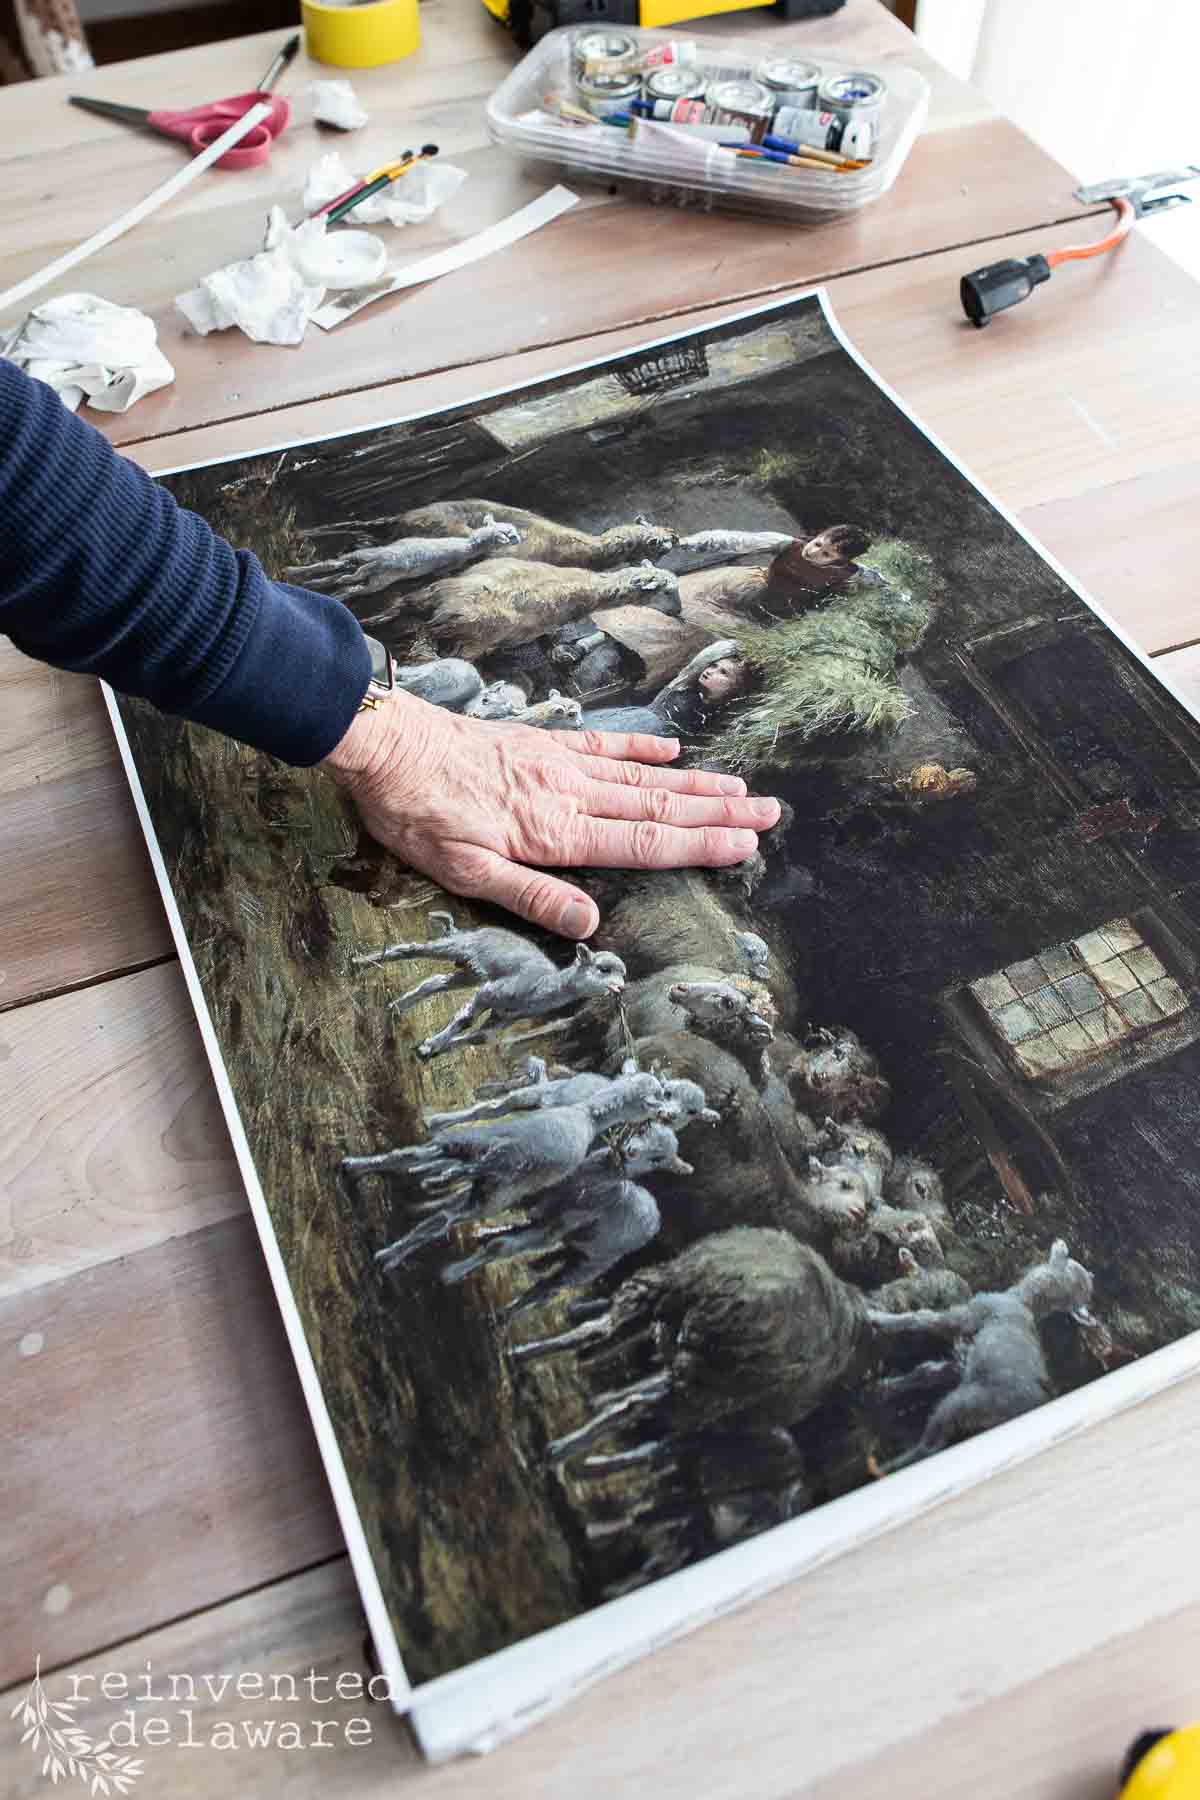
Another option is to use Mod Podge over top of outdated art. The large frame in this post was purchased for only $10, but the original painting was not to my liking. I applied one coat of primer to hide the old painting. Then I used Mod Podge to apply the newly printed artwork.
By the way, because this was a large print, I sent it to Staples for printing on poster paper. This 18×24 only cost $16! Once it was dry, I applied a coat of Mod Podge in a criss-cross method to create a hand-painted look to the art. Then I sealed it with one coat of clear top coat in a flat finish.
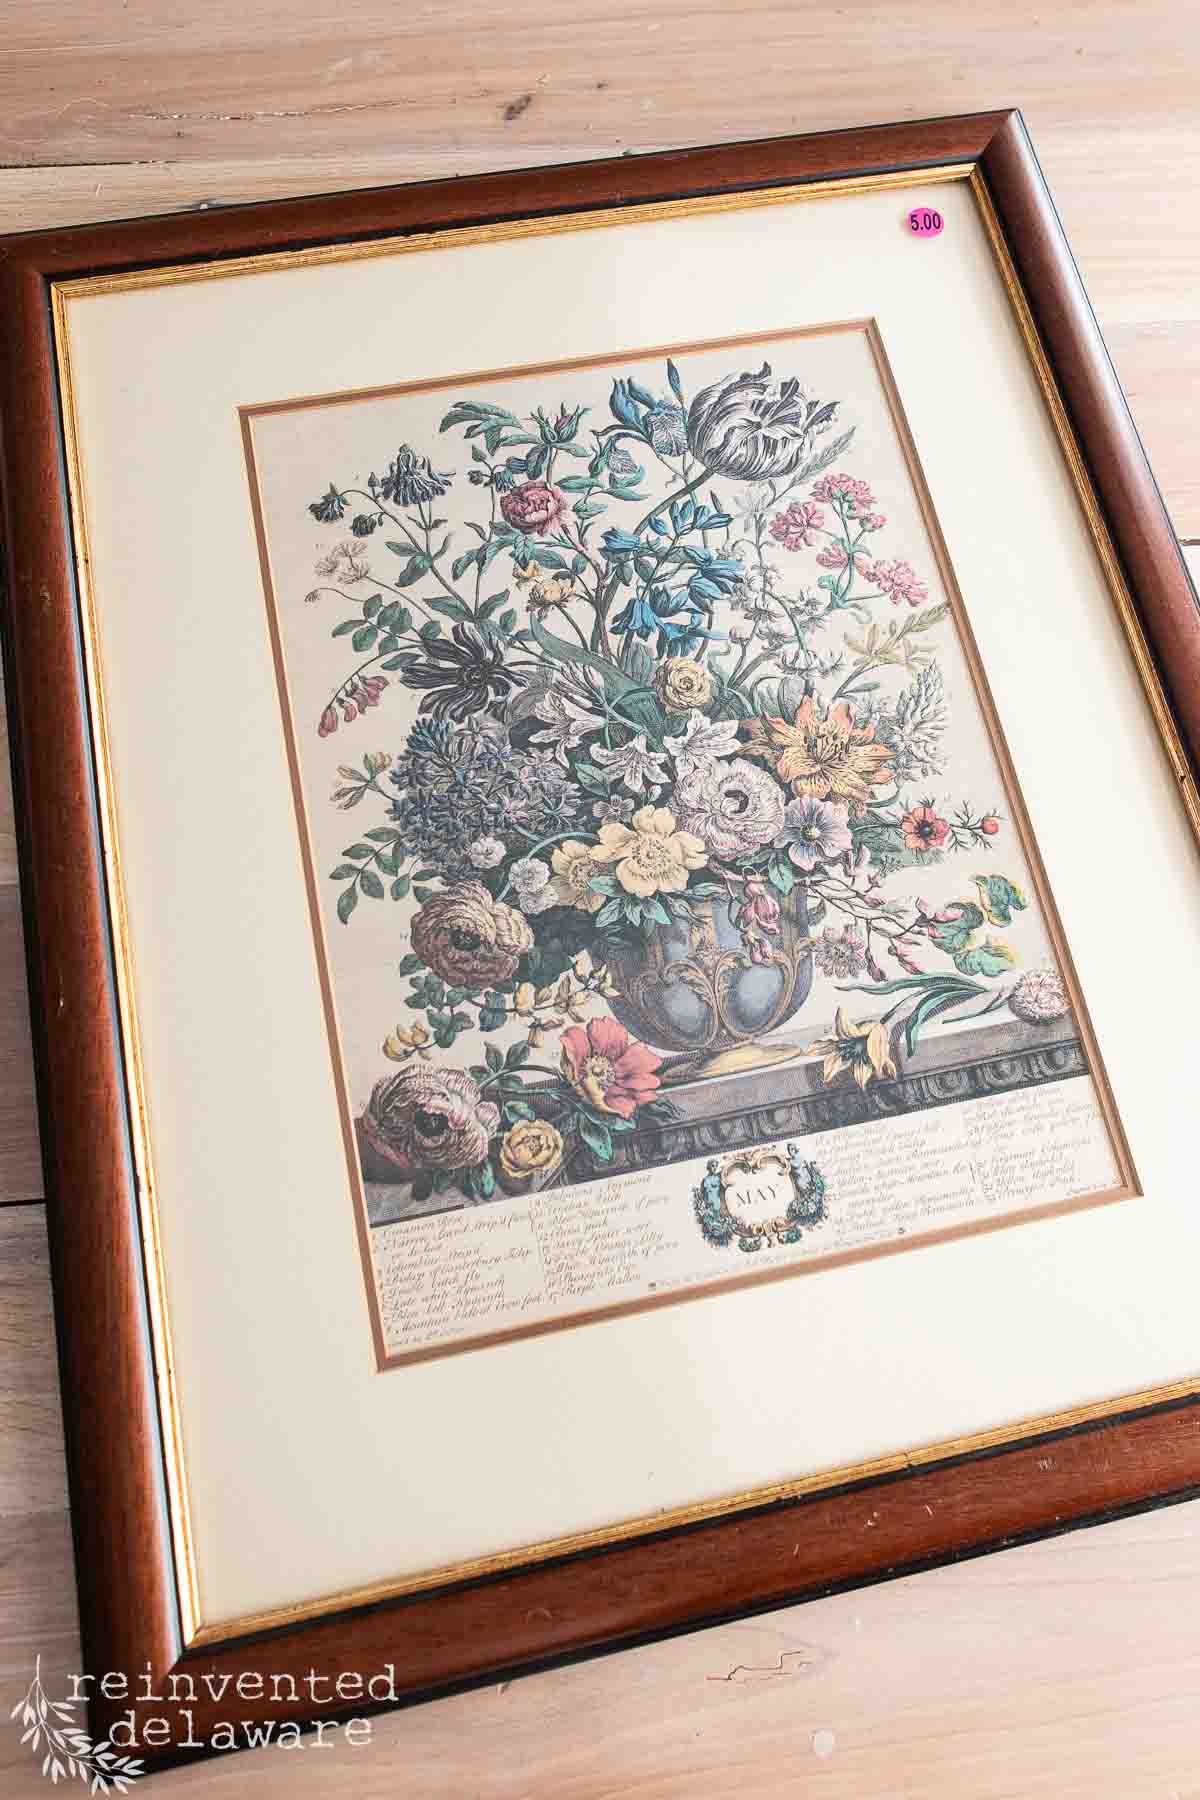
Some of the art you find in the old frames might be perfect for your home. The botanical print, the stone home in the winter and the portrait of a lady all fit the aethestic of our home perfectly! All I needed to do was freshen up the frame!

reassemble the vintage frames
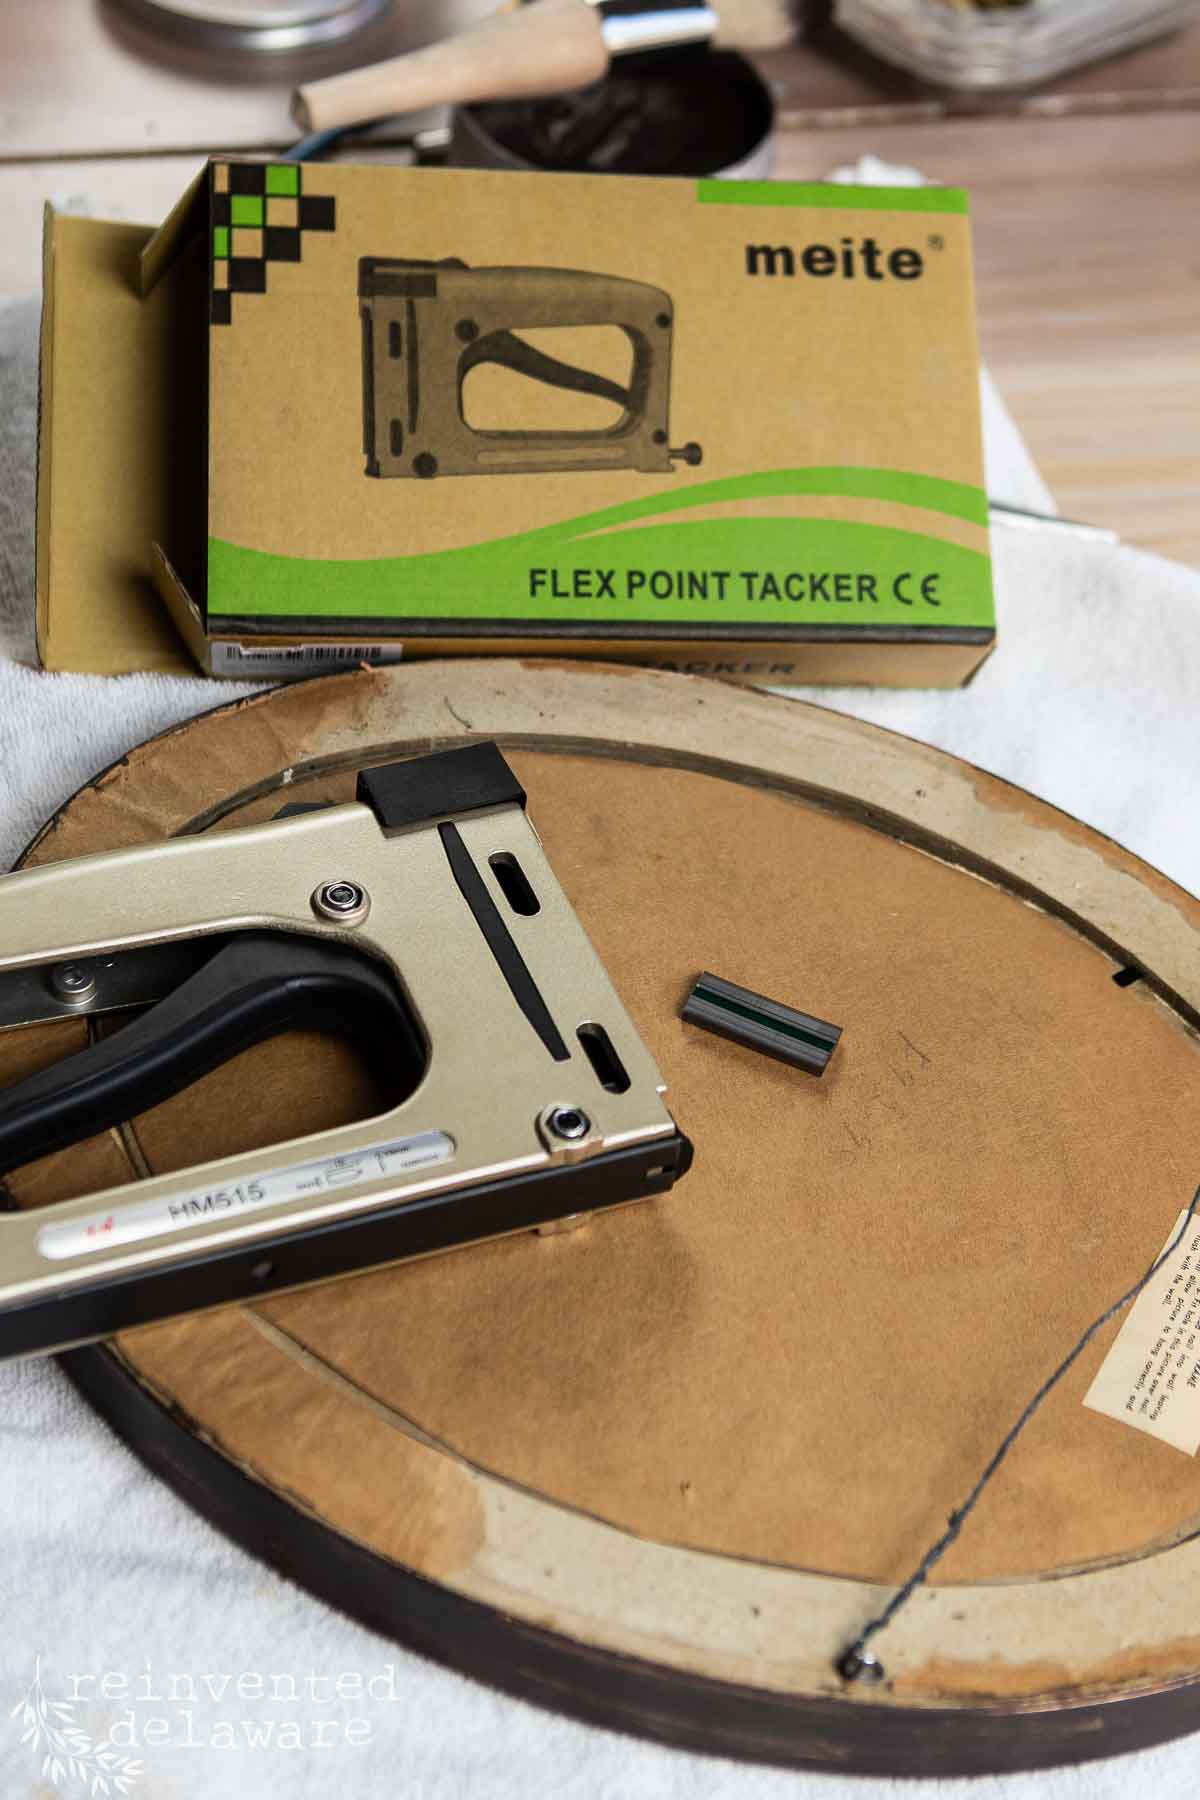
The last step is to reassemble the frames. Clean the glass well. The glass goes back into the frame first, then layer in the rest of the art work and the backing.
Secure it all with the point tacker. This tool is amazing! It makes the reassembly process sooooo easy!
The last step is to add a paper backing if you prefer. I skipped this step because I like to change things often!

displaying your repurposed frames
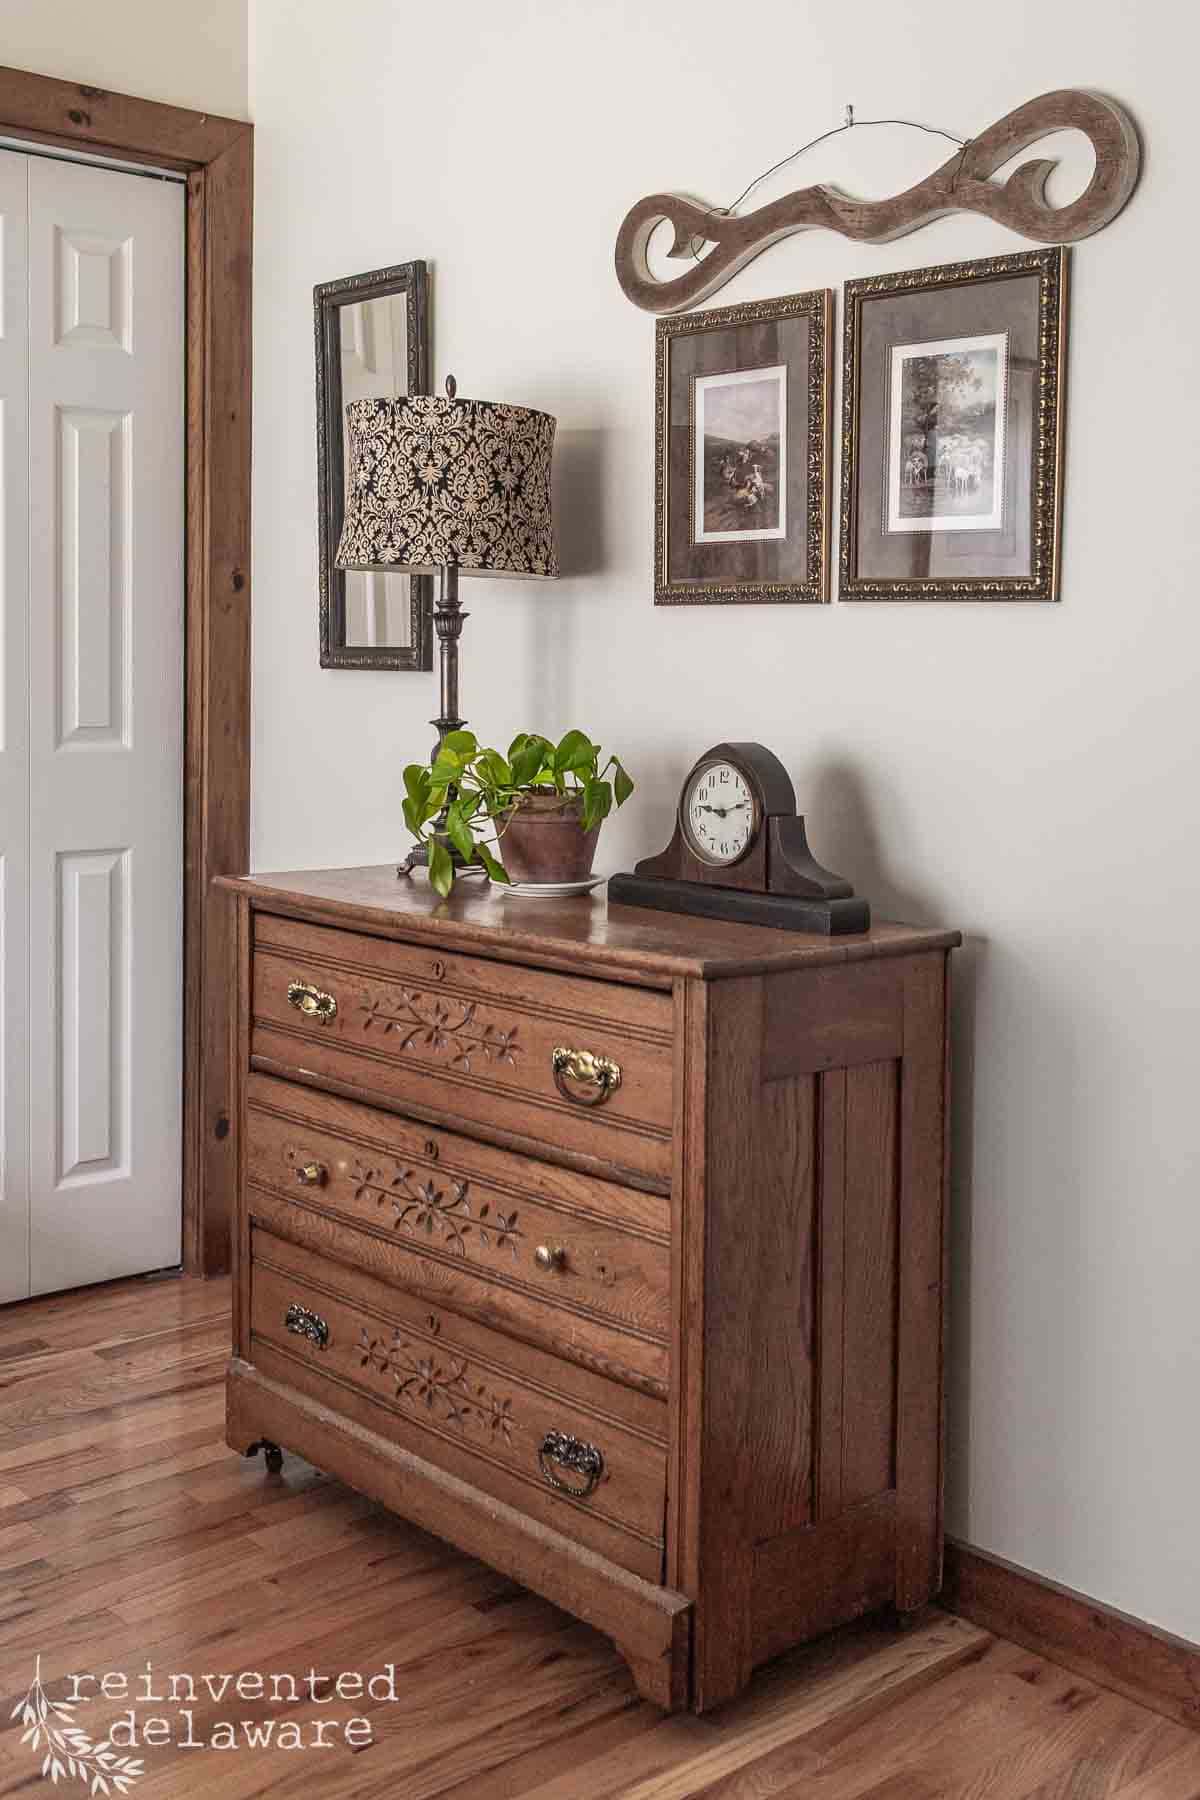
Displaying the art is the final step! I like to create a gallery wall using these repurposed frames. The two frames that are matching create a nice grouping above an antique Eastlake dresser.
One of the vintage frames only needed a good cleaning and some dark wax to improve the look. I hung it along with a section from an old melodeon organ to create interesting home decor for our hallway.
Above the mantel in our living room is our Samsung TV. We built the frame for the TV ourselves using stock lumber and decorative wood moldings. It’s the perfect DIY frame for a TV. You can see how we made this TV frame in the video linked below.


enjoy your vintage frames!
I hope you are inspired to upcycle vintage picture frames after reading this post! Be sure to watch the YouTube video that goes along with this post. It’s a great watch as you work on your projects!
Decorating a Bedroom with Upcycled Frames

Recreate and Decorate
Join the Facebook Group and Share Your Projects With Us!
Thanks for joining our journey!
Thanks so much for joining me for this post! Join my journey so you don’t miss any of the fun projects, tutorials, and inspiration that I share with you each week! You can follow me on Instagram, Facebook, and YouTube.


Cindy Rust
Cindy has been decorating her home with thrift store finds for 40 years. She is an avid thrift store shopper who loves to makeover the items she finds into vintage-inspired home decor and furniture. When she isn’t thrift shopping or painting a piece of furniture, you can find her making homemade butter, working in her garden, or painting with watercolors.
click below to purchase supplies!
Visit my Amazon Storefront!
Click the button below and head over to our online shop on Amazon!

Love your ideas and inspiration. They are always budget friendly AND earth friendly. Now I have to buy some thrifted frames for my art…
One of our spare bedrooms (well actually all three of the spare rooms) needs help! Upcycling thrifted frames is an inexpensive way to decorate the walls!