
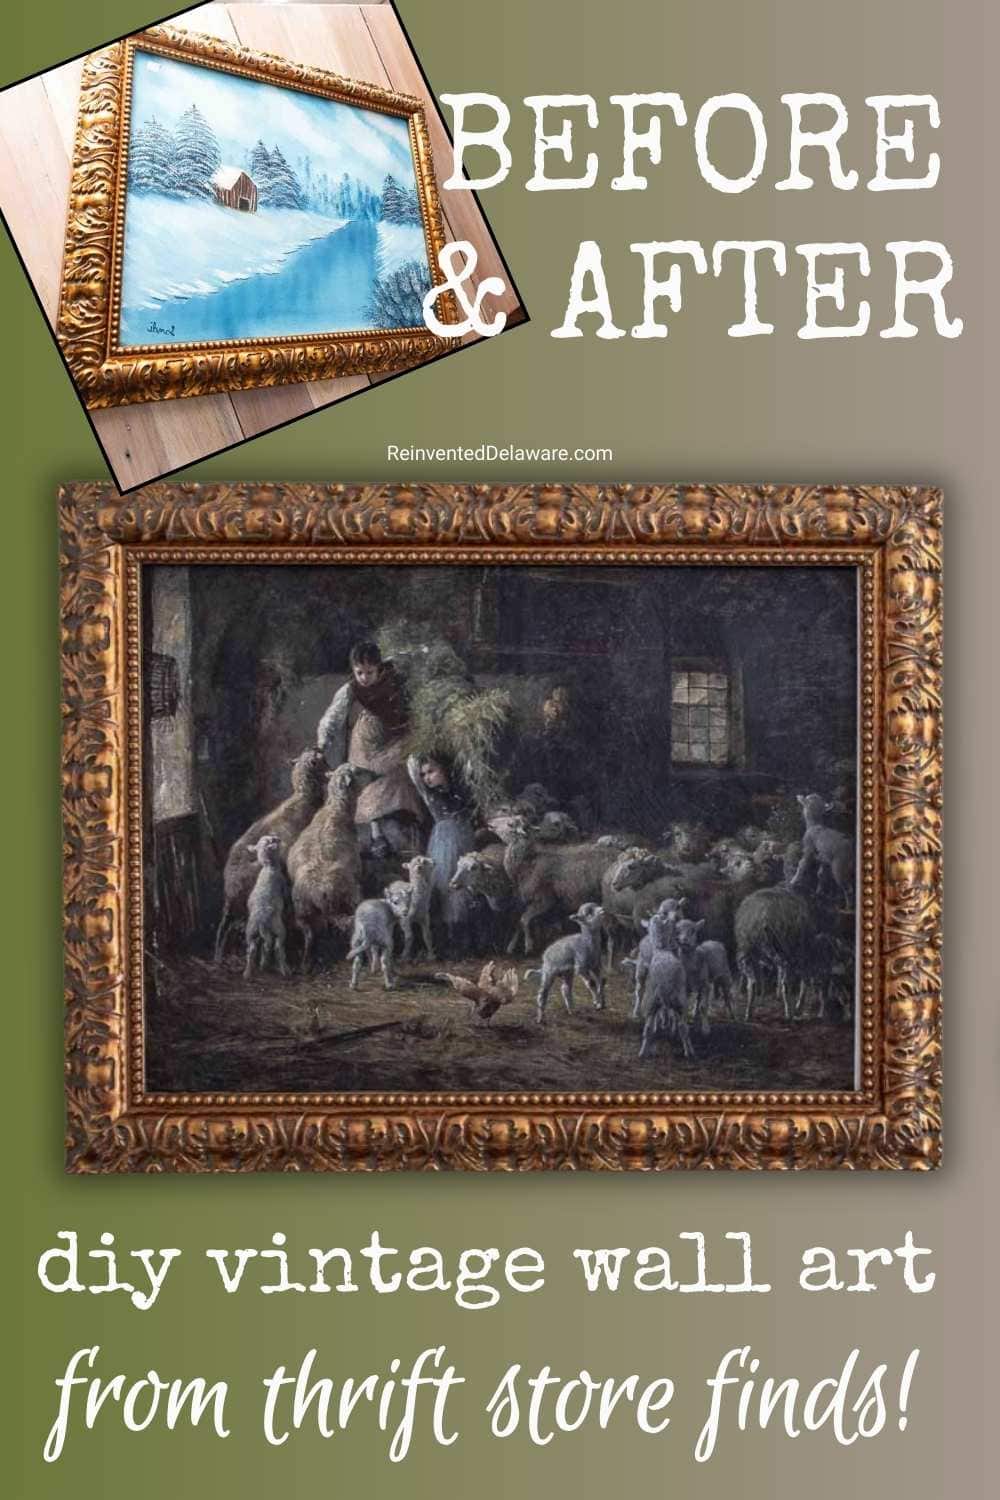
DIY Vintage Wall Art with Thrift Store Finds
Do you adore the timeless charm of antique artwork but absolutely cringe at those gallery prices? Or maybe you’ve found a gorgeous, ornate frame at a thrift store, only to be disappointed by the “ugly” painting stuck inside? Well, get ready for a game-changer!
Authentic vintage art can be pricey, but I’ve discovered an ingenious, budget-friendly secret to get that coveted look. In this post, I’m revealing how to transform an unloved thrift store painting into a stunning, unique piece of DIY vintage wall art using free printable art – all for a fraction of the cost!

DIY Vintage Wall Art
Materials
- thrift store frame with outdated art
- Old frame with outdated art
- Screwdriver razor scraper if needed
- White primer
- Chip brushes
- Mod Podge
- Printed free vintage art
- Clear matte top coat
- Optional: Paint/gilding wax for frame
Instructions
- Prep Your Frame: Clean your thrifted artwork and its ornate frame. Disassemble the old art, scrape off thick paint, and prime the original canvas white. Optional: Update the frame with paint or antique gold gilding wax.
- Get Your Art: Find and print your favorite free vintage art from a public domain source (like Simple Joy Art) at an online print shop (like Staples.com). Make sure it fits your canvas!
- Apply Art: Adhere your printed art to the primed canvas using Mod Podge. Apply Mod Podge to the entire surface first, then carefully lay and smooth the print to avoid bubbles.
- Faux Oil Painting Look: Create an authentic look by brushing a thick layer of Mod Podge over the printed art using criss-cross strokes (or fine brush strokes around elements) to mimic brush strokes and add texture. Let it dry completely.
- Finish Strong: Seal the piece with a water-based matte finish top coat to prevent stickiness. Optional: Apply dark brown wax to edges for an aged look. Reassemble and hang your stunning new DIY vintage wall art!
Gather Your Art Supplies
The following post may contain affiliate links. That means if you click and then buy something, I will make a small commission at no additional cost to you! Thank you for supporting my blog. full disclosure here.
Here are the supplies you will need for this diy vintage wall art project.
- old frame with outdated art
- screwdriver, razor scraper
- primer
- chip brushes
- Mod Podge
- printed vintage style art
- high quality primer
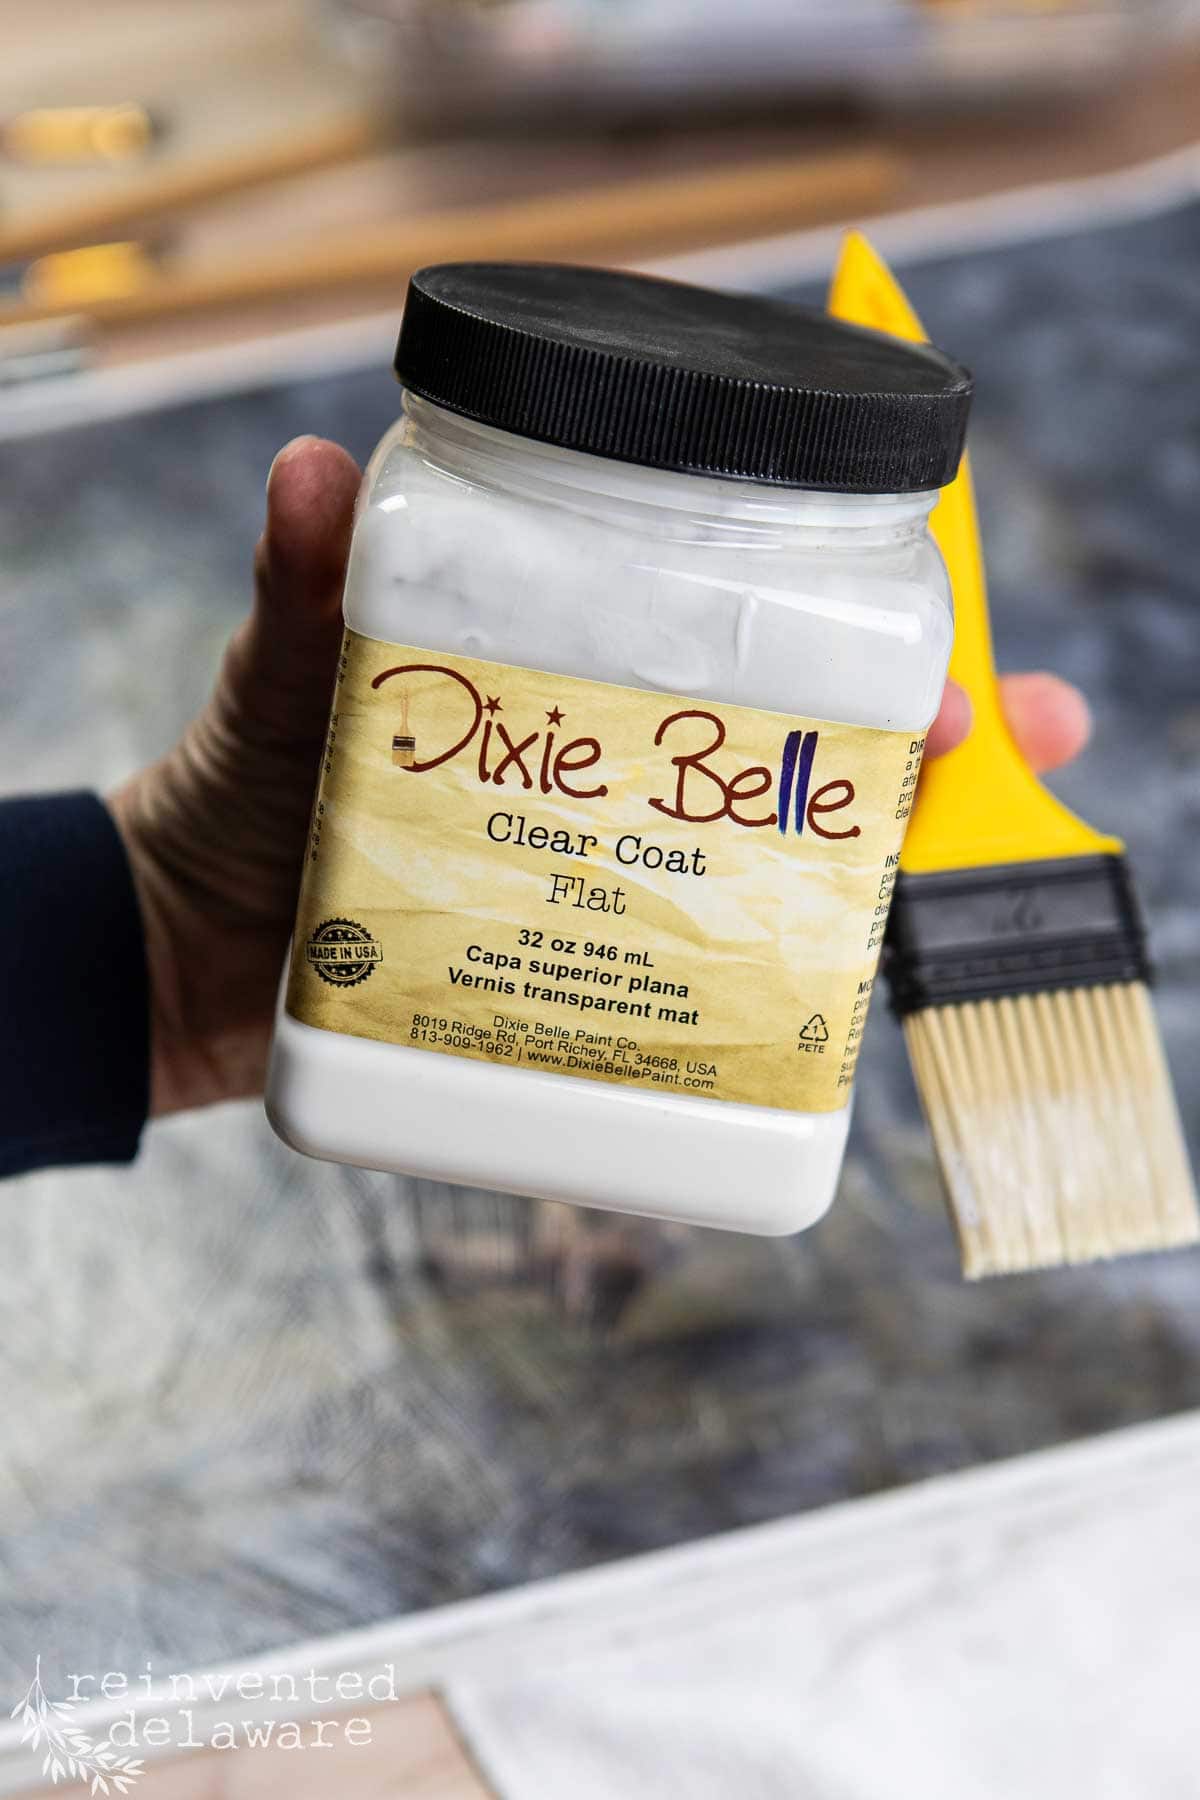
- Clear Top Coat in Flat
- Antique Gold Gilding Wax
- Clear Wax and Dark Wax
- paint for frame if needed

DIY Art Transformation: Step-by-Step
After you have headed out to the thrift stores, secondhand shops and yards sales to find you outdated art, it is time to create gorgeous wall art for your home! Let’s go over the easy steps it takes to create your own work of vintage art!
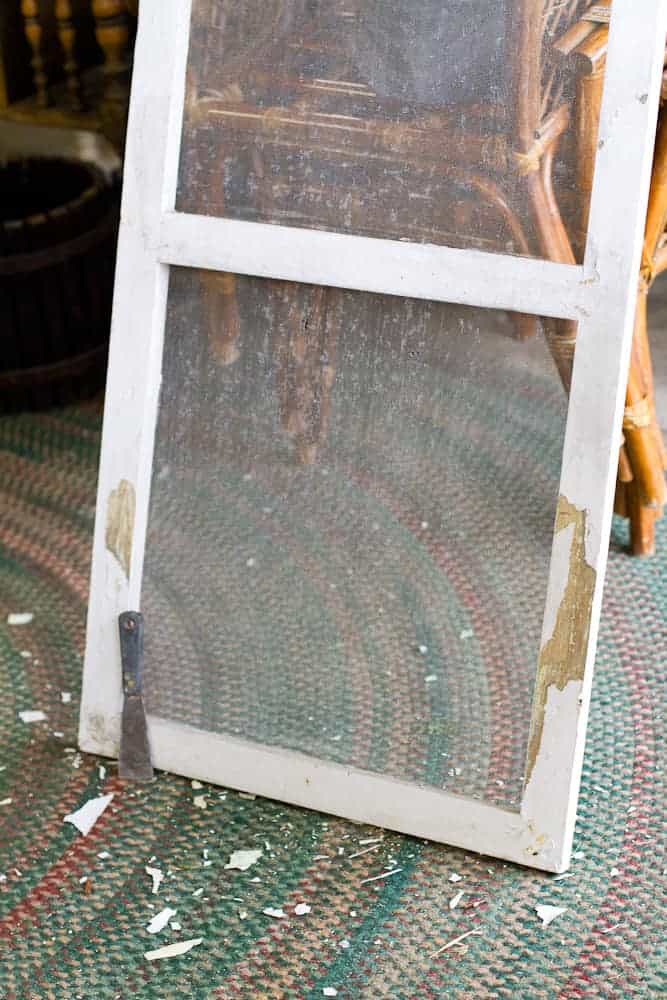
Step 1: Prep Your Thrifted Frame
After choosing the thrifted artwork, it’s time to clean it up for its grand art transformation! Use a damp microfiber cloth to wipe the piece down, removing all those dusty oils and grime. A solution of hot water and a little Dawn dish soap on the cloth works wonders if you like, but often, a damp microfiber cloth alone does a fantastic job cleaning these old frames.
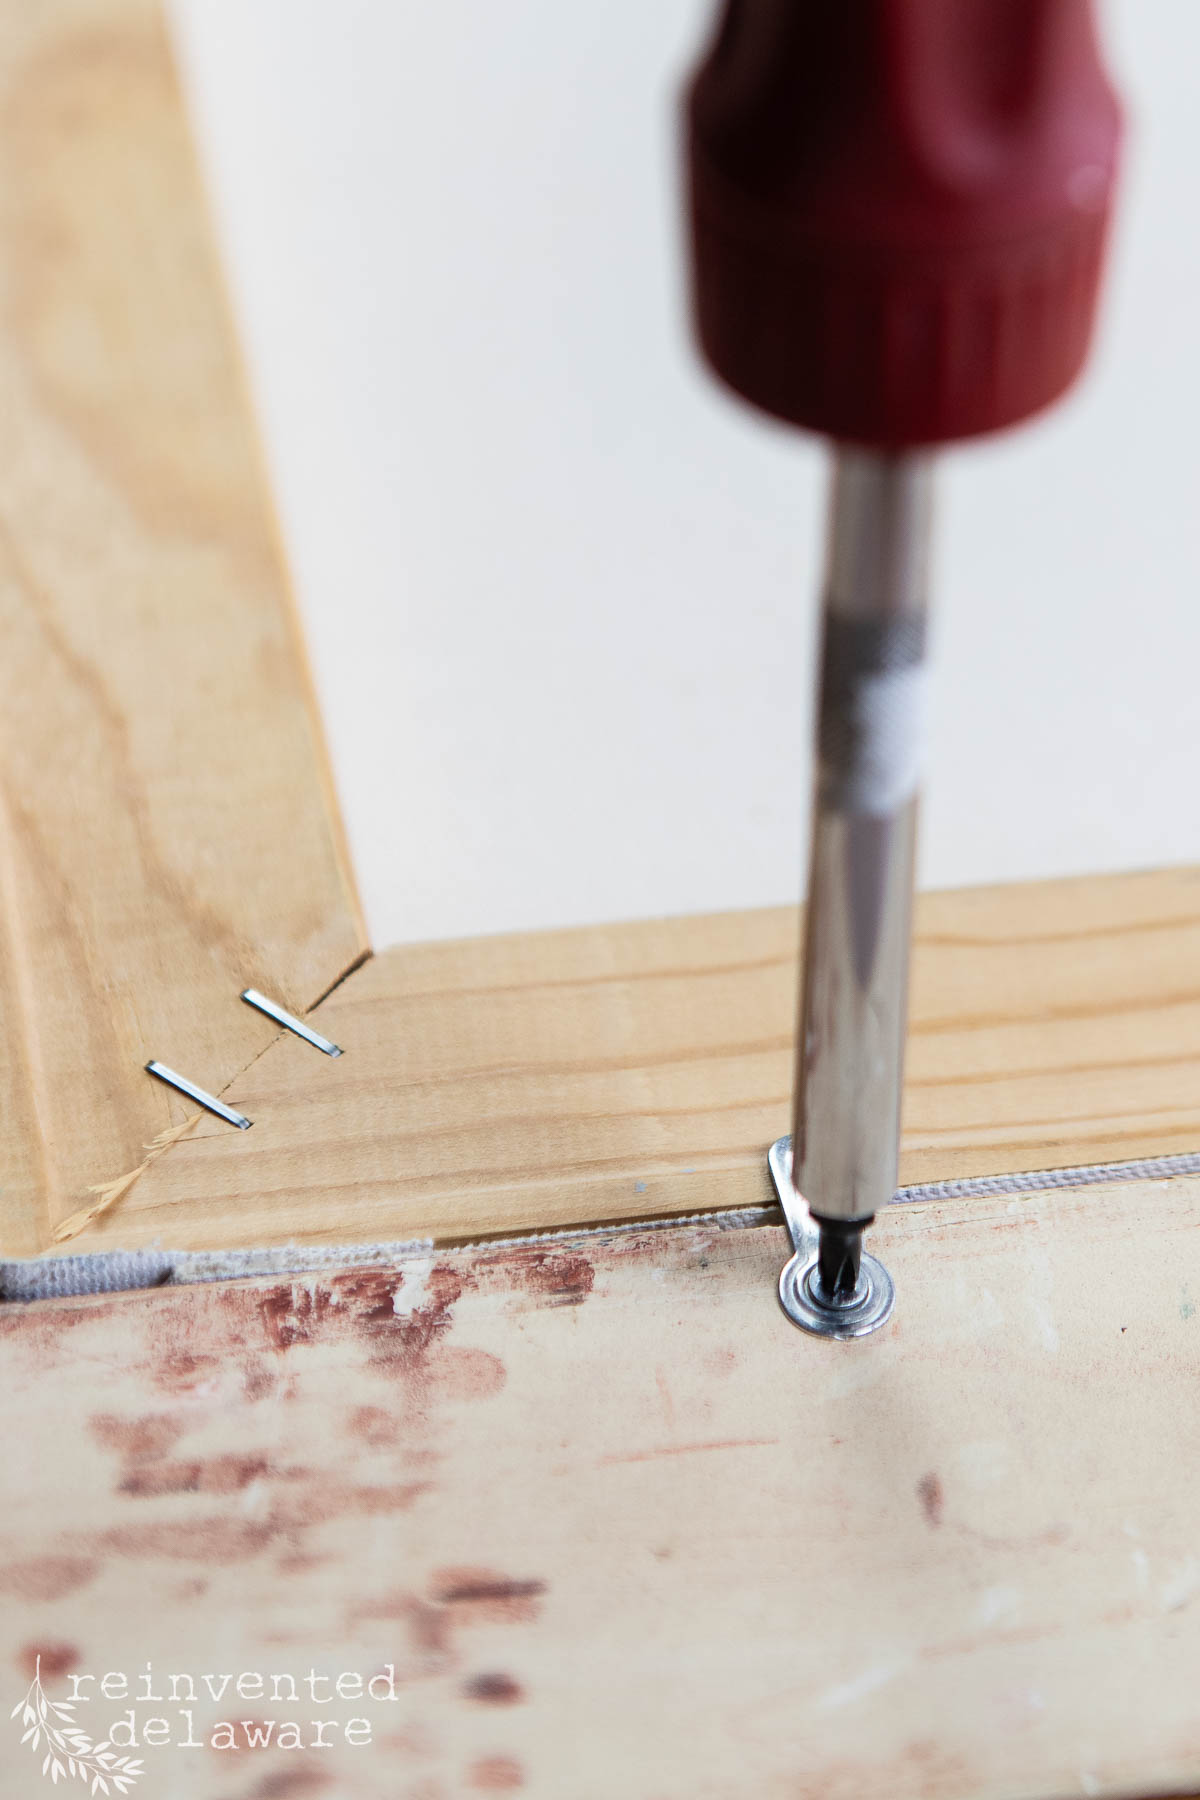
Next, you’ll need to disassemble the artwork. Remove any paper backing if there is any. My oil painting was secured with small hardware held tight by a single screw. I just needed to loosen the screw, turn the hardware, and then I could easily remove the original canvas oil painting. This is the first step in repurposing your find!
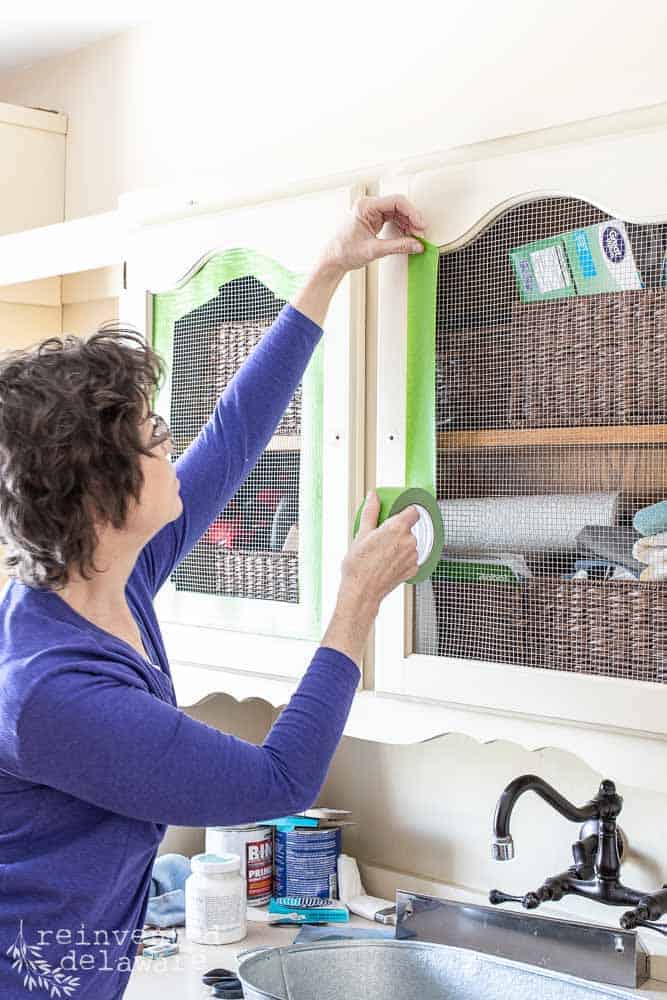
While my ornate frame was in perfect condition, yours might not be. No worries! You can paint the frame a color to coordinate with your new art, or simply apply antique gold gilding wax to create that perfect vintage-style frame. Just be sure to allow proper drying time for the wax.
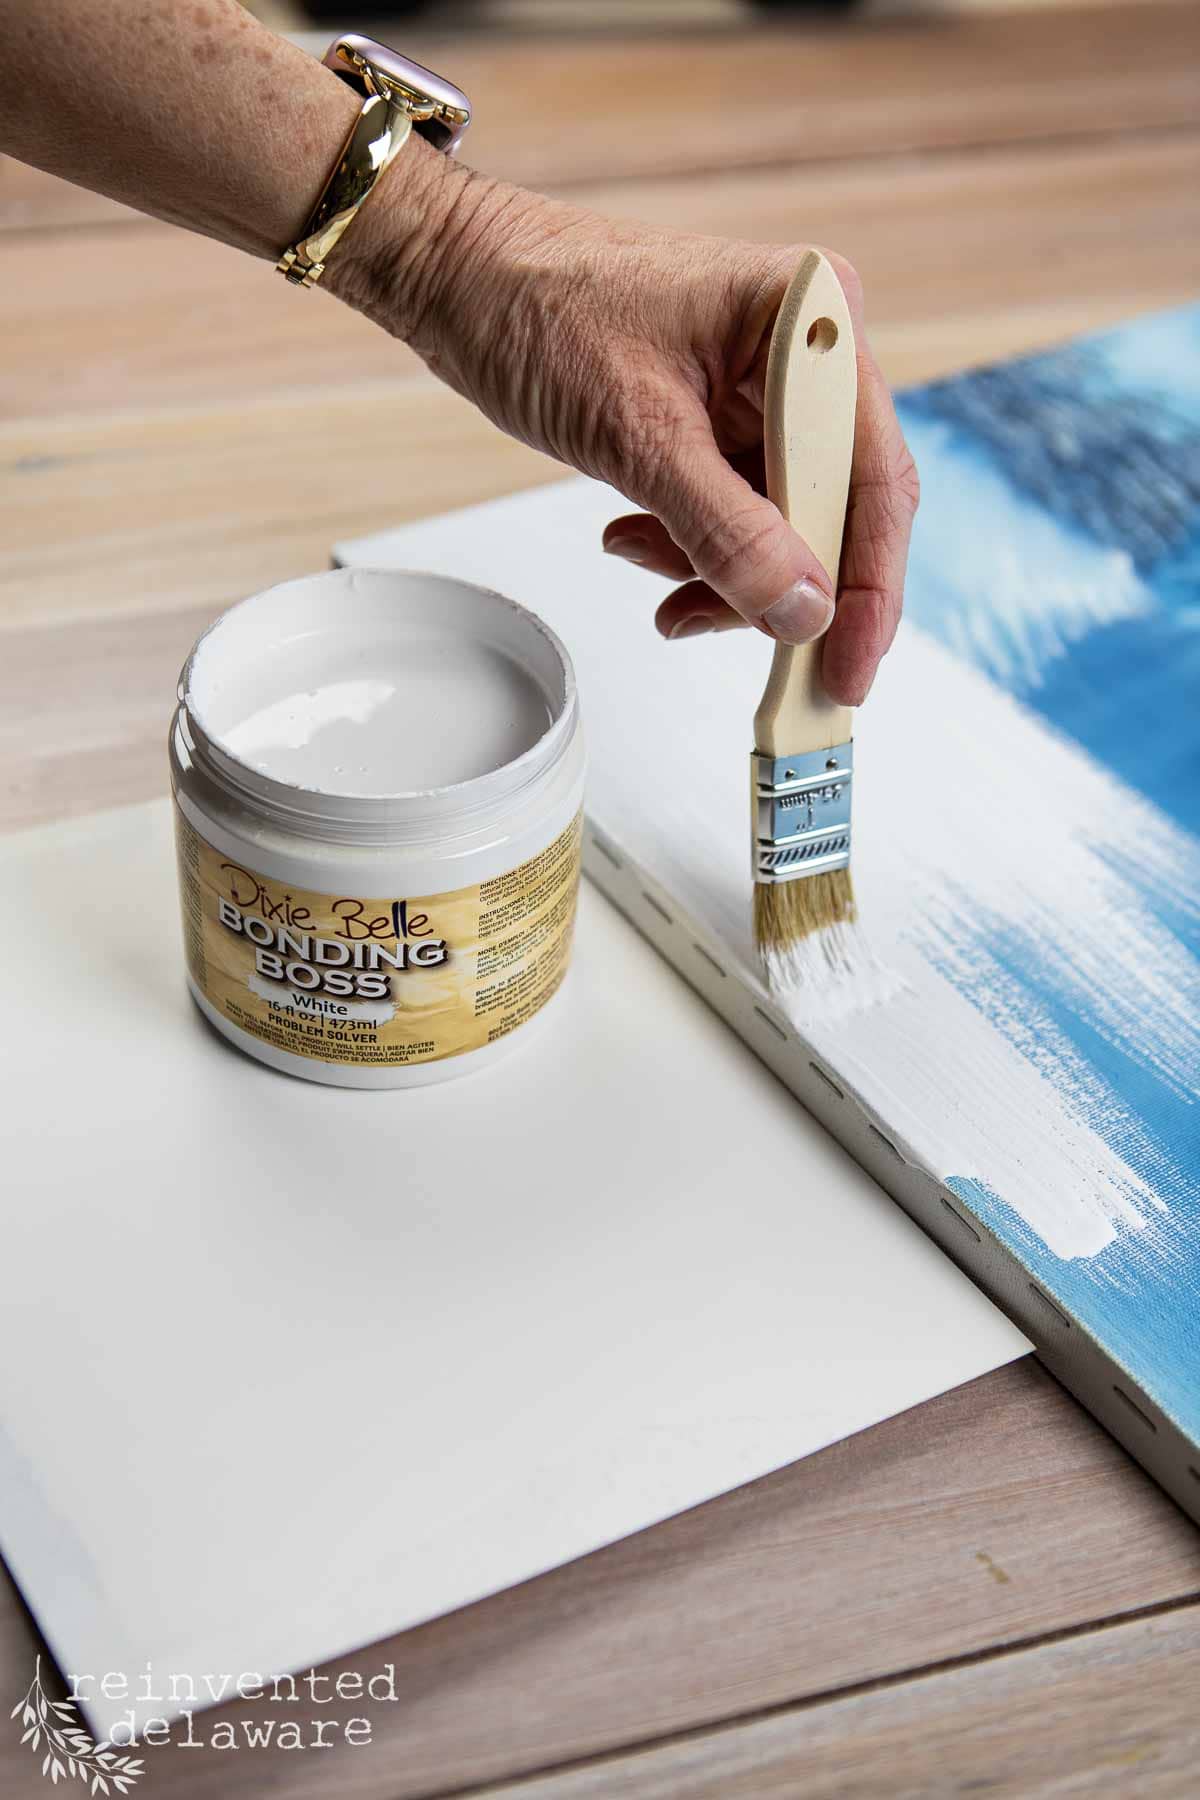
The original oil painting wasn’t my favorite, and I was ready for a fresh, vintage-inspired look. First, I used a scraping blade to carefully remove some of the thick, high spots of oil paint. Then, I applied a coat of white primer. I didn’t want to risk any of the original colors showing through on the lighter sections of the printable artwork I chose for this frame. This prep work is key to a flawless finish for your upcycled art project!
Step 2: Find & Print Free Vintage Art
There are several ways you can print your vintage artwork, and we’ll go over that in a bit. But first, let me tell you about this amazing way to get free vintage art!
Head over to Simple Joy Art and scroll through the fantastic options the site has to offer. If you like vintage pieces like I do, I am sure you will find truly beautiful classic art. These pieces are sourced from a larger online treasure trove called WikiCommons, which has access to digitized vintage artwork that is completely copyright-free! Simple Joy Art has done the hard work, narrowing down the selection and making it so much easier to find the perfect digital downloads that you and I love.
save downloaded artwork to a folder on your computer for easy access!
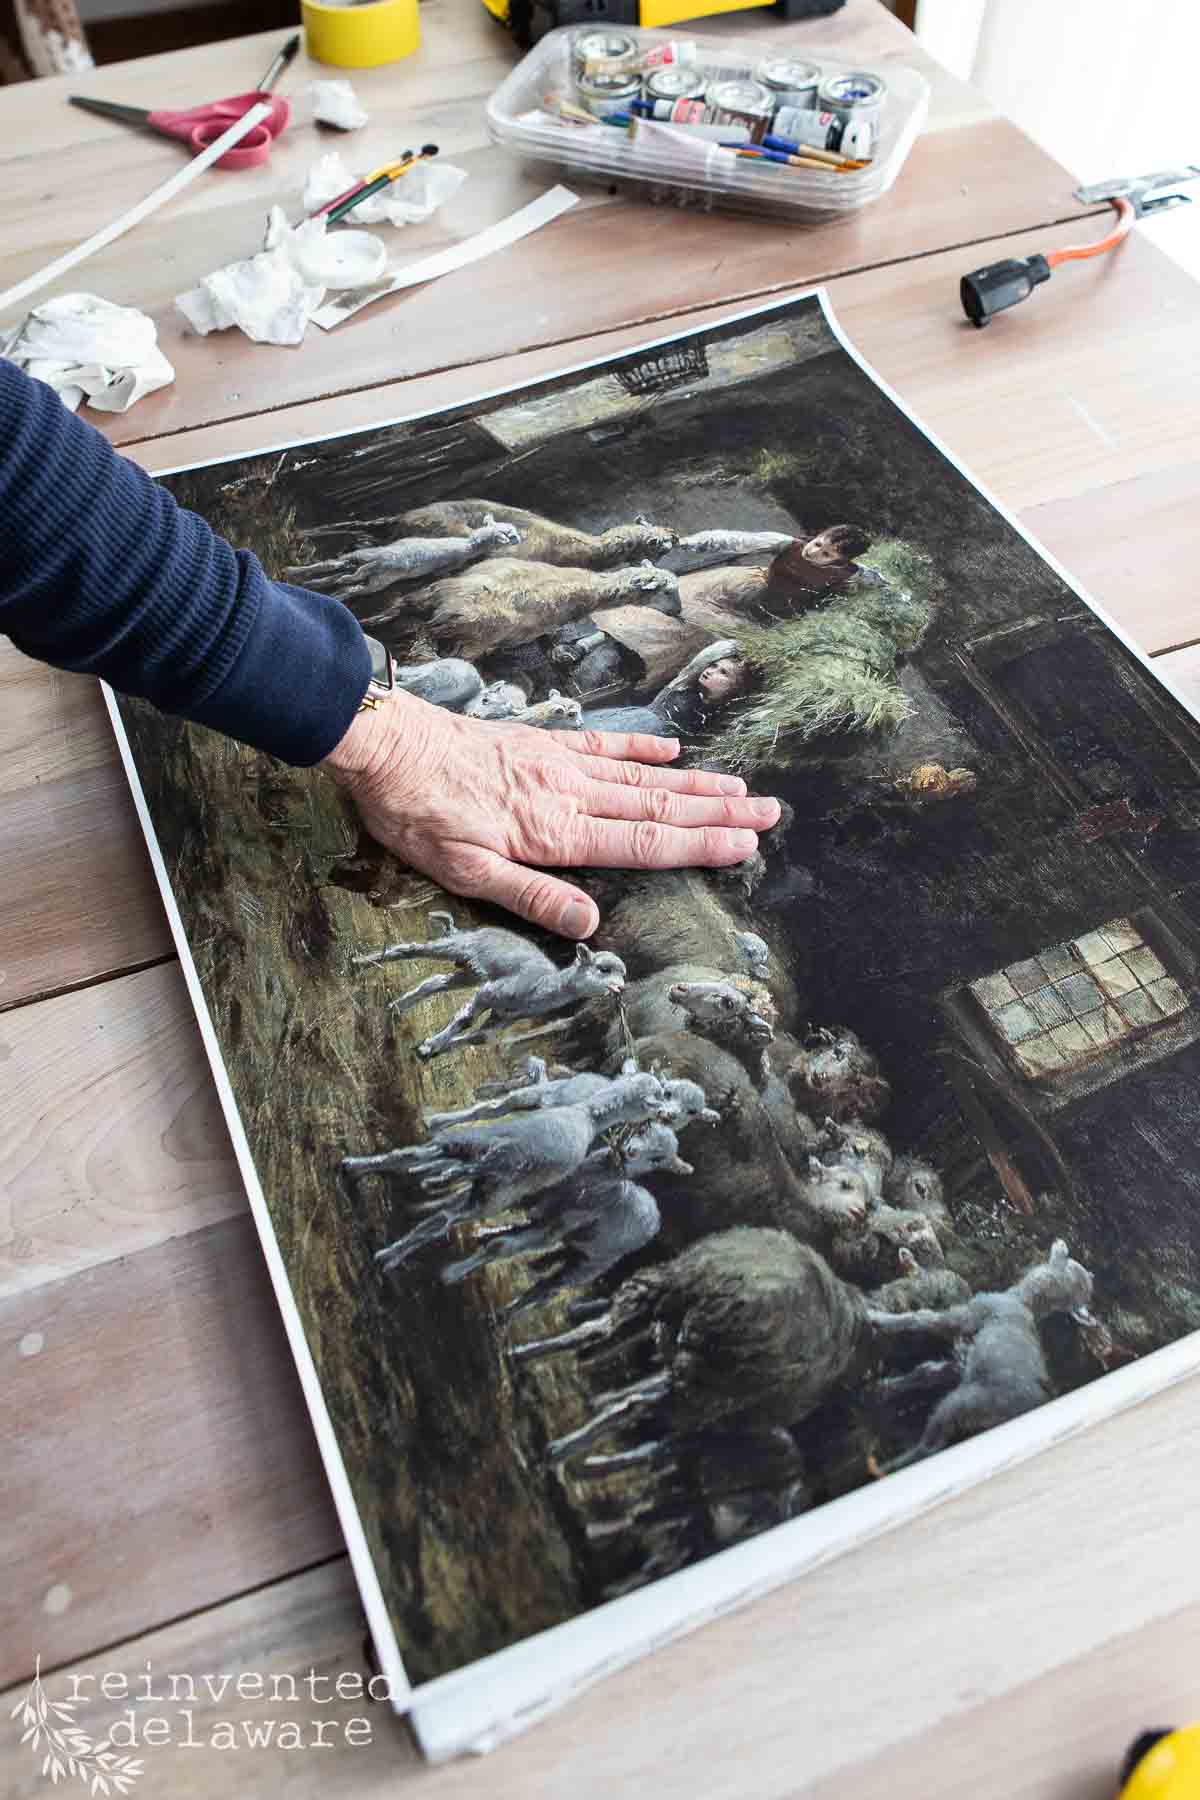
I chose artwork that was almost square due to the shape of my thrifted frame. My original canvas measured 18” x 24”, so I found art that had a similar ratio. This ensured that the old oil-painted canvas would be completely covered without cropping out too much of my chosen printable vintage art.
thanks for being here!
I hope you are enjoying this project! Let me know if you have any questions. Or leave me a comment to tell me about your project and ideas!
thanks, Cindy 😀

Before you print, measure your original art and look for vintage art that will fit. It doesn’t have to match the size exactly, but just be sure it will include the majority of the artwork you want to showcase. This is a crucial printing tip for a seamless art transformation!
Next, head over to an online printing shop like Staples. Choose “Custom Poster” and select the options that best fit your frame, like Orientation, Size, and the style of paper you want (I often go for standard heavy-weight matte for a great finish!). Then, choose “Add Content” to upload the vintage art you selected earlier. Once the upload is complete, select it and move it to the design space. Double-check to make sure nothing important is being cropped out. Click Finish and head to checkout!
The print will be shipped right to you at a reasonable cost, or you can choose to pick it up at a store near you.

Step 3: Apply Printable Art to Canvas
This step is all about applying the printable smoothly for your new DIY vintage wall art.
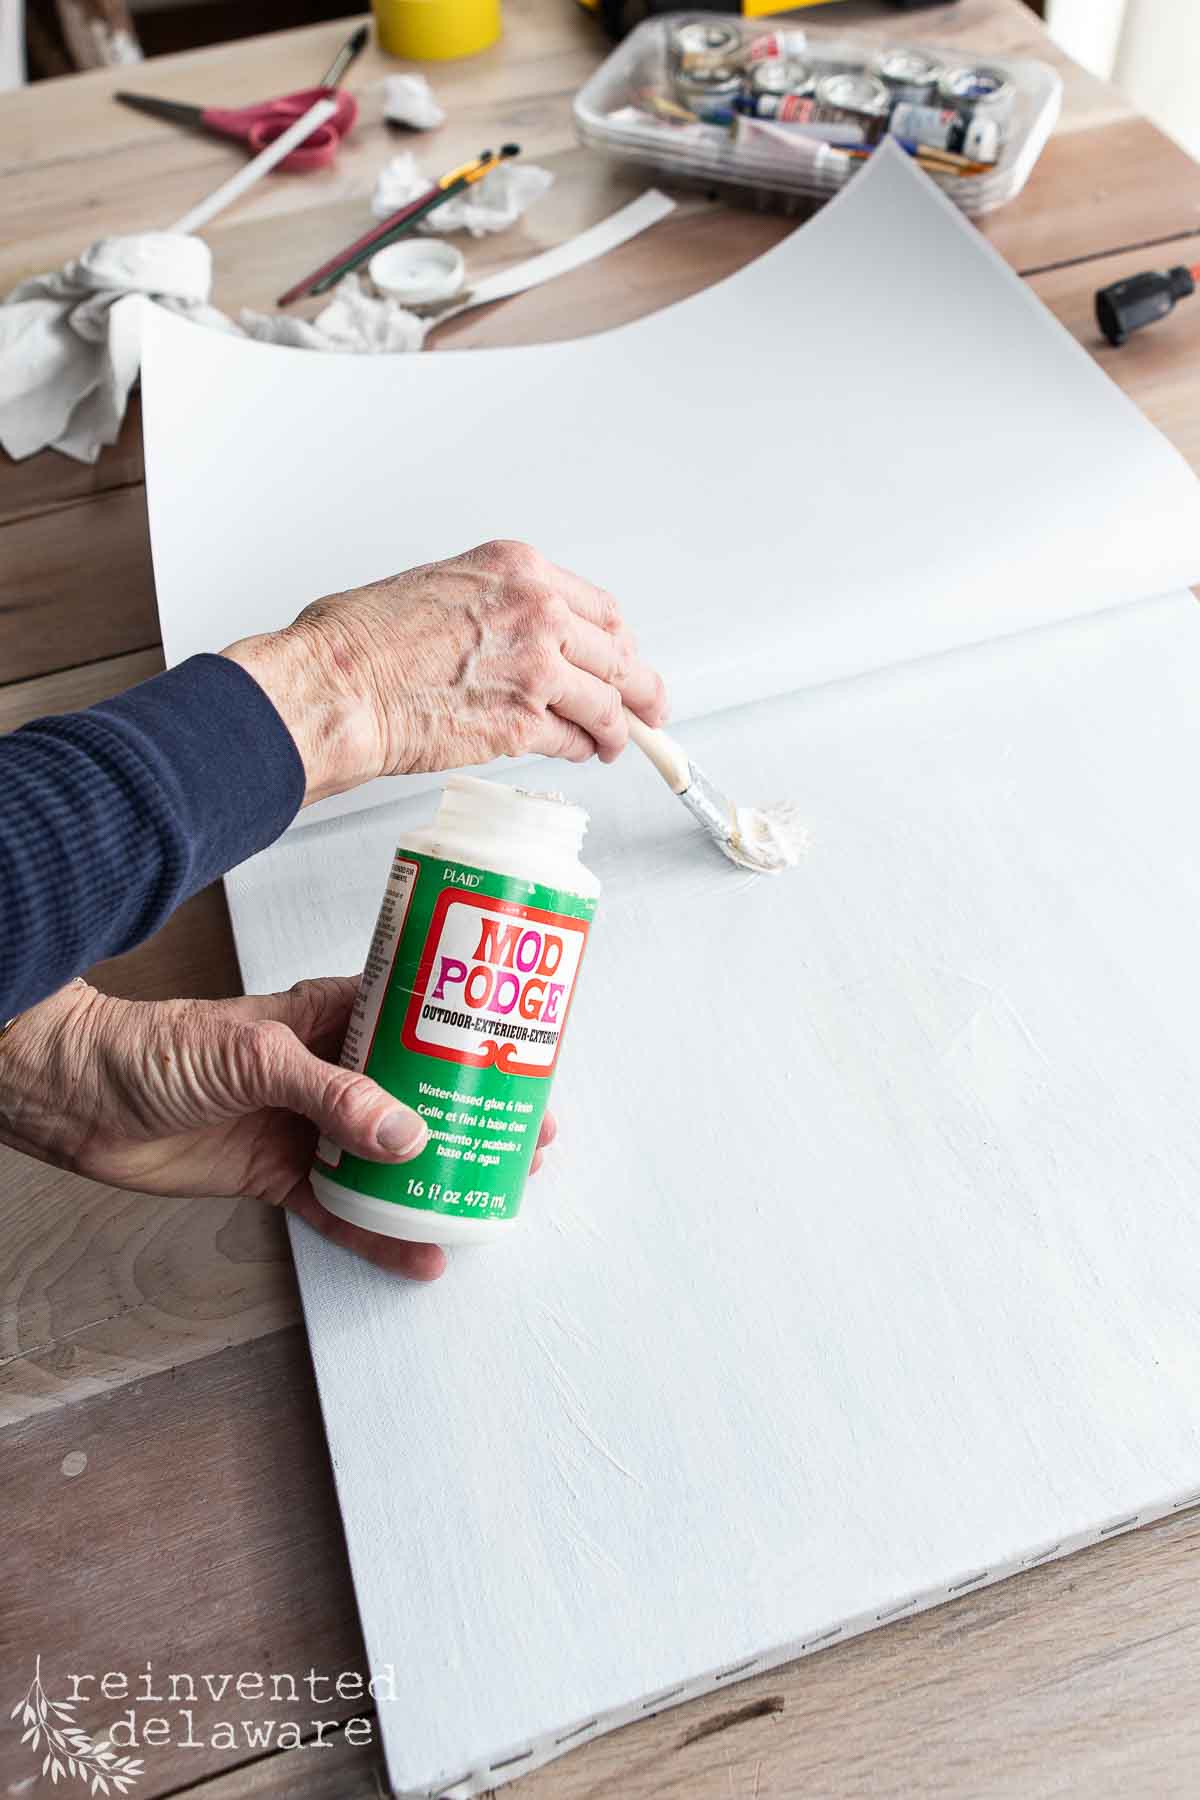
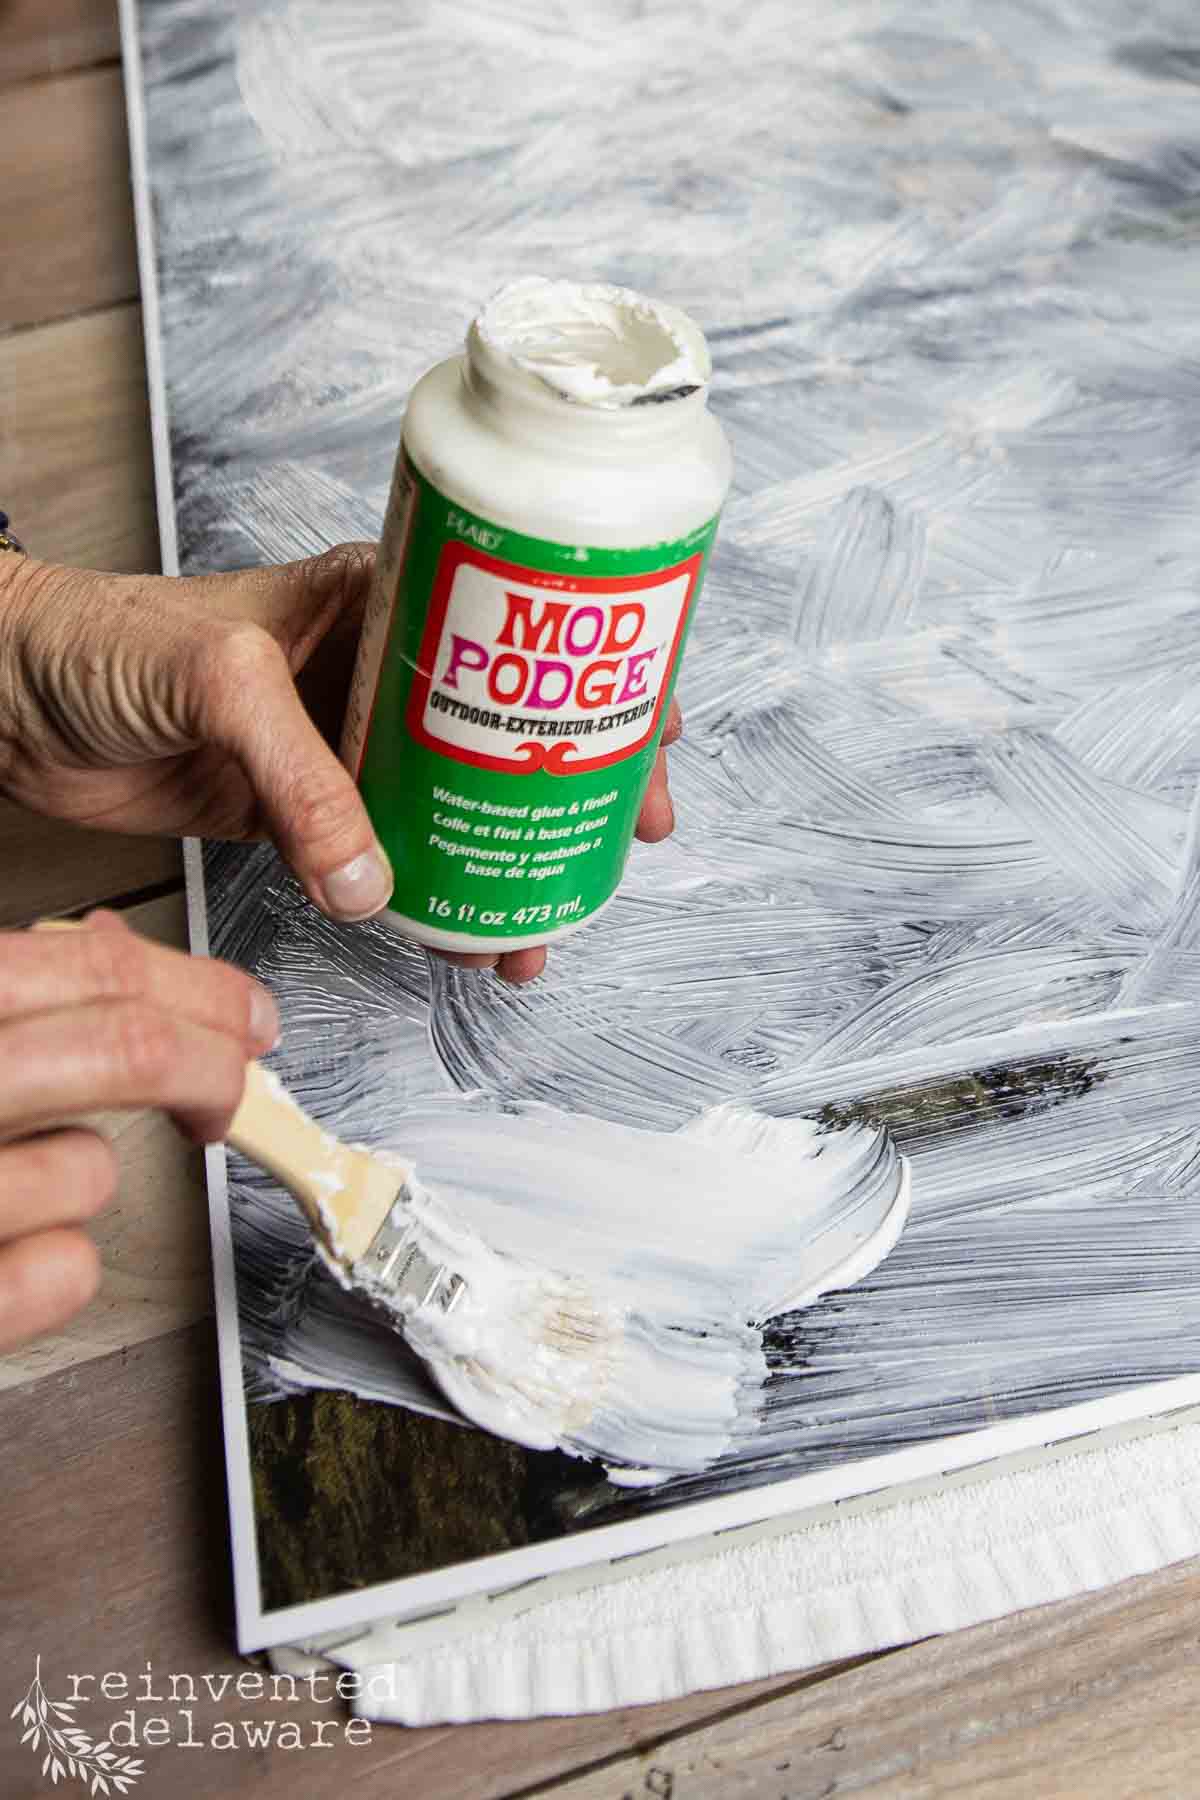
Now it’s time to adhere the printed art to the original canvas that we primed. I applied a coat of Mod Podge to one half of the primed area. Then I carefully laid the printed art down on the surface, smoothing out the wrinkles.
Next, I applied Mod Podge on the other side and gently laid the printed art down on that side. I smoothed out the paper the best I could. Unfortunately, I had an area that bubbled. I think I waited too long between applying the adhesive to the surface and laying the paper on it. The Mod Podge had dried some, and the paper didn’t stick in that area.
Hindsight, I should have applied the Mod Podge to the whole surface before laying the paper down for a better decoupage technique.When I showed this upcycled art project on YouTube, one of my subscribers said they have used Rubber Cement instead of Mod Podge with great success and no bubbling. I haven’t tried it, but my friend Anna from Skyark House has a great article about it!
Step 4: Create a Faux Oil Painting Look
The key to creating an authentic look for your new DIY vintage wall art is to use brush strokes. Let’s chat about two methods for this fantastic faux oil painting technique!
The first method is to use a small 1” chip brush and go over the whole surface with a thick layer of Mod Podge. Paint it on thick using criss-cross strokes over the whole surface. It’s a bit scary to cover the gorgeous vintage art, but trust me, it will look amazing and add incredible texture!
The second way to accomplish this is a bit more tedious, but equally rewarding. Using a smaller artist brush, paint brush strokes of Mod Podge directly on the painting, carefully going around the elements of the art. For instance, in this art, you could ‘paint’ each sheep or the people in the artwork. This can be a fun way to feel like a true artist while adding depth and a realistic aged look to your upcycled art project!
Allow this thick coat of Mod Podge to dry thoroughly. Mine took several days to dry due to humidity, so be patient for the best results in this art transformation!
Step 5: Final Touches for an Authentic Look
The final step before reassembling your DIY vintage wall art is to seal the piece. In my experience, Mod Podge can sometimes become sticky, especially in humid conditions. I have found the best way to prevent this is to seal it with a water-based top coat. Choosing a matte finish keeps the natural, subtle look of vintage art and avoids any unwanted shine.
To add an even more authentic aged look, apply dark brown wax to the outside edges and corners of your artwork. This creates a darkened, antique appearance and truly enhances the vintage aesthetic of the piece! It’s a fantastic way to add character and make your repurposed art look like a genuine antique.
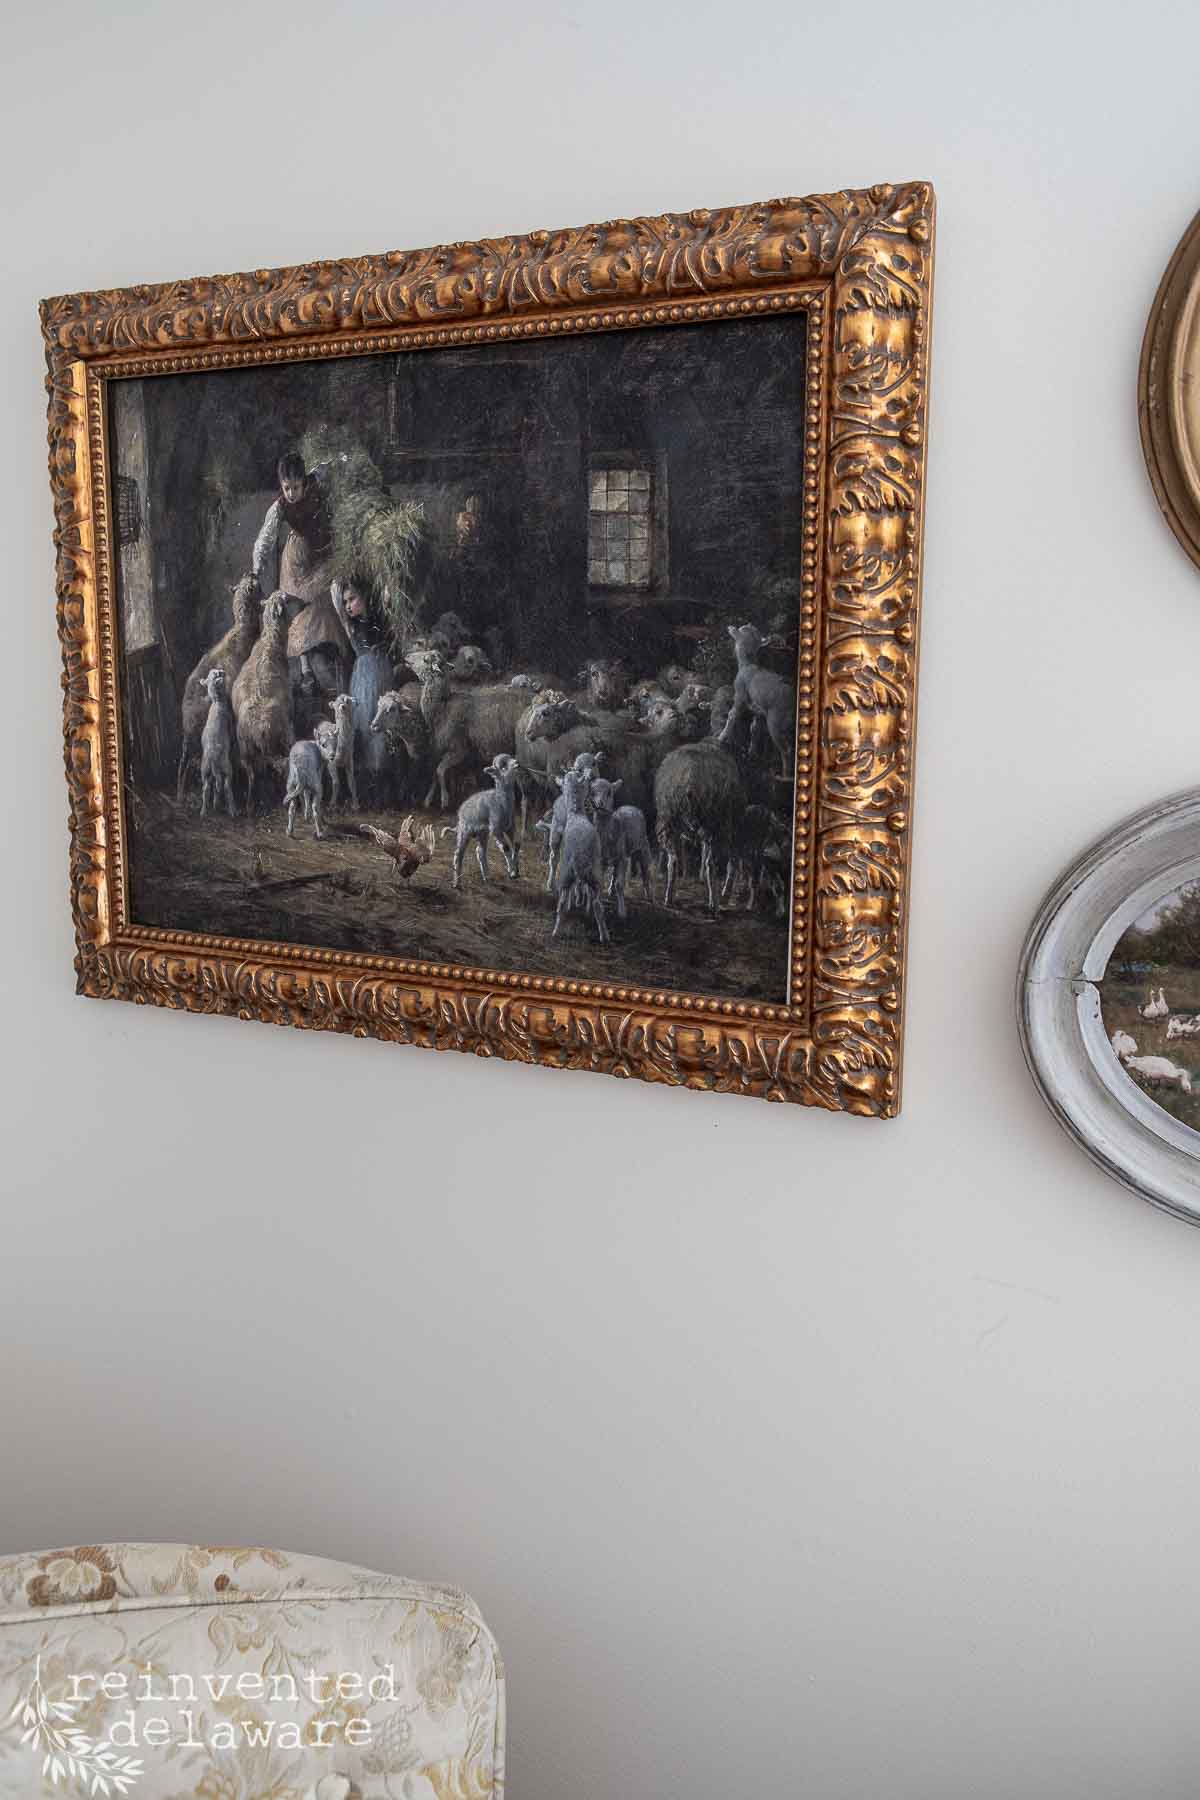
Finally, reassemble your stunning new DIY vintage wall art in its ornate frame and hang it proudly in your home! You’ve just completed an incredible budget-friendly decor project!
youtube video
Tap the image below to see this diy vintage art project as well as others!

style your new vintage artwork
Wasn’t that so easy? The results are amazing! Now the fun part – hanging the vintage art! This gorgeous piece is hanging in one of our guest bedrooms but it would look beautiful in any room. Here are some suggestions:
- Use this large art as a focal point on a gallery wall. Create smaller vintage art with thrift store frames to complete the gallery!
- Hang this large piece over your fireplace mantel or a diy faux mantle in the bedroom.
- Choose vintage childrens art for a childs room.
- Create smaller art pieces using the same method and hang them in a bathroom for a vintage touch!

Recreate and Decorate
Join the Facebook Group and Share Your Projects With Us!

Thanks for joining our journey!
Thanks so much for joining me for this post! Join my journey so you don’t miss any of the fun projects, tutorials, and inspiration that I share with you each week! You can follow me on Instagram, Facebook, and YouTube.


Cindy Rust
Cindy has been decorating her home with thrift store finds for 40 years. She is an avid thrift store shopper who loves to makeover the items she finds into vintage-inspired home decor and furniture. When she isn’t thrift shopping or painting a piece of furniture, you can find her making homemade butter, working in her garden, or painting with watercolors.
Visit my Amazon Storefront!
Click the button below and head over to our online shop on Amazon!


Love this Cindy! Absolutely gorgeous the way it turned out!