New Faux Christmas Tree | Tree Classics
Hey everyone!! So glad you have popped in today because I am excited to tell you about our new faux Christmas tree!

A Little Bit of Our Tree History
First, let me just mention a little backstory. We have had a live tree since the beginning of our marriage. As children came into our lives, and especially with our first daughter’s birth on December 23rd, we decided to put our Christmas tree up on Christmas Eve. We never wanted her to feel that her birthday wasn’t special and that it just melded into Christmas. We have heard the horror stories of that and wanted to avoid all the drama!
As our children grew, they wanted a tree up earlier in the season, so adjustments were made and we purchased our first faux Christmas tree. Our son was not crazy about the idea of a ‘fake tree’ but he adjusted! Our youngest was so excited to get one! Both of our girls, in fact, were thrilled with the whole idea!
That faux tree went up each Black Friday weekend in our dining room along with other decorations. But we still put up a live tree in our family room on Christmas Eve. Cookie eating, music playing and hot chocolate drinking were part of the day! I sure do miss those days!
After our children moved out of our home (we had moved into our current home by this time) we decided to put up a live tree again. We reused the faux tree (it was very tired looking!) on the front porch as part of our outdoor decorations. We would purchase the tree together, usually the Sunday after Thanksgiving and decorate it during the week.
Our Live Trees Wouldn’t Last the Whole Season
I love having a live tree but I hate the mess it creates when it is put up that early! Taking it down was quite the mess as we pulled the dried up tree out of the front door! Even though we kept it well watered, the needles just fell off like crazy!
So the decision was made this year to purchase a new faux Christmas tree! The faux trees that are made now are so nice in comparison to the first faux tree we bought! I searched online to find a realistic tree that was also budget friendly and I found it through Tree Classics! You can find it here.
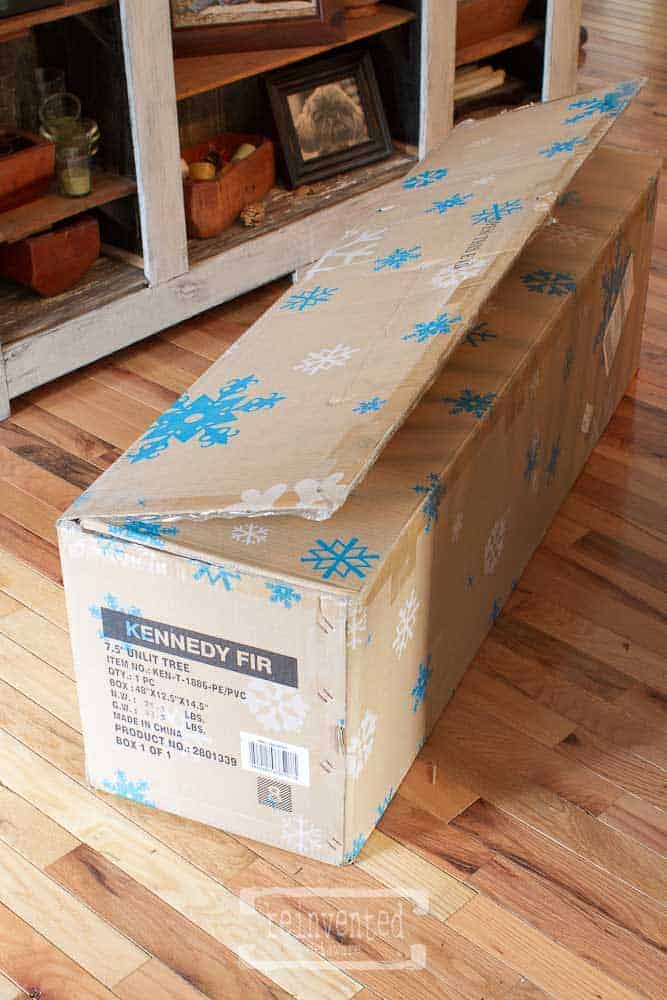
Our New Faux Tree!
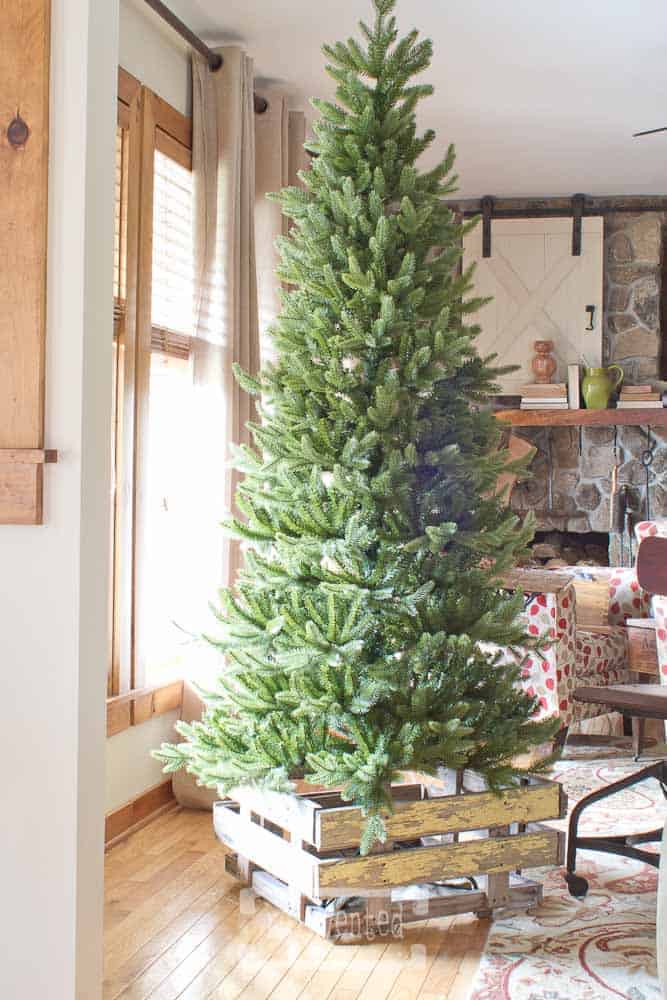
The 7 1/2′ Kennedy Fir tree was only around $170. The slim tree is only 41″ wide so I new it wouldn’t consume our living room. I chose the unlit version because I have dealt with lights that burn out on pre-lit trees and it is a royal pain to get them off. I would rather add the lights myself.
The tree arrived within the week and I couldn’t wait to see it in person! I thought about waiting for hubby to assemble it, but then decided to jump right in! If you saw my IG stories, I am sure you had a chuckle at my shenanigans!
Super Easy Assembly
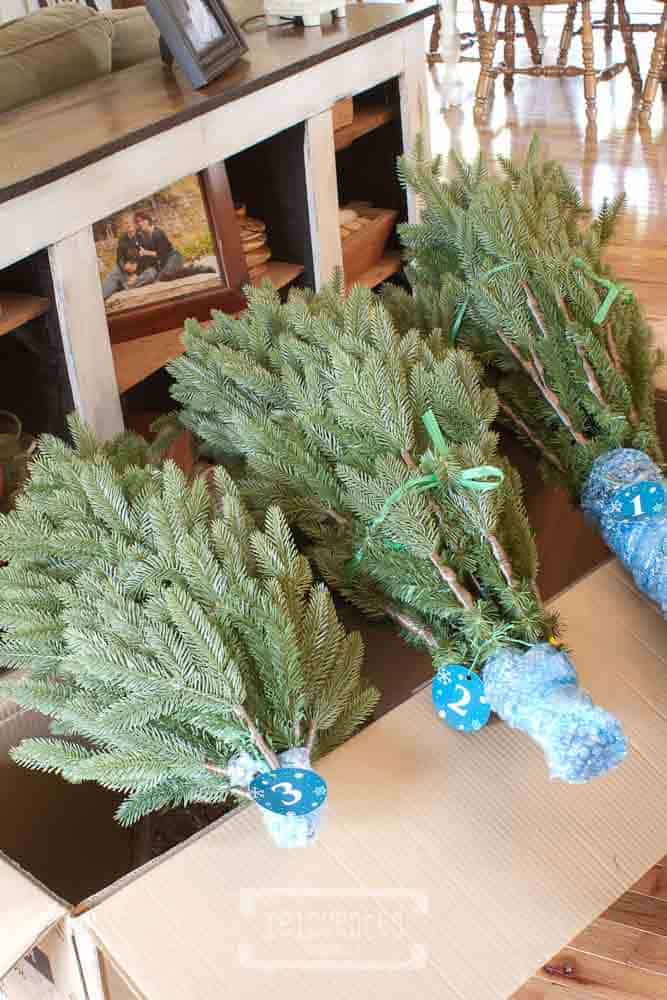
Assembly was literally 1, 2, 3! Each section was clearly labeled and the instructions were super easy to follow!
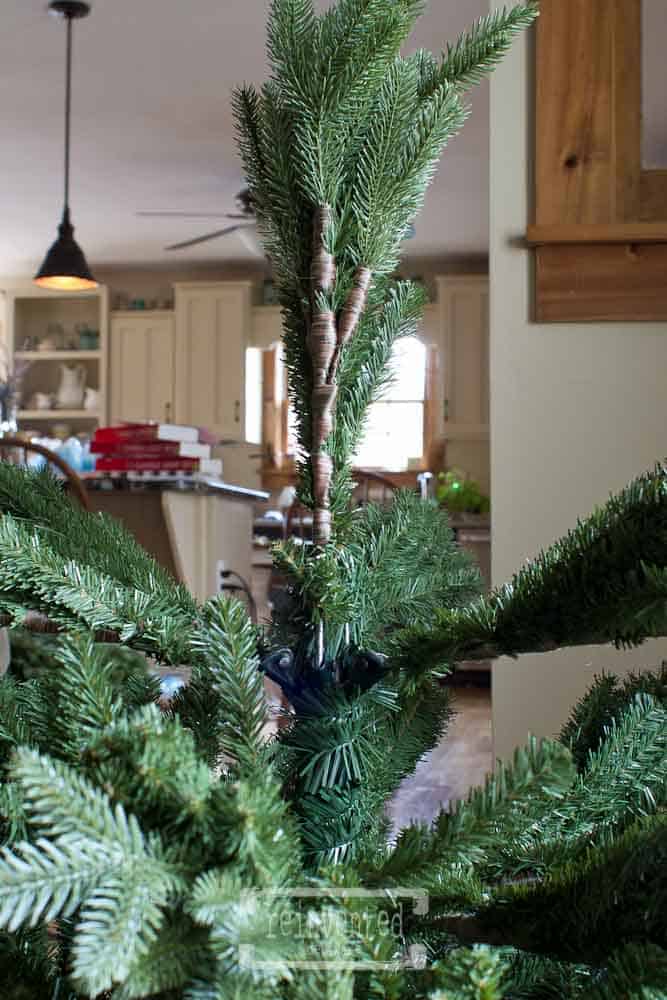
The first step was to attach the stand. The stand itself was one piece that just had to be opened up. In fact, I opened it up with one hand and my knee while recording myself on IG stories ;). Wow, Cindy!
After inserting the main ‘trunk’ into the stand, I tightened the eye bolt to secure it tightly.
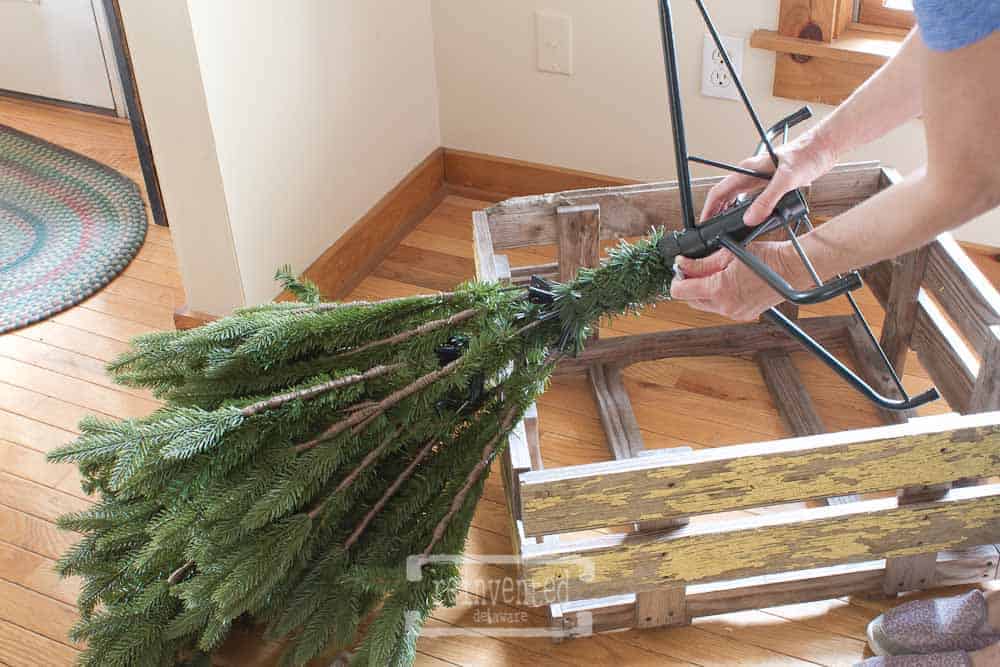
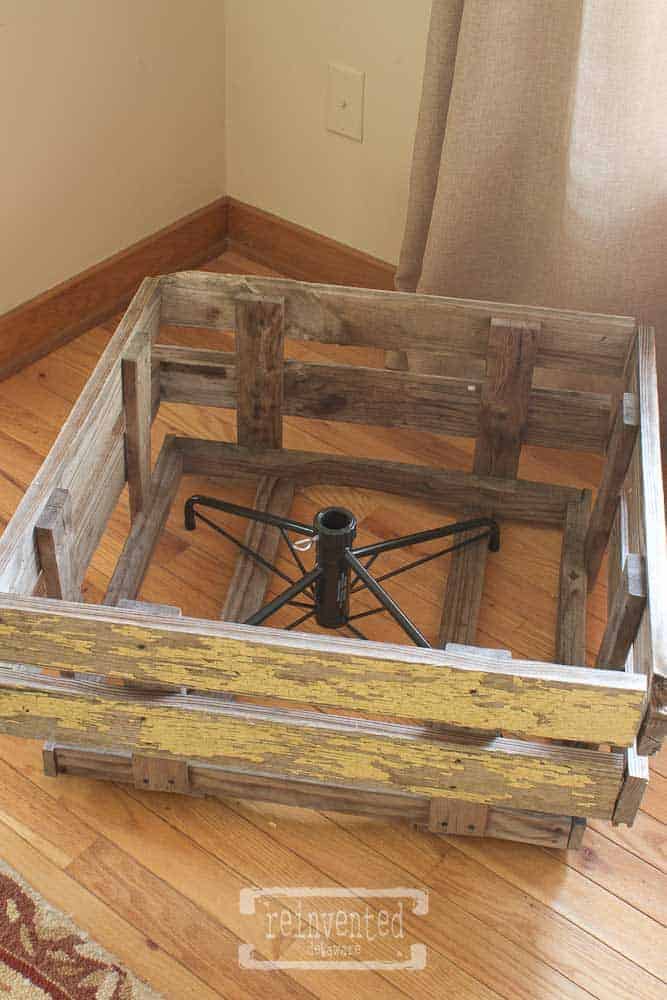
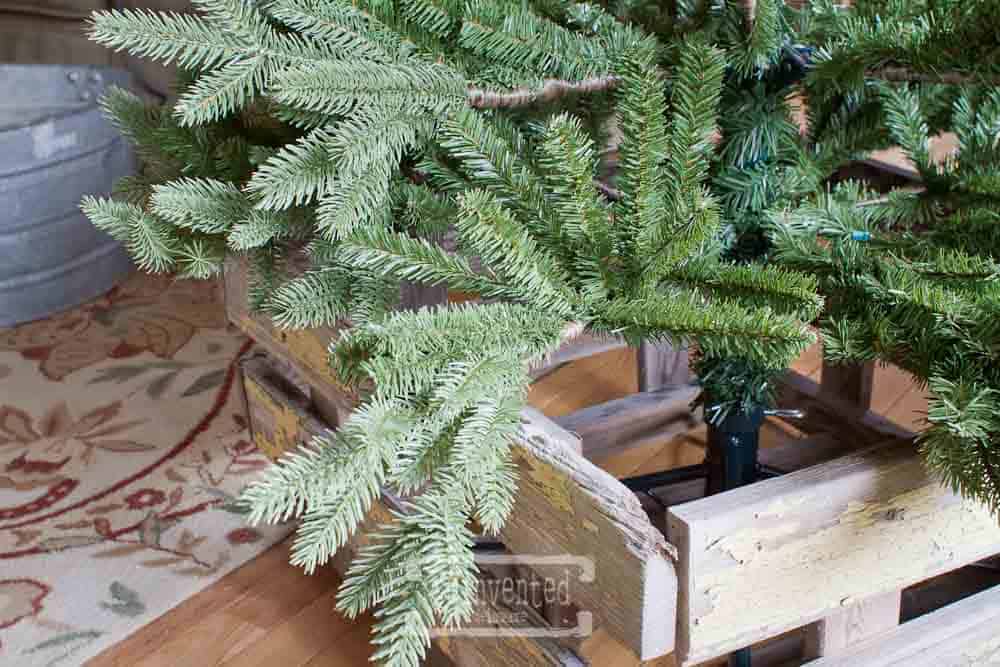
My hubby built this reclaimed barn wood crate to hold our live tree. We have had it for years. I just removed our store bought tree stand (the heavy plastic type made for live trees) and put the new faux-tree stand in the wood crate. I tested the stand first to be sure it would fit.
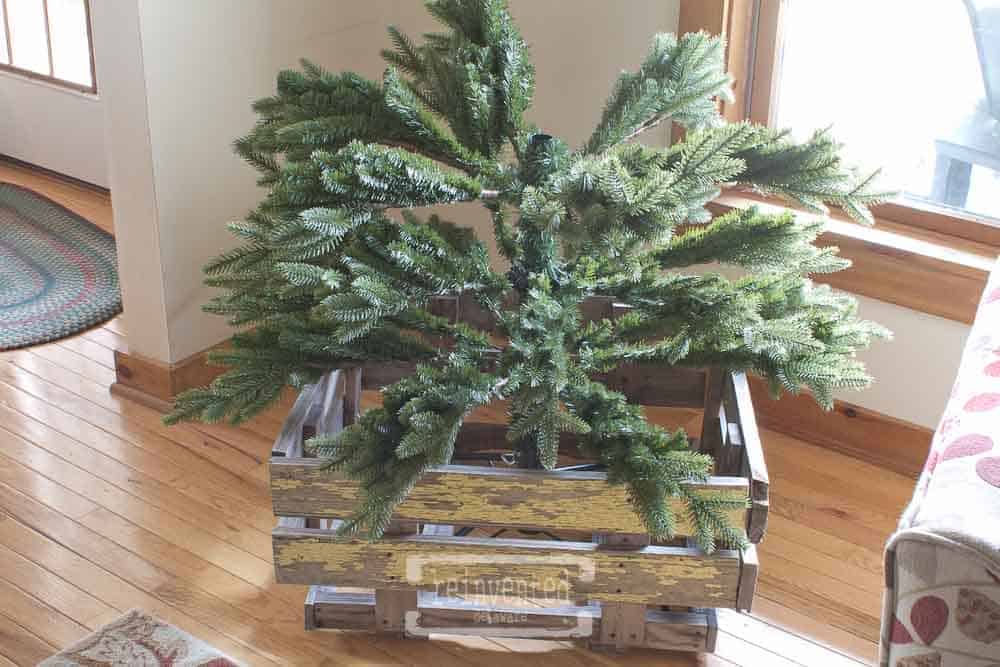
The first section of the tree went in quick! Now on to the fluffing!
My Happy Donkey at Christmas??
While I fluffed the tree, I listened to a Christmas music channel on Direct TV. I love the old songs like “White Christmas” and “Have Yourself a Merry Little Christmas.” Ahhh, the nostalgic feelings that come with these songs! That is, until a song came on called “My Happy Donkey at Christmas” or something like that. I changed the channel to Law and Order re-runs 😉
The fluffing was easy. I took my time to create the fullest look possible. Let me mention that I fluffed each section completely before adding the next section.
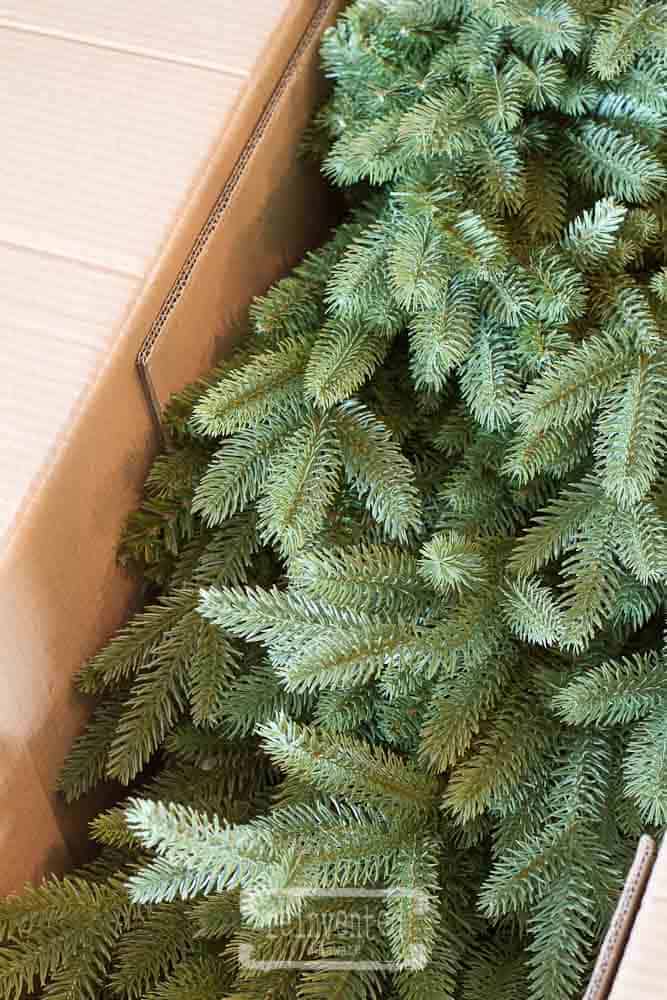
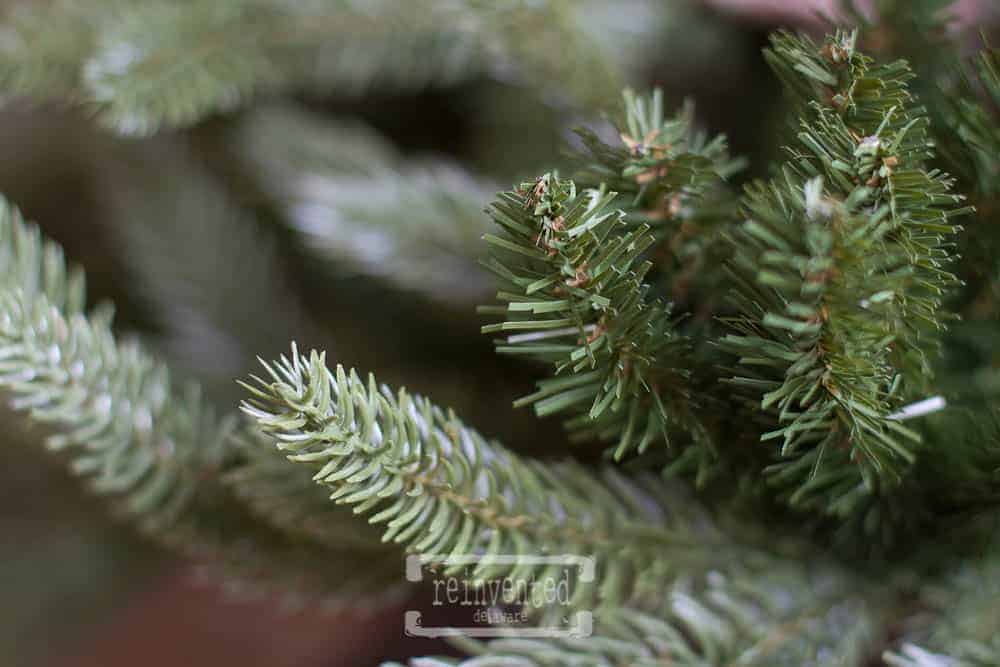
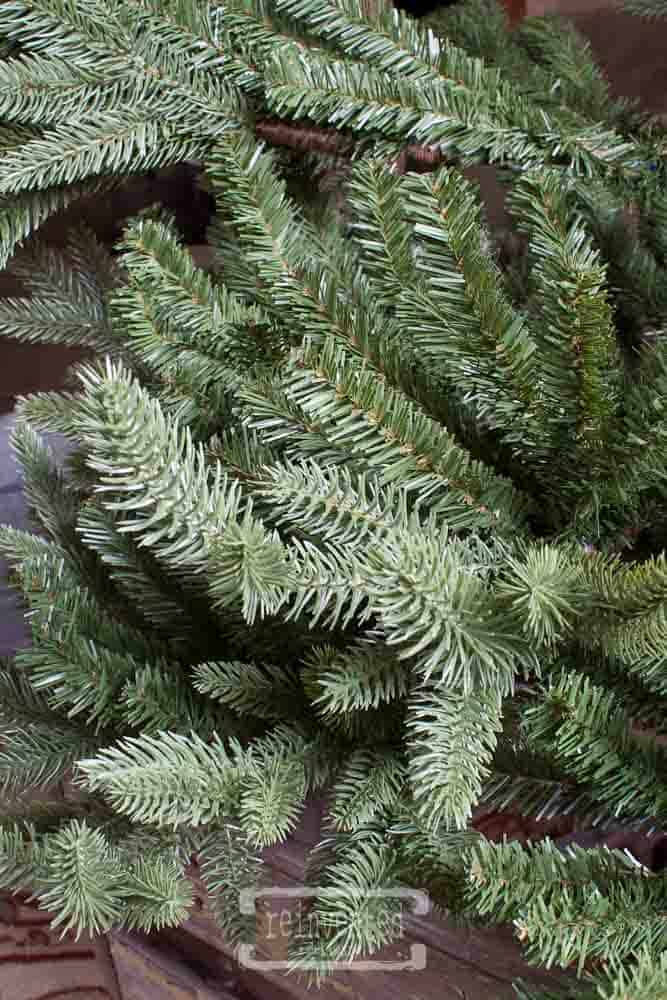
Here you can see the differences in the individual branches. See the branches on the right side of the image? Those are the interior branches. They are made from a synthetic material that was reminiscent of our first faux tree. They fluffed out and filled in the inside layer of the tree.
The outer branches were more dimensional and lifelike. Plasticky (is that a word??) feeling, but they feel very real, just like a fir tree branch!
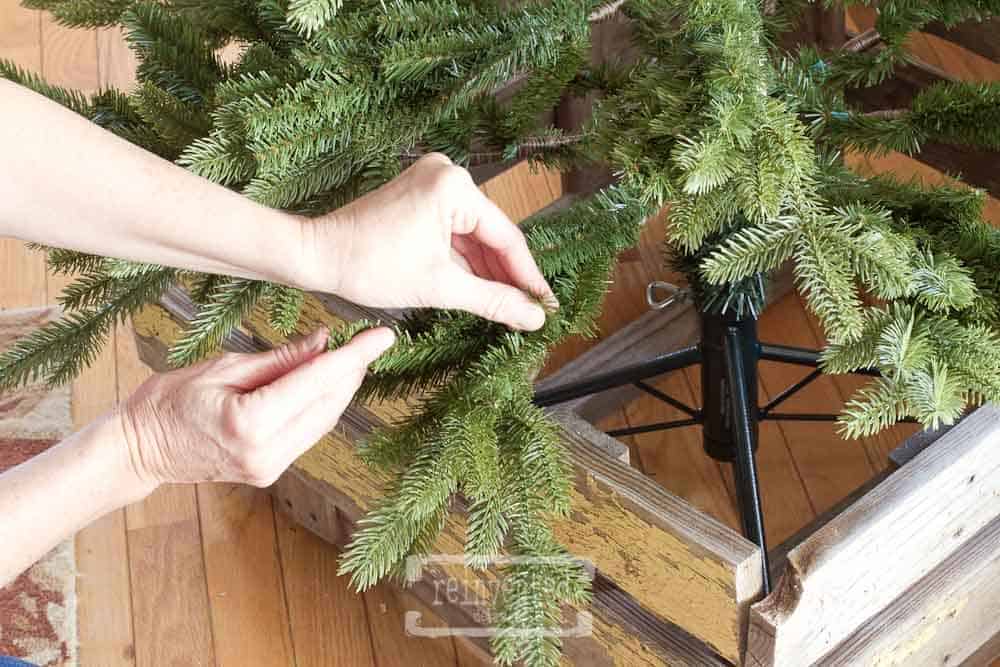
The first section of the tree had three layers of branches. I found that if I folded the upper branches upward, it was easier to fluff the lower branches. See how I have this branch stuck up into the air? That made is easier to get to the under layer of branches. I lifted only one branch at a time as I moved around the tree.
A Fluffing We Will Go…..
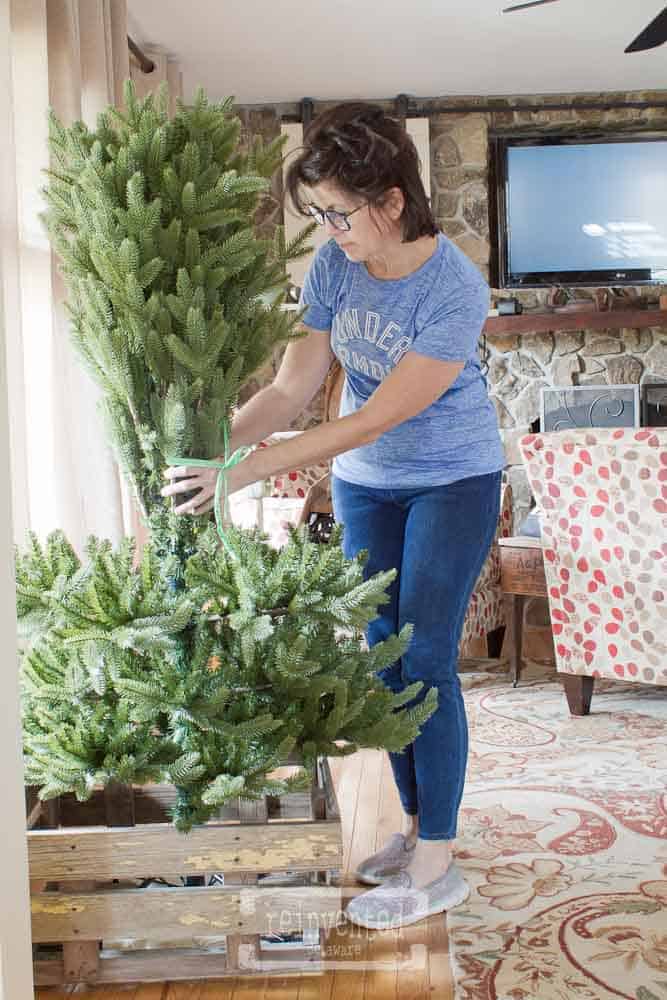
On to the second section! By the end of this, I was a pro! The whole tree took me about 1 1/2 hours to assemble and fluff. Like I said, I took my time and fluffed each branch the best I could! Remember that I fluffed each section completely before adding the next section of branches.
BTW, I also figured out that it is best to leave the section tied before inserting it into the bottom section! If you don’t, expect to be attacked by the branches as they expand!
Perfectly imperfect! All fluffed out!
Next Up, Lights!
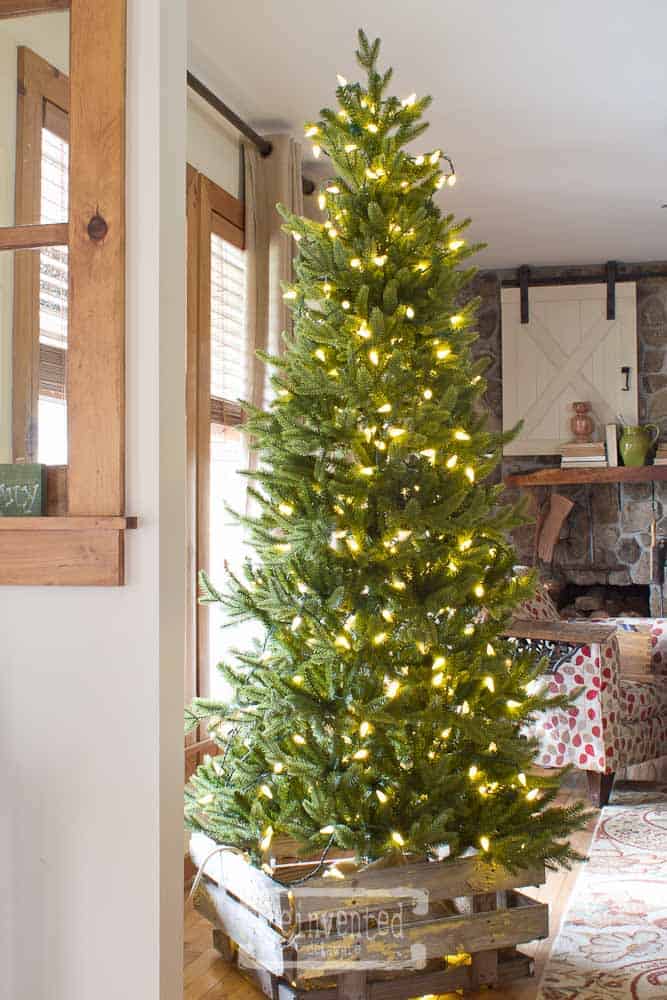
Two strands of Philips 200 count warm white LED C6 lights filled the tree with some leftover. I tucked the extra lights in the crate and then stuffed a burlap sack around to hide the wires. LED’s are not my favorite, but the warm white color helps 😉 We purchased these light sets years ago at Target several years back. I wasn’t able to find the 200 count strands but here are the 60 count strands.
The Cutest Lights I Have Ever Seen!
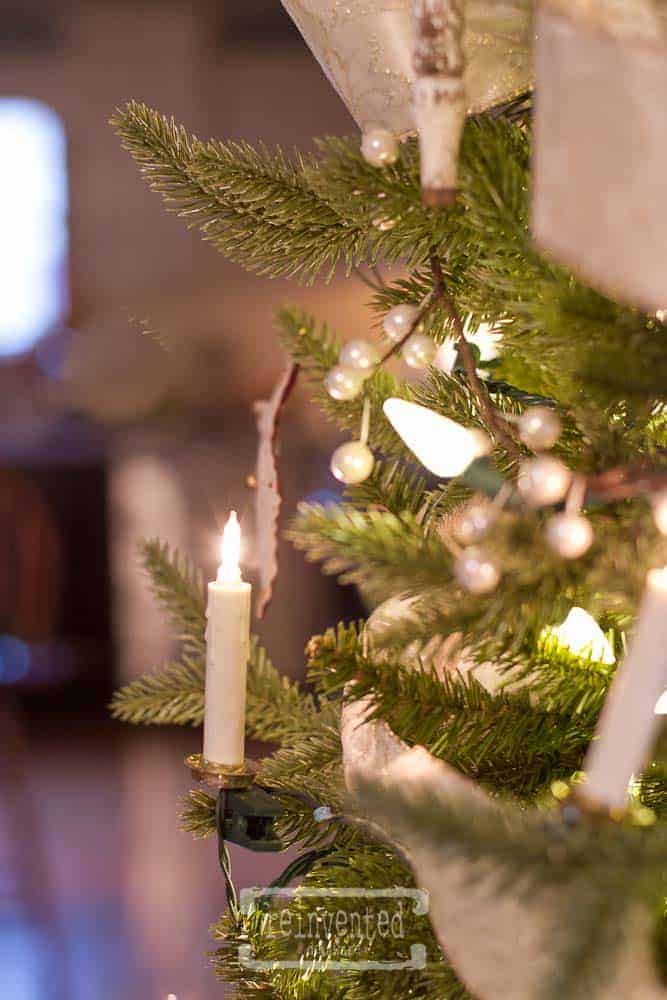
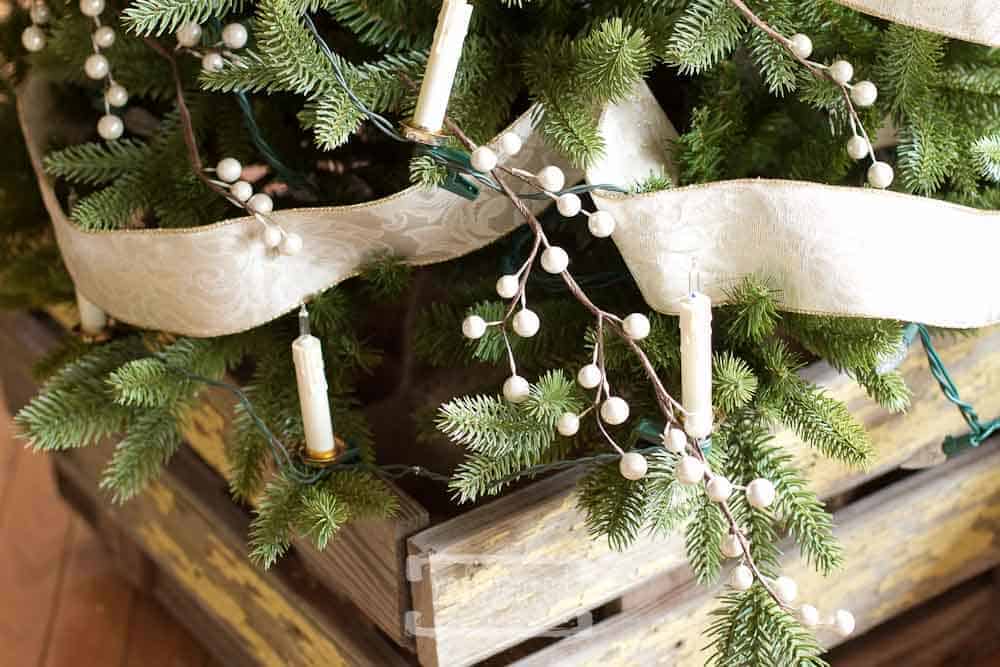
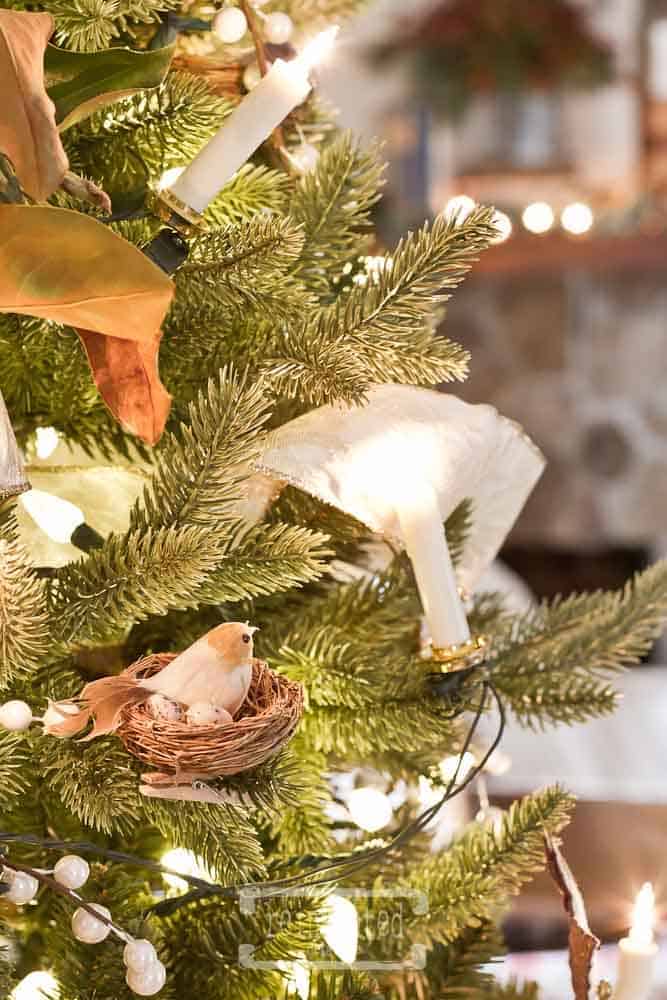
Shopping at Wilderlove one day after delivering new items to my spot, I found these candle lights. They came in sets of 10 and I bought all that were on the shelf – 4 boxes! They come with little clips so positioning them on the branches was easy! I adore the vintage feel they give to the faux tree with LED lights!
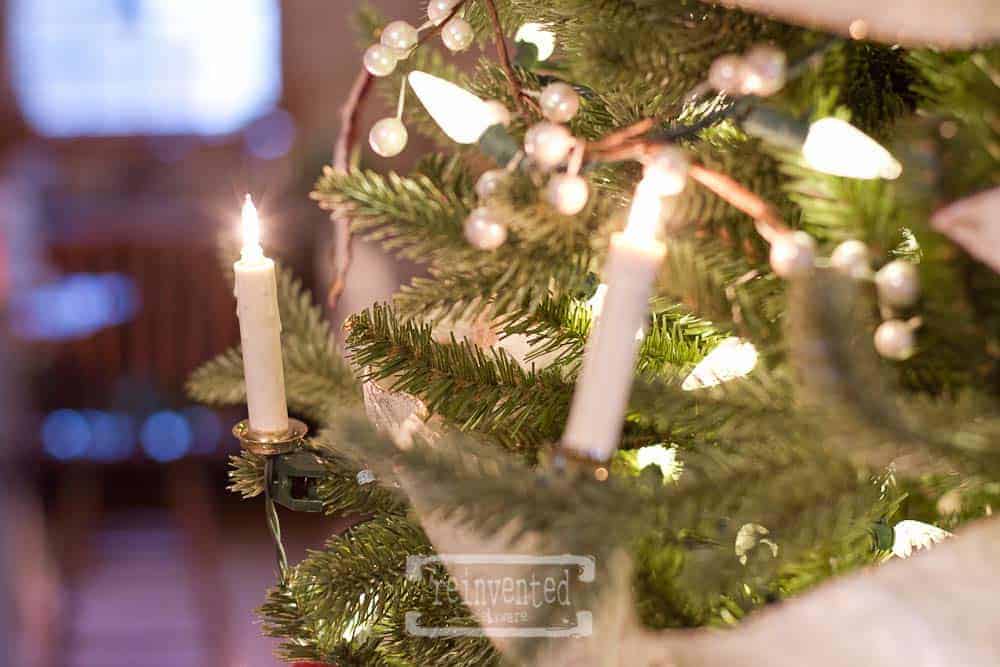
Are they not just the cutest things!
Simple Decorations and Ornaments
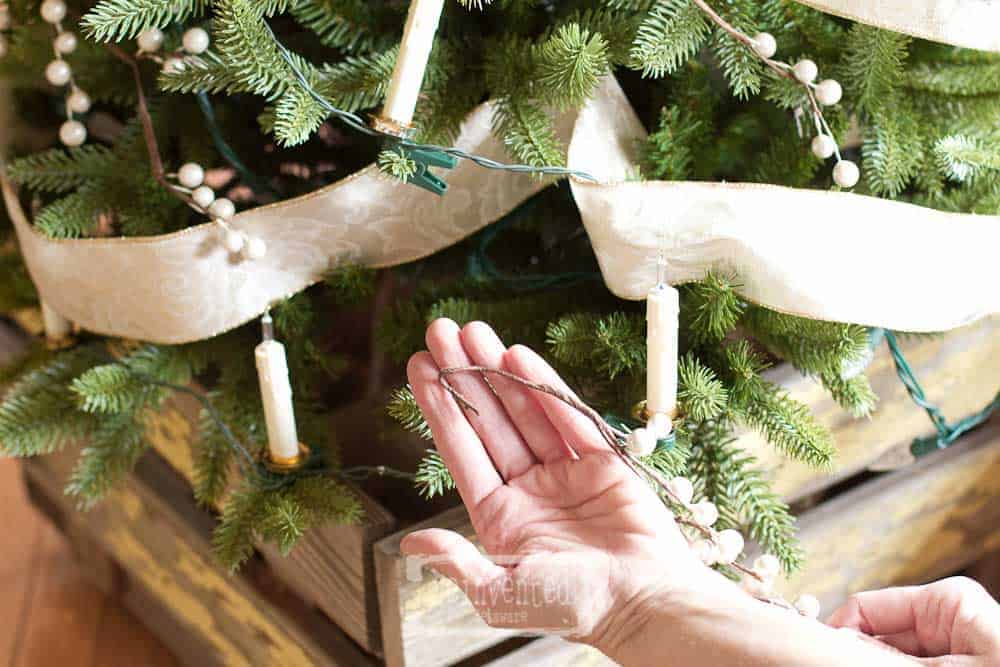
Now for the decorations! I chose a pretty simple look for our tree this year. For starters, I took apart an older bead garland that I hardly every used. It was hard to wrangle around the tree because it was long. Dividing it into manageable sections just made sense!
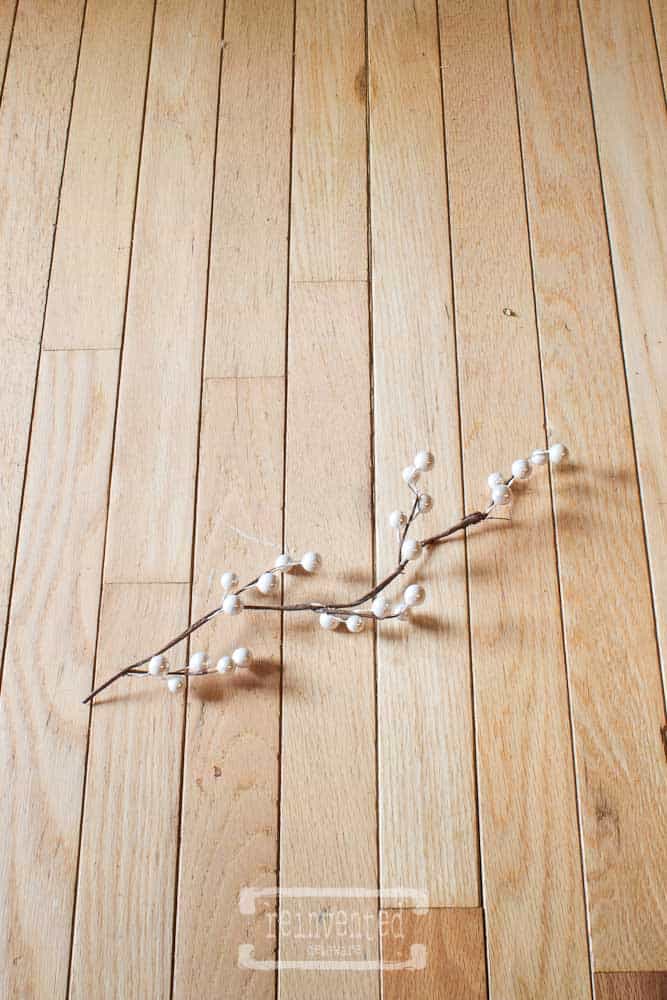
I bent the top part of each section like a hook and hooked it on the branches letting the remaining part to cascade downward.
Fresh sprigs of magnolia branches from our yard were next up! I lightly spray painted them in a matte gold to add a festive touch to them. They are just inserted into areas all around the tree.

We have so many ornaments in our stash. Each year, for many years, I have hand made ornaments. We have hand made angels of every sort. I felt they needed a rest and pulled out the handmade, wool stars that I created years ago.
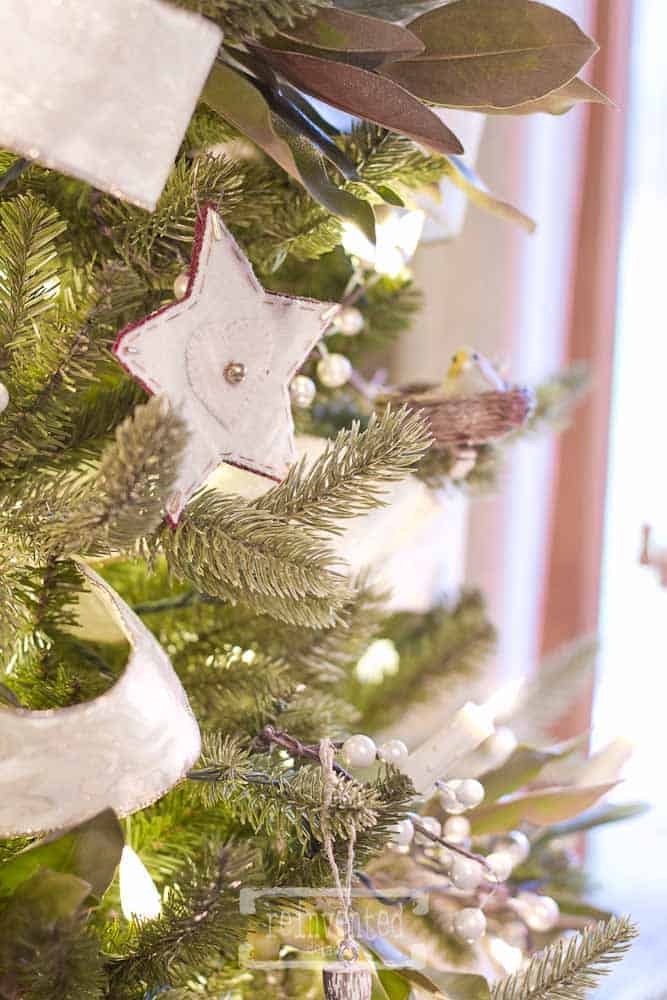
We also have an assortment of feathered birds for the tree! I just love these little fellas!
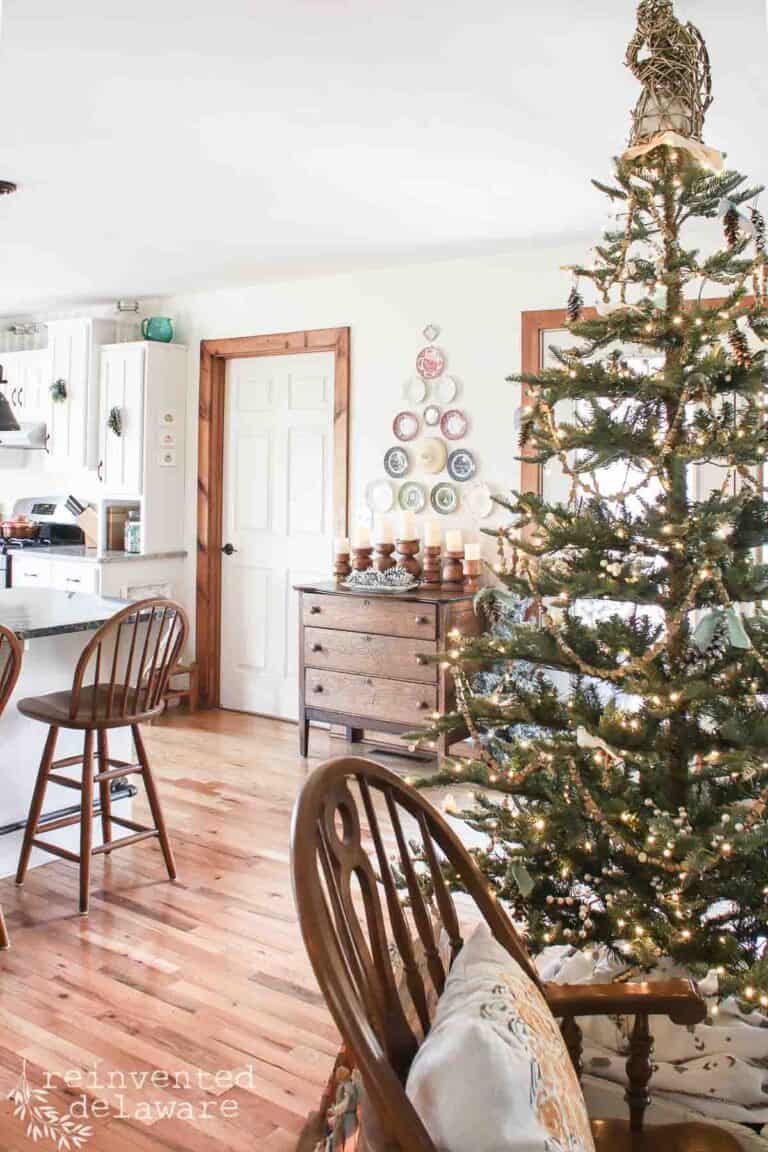
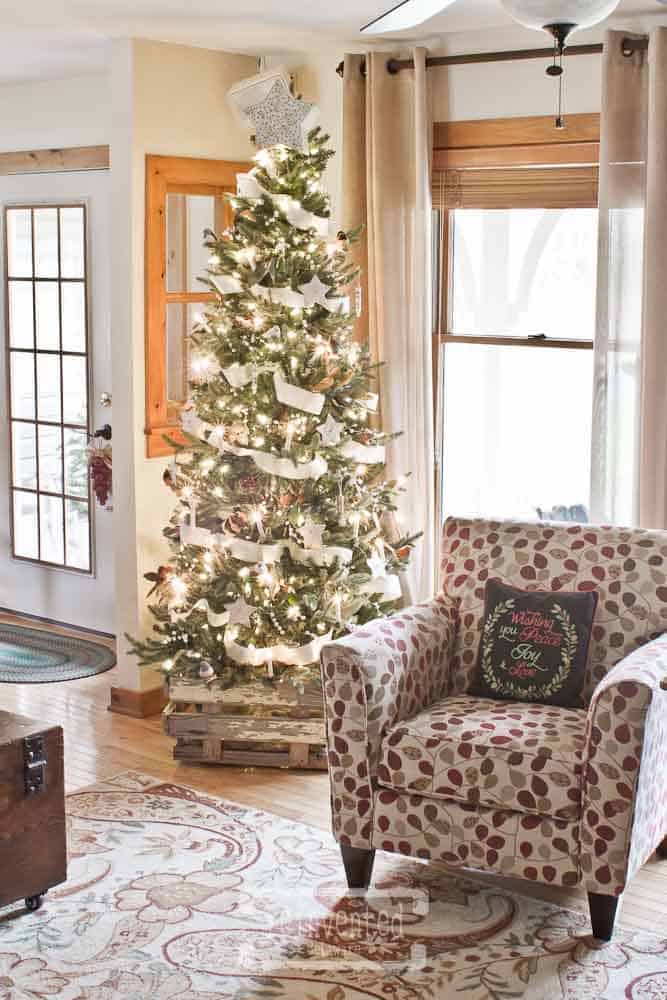
O Christmas Tree, O Christmas Tree…
Here she is all decked out! I forgot to mention the white and gold ribbon around the tree. I added it right after the lights. I also added the star at the top. It was originally a gift box that I got about 15 years ago! I drilled holes in the box and added mini lights inside. It looks so pretty at night!
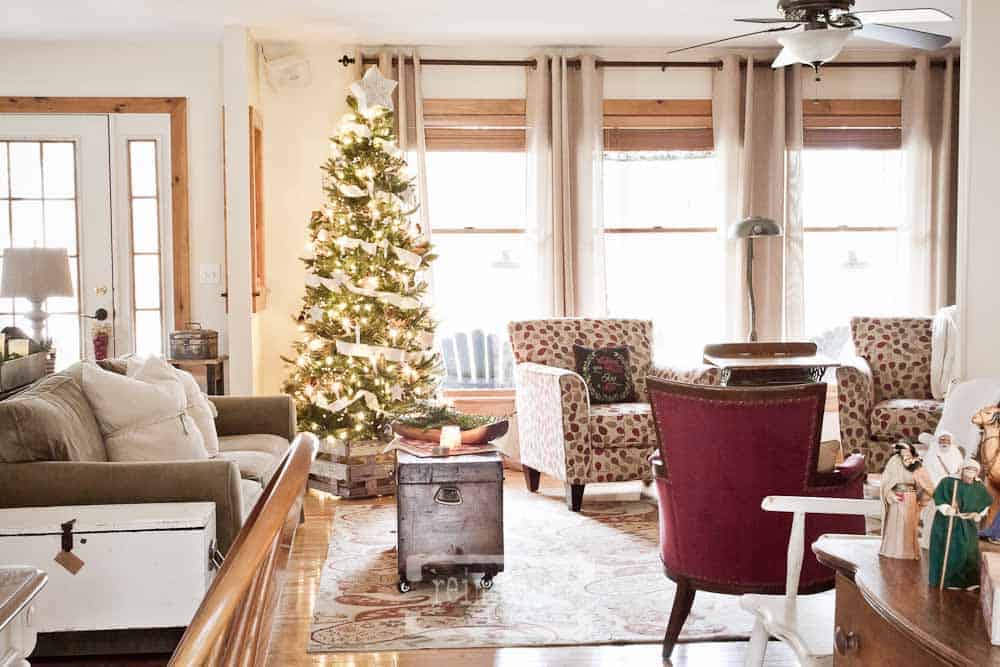
There is something so cozy that comes along with Christmas decor. The twinkly lights, the candles burning and the precious memories that come along with the all the decorations. Our new faux Christmas tree helps to bring the Christmas spirit to our home! Want to see our first ever Christmas Home Tour? Click here to see the full reveal!
Ok, so I forgot to add one more decoration to the tree! Actually, they were still drying when I took the photos ;). I sliced a couple of oranges very thin, placed them in a single layer on a cookie sheet and then dried them in a low temp oven – around 200* – for a couple of hours. A hole puncher was used to create a place for twine to run through. They look so cute on the tree! Sorry I don’t have a pic of the final tree! Just take my word for it 😉

So Glad You Stopped In!
Thanks so much for stopping by! I hope the information about the faux tree was helpful! Be sure and follow along in our reinventing journey. You can find our fun on Instagram, Facebook and Pinterest!
How about you – do you have a faux tree or do you prefer a live tree! I would love to hear about your tree!!
Merry Christmas!