
Sewing Room Makeover
Today, I am sharing with you our sewing room makeover! This sewing room has many uses and it desparetly needs an update!
The following post may contain affiliate links. That means if you click and then buy something, I will make a small commission at no additional cost to you! Thank you for supporting my blog. full disclosure here.
Change has been the norm lately, don’t you agree.? Change in how and where we work. Change in the stores that we can shop from. Changes in how we visit with friends and family.
So, with all those changes, I figured it was high time to make some changes in my sewing room. Changes that I actually enjoy 🙂 Honestly, I have been wanting to do this sewing room makeover for some time anyway.
sewing room makeover
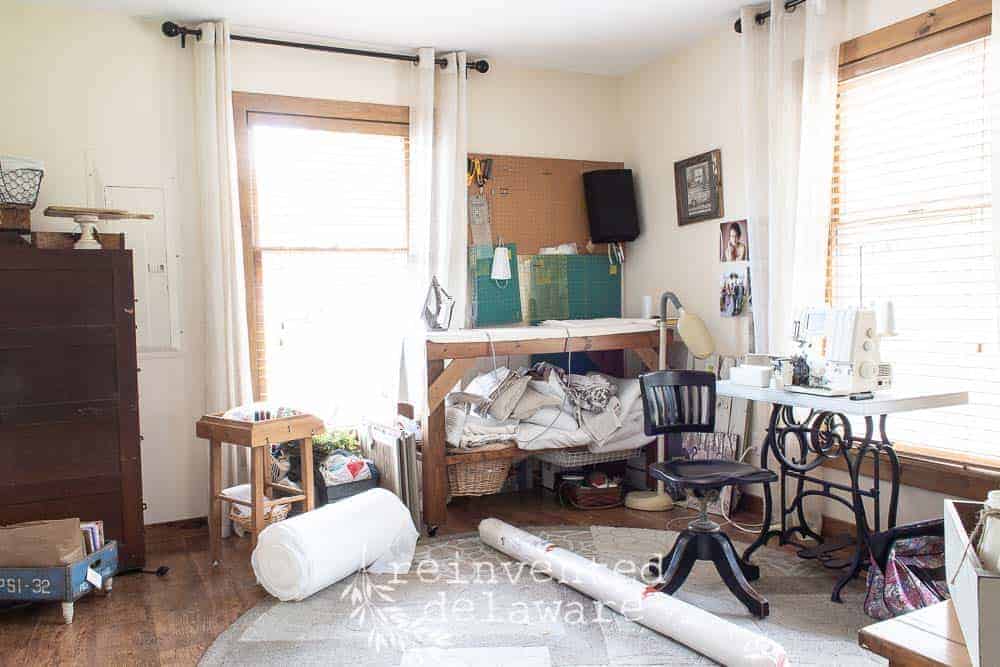
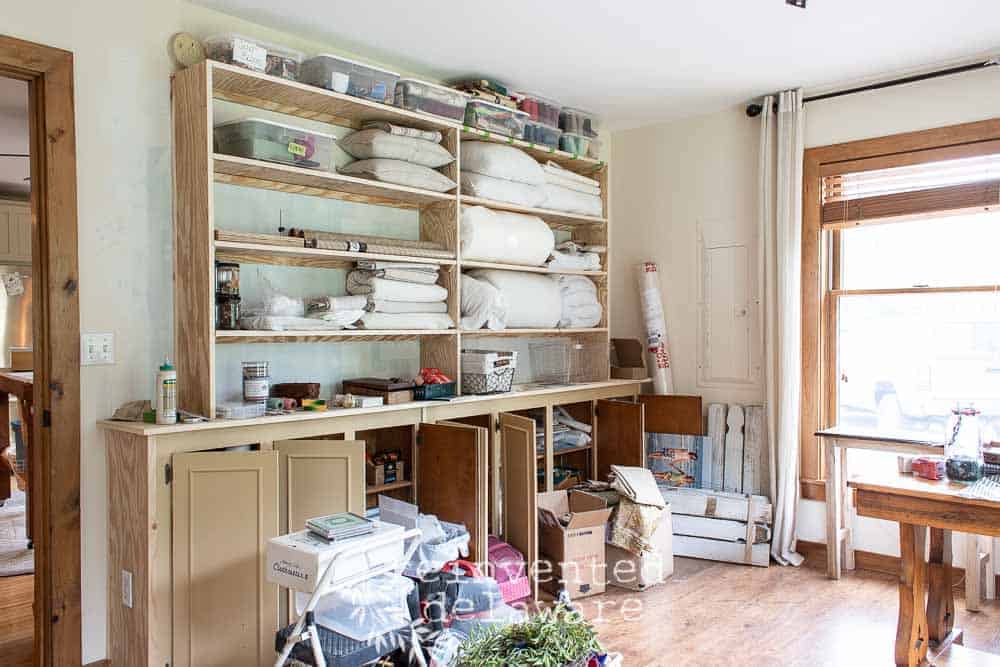
Let’s take a tour of the room before the changes. See the door to the right in the image below? That leads to the main living area of our home.
Someone we know offered to give us some custom wall cabinets several years ago and of course, we said yes! We hung them at the standard height for wall cabinets. My queen size quilt frame sat perfectly underneath the other cabinets for several years. That worked great until I got the itch to rearrange my workspace. 🙂
office space
You can see below that I used that spot for my office space. The quilt frame is currently out in the main living area. Hopefully, that will encourage me to finish the quilt that has been on it for over five years!
You can also see the amount of stuff I have collected! Admittedly, it is nice to have supplies like leftover dropcloth fabric handy for small projects. Not to mention all the other bits I have!

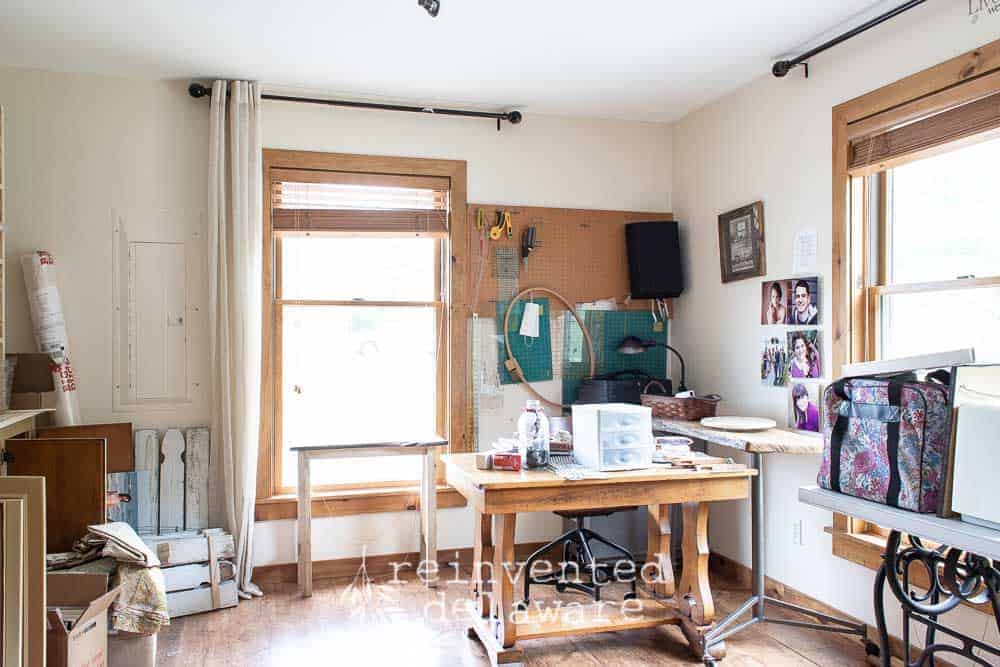
sewing space
I used this section of the room for the sewing area. The large ironing surface with storage could be moved around as needed. My hubby built this large ironing board and put casters on it so I could move it as often as I needed to. You can also see the little sewing desk and antique office chair that I use when I am at the machine or at the quilt frame.
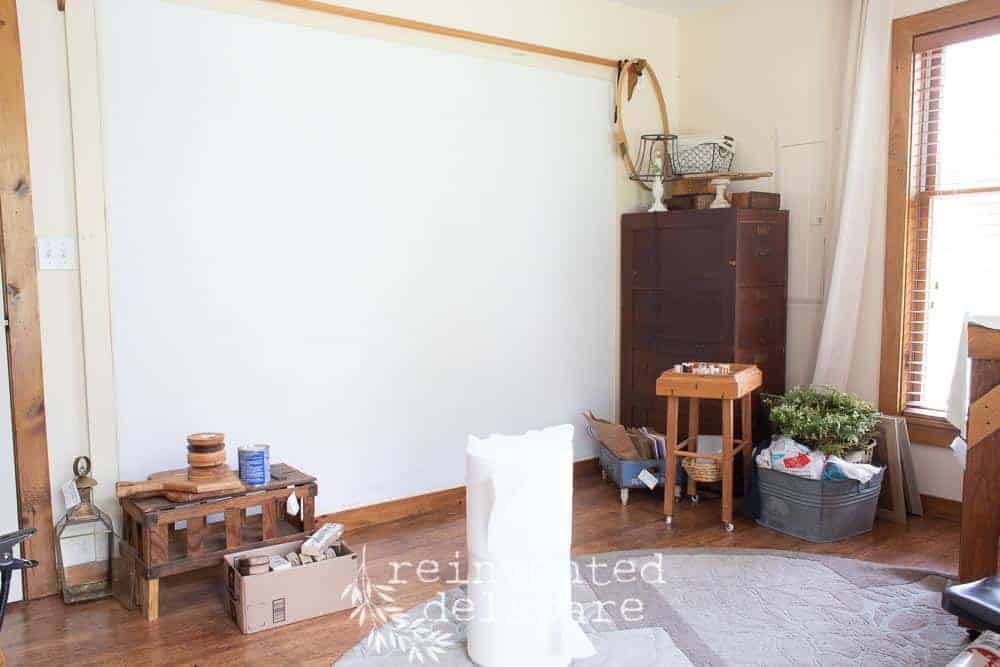
We transformed this wall years ago for quilting purposes. We attached foam core insulation board to the wall with wall adhesive and then framed it out using 1″x4″ boards. Then I attached a large piece of batting to the foam core board with spray adhesive. Be sure to protect the floor if you do this type of quilt design wall!!
This was a great design wall for quilts. I could arrange the cut quilt pieces on the wall using pins to hold them in place. Once the design was up on the wall, you could stand back and have a good vantage point to see the whole quilt. I have laid out quilt designs on the floor but I must admit it is much easier on the wall!
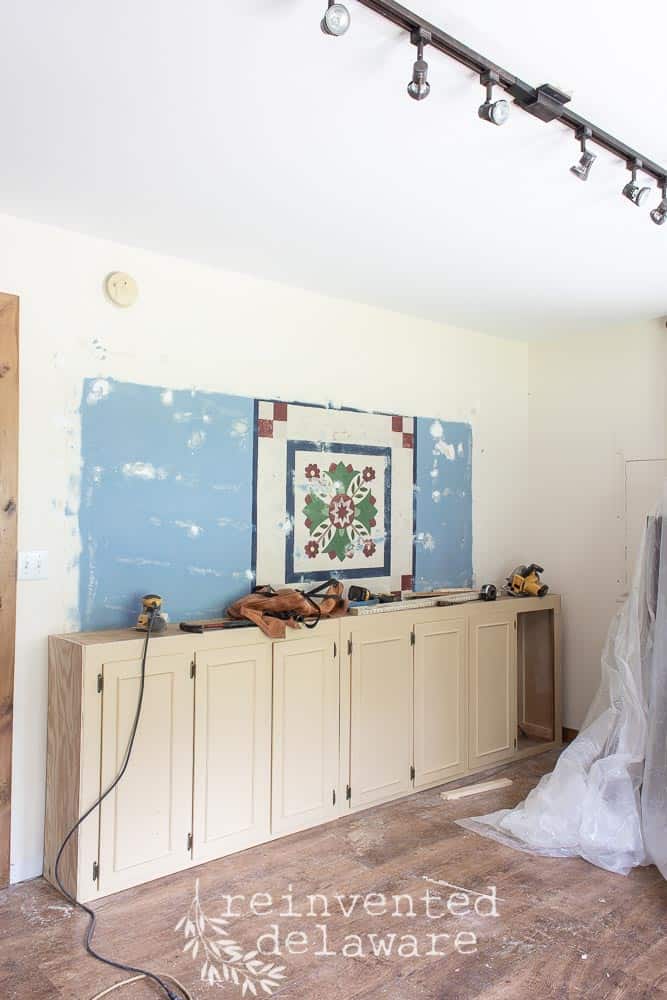
This is the back wall that the wall cabinets had been attached to. Check out that 90’s blue!! The whole room was once painted in this color :). Talk about changes!
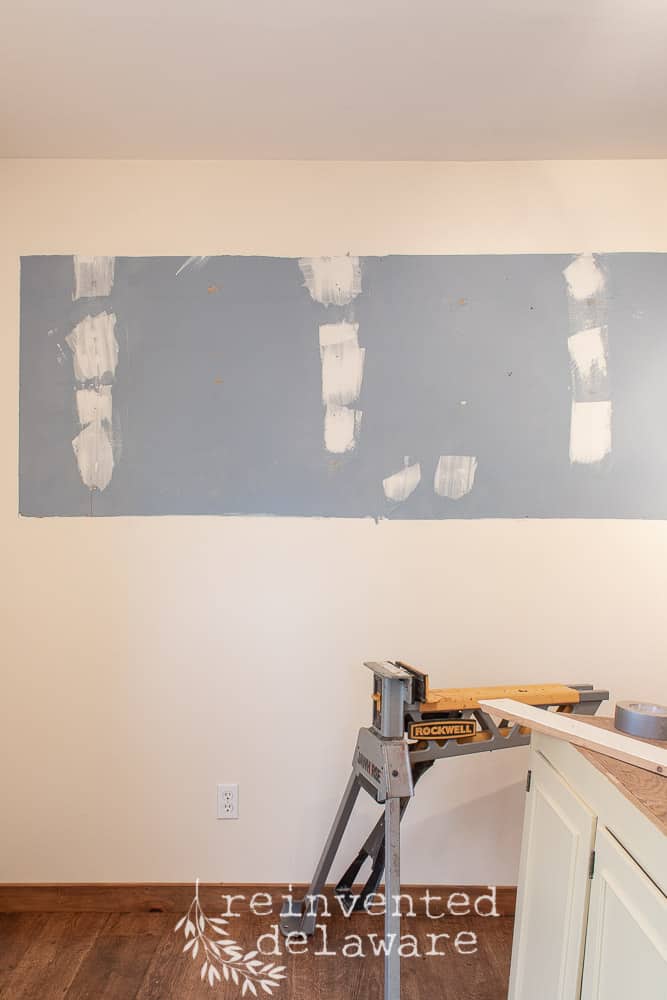
Hubby and I took the cabinets down and let me tell ya’, they were heavy! One section had to be cut off and repaired to make the unit fit the new space. I wasn’t with him when he cut off the section but I think he used a saws-all. Then he added a piece of 3/4″ plywood to close up the area that was now exposed. The cabinets will be repainted so this was a perfect solution.
marking the center
He measured the cabinet unit and marked the center. Then he measured the wall space between the right side of the door and the opposite wall and marked the center.
Next he matched up the two centers and wa-la, the cabinets are centered on the wall! This is the easiest way to center something. It is alot less measuring 🙂
Do you see the painted quilt design on the wall?
Well, of course you do! Who could miss it!!
I had completely forgotten that I had painted a quilt design on the wall of my sewing room! How could I have forgotten?? I measured and measured and measured to get all the parts of this wall quilt painted just so. It was such a surprise to see it, I had forgotten it was there.
I love little surprises like this 🙂

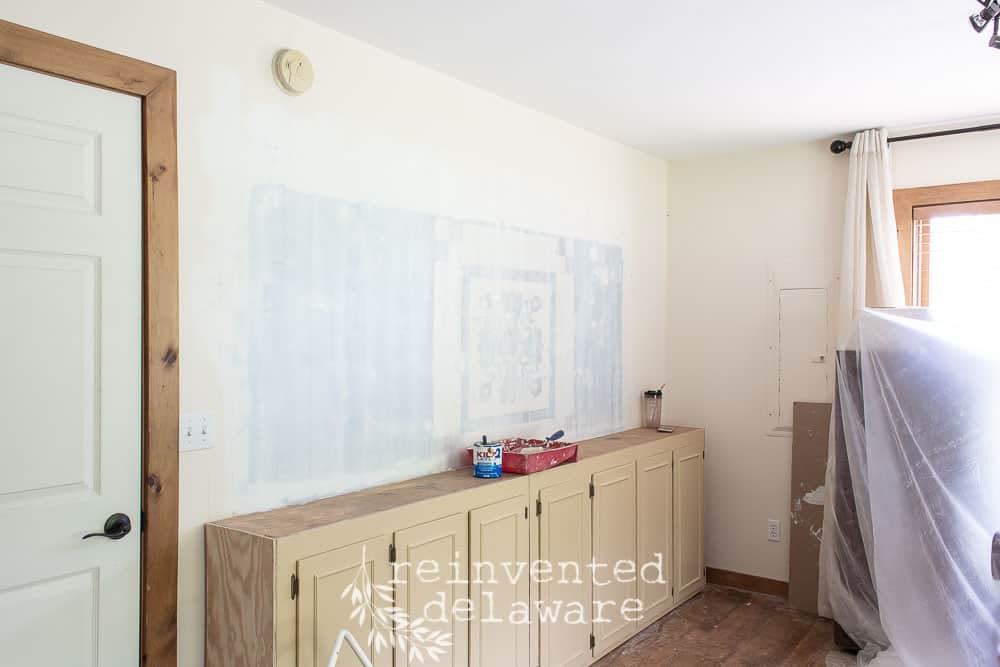
fast priming
I knew that it would be difficult to cover all that color with the neutral paint I would eventually paint the room with so it painted two layers of Kilz 2 Latex Primer and Sealer on the wall. I had just enough leftover in a quart can to paint the wall quilt mural.
And here is the wall two coats later! You can also see how hubby repaired the area of the cabinets that had to be cut off. See the plywood on the left side of the cabinets? That’s how he repaired it!
Let me mention that just because cabinets are intended to be wall cabinets doesn’t mean you have to hang them on the wall! They are perfect for the space that I have because they take up half of the floor space that typical base cabinets would take up.
step-back style
Now for the shelving part of this project! We purchased enough 3/4″, 4′ x 8′ plywood sheets to cut eight shelves, three sides (both 10″ wide), ledger boards (1 1/4″ wide), and the ‘countertop’ (14″ wide). That was a bit of measuring and math but my hubby is good at construction math 🙂
He cut the lengths using his table saw in his workshop. Each shelf is 10″ wide. Then he started to assemble the shelf unit.
I wanted the finished piece to look like furniture so he planned on a built-in look. The ‘base’ cabinets are 12″ deep so the 10″ deep shelves will help this to look a bit like a step-back cabinet, and a really large one at that!! We are always reinventing and repurposing around here 🙂
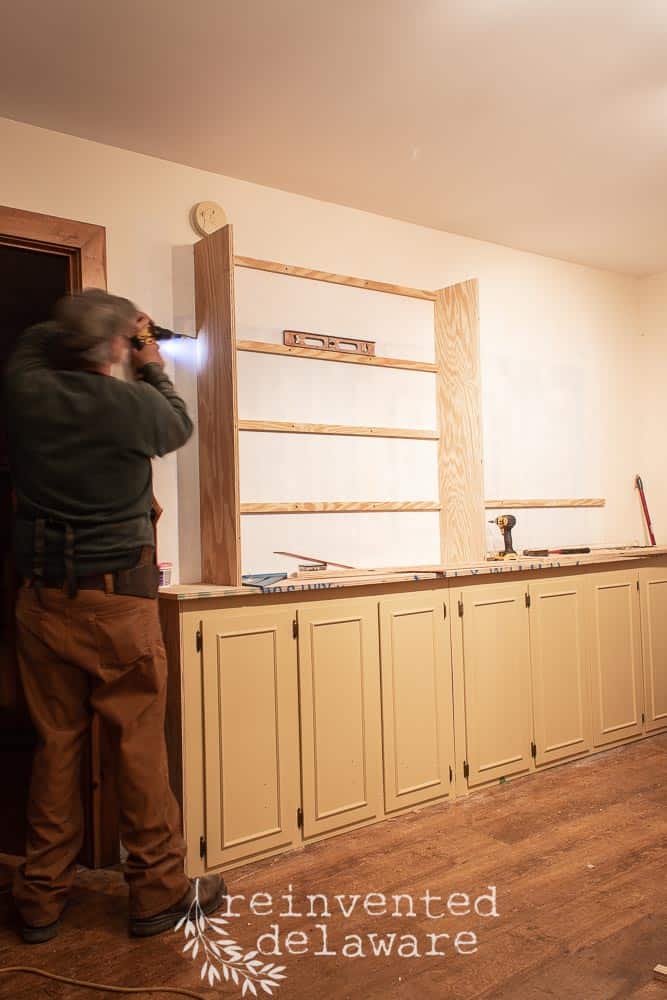
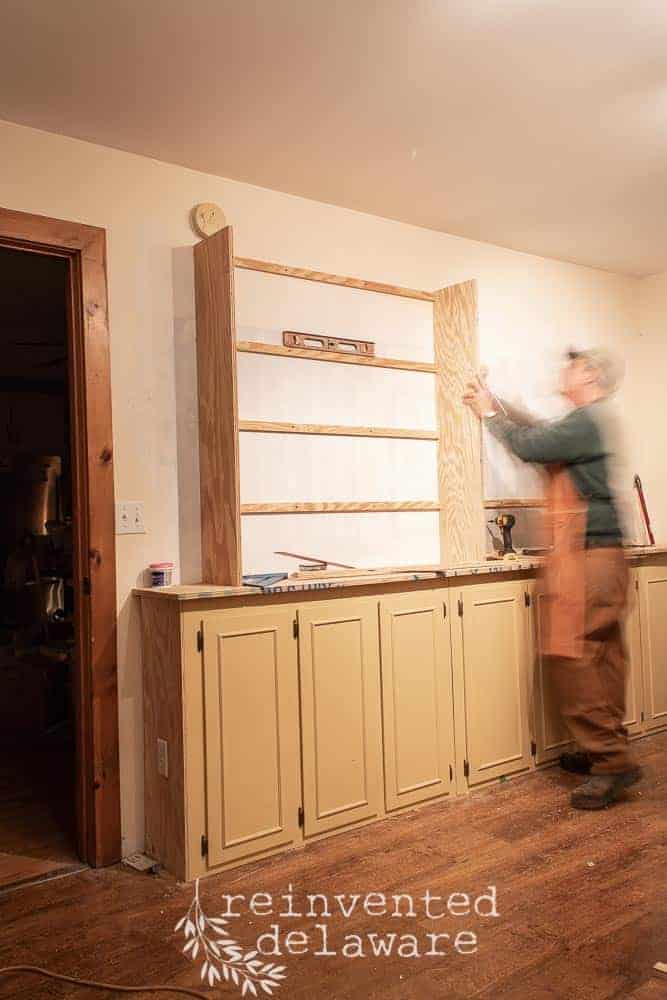
hard worker
He measured and marked so that the finished unit would have four shelves. Then he attached the ledger boards and side panels using wood screws. He also paid close attention to the level so the shelves would be straight!
He worked on this project after his day job, usually til about 9 pm. Isn’t that sweet of him :). Look how fast he moves!
new staging wall
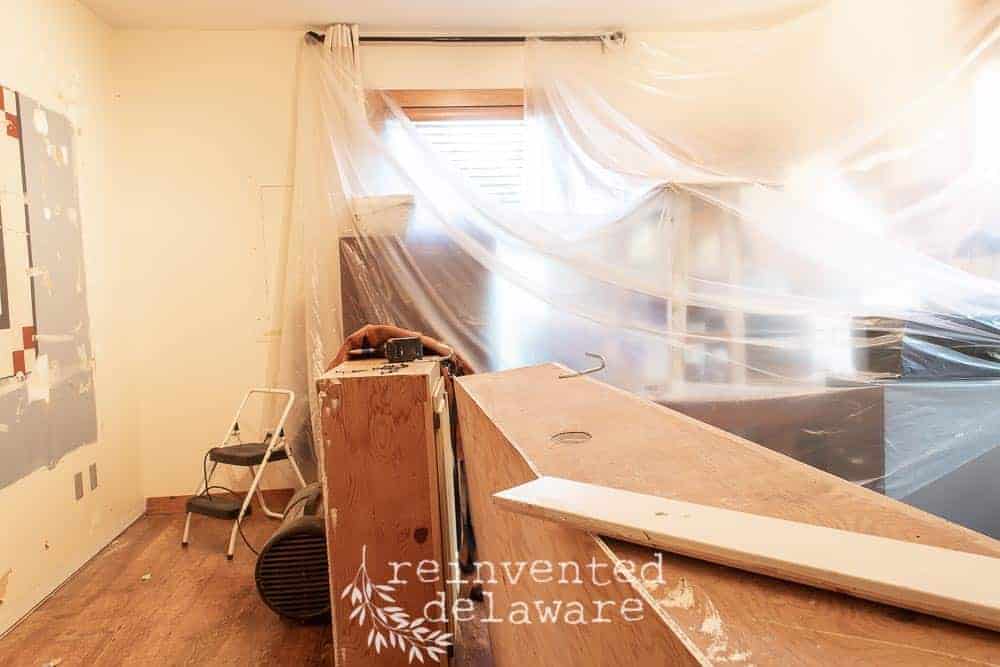
The back wall needed a makeover too. So hubby attached three sheets of T1-11 board. This board has alot of texture and vertical grooves that make it look like tongue and groove. It comes in 4′ x 8′ sheets so it goes up quickly.
He found the wall studs and attached the boards with a nail gun. He had to make special considerations for the two electrical outlets due to the thickness of the board. I kinda stayed away while this part was being worked on 🙂
This part of the makeover was definitely the fastest! The solid wall will make a great staging wall for photos and videos!

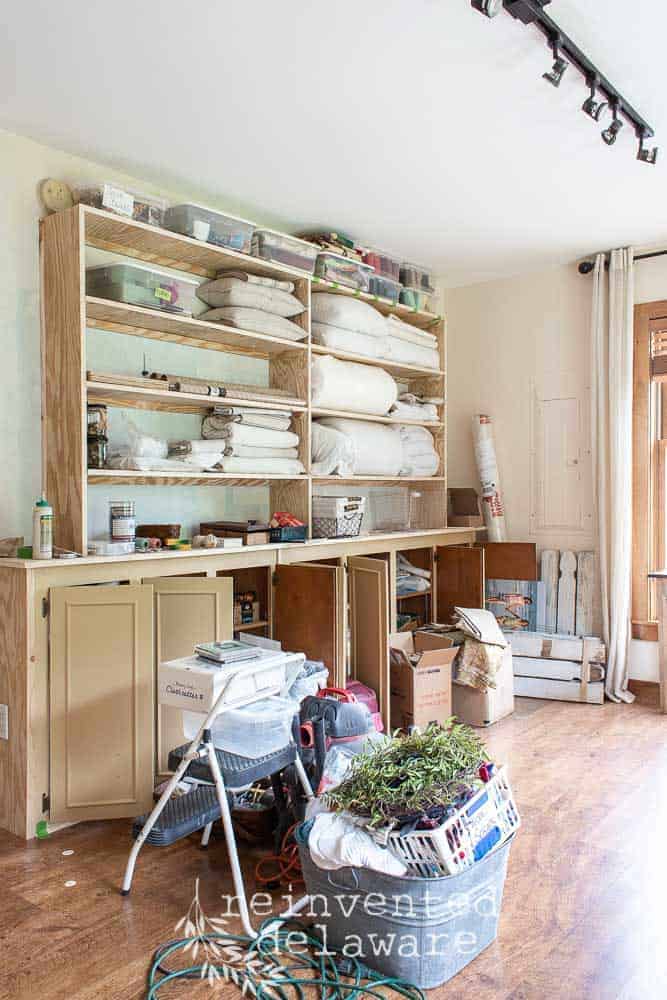
You can see in the image below all of the shelves. What I didn’t’ show was after the construction was finished, I sanded down all of the new wood. I closed the door, opened the windows, and wore a mask. I also did a thorough vacuuming of the room to get rid of all the dust!
Once everything was clean, I started putting things on the shelves and in the cabinets. I moved the furniture around to create new areas for the different types of work I use this room for.
As I type this post and look around from this very spot, I am really happy with the results even though the room is far from done! The new room will take some time to organize so that it suites my needs for a workspace but all in all, I am loving it!
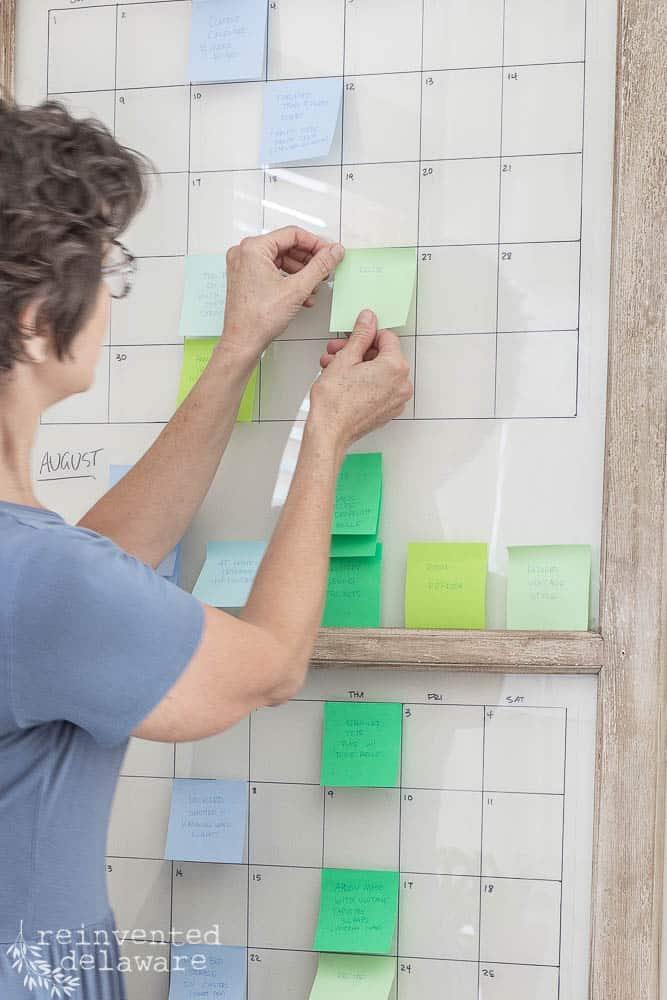
sewing room makeover progress
That’s it for today! I will keep this room unfinished for a week or so while I catch up on some custom work we have going on in the workshop. Watch my stories on Instagram to see what we are up to!
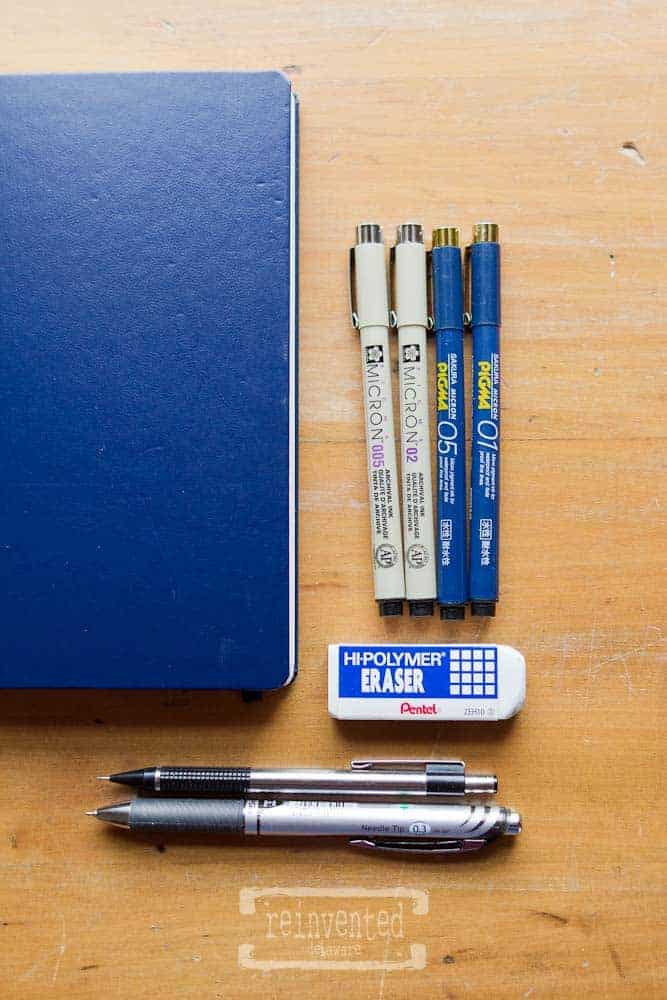
I’ve gathered some of the tools and supplies that we used in this project for you! Thanks for supporting me by purchasing via these links!
Feel free to follow along on our reinventing journey on Instagram, Facebook, and Pinterest!
Have any questions about this sewing room makeover?? Feel free to ask in the comments! We would love to hear from you :).
UPDATE: SEWING ROOM MAKEOVER IS FINISHED! JUST CLICK THE LINK BELOW TO SEE THE REVEAL!
Sewing Room Makeover DIY | Part Two
freebie for you!


Sewing room looks great, Cindy! I love the cabinets on the floor vs the wall, what a creative way to use them. You’re right, they take up less room than standard floor cabinets! The shelving above looks great, too. Looking for updated photos as the progress moves forward!