Repair Damaged Furniture | Oval Coffee Table
Don’t throw away damaged furniture! All it needs is a little tender loving care to bring it back to life! Let me show you how to repair damaged furniture!
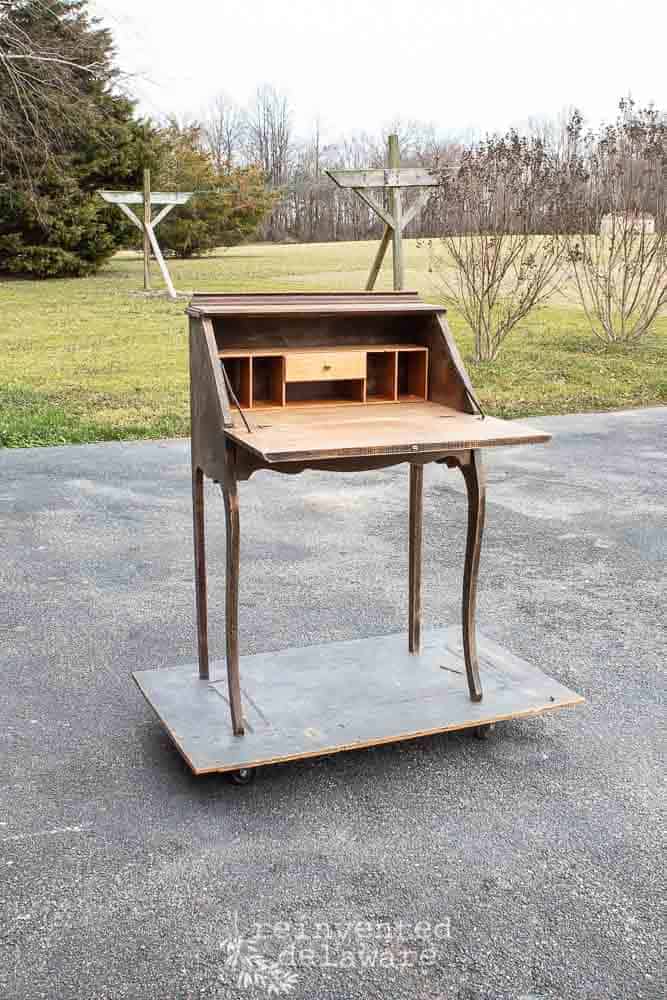
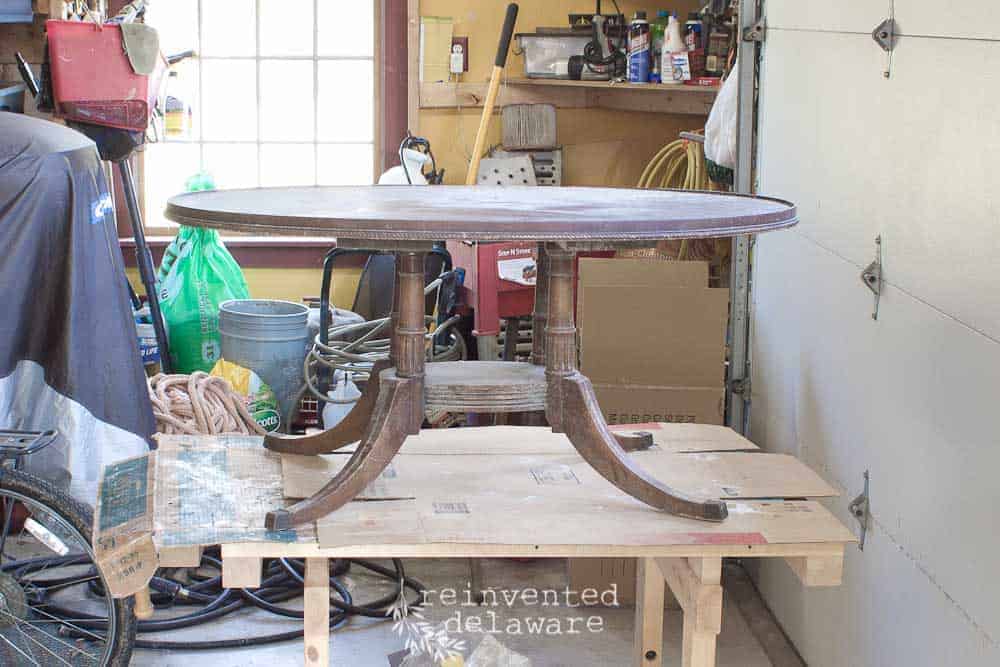
Better Days
This adorable Duncan Phyfe Style coffee table has seen it’s better days I am sure. When we found it, the legs were loose, some of the veneer was coming off and a couple of the legs had cracks in them
But we didn’t mind. Re-loving damaged furniture is our thing 🙂
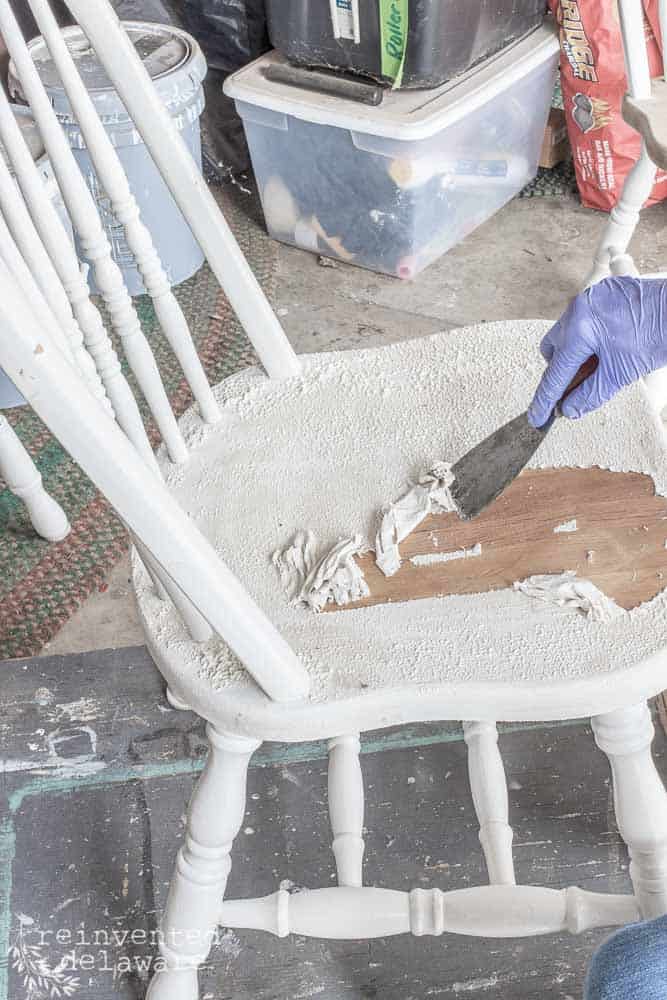
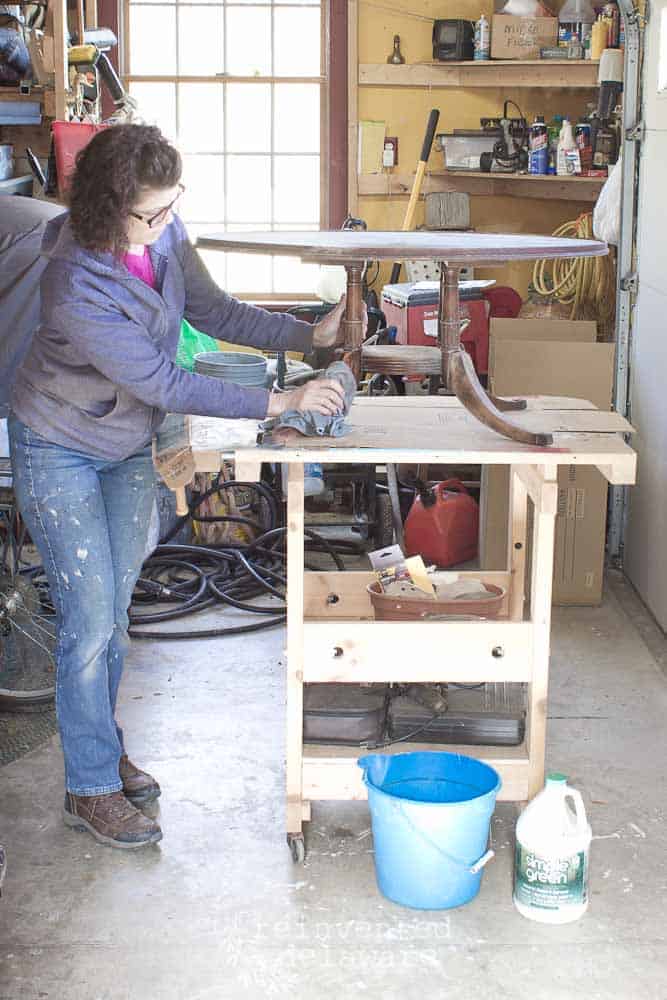
First Step: Prep
The first step for any furniture makeover is prep. Usually, I give the piece a good once over visually for any potential problems. This coffee table was wobbly from the very get-go so I knew the legs would have to be tightened. That’s an easy fix and I will talk about that later in the post
I gave the coffee table a light sanding with my Dewalt Orbital Sander to loosen any peeling varnish. Besides helping to clean the piece, this step also helps me to see any other repairs that I might have to make.
Once the sanding is finished, I use the shop vac to get rid of most of the dust and then a good cleaning with a solution of Simple Green and hot water. A micro fiber cloth helps to catch all the dirt. I also used a nylon bristle brush to get into all the nooks and crannies.
As I clean, I continue to look for areas that need repair. Nothing is worse than getting to the painting part of the makeover and realize a repair was overlooked! Agh! So frustrating!
Tightening Up!
The legs were definitely loose but I also noticed that they had some cracks in the curved parts of the legs. The legs are not one solid piece of wood but rather several layers of wood that have been glued together to create the thickness the designer wanted. So when I say cracks, I mean that the layers had come unglued.
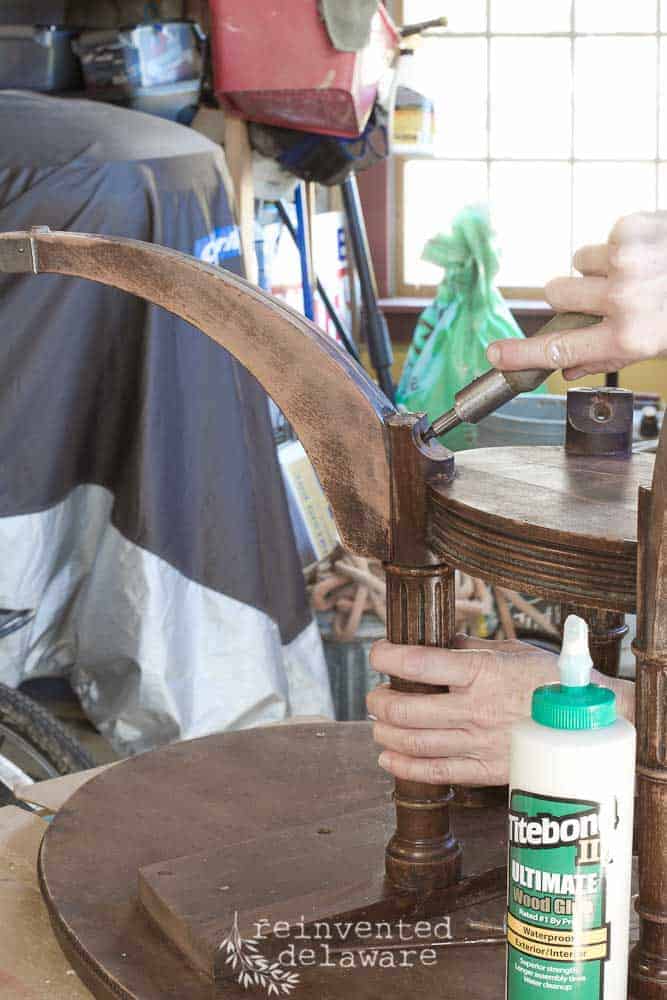
First up was to tighten the legs. The legs on this coffee table are in two sections – the curved section and the post section. See my left hand holding the fluted ‘post’ section of the leg?
I tightened the flat head screw that attached the curved section to the post section of the leg. Flat head screws were used in the early days of furniture making as early as the 1800’s. They can be difficult to remove or tighten if you are not careful.
When turning the flat head screw, be sure to have a flat head screw bit that fits the flat groove well. If it is too big, you won’t get very far in tightening. If it is too small, you will probably ruin the head of the screw and won’t be able to tighten or remove it. Let me say it again: choose the correct size flat head screw bit!
When tightening or removing the screw, apply slow and firm pressure while turning it. Don’t be in a hurry or you will just create more problems! Be slow and deliberate.
More Tightening!
After all of my tightening efforts, the legs were still not sturdy. Back to square one. I removed one of the screws completely and realized that the curved section of the legs were also attached with a dowel! Thankfully, I wasn’t in a hurry to take the leg off after the screw was removed or else I would have broken the dowel!
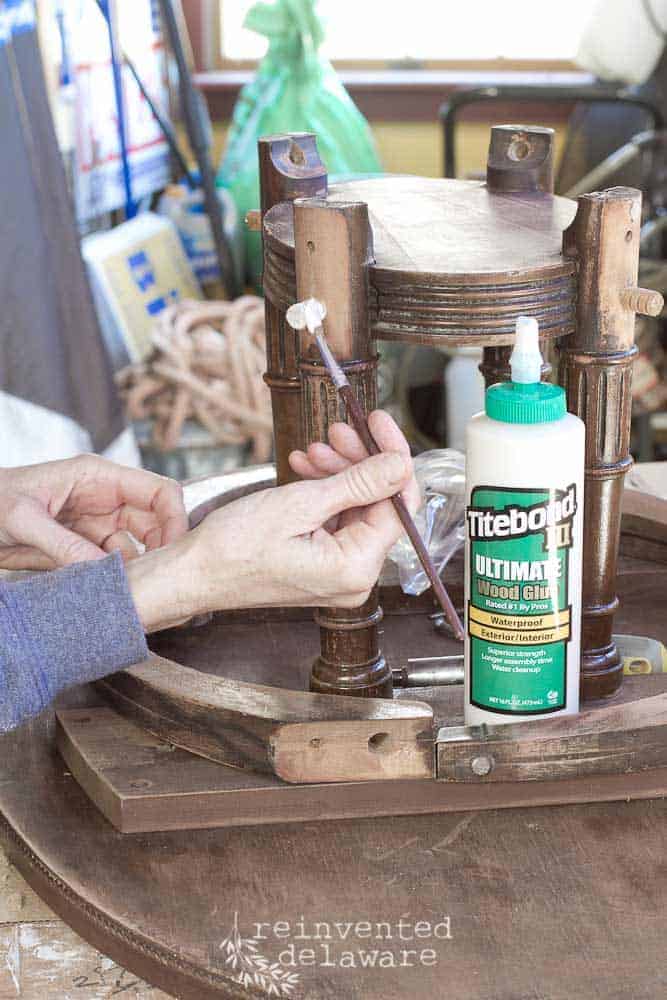
The Best Wood Glue
Some Titebond III Wood Glue on the dowel and in the hole created for the dowel will help to tighten the legs. I did this step of removing the curved sections on each leg and added glue to all of the dowels. A cheap artist’s paint brush comes in handy for this!
BTW, this is the best glue! We use it on all of our projects!
Even More Tightening!
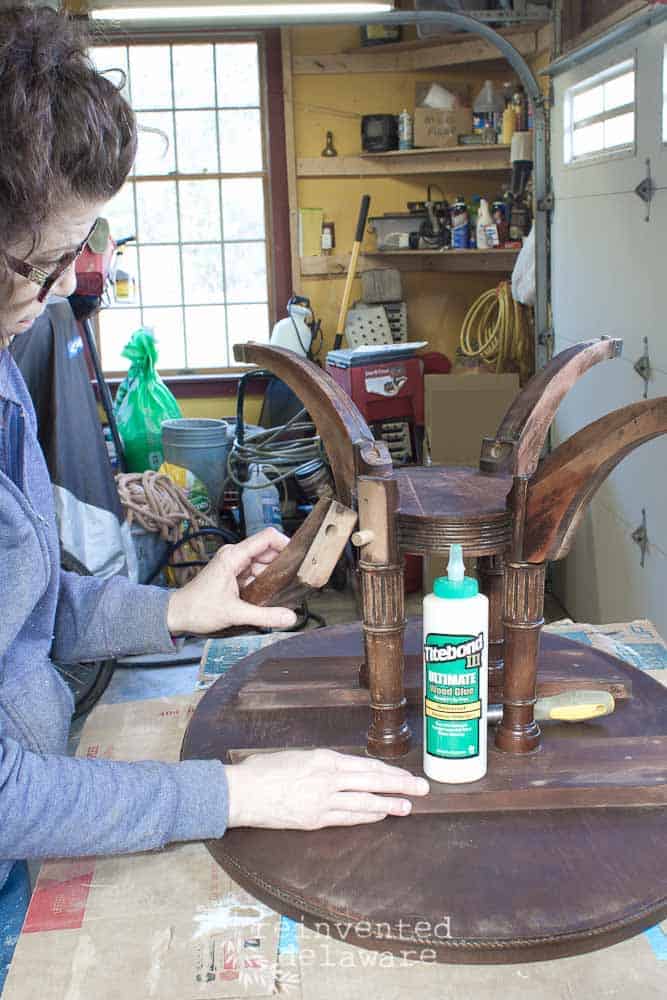
As I moved from leg to leg removing the curved sections, I realized that the post sections of the legs were loose as well. This girl just needed tightening all over!! Don’t we all??
So I removed the whole leg assembly from the oval shaped top of the coffee table. This was simple – just a few flat head screws on the flat boards you see here.
Unfortunately, I didn’t stop to get a photo of the next step. I flipped the flat boards over (with the post sections still attached) and tightened the four flat screws that attached the post to the flat boards. Very easy! I was careful to tighten the flat head screws with firm pressure and turning very slowly.

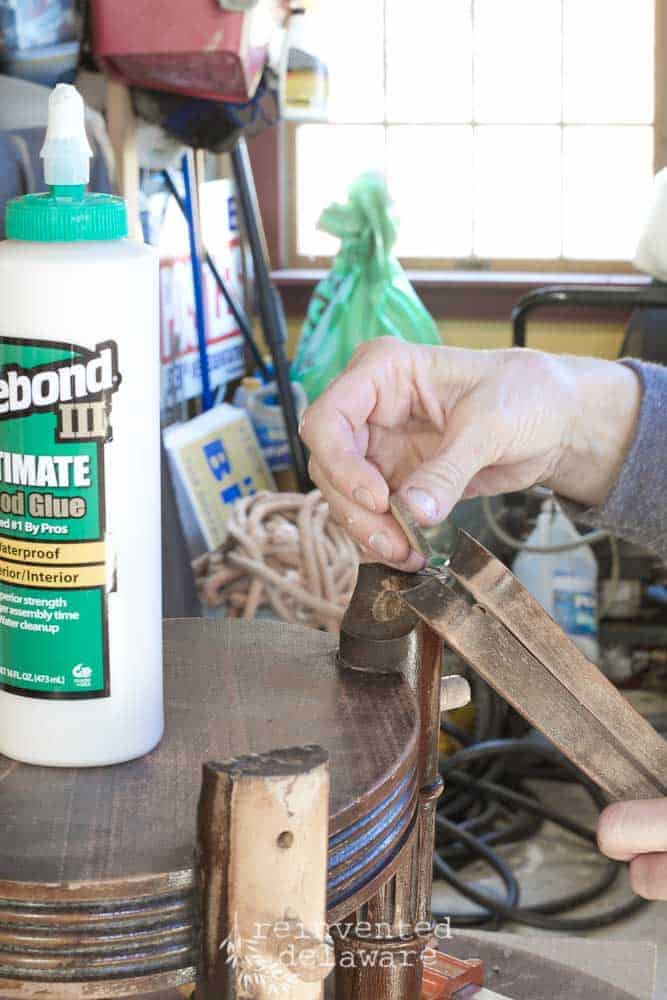
Repairing ‘Cracked’ Legs
Remember I said some of the legs had cracks in them? What I really mean by that is that some of the layers were separating. This is an easy fix if the gap isn’t too large.
This leg also had one little chunk of wood fall out of the gap. A bit of wood glue and then a tight clamping will fix it!
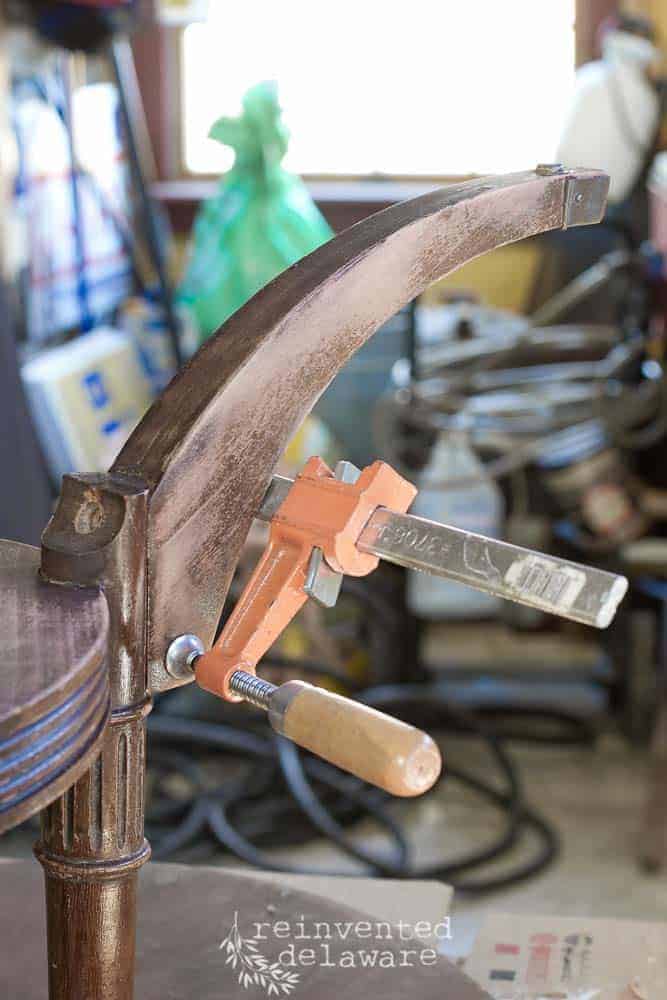
For the other ‘cracks’ just squeeze in a little glue and clamp it tight! I have a couple of different types of clamps. This orange metal clamp holds very tightly and adjusts by turning the wooden handle on the end. My clamp is missing the rubber feet so I had to be careful when tightening this clamp because the part that touches the furniture is metal and can damage the furniture. I could have used a small scrap of wood to take the brunt of the pressure instead of the furniture taking it. I just tightened it very carefully instead.
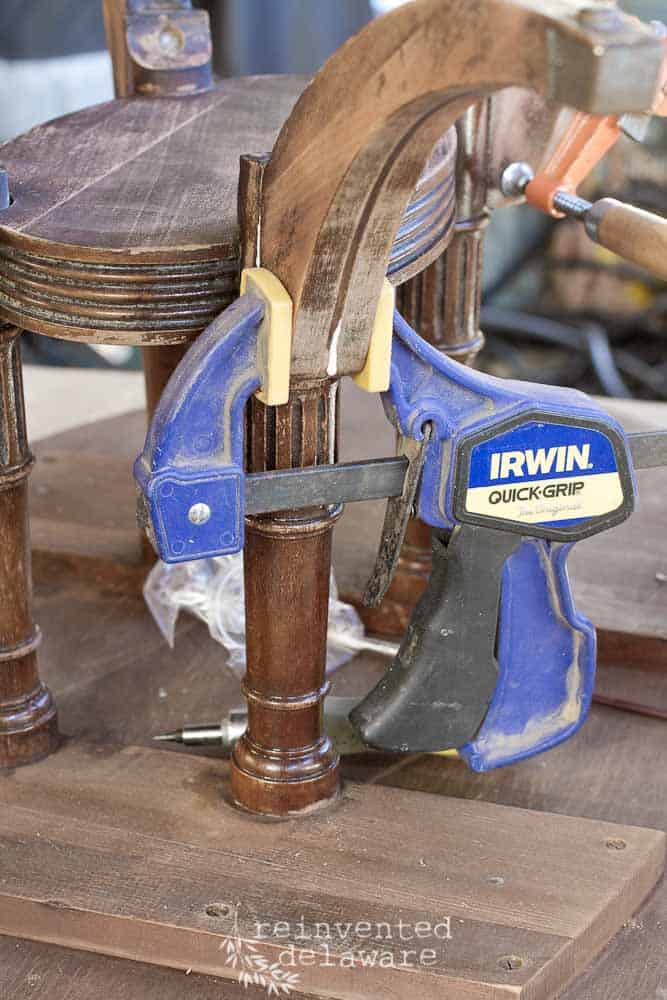
This squeeze type of clamp by Irwin comes with rubber feet that will protect the surface of the furniture. It is tightened by squeezing the trigger. I tighten until just a bit of the glue is squeezed out. Wipe off the glue with a damp cloth and let it dry overnight!
Thanks for Stopping By!
The steps needed to repair damaged furniture are manageable if you break them down step by step! Stay tuned for more furniture repairs!
Well that’s it for today! Be sure to check back in for the rest of this series! Next up?? Repairing the loose veneer! Now that’s exciting!
You can follow along for more furniture makeovers on Instagram and Facebook. And of course, Pinterest! Pin this for future reference – you might have to repair damaged furniture one day!