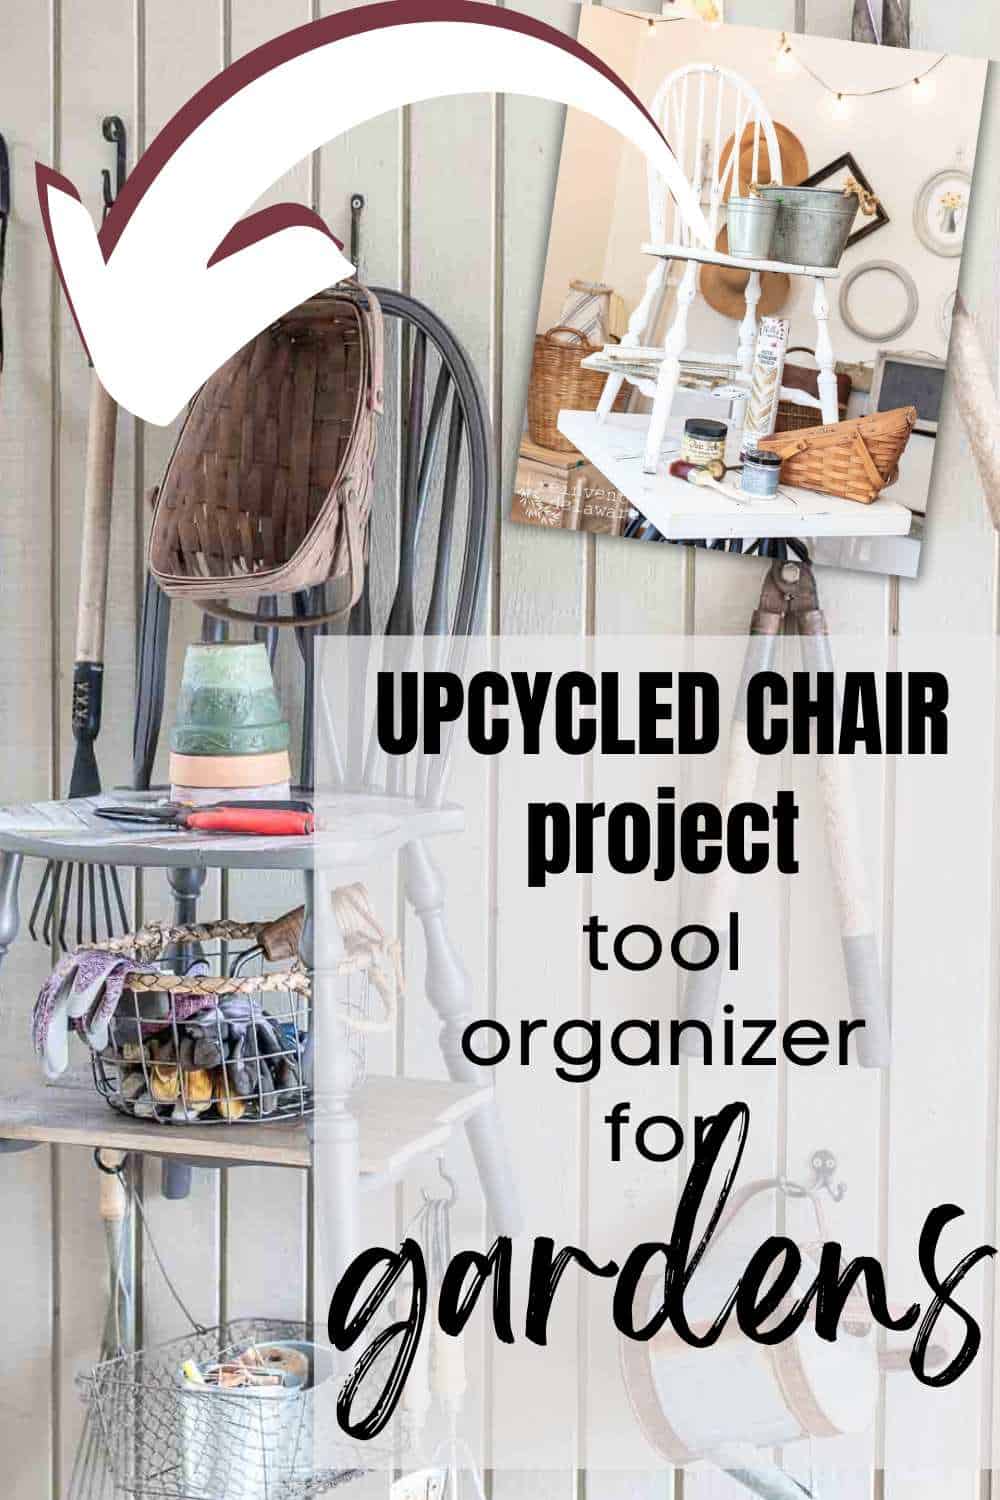
Easy Upcycled Garden Tool Organizer from an Old Chair
Here’s an easy and affordable way to get old garden tools organized. Upcycle an old chair into a garden tool storage! This easy DIY project will give you storage space for your gardening tools. Plus, it’s a great way to give an old piece of furniture a new life.
Old chairs can be found at yard sales, estate sales, and at your local thrift store. Golly, you can even find old chairs on the side of the road! You will see single chairs all of the time at these places. Look for one that is sturdy and can be hung from a wall. I’ve had this chair for some time now. This will be its third makeover!
The following post may contain affiliate links. That means if you click and then buy something, I will make a small commission at no additional cost to you! Thank you for supporting my blog. full disclosure here.
This post is sponsored by Dixie Belle. All opinions are my own!
detailed instructions
clean the chair
The first thing to do in any of the DIY projects you tackle is to clean the piece thoroughly. Vacuum the piece is it has seen better days because it was outside like mine. Then grab a damp microfiber cloth and a spray bottle with a mixture of White Lightning TSP cleaner and water. Spray the soon-to-be garden chair down with the cleaner and then wipe it clean with the damp microfiber cloth.
Go over the dirty chair as much as necessary to get off all dirt and grime it may have. I had to use a soft sanding sponge to clean off some rust stains that were on my chair! Once the chair is clean, use a clean wet cloth to wipe away any residue the TSP alternative cleaner might have left behind. Allow the chair to completely dry.

outdoor space for the tool organizer
While the chair is drying, decide on an outdoor space for your garden tool organizing chair. We have a breezeway between our garage and the back door entrance to our home. It’s the perfect place to keep my old tools, a garden caddy, and other vintage tools I use on a regular basis. Our breezeway has plenty of room for this garden tool organizer.
When looking for a spot for your DIY garden tool organizer, make sure it is a functional workspace for your family’s needs. Having small garden tools close by will make them easy to grab and go as well as remembering to put them away!
If your chair has a glossy finish, give the piece a scuff sand. There is no need to sand it down to bare wood. A scuff sanding is plenty when you use chalk paint.
paint the chair
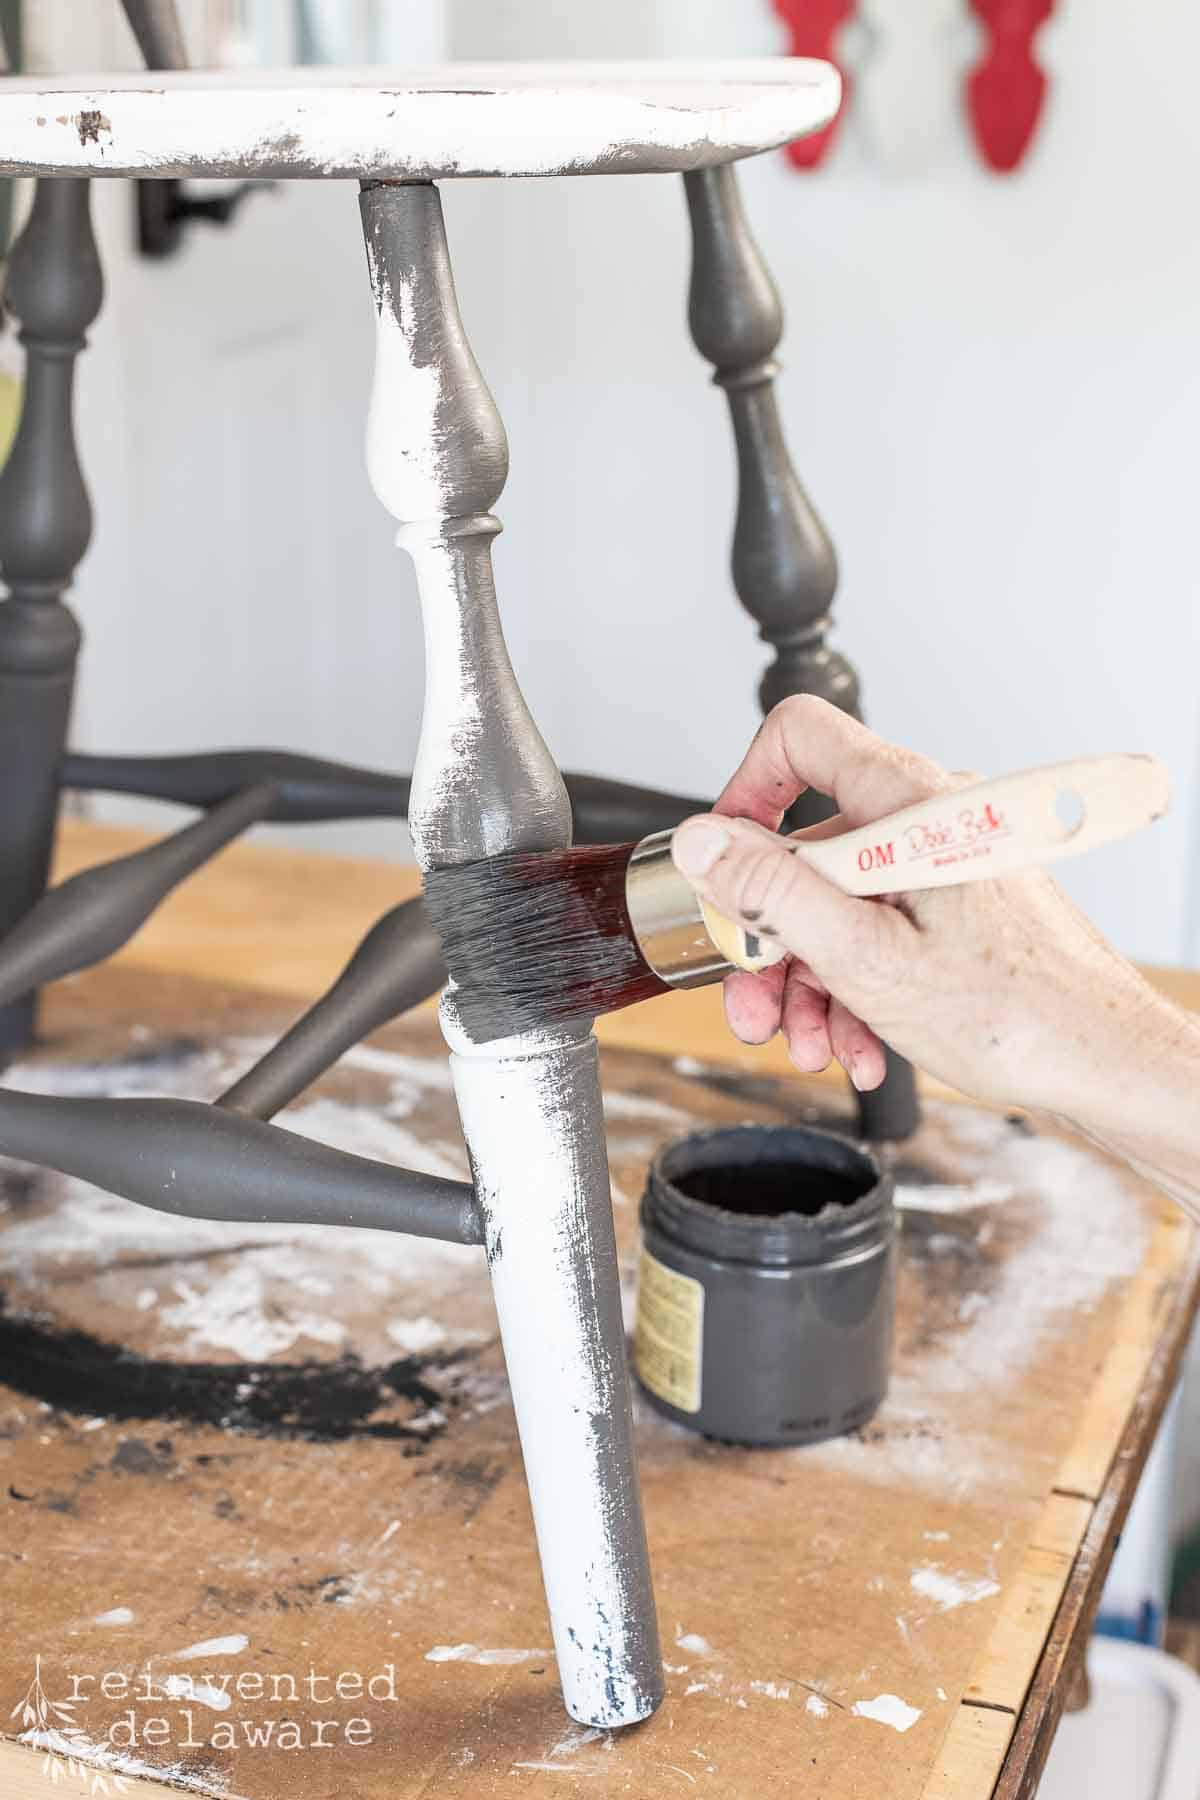
Now for the fun part – painting! Omgoodness, I love to paint 😄 It’s a great way to listen to a podcast or an audiobook on Audible. This is my happy place!
When painting a chair (I’ve painted lots of chairs!) turn it upside down first. This is an easy way to make sure you get the whole thing covered in paint. I don’t usually paint the underside of the seat of a chair. It’s how I pay homage to the old finish. Weird I know!
But for this chair, I decided to paint the underside. Even though it won’t get direct rainfall it will be subject to humidity and dampness. So I thought it best to cover as much of the wood as possible to protect it.
The chair needed one full coat of chalk paint and a light second coat. I will share spindle painting tips in the YouTube video I created for you. Be sure to watch so you can get the tip! I also share how easy it is to use a misting spray bottle for the second coat of paint.
scrap wood shelf
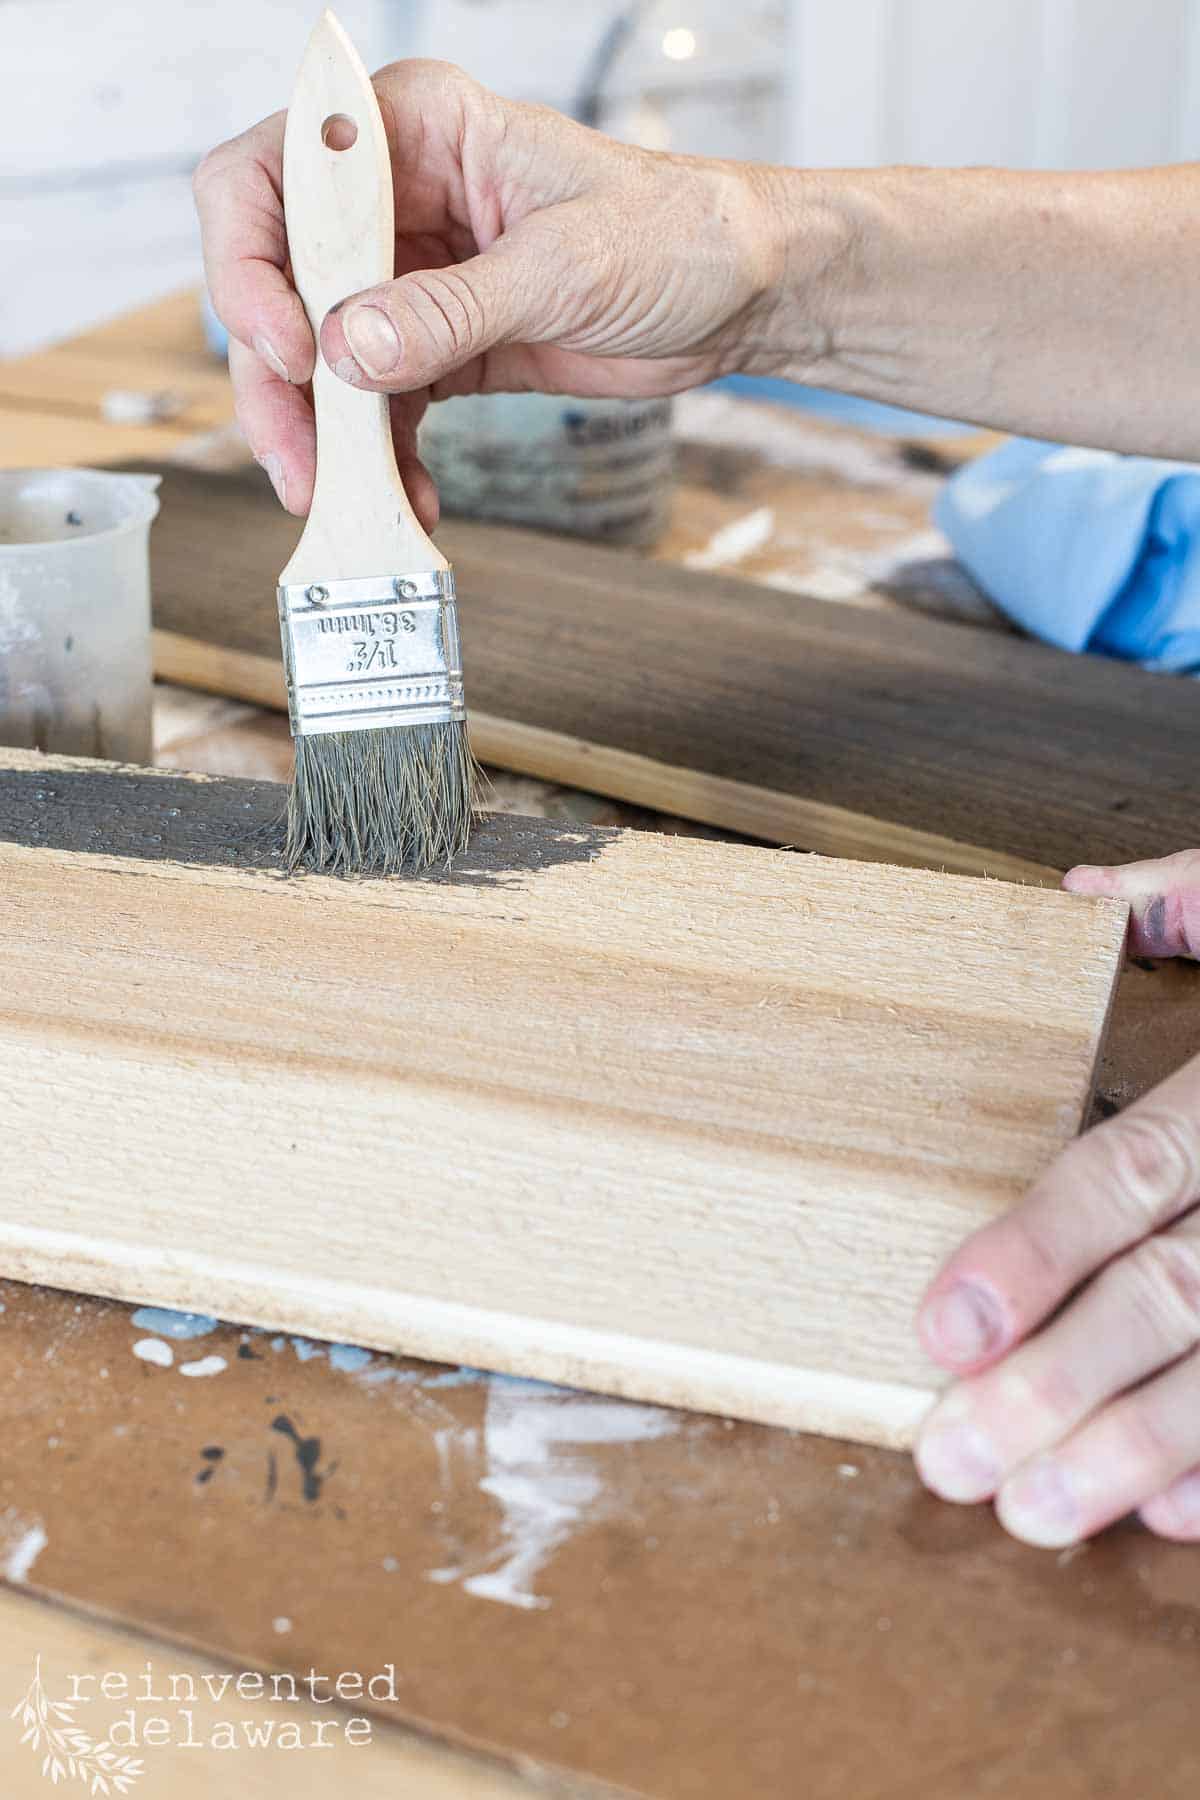
While the paint dries, let’s get the little shelf ready. The shelf will go on the legs of the chair. I used picket fence boards. The white pickets I have on hand from so many other DIY home decor projects did not work for this project. Instead, I used cedar boards from the DIY window boxes we built a few weeks ago. They were perfect!
You can use any scrap wood you have laying around if you don’t have cedar fence boards. You can also purchase fence boards at big box stores for home improvement for just a couple of dollars each. This DIY project only needed one fence board.
Another option would be to use reclaimed wooden pallet wood. We have tons of that wood. It’s easy to find but it does take some work to separate the boards from the pallet.BTW, do not use particle board for this project. It will not hold up to humidity or any rain!
Lay the boards over the spindles and mark how long they need to be. Then use the miter saw (or use a table saw – whatever saw you have!) to cut them to length. The easiest way for me to cut board lengths is to use a miter saw.
My boards were a warm cedar color and didn’t match the paint color I chose for this garden tool organizer chair project. So I did a quick paint wash over the wood to tone it to match the paint. I used the same paint and diluted it with water. Paint the solution over the fence boards then wipe it back.
Once the boards are dry, attach the wood pieces to the spindles with 1″ wood screws. Use the quick flip drive to pre-drill a pilot hole for each screw. The quick flip drive attachment on my power drill makes this soooo easy and convenient. One end of the small tool will drill a small hole into the wood. Then flip the tool and you have an instant screw bit! This little drill attachment is the best way to avoid setting up power drills when working on projects. Plus it is the fastest way to drill a pilot hole and then quickly attach the screw!

My friend, Diane from South House Designs also upcycled a chair. We made a fun video together that I am sure you will enjoy watching. Click the button below to see her video!
apply the transfer
Now let’s give the utility piece a little bit of decoration! You can skip this step if you want but I like adding details to my projects. Decorative transfers are the perfect way to add a special touch to many DIY upcycled projects.
You will see better in the video how I applied the transfer but here the basic steps are as follows:
- cut the transfer to fit the area leaving extra around the outside edges
- remove the white backing paper
- lay the transfer down on the surface without moving it once it has made contact
- use the rubbing tool to rub over the clear sheet transferring the design onto the surface
- carefully lift the clear sheet to check if the transfer has completely adhered to the surface, lay it back down and rub until the design has completely released
- double-check that all of the transfer is on the surface then remove the clear sheet
- use the same color of paint and a little paintbrush to dab paint on the edges to soften any harsh lines the transfer creates
- seal the transfer with a water-based clear top coat in whatever sheen you prefer!
Use whatever design you want for your transfer. You can choose different colors than I chose. The transfer I chose had gray tones so using Gravel Road Chalk Paint worked perfectly. Choose your paint color after choosing your transfer to make the look cohesive. Use a bright color to liven up your space. Or choose muted colors like I did to coordinate with your space.

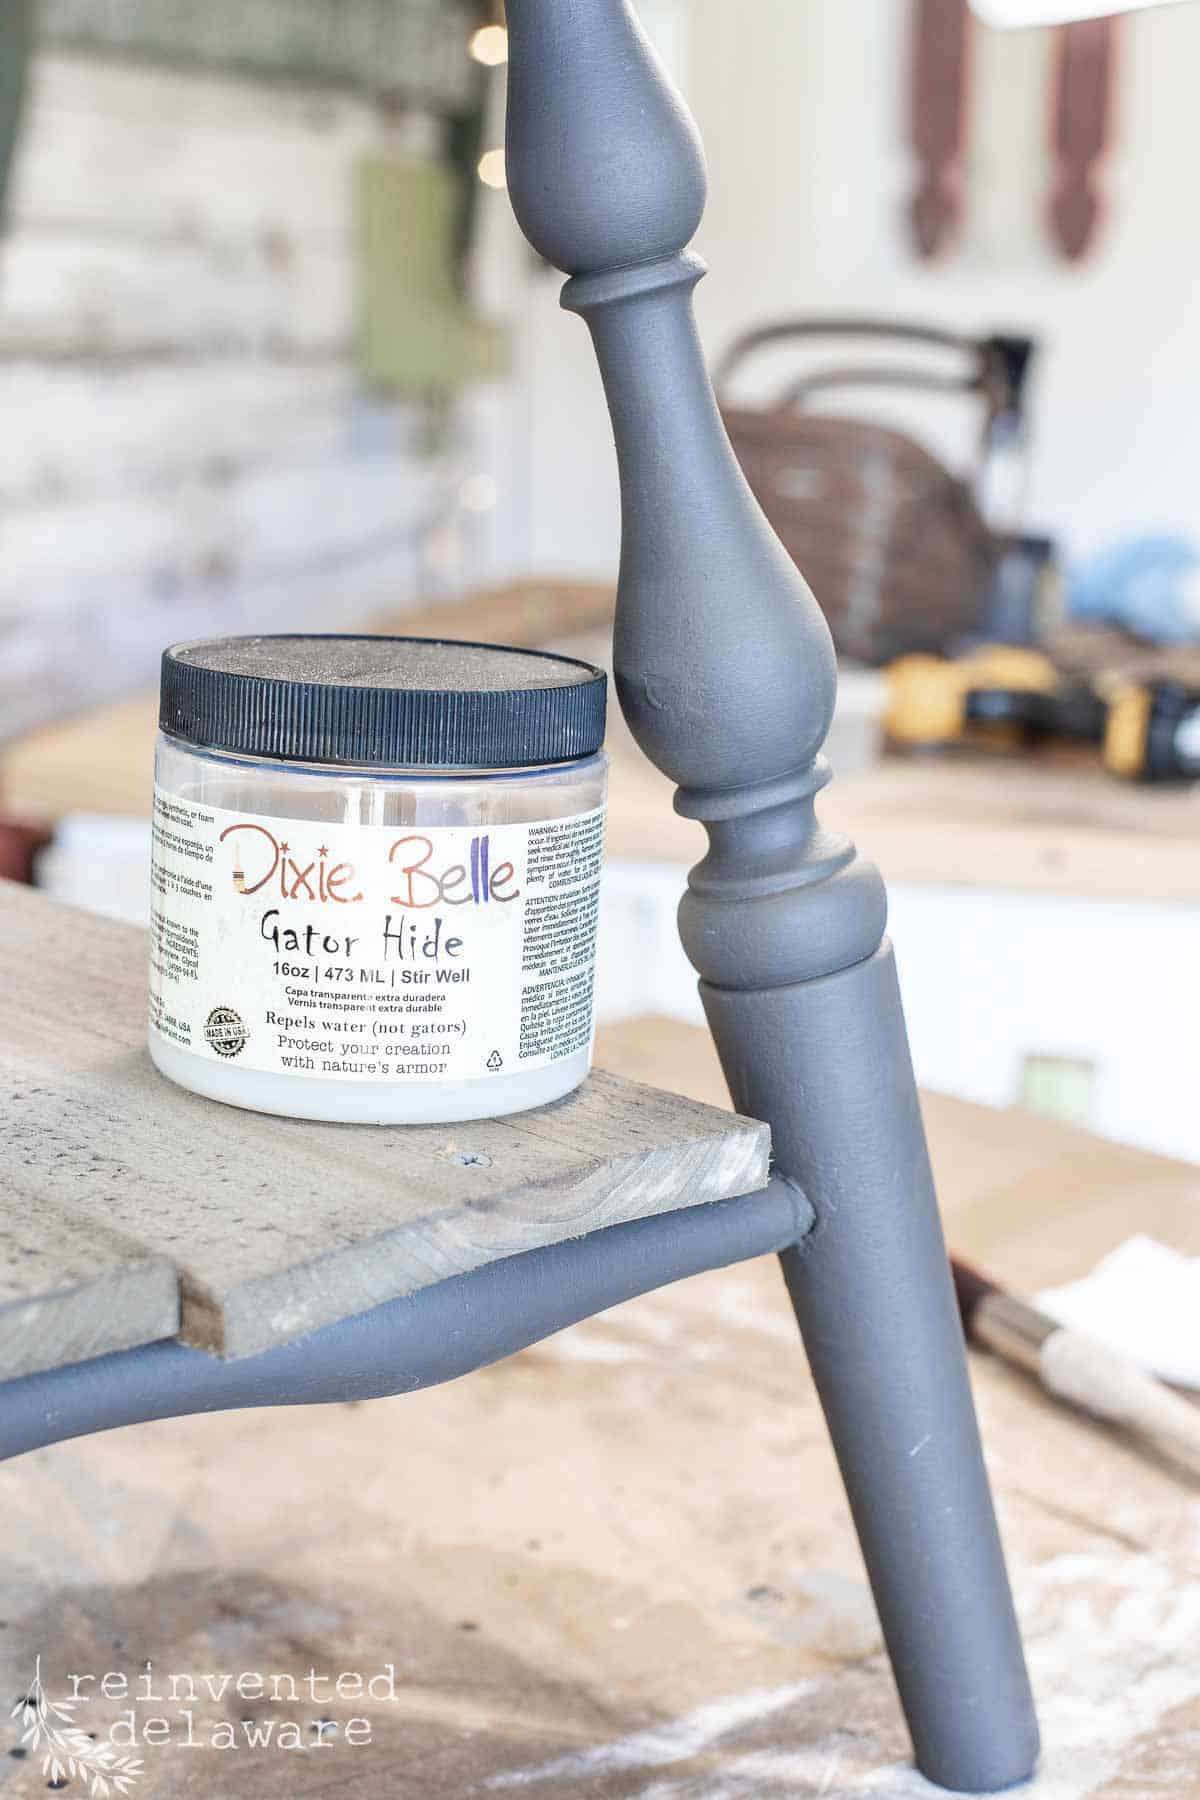
seal the garden chair
Give the whole piece two coats of Gator Hide. This outdoor top coat will help to protect the chair garden tool organizer for years to come! Be sure to allow proper drying time between coats.
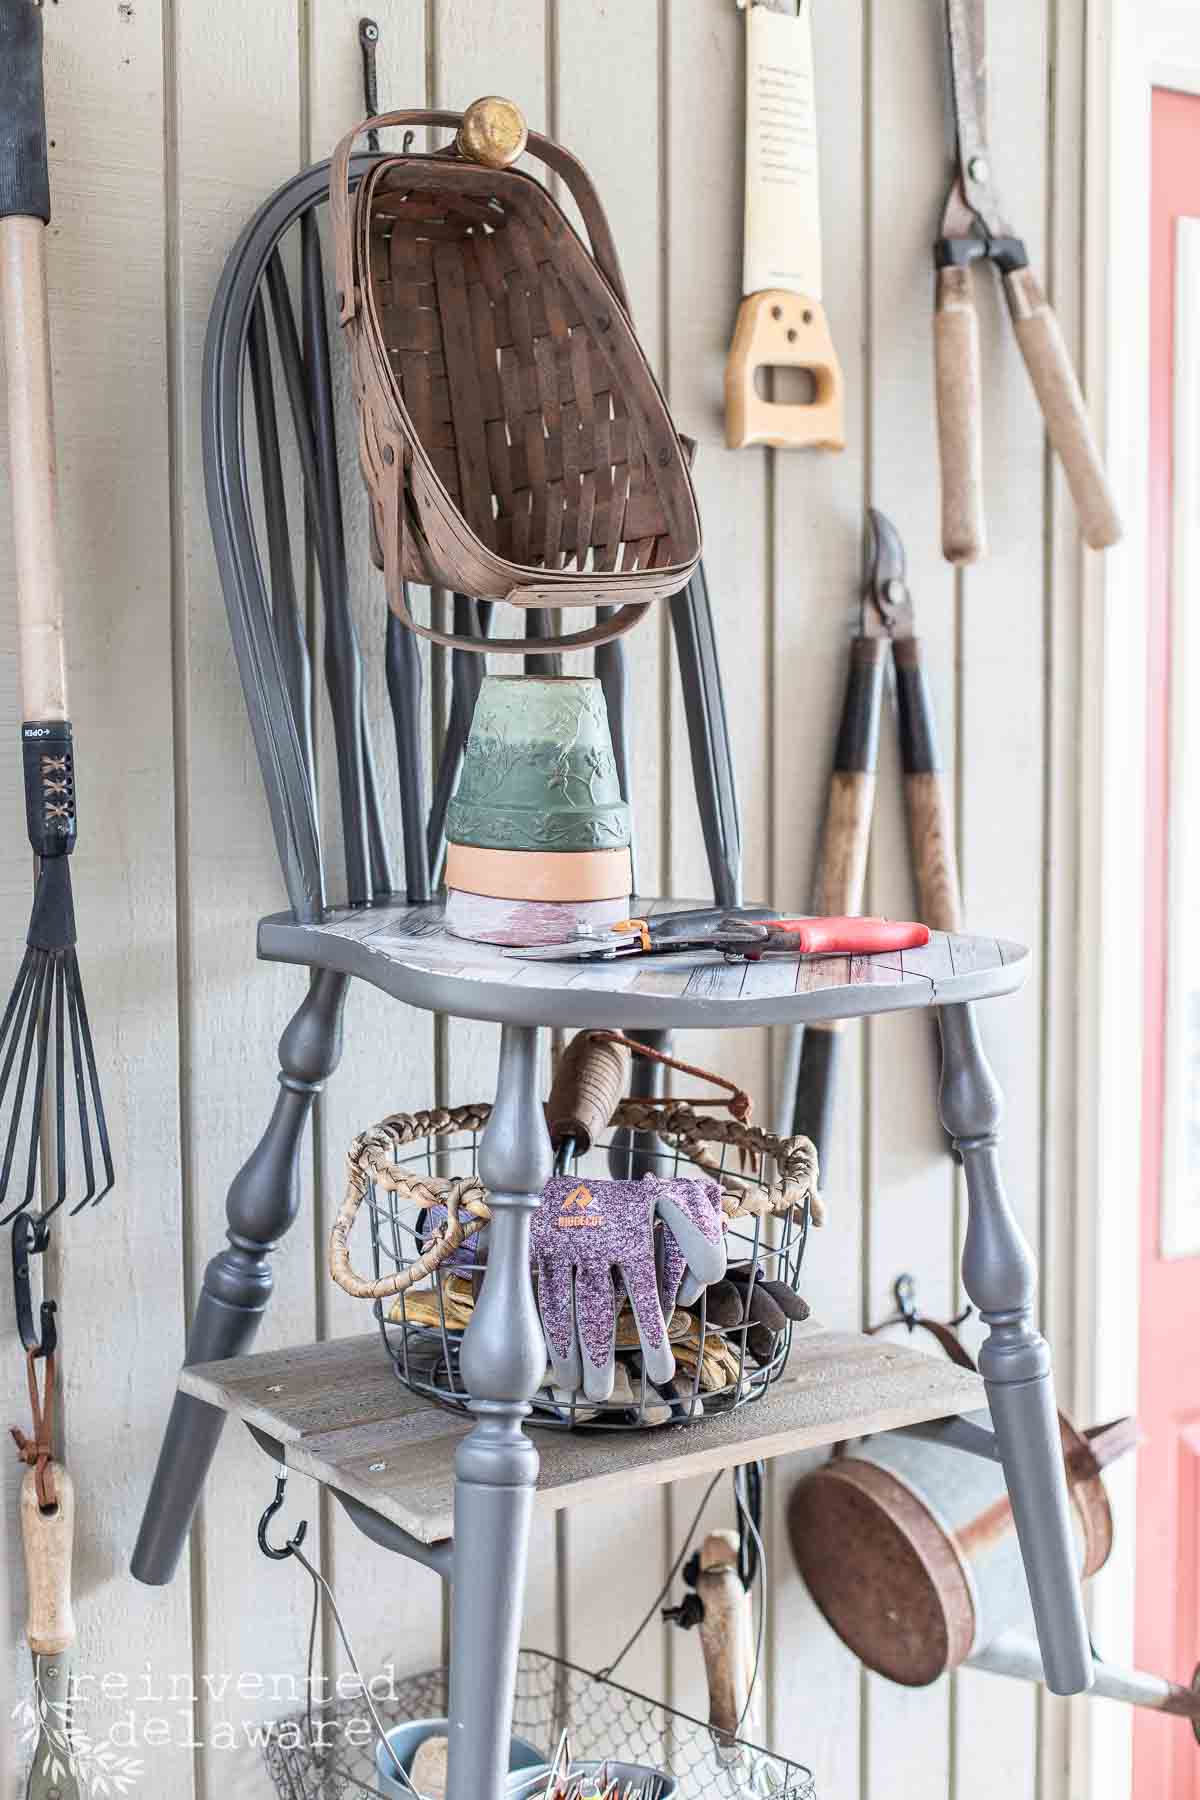
garden tool organization
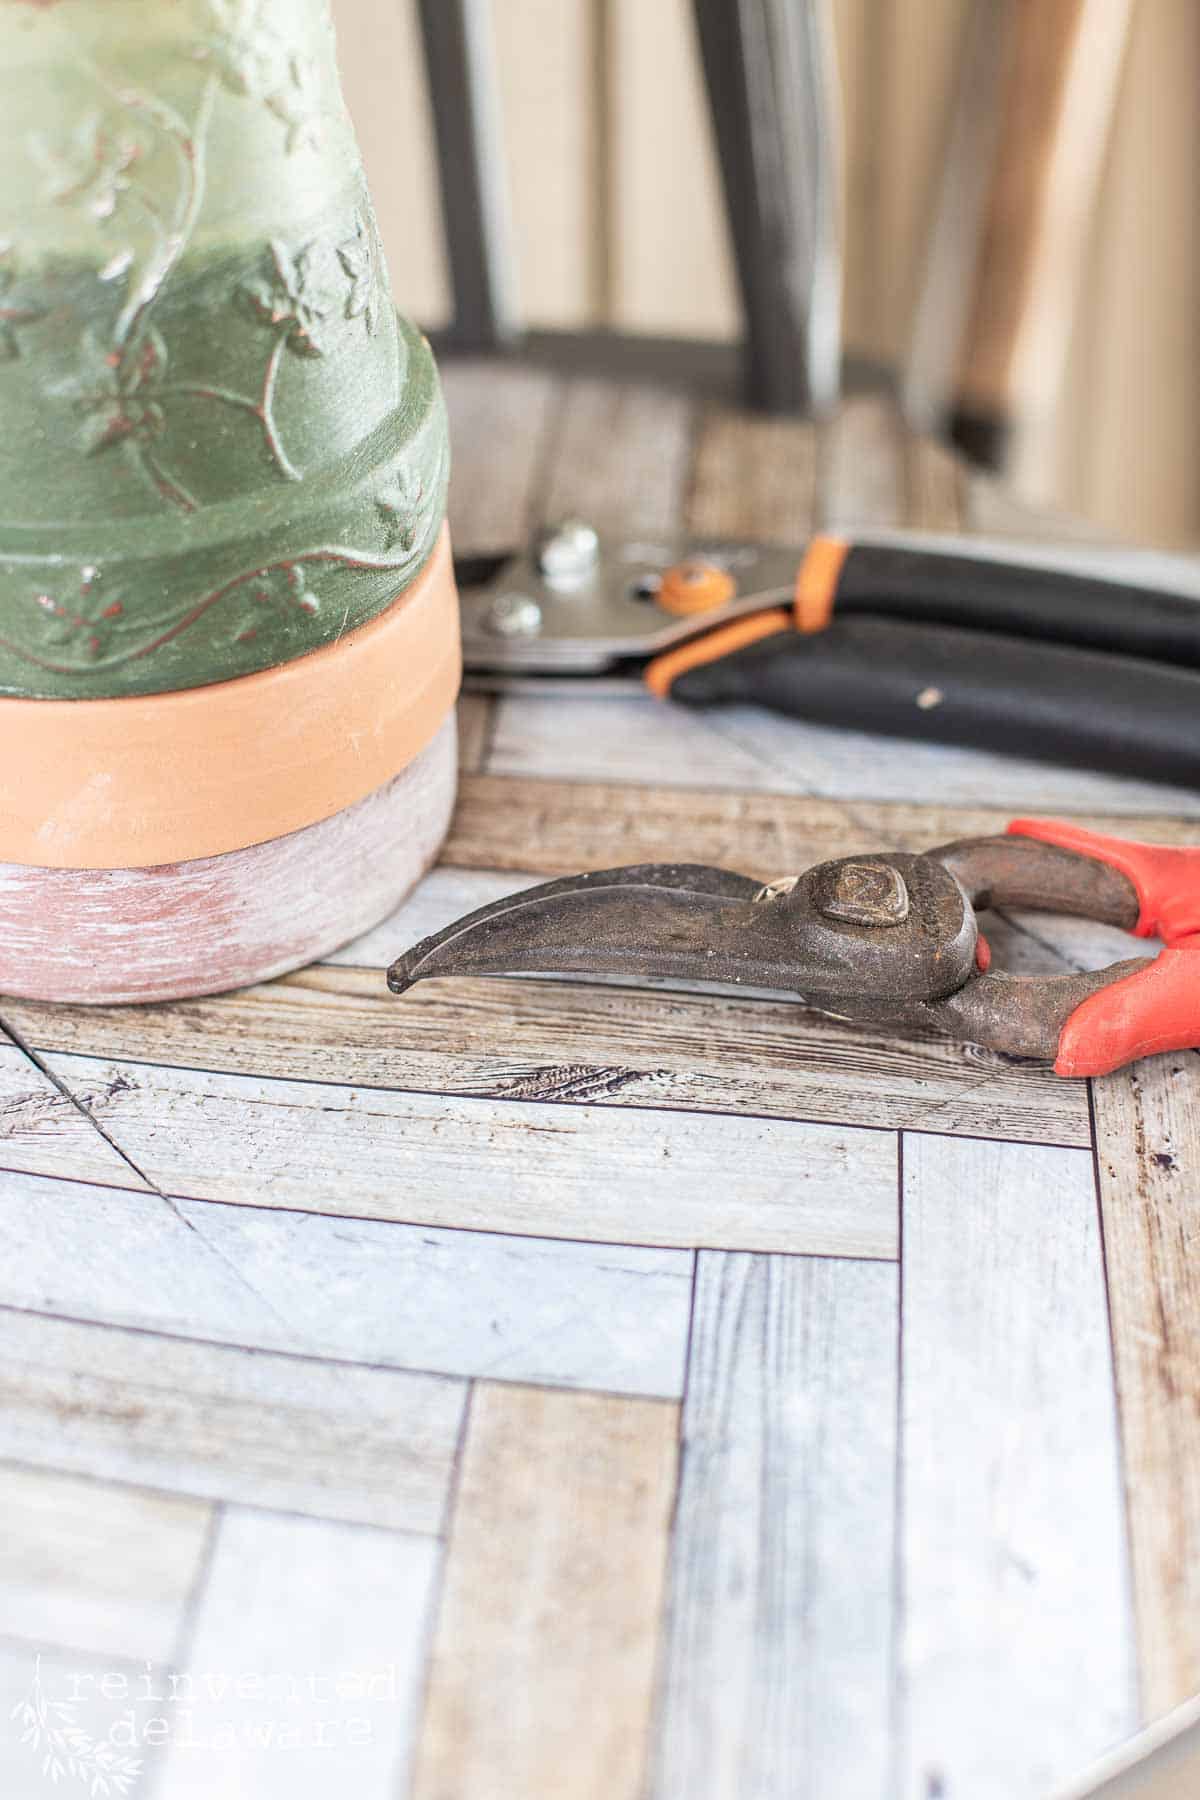
I wanted different organizer baskets, galvanized tubs and wire baskets hanging from the chair. This would be a fun way to organize small tools like mini shovels, mini garden rakes, gardening gloves and plant labels. This was easy to do. I just decided where I wanted the baskets to hang and added large hooks to hold the baskets.

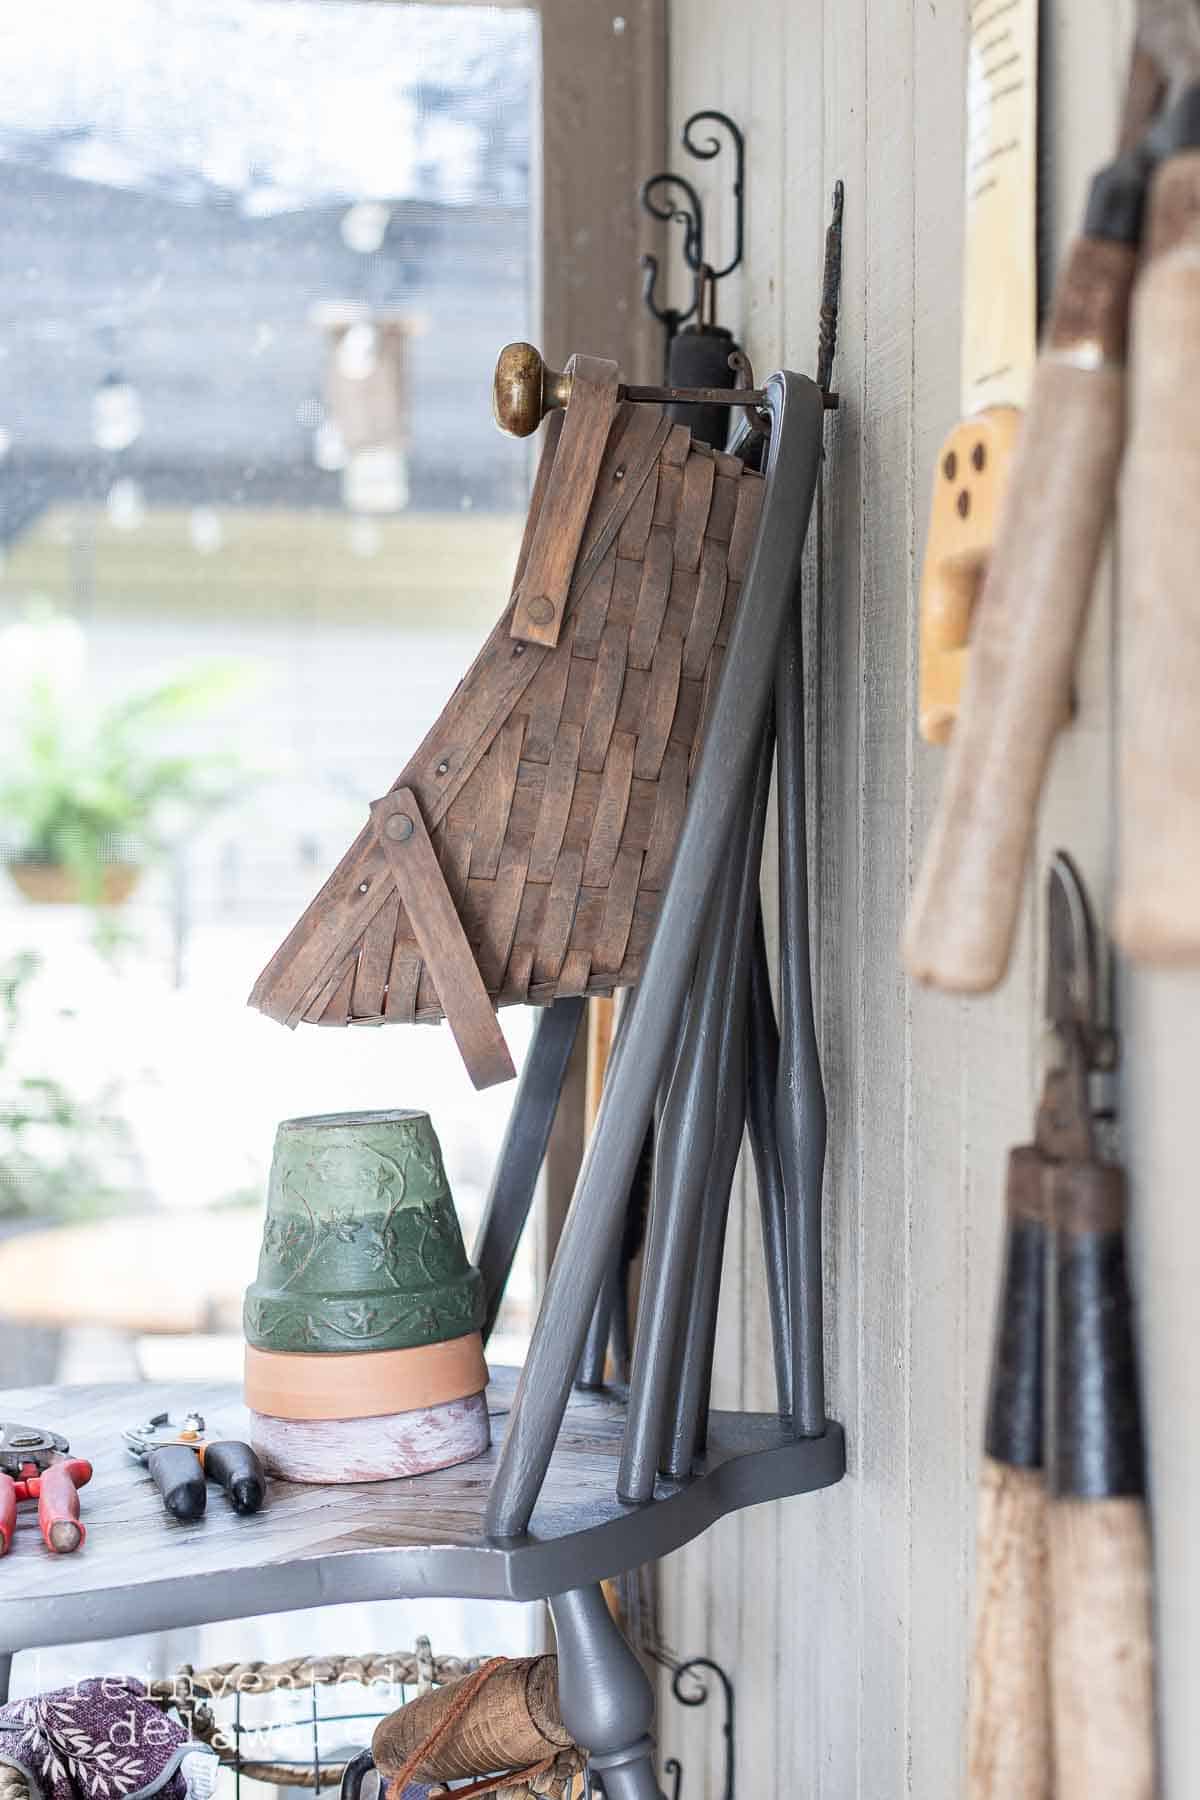
This tool rack organizer will also be used as a spot to hold a basket I could grab and go when cutting from my zinnia flower bed. The basket hangs from an old door knob that I attached to the top of the chair. simply drill a large hole big enough for the stem of the doorknob to go through yet still provides a tight fit. Then stick the stem into the hole and you have a new idea for hanging a basket! I keep my small flower snips in the basket to make it easy to head out to my cutting garden for a fresh bouquet!
functional work space
The last step is to hang the chair. I used a large plant hanging hook that I found in my stash. The hook was plenty big enough to hold the chair. I also planned out the whole wall around the chair to accommodate other garden tools like small rakes, pruning snips and saws and a vintage galvanized watering can. The only thing missing is a kneeling bench. I’m looking for something that I can easily carry out to my garden but also will look vintage so coordinate with this little gardening area I’ve created.

One last thing! I just thought of this as I was writing this post! Ideas come like that, right?? Use a large hook on one of the cross spindles to hold a small garden hose! Or maybe you find a sweet little garden tool caddy the next time you are out thrift shopping!
So many ideas! Share your ideas with me in the comments! Thanks for stopping by today!
YouTube video full tutorial
Here is my full video tutorial for this chair upcycle project. Tap the image below to watch! Be sure to subscribe while you are over on YouTube – we have lots to share with you!
Watch my friend, Diane’s video showing her upcycled chair project too! Tap below to watch! Maybe you would rather read Diane’s tutorial? Tap the button below!


shopping links
supplies
- miter saw (or a table saw if you have one!)
- power drill
- quick flip drive (seriously the best tool in my workshop!)
- 1″ wood screws
- scrap wood
- White Lightning TSP alternative cleaner
- Scrubby Soap paintbrush cleaner
- chalk paint (Gravel Road)
- synthetic paintbrush
- misting spray bottle
- decorative transfer
- Gator Hide outdoor top coat
- various thrift store baskets
- various galvanized buckets
- cedar fence boards (or scrap wood)
- vintage garden tools
- various sizes of hooks
Tap the images below to purchase these adorable gardening items!

Thanks for joining our journey!
Thanks so much for joining us for this post! Join our journey so you don’t miss any of the fun projects, tutorials, and inspiration that we share with you each week! You can follow us on Instagram, Facebook, and YouTube. We share even more inspiration on Pinterest!
click below to purchase supplies!
Visit my Amazon Storefront!
Click the button below and head over to our online shop on Amazon!