
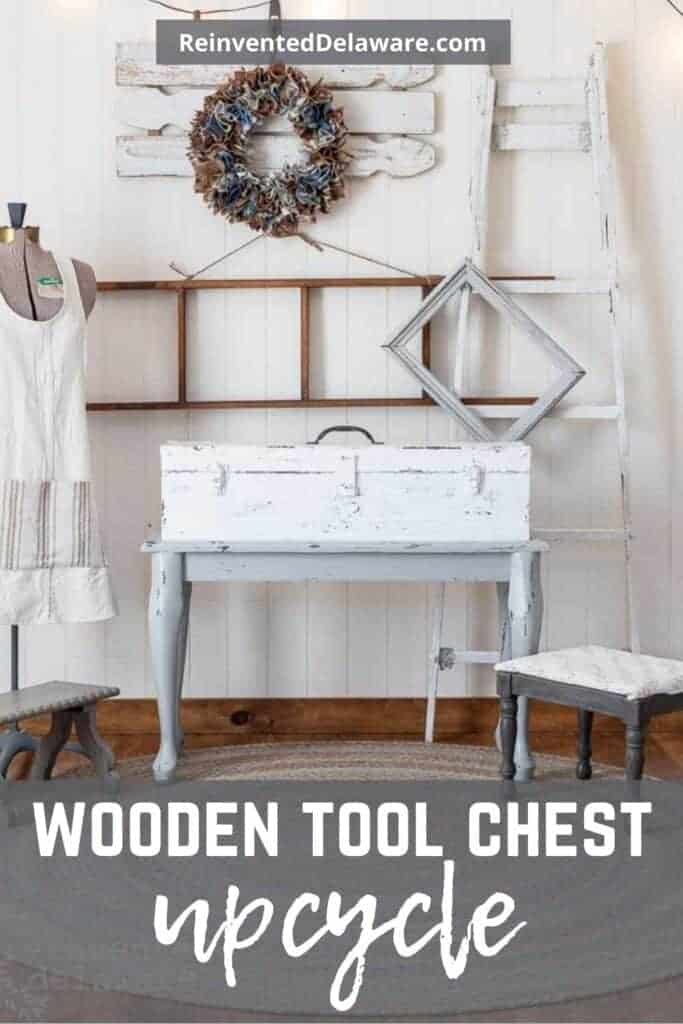
Wooden Tool Chest Upcycle
Today, I am showing you how to upcycle an old wooden tool chest into a useful farmhouse storage piece for your home!

The following post may contain affiliate links. That means if you click and then buy something, I will make a small commission at no additional cost to you! Thank you for supporting my blog. full disclosure here.
This post is sponsored by Dixie Belle. All opinions are my own!
Let’s go over the supplies before we start the project. Most of my supplies, other than the wooden tool chest the lumber, and the Queen Anne legs, are from Dixie Belle Paint Company. This paint is truly amazing. I have used it for a while now and I am sold on chalk mineral paint and the colors Dixie Belle offers!
list of supplies:
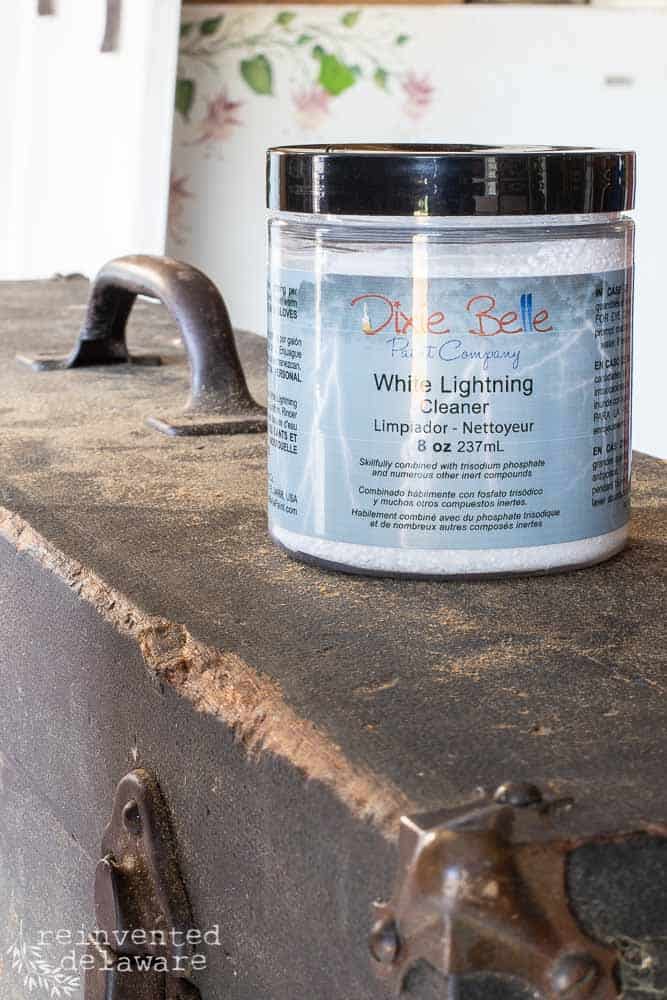
- Dixie Belle White Lightning Cleaner
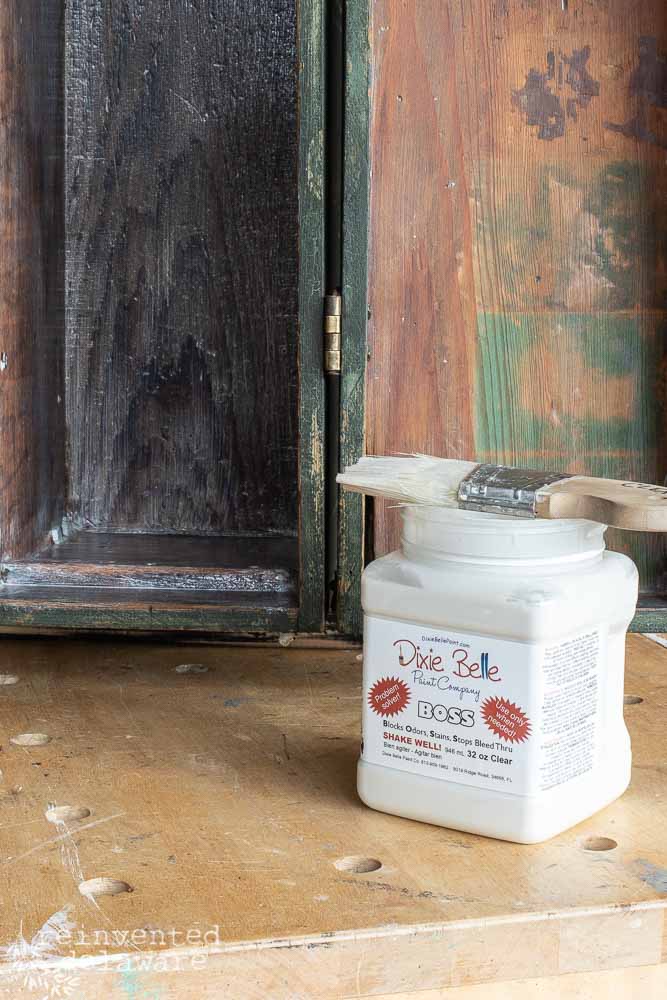
- Dixie Belle Boss
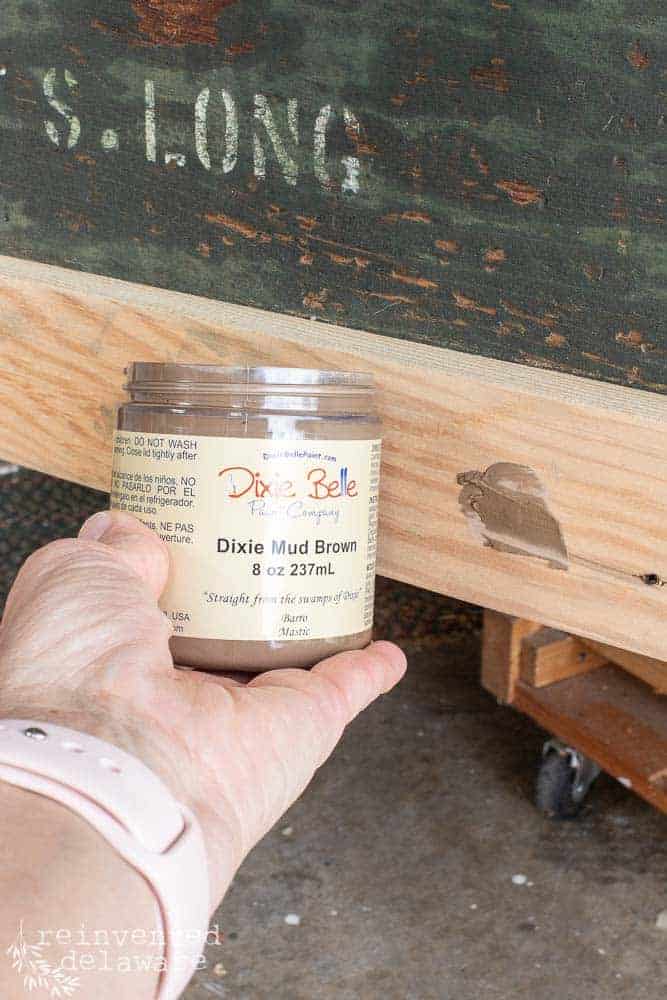
- Dixie Belle Mud in Brown (the best wood filler!)
- Dixie Belle Chalk Mineral Paint in these colors: Midnight Sky, Driftwood, Cotton
- Dixie Belle Big Mama’s Butta in Orange Grove
where to find an old wooden tool chest
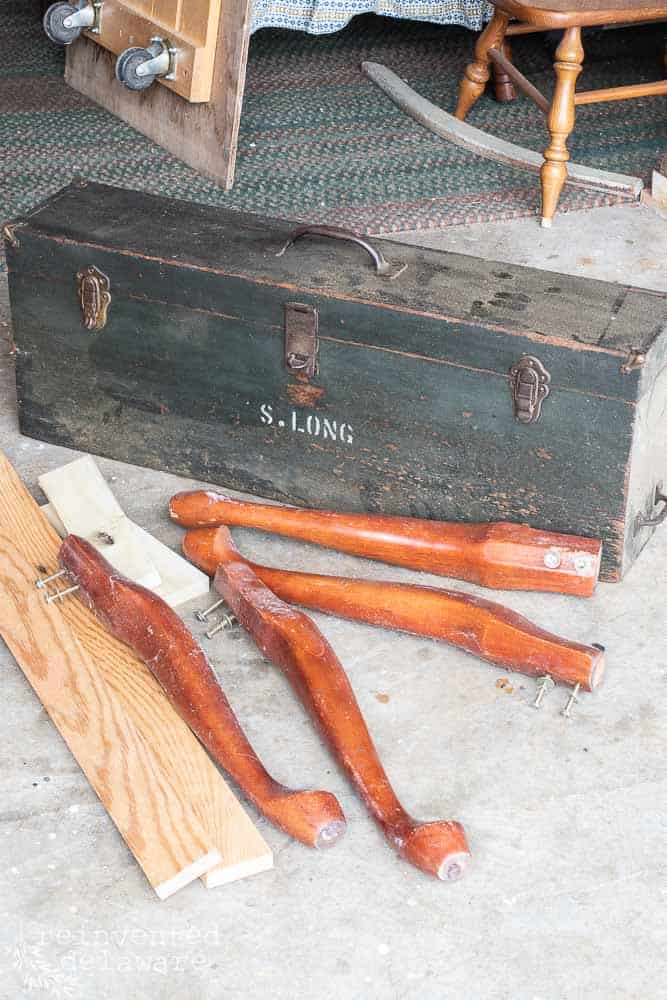
We come across wooden tool chests often. We find them at vintage shops, estate sales, and auctions. Golly, we have even bought them a yard sales. Sometimes, people are having their yard sale in a garage. If you spot one in the background, ask if it’s for sale!
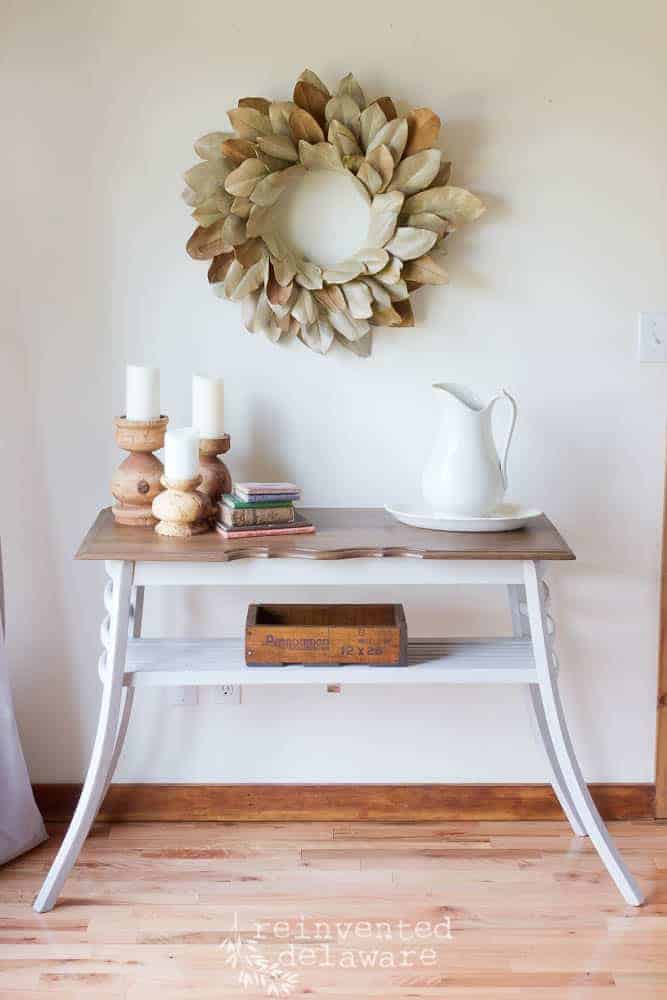
We also come across tables that have particleboard tops and solid wood legs like the lovely Queen Anne’s you see below. We toss the tops into the trash and keep the legs for our wooden tool chest upcycle projects!
Hubby has a pile of scrap lumber that he cuts to size depending on the project we are working on.
old wooden tool chest ideas
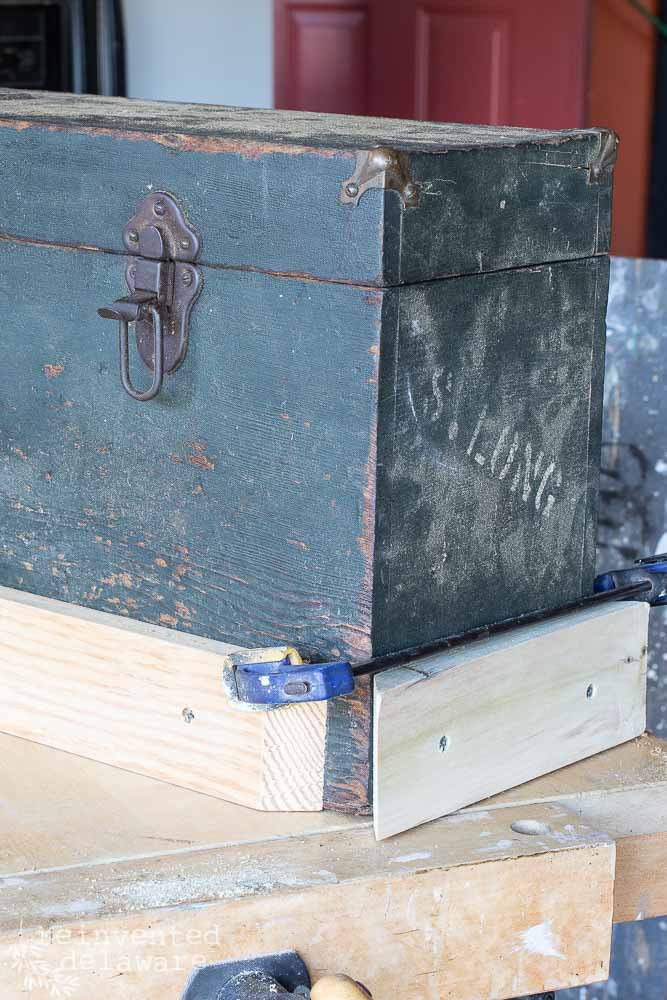
The first step is to attach the ‘apron’ and the legs to the tool chest. Each wooden tool chest is different so I can’t give exact instructions. Many times, we figure it out as we go. You can do that too! I know you can!!😊
The scrap lumber was attached on all sides leaving enough of a gap so that the legs could nestle between the boards. I used wood glue and wood screws to attach the apron.
There is quite a bit of finagling to get this just right. And if it’s not just right, there’s always Bondo!!
how to repurpose queen anne legs
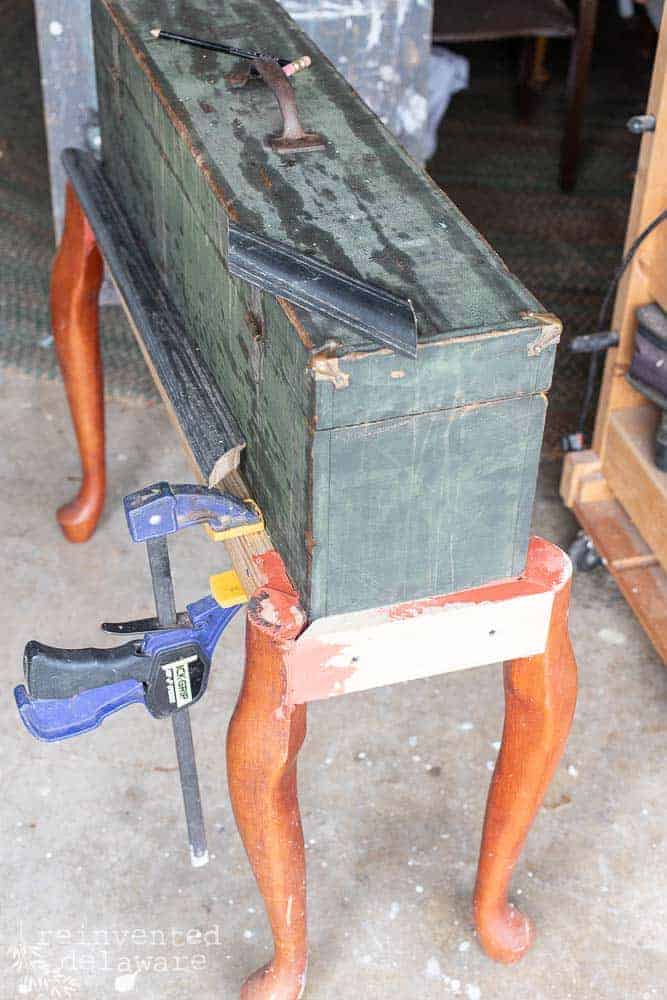
Hubby used the same size bolts as what came with the Queen Anne legs but in a shorter length. He attached the legs with the bolts through to the inside of the wooden tool chest and secured the bolts with nuts to fit. Each leg has two bolts.
As he was working on the legs, I realized I wanted to give a finished look to the lumber and the tops of the legs. See in the image below that it looks messy? The Bondo filled the gaps but I still wanted a more finished look.
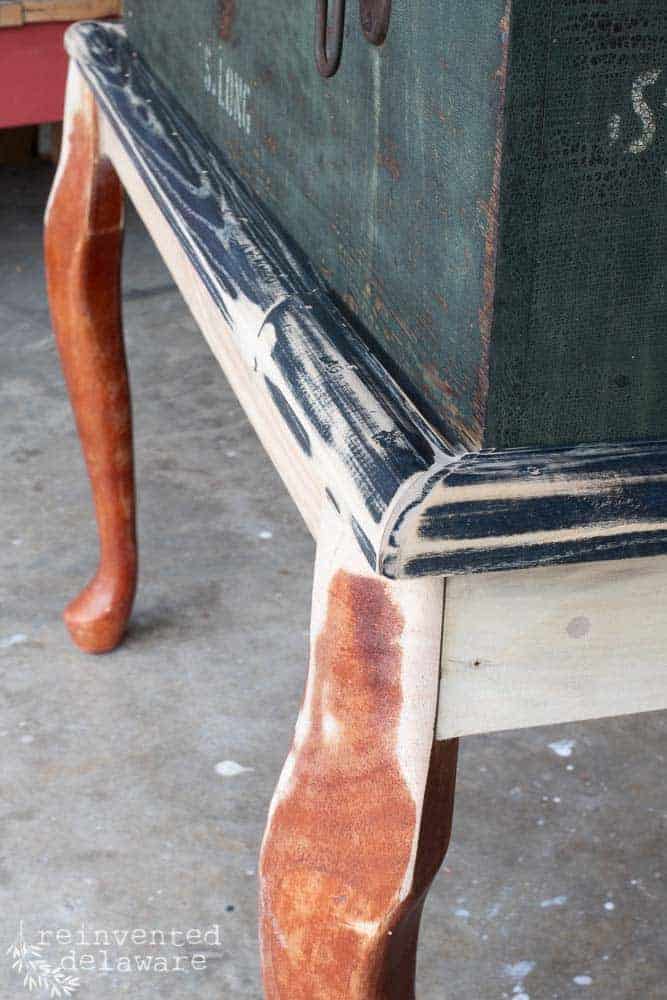
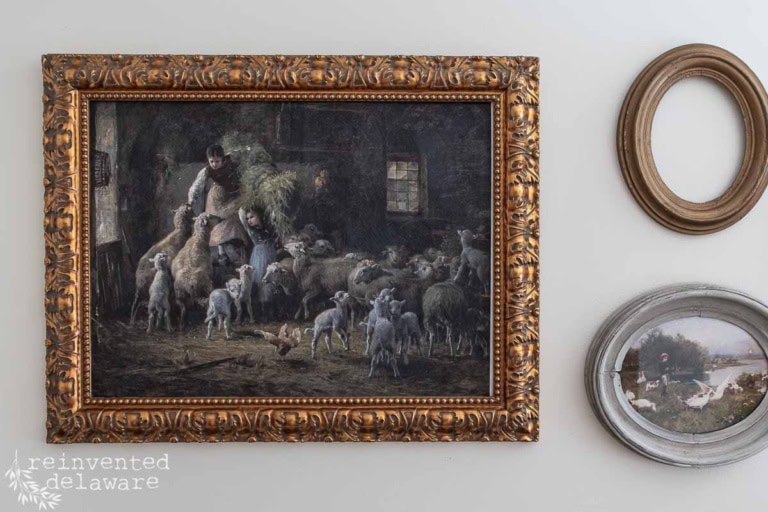
So I grabbed the largest picture frame in my stash and took it apart. I used it all the way around, cutting miters to fit, and attached the framing trim with wood glue and finishing nails.
Don’t the legs look amazing on the wooden tool chest upcycle? They really take it to the next level!
I filled all the holes and gaps with Dixie Belle Mud in Brown and sanded everything smooth.
Looks good, don’t you think?
Dixie Belle Paint and supplies
Here are some of the supplies I used:
- Dixie Belle White Lightning Cleaner – this stuff is amazing! The toolbox was covered in linseed oil and was also really dirty. I gave it a good scrubbing with a mixture of White Lightening, hot water, and our garden hose! Then I allowed it to dry in the sun all day. BTW, I scrubbed the wooden tool chest BEFORE I started the construction!
- Dixie Bell Mud Brown – this is a wood filler. I have used several wood fillers over the years and let me tell ya’, this stuff is super easy to use! I filled the holes with the Mud with my finger and let it dry. Then I sanded it smooth – super easy! Clean up with water but do this outside, not in your sink! Mud adheres really well and you don’t want to mess up your pipes!
- Dixie Belle Boss – this is Dixie Belle’s answer to stains, odors, and bleedthrough – it blocks it all!
how to create the chippy paint look
Once I was finished with the cleaning, construction, and stain and odor-blocking, I was ready for the fun part! Painting!
I am going for a chippy look so I had to take several steps to get that to happen. Dixie Belle Chalk Mineral Paint adheres to surfaces so well, I knew I would need to add a resist.
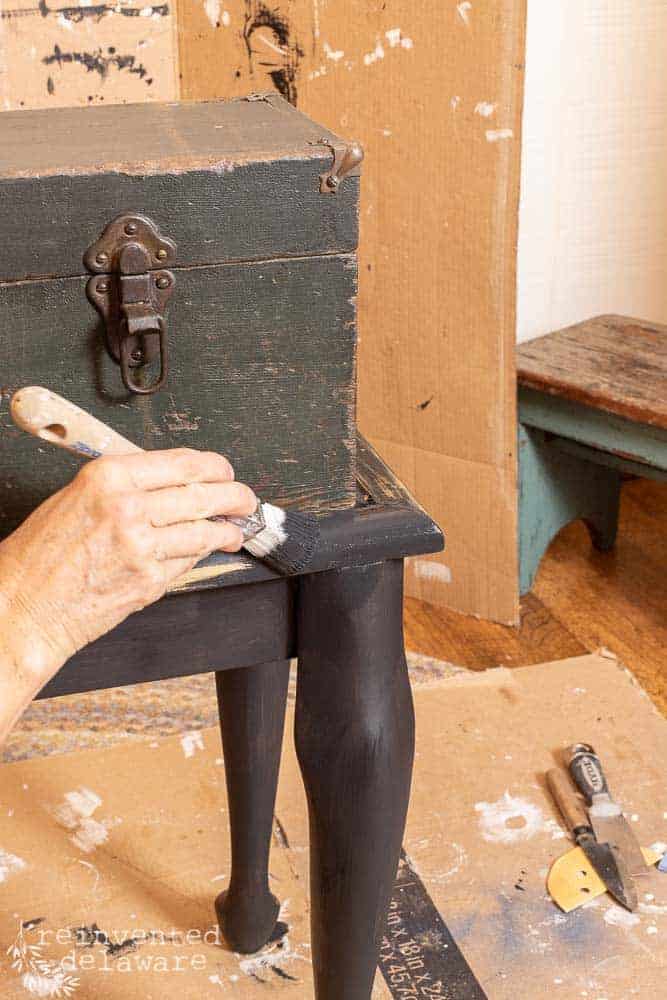
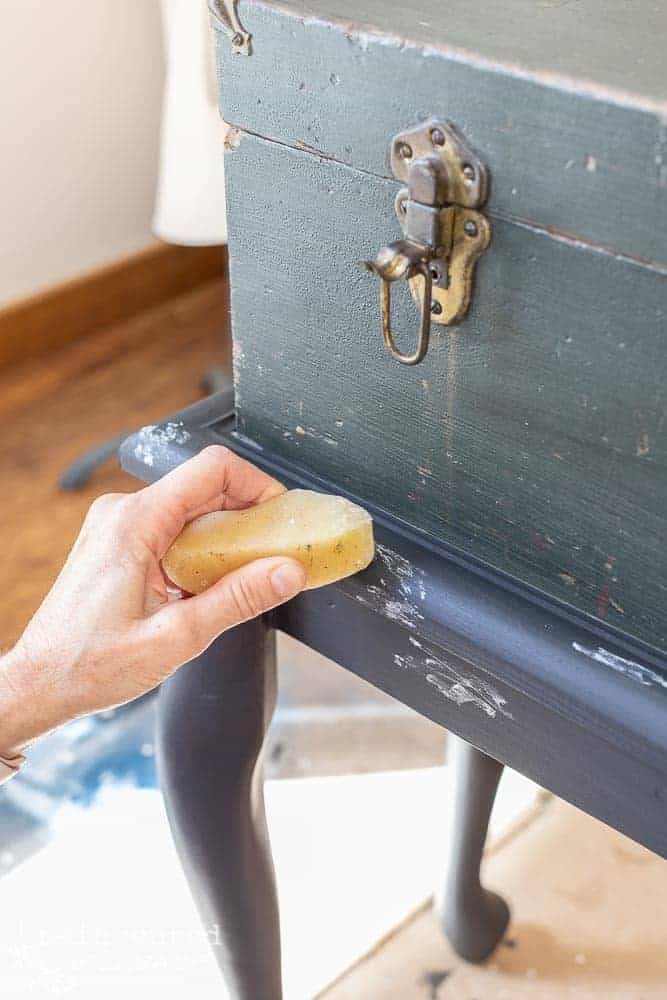
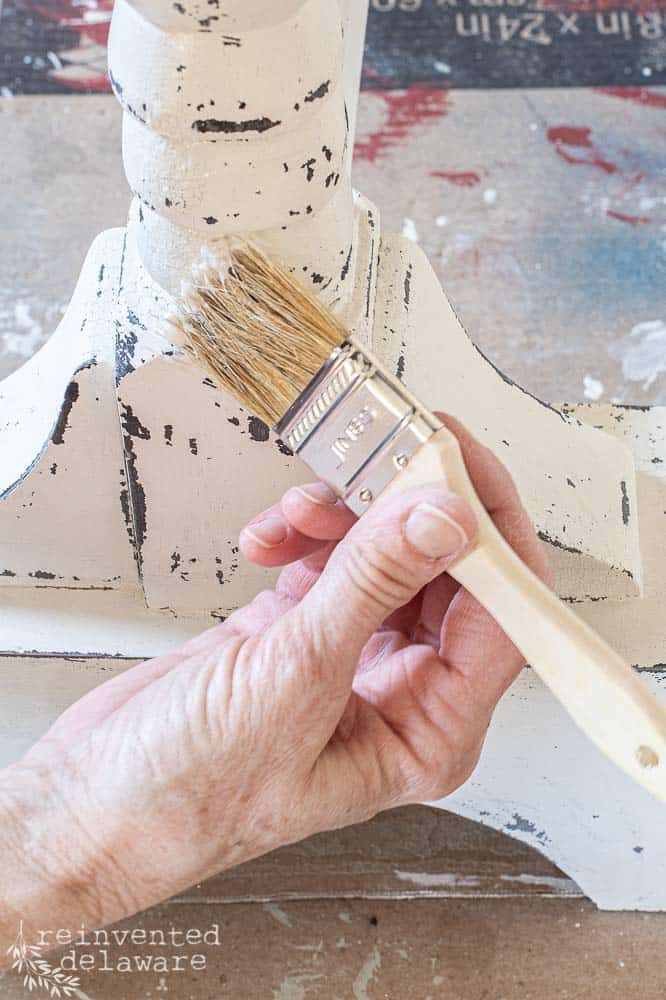
I painted the base in one coat of Midnight Sky. For the resist, I used a chunk of beeswax and rubbed it in areas where I wanted the dark paint to show through the lighter color that would be the final coat.
I applied quite a bit of beeswax in those areas to ensure I could create a chippy look.
Then I painted the whole piece – the wooden tool chest and the base in Dixie Belle Driftwood. It’s a gorgeous soft gray.
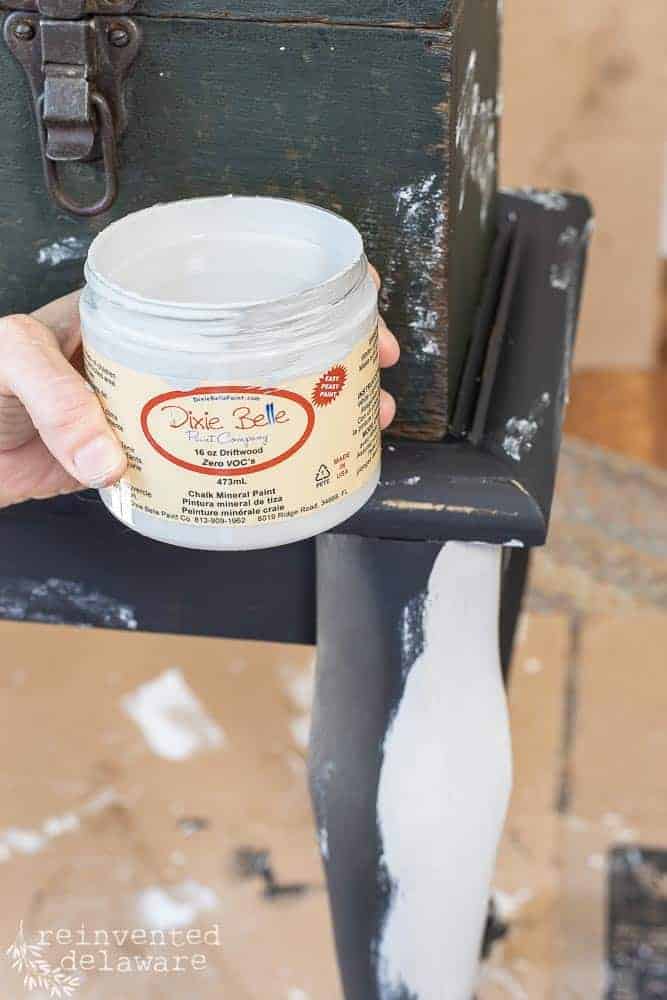
Two coats of paint covered this wooden tool chest perfectly. The next step can be scary and fun all at the same time. 😁
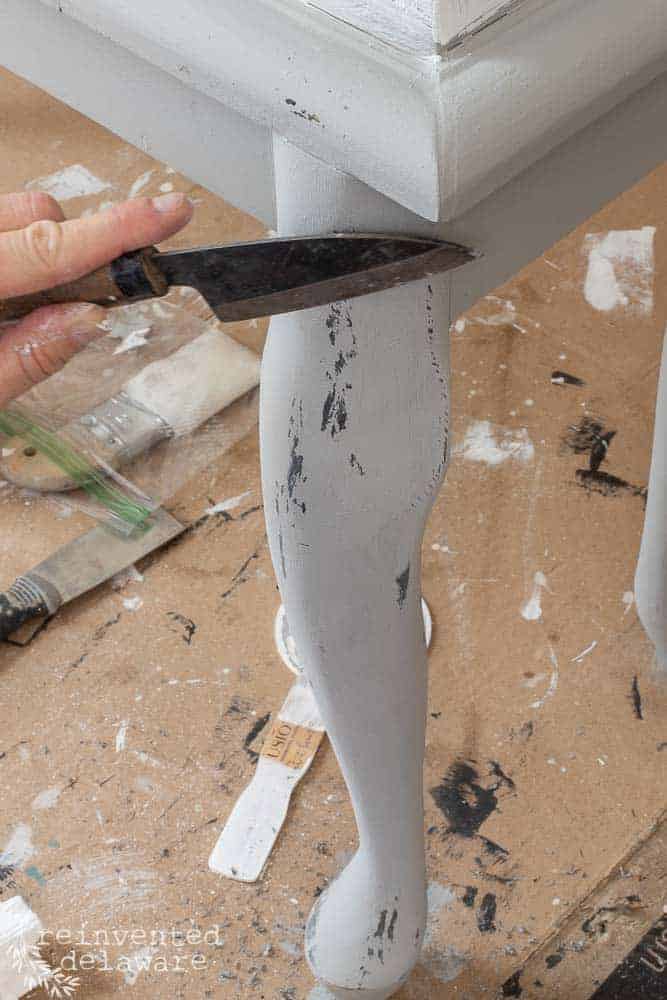
I have this small flat-edged chef’s knife in my workshop. The flat edge scraped off the paint in the areas where I had applied the beeswax. I also used a metal putty knife over the surface of the paint to create striations.
This just added another layer of texture and vintage-aged goodness. 😊
does Dixie Belle paint need to be sealed?
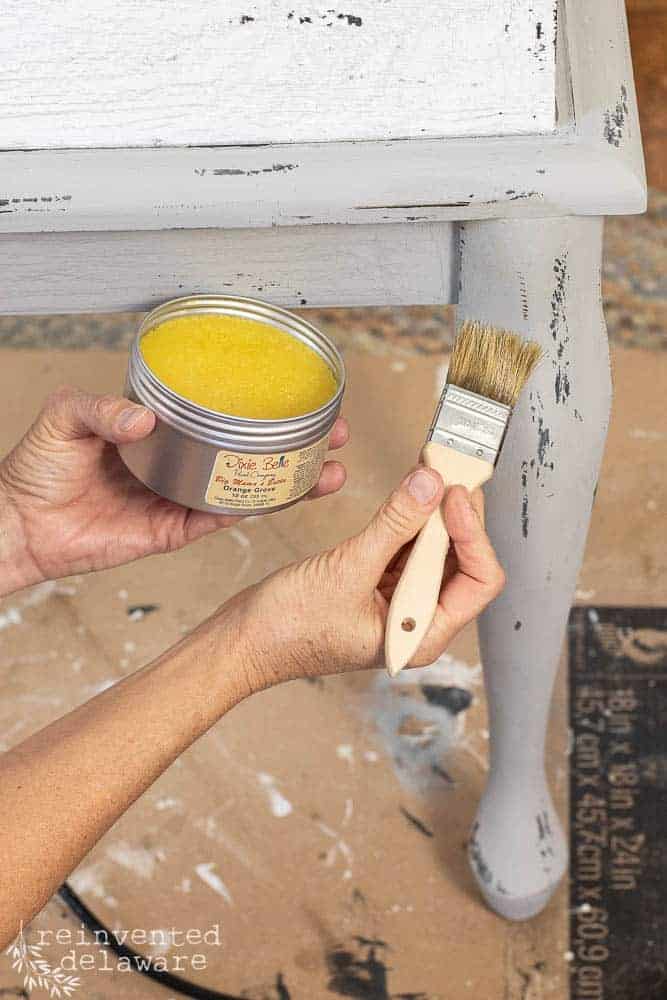
The final step was to seal the paint. Dixie Belle does not need to be sealed. The main reason I sealed it is that I wanted an excuse to use Big Mama’s Butta in Orange Grove. It smells just like oranges and made this step pure fun!
Brush Big Mama’s Butta on and wipe it back with a blue shop towel. That’s it!
wooden tool chest upcycle
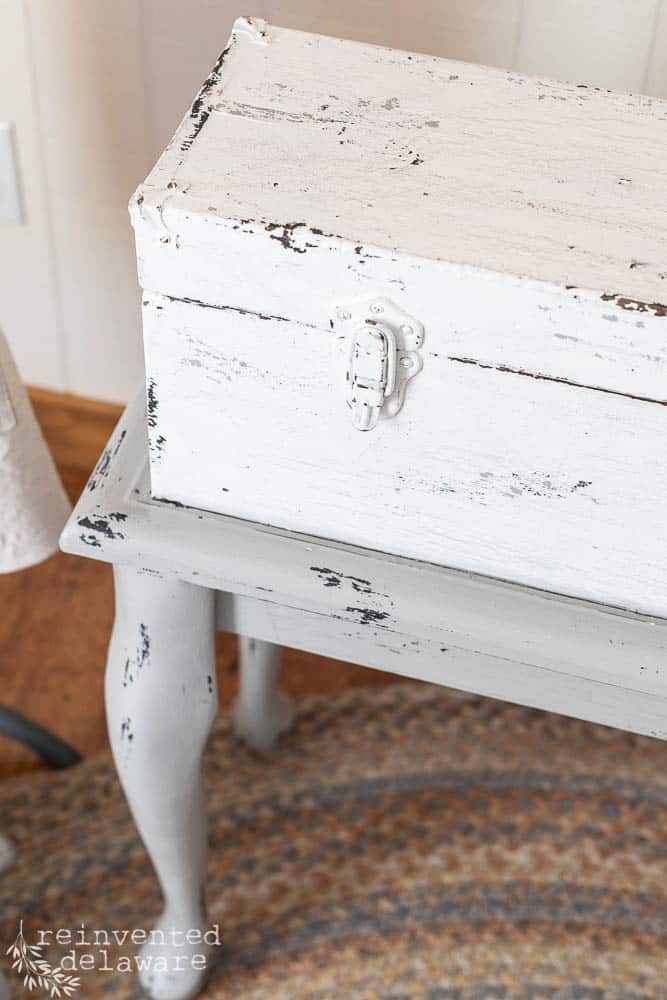
And here she is! Don’t you love the juxtaposition of the masculine wooden tool chest with the feminine Queen Anne legs??
A match made in heaven in my opinion!

vintage tool chest makeover
You can see I used the chunk of wax in many areas to create a very distressed and chippy look. Look closely and you will see Driftwood Gray under the Cotton White?
I achieved that by painting the whole piece in Driftwood after I painted the base in Midnight Sky, then applied the wax in the areas I wanted it to be distressed. The tool chest was originally dark green. That created this three-color look.
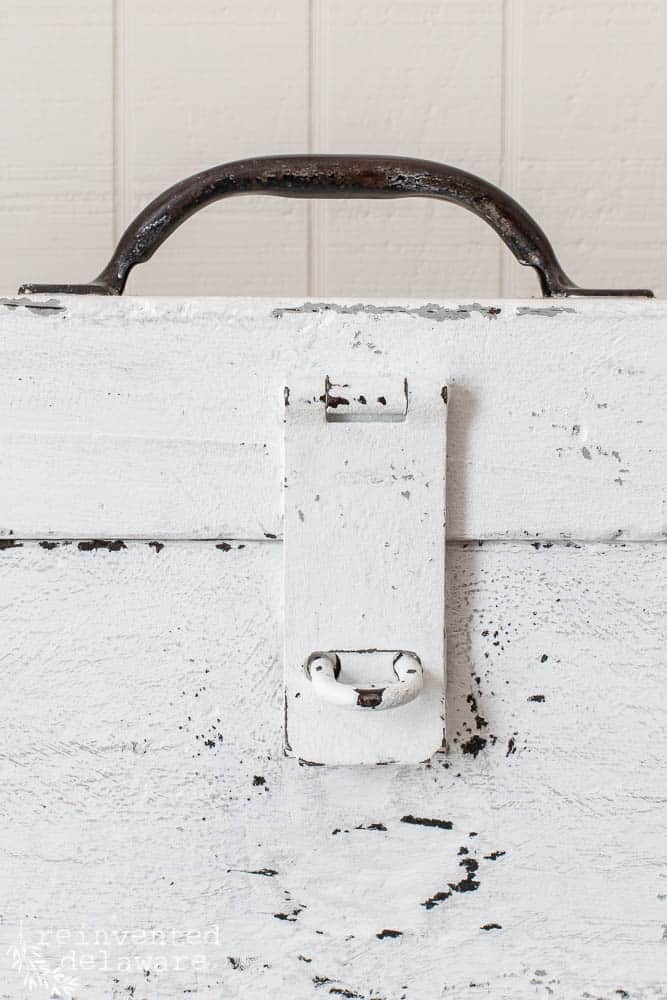
I painted most of the hardware. The gorgeous handle on the top needed to stay in its original patina. I did apply the Big Mama’s Butta to the metal handle.
You can also see the striations I mentioned earlier.
wooden tool chest upcycle
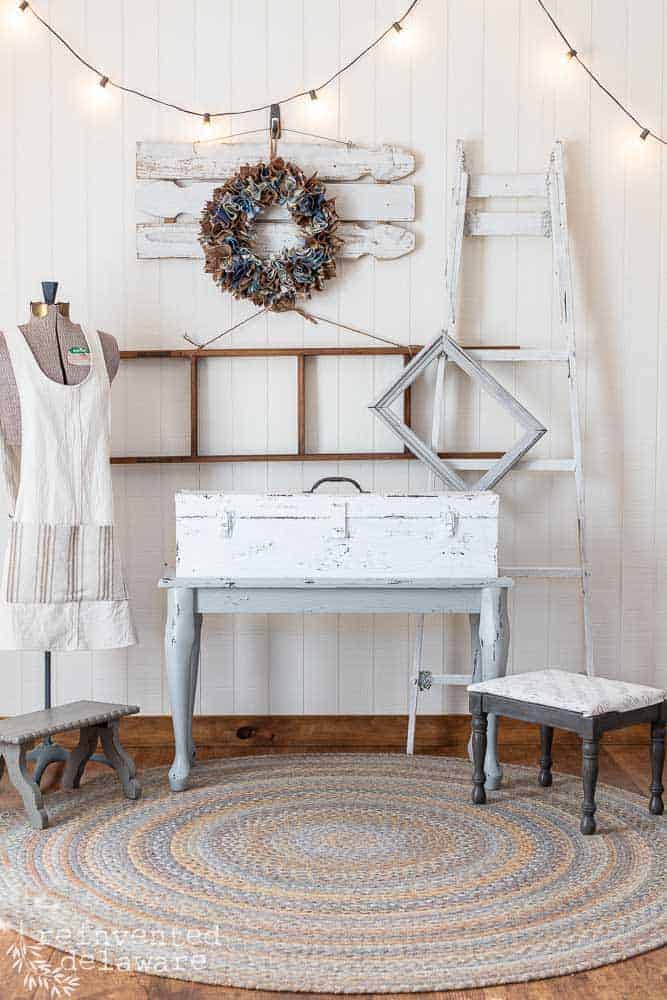
Don’t you love this wooden tool chest upcycle?? The interior is sealed so it could be used as a storage unit. I’m thinking winter gloves and hats near the back door.
Or maybe add several faux Christmas trees in a variety of sizes inside and leave the lid open for the holiday season.
In the spring, you could fill it with potted plants (with bottoms of course!) Can’t you see this filled with gorgeous blooms??
I would love to hear your ideas for using this piece in your home! Tell me in the comments!
so glad you stopped by!
That’s it for today! I hope you are inspired to think outside of the box when you come across a vintage wooden tool chest like this one!
Did you catch that little play on words?? Haha, rolling in hysterics over here!

Pin the image below to your home decor and furniture boards! Just click the pin button at the top left corner!
Thanks for joining our journey!
Thanks so much for joining us for this post! Join our journey so you don’t miss any fun projects, tutorials, and inspiration we share with you each week! You can follow us on Instagram, Facebook, and YouTube. We share even more inspiration on Pinterest!
Until next time…

This is so creative, Cindy! It doesn’t even look like the same piece – that is so cool. I love the colors you chose and how you added a bit of distressing and patina too. It’s perfection! Loving and pinning, CoCo
Thank you CoCo! We love these old wooden tool chests. They are by far one of our favorite types of projects and our local customers love them! Have a great weekend!
Cindy, I love this project. It looks so different and a great transformation. Big Mama’s Butta does smell amazing! I just love saying that name of the product.
Doesn’t Dixie Belle have some of the best names for their products?? That southern talk for sure!
I love the marriage of the legs and tool chest! What a great way to repurpose into a functional piece. I pinned it to my repurposed and cycling board for later reference.
Isn’t it a fun project? Thanks for pinning Do!
Cindy, this project really piqued my interest. I have an antique toolbox that usually just sits on the floor. I wouldn’t paint the box itself, but I would love to make a painted stand for it. This is the first time I’ve seen a project that would fit my vision. Thanks so much for the inspiration.
So glad to inspire you, Carol. We have made this style of tool chest on legs so many times. Our local customers love them. Sometimes I don’t need to paint the tool chest but sometimes it’s really necessary. Thanks for stopping by – tag me if you do the same to your toolbox!