
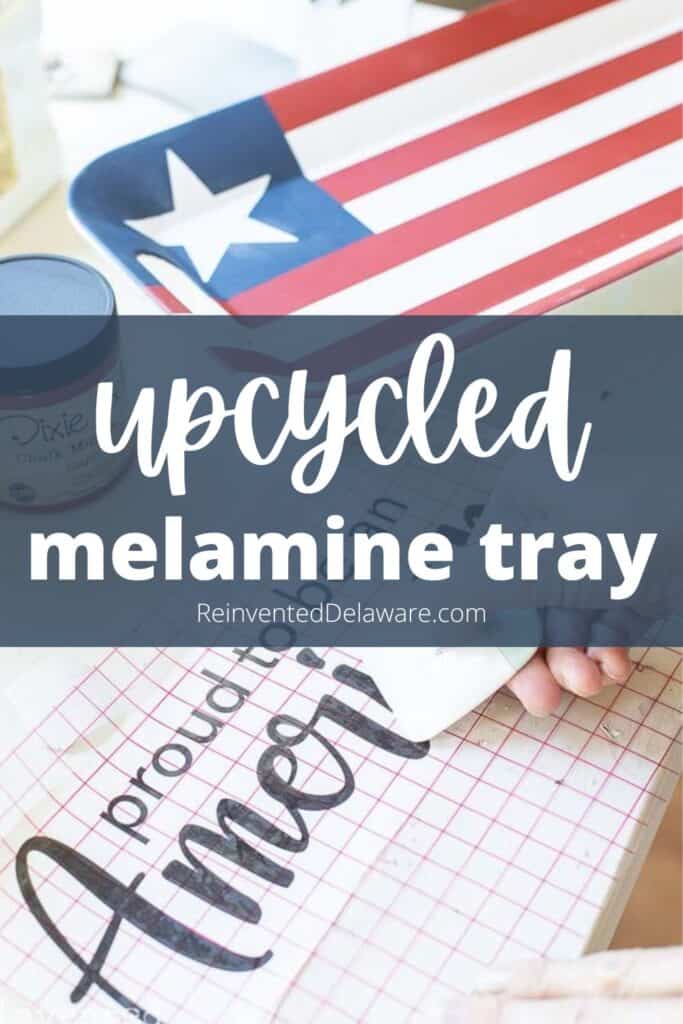
Easy Thrift Store Makeover | Patriotic Serving Tray
This month’s thrift store decor team makeover has a patriotic theme. In fact, I have two thrift store makeover projects for you! Let’s get started!
The following post may contain affiliate links. That means if you click and then buy something, I will make a small commission at no additional cost to you! Thank you for supporting my blog. full disclosure here.
easy thrift store makeover
It’s time for our monthly thrift store decor team collaboration! It’s so much fun being a part of this amazing group of upcycling women – they have so many creative ideas!
Be sure to scroll to the bottom of this post to see all of their upcycled projects. There is a list with all the links to their posts!
Since summertime and July fourth is right around the corner, thoughts of patriotic home decor came to mind. I also like to make projects for you that are useful and who doesn’t need another serving tray?? Especially one to celebrate our nation’s freedom!
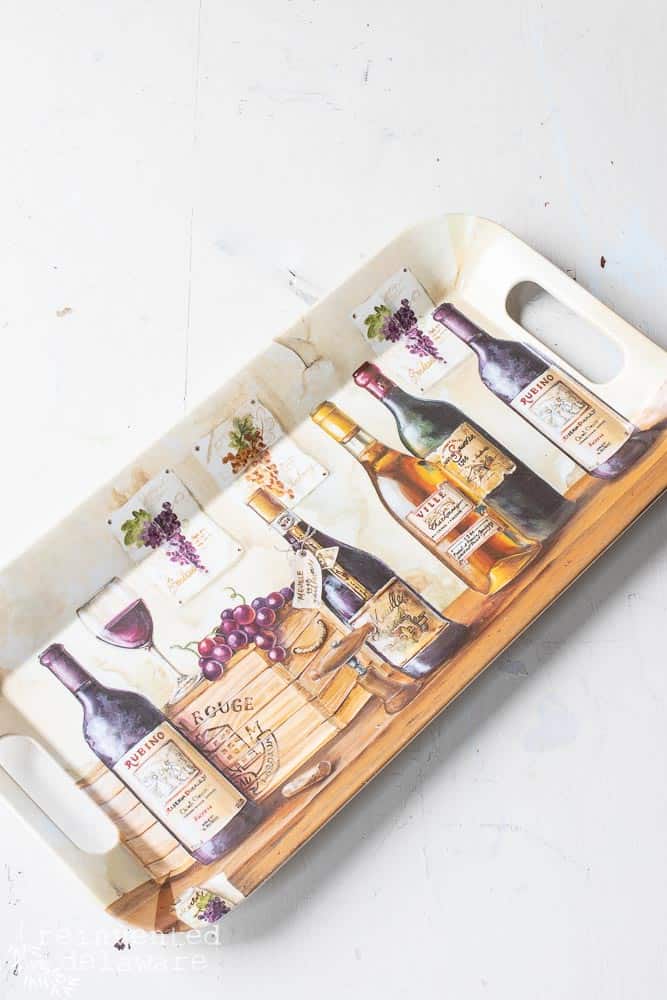
This tray was in my stash and I’m pretty sure I bought it at the same time I bought this melamine serving tray. This tray measures approximately 8″x15″ and that gave me the idea of painting a flag on it. I’m not really sure about the connection there, but I’m going with it!
Use the links below to purchase some of the supplies for this project! You are helping to support this blog and all the free tutorials we offer here! Thanks so much!😊
list of supplies:
- thrifted melamine serving tray
- R.A.D. Sanding Pads
- Slick Stick
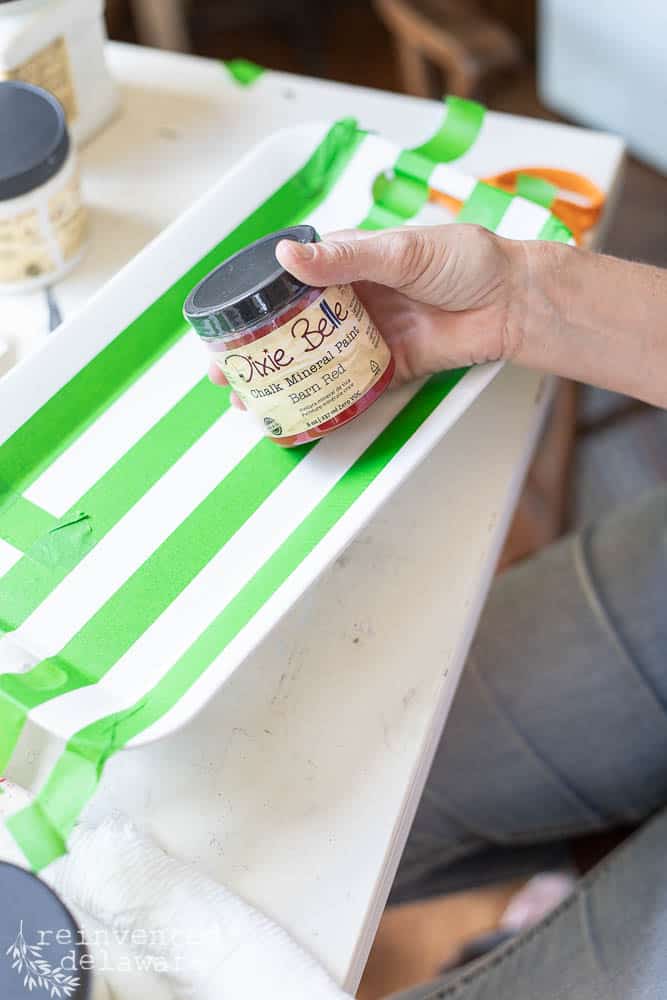
- Barn Red chalk mineral paint
- Bunker Hill Blue chalk mineral paint
- Fluff chalk mineral paint
- Clear Coat in Satin (or whatever sheen you like!)
- synthetic paint brush
- wooden feet (these are similar to mine)
- E6000
- painters tape
- Cricut Machine
- BONUS MAKEOVER: thrifted baking dish (star shape if you can find one) & silver floral container
Click the images below to purchase other supplies!

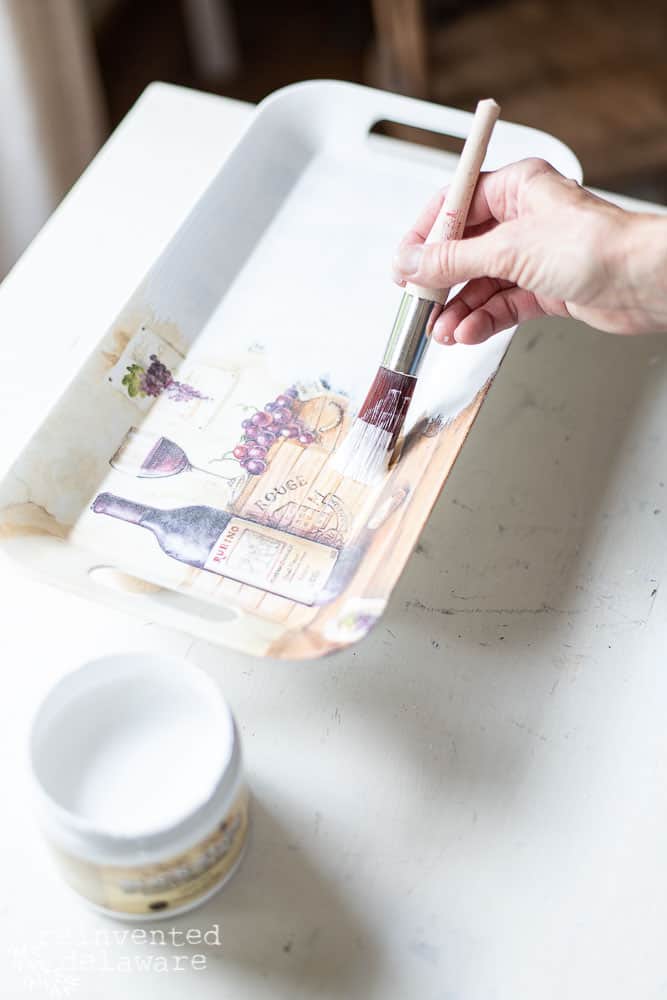
prep the melamine tray for paint
The first step in any upcycle is to clean the piece thoroughly. Paint will always stick better to a clean surface rather than a dirty surface.
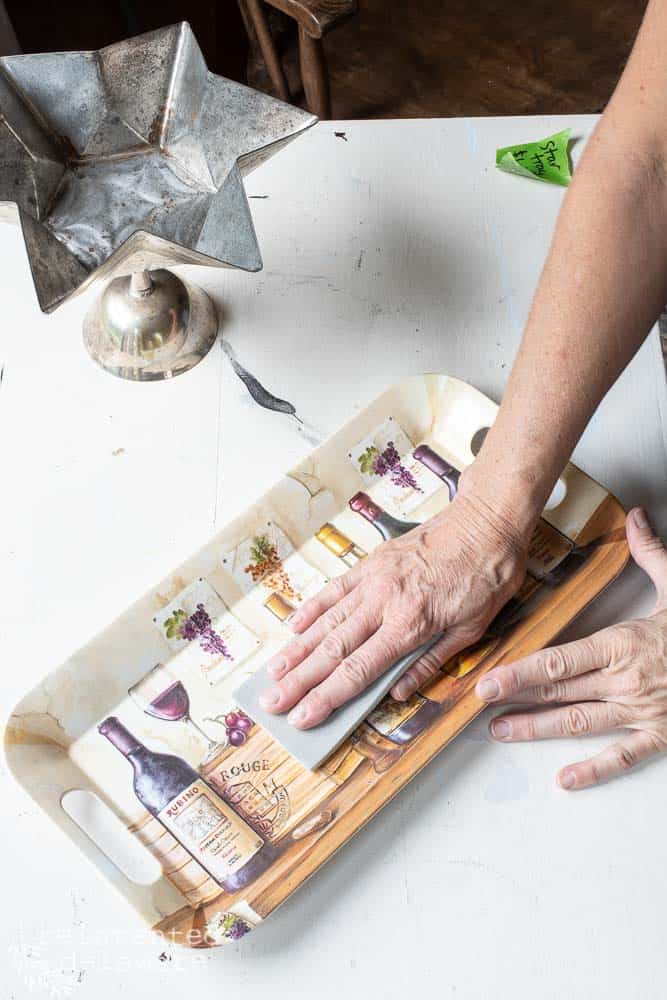
Give the melamine tray a scuff sand with the R.A.D. sanding pads and that step will help this finish to last. The flexible sanding pads are perfect for a tray like the one below because they will curve around all of the edges easily.
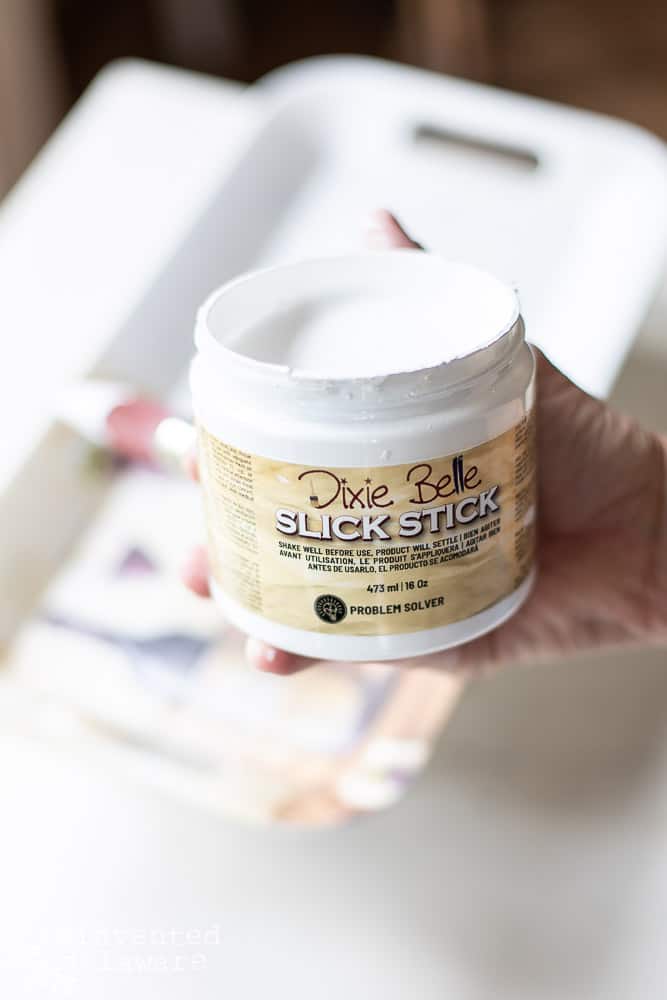
The next step is to apply two coats of Dixie Belle Slick Stick allowing it to dry completely between the two coats. I also allowed the second coat to dry overnight. That’s a really important step you don’t want to skip. The long dry time gives the Slick Stick time to cure before applying the paint.
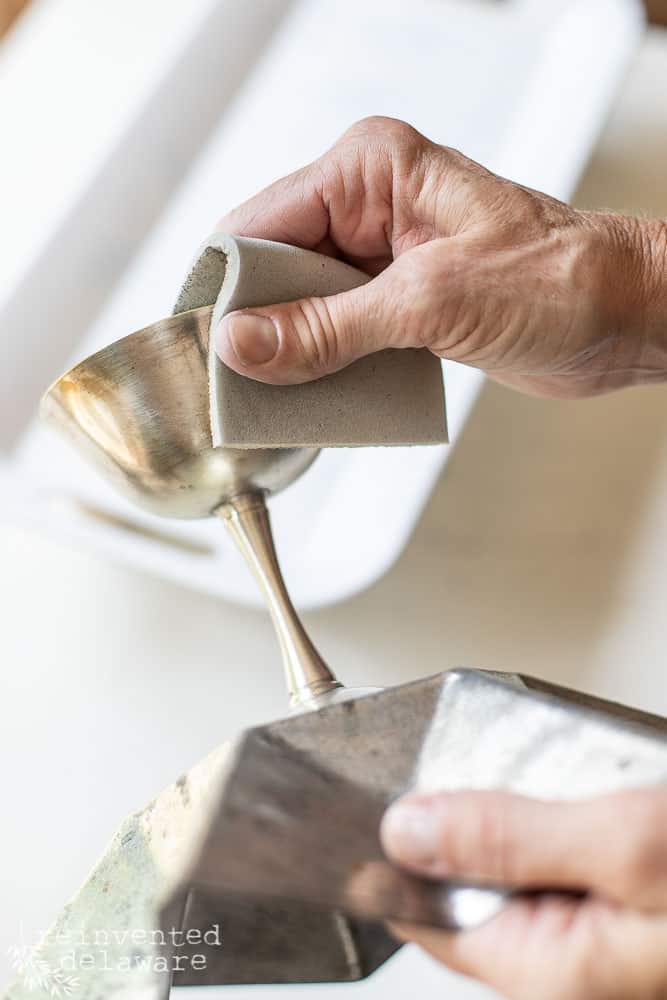
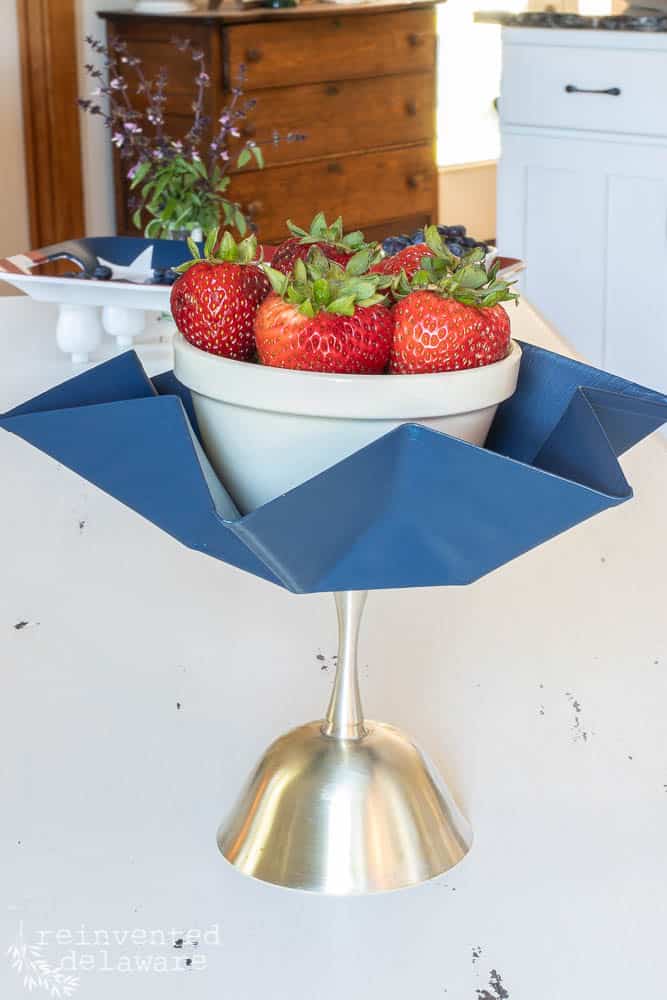
While all that dry time is happening, let’s work on the bonus project I have for you! I had in my stash of junk, um, I mean treasures (wink, wink) a star-shaped metal baking dish and a silver-plated floral container.
One crazy night I decided to glue them together with E6000 and the camera was the last thing on my mind! It’s simple – apply a heavy bead of glue to the silver-plated floral container and center it on the metal baking dish. You can see that in the second image below.
Allow it to set up overnight and then the next day use the same fine grade R.A.D. sanding pad to scuff the surface of the silver. The sanding adds a nice texture to it. You can either let the silver naturally patina with time or periodically repeat the scuff sanding.
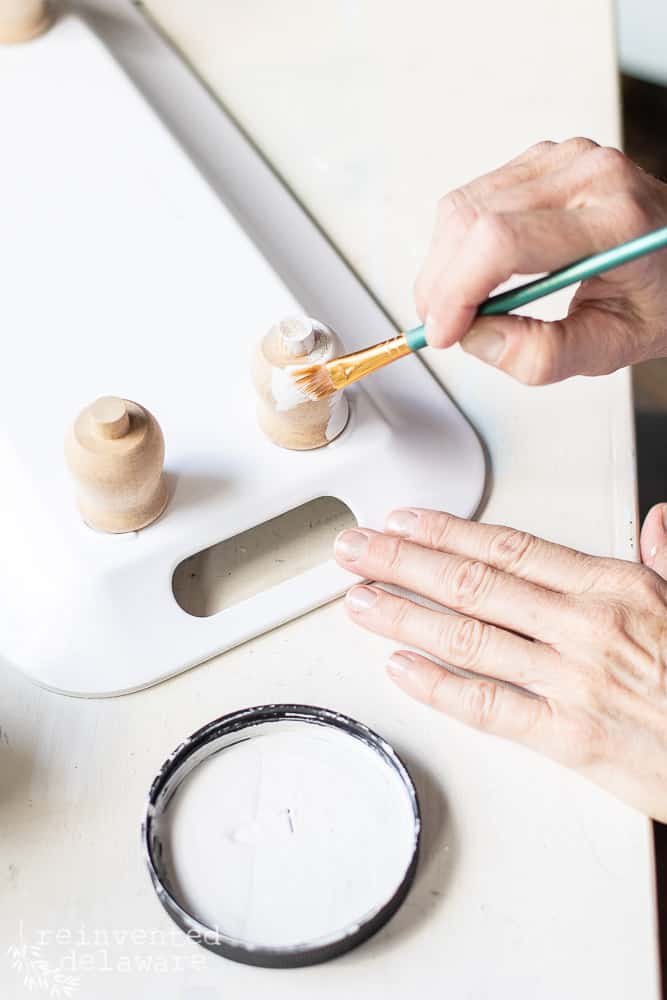
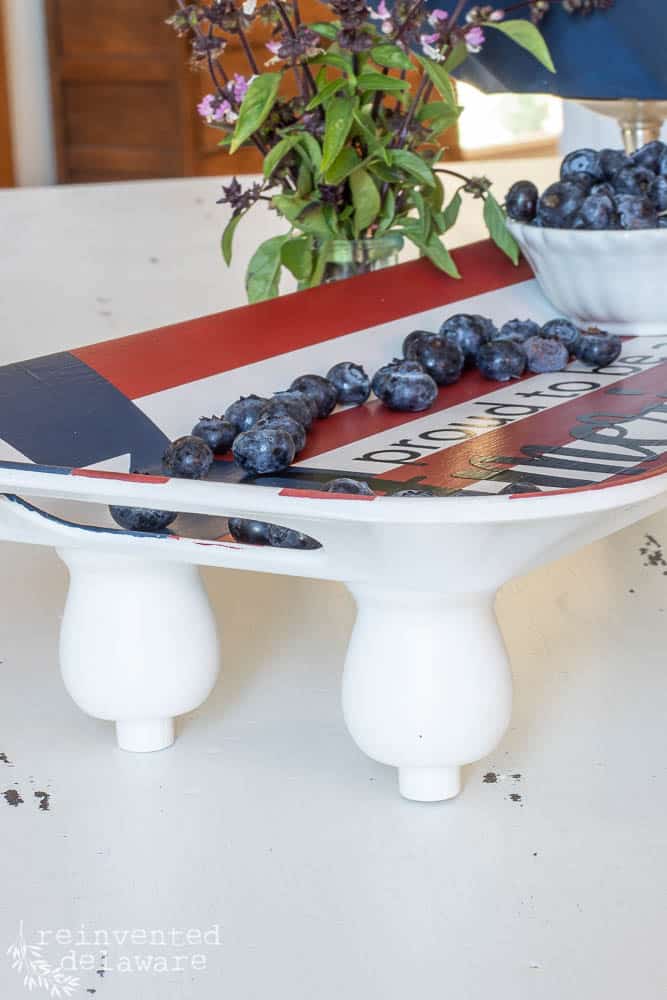
You can see that while the E6000 glue was out, I also glued the wooden feet onto the melamine serving tray and then painted them when they were dry.
BTW, the wooden feet I am using were found while out thrifting. I bought a box full of these wooden taper candle holders and I will be using them for many more projects! You could use the wooden feet that are sold on Amazon. They will work perfectly!


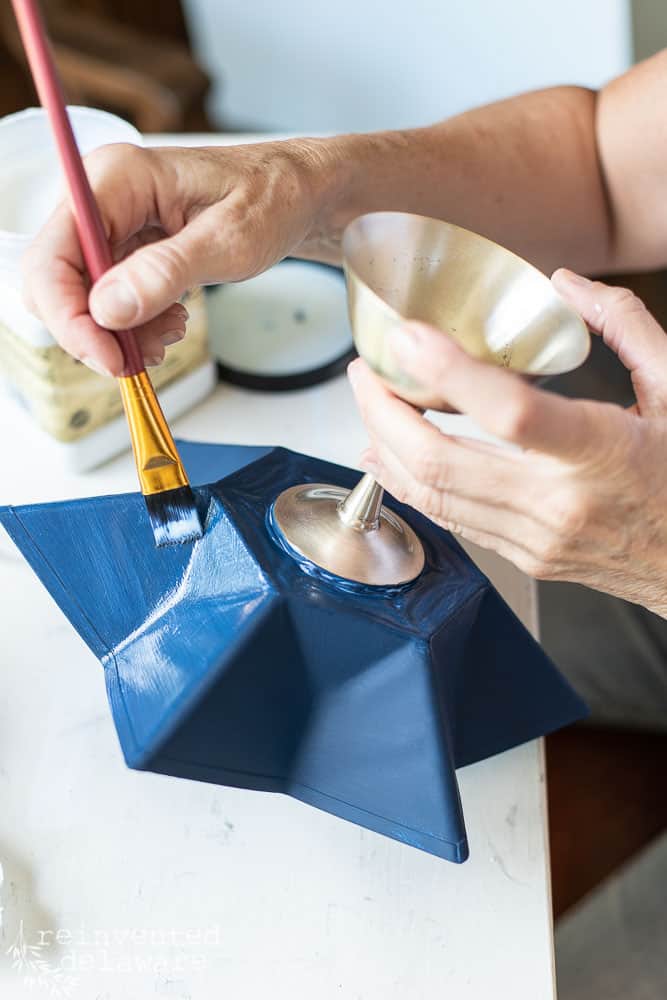
how to paint thrift store baking dish
When I painted the serving tray with Slick Stick, I also painted the metal star-shaped baking dish with two coats of Slick Stick.
The next day I applied two coats of Bunker Hill Blue to the metal dish. The blue is perfect for any project with a patriotic theme, don’t you think?
After the blue paint was completely dry, I applied two coats of Dixie Belle Clear Coat in Satin to protect the paint.
how to paint a melamine tray
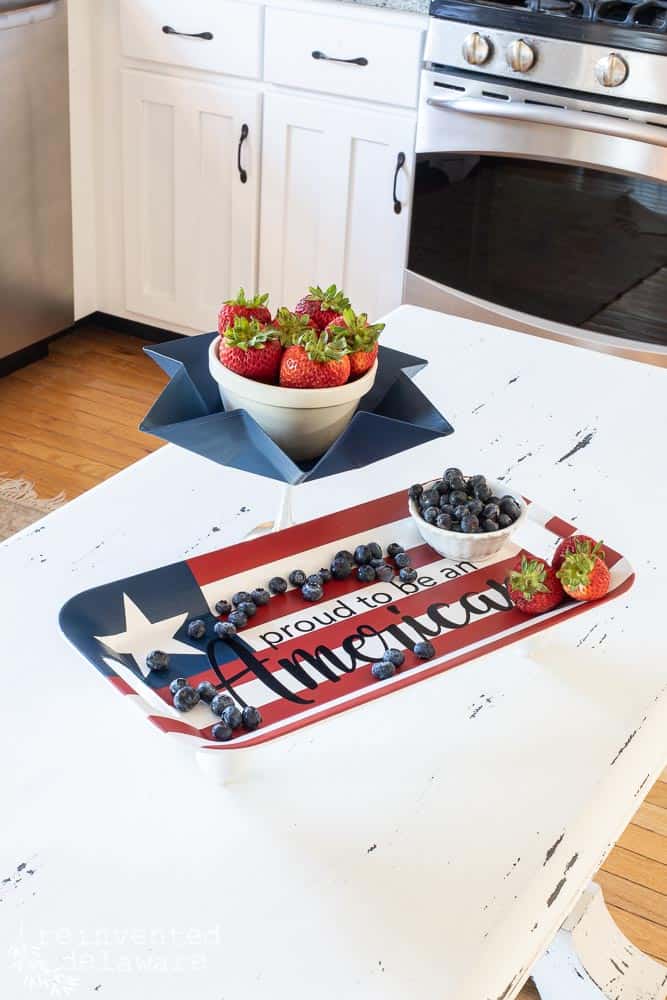
The tray took a bit more thought than the metal baking dish project. The idea of the flag was still in my mind so I applied two coats of Fluff chalk mineral paint and allowed the proper drying time.
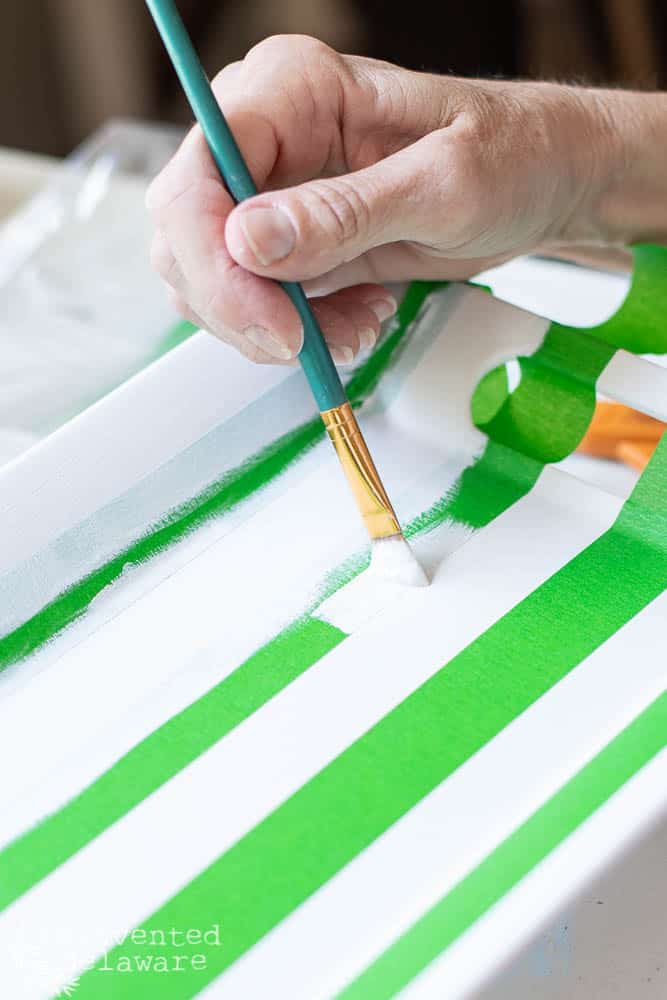
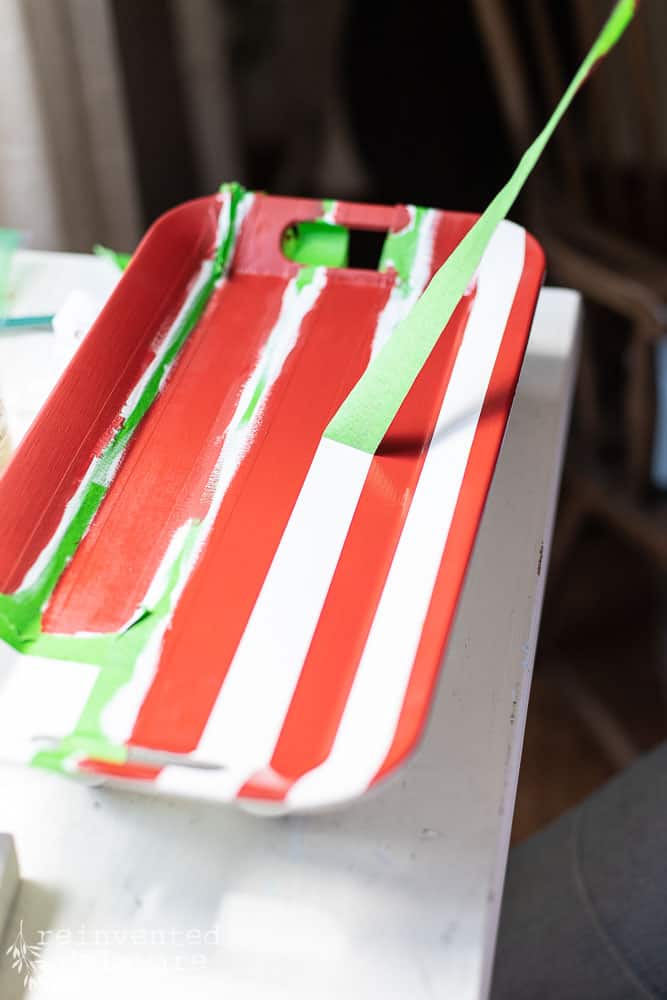
Next, I taped off the stripes. Have you heard of the tip to get perfect lines when using painter’s tape? I tried it and it works! After taping off the areas, paint over the tape edge with the first color of paint (in my case Fluff white.) Then allow it to dry completely. Paint the red color (Barn Red) on the open areas and then pull off the tape at a 45* angle.
It works like a charm! Painting with the original color seals the edge so that the second color won’t bleed under the tape! Brilliant!
Handy tip: Skip the Measuring!
When taping off a design like stripes, apply the first line of tape, then the second alongside it. Pull up the first line of tape and use it to the other side of the second line of tape. Move across the whole piece. In doing this, you will save the time of measuring!
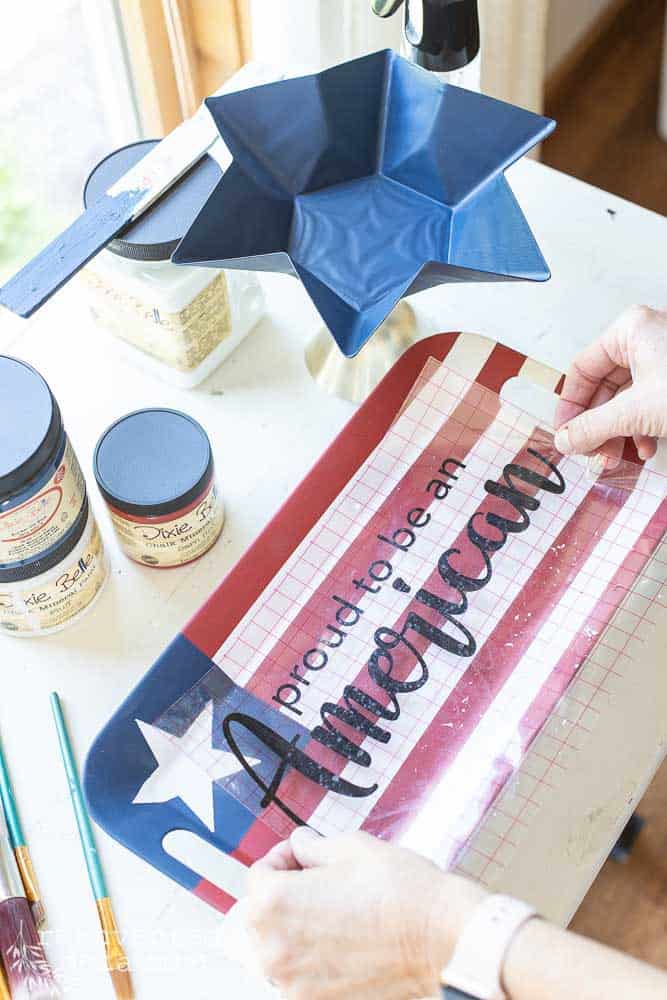
easy patriotic design
One of my daughters is letting me borrow her Cricut to see if I like using it. Admittedly, I am enjoying it, but do I need another hobby?? Only time will tell!
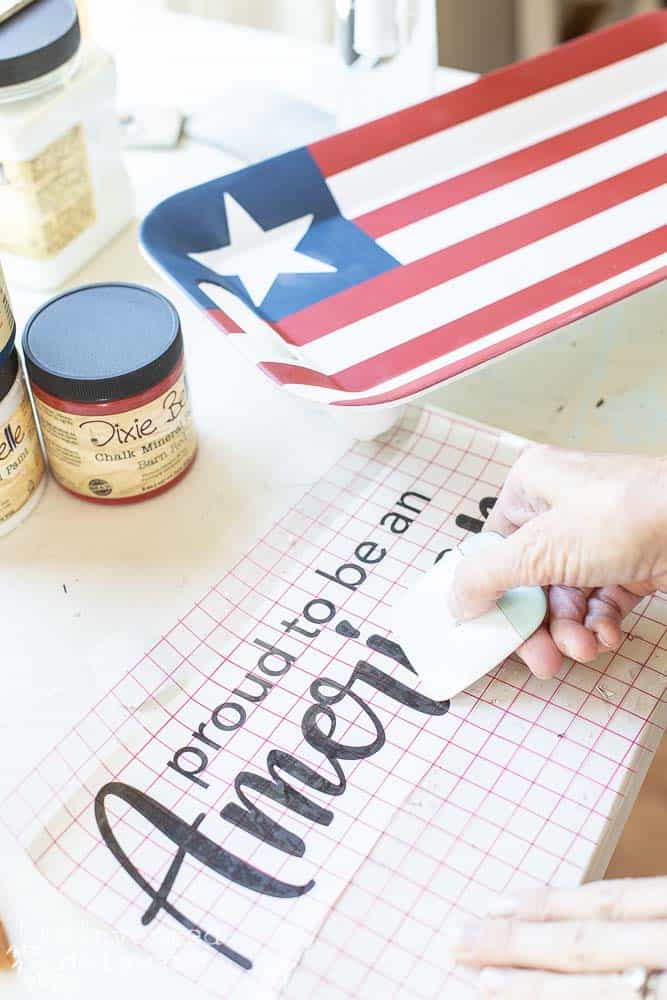
This is the second design I made with the Cricut and it turned out pretty good! What do you think of it? If I do more projects with the Cricut, I will add detailed instructions. One of my blogging buddies has lots of ideas for using a Cricut. Her name is Crissy and she has a great YouTube video showing you how to use one of these amazing cutting machines!
Sorry that I finished the corner with the star without any pics! Basically, I taped it off and painted two coats of Bunker Hill Blue chalk mineral paint. When it was completely dry, I used the Cricut to create a star stencil and painted it in Fluff chalk mineral paint.
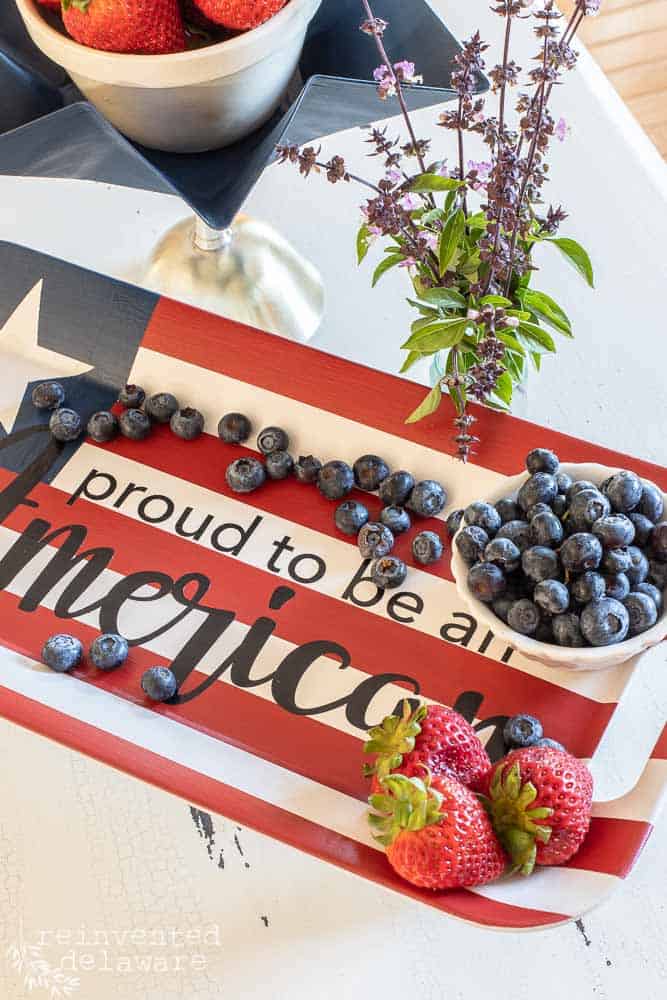
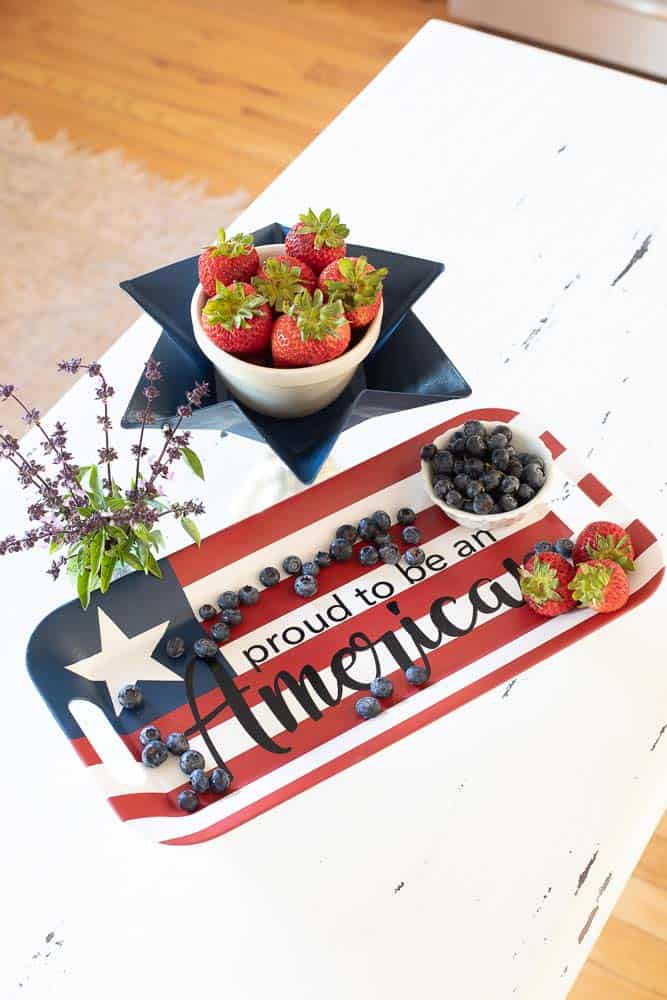
And here is the finished melamine serving tray with a patriotic theme! What do you think of this thrift store makeover? Super cute, isn’t it?
And did I mention how cheap this is? The melamine tray was $1, the metal baking dish and silver floral container cost about $2, the thrifted wooden feet were pennies since I bought a whole box of them and I already had the paint supplies on hand.
If you don’t have a Cricut machine, you can skip the design part of this project. Or you might be able to find a stencil that would fit your serving tray. I must admit, the Cricut is great because you can design your design for the exact size you need.
There might be another hobby in my future!
easy thrift store makeovers
Didn’t the metal star baking dish turn out adorable?? If you make something like this, I would recommend using a bowl for food so that it can be thoroughly washed.
Another idea I had for this dish would be to place a stack of large sugar cookies decorated in a patriotic theme. Wouldn’t kids just love that? And the adults would love it too!
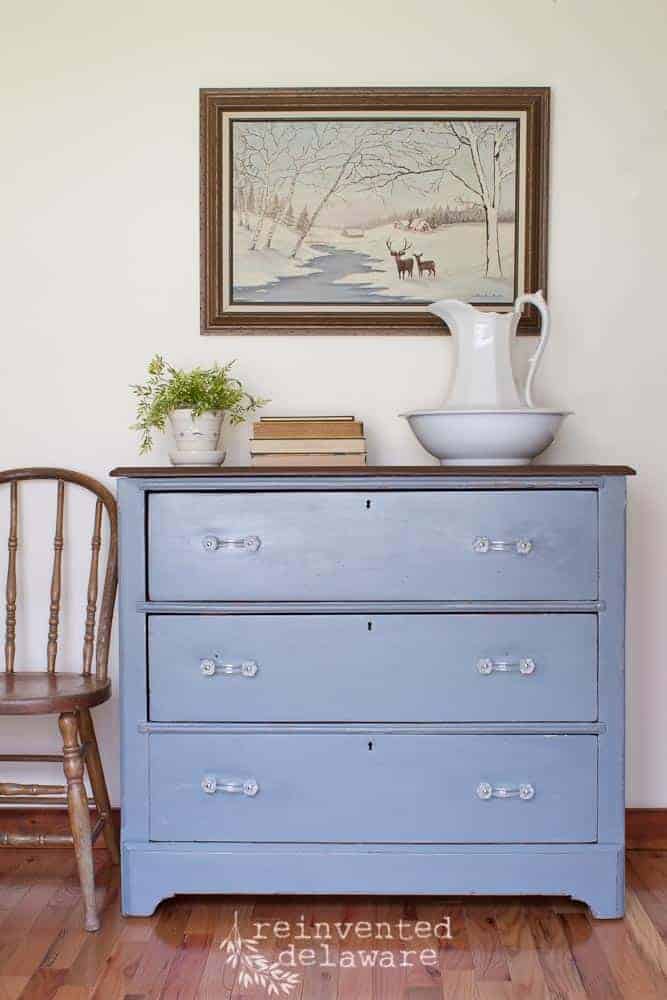
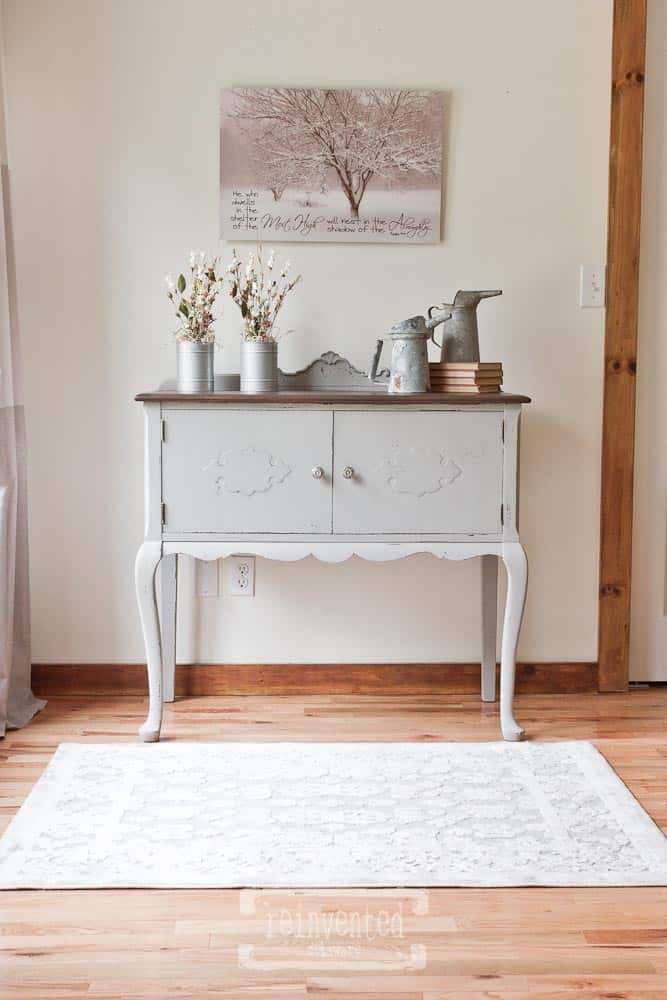
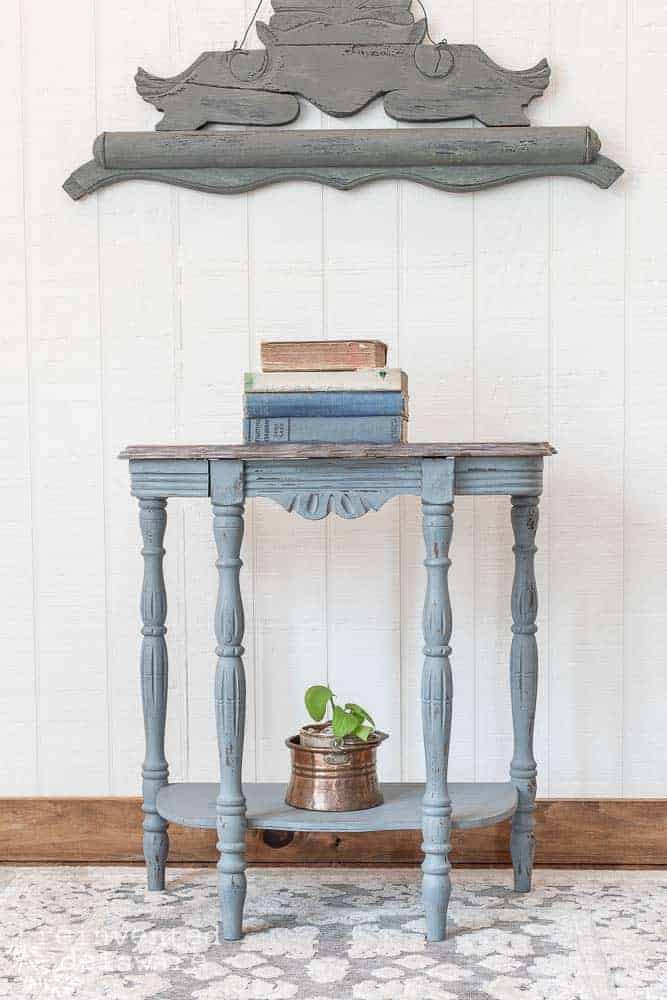
more inspiring posts!
Just click the image below to head over to another fun upcycled project!


Pin the image below to your home decor and holiday boards! Just click the pin button at the top left corner!
thrift store decor team
Remember I mentioned this tutorial is part of a monthly collaboration with a group of talented upcycling women? Here are the before shots of their projects – I can’t wait for you to see the reveal of each one!
Links to each post are below!
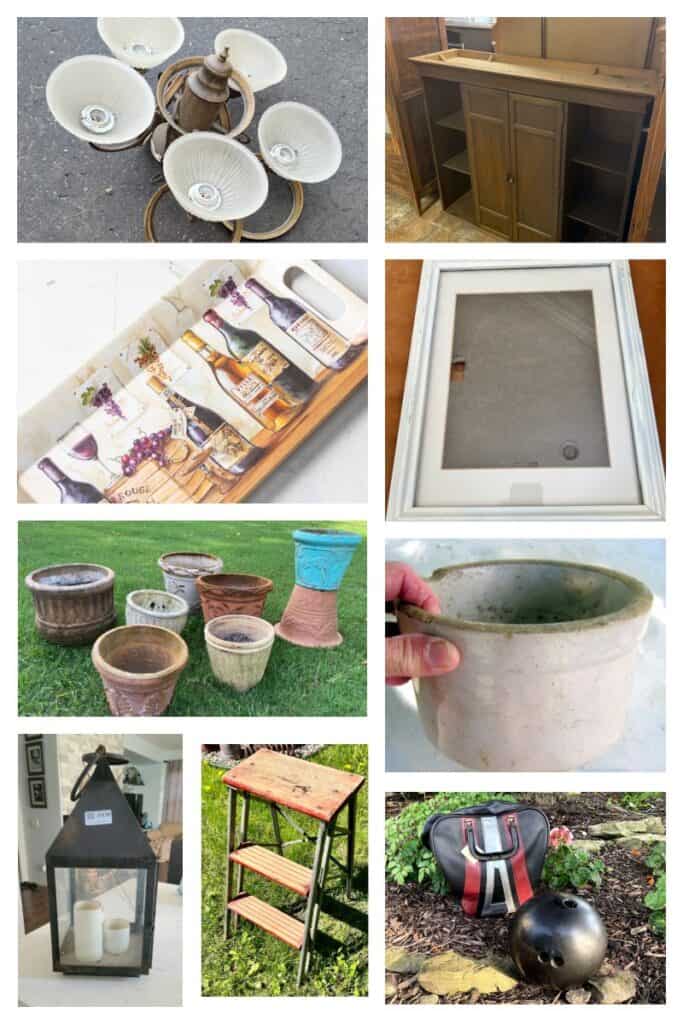
Black Matte Spray Painted Lantern by Domestically Speaking
DIY Chandelier Planter by My Repurposed Life
Old Crock Filled with Succulents by Petticoat Junktion
DIY Upcycled Bar Cabinet from the Top of a Hutch by Our Southern Home
DIY Pressed Flower Art in a Picture Frame by My Uncommon Slice of Suburbia
Mosaic Bowling Ball Yard Art by House of Hawthornes
Herb Themed Rustic Garden Stepladder by Organized Clutter
Upcycled Garden Pots and Containers by Shop at Blu
Easy Thrift Store Makeover | Patriotic Serving Tray (that’s me!)
**Sarah from Sadie Seasongoods wasn’t able to join us this month! We missed your amazing ideas Sarah!
Thanks for joining our journey!
Thanks so much for joining us for this post! Join our journey so you don’t miss any of the fun projects, tutorials, and inspiration that we share with you each week! You can follow us on Instagram, Facebook, and YouTube. We share even more inspiration on Pinterest!
click below to purchase supplies!
Visit my Amazon Storefront!
Click the button below and head over to our online shop on Amazon!


This is so festive for the upcoming 4th of July holiday! I’ve never made a melamine tray over. Looks fantastic!
They are readily available at thrift stores around here so I’m always looking for ways to use them!
You did just an awesome job on the patriotic tray! I love the legs too!
Thanks, Carlene! I have lots of the little legs – a whole boxful!!
Awesome projects Cindy, and perfect for the summer! Great tips for painting. Have fun with the cricut.
pinned!
gail
The Cricut has me hooked! Such a fun and versatile machine!
This turned out so great, it looks like it was professionally done!!! Thanks for all the tips, love this project.
That is kind to say, Kristin! My hubby said the same, “it looks store-bought!”
I always love a good tray makeover – yours turned out so cute!
So glad you enjoyed the makeover, Maryann!
What a cute project, Cindy. That tray look completely brand smacking new. The addition of the little feet is darling.
Two great projects!
Thank you, Tammy! I appreciate you stopping by!
I love these projects so much. Great tip about the stripes. Pinned!
Thanks for pinning Cindy! Have a great week!
Cindy I love the tray it turned out amazing!
Thank yo Stacy! Hope you have a great week!
I love thrift store makeovers and this one is great! Such a fun transformation! I’m pinning it for future reference! I’m thinking of all kinds of festive trays I could make! thanks for the inspiration!!
I can find these melamine trays at our local thrift stores but the designs are usually outdated. They’re fun to freshen up!
Such a fun DIY for so cheap!! You did an amazing job of turning these old and worn down finds into adorable decor!!
Thanks Rachel!