
Easy DIY Luggage Rack Makeover for a Guest Bedroom
Learn how to make your guest room welcoming by adding a thrift store find like an old luggage rack. This great find is an easy makeover with the simple steps you will see in this post.
Grab your cleaning supplies, a paintbrush, and your staple gun, then let’s get started!
thrift store find – luggage rack makeover
Finding an old luggage rack is fairly easy if you frequently shop at your local thrift store. We have even had great luck at the auctions we attend and at a yard sale!
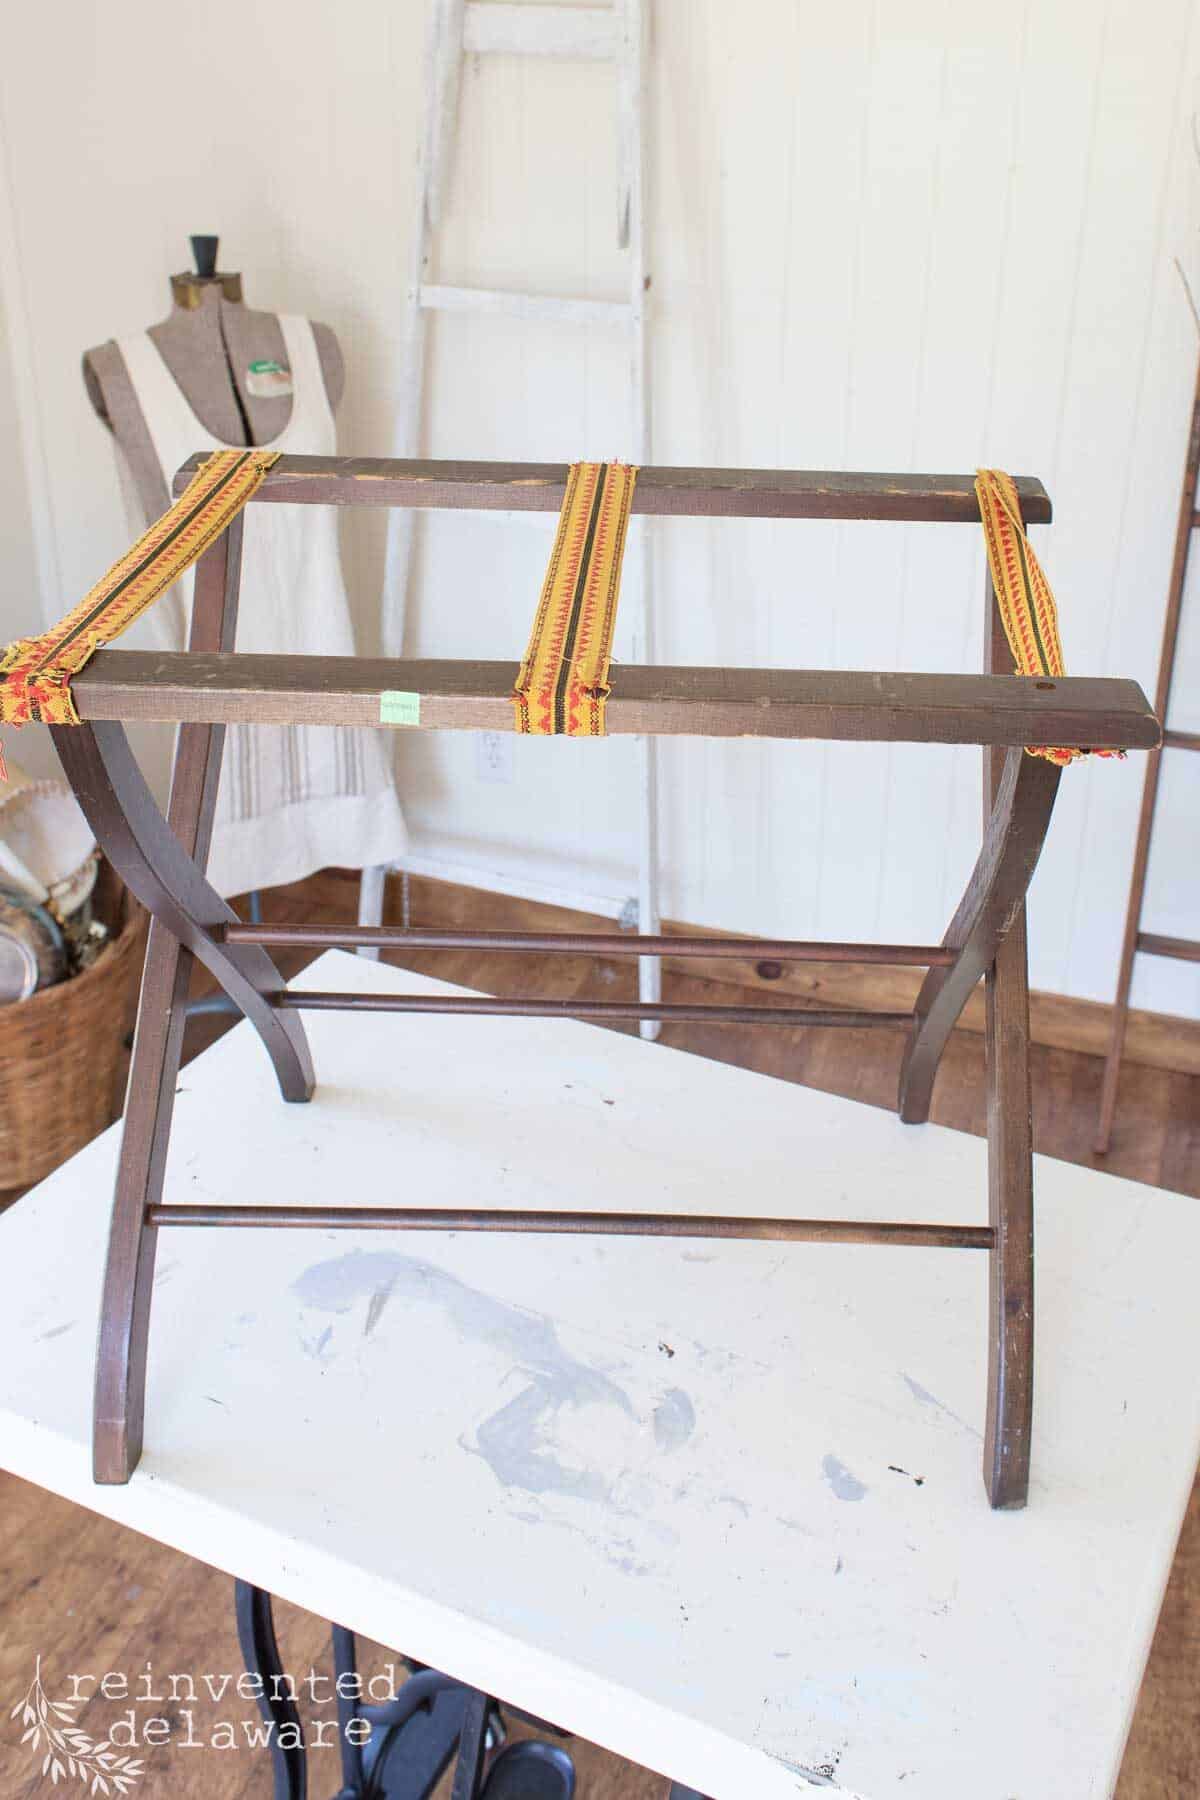
This lovely piece was just waiting for me at a local Goodwill store for only $6.99. And it was my lucky day – Wednesdays are senior citizen days at Goodwill here in Delaware! Final cost: $4.89! That’s definitely a deal especially when you see the luggage racks over on Etsy! I’ve got some linked below if you are interested!
The finish is usually outdated and the old straps can be worn out. Following these simple steps will give this old luggage rack new life in no time.
The following post may contain affiliate links. That means if you click and then buy something, I will make a small commission at no additional cost to you! Thank you for supporting my blog. full disclosure here.
Supplies are listed at the bottom of this post!
guest room furniture
The last time I was out shopping at my favorite thrift stores, I came across this luggage rack. I have been wanting one for our guest bedroom for some time now. When I spotted this one, I knew right away that it would be a quick fix.
The old straps needed to be replaced with new straps and the finish needed a new look. I wouldn’t even have to break out my sewing machine for this DIY project!
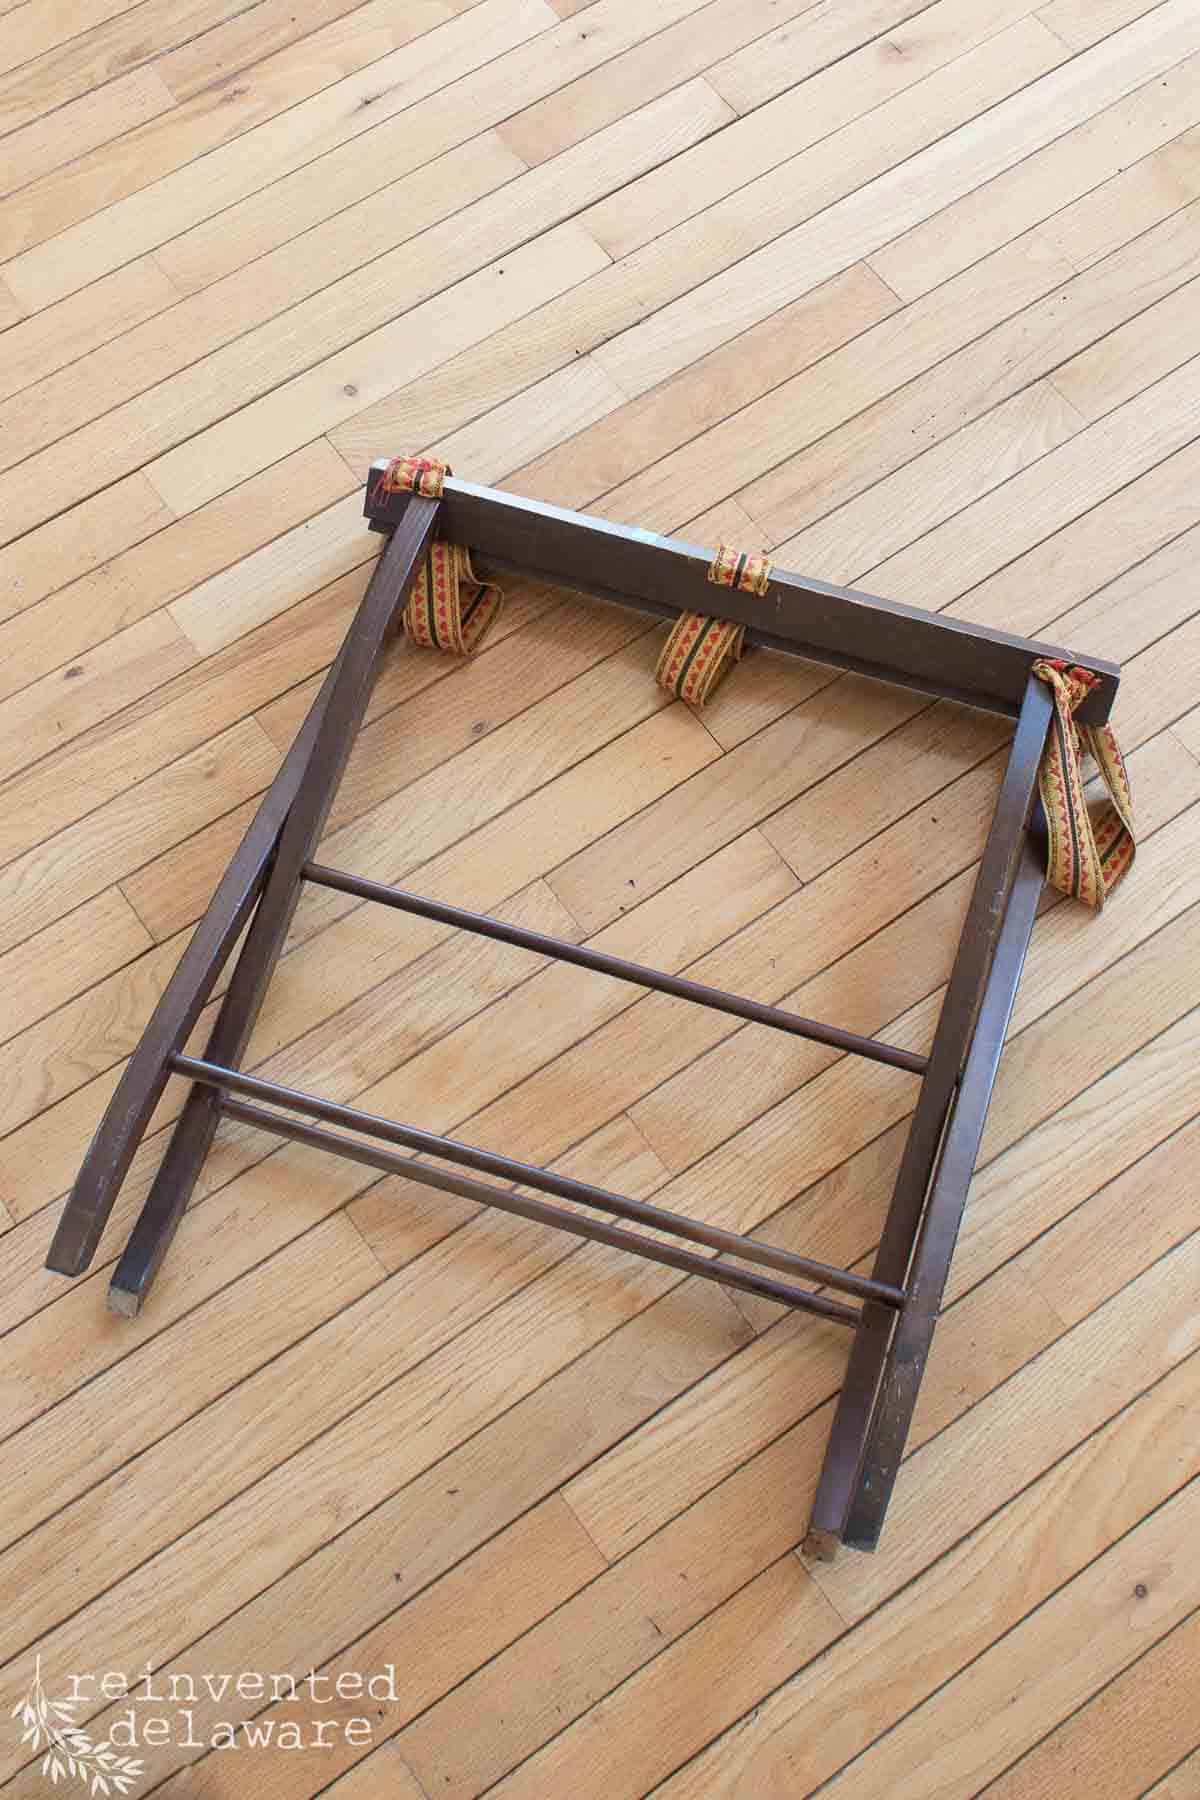
Plus the luggage rack was in perfect working order so I wouldn’t have to fix anything!
Now mind you, I don’t mind furniture repairs. But if I can skip that step, well, that just makes my day!
A full supply list is at the bottom of this post! I’ve got everything linked for you so shopping will be easy!
follow these simple steps
The first thing to do was to remove the old straps that hold the suitcase. BTW, I have a couple of other ideas to share about this luggage rack project! Read through to the end to hear about my ideas!
remove the upholstery staples
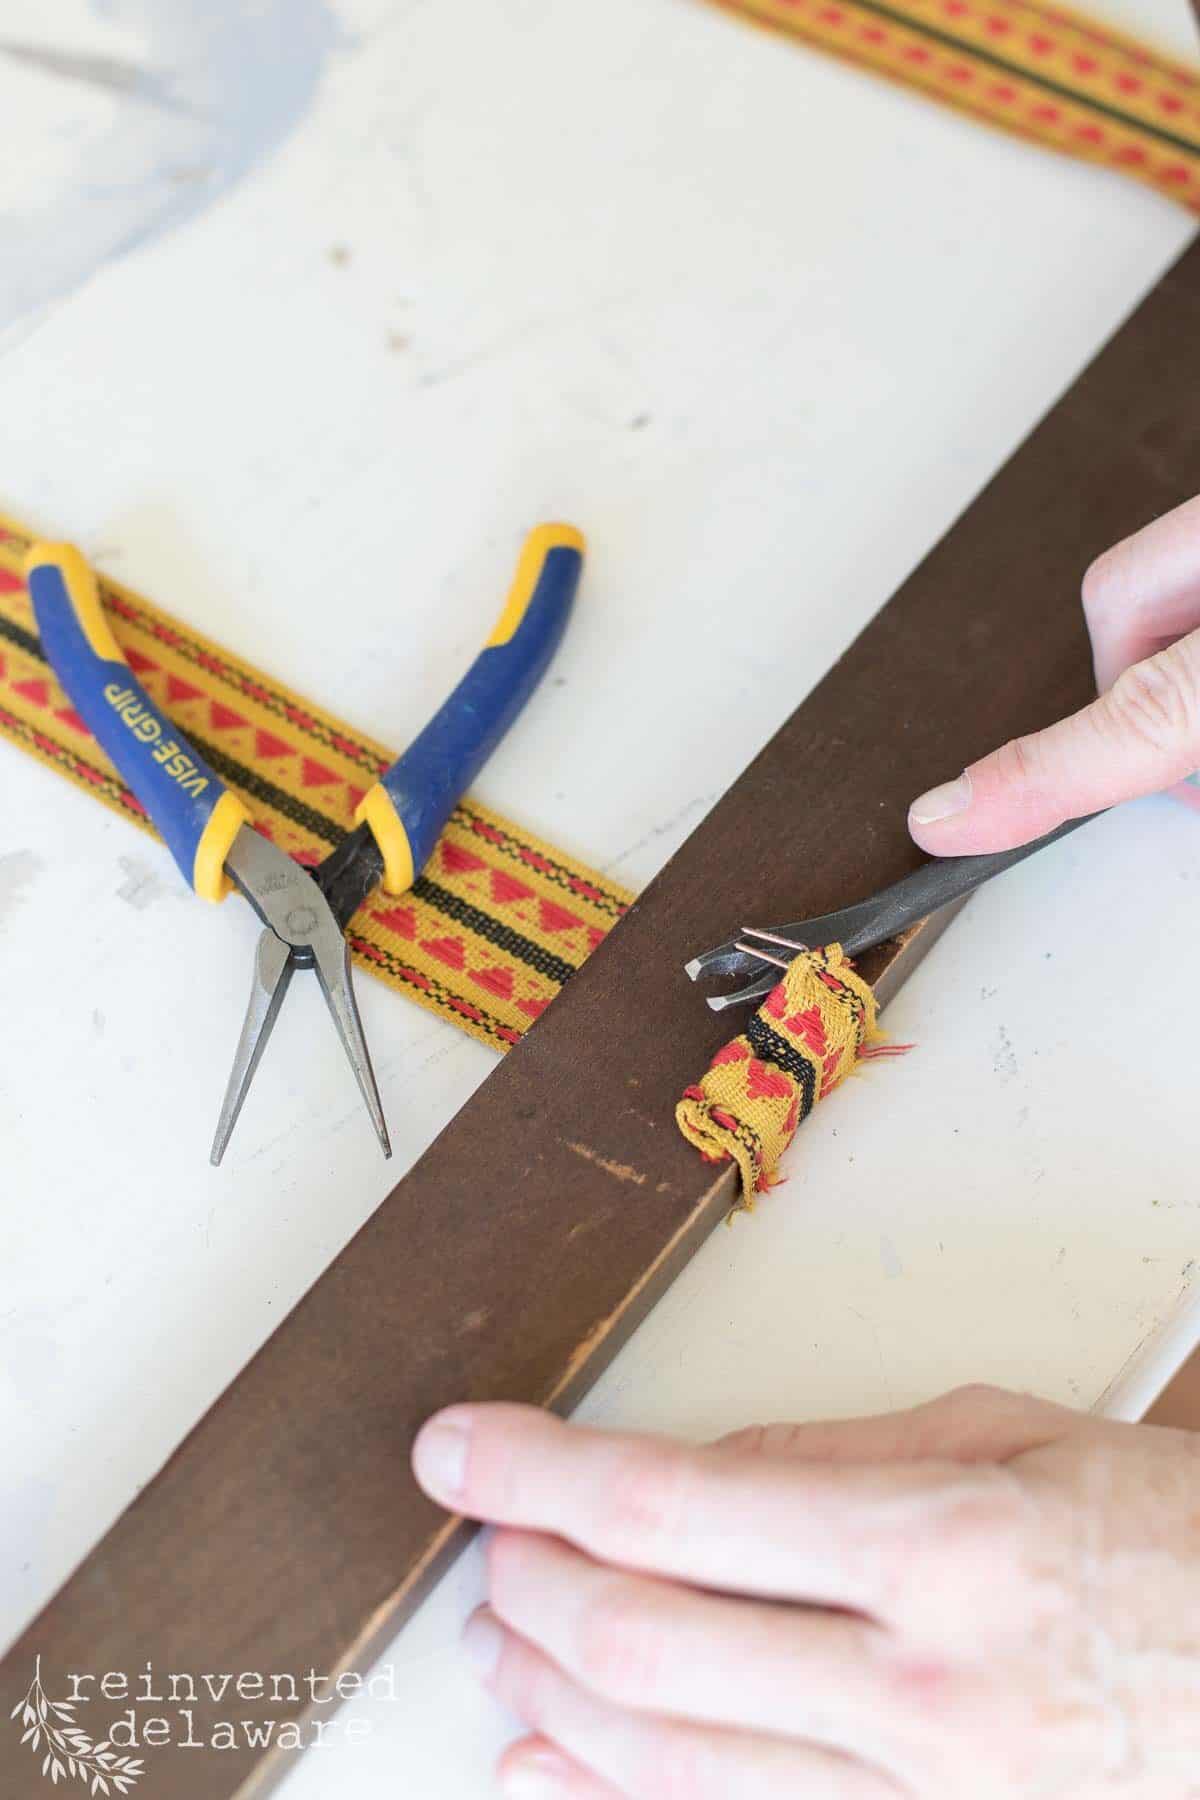
Anyway, use an upholstery staple and tack remover along with a pair of spring-loaded needle nose pliers to remove the old staples. The staple remover can lift the staple then you can grab it with the pliers to remove it.
I suggest that you keep track of the old staples. You don’t want anyone accidentally stepping on one. Also, resist the urge to just flick the staples out causing them to fly across the room! Wear safety goggles to protect your eyes.
Once all of the staples are removed, discard the old straps on the luggage rack except for one. Keep that one handy to measure for the replacement straps. You can also measure the old strap if you would rather!
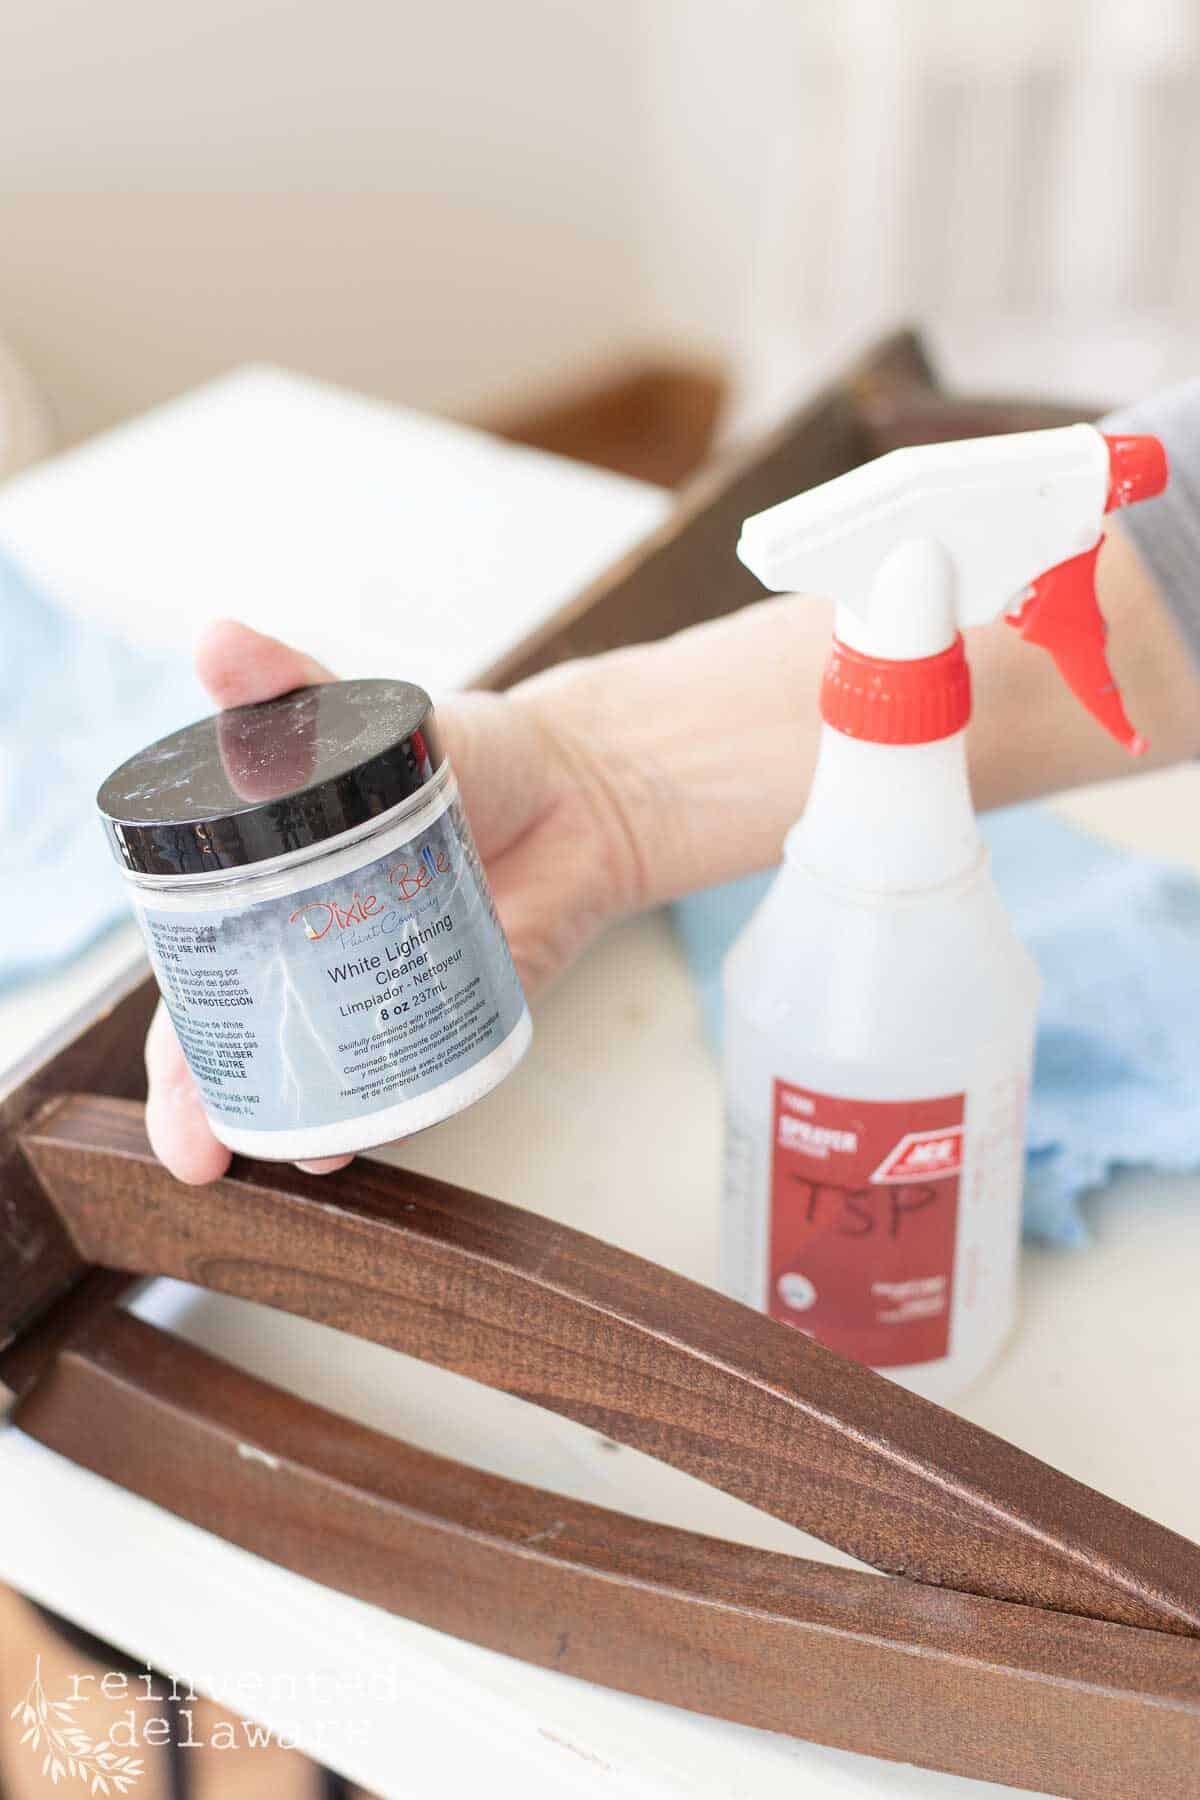
clean the wood frame
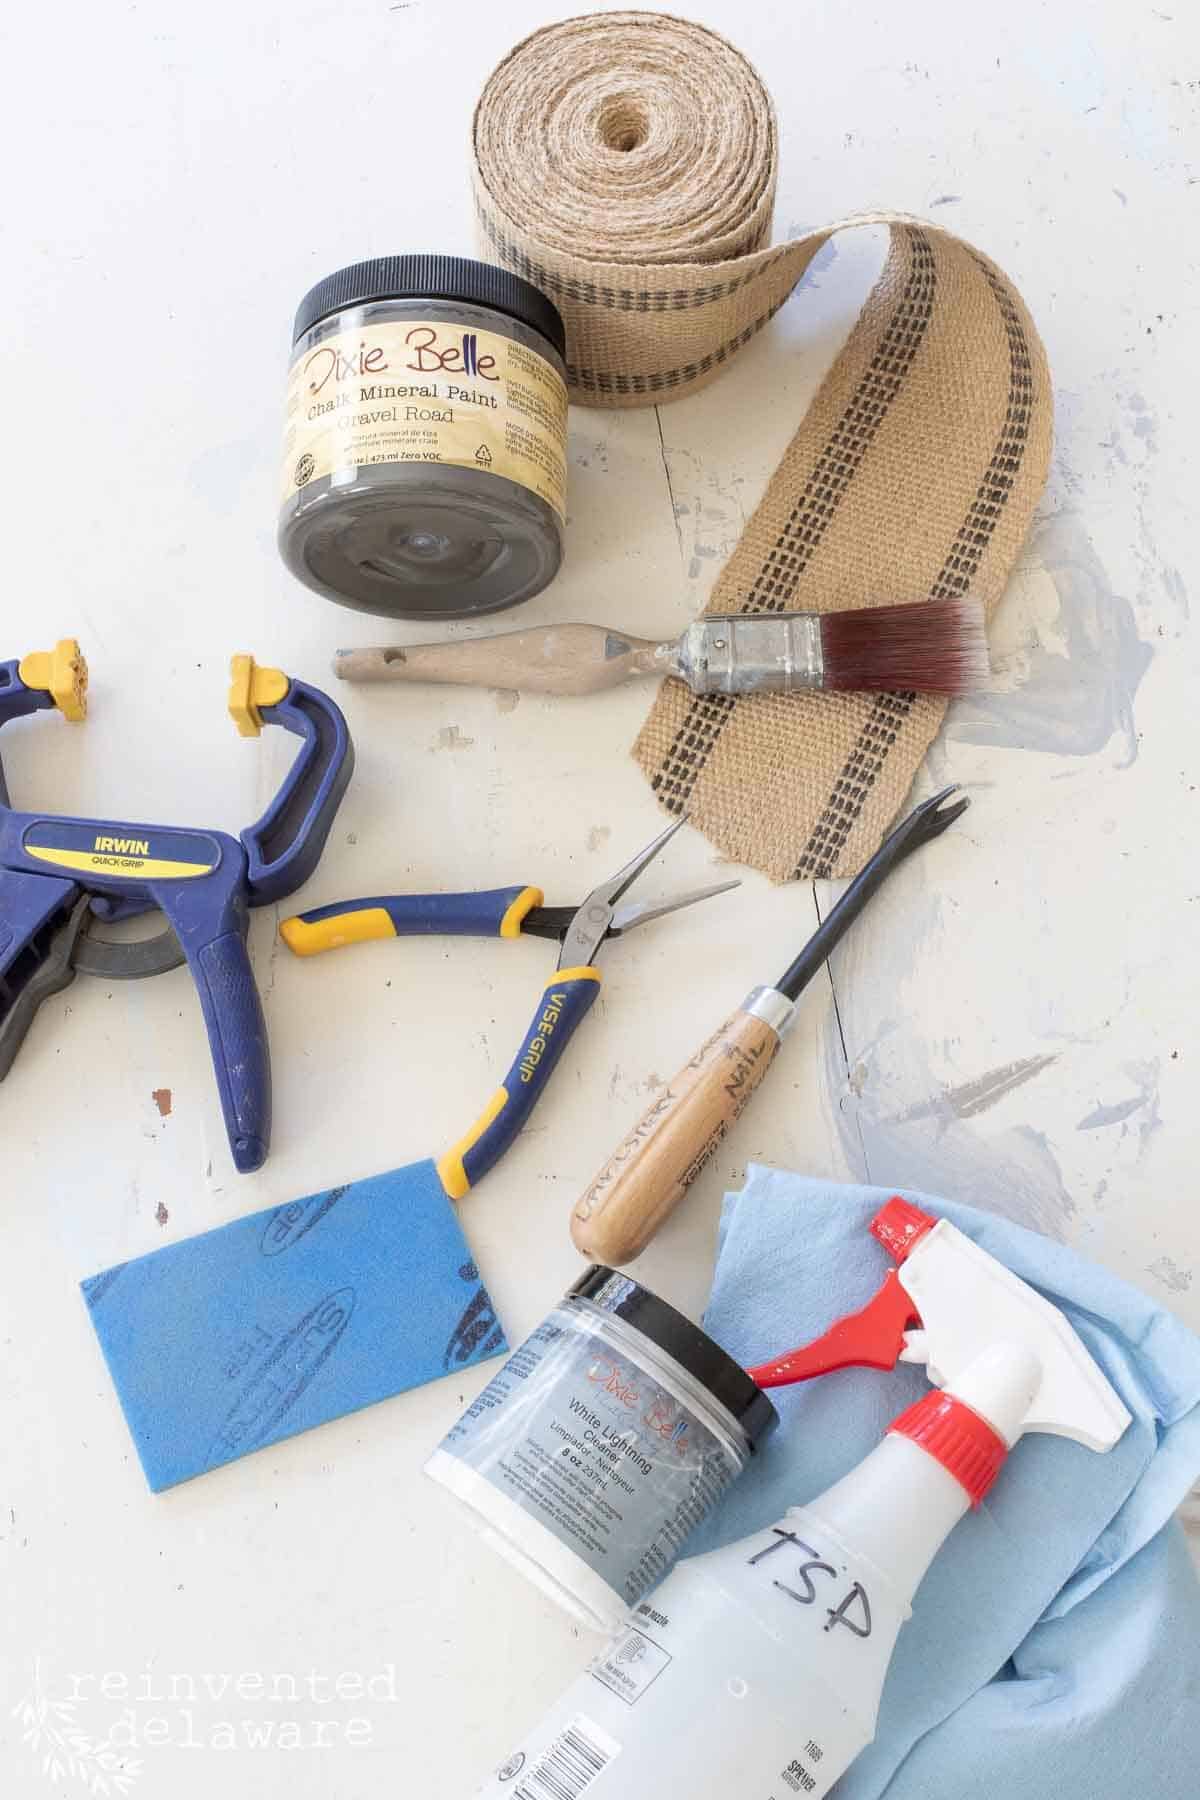
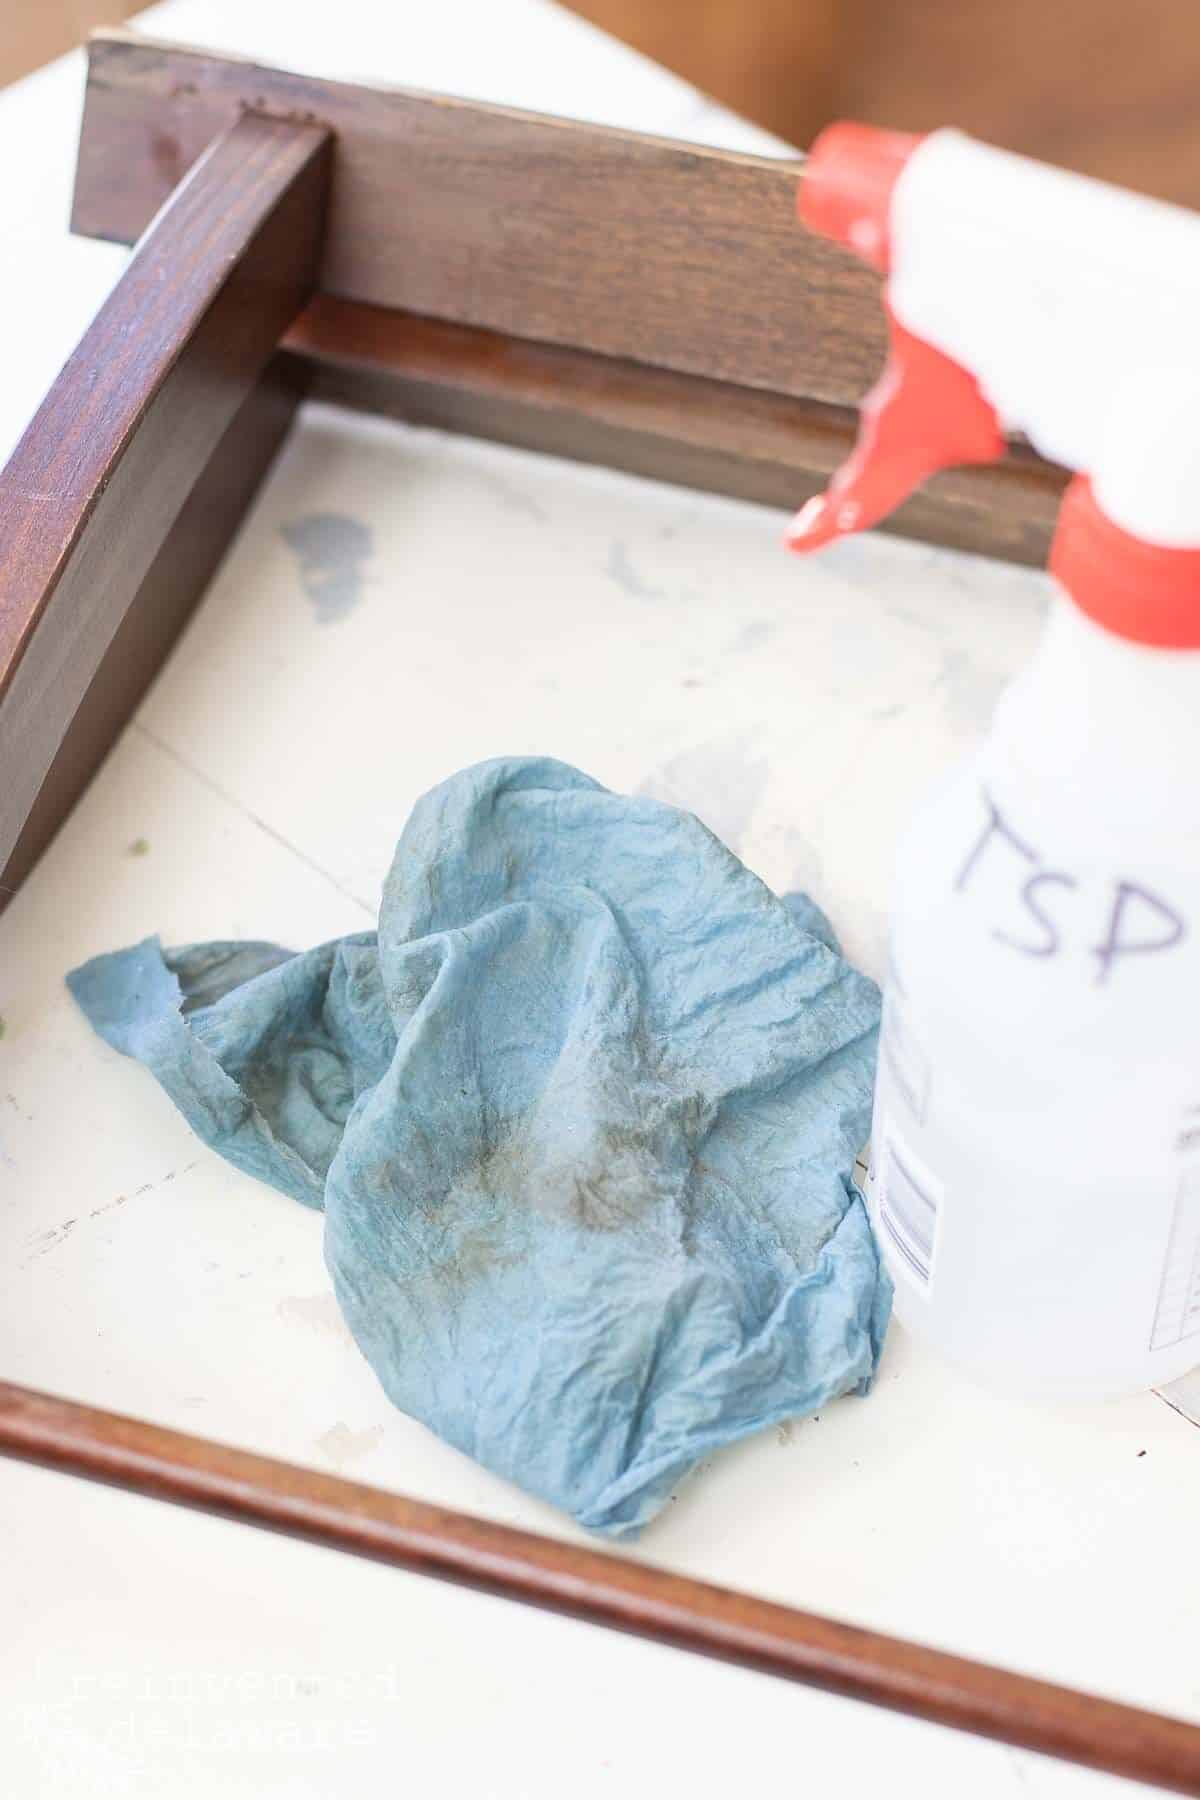
Next, let’s get this wood clean! I like to use a TSP alternative cleaner because it works so well. I mixed it according to the instructions, sprayed it on the surface then wiped it off with a blue shop towel.
It’s important to go back over the surface with clean water. I used a clean blue shop towel and dampened it with water. Then I went back over all of the wood.
paint the wood frame
Now for the fun part, painting! There is something fun about using a paintbrush. Maybe one day I will try using a sprayer but for now, I like to use a paintbrush.
You could also use spray paint if you can find a color you like. Feel free to check out your local hardware store to see their selection of spray paint colors.
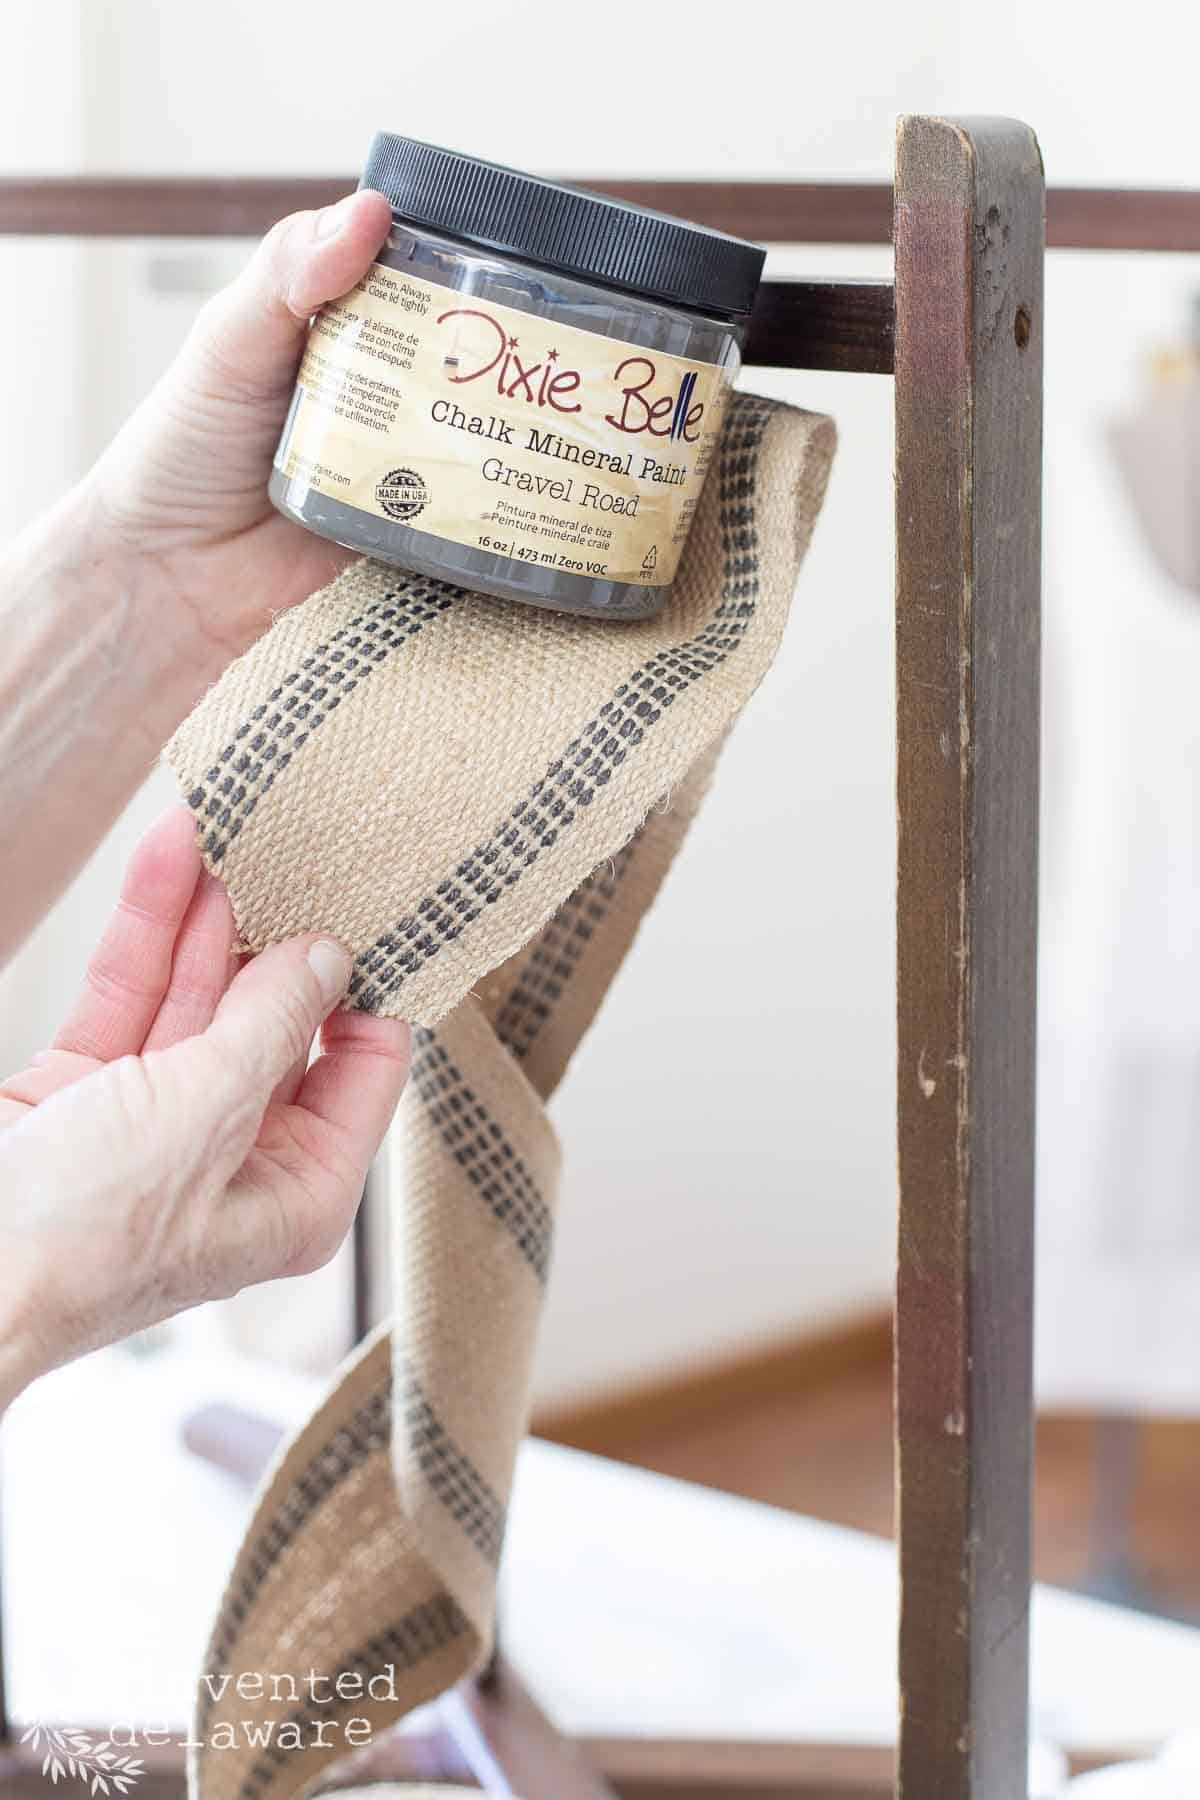
The guest room that will be housing this little guy has neutral gray tones so I decided to go with this gorgeous gray called Gravel Road. Chalk paint is so easy to use and would be perfect for this little update!
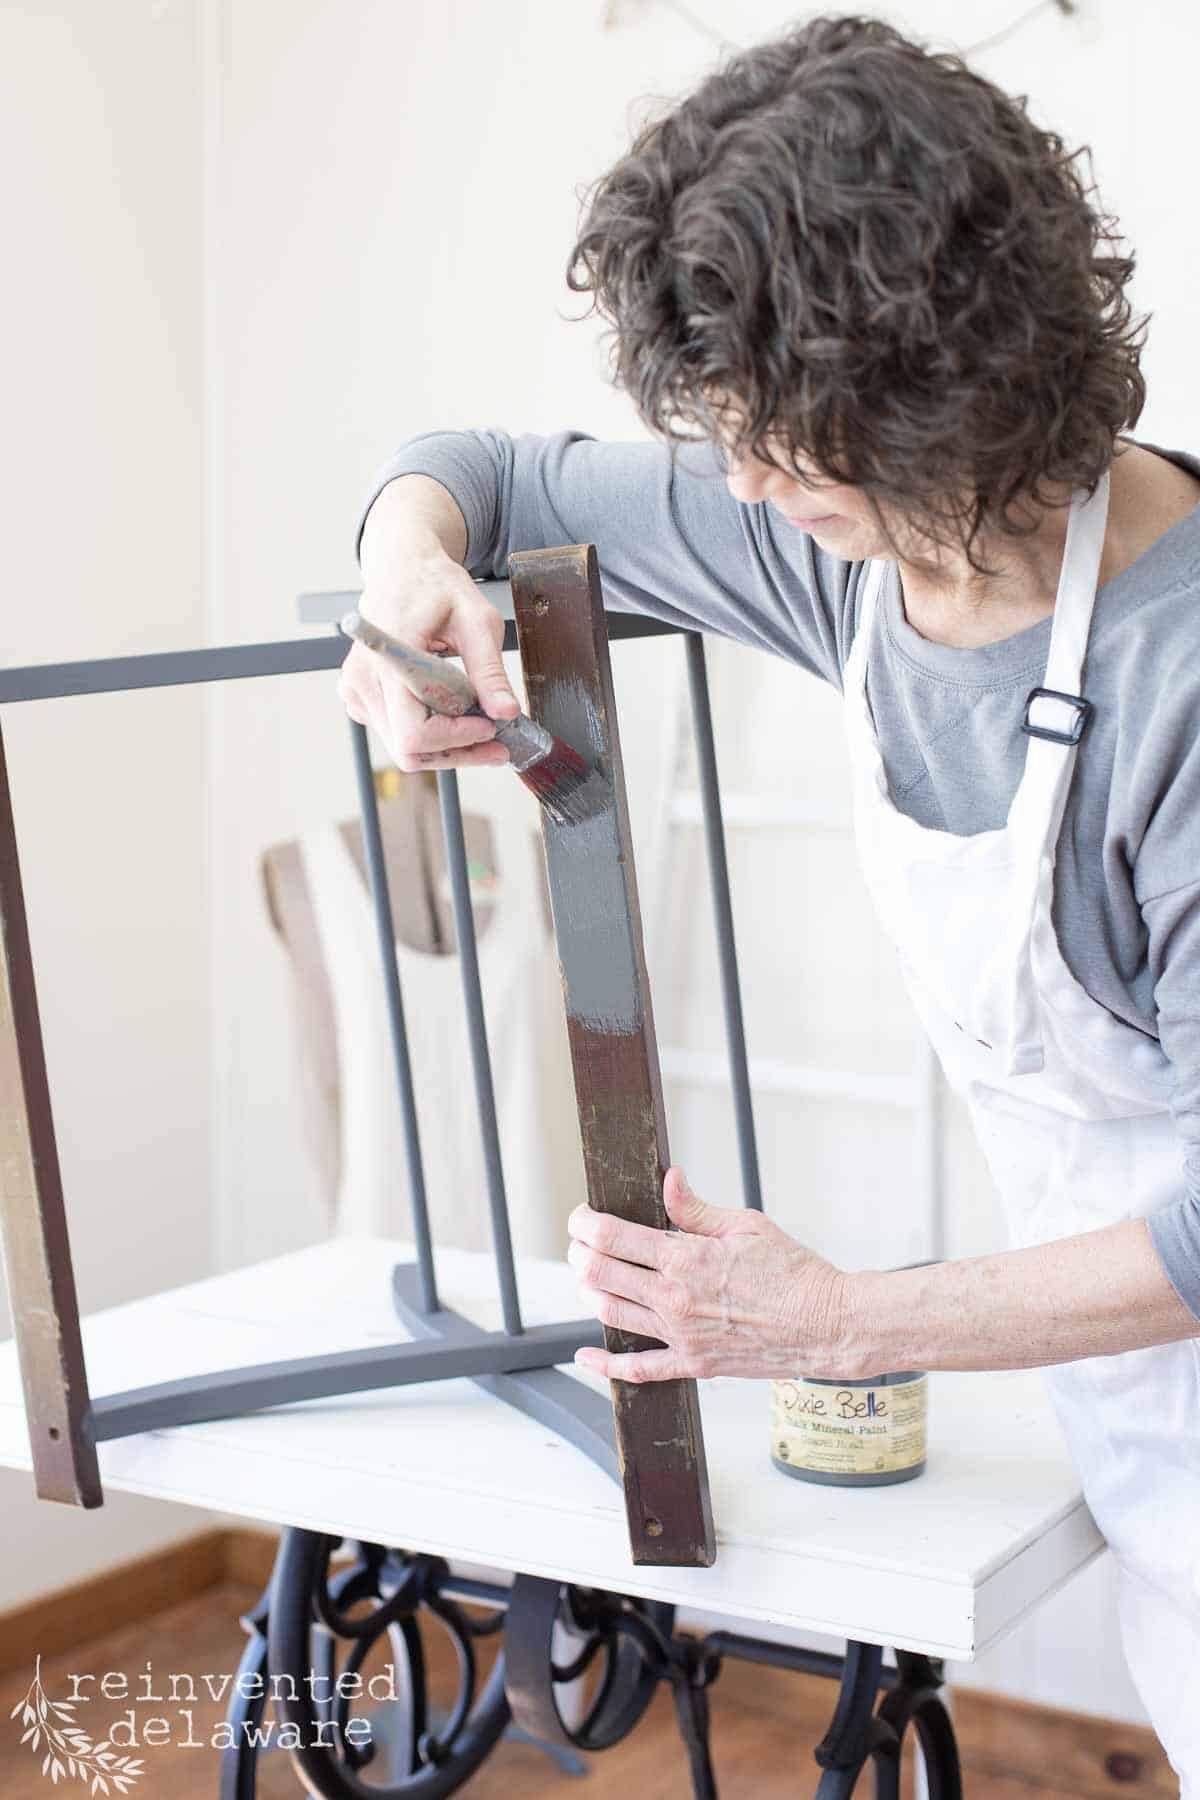
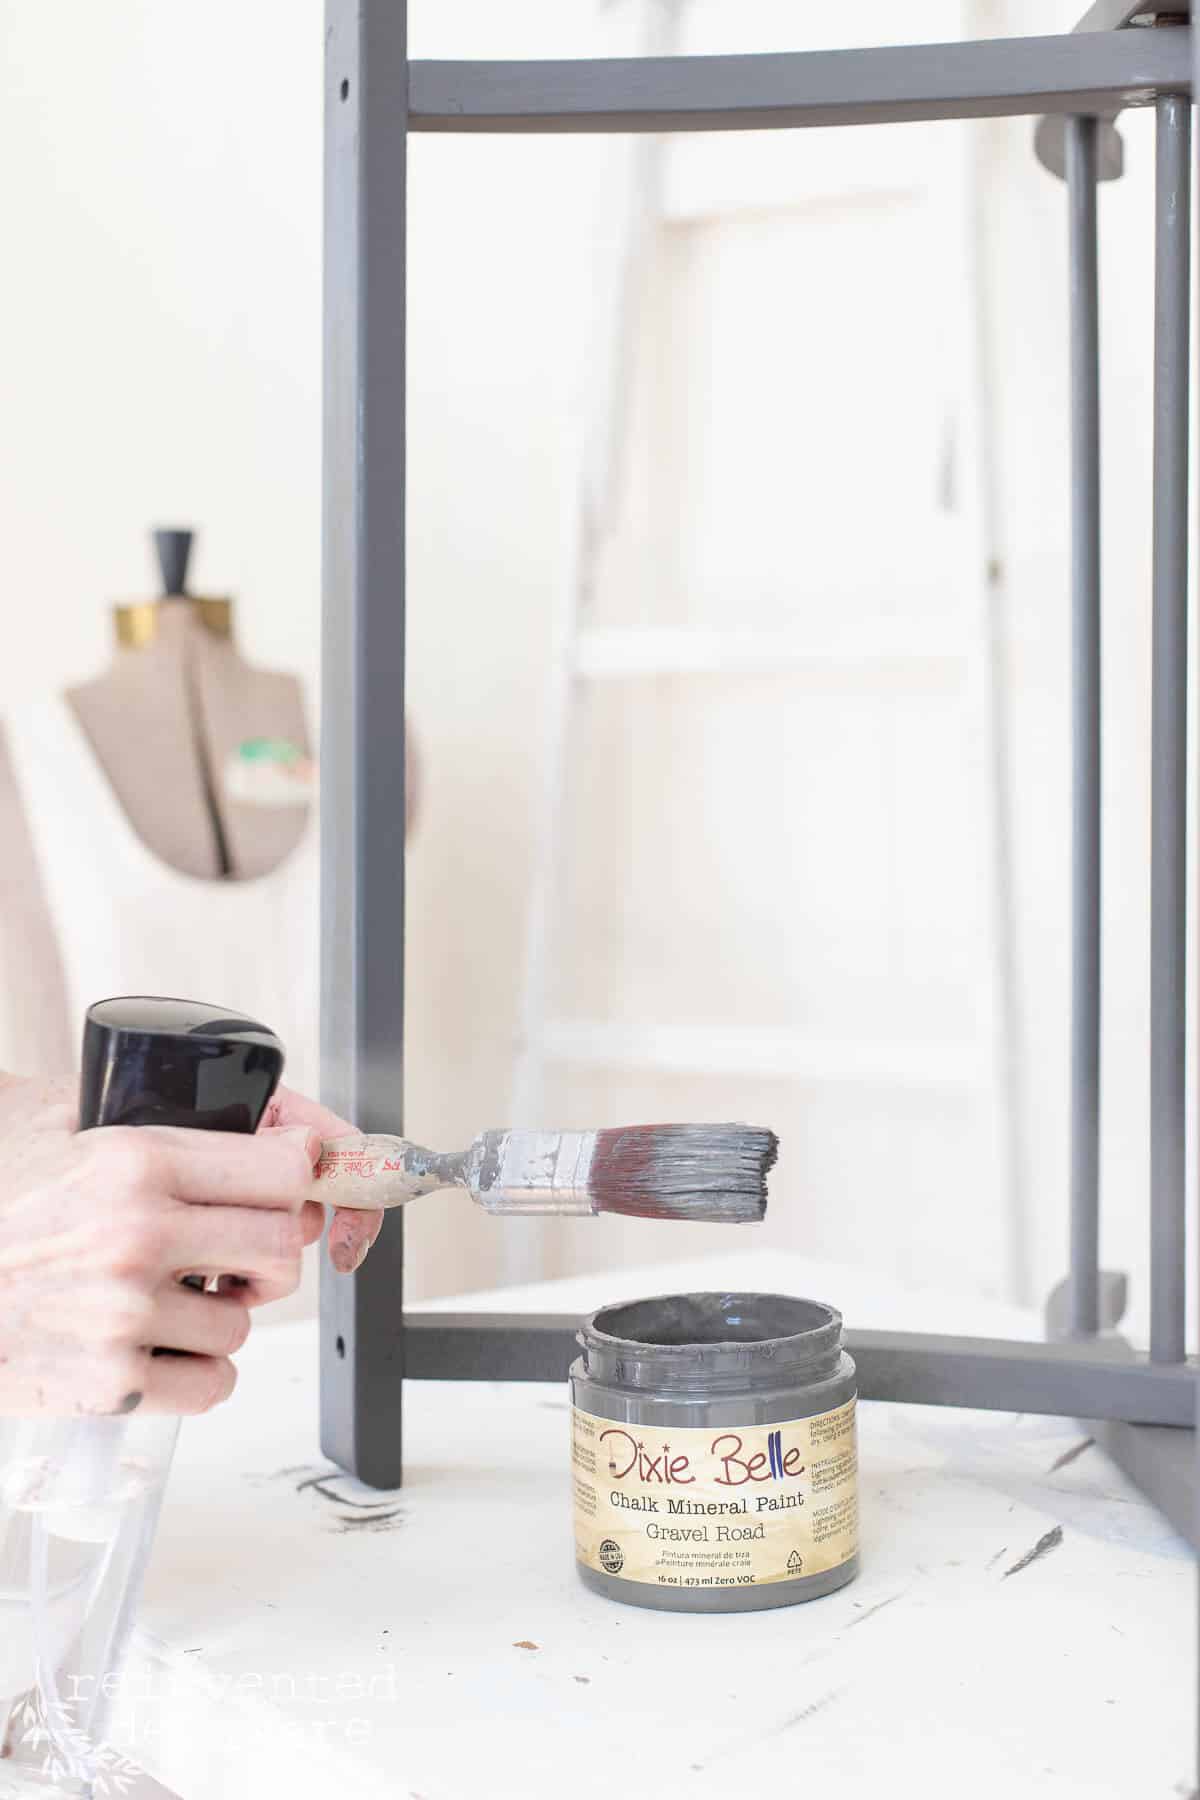
I used a small brush to apply two coats of chalk paint. That was just what this piece needed! When both coats were completely dry, I added a spray wax to seal it.
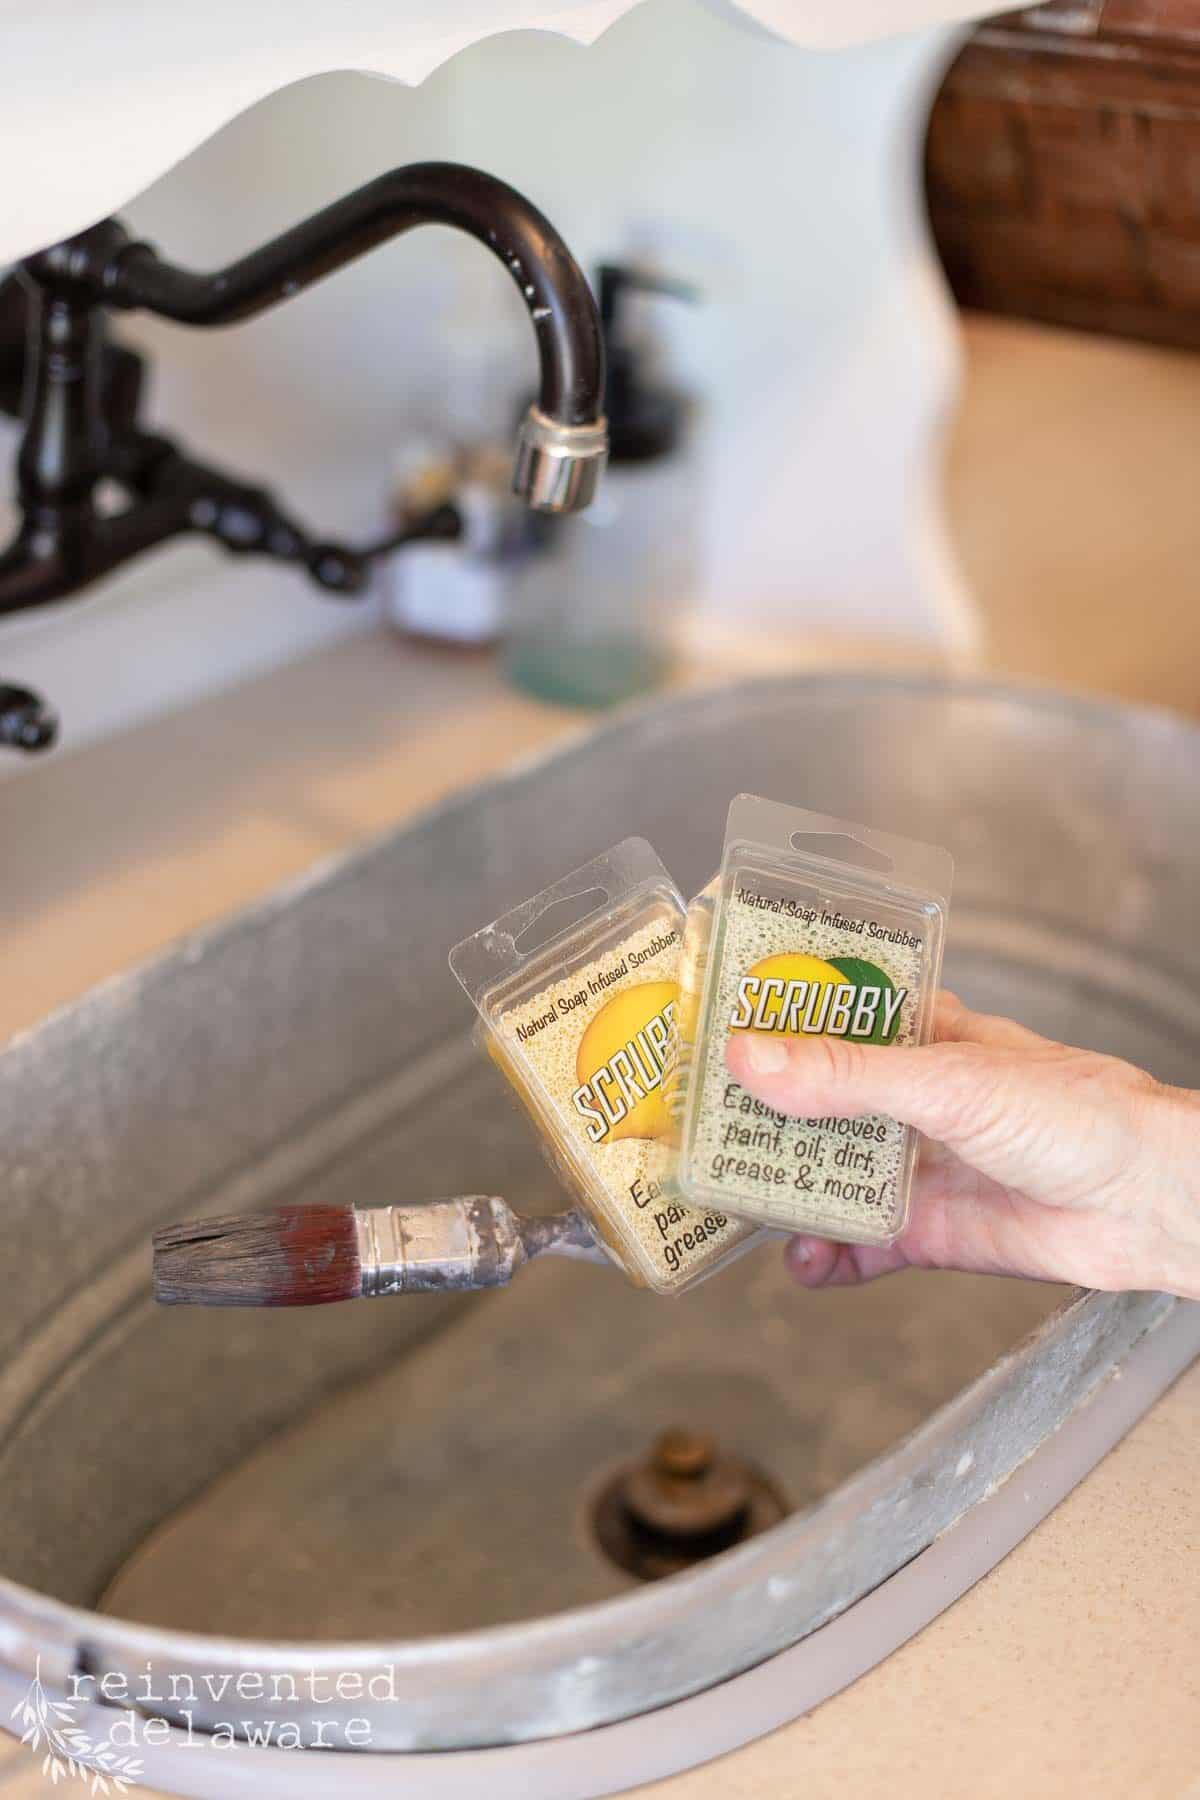
As a side note, the best way to clean your paintbrushes so that they last for years is to use Scrubby soap. This stuff is really amazing. It cleans the paint from the brush in minutes, is safe for the environment, and won’t hurt your skin. That’s important to me because my skin is getting old!
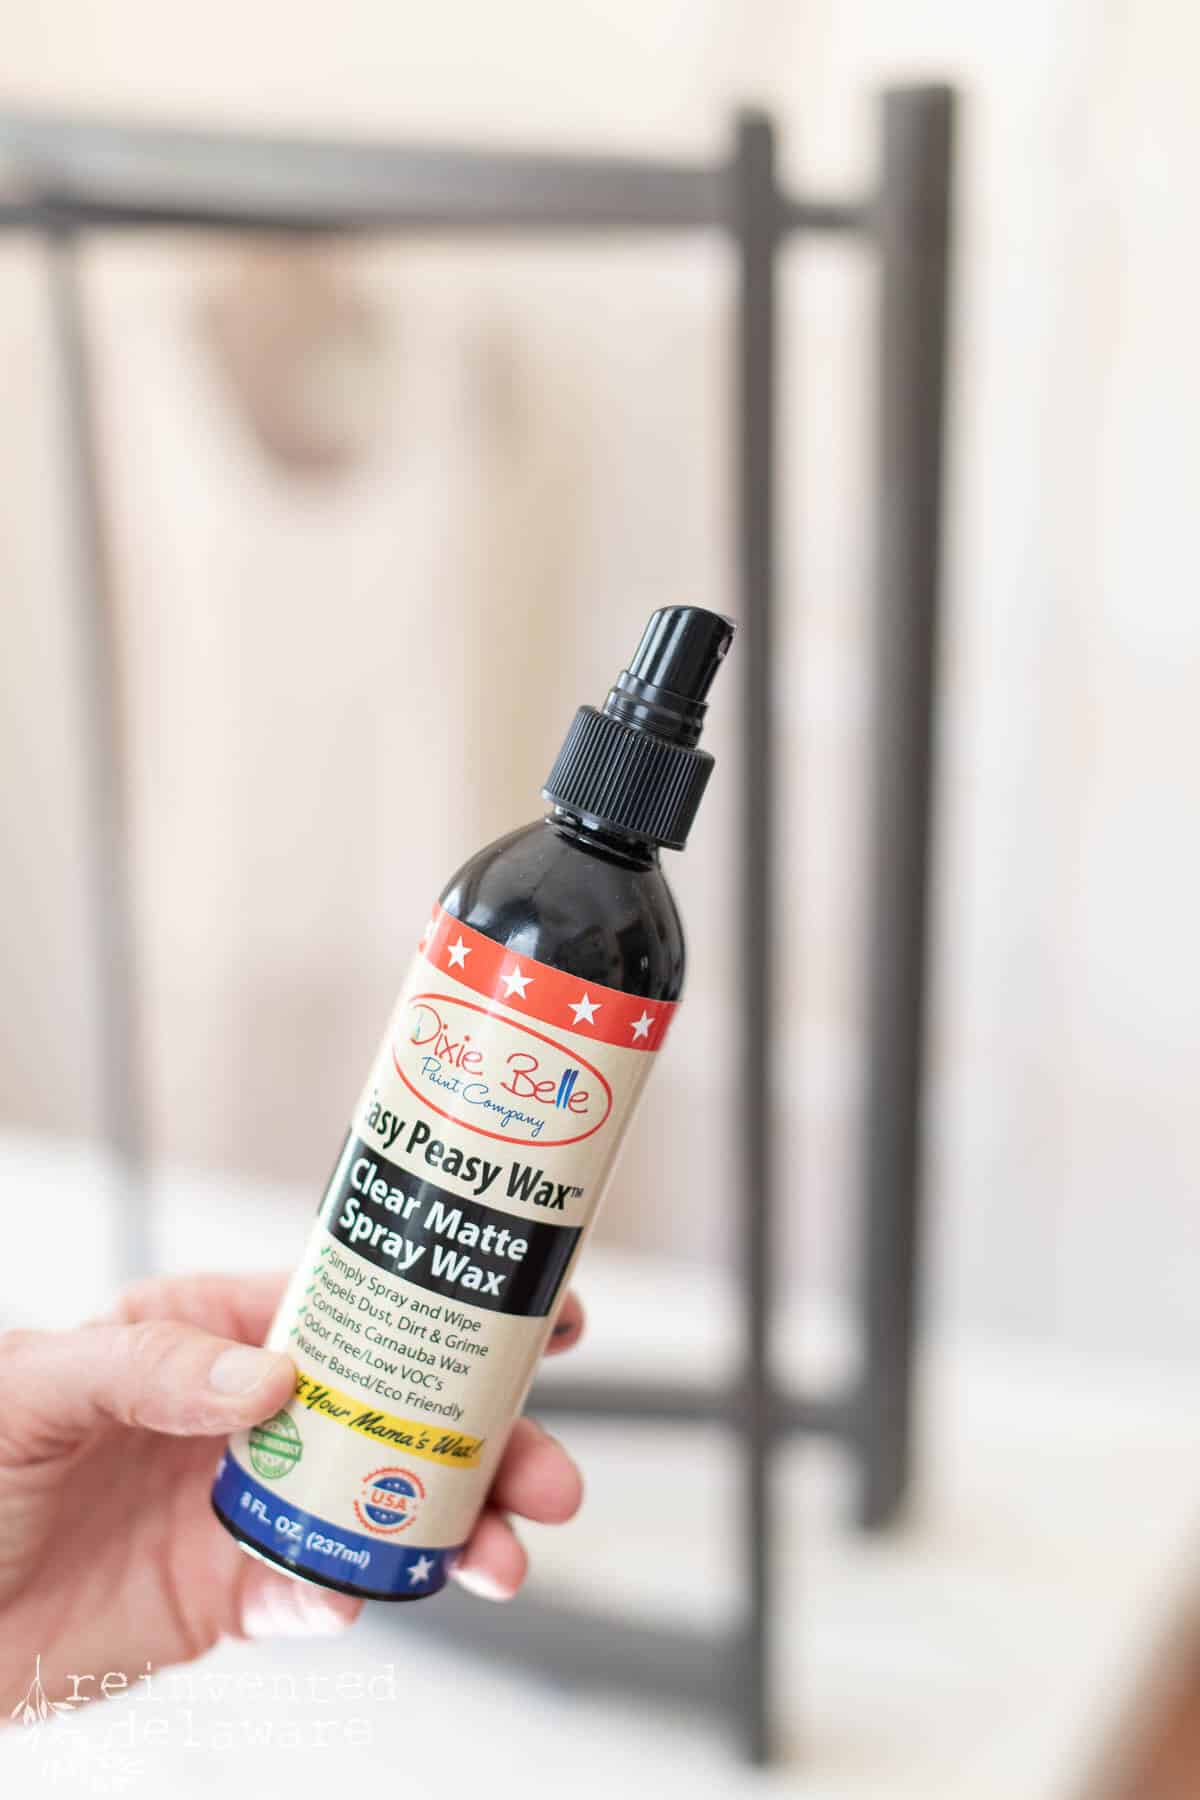
seal the chalk paint
Have you tried using spray wax? This stuff is amazing and it’s one of the best products for an easy project like this! Especially on a great makeover like this one. All you have to do is spray it on, allow it to soak in, and then wipe off the excess. It’s the perfect amount of protection for this sweet little luggage rack needed.
Replace the old straps
Next, let’s replace the old straps. Remember I chose to paint this furniture piece in a gorgeous gray? I decided that for two reasons: it would coordinate with the guest room that I would use this piece in and Gravel Road matched the new strapping material I chose to use!
This webbing isn’t exactly the kind of straps that the original luggage racks would have had but then again, I like to think outside of the box.
This webbing is used in upholstery projects. I’ve been doing a ton of upholstery projects around here lately including a whole series of video tutorials on how to upholster an antique chair over on YouTube.
I also reupholstered a vintage rocker for the fourth time! No kidding! This glider-rocker has been in my hubby’s family for over 40 years. Now it’s in our bedroom living its best life!
BTW, I’ll be sharing a bedroom makeover soon here on the blog. We’ve been chipping away slowly but surely to update our bedroom starting with a faux fireplace.
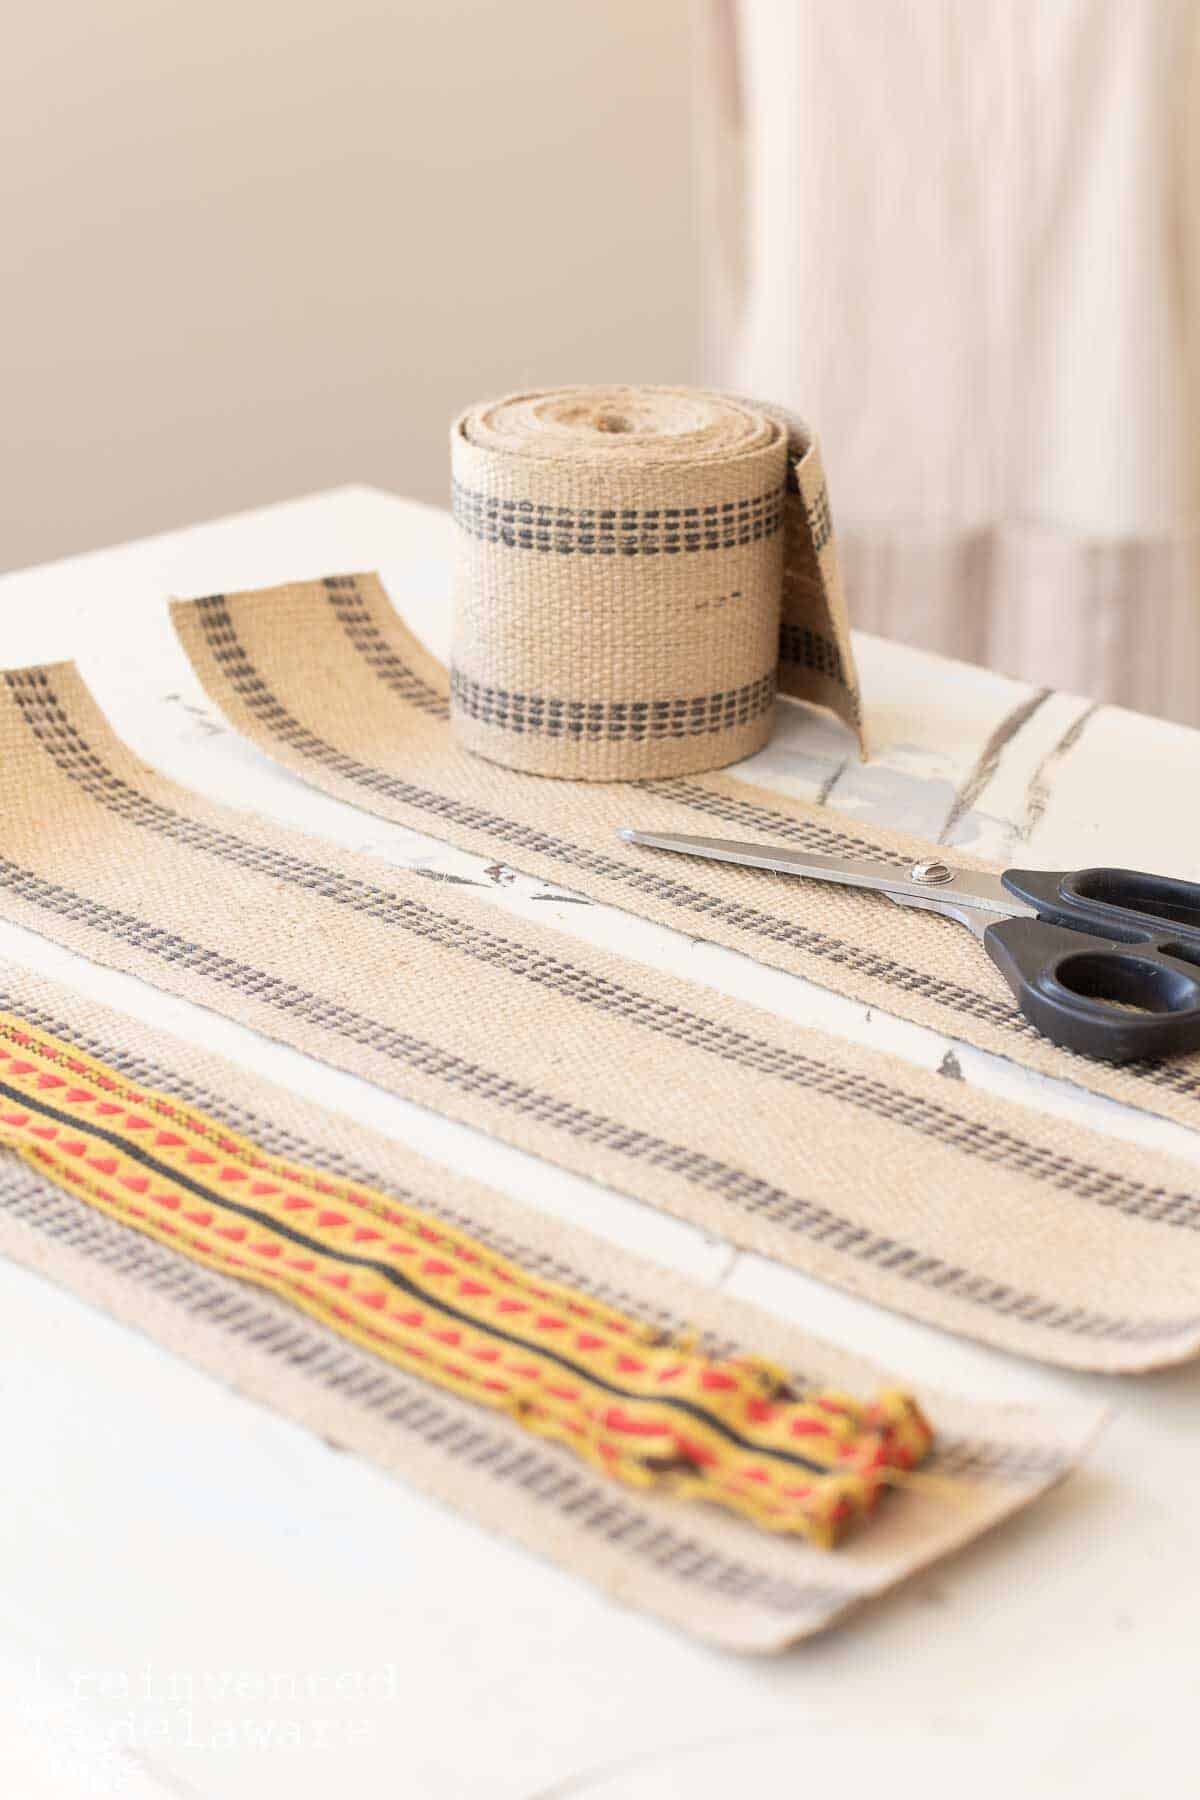
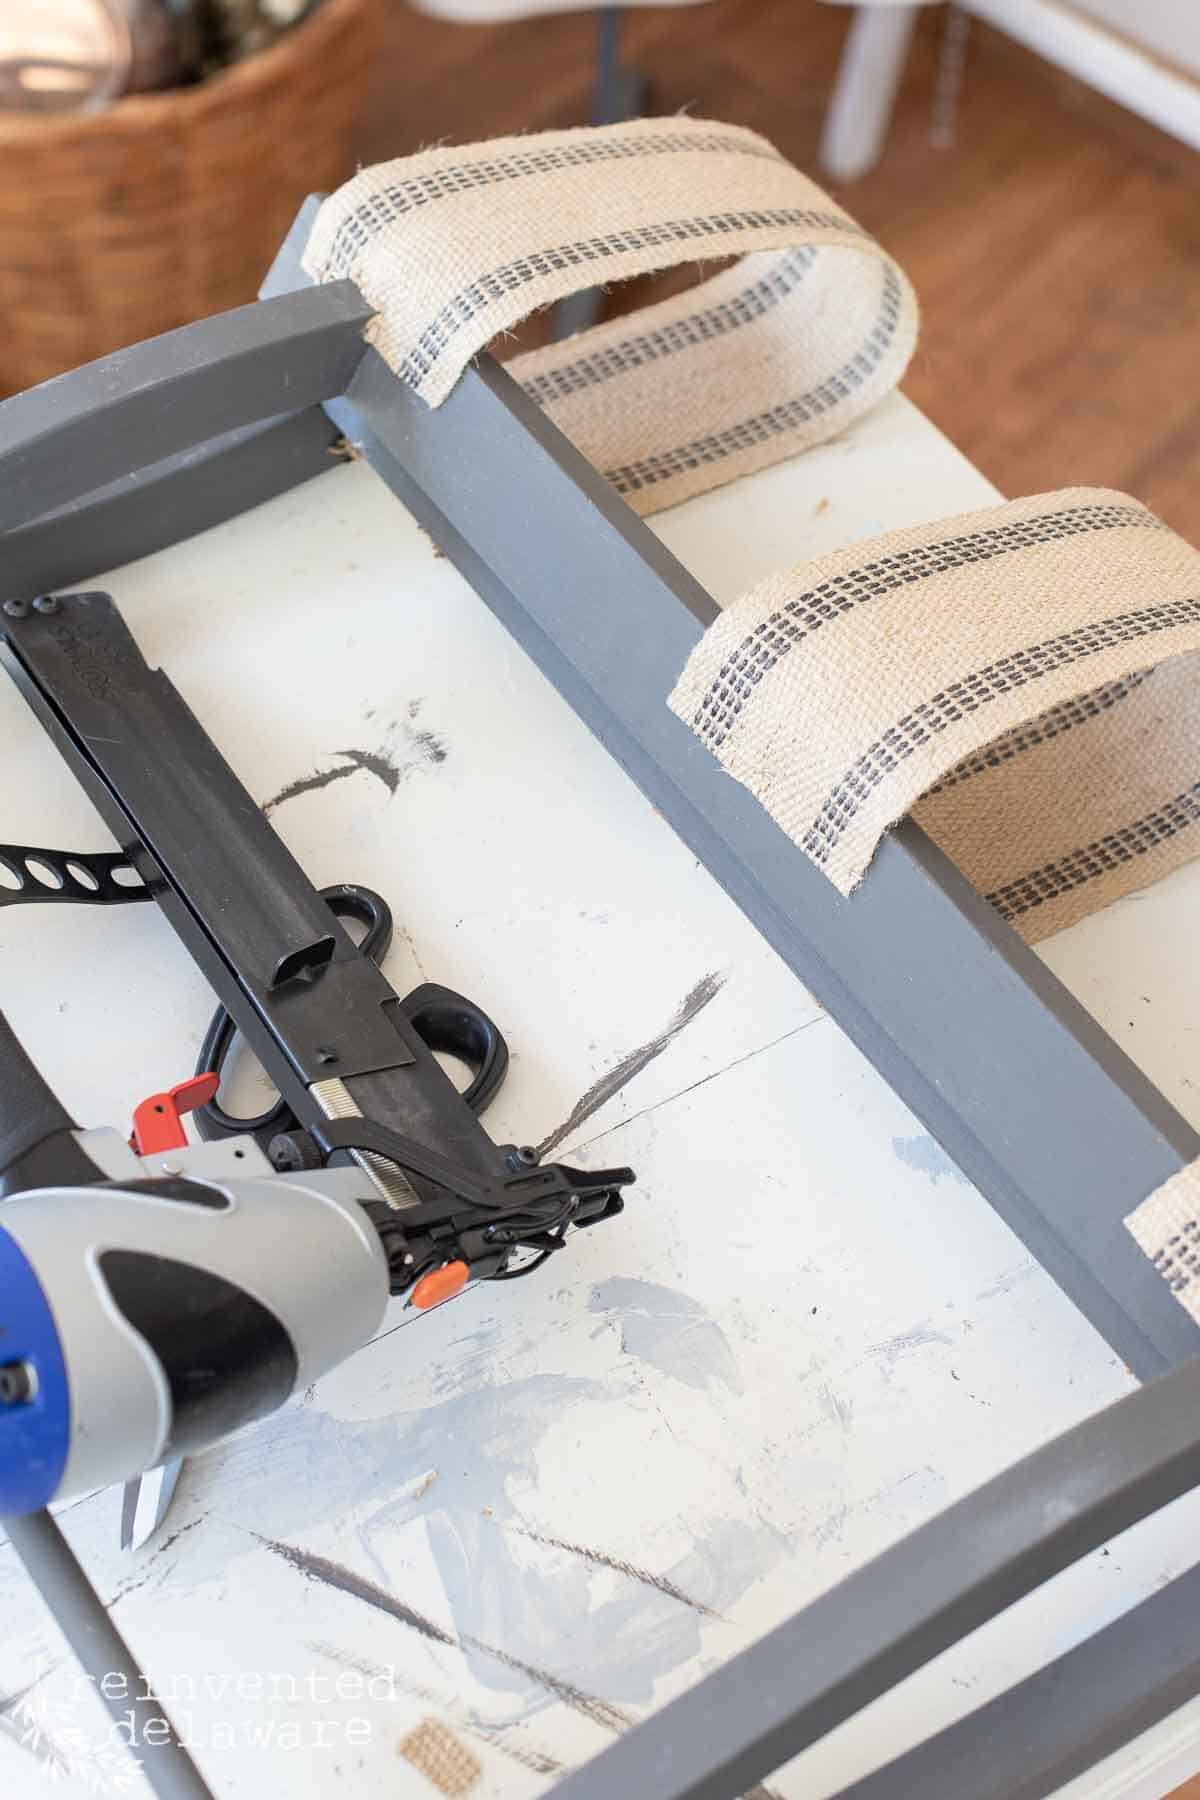
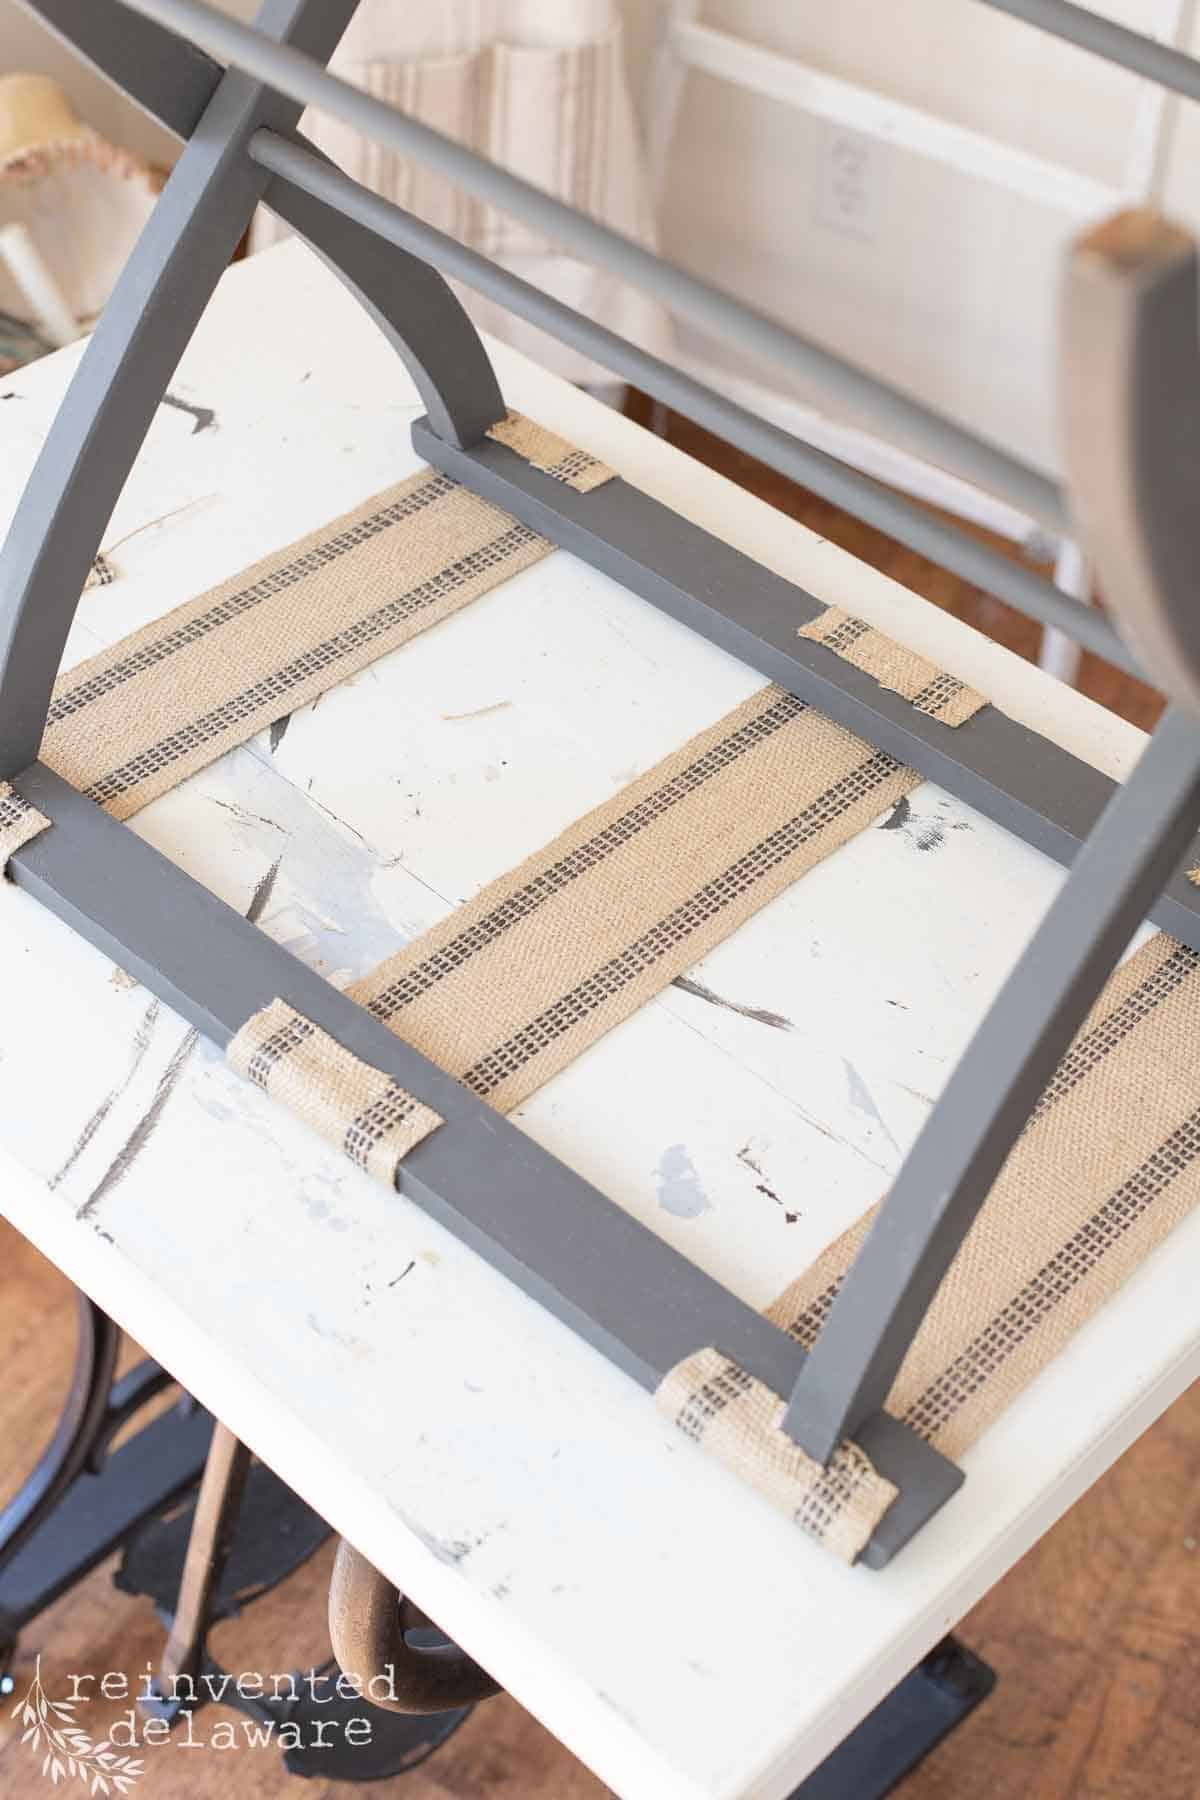
This is where the old strap I saved comes in handy: use the old piece of strap to measure and cut three pieces of the webbing. No measuring is required! It would be the perfect fit!
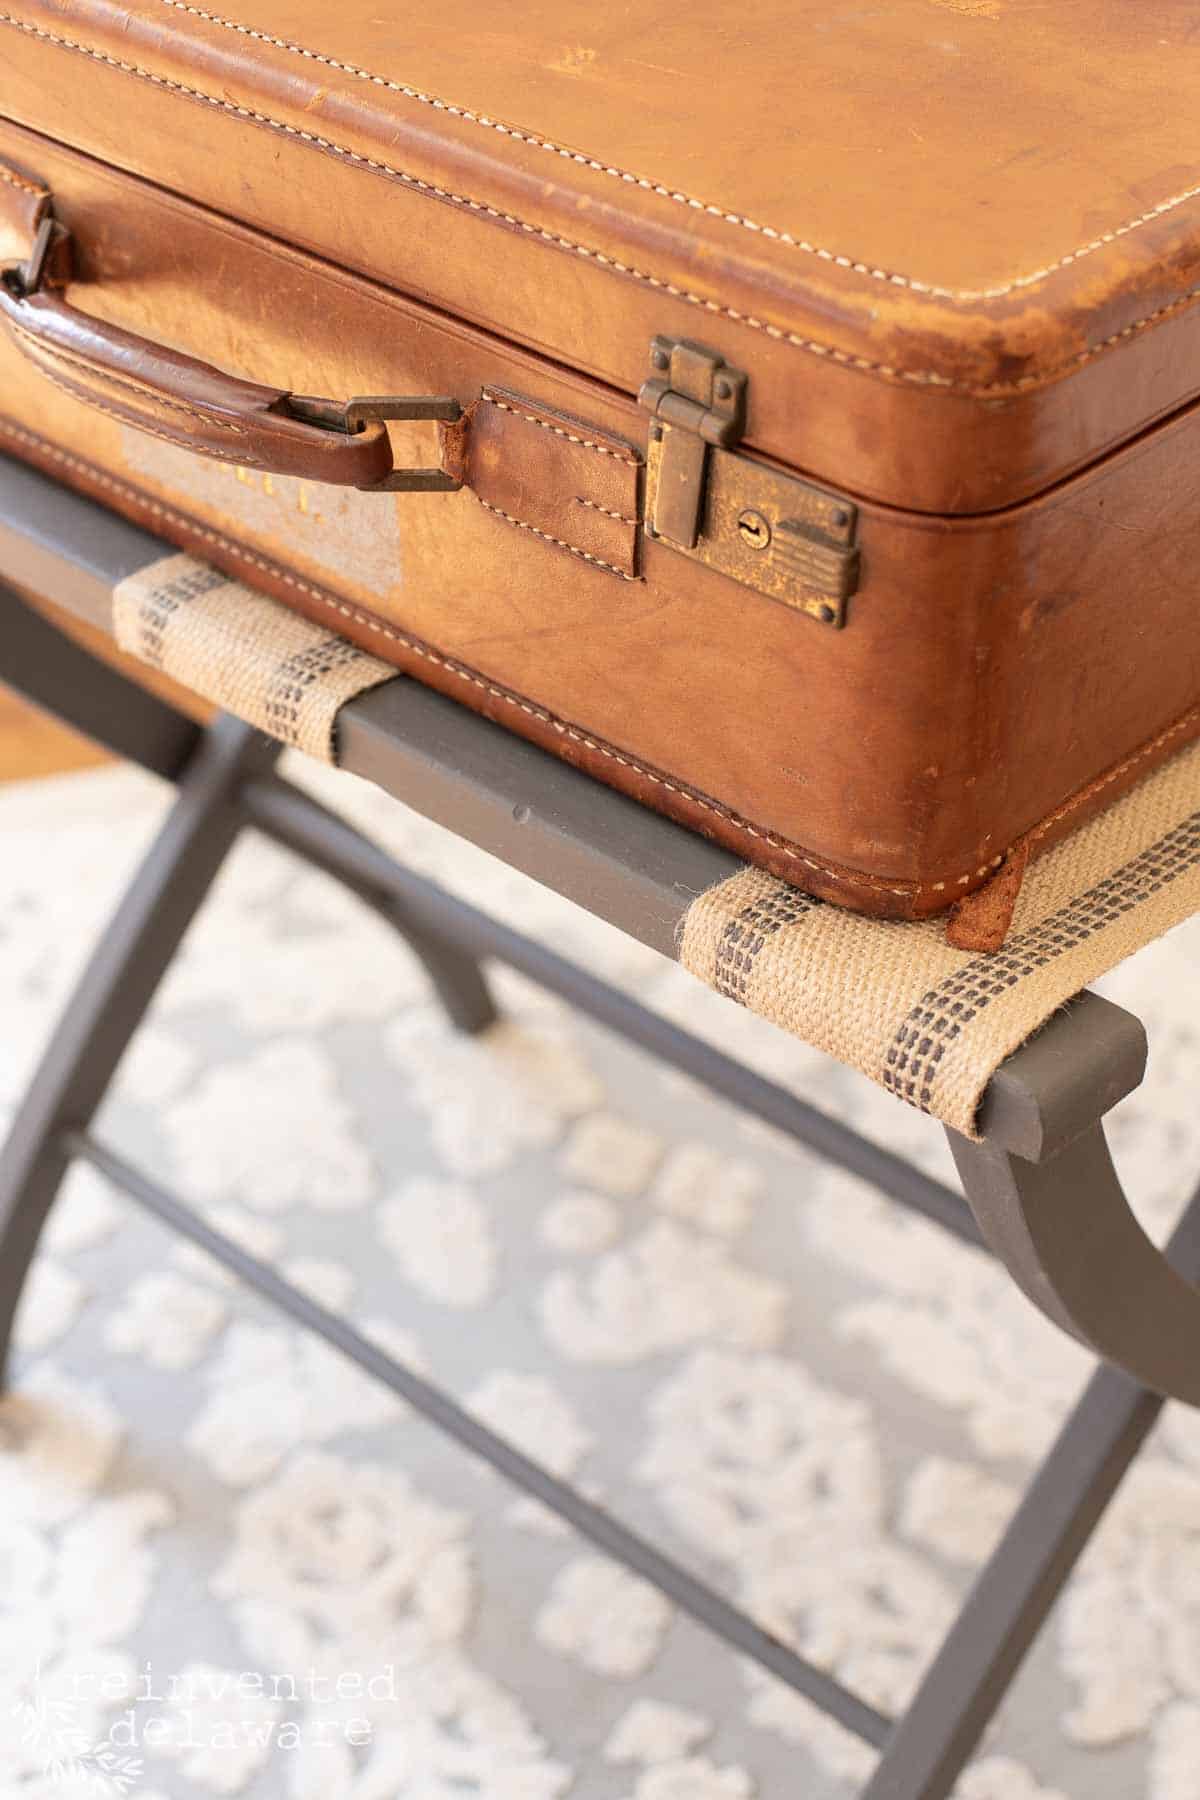
Then I used my pneumatic staple gun (hooked up to my compressor) and attached the webbing in the same places the previous webbing had been attached.
Can you see that I had to cut around the wood frame on either end? I wanted the strapping to be secured well so I cut away the excess webbing as I stapled
the perfect project for a guest room
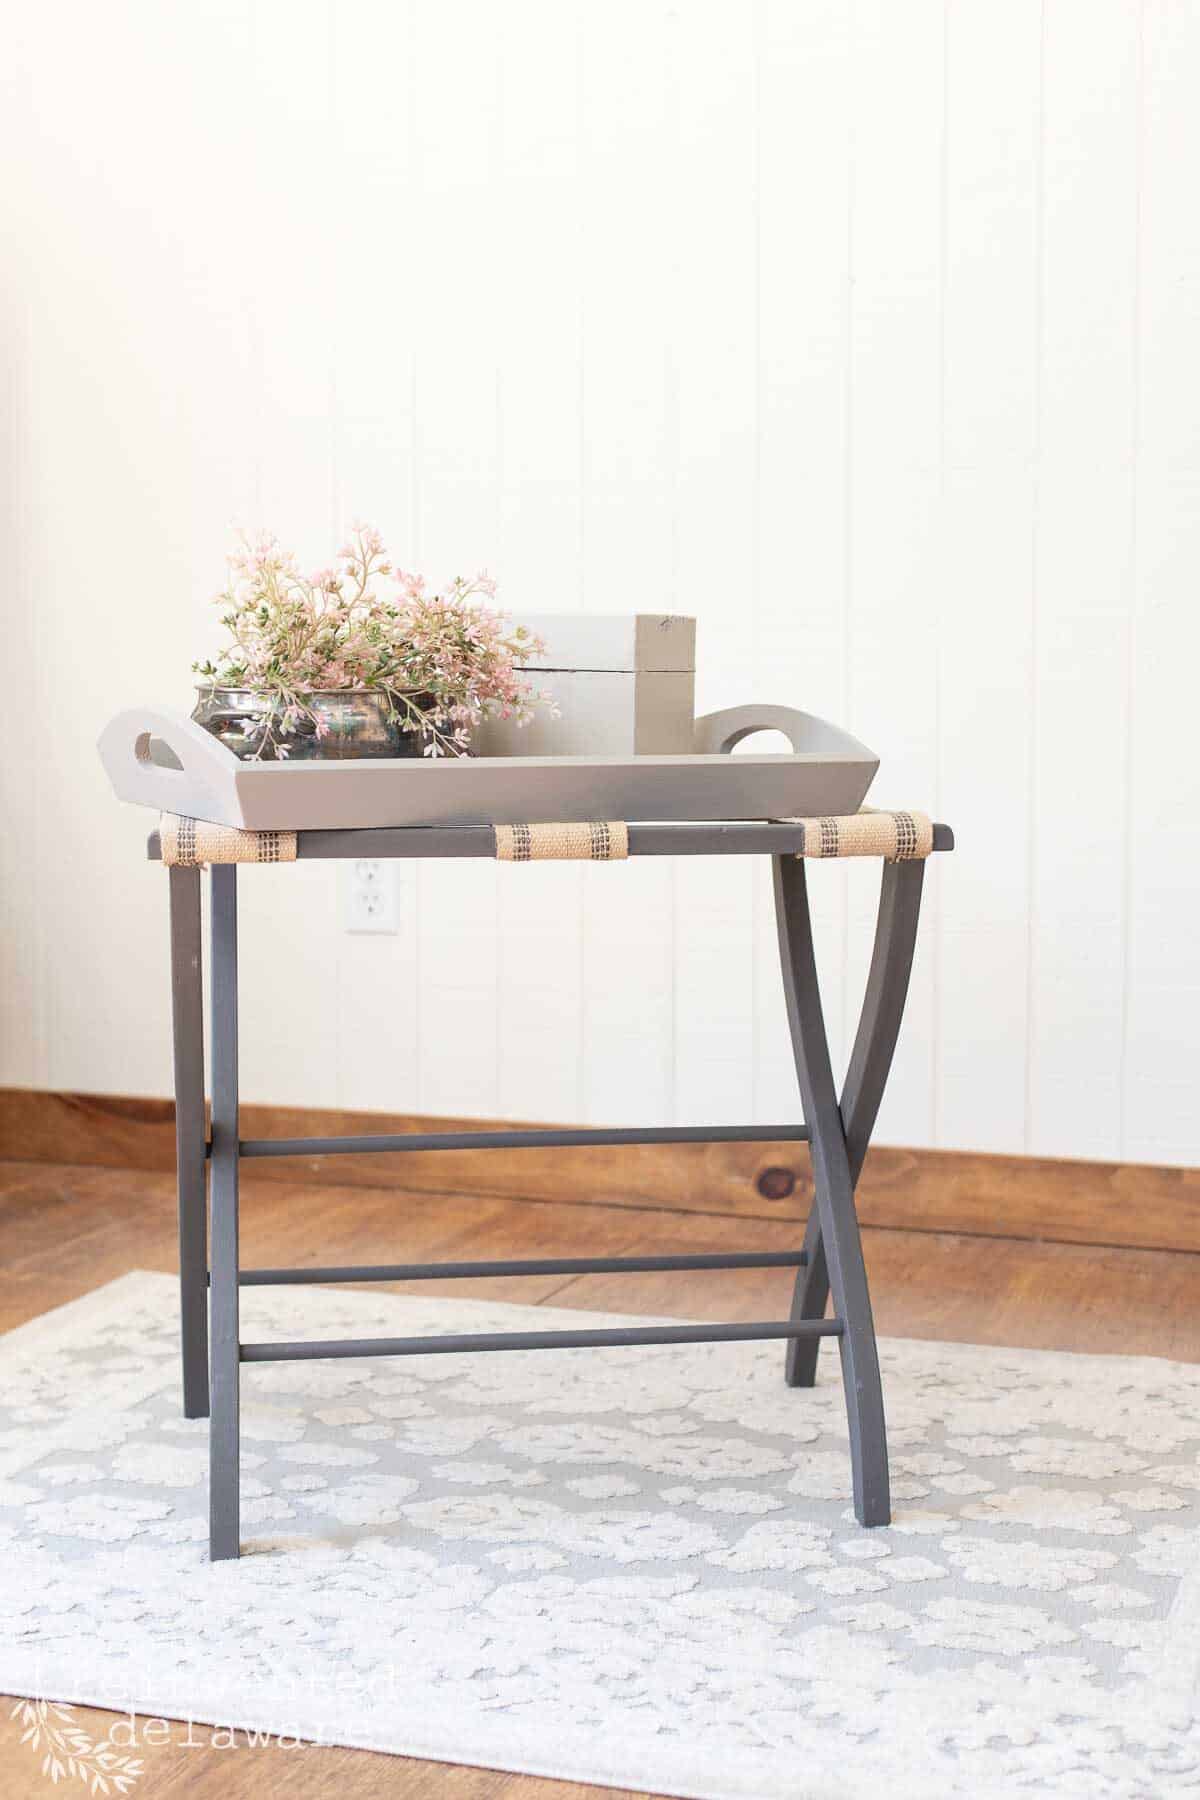
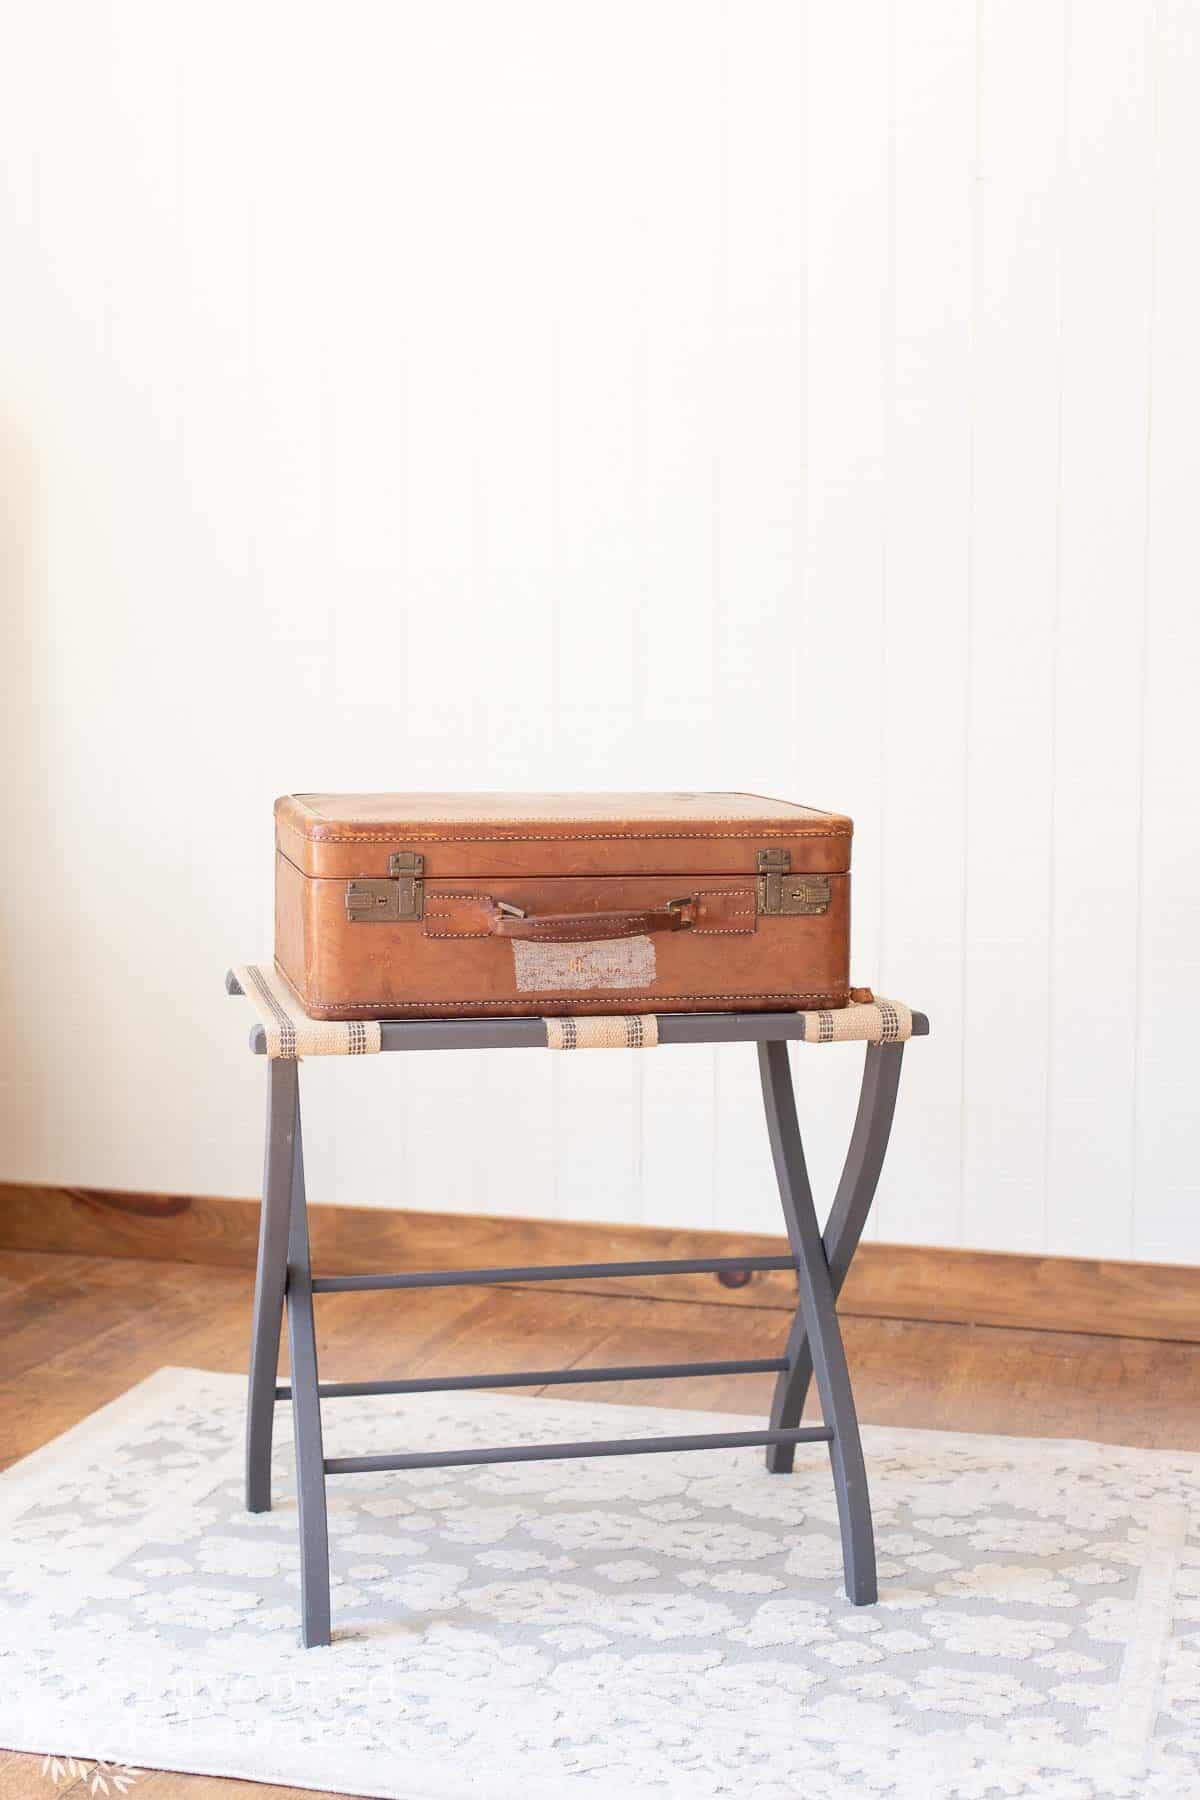
And that’s it for this simple update to an old luggage rack! Wasn’t that so easy? And my guests will love to have a spot to put their suitcase when they come to visit instead of putting it on the floor!
YouTube video
Do you like to watch makeovers? Here is a video version of this luggage rack makeover just for you! Simply tap the image below to watch. Be sure to subscribe to my channel while you are over there enjoying the makeover 🙂

Handy tip: Add a tip!
shop your thrift stores often to find pieces like this luggage rack! the inventory changes each day!
other uses for your favorite luggage racks
Let’s think about a couple of other uses for this vintage luggage rack makeover.
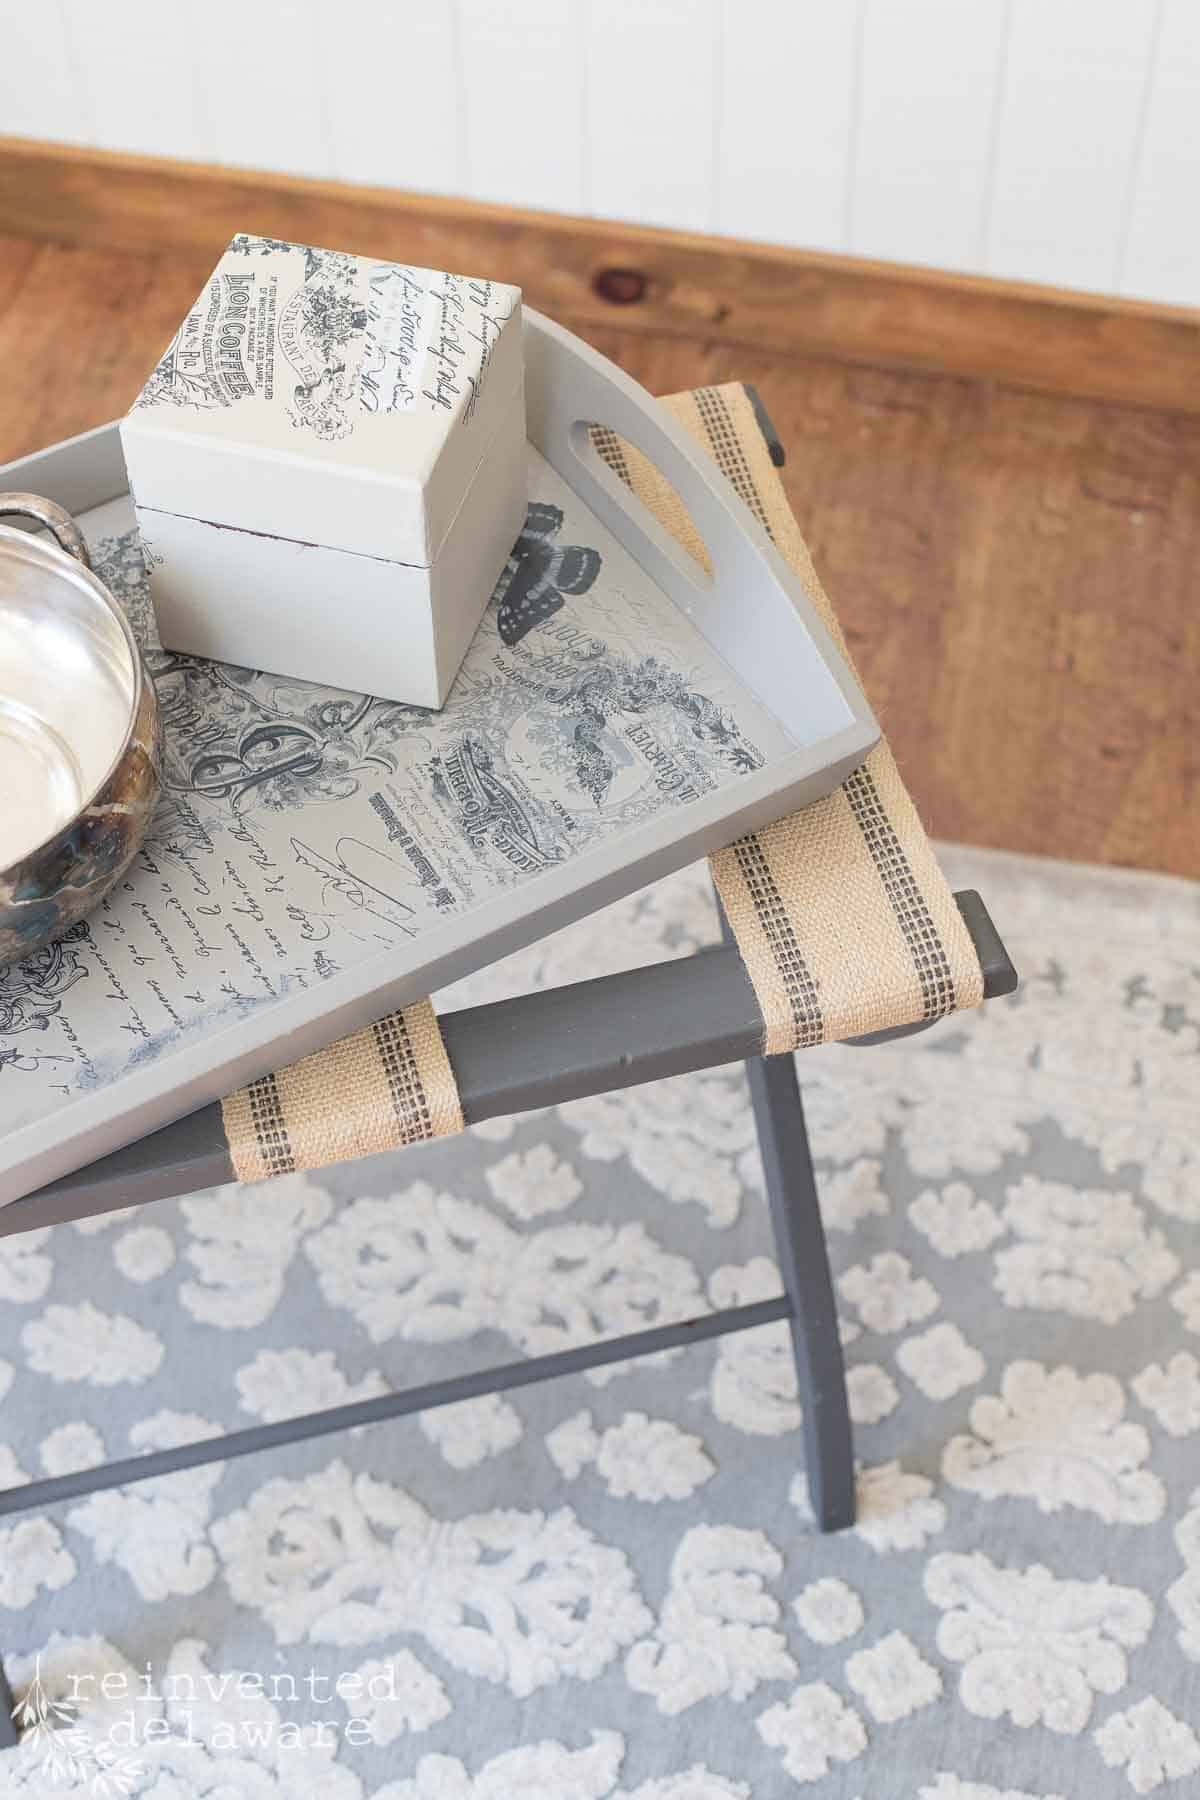
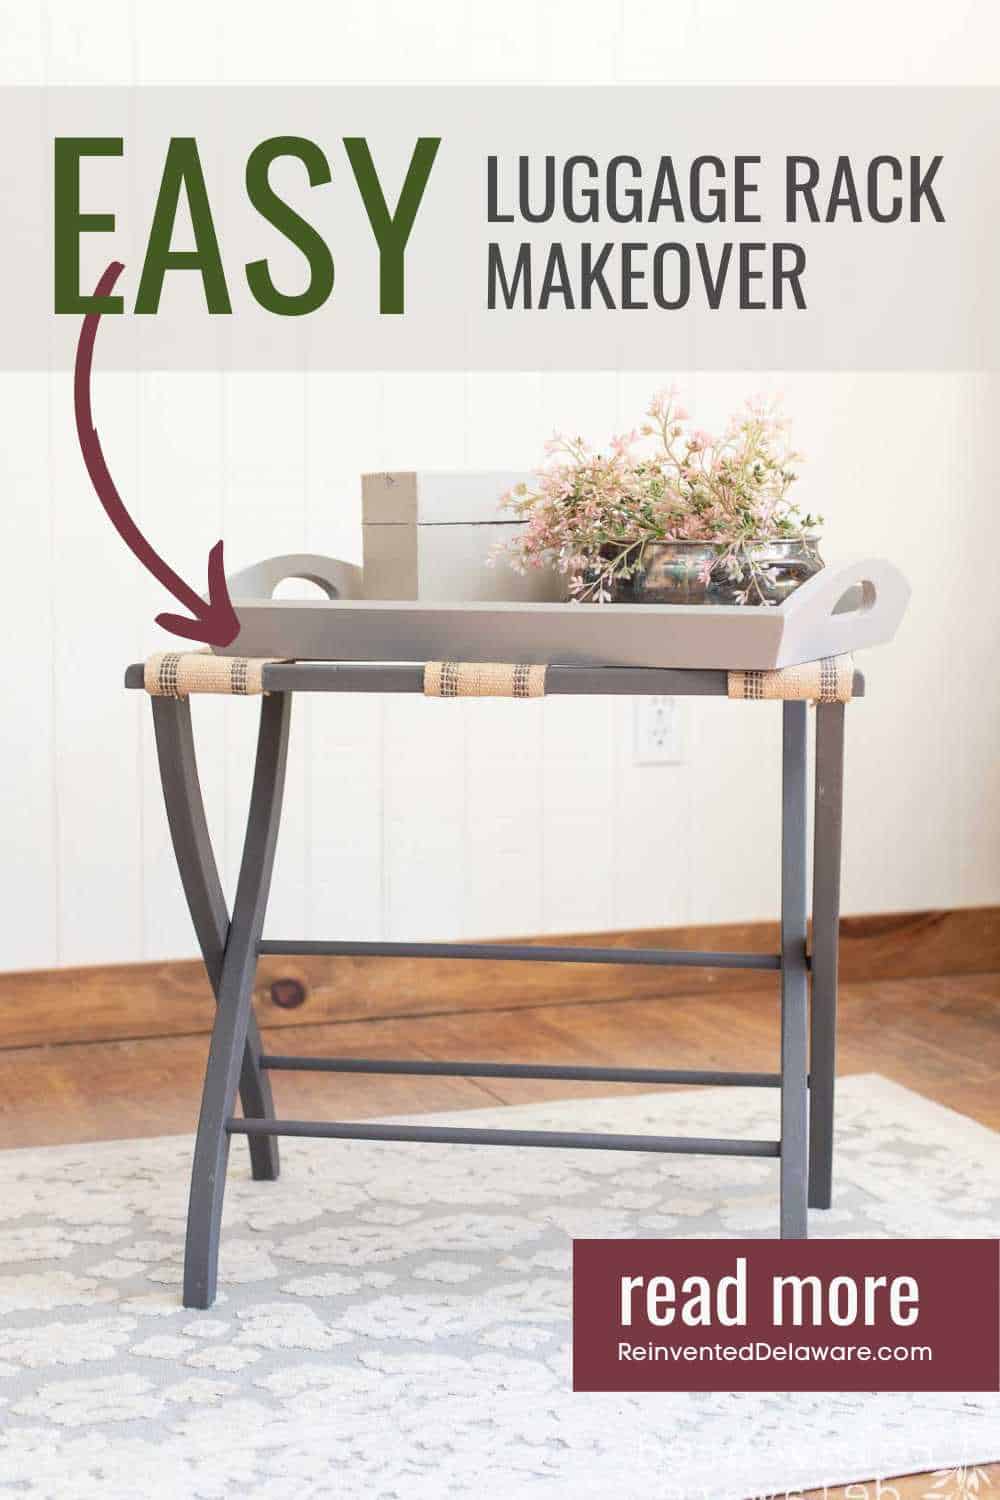
- Add a thrift store tray to the top and have an instant side table in any room
- Place a vintage suitcase on top for a decorative touch as well as additional storage
- Permanently attach a large old piece of reclaimed wood to make a night stand
- Use this luggage rack in a guest bathroom for towels and linens for your overnight guests
- Make a desk for a small child by adding a chair and a large cutting board on top (perfect for little ones that come to visit!)
BONUS luggage rack makeover!
You will love this easy makeover. Be sure to tell her Cindy sent ya’!
more awesome thrift store makeovers
Each month I join several other bloggers who love to do fun projects, simple thrift store makeovers, and their great ideas for upcycled projects.
I’m sure you will find so much creative inspiration as you go through each of their posts! Just click the links below and be ready to get creative!
Our monthly edition
Thrift Store Decor Team
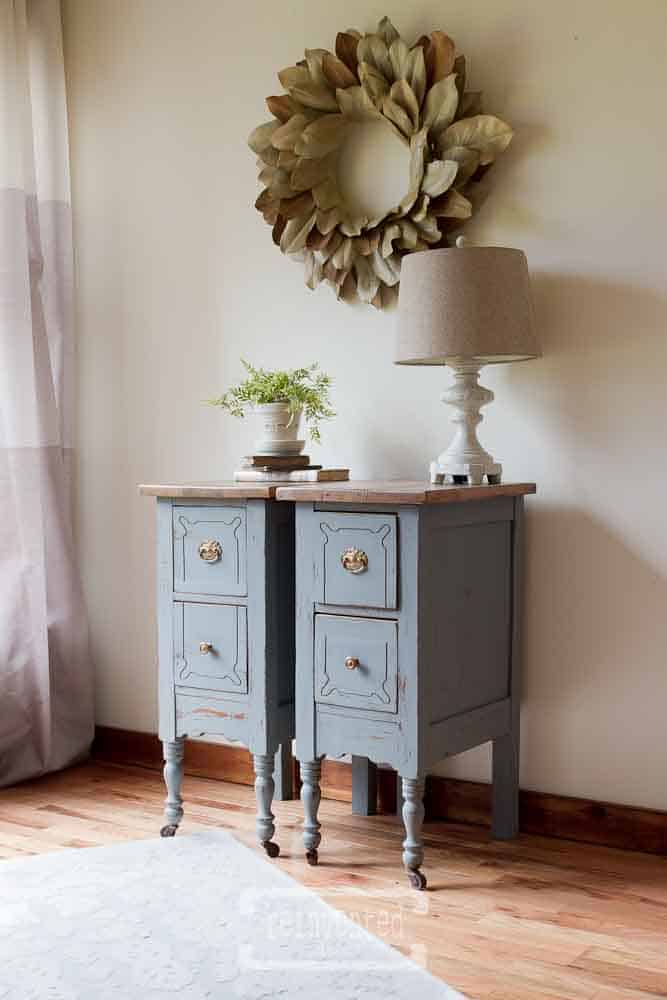
- My Repurposed Life – Vintage Rattan Trunk Makeover
- Petticoat Junktion – Coastal Cloche Idea
- Sadie Seasongoods – Cactus Garden with Vintage Salt & Pepper Shakers
- Shop at Blue – Outdoor Footstool Makeover
- Organized Clutter – Junky Botanical Planter from Thrift Store Finds
- Our Southern Home – Classic Stool Makeover | Strip & Reupholster
- My Uncommon Slice of Suburbia – How to Bleach Wood Furniture
- Domestically Speaking – DIY Indigo Handcrafted Vase
- Reinvented Delaware – that’s me! Hope you enjoyed all of the projects!
more from the thrift store decor team
No posts
list of supplies:
Use the links below to purchase some of the supplies for this project! You are helping to support this blog and all the free tutorials we offer here! Thanks so much!😊
- luggage rack (I’ve linked some for you from Etsy below!)
- upholstery webbing
- pneumatic Staple gun (option: manual staple gun)
- compressor
- staples
- TSP cleaner
- blue shop towels
- sanding sponge
- chalk paint Gravel Road
- paintbrush
- spray wax
- Scrubby soap for cleanup (the best stuff and safe for your hands!)
luggage racks on Etsy


Pin the image below to your home decor and furniture boards! Just click the pin button at the top left corner!
thanks for joining our journey!
Thanks so much for joining us for this post! Join our journey so you don’t miss any of the fun projects, tutorials, and inspiration that we share with you each week! You can follow us on Instagram, Facebook, and YouTube. We share even more inspiration on Pinterest!
click below to purchase supplies!
Visit my Amazon Storefront!
Click the button below and head over to our online shop on Amazon!


Cindy, it’s always a treat to see you make projects seem so simple! And thanks for the product tips! I have 2 luggage stands in my garage.
Woohoo for goodies in the garage Sue! Hope you get a chance to give them a makeover – so many projects, so little time!
I really love how this turned out! I think I have everything except for the luggage holder 🙂 What a great deal you got on it!
Hopefully, you will find a luggage rack while you are out thrifting Kristin! Thanks for stopping by today!
What a great makeover, Cindy- it looks fab now. And that spray wax really caught my eye- might have to get some of that myself!
The spray wax is amazing, especially on little surfaces like the legs of this luggage rack. You will love it Sarah!
Love everything about your makeover!
Thanks, Maryann!
Cindy,
What a great deal!!! Did you know my limit has always been $5? It really helps me resist impulse buys. Now, IF it’s something for my home, that’s different…. but for a quick flip, $5 is where it’s at!
I love the color, and I need to get some of that easy peasy wax. 🙂
pinned your fabulous luggage rack
gail
ps thank you for sharing MY luggage rack
You are most welcome for sharing your luggage rack Gail! And friend, I am with you on the quick flips for only $5!
Great makeover! Pinned!
Thanks for pinning Carlene!
Ah…what a perfect find and great project, Cindy! Quick and easy is about my speed. I am not a black belt DIYer like you, but this one I could probably handle LOL. And I need a luggage rack for my guest room…soooo on the hunt – thanks for the inspiration!
A luggage rack is such an easy DIY project – I’m sure you can do it Janet! Happy hunting!
Hi Cindy! What a transformation! The updated luggage rack looks great. These little luggage racks are so useful and easy to store away. Also, I will have to try some scrubby soap . . . thanks for another great tutorial.
So true Anna! I think they would sell in a vendor booth too. They are a fast flip!
Hi Cindy! I would love to have a luggage rack like this for my guest bedroom! Now I have another item to add to my thrift store list! I love the color you used, it’s a great transformation! Pinning for when I find one!
I’m sure you will find a luggage rack to makeover Donna! That color would look amazing in your home 🙂 Happy Thrifting!
This turned out SO GOOD, Cindy!! I love the color paint you chose to use and that ribbon was the PERFECT choice for it. They go perfectly together. I love the idea of using this as a side table or nightstand or even a plant stand! Thanks so much for sharing at Home Imagined this week!
So glad you enjoyed the luggage rack makeover, Rachel! Thanks for stopping by 🥰
Love this! What a great idea!