
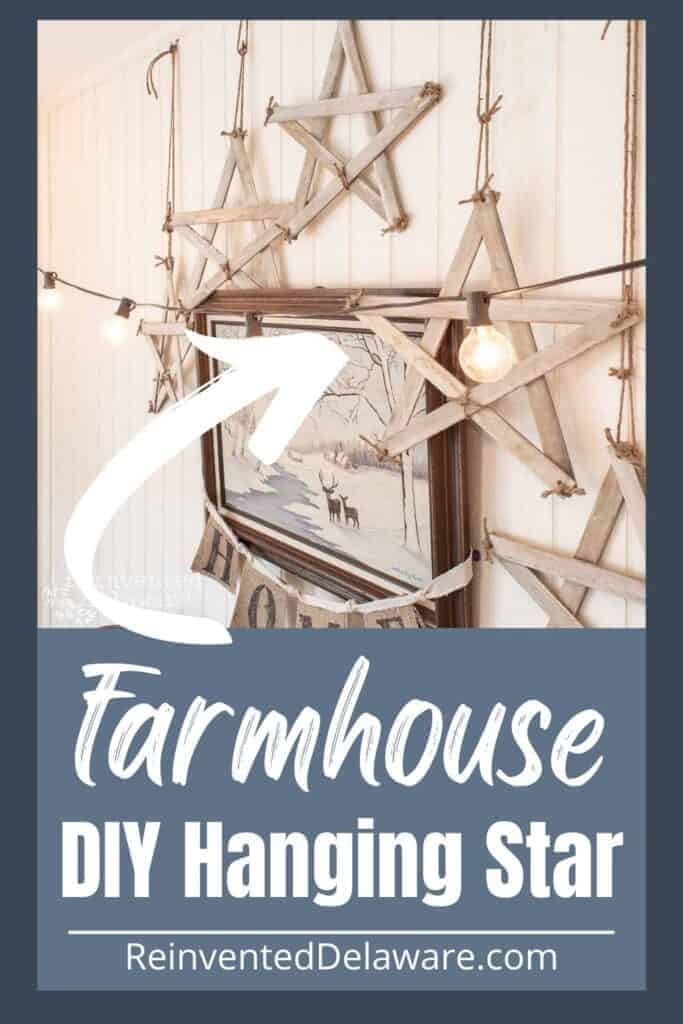
How to Make a Hanging Star DIY Easy Holiday Decorations
Let’s make this easy DIY farmhouse-style hanging star today! It is so easy to make these adorable wooden stars that can be used year-round!
The following post may contain affiliate links. That means if you click and then buy something, I will make a small commission at no additional cost to you! Thank you for supporting my blog. full disclosure here.
DIY hanging star
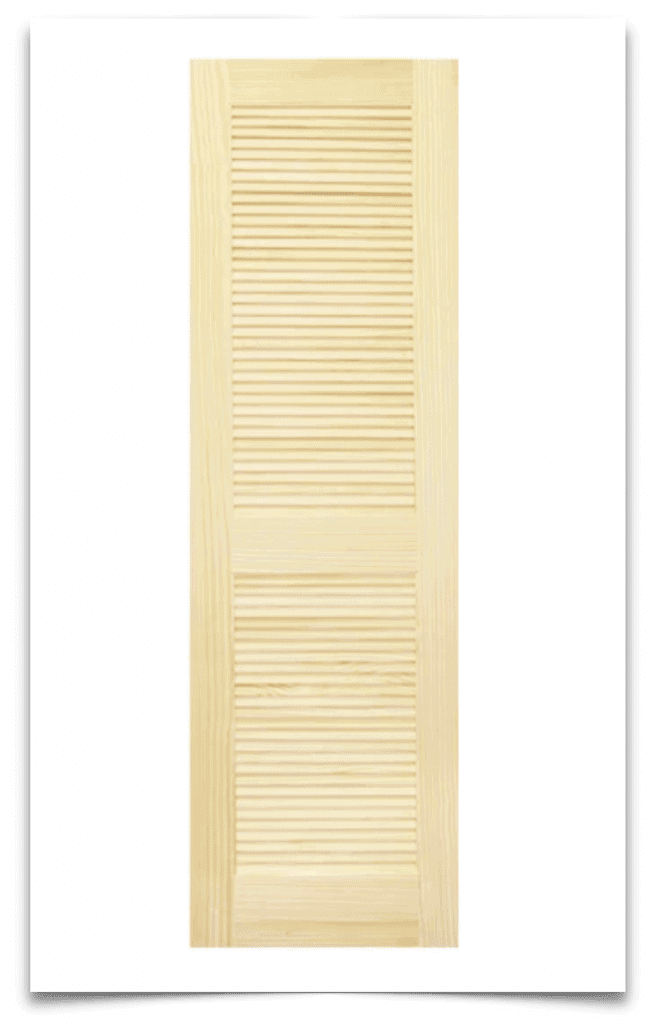
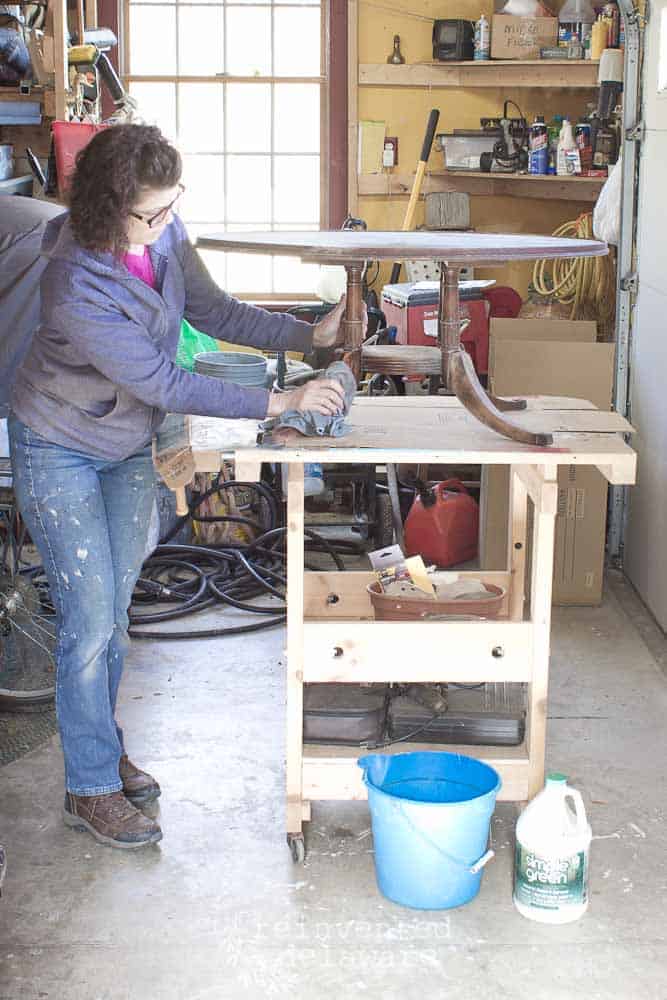
I came across one of these doors at my local junk and architectural shop. The only difference was the one I found didn’t look this clean and fresh!
Most of the slats were not even intact! They were laying on the ground at the base of the door so I grabbed them up!
Ideas can strike from anywhere but with this project, I knew right away what I wanted to make with all those slats.
If you don’t have louvered door slats laying around, keep reading because I have a solution for you!
supplies:
The idea of a hanging star DIY project popped into my head. They would look so farmhouse. 😉 This project needed to be easy and required just a few supplies.
Here is a list of the supplies:
- louvered door slats (option: five paint stir sticks from the hardware store)
- paint in the desired color (mine had the perfect paint chippiness)
- jute twine
- power drill with a large drill bit
- scissors
Here are the links for the supplies on Amazon. Just click the image to purchase. Thanks for supporting our blog and the free tutorials by purchasing via our links 🙂
how to make a DIY hanging star
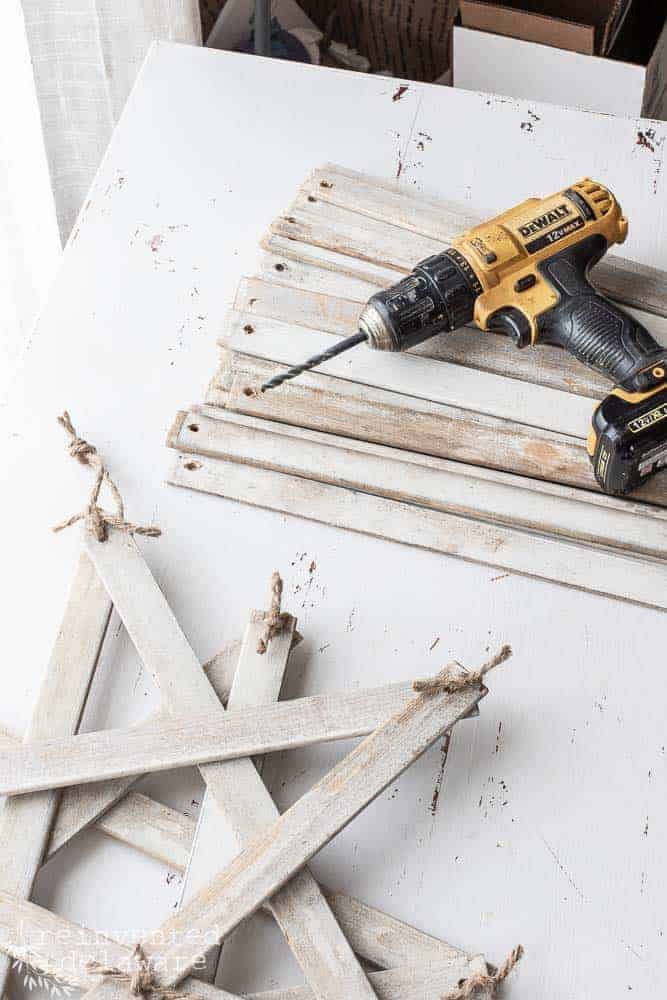
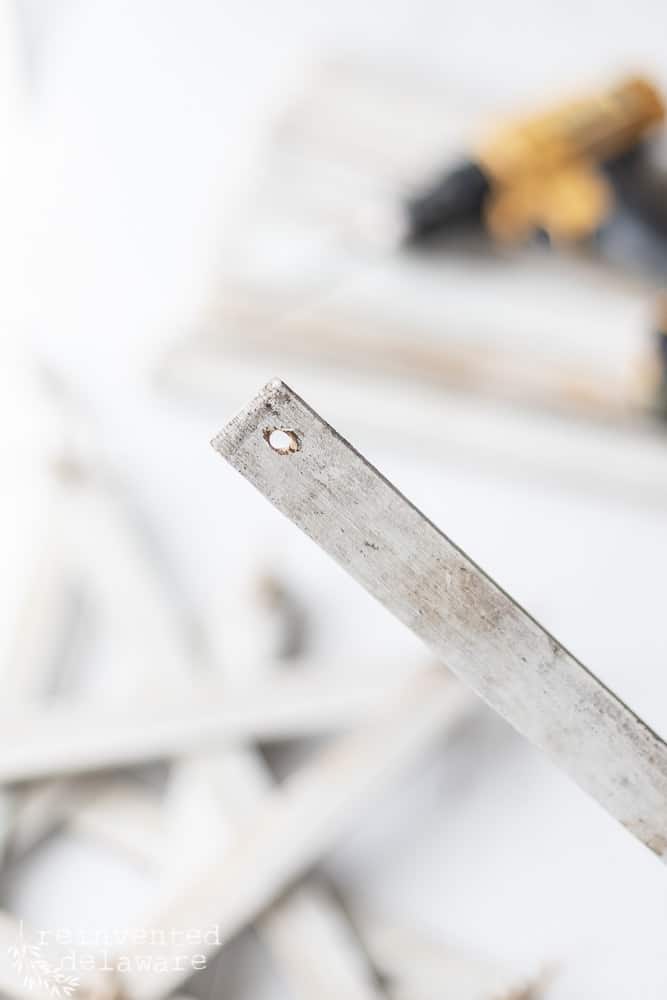
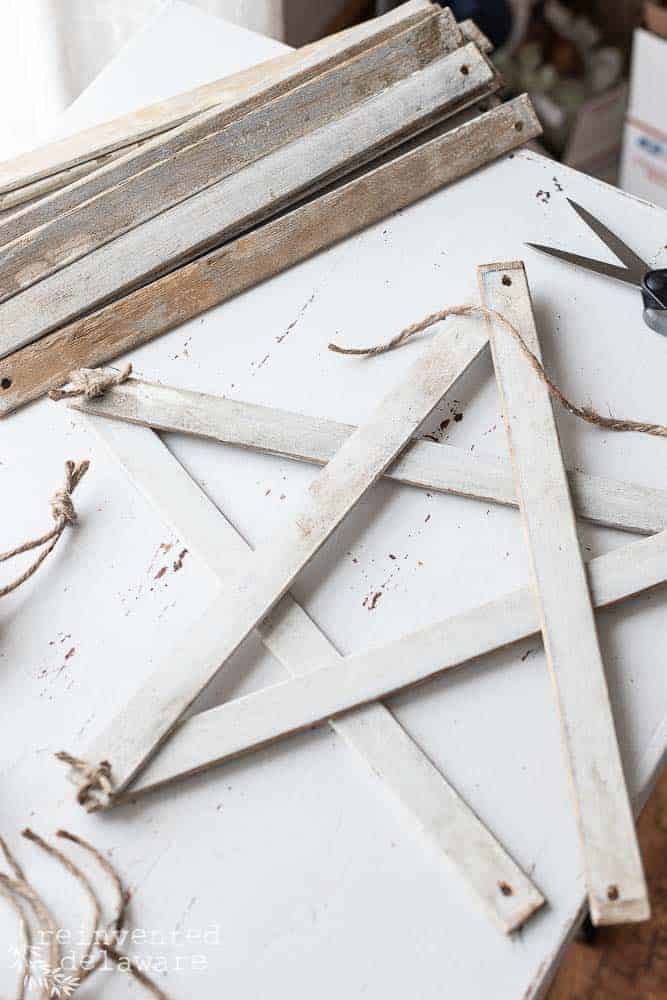
Each DIY hanging star requires five slats. Using the power drill with a large drill bit, I drilled holes approximately 1/4″ away from the edges. They don’t need to be perfect – just another reason to love the farmhouse style!
BTW: If you don’t have an old louvered door hanging around filled with slats, head out to you hardware store and purchase some paint stir sticks (linked above for you!) They come in several sizes and I recommend getting the standard size (12″) or the extra-long stir sticks used for 5-gallon paint containers (21″).
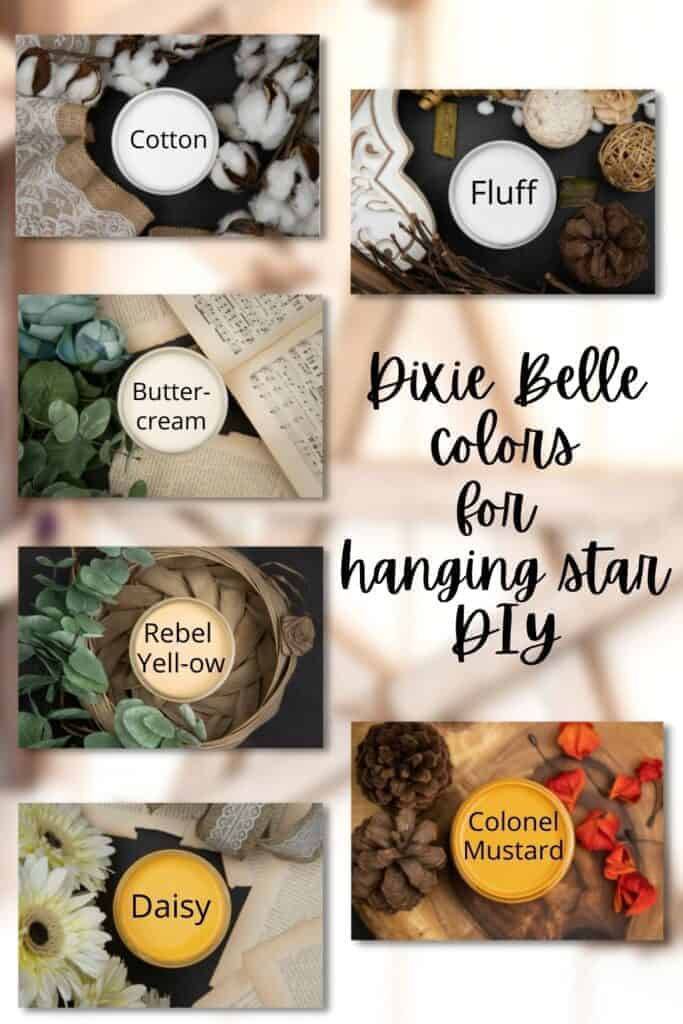
If you use paint stir sticks, I recommend that you paint them. Here are some colors that would be perfect for the hanging stars. Each of these colors can be purchased using the following links. Thanks for shopping via these links – you are helping us to continue these free tutorials for you!
Dixie Belle Chalk Mineral Paint Colors for these DIY hanging stars:
As a side note, make sure you test the size of the hole with the jute twine that you use. You want the twine to fit the hole with ease!
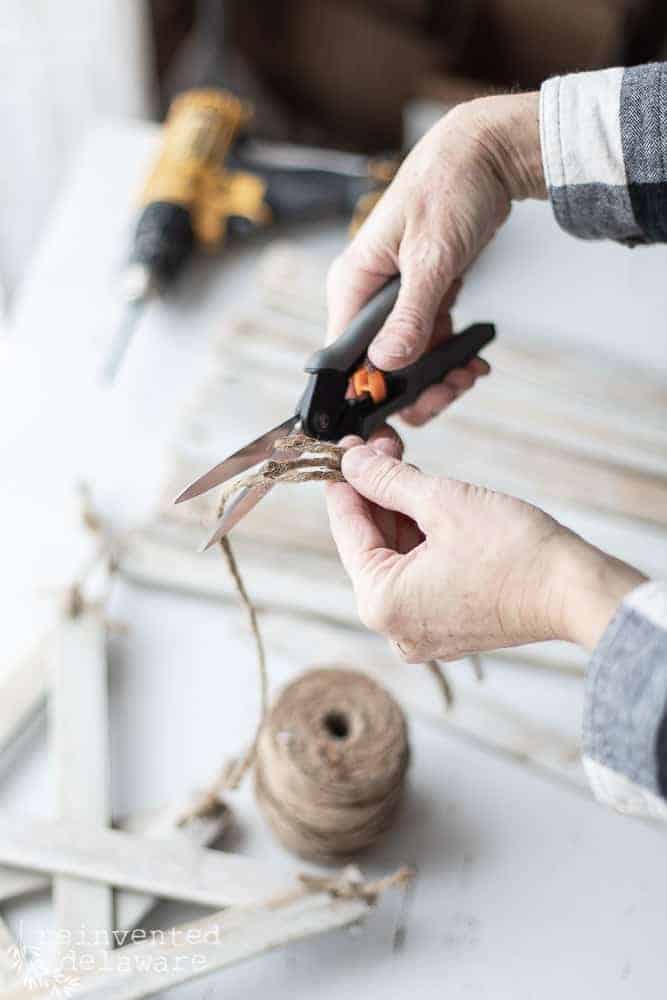
cut the twine
Cut six pieces of the twine in approximately 6-7″ sections.
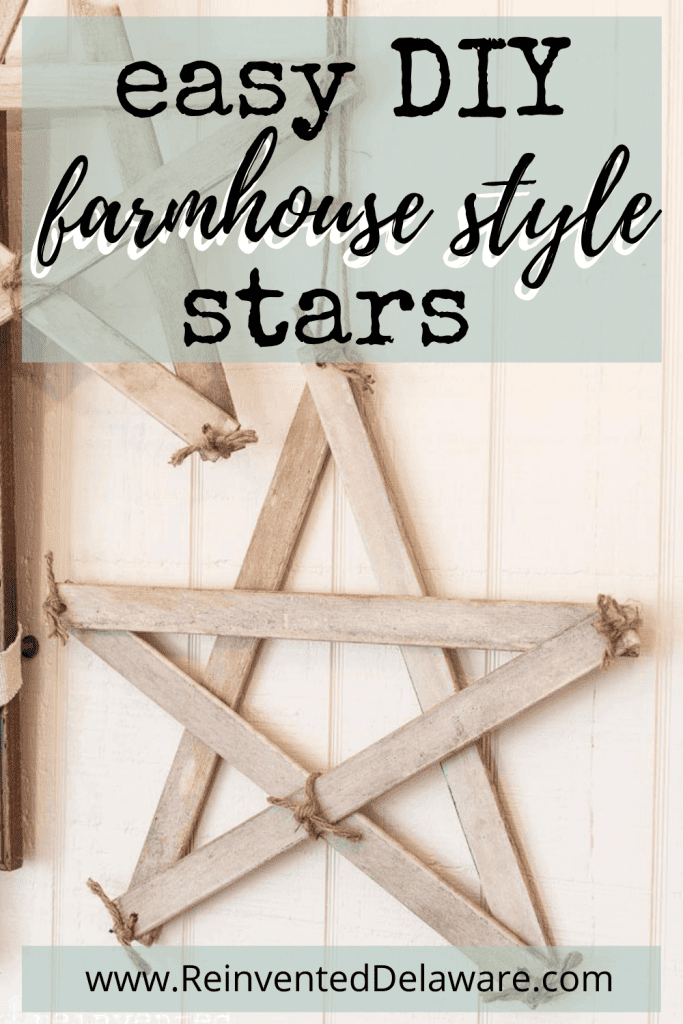
easy farmhouse wooden star
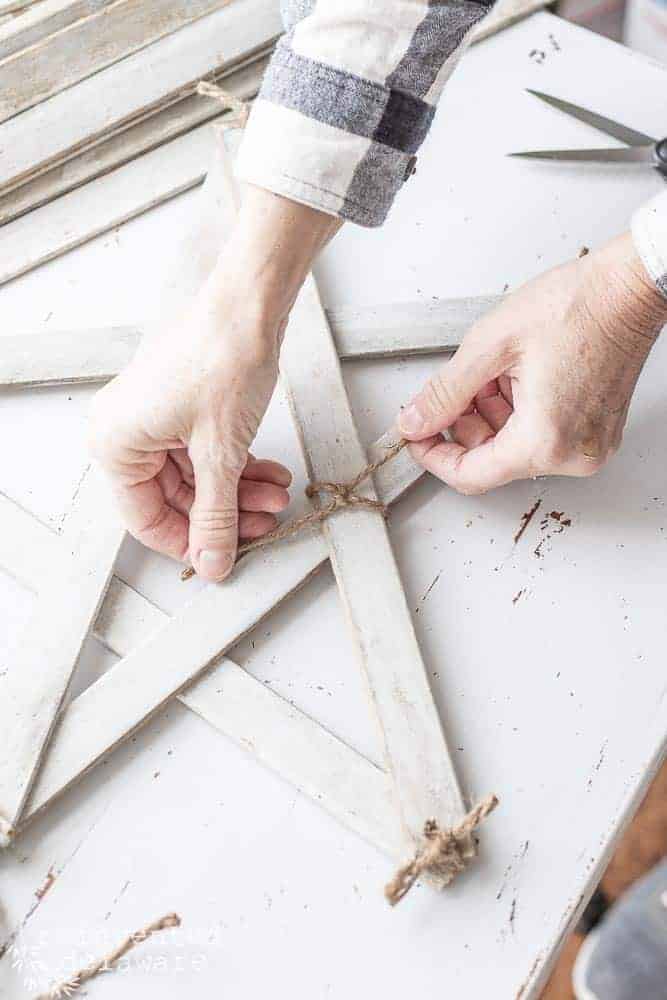
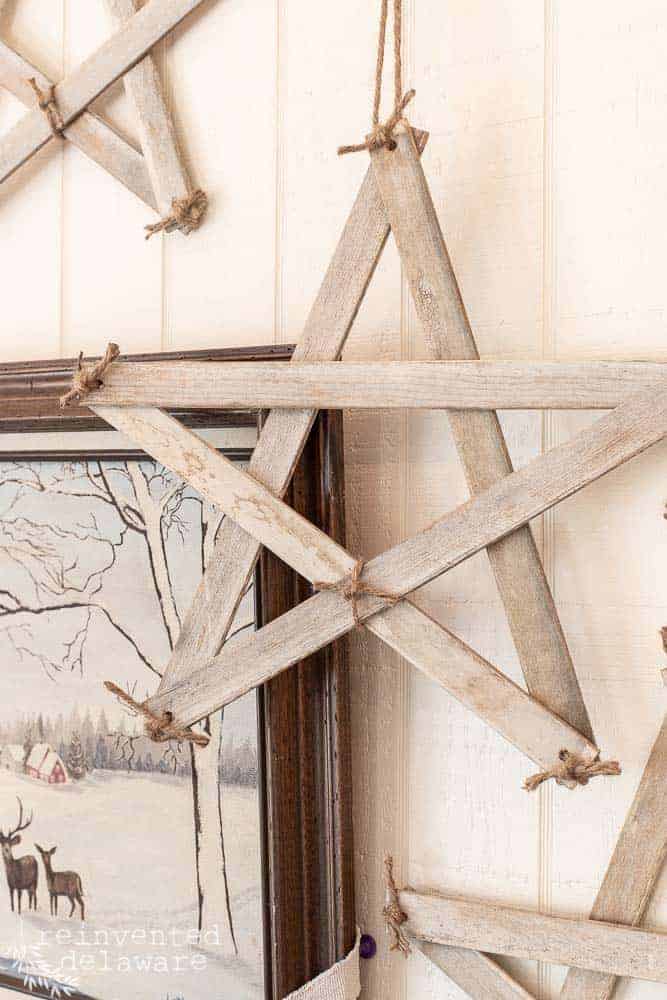
Layout the first two slats in a V shape to begin creating the DIY hanging star shape. Line up the holes and thread the twine through both holes. The straight lines of a star make assembly so easy.
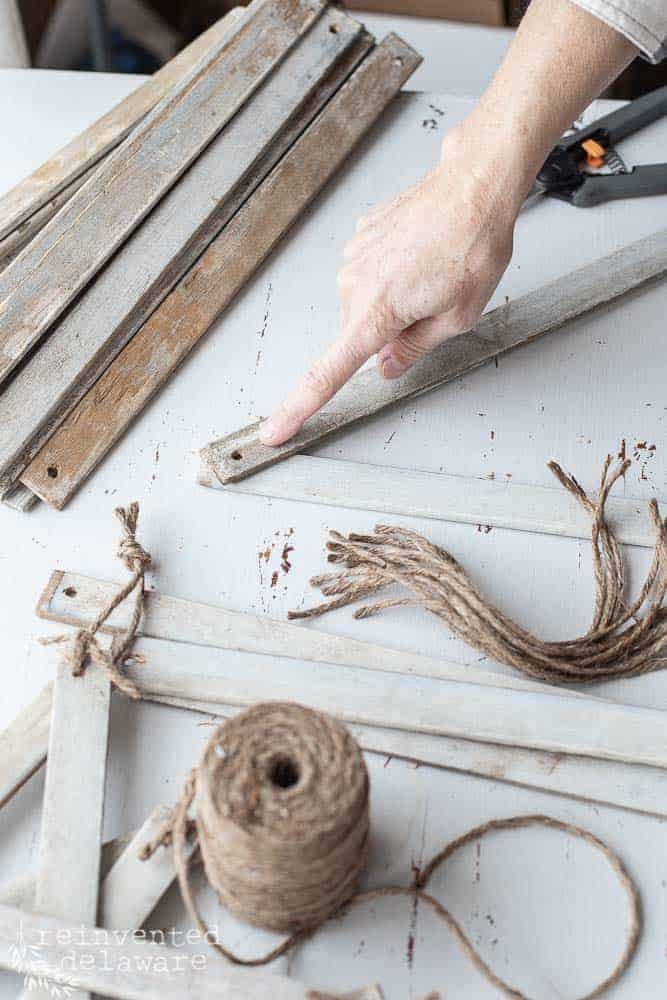
Cut off the excess twine if you like. I did but that doesn’t mean you have to! It’s your star!!
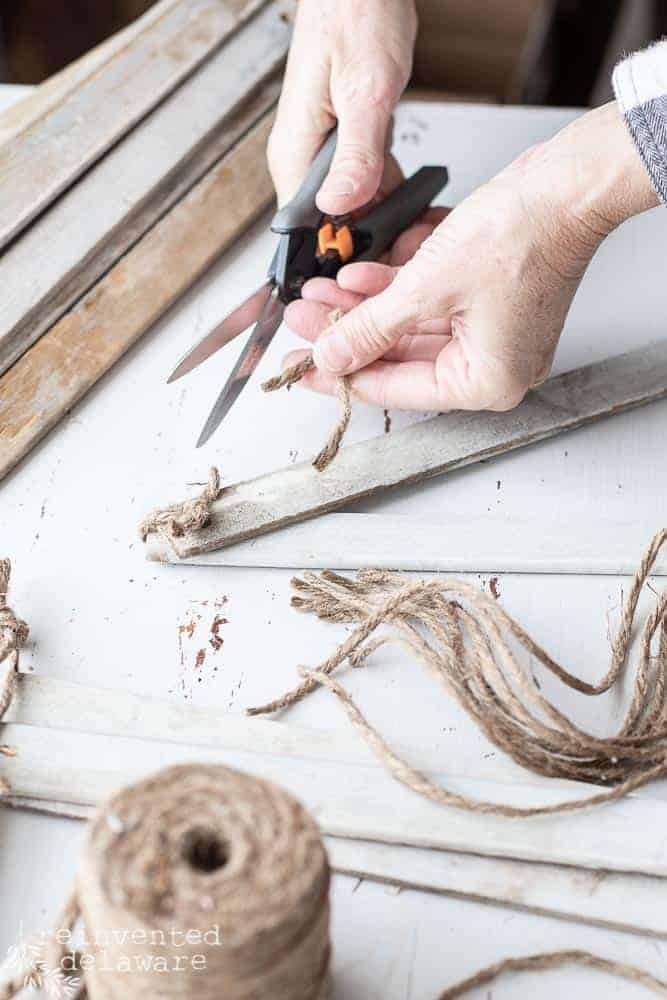
You will do the same at each of the star points. Lay the slats out just like you would if you were drawing a star shape. Creating the points of the stars is so easy with the wood pieces.
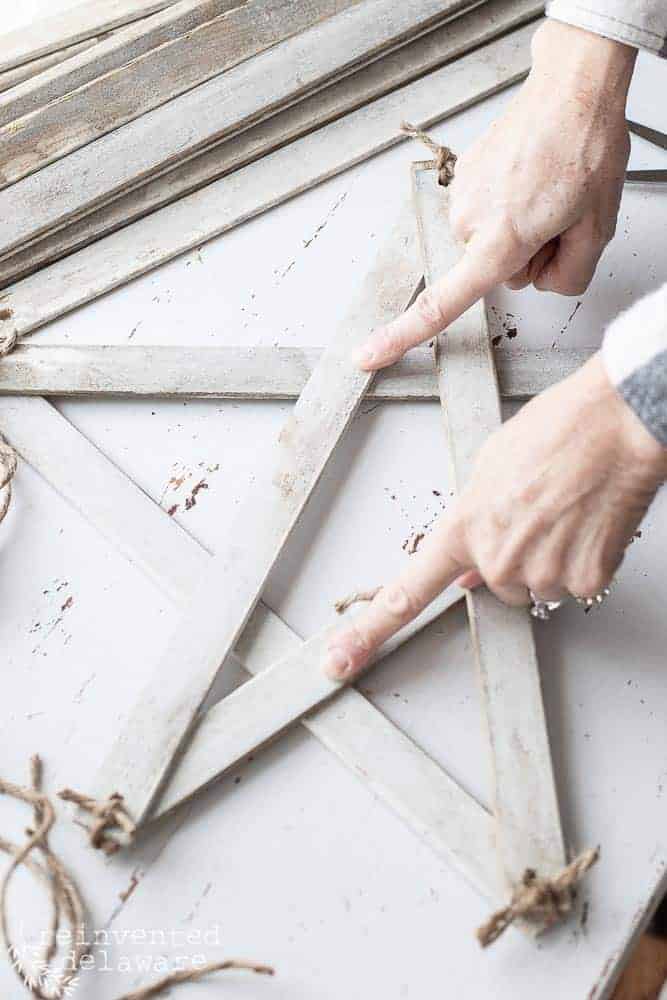
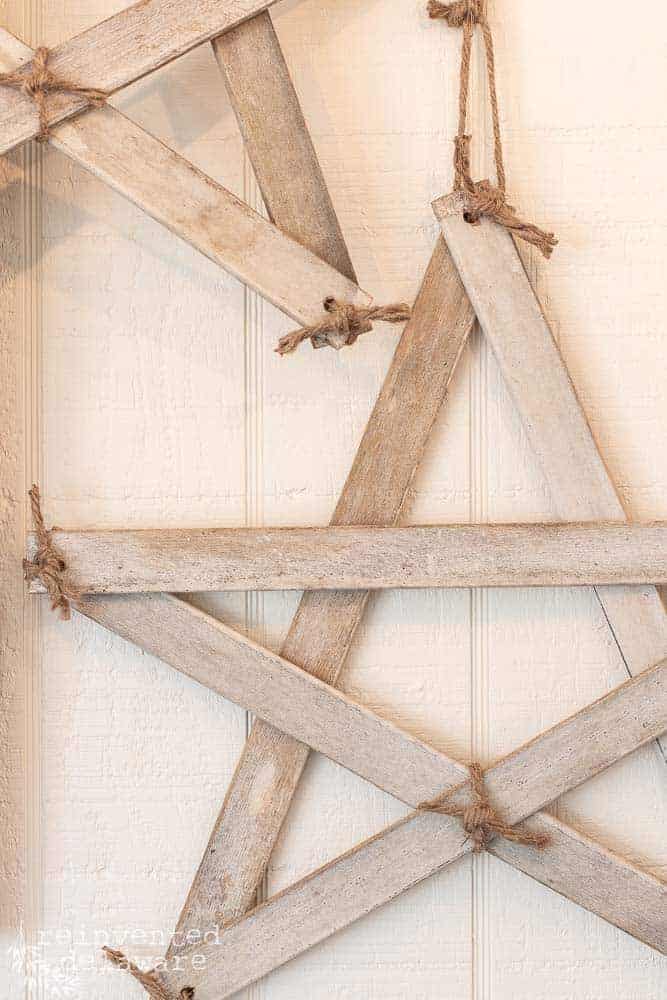
After all the slats are tied, you will notice that the slats can move around quite a bit. Let’s prevent that!

Tie the sixth piece of twine at the bottom intersection.
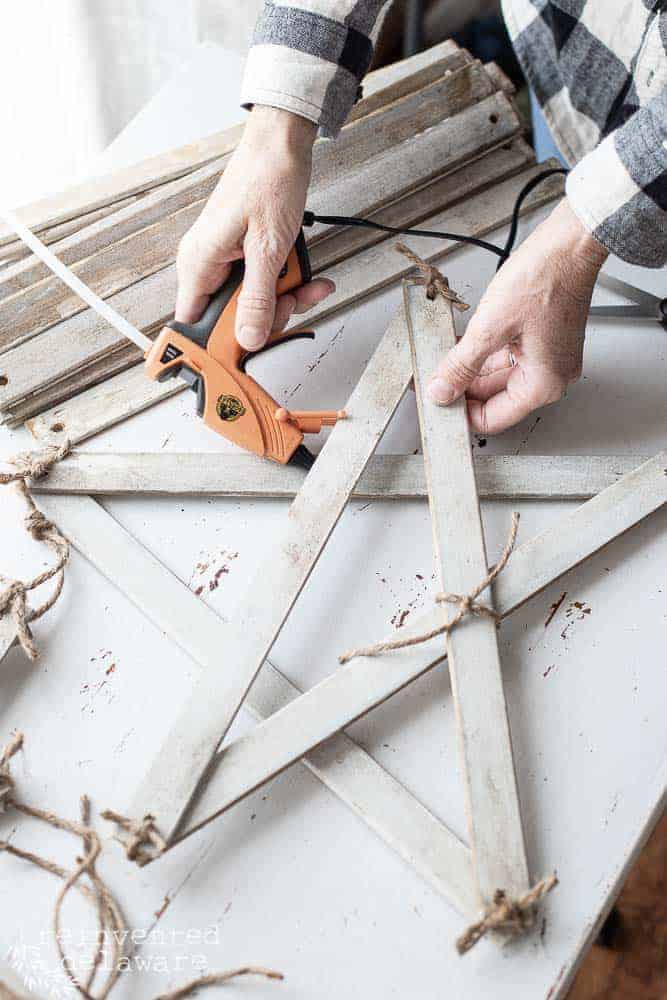
A dot of glue from your hot glue gun (or wood glue) will hold the other intersections snug.
easy wooden stars
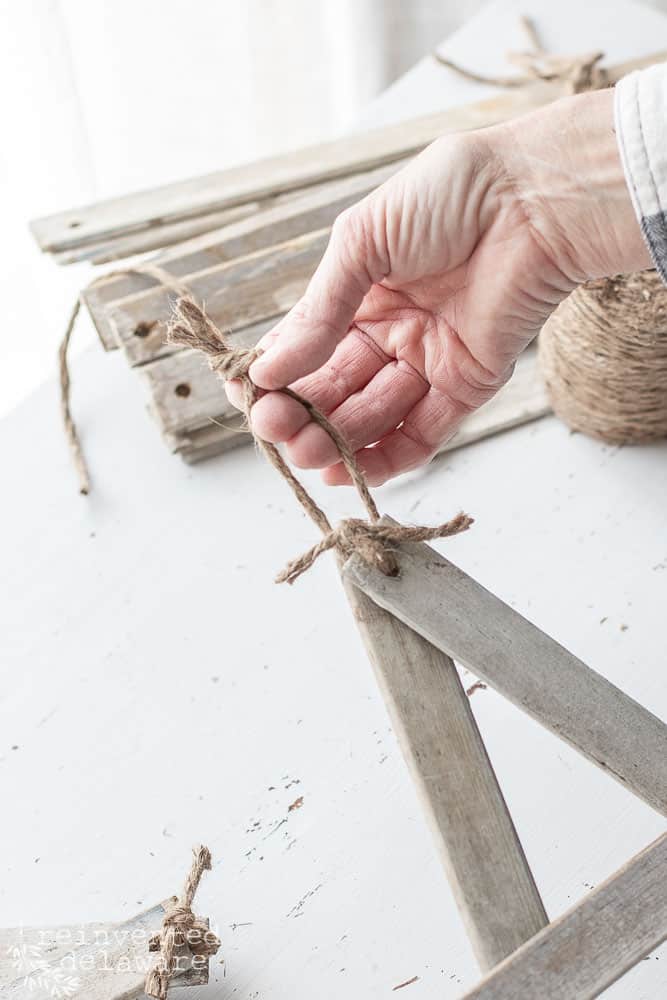
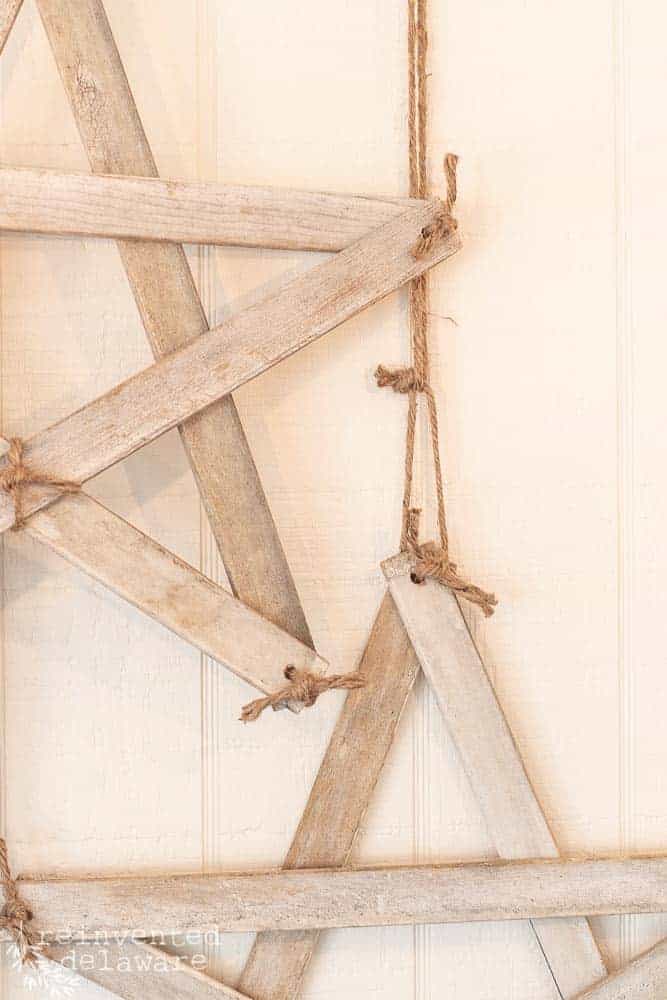
Use a longer piece of jute, about 7-10″, to make the hanger. Loop it around the uppermost point, just above the area in the previous step. Loop around and tie a knot!
You’ll see how I tie this type of looped knot in the video below!
YouTube video
Sometimes watching a project is easier, so I made a full video tutorial for this DIY hanging star just for you! Click the image below to watch this easy tutorial!

supplies for you!
Click the images below for any of the supplies you might need to make these adorable farmhouse-style hanging stars for your holiday decor or even to make as handmade gifts for the Christmas season!

farmhouse star decorations
Wasn’t that an easy project?? You could whip up a sky full of farmhouse-style hanging stars for your home in just an afternoon!
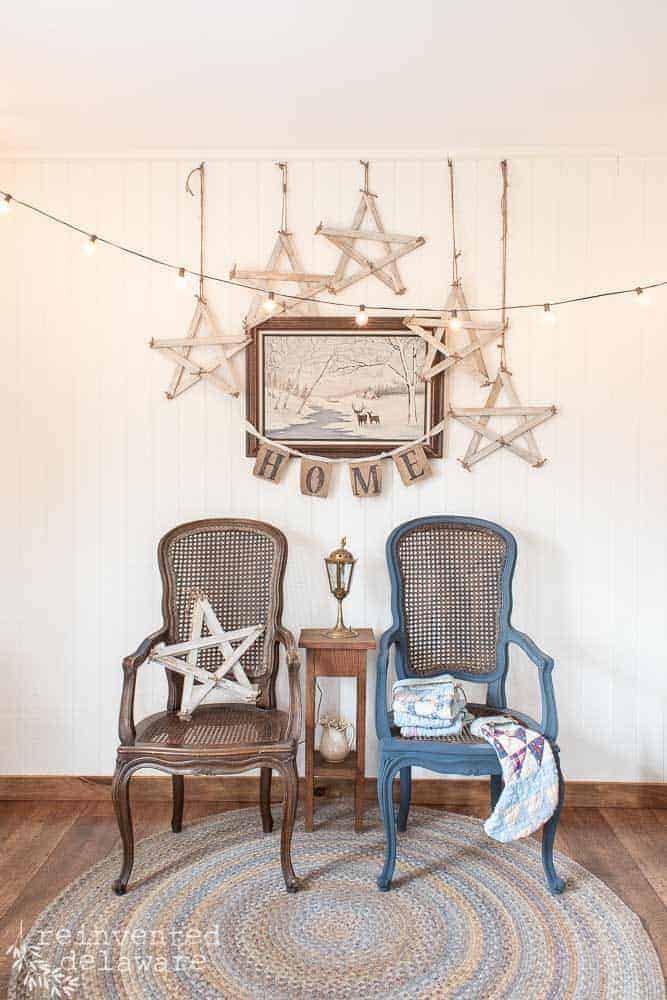
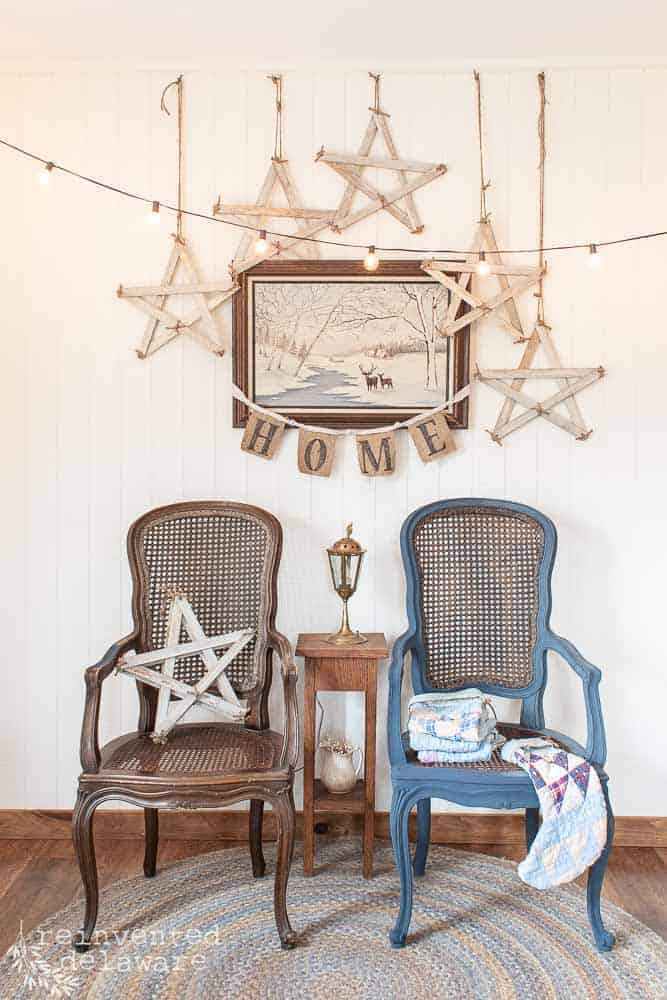
Can’t you see them hanging on a front porch all at different heights? Or maybe several near the door your guests come into? Or hang several on a front side wall creating a star wall hanging!
Use them as Fourth of July decor too!
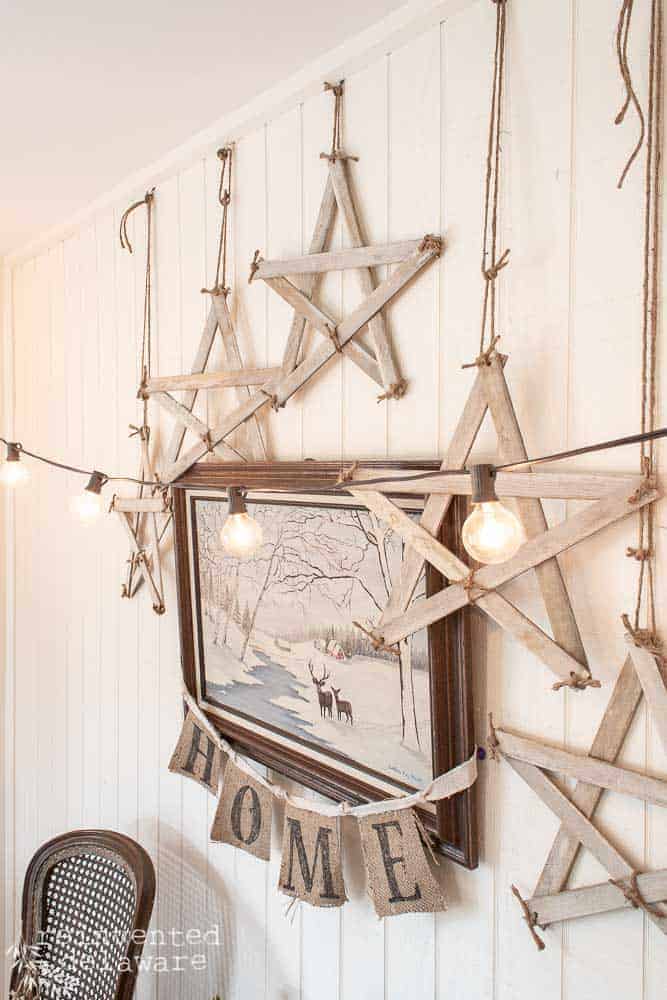
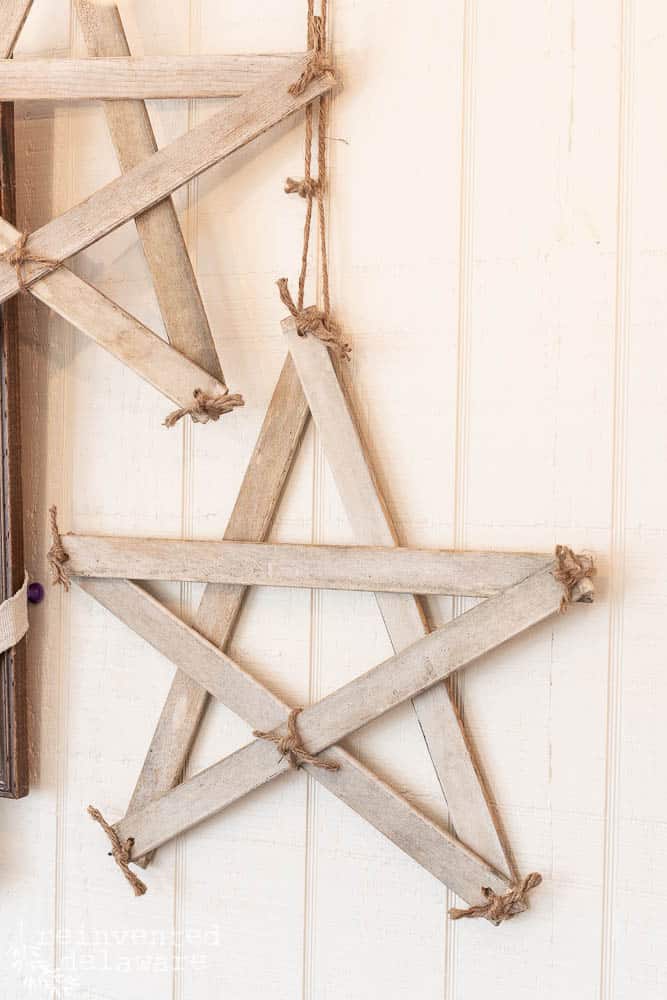
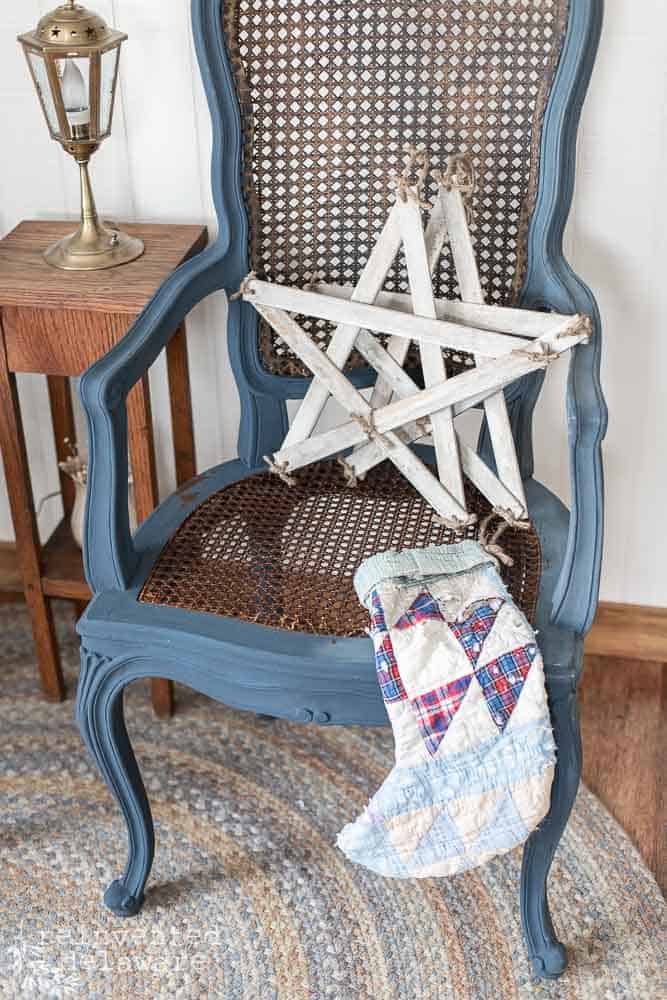
My DIY farmhouse-style hanging stars are hanging from long pieces of jute cut in varying lengths. Aren’t they adorable?
The hanging stars could also be made in different sizes by cutting the pieces of wood shorter. Using different lengths of paint sticks makes this change super easy.
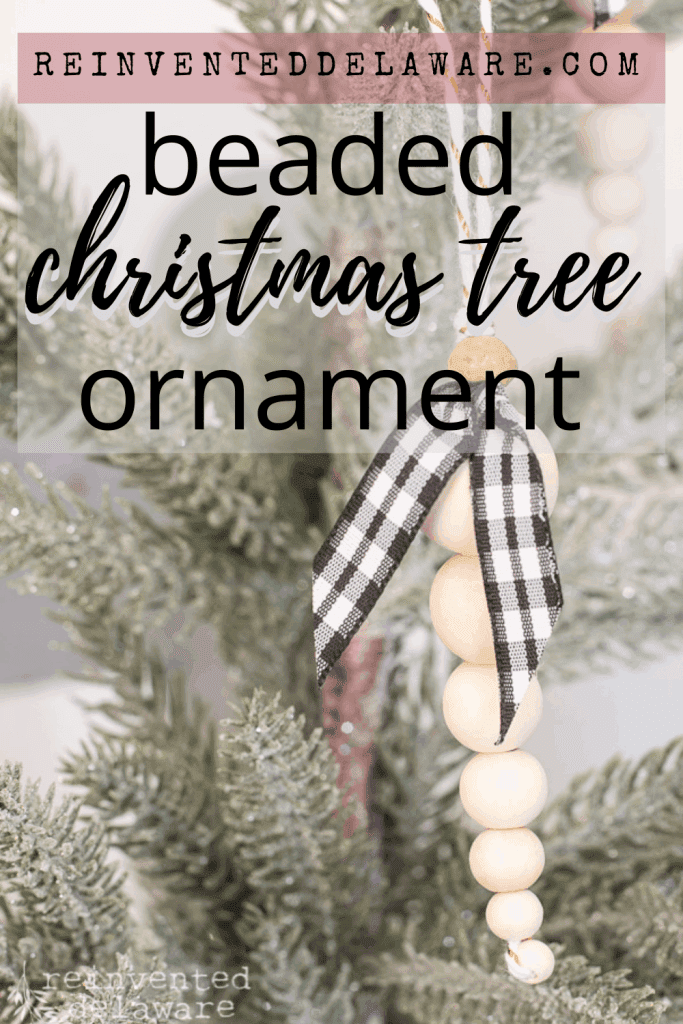
You could even try making smaller stars by using craft sticks or popsicle sticks. Wouldn’t they be adorable on a Christmas tree painted in different colors like blue, gold, or white? Add some sparkle for a festive look!
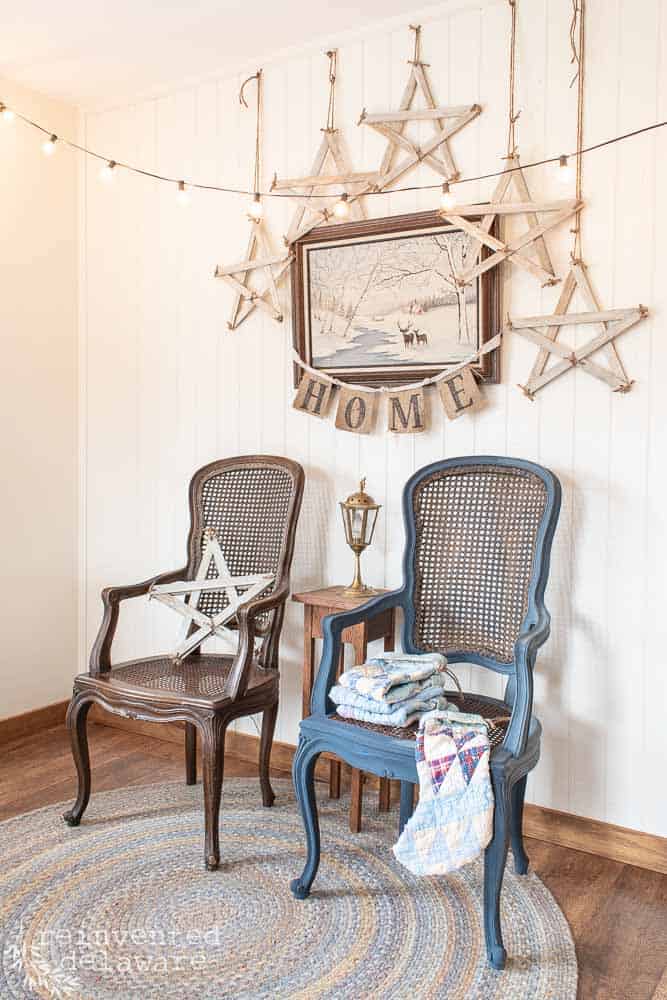
They’re cute as a single star or as a group of farmhouse-style hanging stars!
Several stacked together is another way to show them off. Or maybe you could gather some around the base of your Christmas tree in the living room this year!
more Christmas decor ideas
Where would you use your DIY hanging your stars? Share your ideas in the comments! Let’s inspire one another with our individual creativity!
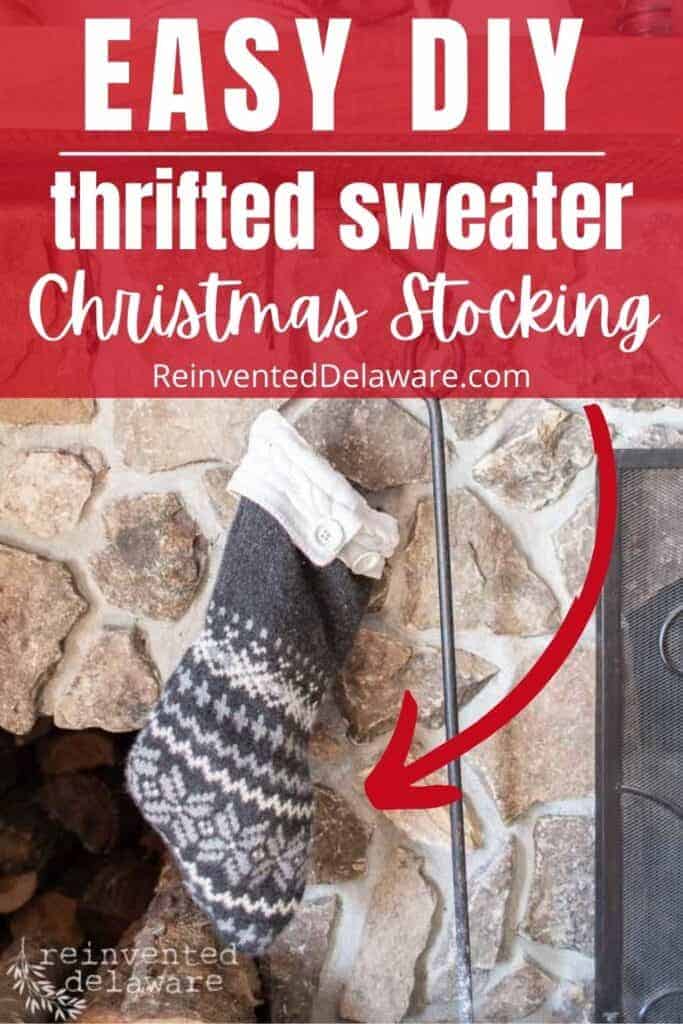
If you like this easy handmade Christmas decor project, here are a couple of more that might interest you. Simply click on any of the images to see the DIY Christmas project!


join our journey!
Feel free to share this post with your friends on Facebook or on Instagram. Pinning ideas is a great way to keep all your inspiration gathered together in one place on Pinterest! Come and join us over on Pinterest for more ideas and inspiration!
Follow along on Instagram and Facebook for more tutorials! We’d love to have ya’ join our reinventing journey!

thanks for stopping by today!
Thanks for stopping by for the fun and easy DIY hanging farmhouse-style star tutorial! I hope you are inspired to make some for your home soon!
Until next time…
Cindy- This is such a great idea. I love how your blog so clearly describes each steps and even gives tips on how to make the process work. Great photos too!! Now I am going to be on the hunt for wooden slats from shutters and louvered doors. . .
Anna, thank you so much for your encouraging words about the tutorial and my photos! Photography is something I love to do! Happy hunting for slats-tag me when you make something from them!! I want to see!!
Cindy-What a great video you made for showing how simple it would be to make these stars! Thanks for great instructions! I gotta make some!
The stars are so fun and easy to make!! I would love to see yours when you get a chance to make them!😀⭐️
Hi Cindy, I love the rustic look of these starts and so pretty to use year round! I’m so excited to feature your post this week on the Tuesday Turn About Link Party!
Definitely these stars could be used year round! Thanks Michelle! And thank you for the feature in the Tuesday Turn About Link Party!😊
These are so creative! I love using what would otherwise be cast off to make something new! Thank you for coming to EH&F link party! I am featuring these stars on Friday!
Thank you for the feature Jenn!! 😊 I hope to join the party each week!
Hi Beth! Thanks for your kind words! And thanks for the invite!
I love these stars and feel I could make them as your tutorial is so good and easy to follow. Great closeups with good explanations. These would be great to decorate front door with, too.
You are so right – a star on the door would be adorable!!🥰
THESE! I need these in my Christmas life. Now I know. Thanks for the inspiration.
Yes, Yes for all the Christmas stars! 😊
Nice
So glad you enjoyed the post!
I love how you have these hanging! What a great idea Cindy!
Arent’ they fun? So glad you enjoyed the stars!
These stars are SO adorable, Cindy!! I love how you used old door pieces to create them. They look so pretty hanging staggered like that. Another great Christmas craft from you. Pinned!
So glad you enjoyed the project Rachel! Thanks for pinning!