
Before and After DIY Painted Kitchen Cabinets
Find inspiration to revamp your kitchen as you explore the before and after transformation of DIY painted kitchen cabinets.
The before and after results of painted kitchen cabinets can be truly remarkable, instantly brightening up the room and adding a touch of modernity or elegance.
Whether you’re looking to update outdated wooden cabinets or simply want to experiment with different colors, this article will guide you through the process and showcase stunning transformations that will inspire you to take on this DIY project.
painted kitchen cabinets before and after
Have you ever painted your cabinets? We did about ten years ago when we did some kitchen renovations and created a whole new kitchen. The original wood cabinets were popular in the 90s.
After ripping down a couple of walls and moving our kitchen cabinets in a different orientation, I decided the oak kitchen cabinets needed to be painted. They had been natural oak cabinets – no stain just a clear coat that showed the natural oak wood and all of its beautiful grain.
The problem was the cabinets blended in with our natural oak floors! It was the thing back in the day when we built our new home. But I felt it was time for a whole new look!
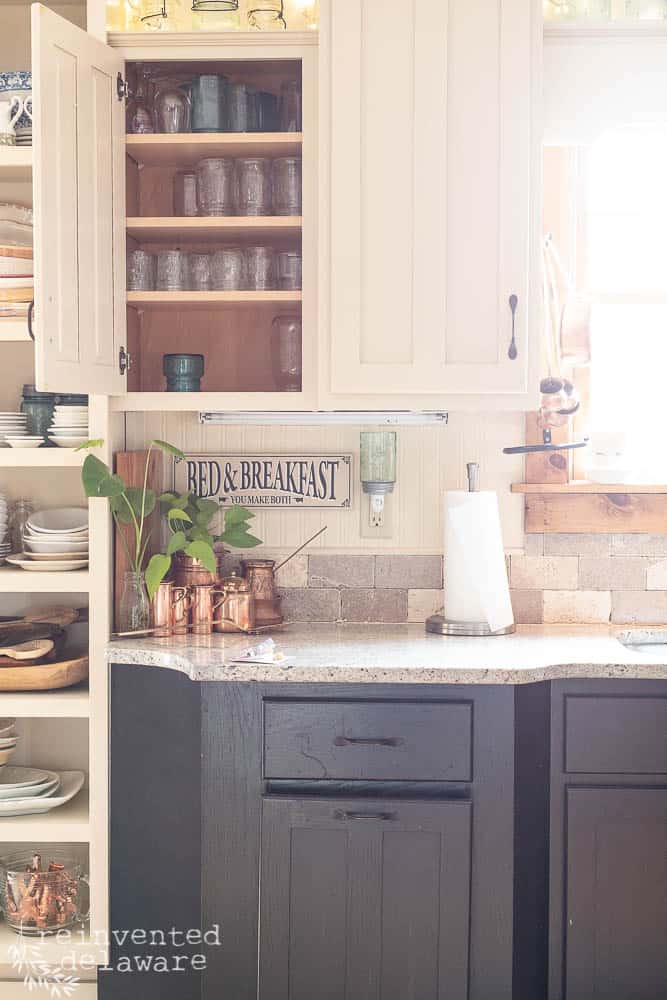
So I went with this look for our kitchen: two-toned cabinets. Kitchen cabinet inspiration in the two-tone look was all over Pinterest at the time.
The top cabinets were painted in Linen by General Finishes Milk Paint. The bottom cabinets were stained with General Finishes Gel Stain in Java. I loved the look so much! But change is good, right? A white kitchen sounded like the the perfect option to refresh out kitchen!
how much does it cost to paint cabinets
Are you wondering how much it costs to paint cabinets? I’ll break it down for you using my kitchen as an example. Keep in mind as you go through this post that we have a lot of cabinets!
The cost of new paint, and doing the work yourself is much less money than paying professional painters. Yes, it is a lot of work. But if you break it down in individual tasks, you will get the painted finish you want with huge savings!
Here are the breakdown of our kitchen:
- 31 cabinet doors including upper cabinets and lower cabinets
- 11 drawer fronts
- 6 open shelves
- framing for all those cabinets
- large areas like sides of cabinets, kitchen island, and shelving unit
The cost of supplies for our kitchen cabinet painting project was around $143! That included the cleaner, the paint, the fine mist spray bottle, and the 2″ mini angled paint brush. The other supplies are basic supplies I already have on hand so I didn’t include them in the final cost.
As a way of comparing the cost of hiring professional painters to paint your kitchen cabinets, let me share the estimate that one of my friends acquired to have her old cabinets painted. $8000. Yep. $8000. I am not sure she hired that particular company to do the paint job. Regardless, it was a huge difference in spending compared to my cost of under $150!
You can only imagine how much it would cost to purchase all new cabinets!
The following post may contain affiliate links. That means if you click and then buy something, I will make a small commission at no additional cost to you! Thank you for supporting my blog. full disclosure here.
list of supplies:
Use the links below to purchase some of the supplies for this project! You are helping to support this blog and all the free tutorials we offer here! Thanks so much!😊
- Pristine Clean (1/8th container at $5.95)
- Silk Mineral paint in Salt Water (2.5 containers in 32 oz at $38.95 per container)
- micro-fiber cloths
- protective gloves
- spray bottle for cleaner
- continuous fine mist spray bottle ($11.95)
- 2″ mini angle paintbrush ($30.95 it’s smart to start off with a new brush)
- Scrubby Soap brush cleaner
- Zinsser Synthetic Shellac Based Primer (3/4ths of a quart)
- sanding sponges
If you are looking for more Silk paint colors, Click Here.
You can also click the Dixie Belle logo below to shop for other amazing products!
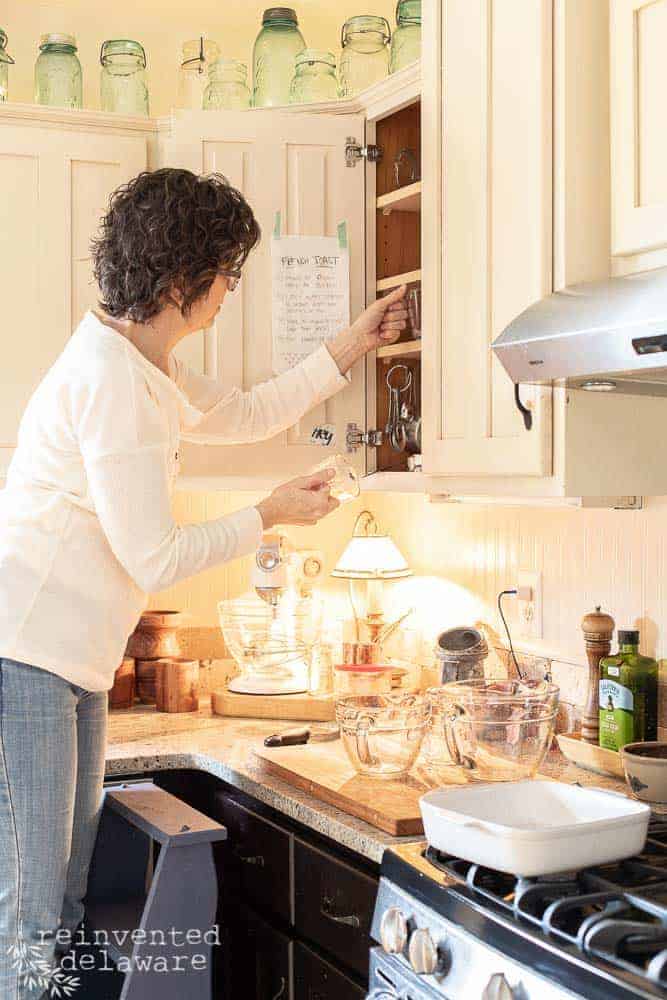
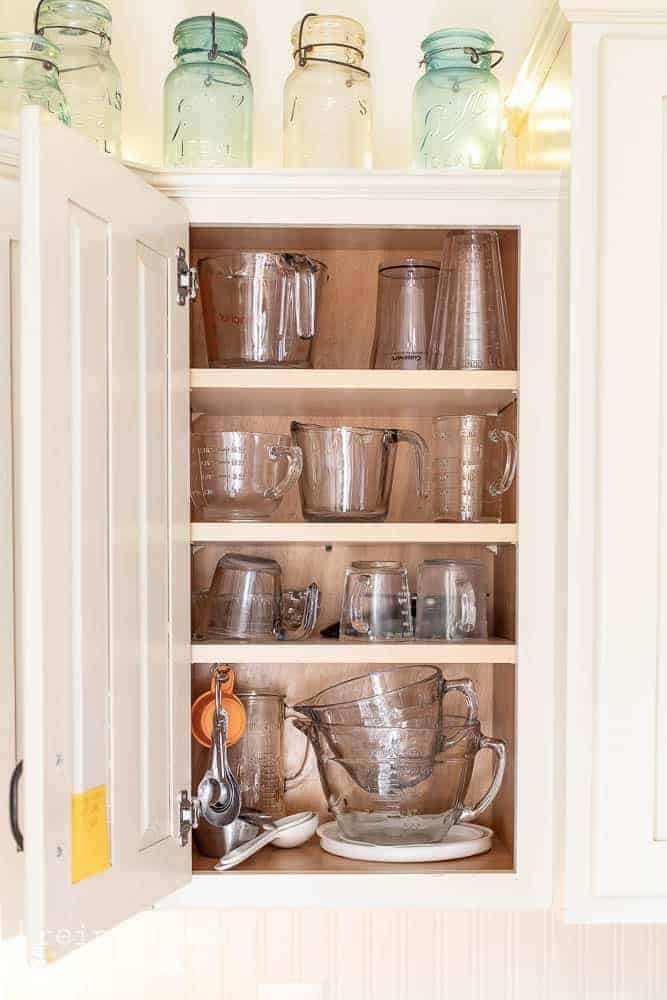
organize kitchen cabinets
Are you like me? Do you open a cabinet door and realize it’s messy and then you have to straighten it then and there no matter what else is going on in your day?
Yeah, that’s what I did. But it stopped there. One cabinet got organized and cleaned and then I got back to the task at hand 😉
This step is not really necessary before painting cabinets. But it might be a good idea when you are finished!
step one: prep work for cabinet painting
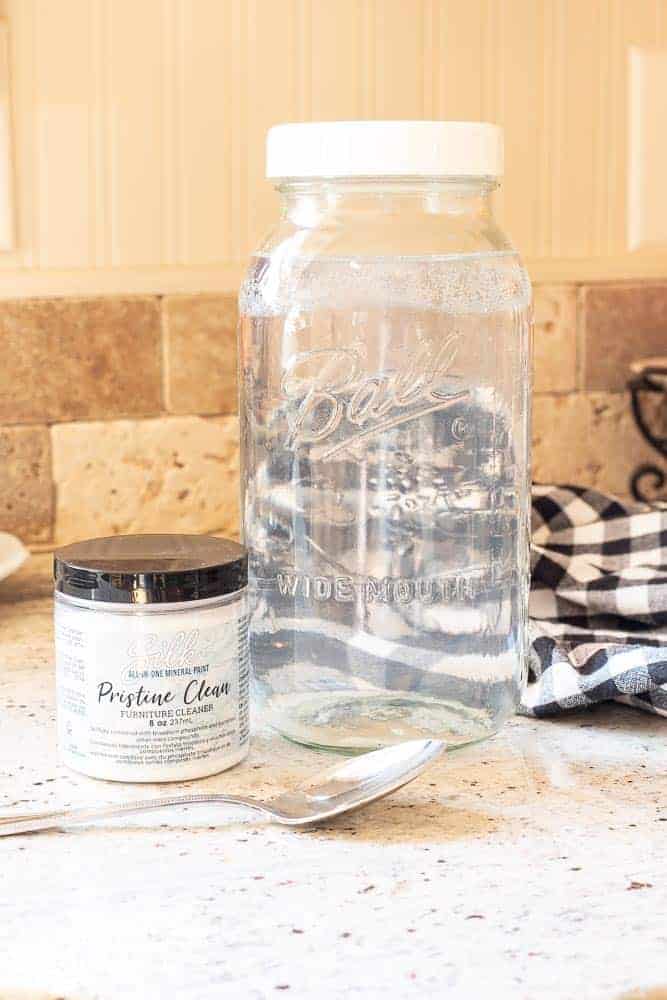
The first thing is to clean your cabinets thoroughly before painting them. Dixie Belle offers a dry TSP cleaner that cuts grease and grime from the existing finish.
Remove the door handles and drawer pulls as you go along with cleaning. You can put the hardware inside of the cabinet so you won’t have hardware all over the kitchen. 🙂
If you plan on changing the hardware, be sure to fill the old hardware holes with a quality wood filler. Dixie Belle makes a great one called Dixie Mud. Apply the wood filler, allow to dry and then sand it smooth. You may need to add more than one coat.
**Wear gloves when using Pristine Clean! I didn’t use gloves and my hands suffered. This stuff is powerful even though it looks and feels like regular water! It isn’t – trust me, I had to invest in Gold Bond hand cream!
But I will say the cleaner is so easy to use! Mix one tablespoon with 1/2 gallon of hot water to dissolve. Then pour it into a spray bottle (labeled “Pristine” so you don’t get it confused with other cleaners!)
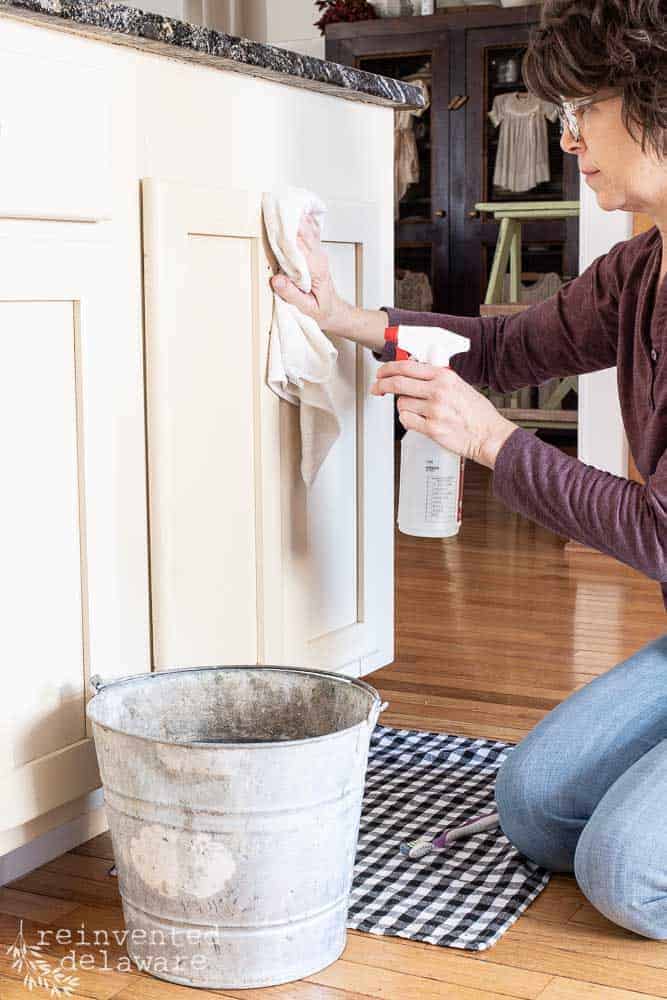
Cleaning is simple, spray Pristine cleaner onto the cabinet and wipe it down with a damp microfiber cloth. It’s a good idea to have a clean bucket of water to periodically rinse out your micro-fiber cloth.
Go back over the cabinets with clear water to remove any residue from the cleaner.
step two: scuff sand the cabinets
Ok, don’t get in a dither about this step! We’re not talking about getting your power sander! We’re just talking about a scuff sand! It hardly creates any dust and goes along very quickly!
You just need to knock off the shine of the existing finish a bit 🙂
Use your sanding sponge and go over the surfaces back and forth with the grain a couple of times. You will have to change out the sanding sponge periodically.
Wipe down the cabinets with a clean microfiber cloth or a tack cloth to remove the dust (there won’t be much dust at all!)
step three: prime dark cabinets
You might be able to skip this step altogether! Read on and I will explain. Depending on the color of the cabinet colors you will be painting, you may or may not need to use a designated primer.
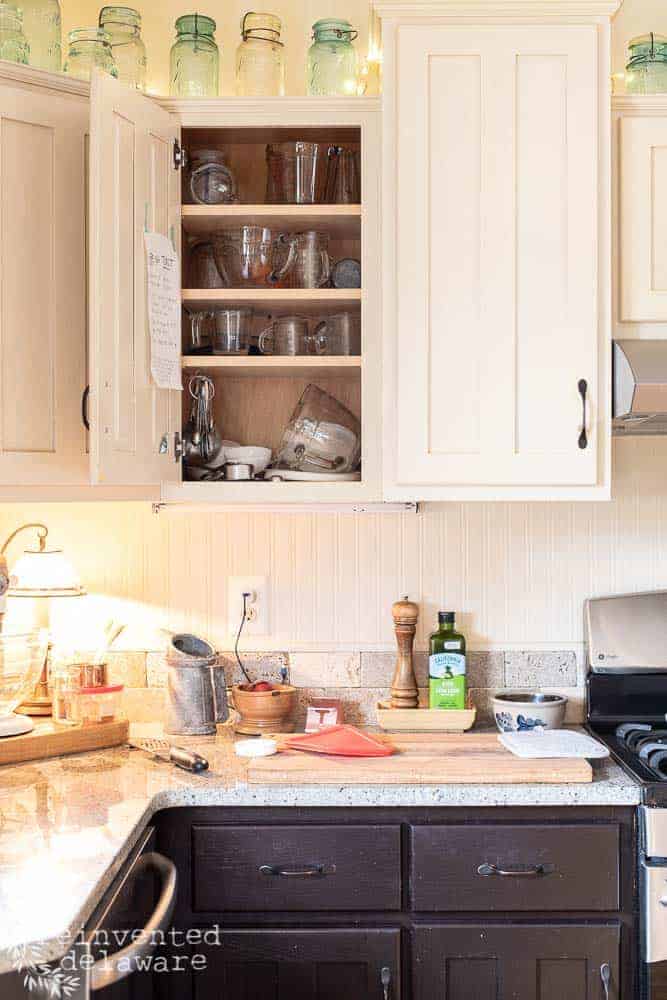
Most of my cabinets were painted linen and did not need additional priming. Silk All In One Mineral Paint includes a built-in primer so when covering a color like linen with a color like Salt Water (a gorgeous soft white paint color!), I didn’t need to use a separate primer.
save a little money
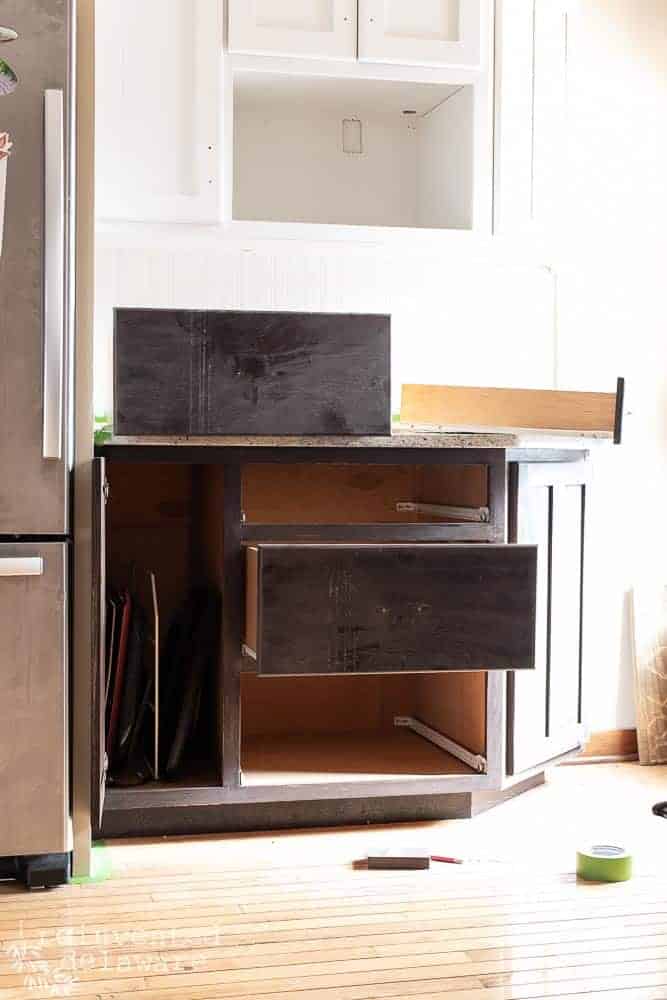
Scroll back up to see the dark stain I had previously applied to the base cabinets. Silk would have covered the dark but it would have taken more coats of paint to cover such a dark color with a light color like Salt Water.
So I opted to prime the base cabinets with a designated less expensive primer like Zinsser Synthetic Shellac-based primer. Two coats gave the base cabinets enough coverage and helped to save a little bit of the more expensive Silk Chalk paint.
YouTube video tutorial
You will be able to see the steps I go over here in the post on the YouTube video. We’ll go over each step and you will be able to see a special tool that you can use to paint around the hinges.
You will also see that I used the fine mist spray bottle to illuminate brush strokes and make the paint glide on easily. You will love the mister bottle!
Just click the video below to watch!

step four: paint cabinets without removing doors
Begin to paint the cabinet doors. Paint the cabinets in this order: insets, the area between insets, top and bottom, and lastly the two sides. Use the fine mist spray bottle filled with water on the brush or on the surface to help the paint glide on. Use the spray mist bottle very sparingly. Doing so will prevent brush marks. Always paint in the direction of the grain and watch out for any runs in the paint.
You’ll see step-by-step how I do this in the video!
You can see in the video that I chose to not remove the doors. The first time I did a little kitchen makeover about 10 years ago I did remove them. It was summer and I could use our garage for the 10 days it took me to complete the job.
It was great to have all of the doors and drawer fronts outside but I learned a valuable lesson about painting cabinet doors in the heat and humidity of the summer months here in Delaware.
pro-tip for painting cabinets
The wood was swollen due to the humidity. It wasn’t visible and I didn’t even notice until winter came. Less humid conditions in the winter shrank the wood and the areas that had been hidden from the swelling became visible – and they were not painted or stained because those areas were not accessible and couldn’t be reached with the paintbrush.
It left areas all around the insets of the doors that showed the original natural oak finish. It wasn’t anything that a little touch-up wouldn’t fix but still, it had to be done months after I painted the cabinet doors!
That’s why I left the doors on this time around. I didn’t want saw horses set up in our home since it is cold in my garage so leaving the doors on made sense.
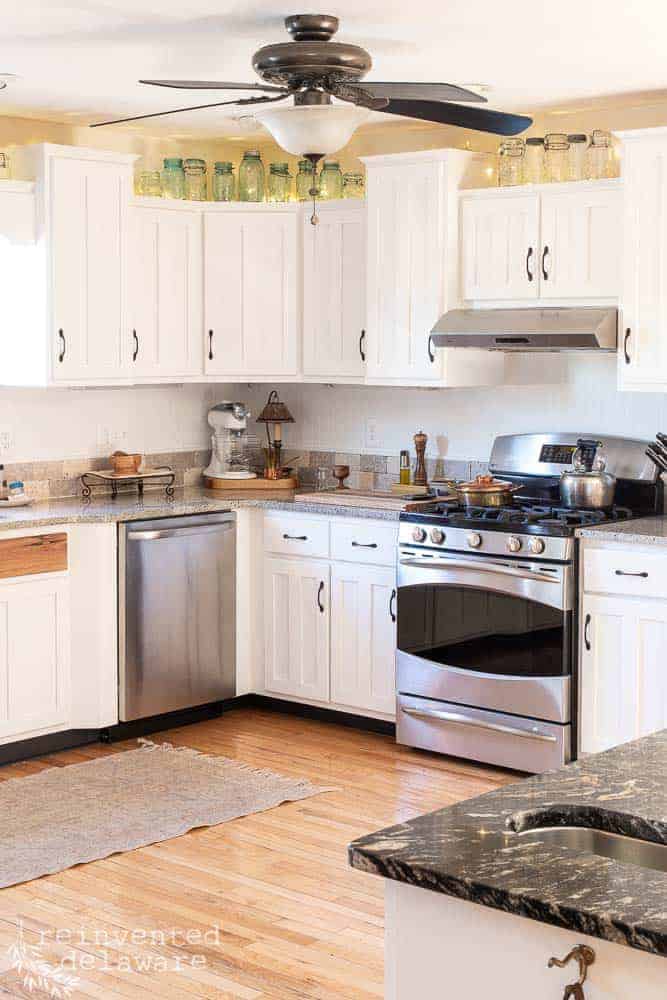
DIY white cabinets
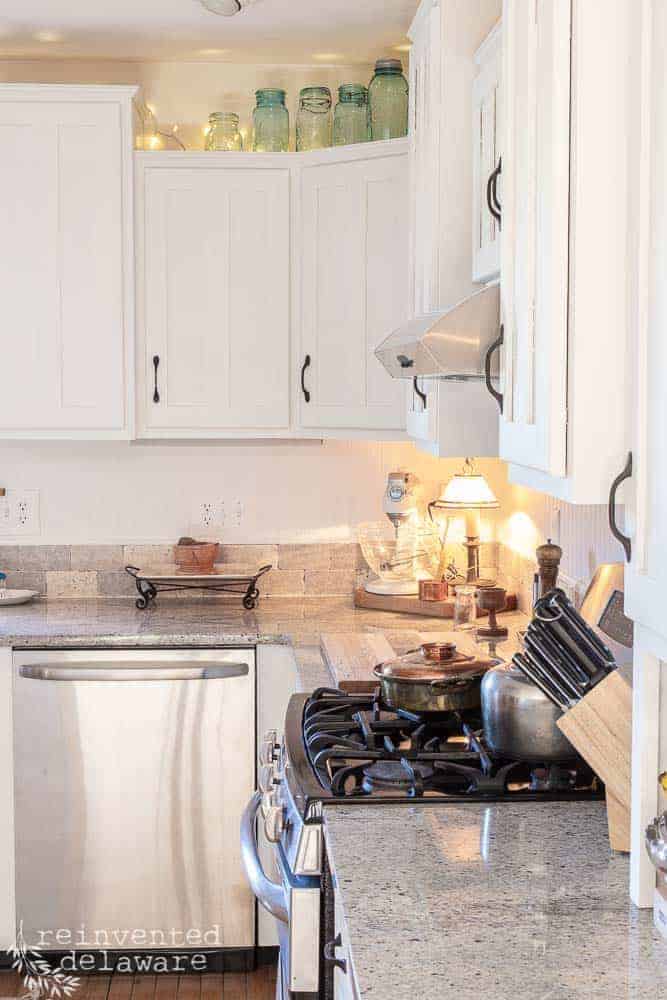
So, what do you think? Doesn’t it look like we turned on a light?? The color is so cheery and bright – we really love our ‘new’ kitchen!
The whole project took me about 3 weeks. I didn’t work on this project every day. My hands are slightly arthritic so I had to have days of rest between painting days.
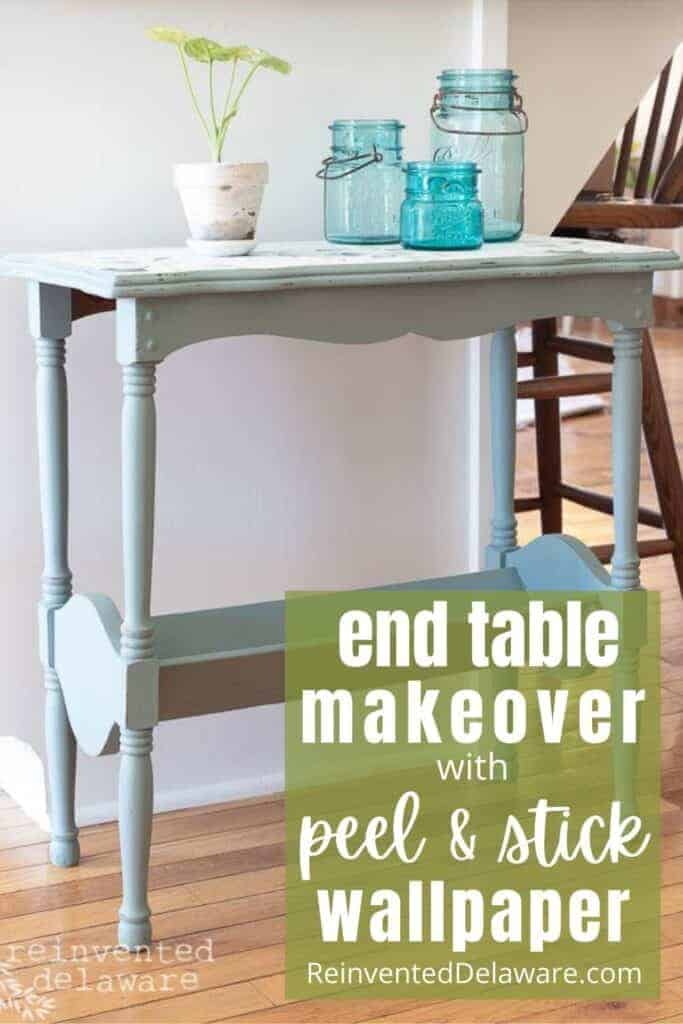
Plus, you come here to my blog post each week for a new tutorial and I didn’t want you to miss any! Here are the projects I worked on for you during those three weeks.
Click the image to see the post!

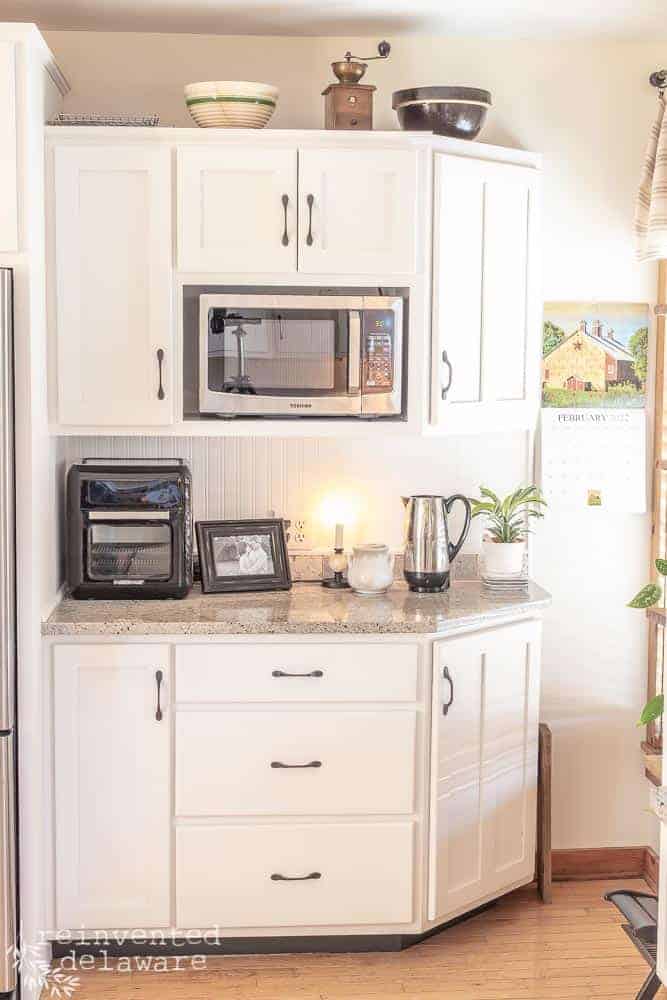
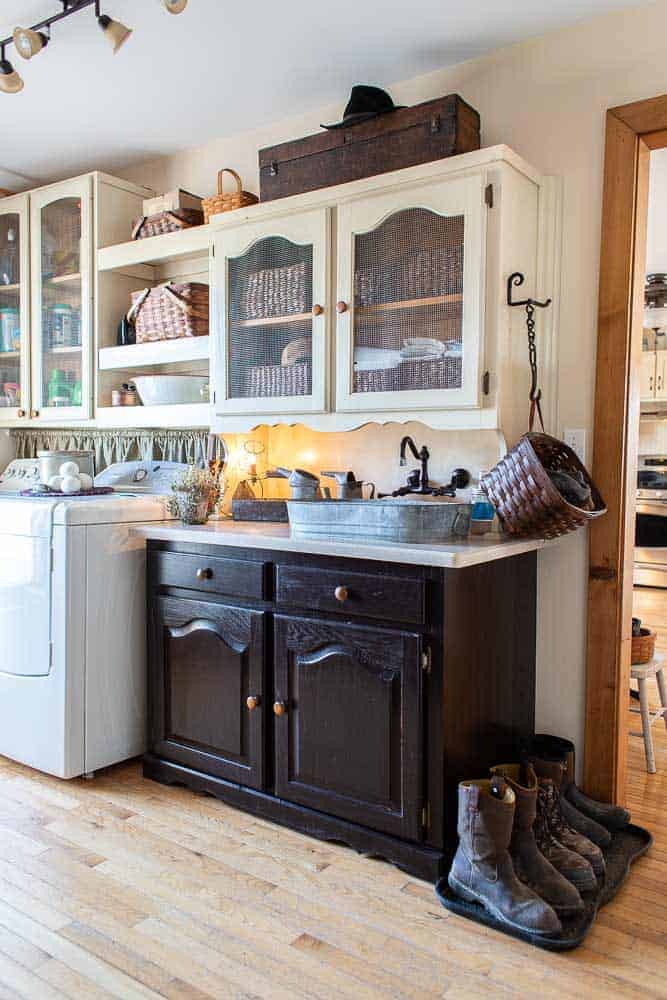
our little cafe
Isn’t this a bright and cheery place to see each morning as we pour our cup of coffee?
Our kitchen space coordinates with our laundry room now! We created a functional laundry room where we also painted the cabinets!
FAQ’s
does Silk All in One Mineral paint need a top coat?
The good thing about Silk All in One Mineral Paint is that it doesn’t need a top coat! Seriously, after painting all these doors, and drawers, and framing shelving and cabinet sides, the last thing you would want to do is seal the paint! Silk All in One Mineral paint includes the primer, the paint, and the sealer ALL IN ONE!! If you want a satin finish, you could always add one coat of a clear top coat in a satin to gloss finish.
how many coats of paint are needed on kitchen cabinets?
That is a tricky question and it all depends on the existing color of the cabinets and the color you want to paint them. Dark colors take more coats of paint for good coverage. Light colors can often get away with just two coats. The upper cabinets required three coats even though I painted white over a linen color. The second coat of white didn’t completely cover the darker linen color.
can I use a paint sprayer to paint the cabinets?
You can use a spray gun to paint the cabinets as long as you have a well-ventilated area that is protected from the outdoors. Most of us do not have a spray room so opting to use a paint brush is a great idea!
is chalk paint a good option for kitchen cabinet painting?
Chalk paint is amazing for many different reasons. But in my opinion, it is not a good option for kitchen cabinets. Unless of course, that paint is made especially for durability, contains a built-in primer and sealer, and is easy to use. Chalk paint is porous and must be sealed. That could mean many coats of a clear top coat which would add to the workload. Using an all-in-one paint like Silk Mineral Paint is the best option.
can latex paint be used on kitchen cabinets?
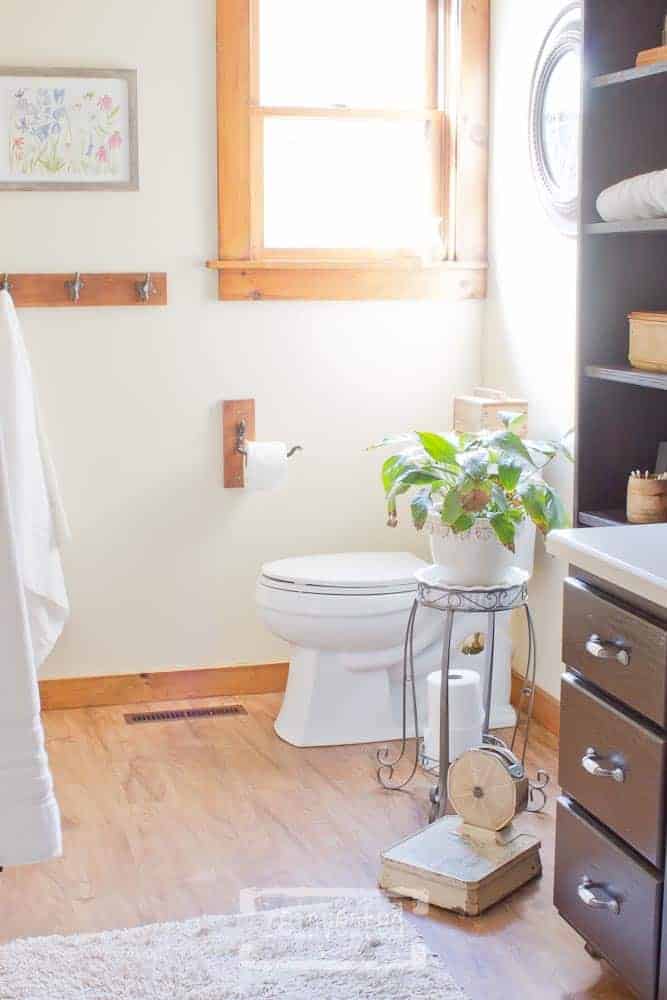
I do not recommend using latex paint on kitchen cabinets. Specific paints are used for specific projects. Latex paint is made for drywall and home interiors. Latex paint will not adhere to kitchen cabinetry well. I once painted our bathroom vanity with leftover latex paint to save money. It peeled away within the year and the paint had to be completely removed. Agh! Use paint for its intended purpose!
If you want to use paint from a major manufacturer like Sherwin Williams, look for
Emerald Urethane Trim Enamel paint or another paint specifically for trim. These paints will hold up well on cabinets. If you have any concerns, ask the paint specialist at your local Sherwin Williams store for their recommendation.
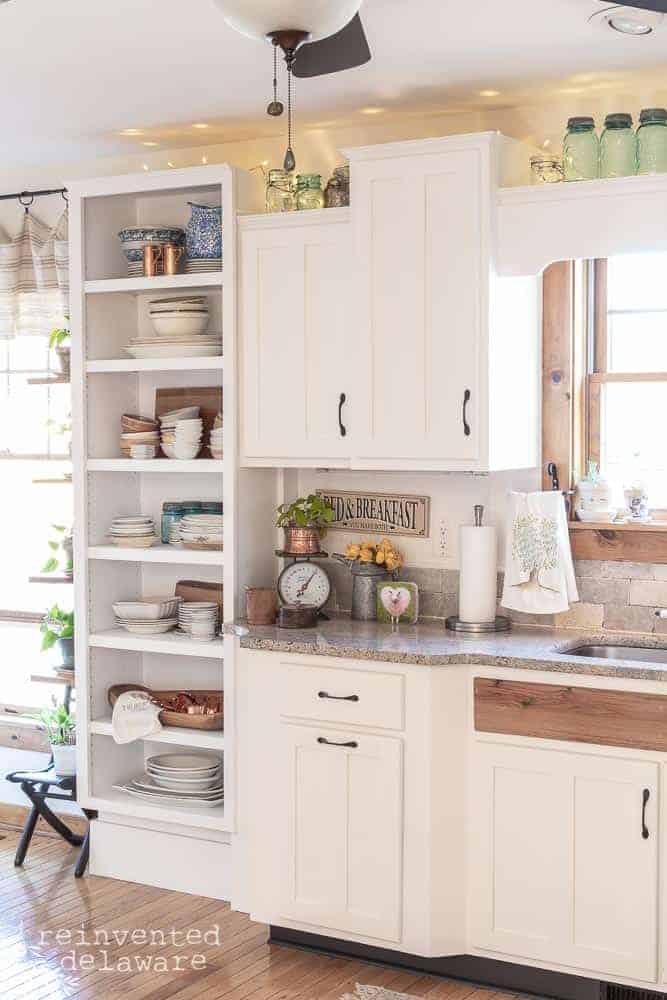
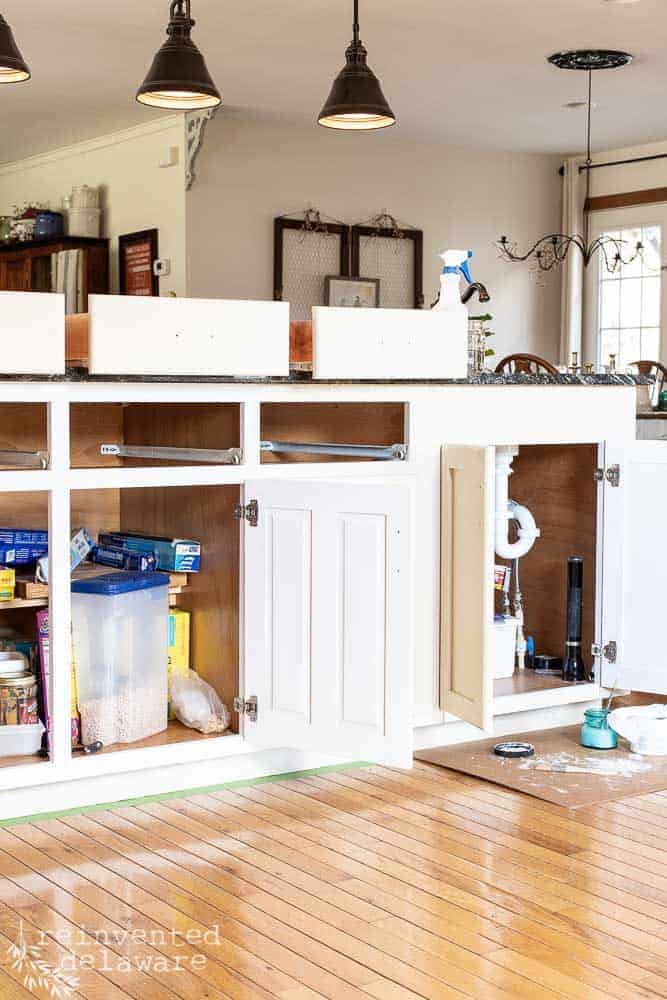
BTW, did you notice the solid piece of wood under the stainless steel kitchen sink? It will be painted in the coming weeks! Hubby cut the wood and replaced the double panels that had been there originally.
You might also notice the kick plate is painted black. We plan on adding ‘feet’ to the cabinets to create a custom look to this kitchen update.
what kind of paint to use on cabinets
In my opinion after years of painting furniture, cabinets and other items, an all in one paint like Silk Mineral Paint is the best.
Seriously there have been many painting projects around here including cabinets like the ones in our laundry room and I must say after using several kinds of paint, Dixie Belle Silk Mineral All in One paint is the best for cabinet painting!
When these cabinets need to be painted again – in tenish years – I’ll be grabbing more of this paint!
painting cabinets in small bites
This kind of project can be daunting, I get it. But if you decide to paint your kitchen cabinets or bathroom cabinets (that’s in my future!), I suggest you do it in small bites.
Here are two ideas that should be considered:
- Do all of the prep work in batches. For instance, remove all of the hardware, then clean all of the cabinets, then scuff sand all of the surfaces, then paint all of the cabinets.
- Complete one section at a time. Look at your cabinets as a group, Like our little cafe area. That could be one section. The open shelves could be another section and so on. Complete all of the steps in each section before going on to the next section.
The choice is yours!

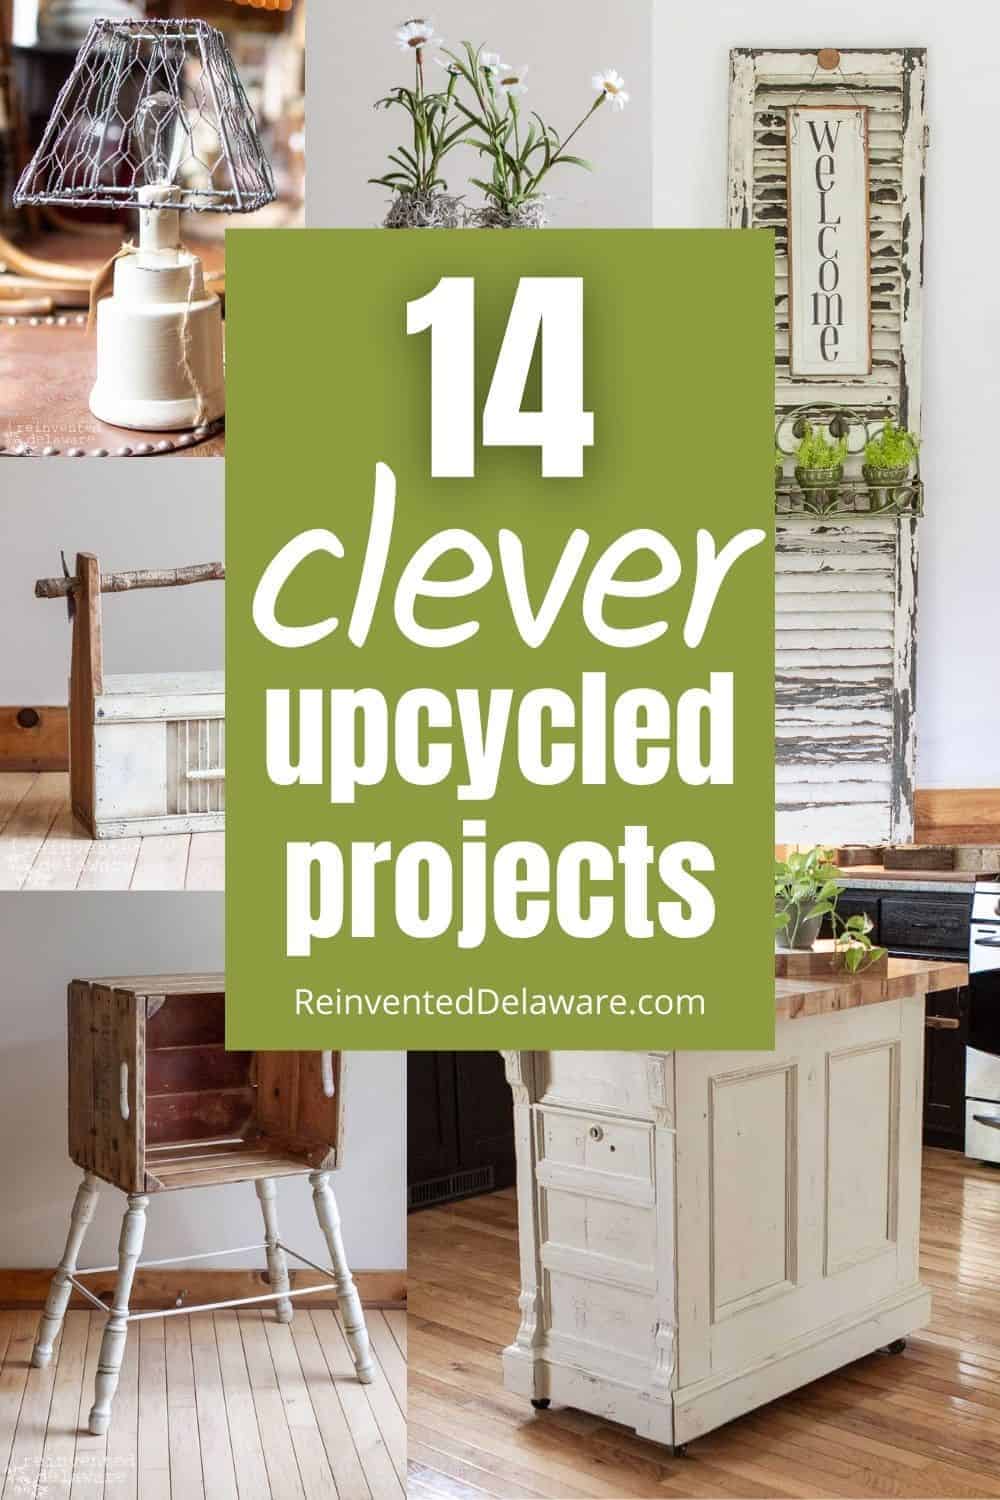
Pin the image below to your home decor and room makeover boards! Just click the pin button at the top left corner!

Thanks for joining our journey!
Did you enjoy this post? If you have any questions, please feel free to reach out! I will answer your questions the best I can!
Thanks so much for joining us for this post! Join our journey so you don’t miss any fun projects, tutorials, and inspiration we share with you each week! You can follow us on Instagram, Facebook, and YouTube. We share even more inspiration on Pinterest!

Cindy, your kitchen looks gorgeous! Please share it in our link party. Everyone is going to love this. Well done, my friend.
Cindy your kitchen looks beautiful! You shared great tips and information.
Pinned!
Thank you, Cindy! We are loving the brightness the paint brought to the room! Thanks for your kind words 🙂
Thank you Renae! I will be linking it up soon! Have a great day!
Cindy, you are a rockstar! Your kitchen looks amazing, my friend! I wish I discovered the wonder of Dixie Belle before I painted my kitchen cabinets.
I am hanging my head in shame that I finished mine months ago and I’m only working on the blog post now, as we speak. I would love to include your link in my post. Shoot me a mail if that is fine with you.
Marieza, thank you so much for your encouragement! I really appreciate it! It would be amazing if you linked up to my post! Thanks, my friend!😊
Cindy, your kitchen looks beautiful! So fresh, light, and bright! Great job! Pinned!
Thank you my friend! I appreciate the encouragement and thanks for pinning!🥰
Wow! It looks fantastic, Cindy, but oh my word, not for the faint of heart! It takes a lot of careful work to have them turn out looking this good!
Thanks, Janet! It was so much work but so worth it!
I can’t believe I am just NOW reading this post!!! How did I miss it? Wow! Your kitchen looks phenomenal! It is so bright and cheerful. You did an amazing job. Now – rest your arms, hands and knees. . . . Oh and of course I pinned your graphics. You are amazing Cindy!!
Thanks Anna! The kitchen cabinets took longer than I expected but it was so worth it.😊 Thanks for pinning!
p.s. I love your collection of vintage and antique canning jars.
p.p.s. Can you tell I am an antiques dealer?
Haha!! We love all the vintage stuff, don’t we??🥰
What a nice refresh! I have a black island that I’d like to pain but “Handy” won’t even have the conversation with me 🙂 You make it look so easy I could maybe have it don while he’s at work one day.
Grab your paintbrush and finish before dinner! Make it a special dinner and he will never notice 😉
Nice post…………….
So glad you enjoyed the post!
Such a beautiful update, Cindy. It completely changes the look of your kitchen! We painted our cabinets white in 2019 and some of them are starting to show some wear so I’m excited to watch your video and get some fresh new tips and tricks. You always do such a good job explaining things! Hugs and enjoy your new space, CoCo
We are still enjoying the fresh look of these kitchen cabinets. The light color makes it feel like we have more light! Have a great day and thanks for stopping by my friend!