
Old Wardrobe Makeover using Decor Moulds
See the amazing transformation of a cluttered and outdated wardrobe into a stylish and organized space, along with tips and tricks for creating your own wardrobe makeover.

The following post may contain affiliate links. That means if you click and then buy something, I will make a small commission at no additional cost to you! Thank you for supporting my blog. full disclosure here.
This post is sponsored by Dixie Belle. All opinions are my own!
Today I’m sharing how we breathed new life into a vintage wardrobe that’s now the centerpiece of our granddaughter’s nursery. This auction find has become a charming, functional piece with character and style. You will learn our step-by-step process that saved money while creating something truly special for the newest member of our family.
an outdated old wardrobe
Our daughter found this vintage wardrobe at our local auction for only $30. She needs storage for their new baby girl’s nursery and she fell in love with this one! It is the perfect size for a newborn and small child, don’t you think?
This particular wardrobe has a row of drawers on the side, a large drawer on the bottom. The wardrobe door on the right has shelves for folded items. It will be plenty of storage for the new baby!

step by step guide makeover an old wardrobe
This furniture makeover seems complicated but it really isn’t! Let’s go over each step in the process. If you have any questions after you read this post, please reach out and ask me! I would love to help in any way I can!
step one: prep the old wardrobe
All good furniture makeovers start with prep work. The final desired results as well as the condition of the furniture piece will determine the amount of work that needs to be done.
Before cleaning, remove the old knobs, drawer pulls, or any other hardware like the decorative medallions on this front door. Remove the door at the hinges and pull out all of the drawers.
clean the piece and inspect for repairs
Vacuum the inside and outside of the piece completely to remove any dust. A shop vac works great for this! Get under the drawers, inside the drawers, under the wardrobe… basically every square inch!
Go over the whole piece with a damp cloth and Krud Kutter Gloss Off. Rinse the cloth often. Wipe the furniture piece with a fresh cloth and clean water to remove the cleaner residue. Look for needed repairs as you clean.

strip away old finish
This step is optional depending on the final look you want. We wanted a painted frame and stained wood drawer fronts and door front. My hubby used Citristrip to remove the old finish thoroughly on the solid wood surfaces. We’ve used other paint stripping methods in the past. Citristrip is one of our faves!
The remaining frame was made of MDF so he gave it a light sand.
He also sanded the whole cabinet to remove scratches. He sanded the flat surfaces with an orbital sander and the tighter, curved areas with a sanding sponge. If this piece wasn’t cleaned before sanding it, the years of grime and oils would have been embedded into the wood with the sanding. It’s best to clean the piece before sanding it.
I used a small wire brush to clean out the leaf design on the door. Then I cleaned the whole piece again! If you use Citristrip on the entire piece you can save the cleaning until after the varnish has been removed.


step two: apply the primer coat
Once the wardrobe was stripped, sanded and thoroughly cleaned, I applied one coat of primer. Bonding Boss primer works amazing! It prevents bleedthrough and provides the perfect surface for paint.
Once the primer was completely dry, I was able to see the areas that needed wood filler. The frame of this wardrobe had gaps that were not noticeable with the faux wood finish the MDF surfaces had previously. There were also many small nail holes.
I knew once the surface was painted, those areas would be seen. I filled the areas with Dixie Belle Mud and wiped away the excess with a damp paper towel. When it was completely dried, I lightly sanded it smooth with a sanding block.
Then I applied a light coat of primer over the filled areas.


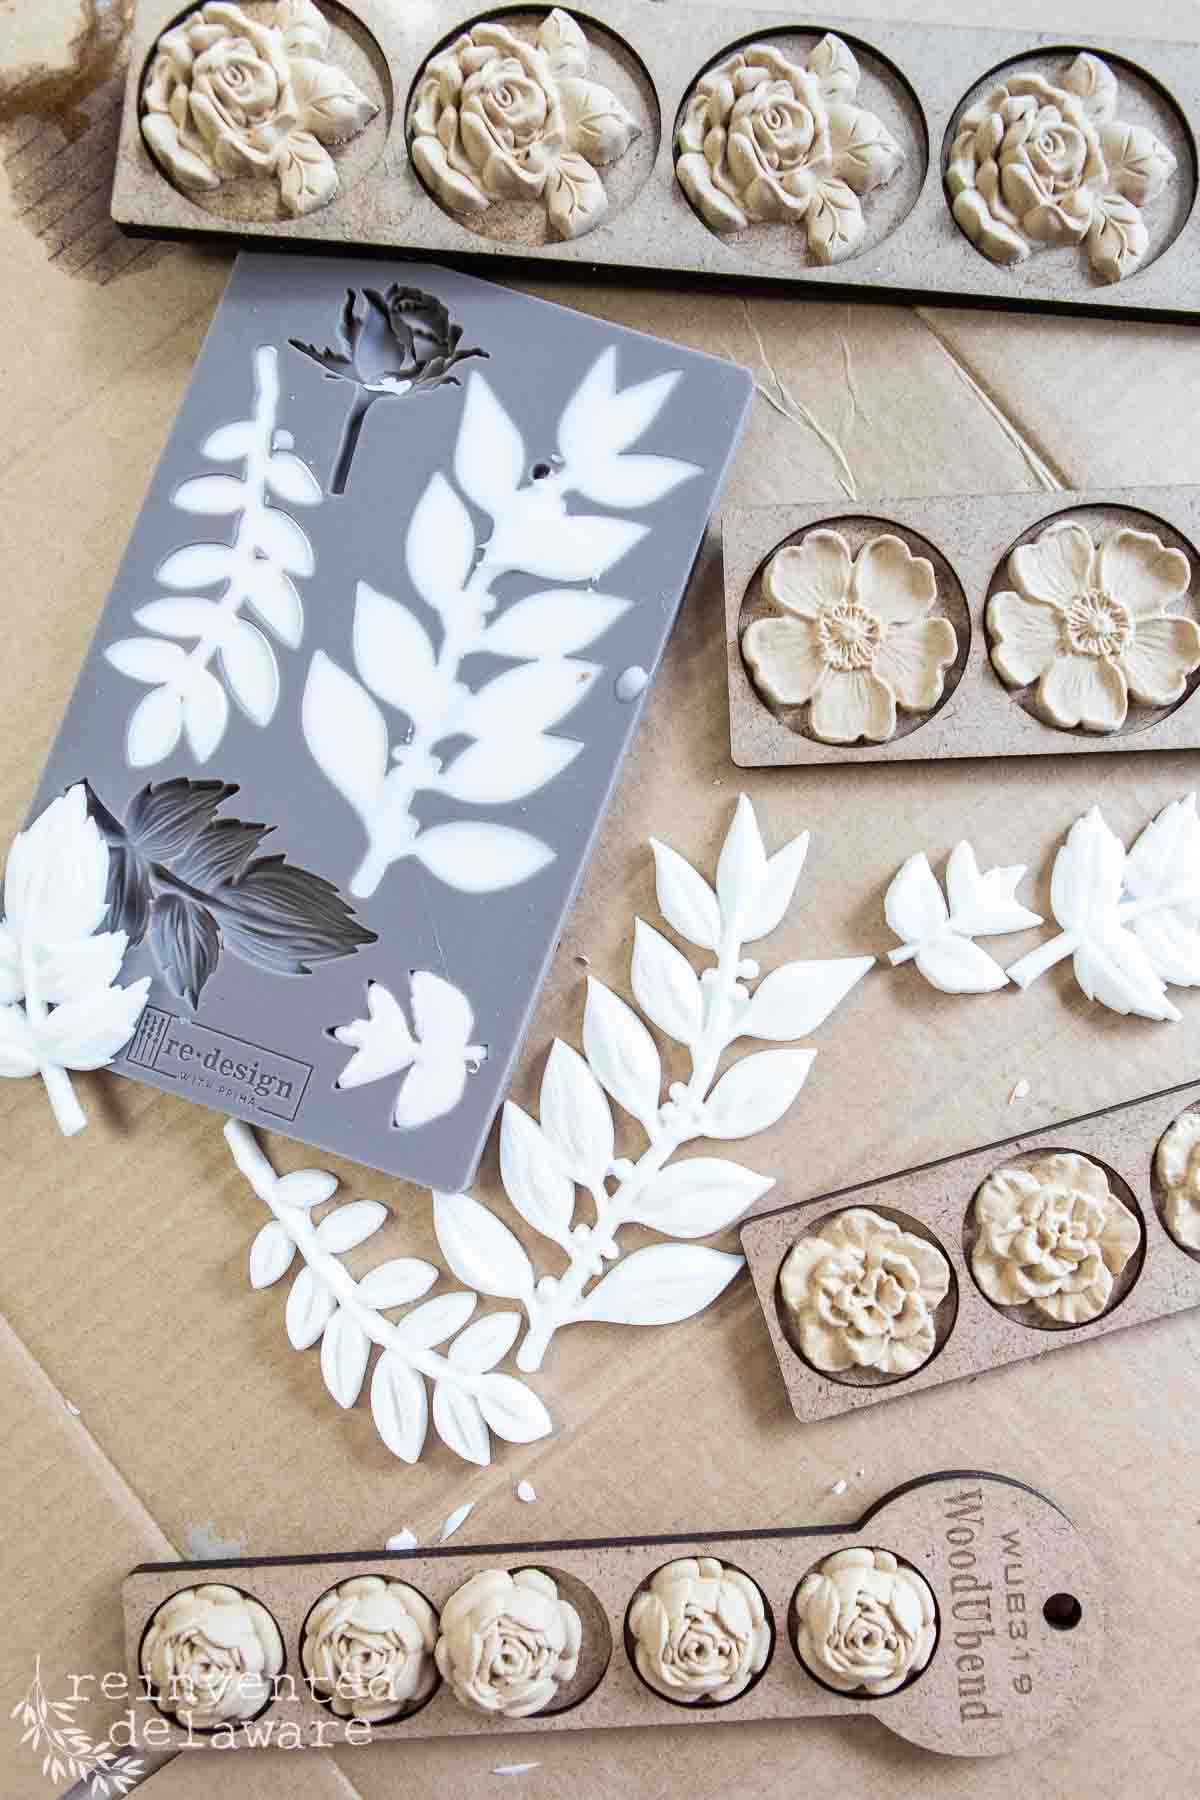
step three: make the decor moulds
While I waited for coats of paint and primer to dry, I made the decorative moulds. We wanted a high-end look for this cabinet but didn’t want to pay the price. I’ve seen pieces with this style of design for well over $1000 online!!
The flowers you see in the image below are pre-made wood products called Wood U Bend that are easy to apply. I also made resin leaf designs using a silicone mould.
Following the instructions on the resin, I mixed the two liquids in a disposable cup and stirred thoroughly. Then I poured the resin mixture into the moulds.
They only took about 10 minutes to set up so that I could remove them from the moulds and make more. It’s a bit addictive!
Once I had enough of the leaf designs made, I painted them all in the same color I used for the frame of this old wardrobe.

step four: paint the furniture
The frame and top of this piece needed two coats of paint to cover the surfaces adequately. It’s best to use a small brush on the frame and a larger brush on the top and sides.
The paint I used is from the Silk line from Dixie Belle and it includes a top coat. Painting with it is a breeze!

step five: stain the wood drawers and door
I stained the drawer fronts and the door front using a water based gel stain in the color Bleached Cypress.
It’s so easy to apply this gel stain! Simply squirt the water-based stain on the surface and use a chip brush to spread out the stain. Next wipe back the excess with a clean cloth. Be sure to go in the direction of the grain for an even look.


step six: apply the decorative furniture moulds
Once the stain was completely dry, it was time to apply the gorgeous decor moulds. I laid the wardrobe on its back to make designing the layout easy.
Once I had all of the moulds in the orientation I liked, I grabbed some Quick and Thick Titebond glue.
thanks for being here!
I hope you are enjoying this project! Let me know if you have any questions. Or leave me a comment to tell me about your project and ideas!
thanks, Cindy 😀

Using my finger, I spread the glue out evenly on the back of the piece being careful to not have too much glue that would squeeze out of the sides. Then I placed the moulds back on the surface of the wardrobe.
I did the same with all of the pieces. The Wood U Bend flowers and the resin pieces I made look perfect together!
BTW, I used painters tape to hold the pieces in place while the glue dried.

step seven: seal the furniture
The last step was to seal the wood drawers and front door. That also meant that the moulds would have a sealer even though they didn’t really need it.
I was careful to avoid puddling of the clear coat around the decor moulds.

diy old wardrobe makeover
My daughter ordered door handles and drawer pulls and then attached them to the piece for the finishing touch! She will be adding the door hardware soon!
This wardrobe is the perfect size for the baby and it looks perfect with the wallpaper our daughter chose for the nursery!

supplies
- Krud Kutter
- Orbital Sander
- CitriStrip
- Bonding Boss Primer (I used Gray)
- Synthetic paintbrushes
- Water Based Gel Stain (I used Bleached Cypress)
- Silk Chalk Mineral Paint (I used Cactus)
- Casting Resin Moulding Solution Kit
- Silicone Moulds (leaves)
- Wood U Bend (flowers)
- Quick and Thick Titebond Glue
- Clear Top Coat
- new hardware of your choice

Giving an old wardrobe a new lease on life is so rewarding. It’s a great way to express your creativity, save money and it helps to keep furniture pieces out of the landfills.
Let me know if you have any questions about this project!

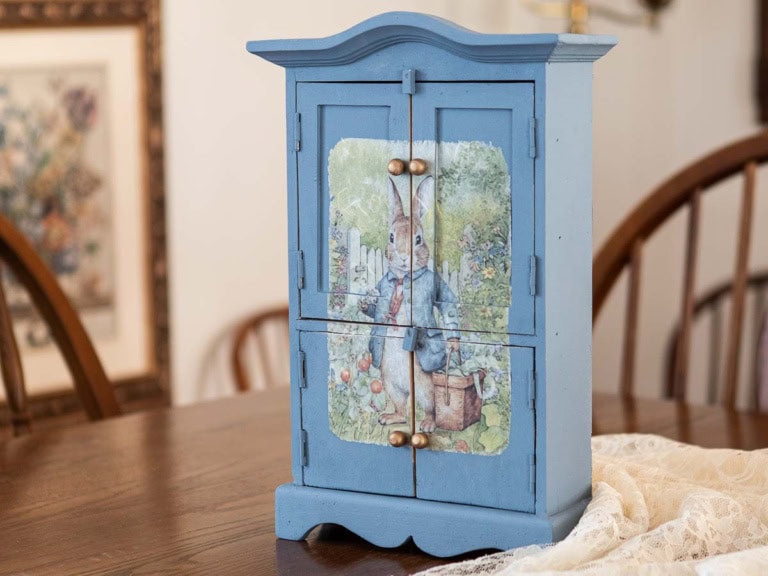
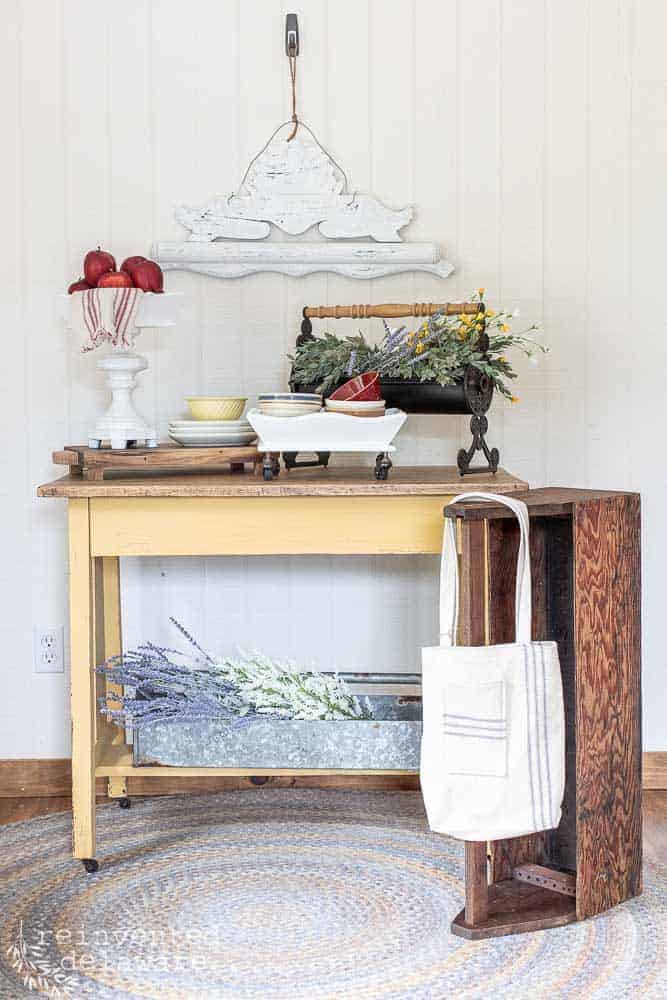
This isn’t the first time I’ve made old furniture look gorgeous for my family. Here are two more furntiure makeovers I’ve done for our daughters! Tap the images below for details!
Recreate and Decorate
Join the Facebook Group and Share Your Projects With Us!


Thanks for joining our journey!
Thanks so much for joining me for this post! Join my journey so you don’t miss any of the fun projects, tutorials, and inspiration that I share with you each week! You can follow me on Instagram, Facebook, and YouTube.


Cindy Rust
Cindy has been decorating her home with thrift store finds for 40 years. She is an avid thrift store shopper who loves to makeover the items she finds into vintage-inspired home decor and furniture. When she isn’t thrift shopping or painting a piece of furniture, you can find her making homemade butter, working in her garden, or painting with watercolors.
click below to purchase supplies!
Visit my Amazon Storefront!
Click the button below and head over to our online shop on Amazon!
Gorgeous