Easy Farmhouse Decor – The Piano Bench
We have been talking about adding the farmhouse touch to your home in easy and inexpensive ways. Today I have another project for you that is just that – easy and inexpensive!
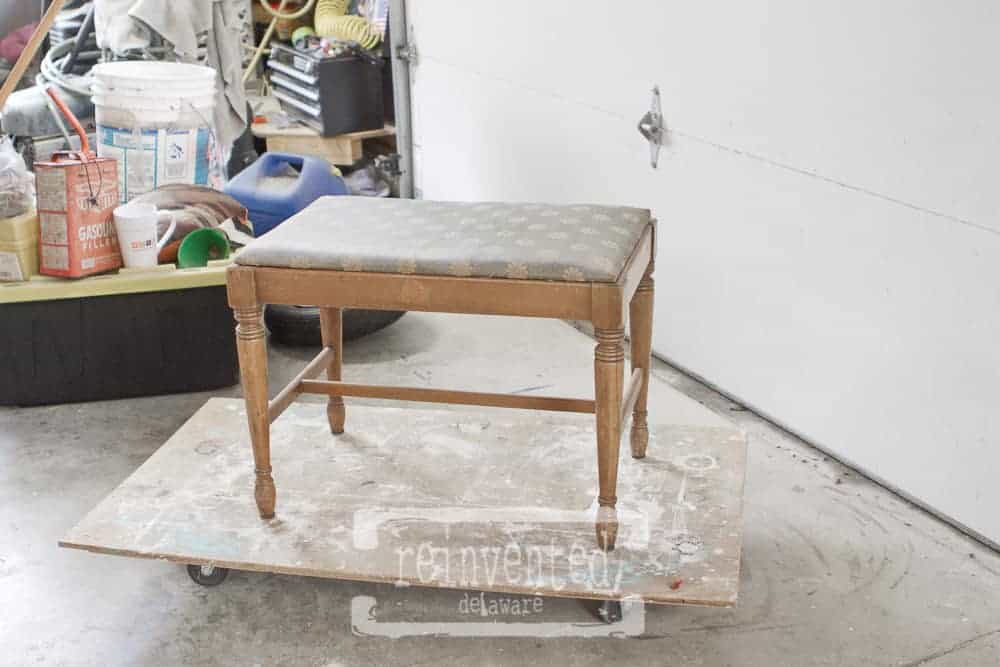
Enter the piano bench.
You can find these little benches in thrift shops and yard sales. They are a great size for an entry way – a place to sit and take off your shoes after a long day at work! And because of their size, they are so easy to transform!
Lets take this step by step!
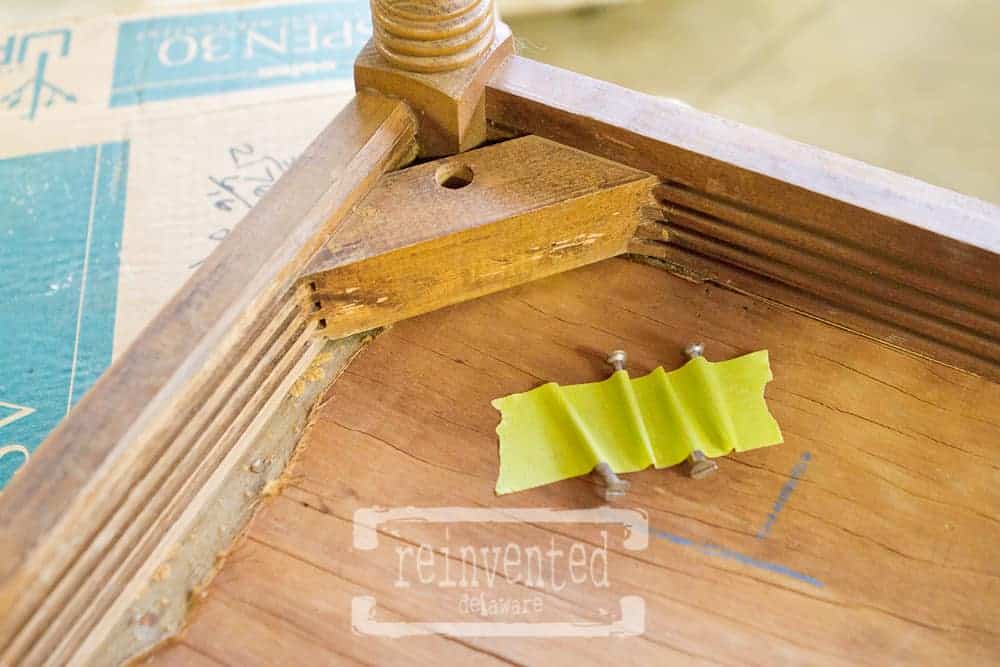
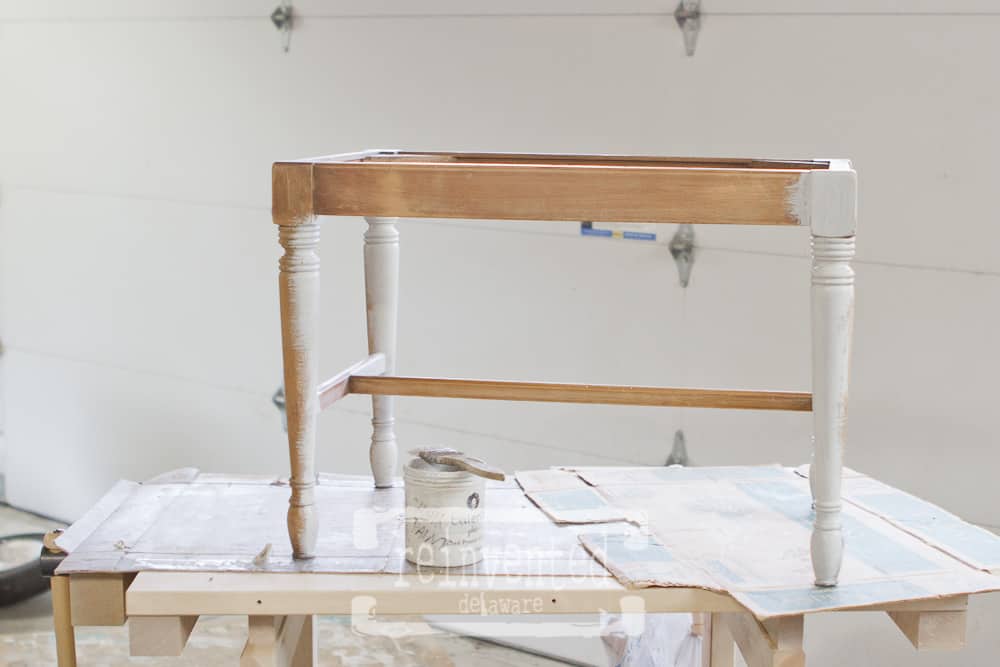
Flip the bench inside down and remove the screws that attach the seat cushion to the base. Usually only four screws hold it secure. If it is an older bench, the screws will have a flat head, meaning a single groove. Sometimes they can be difficult to remove. Apply pressure while turning but just enough pressure to keep the flat head screwdriver in the groove of the screw. Take your time with this – getting it started can be the hardest part and you don’t want to ‘strip’ the groove in the screw. If you do, well let’s just say…take you time! You do not want the hassle of the screw being stuck! Keep track of them so they can be reused. I like to tape them to the bottom of the bench.
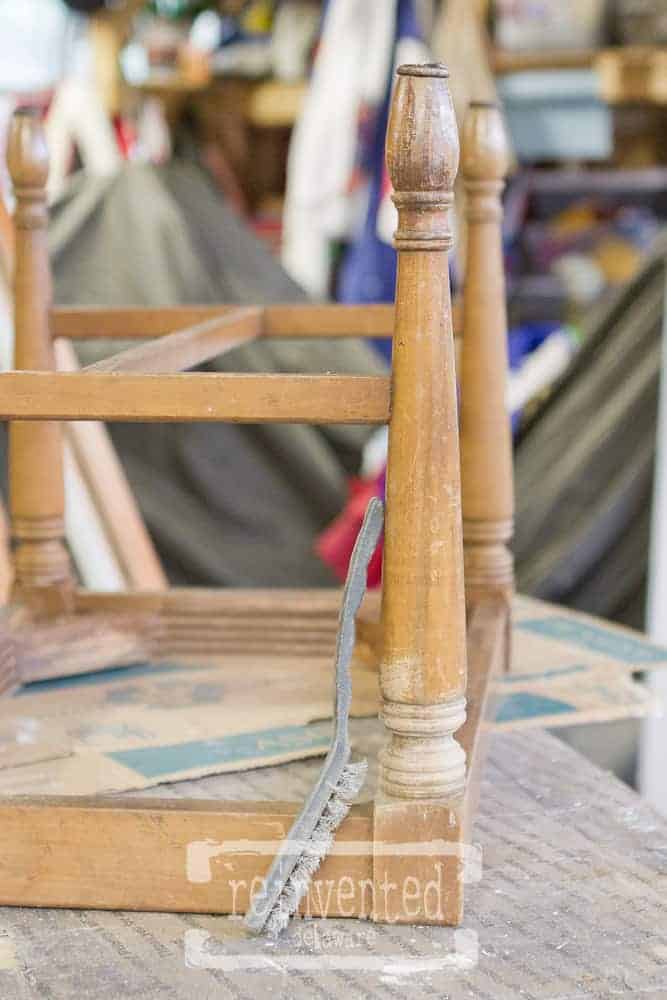
I lightly sanded the base with 220 grit sandpaper and then I used a wire brush for the grooves. I was able to remove years of dusty dirt and furniture polish. Afterwards, I wiped the whole thing down with a very damp, almost dry, microfiber cloth.
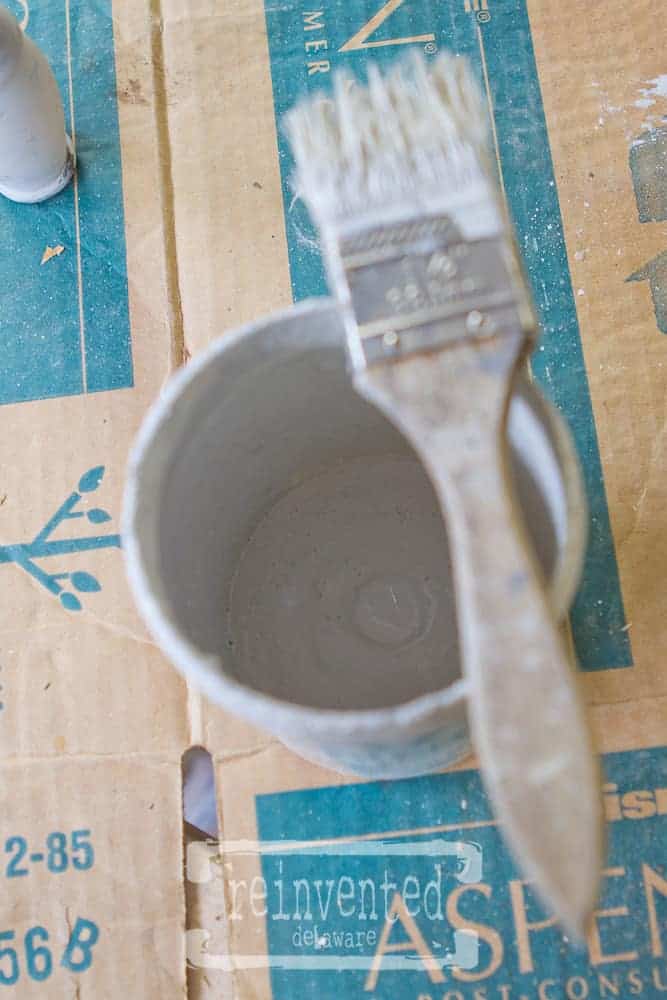
Homemade chalk paint would be perfect for this little bench. I mix my own using a recipe I found on Pinterest. Unfortunately, I did not save the pin! I copied the recipe directly on my workbench instead so I cannot give credit where it is due 🙁 I can say that the same basic recipe is all over Pinterest if you decide to search. But here is the recipe I use:
8 oz flat latex interior paint in your color of choice
2 1/2 – 3 spoonfuls of Calcium Carbonate
2-3 spoonfuls of warm water
Mix the water and calcium carbonate in a container large enough to hold the paint and the mixture. Stir until all the lumps are mixed in, a flattened fork is nice for getting all of the lumps. Add the paint and stir well. I like to use an emersion blender that I save specifically for this purpose. Be sure to wash the blender well after using. If the paint dries at all, it could ruin the blender. Yes, I know this to be a fact!
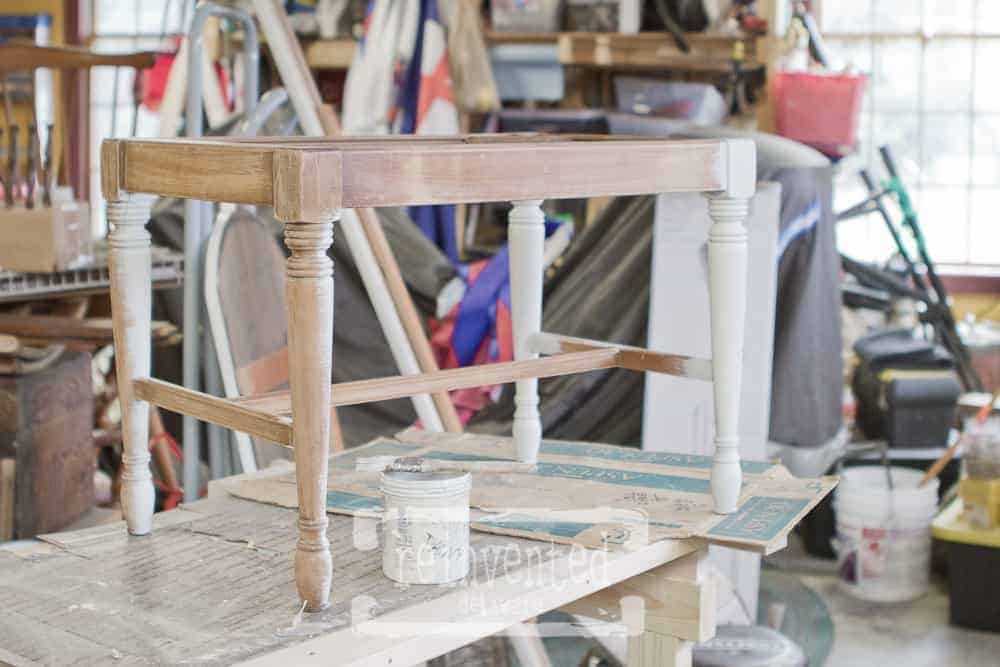
I keep several colors of chalk paint mixed up and ready to use. With this bench, I decided to mix my own color. I used a linen color, a gray color and bright white. Unfortunately, I can’t tell you the names of the exact colors because I love buying mistiness 🙂 Check you local hardware store and you will be surprised at what you find! The tones of the mixture will go in any home because of its versatility.
Ok, so I have mentioned in previous posts that if you choose to mix a custom color like I did here, be sure to mix enough for the whole project! Well, I didn’t mix enough. But not all is lost. What I love about chalk paint is that you can add just a bit of water to stretch the amount you have. In this case, I added the smallest amount of water, put the lid back on my container and shook it. I was able to use every last bit to get a second coat on the bench!
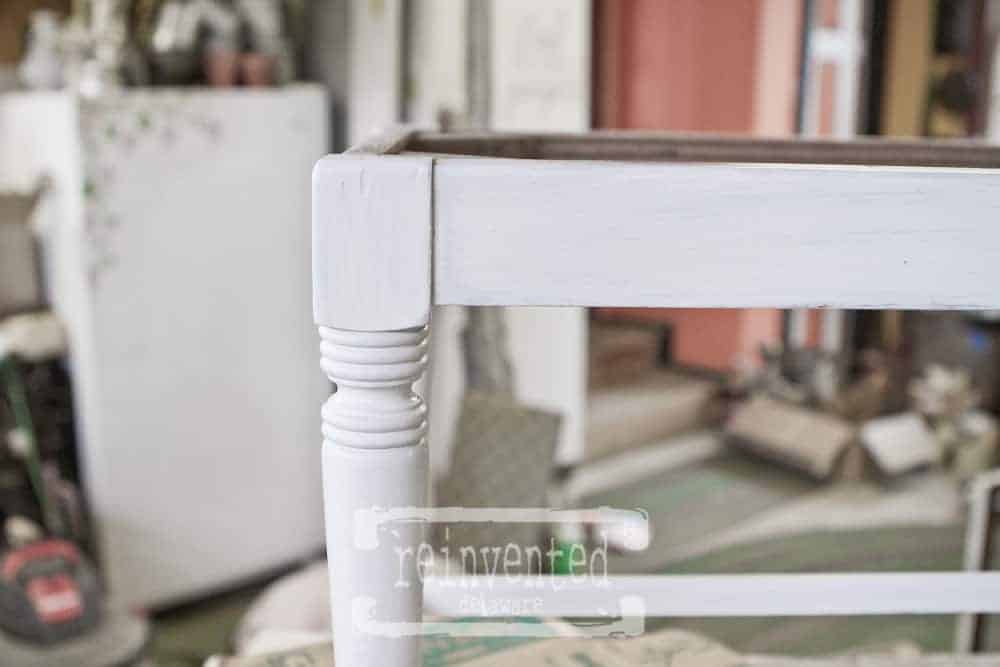
Second coat complete! Now on to some stress relief 😉
A little bit of distressing with my favorite little kitchen knife and the bench looks as though it has been around for generations!
The seat cushion was a breeze to recover. If you have never attempted an upholstery project, this is a great piece to begin with. It is small and manageable. Let’s tackle this together!
I removed the old fabric only to find that someone else had already recovered it! I love finding the story behind a piece like this. Someone else down the line decided to refresh this little bench. Reinventing has been around for a long time and I love that!
A chisel came in handy for removing the little tack nails that held the fabric down. Keep track of those little buggers – they are super sharp and could cause some pain to little feet. Also, be sure to use the chisel away from your body and certainly not in the direction of your other hand. You can read more about removing the old fabric in this post.
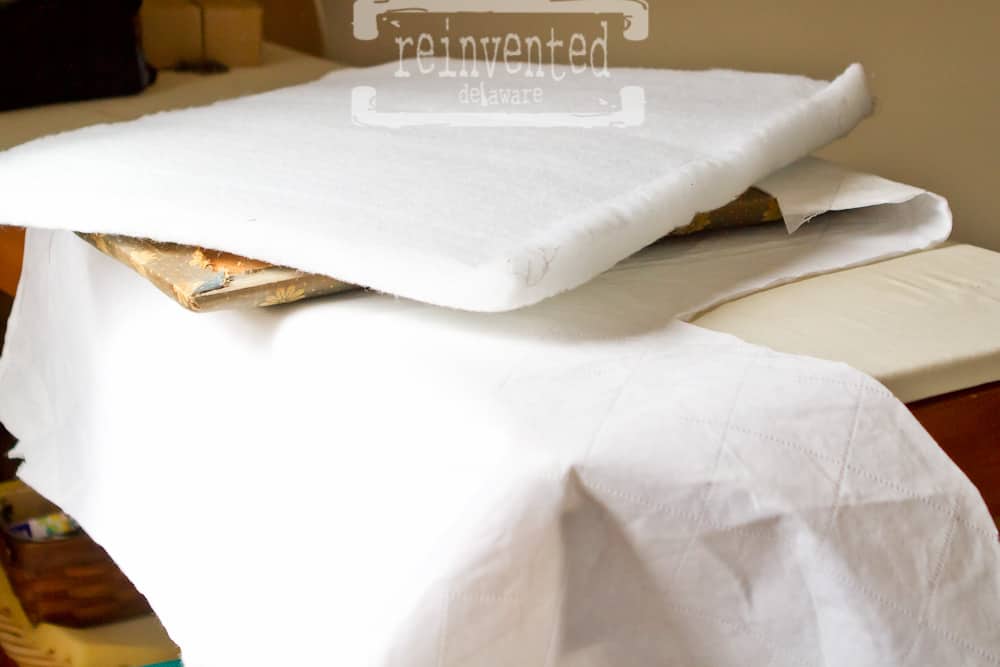
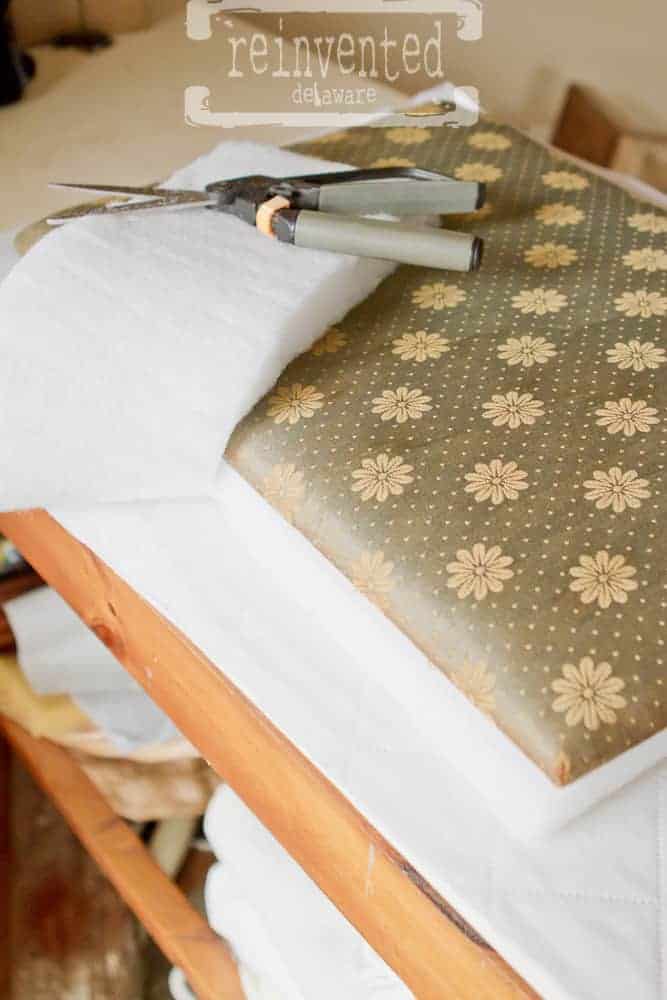
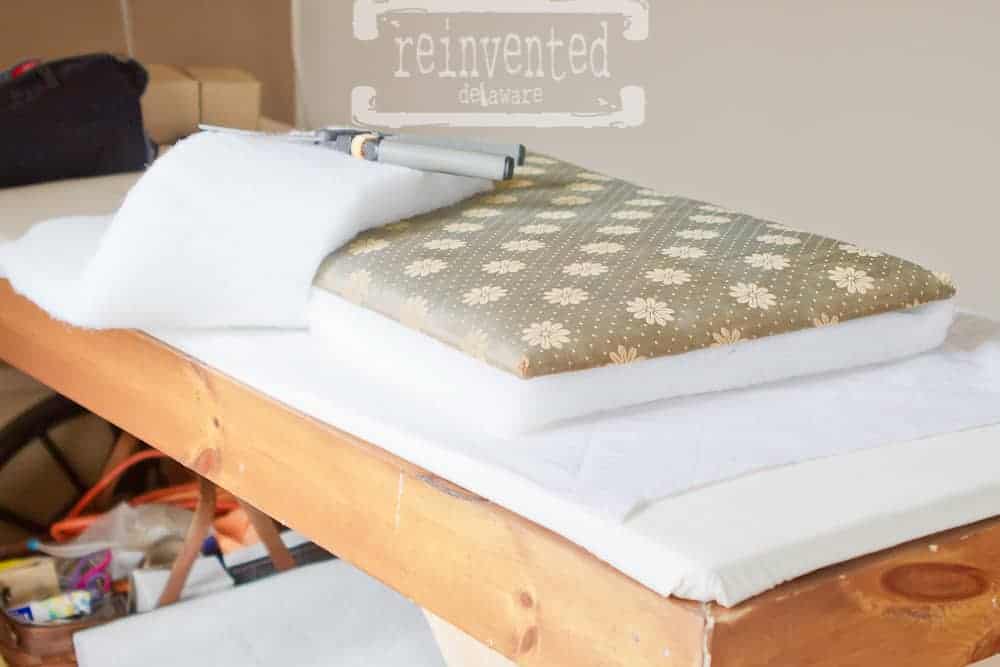
The original layer of fabric was in good condition along with the batting that was under that layer so I decided to keep both. I also used a piece of upholstery weight batting for added cushioning. In my thrifting, I come across used outdoor furniture seat cushions. The fabric is usually in bad shape so I remove the old fabric and using the ‘whites’ cycle with bleach, I wash the heavy batting. Air dry it and it’s good to go for the next project!
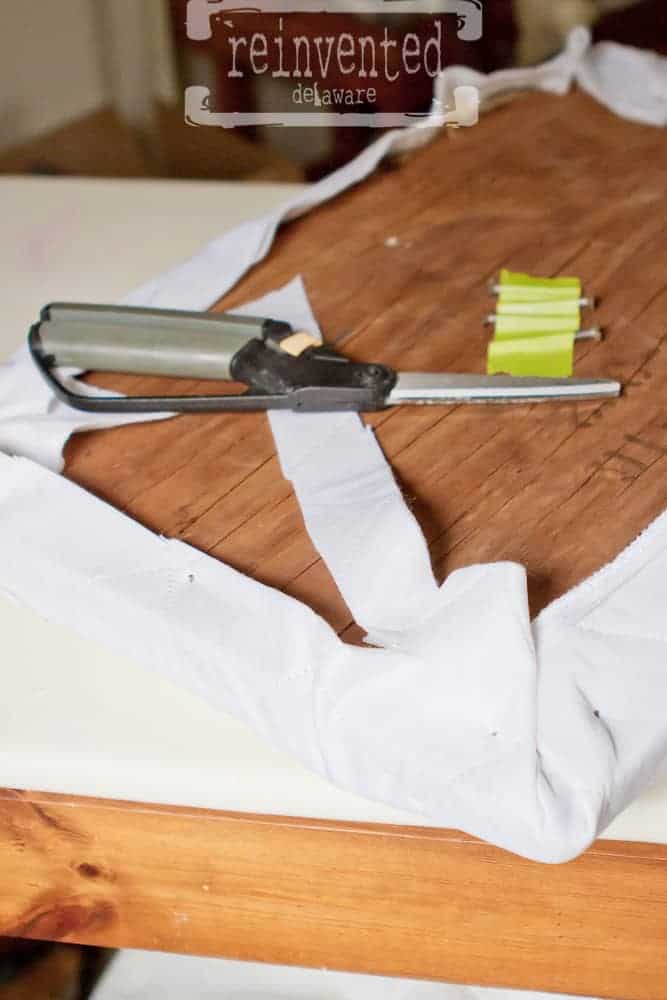
Next was a layer from an old mattress cover. These mattress pads are great for this purpose. It is a great reason to buy a new one for your bed and use the old, cleaned one for upholstery. I always have pieces of this one hand. Cut the batting to the same size as the original seat and cut the mattress pad about 3″ inches larger – all the way around.
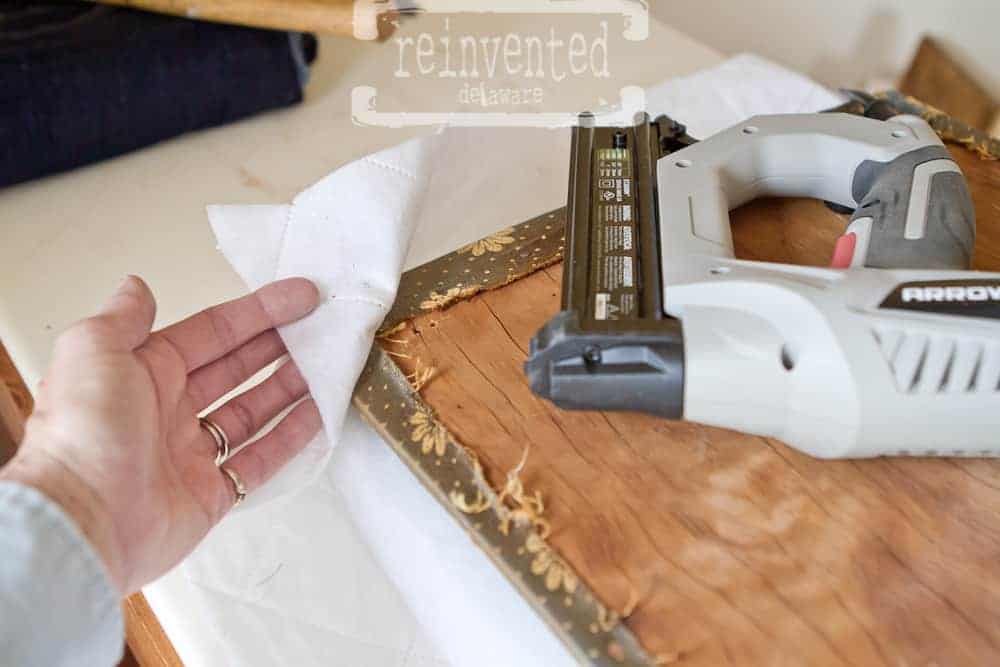
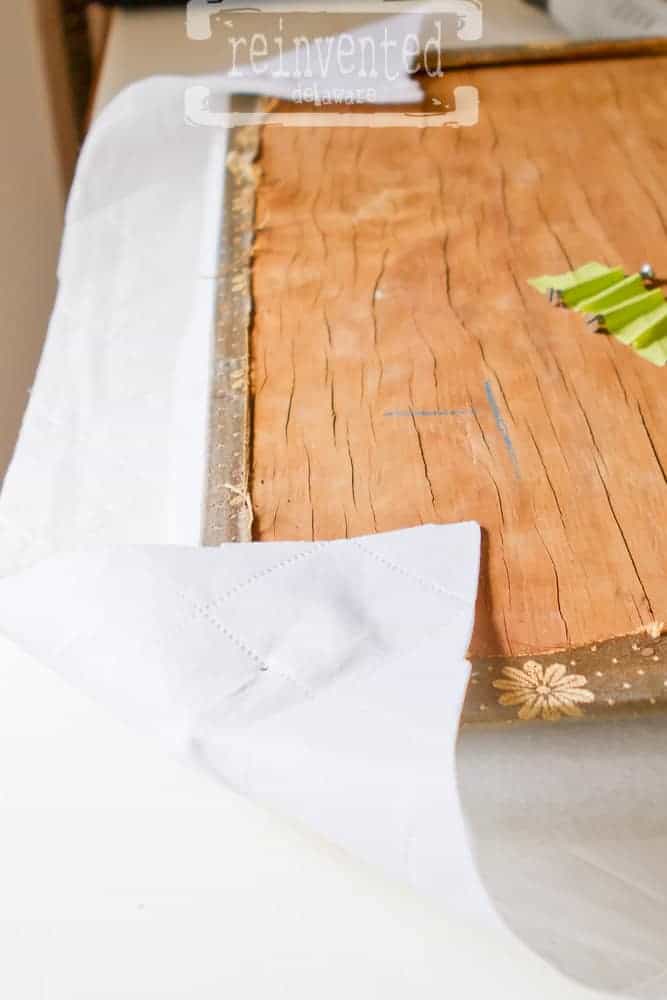
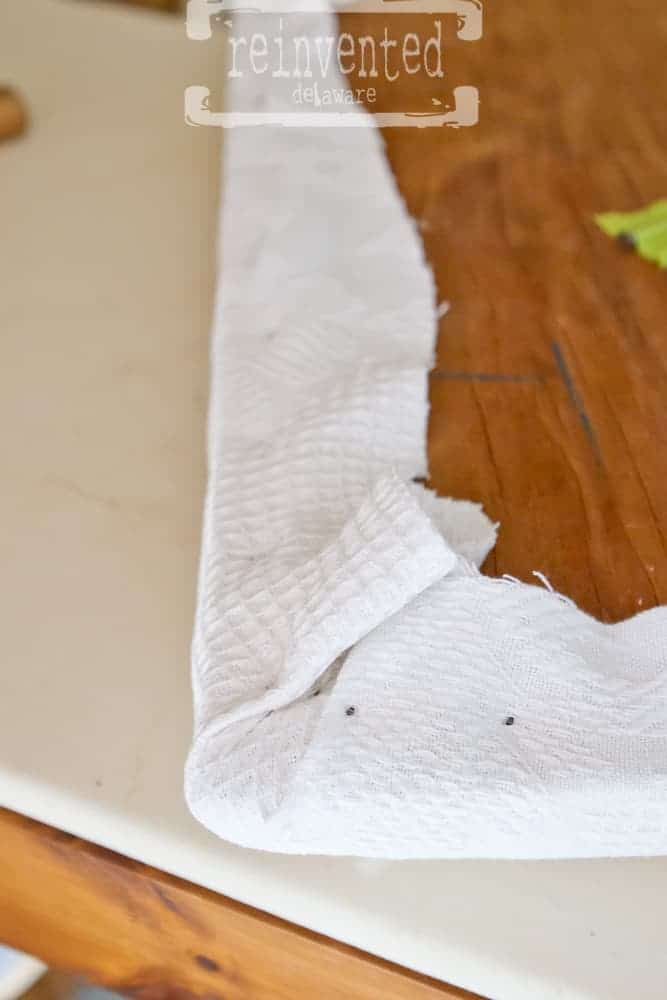
Everything is cut and ready to attach to the underside of the seat. I used my Arrow electric brad nailer. Any stapler that is heavy duty for wood will work also. The mattress cover layer should be attached first. Start at each corner by pulling in the corner at a angle. You want the corner completely covered with minimal bulk. Be sure to note the original screw holes. Don’t cover them with fabric or it will be difficult to reattach the seat to the base. Staple just on the other side of those holes leaving a flap of the corner loose. You want those holes visible.
Do all four corners the same way keeping the mattress pad snug all the way around.
Trim off the excess but be sure to leave about 2″ all the way around. Eliminate bulk wherever you can. We still have a layer of the nice fabric to attach and too much bulk just won’t look nice 😉
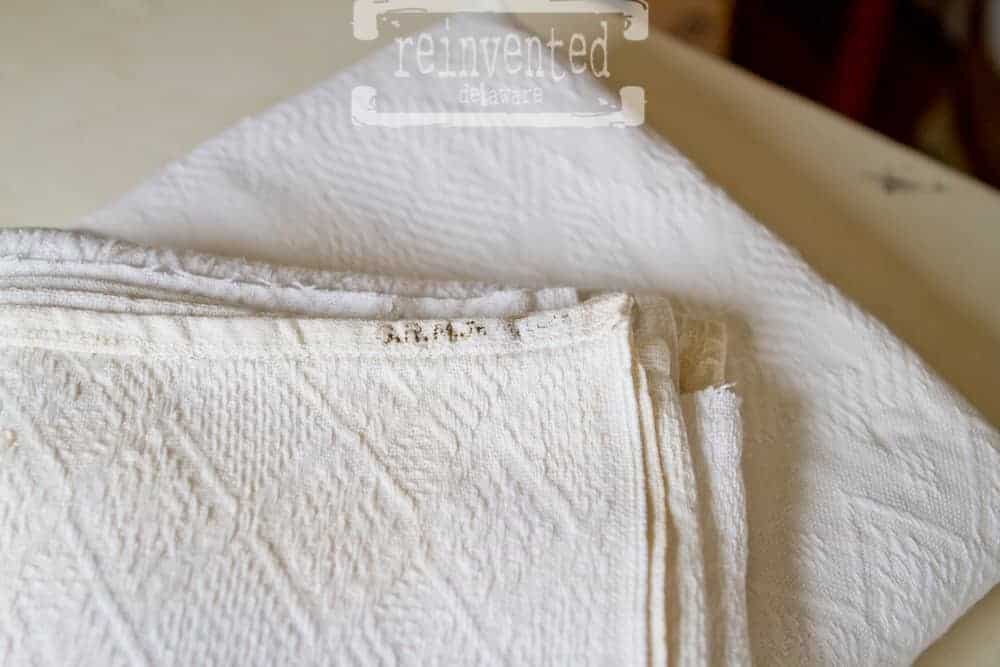
Finding old table linens is one of my favorite vintage items to find. These represent many gatherings of family and friends around the table sharing and connecting. It really doesn’t get any better than that 🙂 Often, I find signatures on the hems of the linens. This might have been because they were also used for public gatherings, maybe pot luck dinners at church or a community feast. I just love that!
The linen layer is next (or whatever fabric you choose – pre-washed canvas type drop cloth is a great option – see how I used it in this project!) Attach it using the same method as the mattress cover. Now that you have practiced with the mattress cover, this should be a breeze. The table linen I used has a bit of stretch. Keep in mind not to pull and stretch it too much – that will create a uneven look. Also, be sure to keep the original screw holes assessable. This will make reattaching the base to the seat cushion easy.
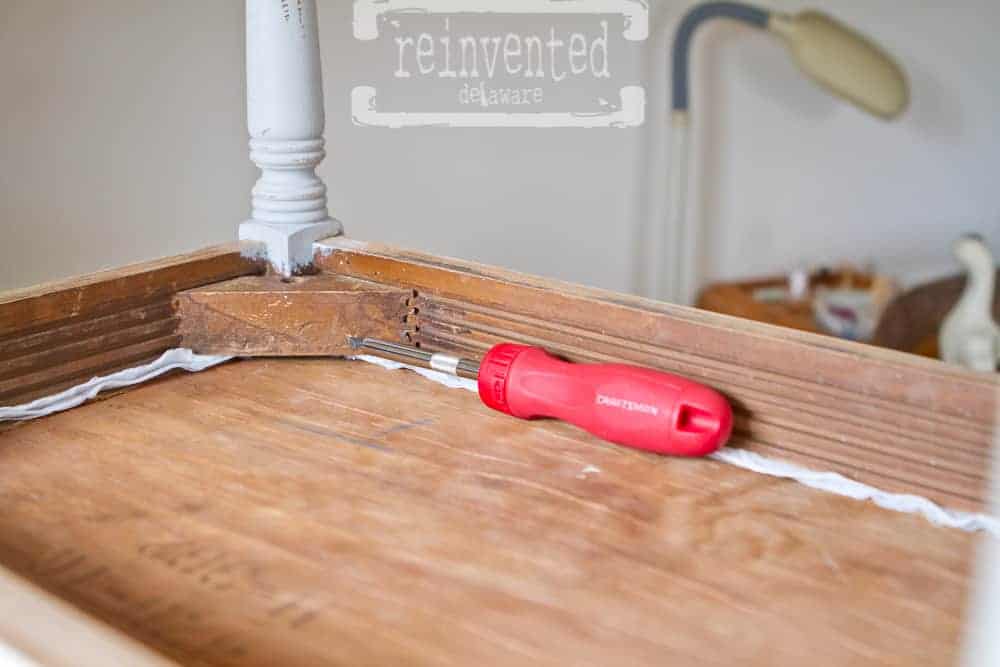
Time to reattach the base. Turn the base upside down on the reupholstered cushion and line up the screw holes. An ice pick or skewer helps with this. Sometimes removing the old screws can ruin the screw, especially flat head screws. If that happens, just get new ones in the same size. Take the old one to your local hardware store and they will fix you up! I love the staff at our local Ace Hardware. They really are the helpful hardware people 🙂
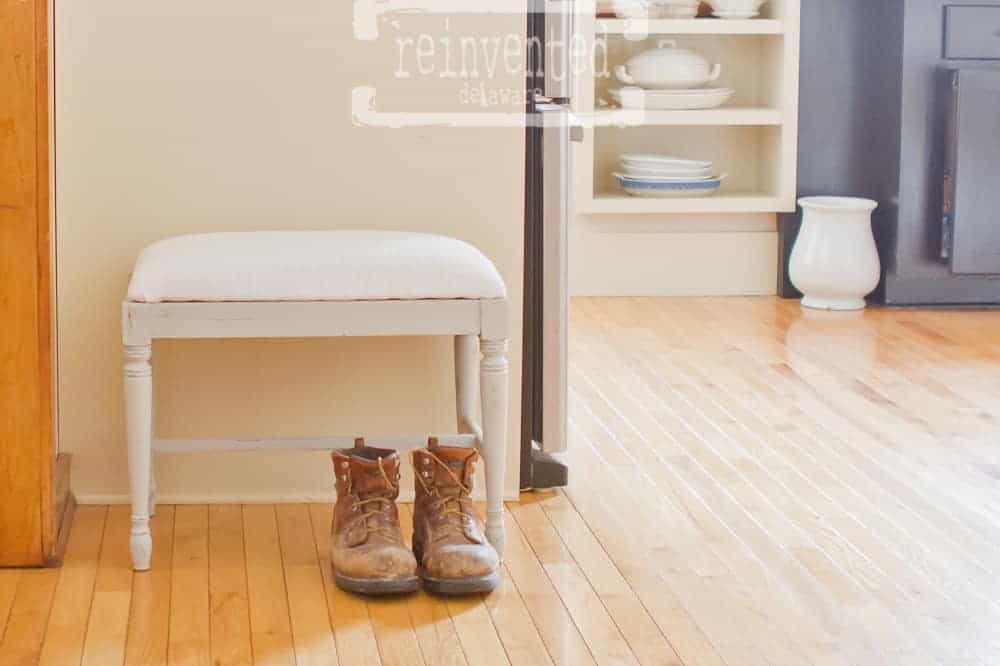
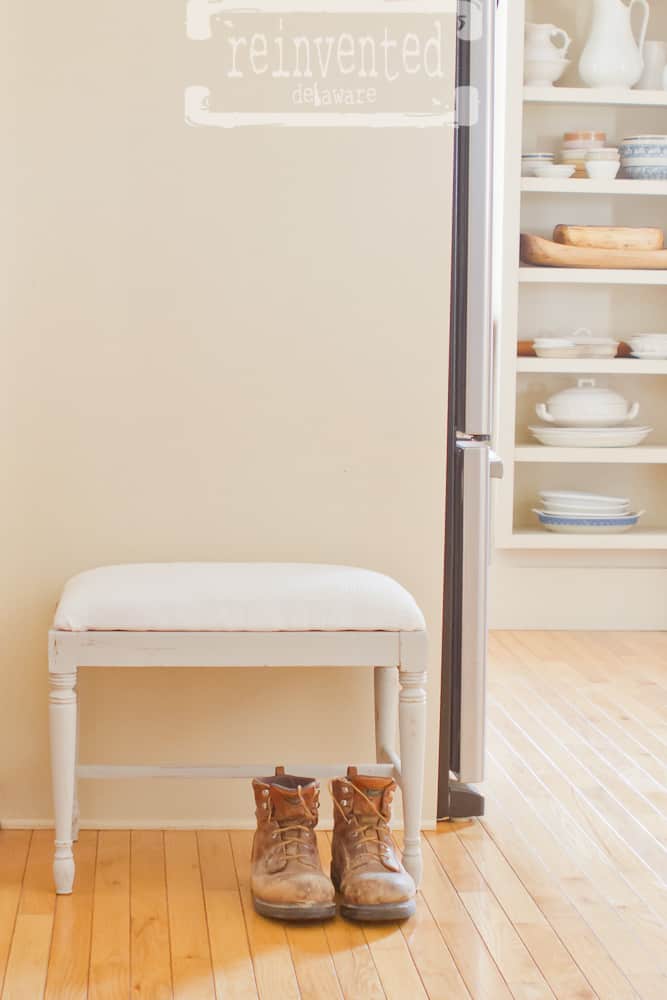
Here she is – finished and looking so cute near an entry way or back door! This would also be so cute in a bedroom – maybe a kid’s room.
Small projects like this are so much fun! They are quick and easy and can make such a difference in a room. I would love to know if you find a piano bench and turn it into something useful for your home! Join my email list and send me a picture of it! I would love to feature readers’ projects on this blog 🙂
Pin this image for future reference! Come on, you know you want to reinvent a piano bench 😉

