
How to make Handmade DIY Paper Christmas Ornaments
Add a personal touch to your holiday decor with these easy and beautiful handmade DIY paper Christmas ornaments. Perfect for the whole family to make together!
There’s nothing quite like cozying up on a chilly winter afternoon and getting crafty with the family! Today we’re going to show you how to make the most adorable paper Christmas ornaments that’ll give your tree that one-of-a-kind sparkle.
In this post, I will show how easy it is to create handmade DIY paper Christmas ornaments for your tree! I will also show you several other ways to use these beautiful paper ornaments in your holiday decorating, gift wrapping, and gift-giving!
fun giveaway
I’m excited to tell you that this post is part of an amazing giveaway! Friend, you are going to love the offer I have for you! Read all the way through the post so you don’t miss your chance to win! UPDATE: The winner has been chosen and announced!
The following post may contain affiliate links. That means if you click and then buy something, I will make a small commission at no additional cost to you! Thank you for supporting my blog. full disclosure here.
This post is sponsored by Dixie Belle. All opinions are my own!
supplies and tools
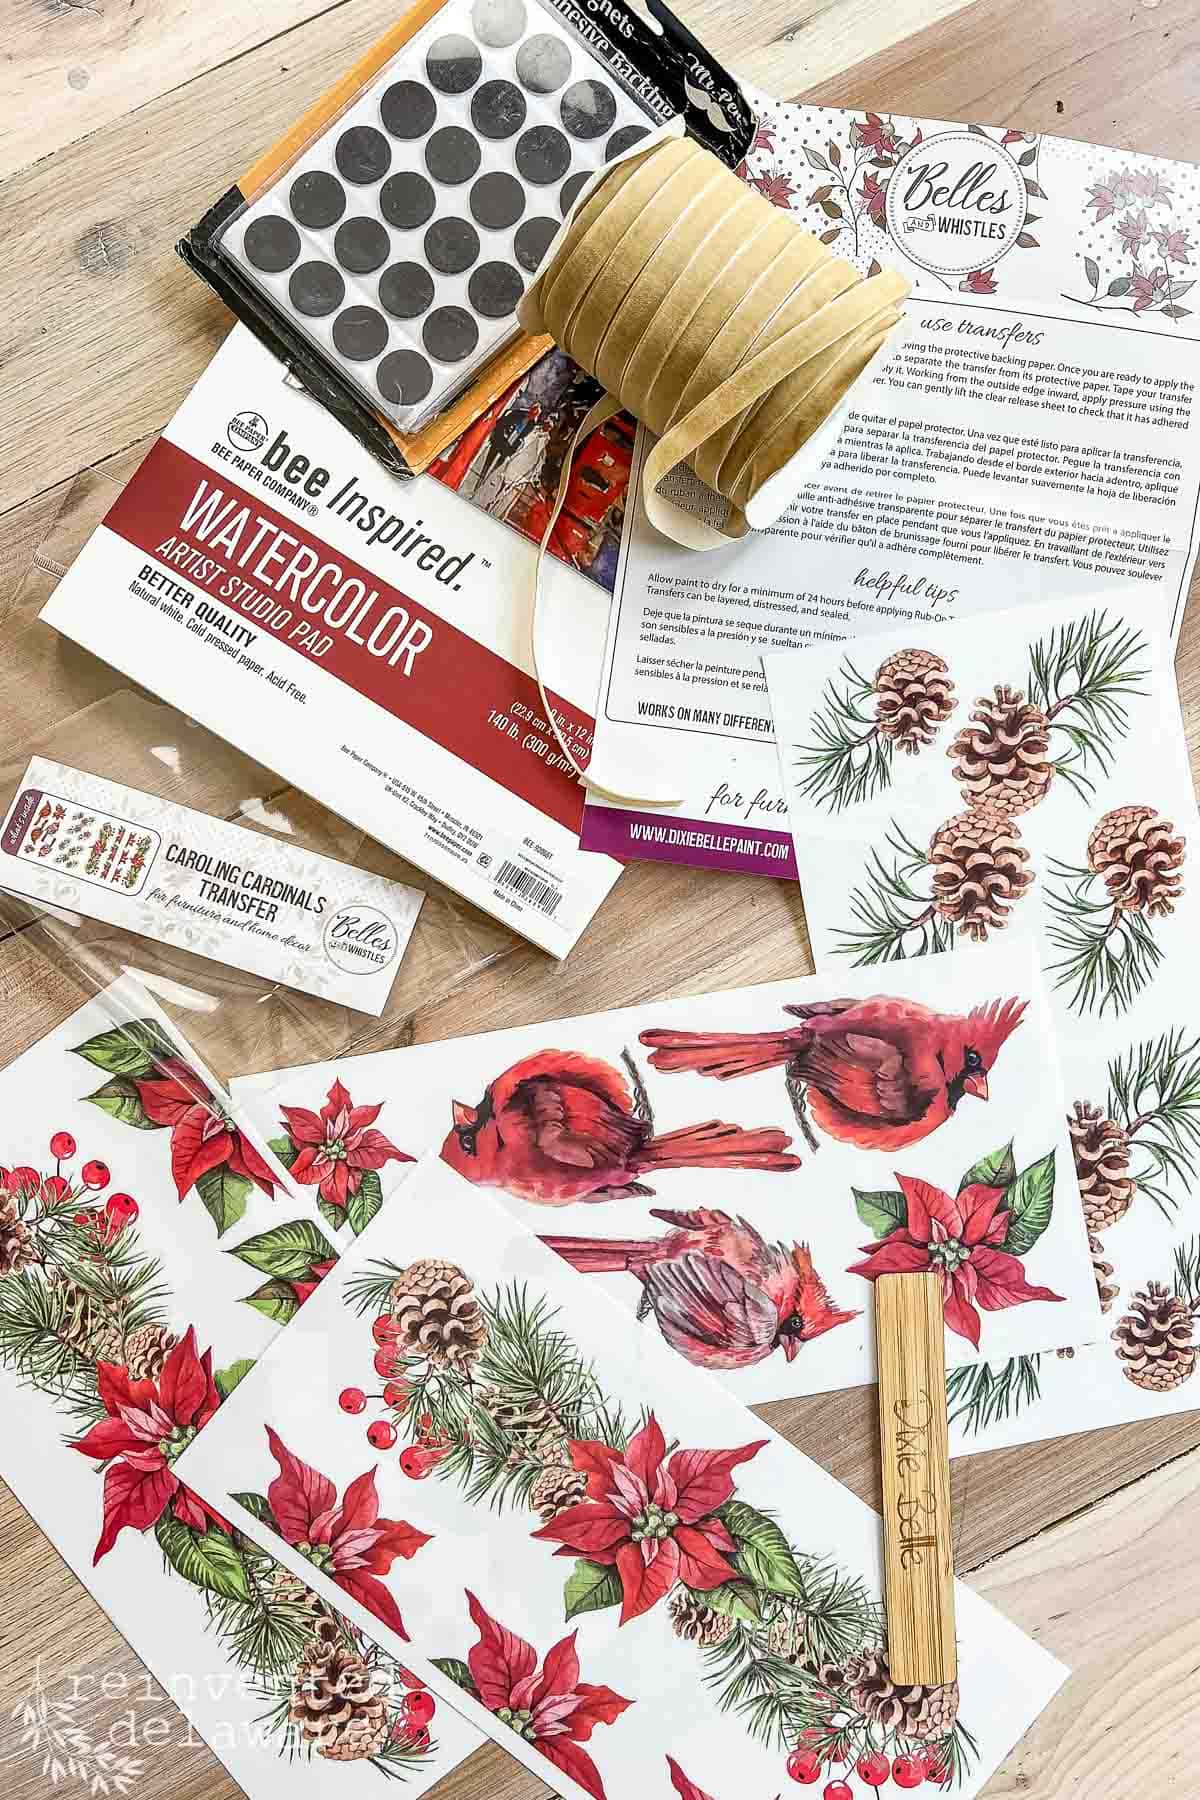
The supplies for this project are pretty simple. Some of the tools you may already have in your craft room! I’m listing the supplies and tools for the paper ornaments along with some other supplies for a bonus project at the end of this post!
- watercolor paper
- my fave pretty paper scissors
- decorative transfers (I’m using Caroling Cardinals)
- 1/4″ hole punch
- velvet ribbon (or ribbon of your choice)
- paper-covered craft wire
- small round magnets
- hot glue gun and glue stick pack (or use E6000)
- glass glitter (optional!)
step by step instructions
This is such an easy and fun project to make! Enjoy watching your favorite Christmas movie or listening to a Christmas story on Audible while you craft these projects!
choose the paper
The paper choice for this project is one of the most important aspects to consider. The paper needs to be heavy and durable. Copy paper, craft paper or gift wrapping paper will not work!
Avoid cardstock unless it is very heavy weight. If you consider using card stock, choose paper upwords of 110 lb. If you use lighter-weight cardstock, you could glue two pieces together to give the paper durability.
I highly recommend using 140 lb watercolor paper. The paper has a beautiful texture and is very heavy. Don’t worry about having leftover paper. I have a whole printable and free library of designs that will look beautiful printed on this paper!
choose your transfer
This is the fun part! There are so many designs to choose from so while this could be fun it could also be overwhelming.
I’ve found this beautiful design that includes several different patterns all in the same package!
Gorgeous cardinals, colorful poinsettia blooms, and evergreen sprigs with pinecones can be made into lovely paper ornaments.
If you choose another transfer, make sure that the designs are large enough to be ornaments and have a theme that complements your Christmas decor.


step-by-step – create the ornament
Let’s take a look at how easy it is to make these colorful ornaments! First let’s apply the transfer to the paper.
how to apply a transfer to paper
- Cut the transfer designs apart so that each design will fit on a sheet of watercolor paper. Keep the white backing sheet on the transfer design while separating the designs.
- Remove the white backing sheet and lay the design down on the watercolor paper, sticky side down.
- Use the tool that comes with the transfer and rub it over the clear protective top sheet and on the design.
- Go over the whole design, lifting the top sheet to make sure the design has adhered to the watercolor paper completely.
- If some of the design remains on the clear sheet, lay it back down and use the tool over that spot until the transfer releases completely.


handy tip: use watercolor paper
The best paper to use for this DIY paper ornament project is by far watercolor paper! It is heavy and durable and creates a handpainted look when using transfers!
cut the design shapes
Now let’s cut out the beautiful designs! Grab those pretty paper scissors and cut loosely around the designs leaving approximately 1/8″ white border. Also, leave an area to punch a hole. You can mark the hole with a pencil so you don’t forget!
Do not concern yourself with going around the edges perfectly. Instead, keep the cut lines curvy and smooth. It’s best to hold the scissors open while closing them slowly as you move the paper around.
Trying to make cuts as you go around the curves is harder. Simply move the paper instead of closing the scissors quickly.
Repeat this step for all of the designs that you have transferred. Punch holes for the hanger in the spot you reserved.

add the embellishments
Now let’s add a festive touch! I chose to use this pretty gold velvet ribbon for an understated look. The gold compliments the red cardinals and will look lovely on our tree!
First I made a ribbon loop about 13″ long then laced it through the hole. Then I knotted the end leaving short tails on the front side of the paper ornament. A little dot of hot glue or E6000 holds the knot in the perfect spot!
While writing this post, the idea popped into my mind that I could add a touch of sparkle to these by adding glass glitter. Have you heard of this glitter before? I used it to create a sparkly twig wreath with pine cones. It’s so sparkly!
To add the glitter, dot small amounts of clear drying glue to areas on the ornaments and sprinkle the glass glitter over top. Protect the surface you are working on and do this over a paper plate so you can reuse the glitter!
I’m going to add this sparkly touch to mine! I will share a picture of our Christmas tree during my Christmas home tour post so stay tuned!

tips for hanging and storing paper ornaments
Here are some ideas for hanging and storing your handmade ornaments.
- shorten the ribbon if needed for your specific tree
- hang the ornaments toward the inside of the branches for protection from little hands
- reinforce the hole by adding a dot of glue to the back of the knotted ribbon
- store the ornaments flat in a plastic container
- add silica gel packs to the storage container in humid climates
- store out of direct sunlight

more paper Christmas decorations
We’re not finished yet! I have some more ideas for you when creating these beautiful paper crafts for the holiday season!
Instead of a hanging loop, tie a pretty bow and then add a small stick-on magnet on the back. This would make a lovely gift for anyone – the mail carrier, the Amazon delivery person, your hairdresser or anyone who needs a little love during the holidays!
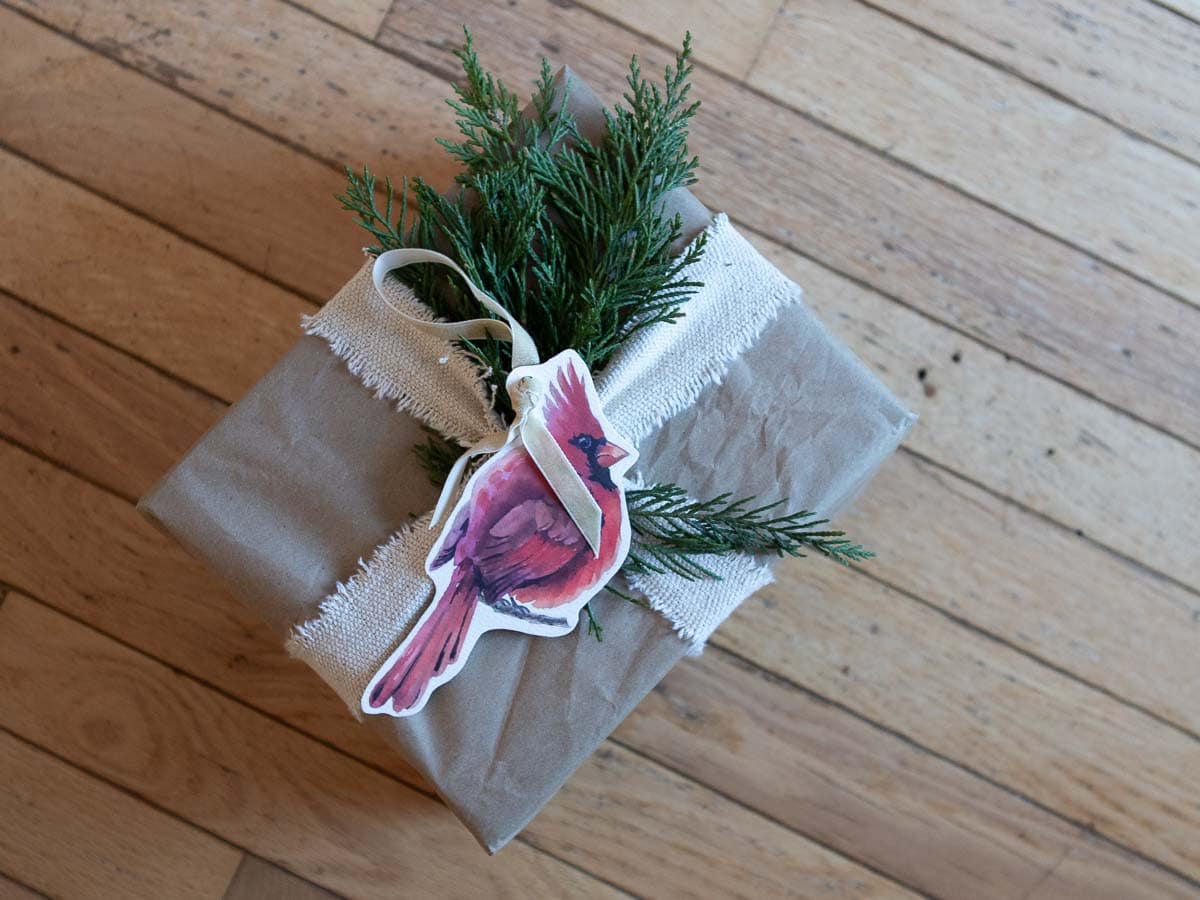
Add one of these paper ornaments to a gift! Pick the perfect Christmas paper (I like brown craft paper) add a rustic ribbon around the package, a sprig of greenery, and one of these lovely cardinals and you have a beautifully wrapped gift with little effort.
Glue several of the designs included in the Caroling Cardinals transfer set to a length of paper-covered wire to create a simple garland. I’ve made these garlands over the years and it’s an easy and inexpensive way to add a holiday touch to any mantle. You can see I’ve hung it on our fireplace mantle in our family room I’ve also added it to the faux fireplace mantle in our bedroom.
*Use caution when hanging these paper garlands near a neat source! Our mantles are far away from the fire and faux electric fireplace. Never leave a lit fireplace unattended!


Create handmade Christmas cards with any of these designs. Purchase precut watercolor note cards with envelopes and apply the transfer to the front. Whoever receives the card also receives a gift! Include the small magnet for an extra touch!
Make precut place cards for your holiday table and apply the designs to the cards. Handwrite the names of your guests on the cards. They get to take the place cards home!

thanks for being here!
I hope you are enjoying this project! Let me know if you have any questions. Or leave me a comment to tell me about your project and ideas!
thanks, Cindy 😀

happy ornament making!
I have enjoyed making ornaments every year for our home. Below you will see some of the ornaments I’ve created over the years. Sadly, I do not have images of most of them.
Will this be the year you start a tradition of creating handmade ornaments to celebrate this beautiful season?
This project could be the beginning of your ornament-creating journey! Happy Holidays to you and yours!
YouTube Video
coming soon! subscribe so you don’t miss it!
more inspiration and the giveaway!
it’s giveaway time!
Dixie Belle is hosting an amazing giveaway for my readers! They are offering a $200 spending spree on their website to six lucky winners! Enter by following the directions below! Good luck!
Some of my blogging friends and I got together to share our Christmas DIY projects, Dixie Belle heard about it and wanted to offer our readers an exciting giveaway! Thanks, Dixie Belle for sponsoring this amazing giveaway!
Here are the details and important information to enter:
- You can enter the giveaway on each blogger’s post to maximize your chance to win.
- There will be one winner with EACH blogger! A total of 6 winners!
- The giveaway runs from November 5 to November 12, 2024
- The winner will be randomly picked and announced on Tuesday, November 12, 2024 here on the blog. The winner has 48 hours to claim their Dixie Belle Giveaway before another winner is selected so be sure to check back!

- Follow the directions that each blogger gives in her post. It’s easy to do and includes options like visiting their Facebook page, commenting on their blog post, and visiting Dixie Belle on Instagram. How easy is that??? 😉
- Visit their blogs to see their amazing talent and creativity
- Enjoy the posts and be inspired to create something beautiful using the gorgeous Silk Chalk Mineral Paint National Parks Collection from Dixie Belle!

here are the talented bloggers:
Simply tap on their blog name above to go to their posts so you can enter to win!

enter the giveaway here!
a Rafflecopter giveawayRecreate and Decorate
Join the Facebook Group and Share Your Projects With Us!


Thanks for joining our journey!
Thanks so much for joining us for this post! Join our journey so you don’t miss any of the fun projects, tutorials, and inspiration that we share with you each week! You can follow us on Instagram, Facebook, and YouTube. We share even more inspiration on Pinterest!
click below to purchase supplies!
Visit my Amazon Storefront!
Click the button below and head over to our online shop on Amazon!


Cindy Rust
Cindy has been decorating her home with thrift store finds for 40 years. She is an avid thrift store shopper who loves to makeover the items she finds into vintage-inspired home decor and furniture. When she isn’t thrift shopping or painting a piece of furniture, you can find her making homemade butter, working in her garden, or painting with watercolors.
more handmade ornaments
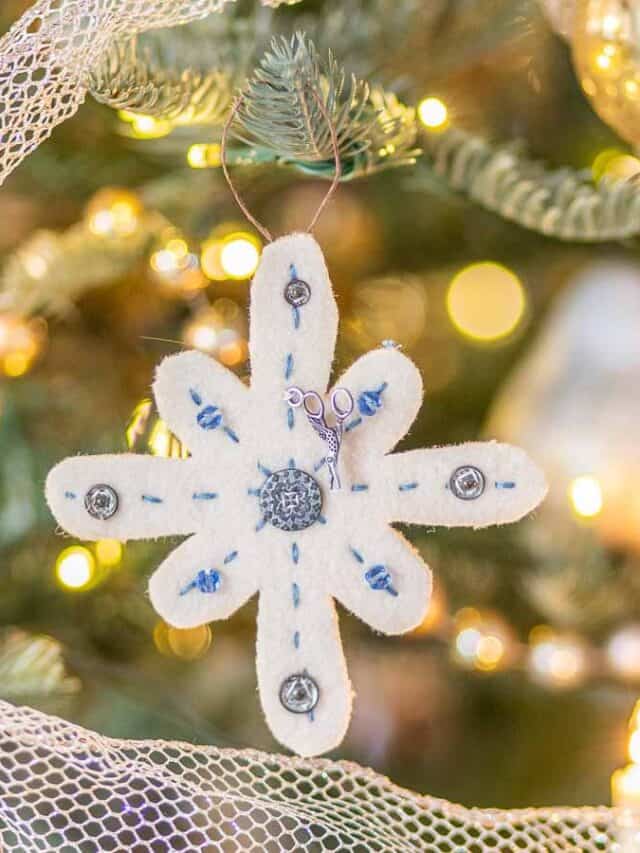
Free DIY Wool Felt Ornaments
Grab a thrift store wool coat and make these adorable felted wool ornaments for you holiday decor!


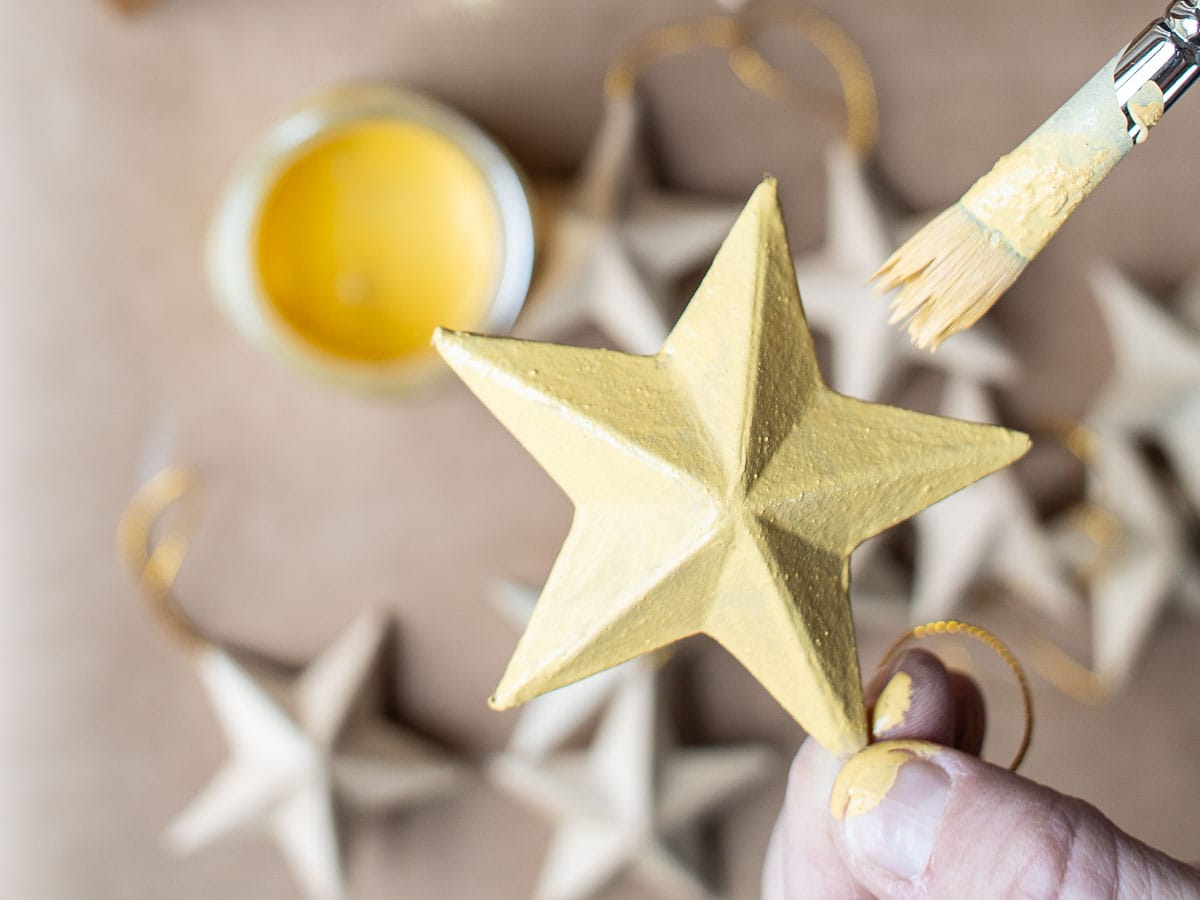
DIY Painted Paper Mache Stars
Make these gorgeous painted stars to light up your Christmas decorating!
Those pinecones are so cute and would be great all season long!
I agree Carrie!
I enjoy homemade ornaments! You get to enjoy and share the process of making them as well as the ornaments.
Thanks for posting this
I’ve followed your blog for quite a long time now and enjoy your posts ❤️
So glad you enjoyed the handmade ornament Karen! And thanks for following my blog!🥰
I love the cardinals used for gift tags. They are gorgeous!
They are even prettier in person!
I enjoy your blog, Cindy! Especially your personal articles and inspiring thoughts! I also enjoy the makeover posts…
Thanks Darlene! I’m so glad you find inspiration here!
Always so inspirational. I finally found a project to inspire Christmas crafting. Blessings!
Awesome! This is such an easy crafting project!
Those are super cute, I love the garland!
Me too – the garland could have so many variations!
I love ❤️ the cardinals. They look like water color paintings.
Me too! The transfers really look like watercolor once they are on watercolor paper!
I love ❤️ the cardinals. They look like water color paintings. They make beautiful gift tags.
🥰
Super sweet DIY and so easy! Looks so good on your mantel and as a gift tag! Pinned XOXO
This is one of the easiest projects I’ve made! Thanks for pinning Denise!
The tranfers are so versatile! I love using them in projects! Thanks for pinning Denise🥰
Cindy – I love your idea to use these to embellish a holiday gift or create a fun garland for the mantel. Always so impressed with how creative you are!
You are so creative. Love these.
Thanks Donna! 😊
How clever to use rub-ons on thick watercolor paper for ornaments! I love how you see things!!!
It’s such a easy way to be an artist!
I love it when your blog post shows up in my email, I always read it right away. Thank you for sharing! I especially like the poinsetta garland!
Omgoodness Carol! Thanks for your encouraging words! I’m so glad you enjoy our posts🥰
Fun, easy craft! So many ways to personalize for
your own decor and other holidays!
Yes and yes and it couldn’t be easier!
Anything using the beautiful bird is my favorite. I have always loved them and use them in my Christmas decor every year. These are really gorgeous.
And the cardinals are even prettier in person!
I enjoy your posts very much. Especially when you talk about your family and include them on your journeys. I also appreciate you giving easy to follow instructions on your projects and video’s. Thank you for the chance on the Dixie Belle giveaway. 🙂
I’m thilled that you enjoy our posts and projects! And that you enjoy reading about my family. That warms my heart!🥰
These are adorable.
Thank you! And they are so easy to make!
My favorite is the pinecones
I’m a pinecone fan too!
My favorite from the Caroling Cardinals Transfer Pack are is the pine cones!
The pine cones are so pretty in person!
So fun!!, thank you
You are welcome!
I love the red cardinals!
Me too – they are so vibrant!
It’s so bright and Christmasy.
The Cardinals of course!
They are so pretty, arent’ they!
I agree Tracey!
Super cute, Cindy! I especially love them as gift tags! XOXO
Me too Christy! They pop on the brown paper!🥰
So cute and perfect for the holidays!
Yes they are perfect for the holiday season!
I love making homemade ornaments for my family & friends and I have never tried this so now I have another idea to use. Thanks!
You will enjoy making these Colleen! The watercolor paper makes all the difference!
I really like the idea of using them in a garland.
Can’t you just imagine an even longer garland? You could hang it anywhere you need a little holiday cheer!
Definitely the cardinals!
Agreed! They are so pretty!
The cardinals are beautiful!
And they are even prettier in person!
Love the pinecones and pine branches
Me too!
Thanks for the great tip about using watercolor paper, Cindy! Your paper ornaments are beautiful!
gail
You are welcome Gail! The watercolor paper makes all the difference!
Hello! I love the pinecones! Great for all winter long!
I agree Pam!
I like the cardinal the most. It adds so much to gift wrapping.
I think so too – the cardinal really pops on the brown paper!
I love the transfer but I like the Garland and the po ik nsetta the best.
That garland couldn’t be easier! There could be so many variations using transfers for different seasons too!
Love the cardinals and the ornaments you made!
Thanks Cindy!
For sure, my favorite are the cardinals. I love the red and I love the symbolism of the cardinal.
The cardinals are one of my faves too!
I love the cardinals, they are a favorite of mine.
They are even prettier in person!
Now I need to start thinking about Christmas!
Should I say “I’m sorry” or “You’re Welcome!” 😉
Adorable! Love the IOD Transfers.
So glad you enjoyed the projects Cheryl!
I love the Cardinals and you could do so much with them.
Yes, soooo many possibilities!
Love homemade items, thanks for sharing.
Handmade is the best!
Great ideas as usual Miss Cindy .these are lovely ! Thanks ! Xox 💚
Love this project!
Thank you!
Sweet idea. I love cardinals
So glad you enjoyed the ideas!
I really want to try the card idea for some special friends! Thanks!
You will enjoy making cards this way! Have fun!
I love the cardinal design as a gift tag and the garland!
The cardinals make amazing gift tags. They are their own gift!
I love the pinecones and sprigs of greenery. Thanks for the unique ideas for using rub on transfers.
So glad you enjoyed the projects Karen!