The Easiest Thrift Store Wreath Makeover for Fall
Sharing the easiest thrift store wreath makeover for fall with you today! You will be on the hunt on your next trip to your local thrift store to find a worn-out wreath to upcycle!
DIY projects
You know that I love to share DIY tutorials here on our blog. Taking thrift store finds and giving them new life for my home decor is so rewarding.
Wreaths are among the thrift store items that are the easiest to makeover for a front door. Or any place for that matter!
Wreaths are not just for your front door! But I’m getting ahead of myself.
The following post may contain affiliate links. That means if you click and then buy something, I will make a small commission at no additional cost to you! Thank you for supporting my blog. full disclosure here.
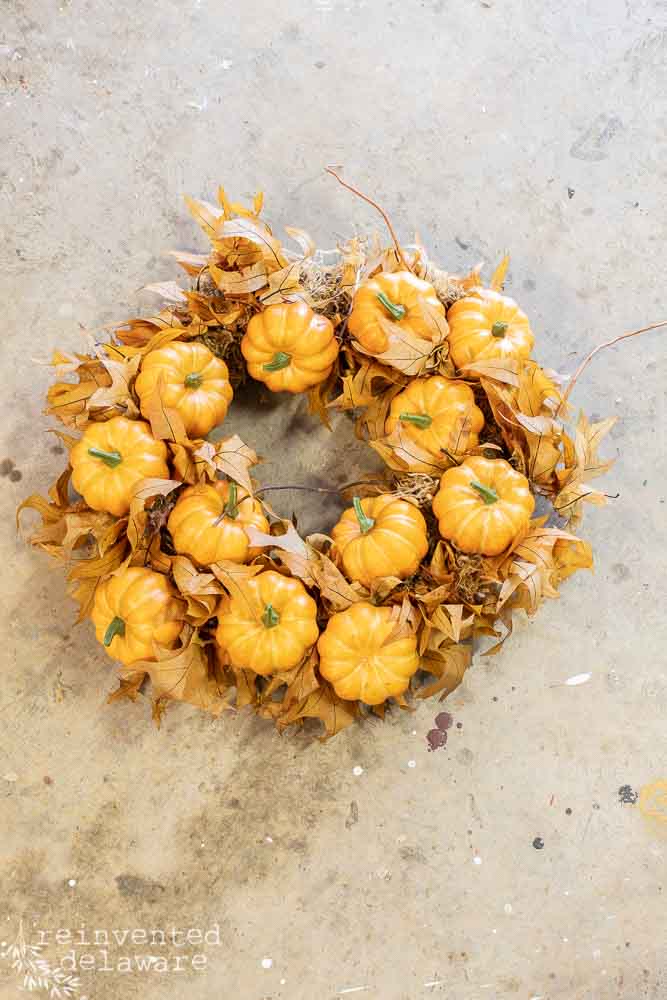
step one – disassemble the wreath
Let’s start with this wreath I found at our local thrift store. It was probably really cute when it was new. All the pieces were still intact. They were just tired and had seen better days.
I disassembled the fall wreath by gently removing the pumpkins. These little pumpkins can be purchased unpainted at a craft store for under fifteen dollars.
BTW, that’s why I bought this wreath – the cost of the wireframe, the moss, the pumpkins, and the faux leaves would have cost me well over fifteen dollars! So I knew this front door fall wreath was a thrifty find at only $8!
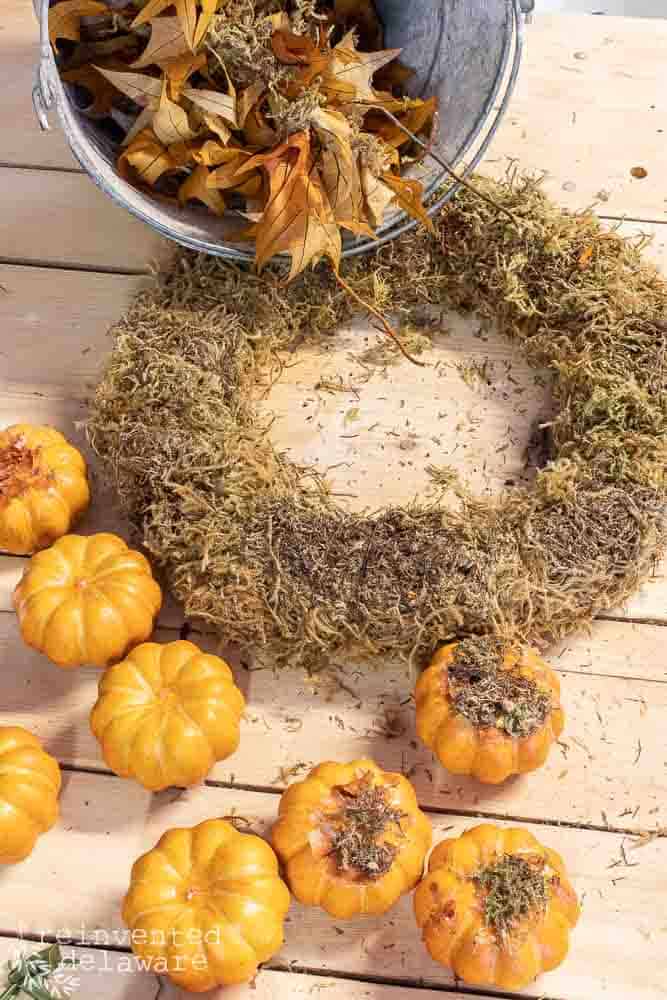
step two – remove the plastic stems
As I removed the sweet little pumpkins, I also removed the stems and set them aside. I had thought I would change the stems to something more organic looking.
The moss-covered wreath was in good shape. All I had to do was shake off some of the excess moss. Hardly any of the moss fell off.
I decided to lightly spray paint the moss as an easy way to lighten the color a bit. It’s amazing what a little paint can do to moss!
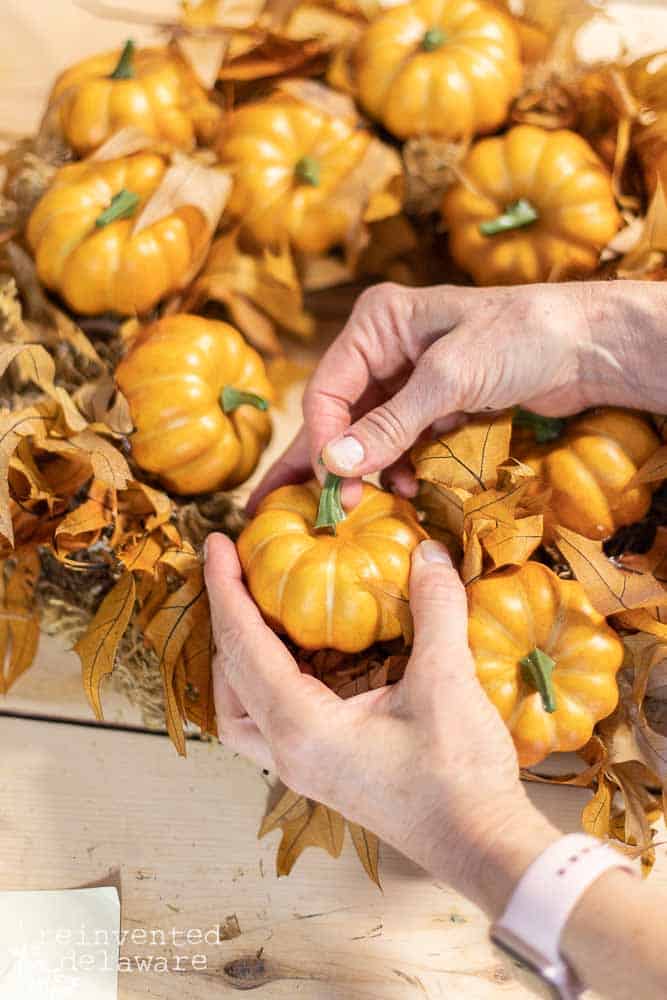
step three – chalk paint the pumpkins
The next step was to change the color of the pumpkins. The orange tones were a bit bright for my liking and not my favorite color. I wanted a neutral-colored wreath to hang inside our home.
I chose chalk paint in three different neutral colors. The supplies will be listed towards the bottom of this post with affiliate links for your shopping convenience!
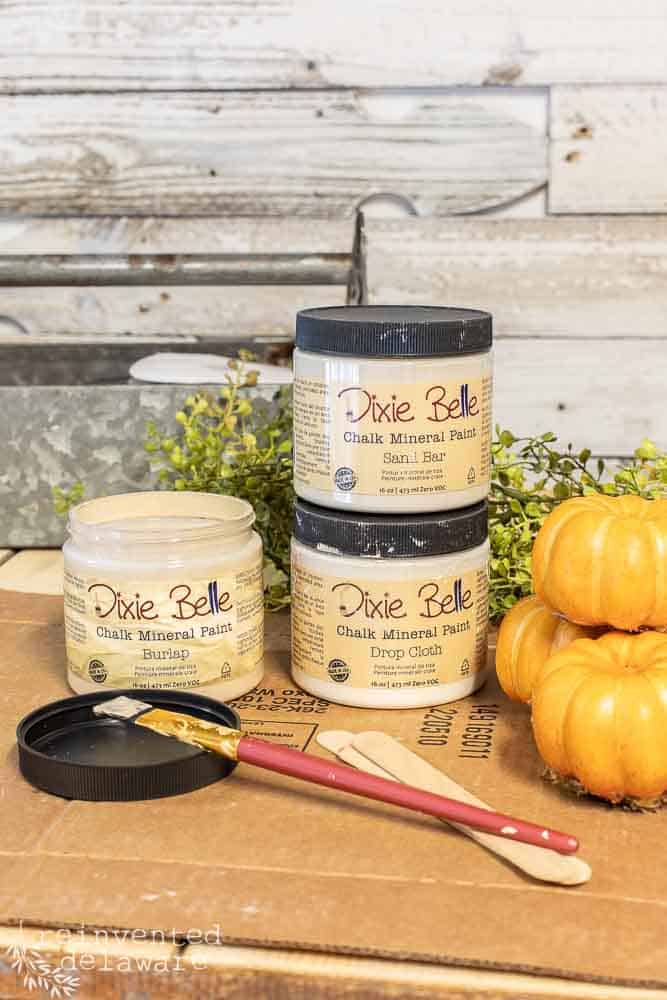
The pumpkins were easy enough to paint using a small artist’s brush. Also, the pumpkins had some remnants of the previous wreath and glue on the bottoms. I painted over the glued areas knowing that when I reattached the painted pumpkins, those areas would not show.
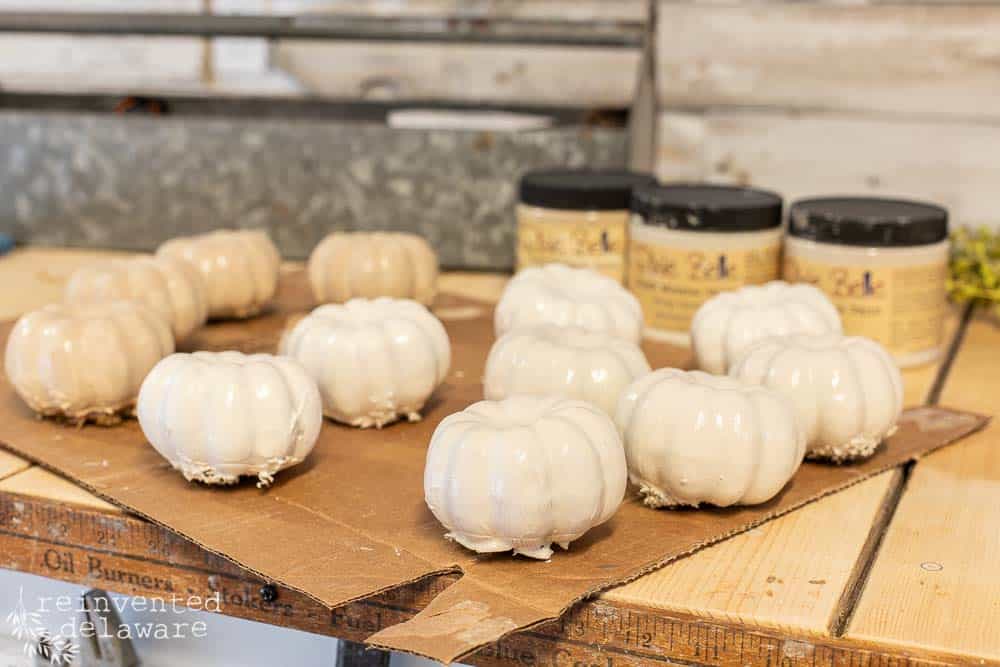
When I removed the pumpkins in the first step, I knew I didn’t want to use them all on this easy thrift store wreath makeover. I wanted a sparse look on the upcycled fall wreath. Still, I painted all of the pumpkins. I’m glad I did because I used them in another thrift store finds makeover!
step three – add faux greenery
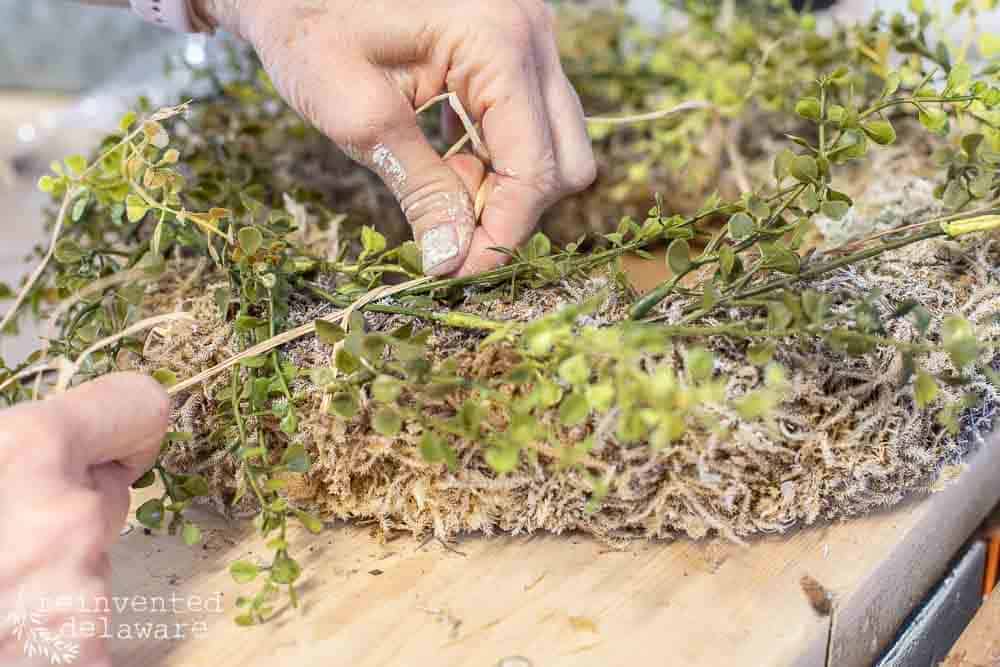
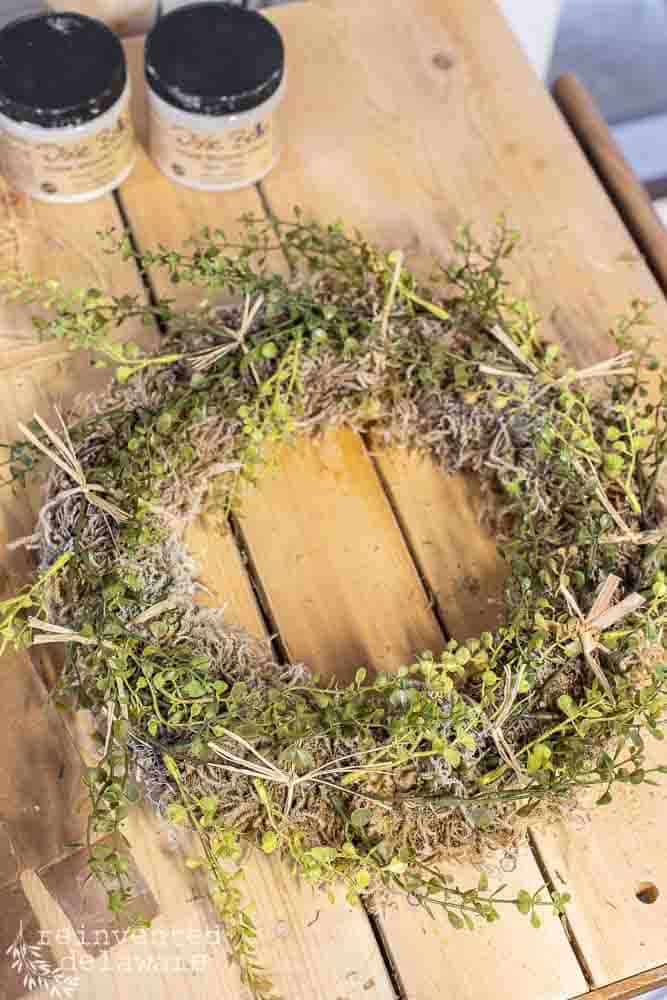
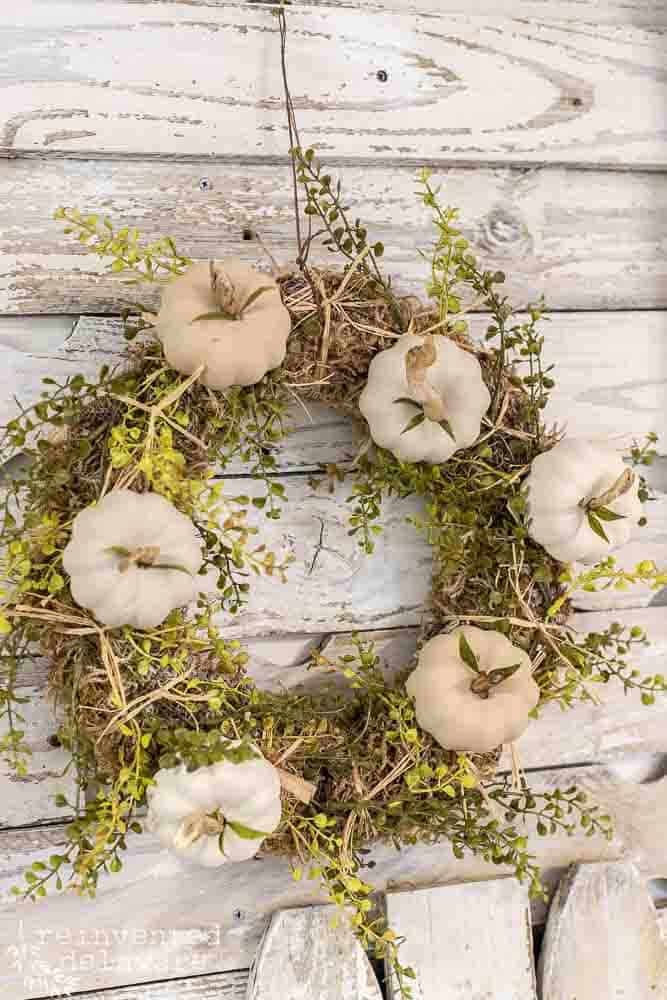
In order to soften the wreath even more than the moss did, I grabbed some faux greenery in warm muted tones and tied sections of it on the wreath with raffia. The ends of the tied raffia help to add texture to this wreath.
By the way, you could also use floral wire to hold the faux greenery onto the fall wreath.
step four – attach new pumpkin stems
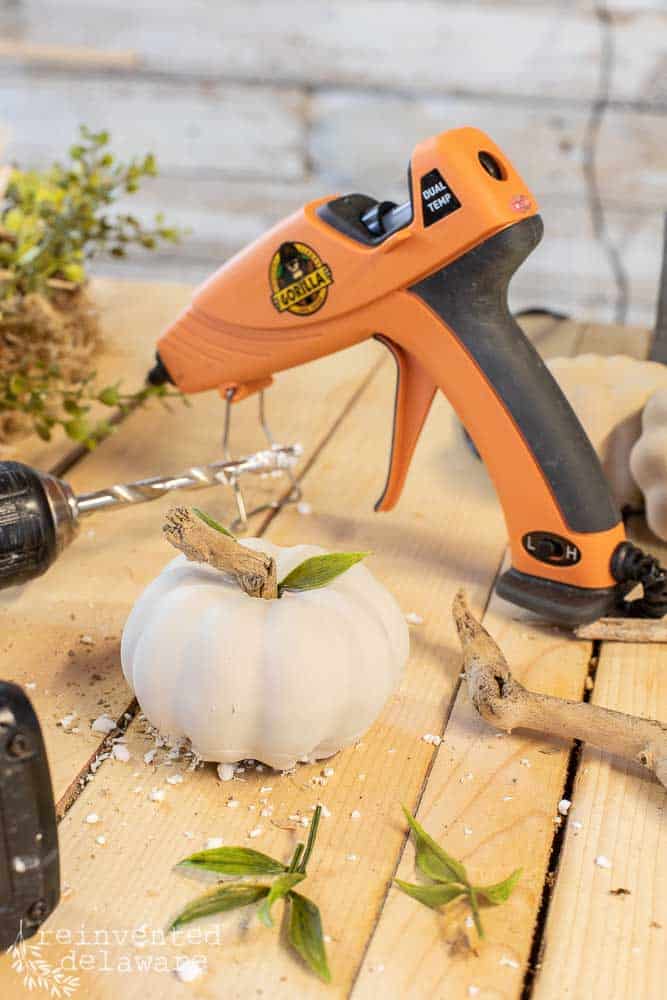
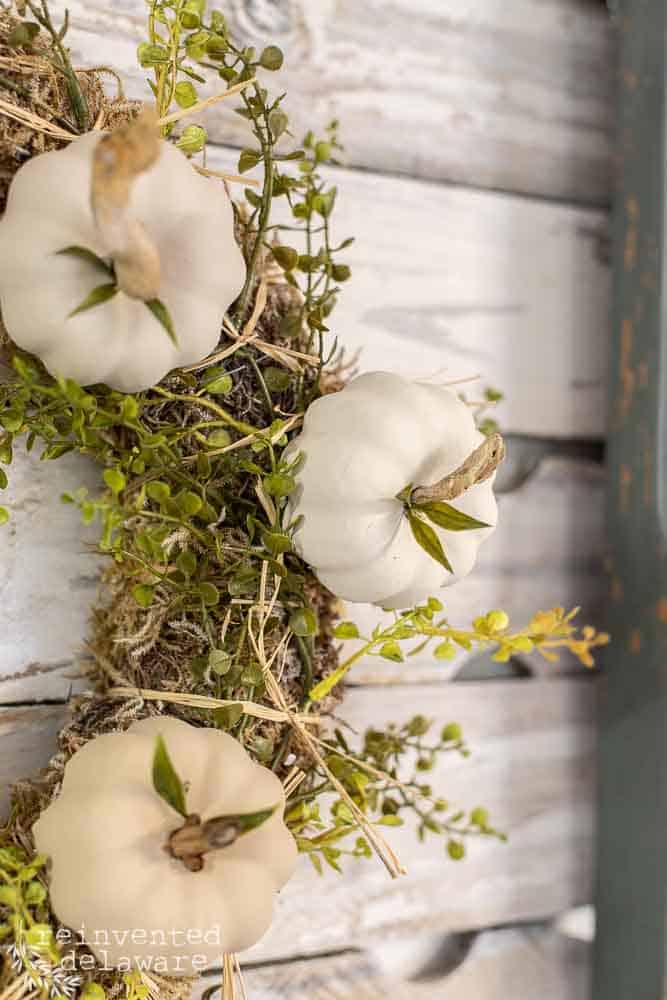
Now for the pumpkin stems! I headed out to our garden and looked for a pile of dead hydrangeas that I had removed from an area in our garden. The roots had just the right amount of squiggled form to look like a pumpkin stem!
The glue gun got fired up and I used it to glue the hydrangea root ‘pumpkin stems’ into the opening that was left by the plastic stems I had removed earlier. I also added a leaf from some extra faux greenery I had on hand.
step five – reassemble the wreath
After all of the components of this wreath were painted, dried, and reworked, it was time to lay out my design on the form.
Remember I said I wanted a sparse look for this wreath? I only used six of the pumpkins to go around the upcycled wreath. I turned some of the pumpkins going in different directions being careful not to show any of the previous glue areas on the underside of the pumpkins.
It took quite a bit of glue to hold these pumpkins to the wreath. I held each pumpkin in place as the hot glue dried.
The last step was to add a wire hanger. You could also use jute twine.
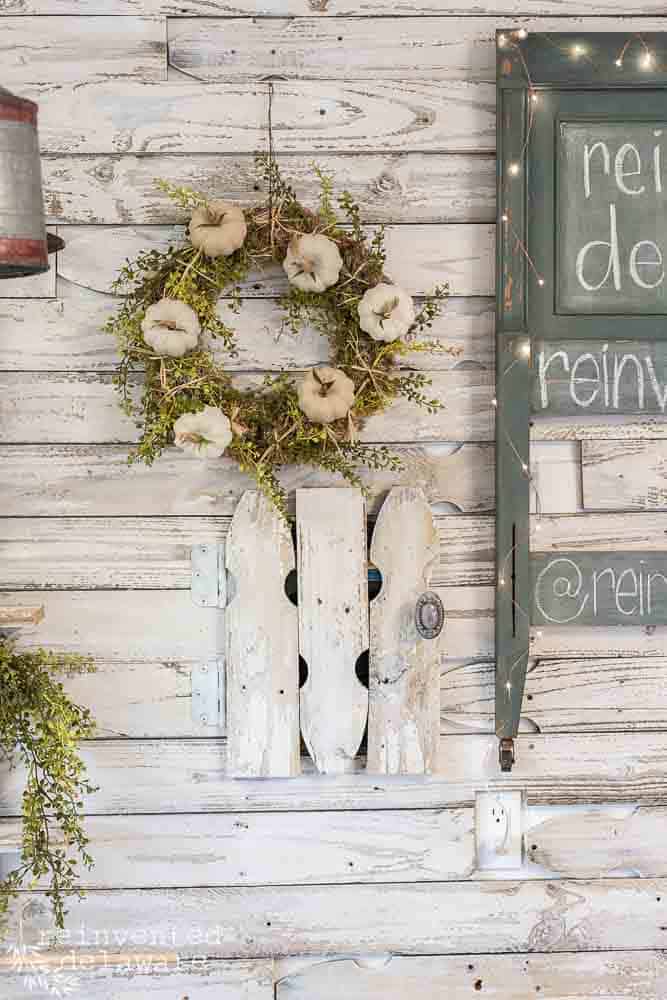
BTW, what do you think of this new picket fence wall in my workshop? I’ll show you how I did it in this post. Just click the button below!
fresh ideas for a fall wreath
Let’s think of some additional areas to use this thrift store wreath makeover other than the front door.
- Use it on your coffee tables as a large candle ring. Include a trio of battery-powered pillar candles on a riser and call it a day!
- Add some essential oils to the moss and hang the wreath inside your entryway as a way of welcoming guests with the scents of fall.
- Hang the upcycled fall wreath as wall decor in your dining area. My wreath is hanging over two antique cabinet doors on one of our dining room walls.
- If you have a covered outdoor patio area, display this upcycled fall wreath anywhere you can see it and enjoy it as you sit by a cozy firepit.
thrift store projects
Wasn’t this a fun post? The next time you are out thrift shopping, be sure to keep your eyes open in the wreath department. You may also find a berry wreath that could be used as Christmas decor for your home. Or maybe you come across a spring-themed wreath that you could makeover!
Stay open-minded when you are out thrifting and you will be surprised by what you find!
Upcycling home decor pieces like this wreath are one of my favorite ways to give our home a festive atmosphere without breaking a major budget. If you watch your decorating dollars as I do, shopping at your local thrift store is a great option!
optional – add a raffia bow
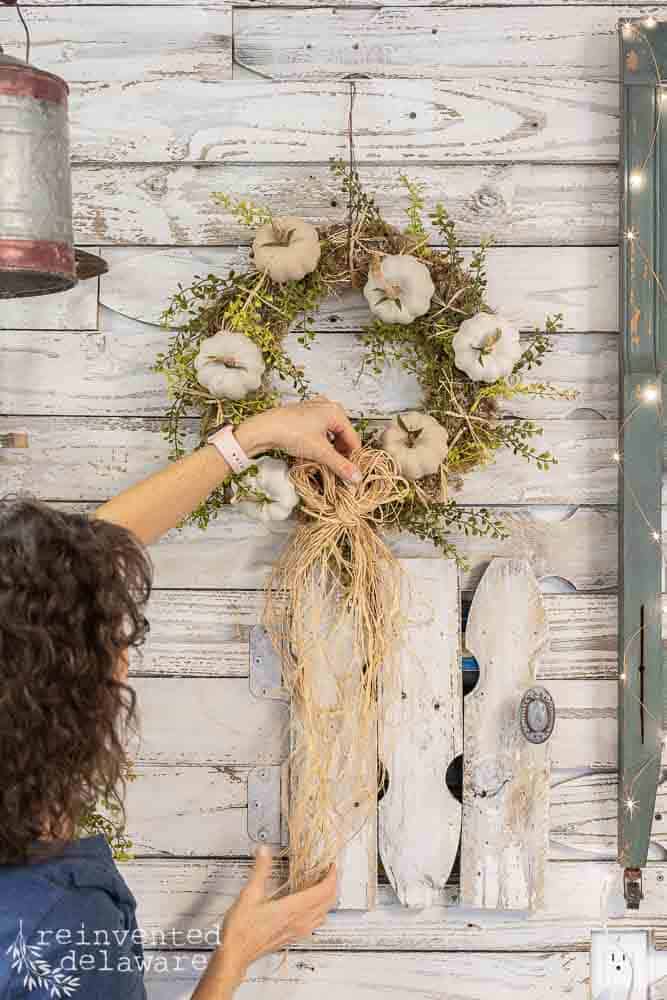
Before I go, what do you think about this simple raffia bow on this thrift store wreath makeover? All I did was gather a handful of long pieces of raffia and tied them in a simple bow with long streamers.
Do you think I should attach it to the wreath? Let me know in the comments! Maybe you have another idea for the bow! I would love to hear it 🙂
Handy tip: Shop Often!
One of the best tips I can offer is to shop at your local thrift store often! Donations come in daily and you want to be one of the first to find the good stuff!
more awesome thrift store projects
Each month I join several other crafty ladies who love to do fun projects, create simple thrift store makeovers and share their great ideas for upcycled projects.
crafty bloggers
I’m sure you will find so much creative inspiration as you go through each of their posts! Just click the links below and be ready to get creative!
**Some of my friends couldn’t make it this week due to family emergencies. If you are the praying type, they would appreciate the prayers!
Our monthly edition of thrifty projects
Thrift Store Decor Team
- My Repurposed Life – Drop Leaf Table Makeover
- Petticoat Junktion – DIY Multi-Colored Mercury Glass
- Sadie Seasongoods – Hello Fall Sign on a Casserole Dish
- Shop at Blue – Customize Your Pumpkins
- Organized Clutter – Broken Vintage Stool Makeover
- Our Southern Home – Wooden Stool Makeover with Oven Cleaner
- My Uncommon Slice of Suburbia – Personalized Beverage Tub
- Reinvented Delaware – that’s me! Hope you enjoyed all of the projects!
more from the thrift store decor team
Here are some of the other thrift store decor team posts I’ve shared in the past. I hope you enjoy them!
No posts
list of supplies:
Use the links below to purchase some of the supplies for this project! You are helping to support this blog and all the free tutorials we offer here! Thanks so much!😊
- thrift store wreath
- Sand Bar chalk paint
- Drop Cloth chalk paint
- Burlap chalk paint
- artist’s brush
- faux greenery
- raffia
- glue gun & glue sticks
- wire for hanging (or jute twine!)

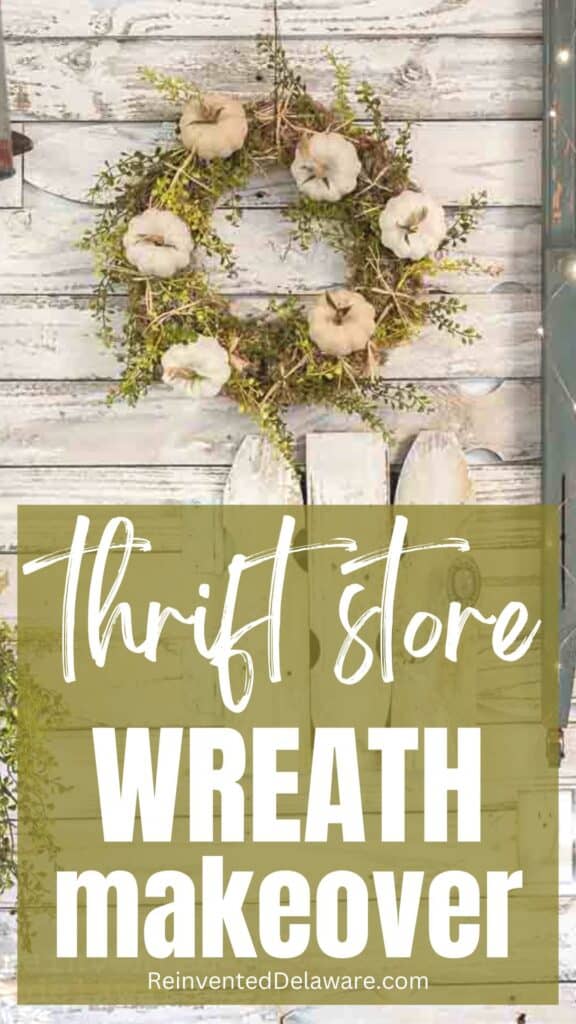
Pin the image below to your home decor and furniture boards! Just click the pin button at the top left corner!
thanks for joining our journey!
Thanks so much for joining us for this post! Join our journey so you don’t miss any of the fun projects, tutorials, and inspiration that we share with you each week! You can follow us on Instagram, Facebook, and YouTube. We share even more inspiration on Pinterest!
click below to purchase supplies!
Visit my Amazon Storefront!
Click the button below and head over to our online shop on Amazon!


Very nice!!
Thanks for sharing….
I’m so glad you enjoyed it, Mariya!
Beautiful transformation Cindy. Pinned!
Thanks for pinning Cindy!
What an adorable thrift flip, Cindy!! I LOVE how you re-purposed all of the materials…it looks SO good. I WOULD add that pretty bow on the bottom:)
Thank Rachel! I’m leaning toward the bow too!
Super cute! It turned out amazing!
Thanks, Renae! 🥰
I really love how this turned out, the white pumpkins, the bow and the greenery are perfect!
Thanks, Kristin – it’s a fresh look for a tired wreath!
I like it. The white pumpkins are a nice change from all the orange decor you see this time of year. I think I might try something similar with some supplies I have. Thanks for sharing the idea and the process.
Yay!! Have fun making the wreath 😊
It looks beautiful Cindy.
Thanks Elizabeth!
Such a great makeover! Have a great week!
Thank you, friend! Hope you have a great week too!
Cindy,
Great tips for giving that sad fall wreath new life! You did a fabulous job.
pinned
gail
Thanks, Gail – thrifted wreaths just need a little love!
Looks great Cindy! Pinned!
Thanks for pinning Carlene!
So stinking cute Cindy!!! you certainly did a make over on this one! way to go, I have pinned it. Have a great weekend.
Thanks for pinning Wendy! Hope your weekend is amazing!
I’m pretty sure, Cindy, you are the tutorial queen! So thorough and always great tips! I love that the wreath looks like a Pottery Barn stunner. Beautiful!
That’s a sweet thing to say!
Cindy – this turned out SO cute. I love how you styled the wreath on your new “You Tube” wall. The painted pumpkins look great! Another affordable, fun and fabulous looking project. Pinned.
It’s amazing what a little paint and imagination can do! Thanks Anna 🙂
Wow, Cindy! I love it! It looks nothing like the “before” picture! Great transformation! Pinning it now!
Thanks, Donna! It’s definitely an improvement!
Such a smart thrift wreath upcycle! You are absolutely spot on that new ingredient would be way more expensive than your find, and this turned out adorable!
Crafting supplies are so expensive especially right now. Thrifting is the way to go!
I can’t get over the transformation of this fabulous wreath, Cindy! It doesn’t even look like the same wreath which blows my mind. Love your creativity and can’t wait to share it on my From the Front Porch post tomorrow! Big hugs, CoCo
I appreciate your kind word CoCo. You are always so encouraging 🙂 Thanks for sharing my post in your From the Front Porch post tomorrow!