
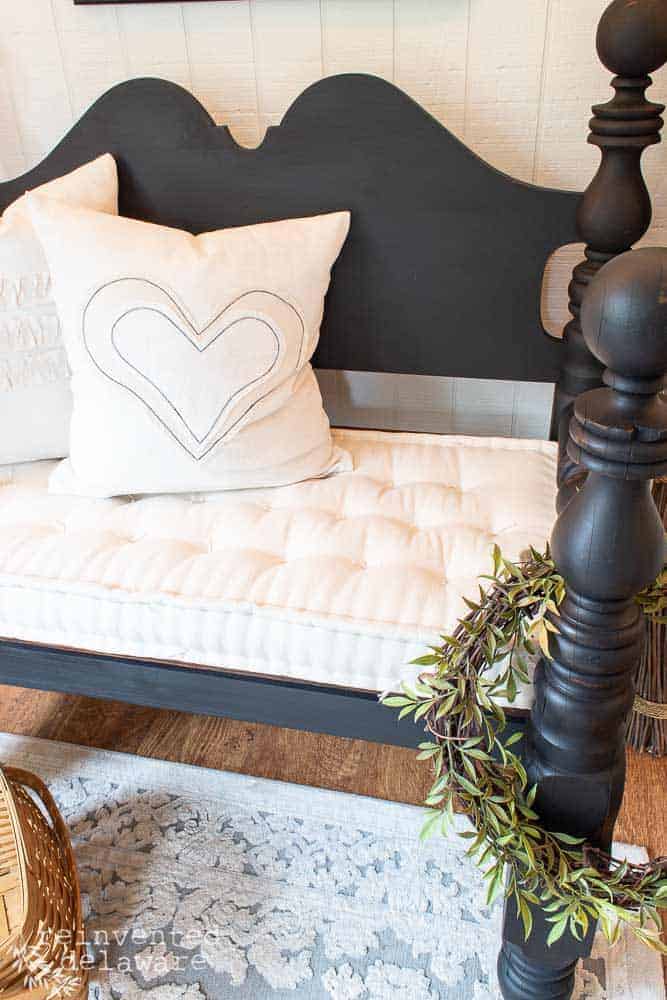
DIY Chair Cushion – French Tufted Cushion
Learn how to make your own chair cushions using this method to make this gorgeous DIY french tufted cushion.
The following post may contain affiliate links. That means if you click and then buy something, I will make a small commission at no additional cost to you! Thank you for supporting my blog. full disclosure here.
I’ve had my eye on a project for several months but with custom work keeping me busy, I am just now getting to that project! A french tufted cushion!
Come along with me and I will show you step by step how to make a DIY french tufted cushion for your home!
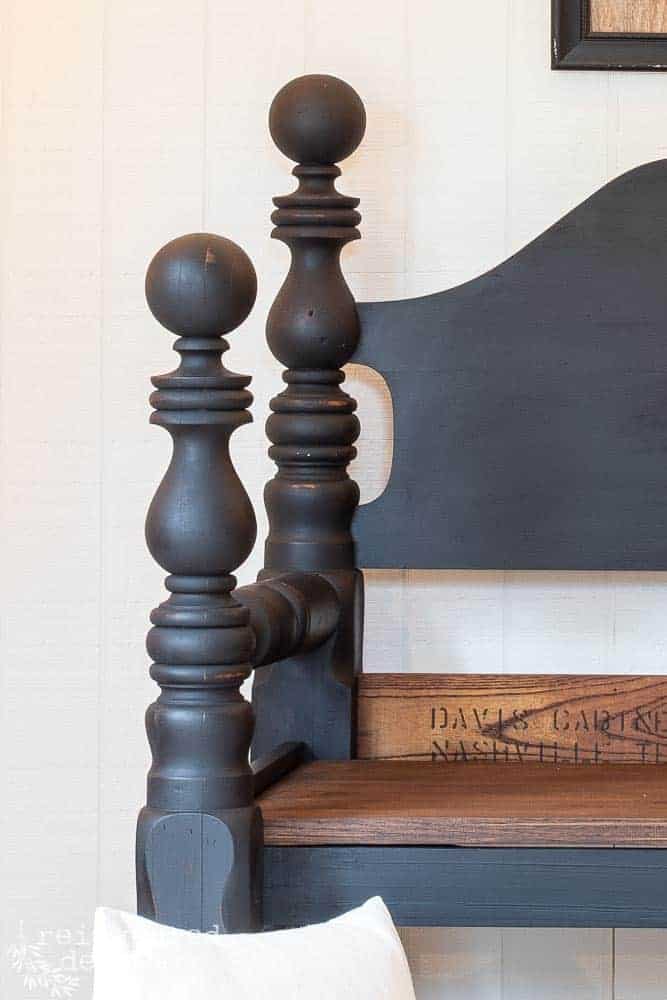
Hubby built a bed-bench several weeks ago and I knew it was the perfect candidate for a DIY chair cushion. I’ll share the bed bench in another post but today I will focus on the french tufted cushion.
DIY bench from a twin bed
Ok, Ok, here’s a little sneaky peak of the bench we made from a twin-size bed!
The bed bench he built from a twin-sized bed needed a chair seat that measured 18″ x 38″. I already had a piece of foam cushion from another project in approximately that size. I cut the foam to the measurement of the side of the cushion and the back of the cushion I needed with an electric knife.
We won’t go over foam cutting or fabric cutting in this tutorial. I kinda figure if you are reading this post you are somewhat familiar with replacing old cushions or making a new cover for existing cushions.
Depending on the shape of the seats you want to make a french tufted cushion for, you might have to make a template using a roll of brown craft paper. Our cushion was a simple rectangle and didn’t need a pattern.
DIY bench cushions
I cut the piece of fabric 19″ x 39″ to allow for seam allowances, one panel for the top piece, and one panel for the back piece (or you could call it the bottom piece!)
I also cut a long piece for the boxing 5″ wide (my thick foam is 4″ in thickness), long enough to go around the whole seat cushion and a little extra. Use a tape measure and measure this twice to make sure you have enough.
I had to piece together the long strip of boxing to make enough to go around the whole cushion. Make sure you cut enough strips of fabric to piece together your specific DIY seat cushion.
You can cut the fabric using a rotary cutter, quilters ruler, and cutting mat to get clean-cut pieces across the width of the fabric.
Speaking of fabric, I chose to use an economical canvas fabric that I purchased through my blogging buddy’s website. Knowing I would use the extra fabric for other projects, I purchased about 5 yards of fabric.
You might remember that I used the same fabric for this pair of side chairs.
If you want to use the same fabric, pop over to Karen’s blog, The Slipcover Maker, and purchase through her link. It’s called #12 Weight Natural Cotton Duck. I LOVE this type of fabric!! BTW, it’s no additional charge to you but it does help out a fellow blogger! Plus shopping online can be more convenient than going to your local fabric store.
Let’s get stitching!
Ok, so I am chomping at the bit to get to the stitching!! Let’s do this!!
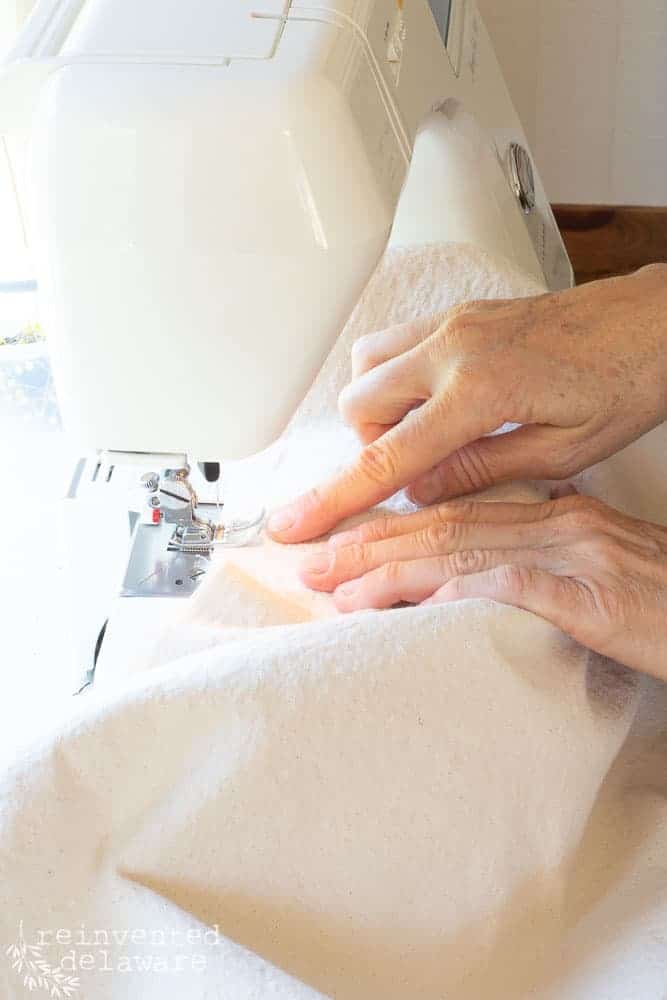
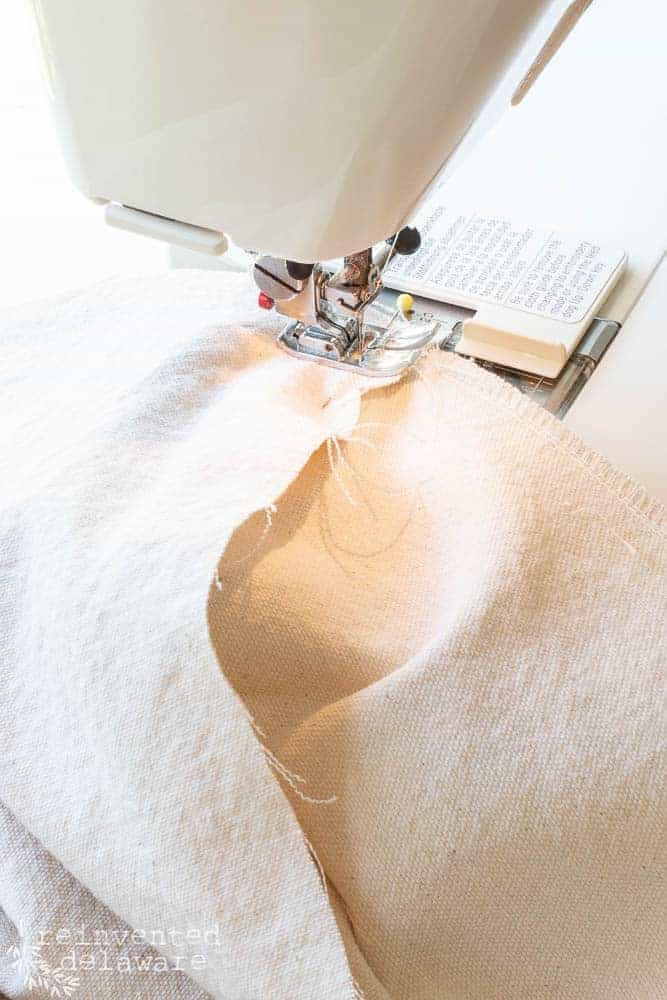
I stitched the boxing strip to the top panel using a 1/2″ seam allowance and matching the raw edges and right sides together. When I reached each corner, I clipped the boxing strip seam allowance just to the pivot point. This will make more sense in a few minutes when I show you how to do the second seam allowance! Keep reading!!
sewing hack #1
Here is an important step that will make your life easier when attaching a boxing strip to the top panel ( and bottom panel too!) of fabric: stitch with the top section on the top and the boxing section on the bottom. It makes pivoting at the corners super easy!!
sewing hack #2
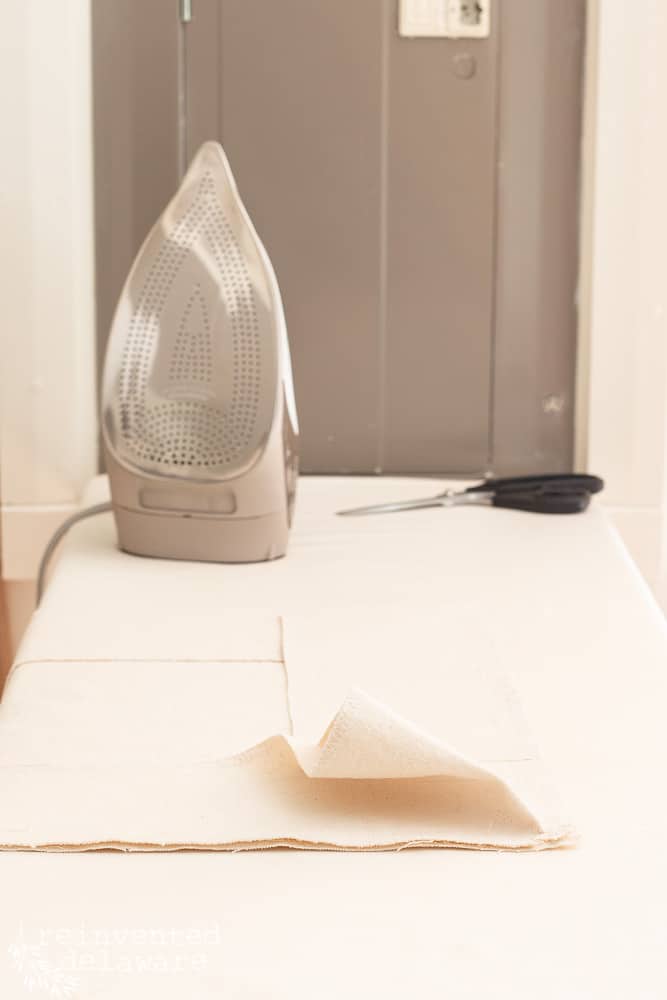
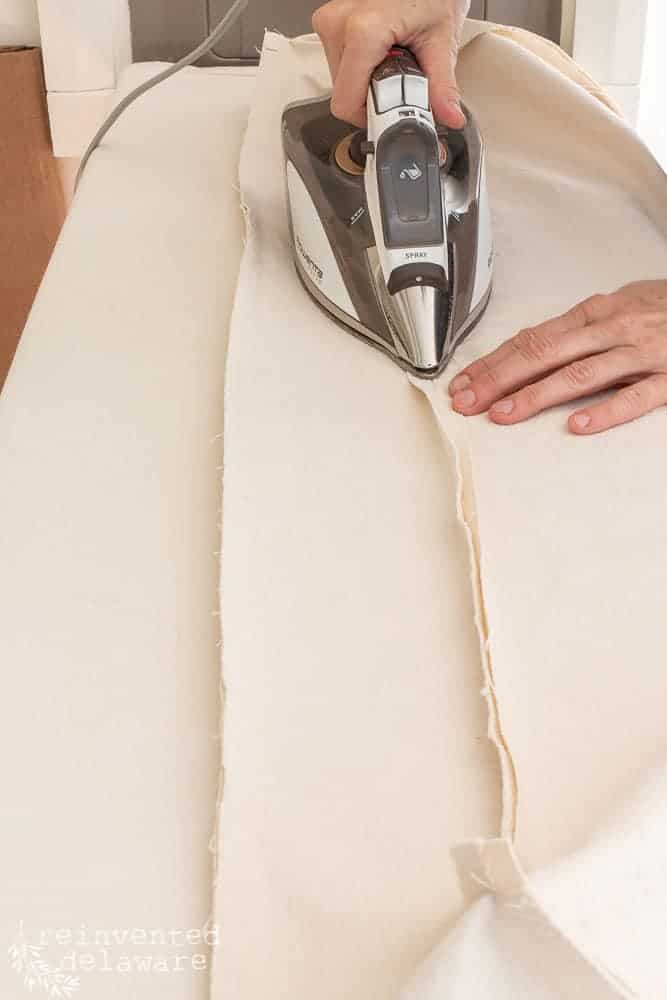
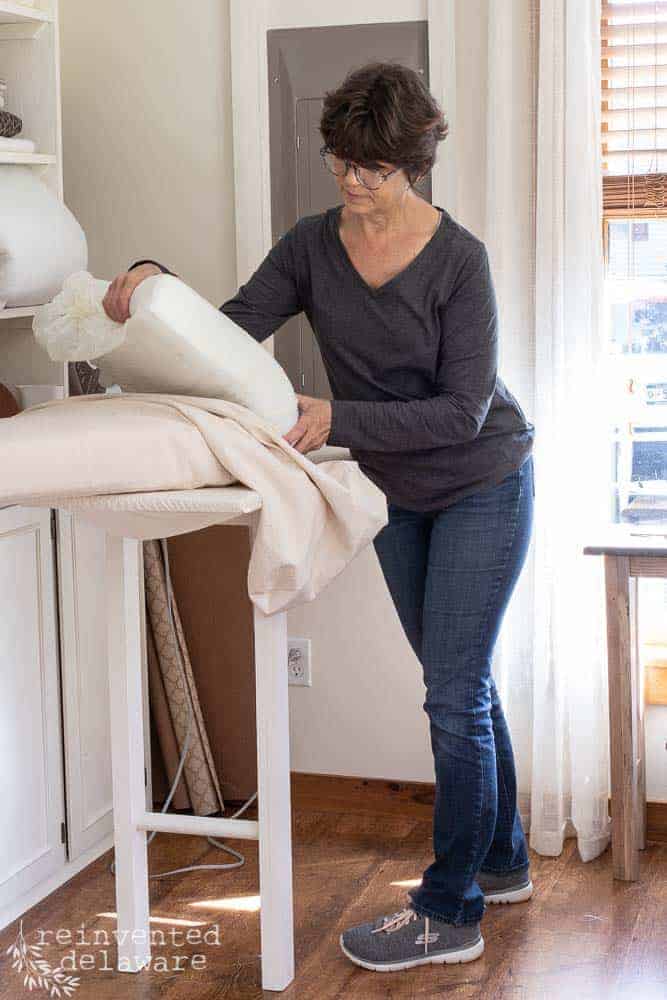
To make sure the corners line up when attaching the bottom section, use this little ironing trick:
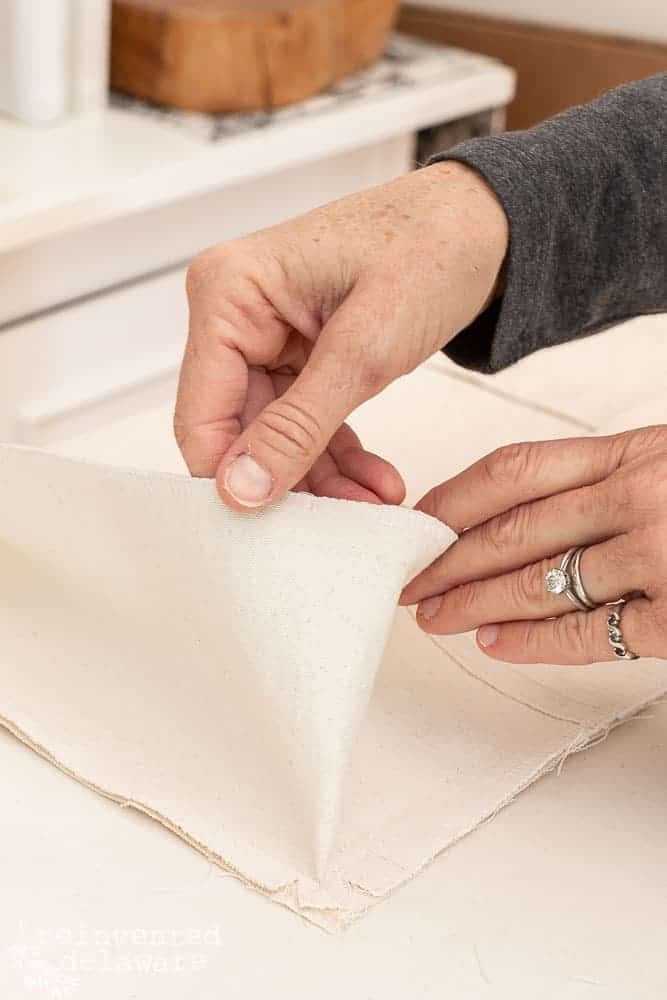
Hold the two sides of the boxing strip up like I am showing here….
…then make sure that the two raw edges are perfectly lined up. See where I am pointing to below?
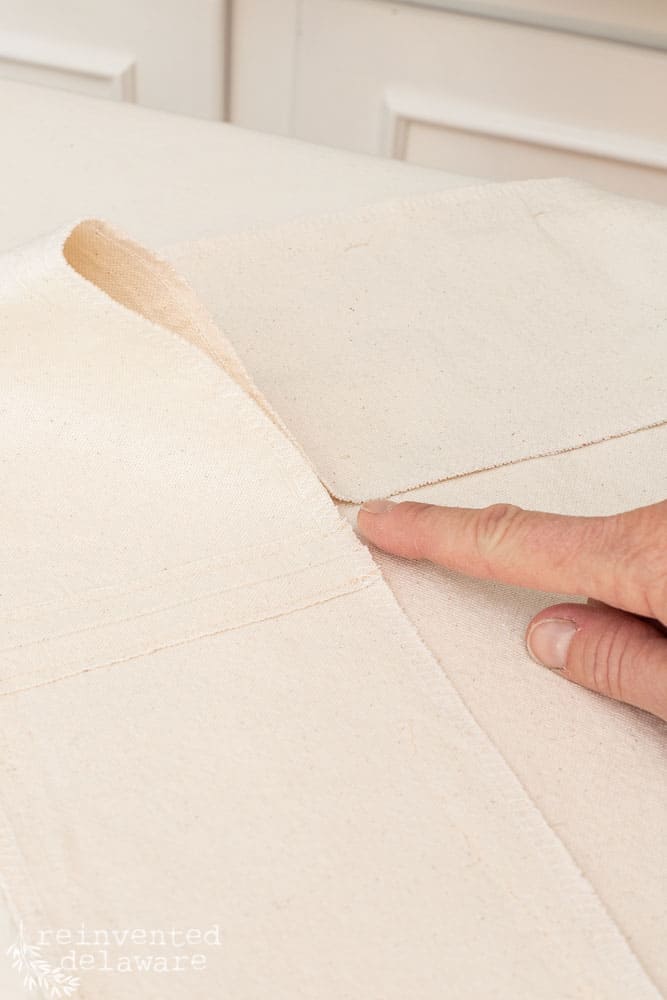
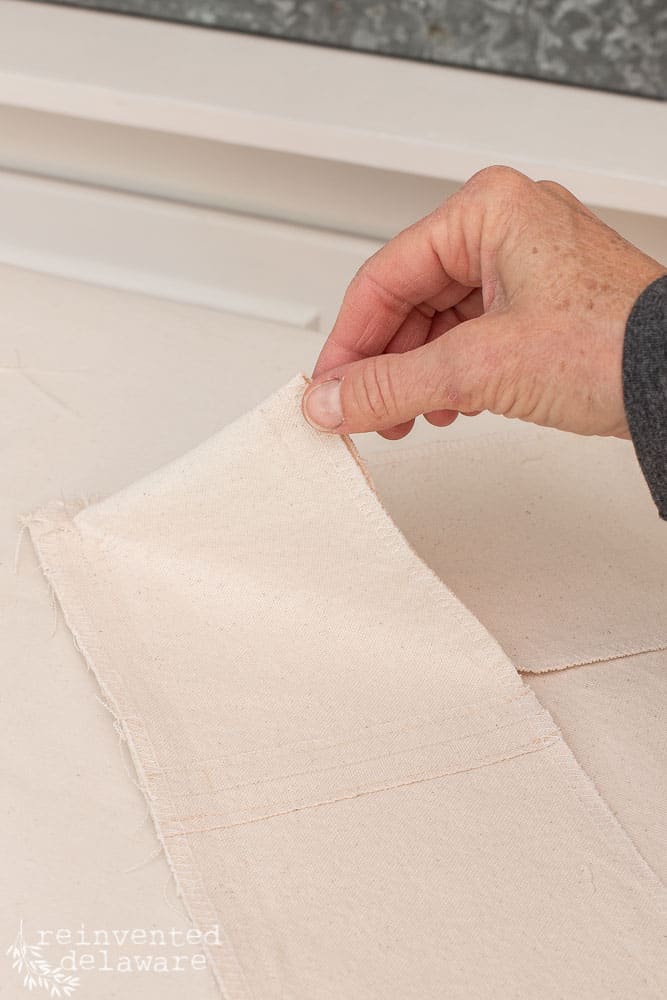
Next, fold the edge over to one side and press with the iron.
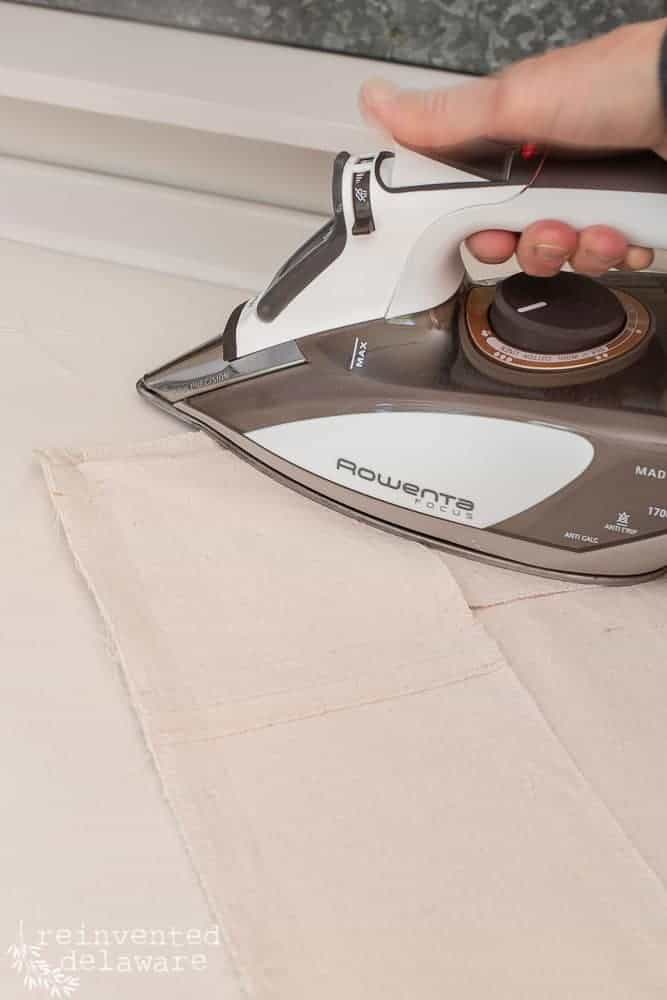
You will have a crease that will line up perfectly with the bottom panel of the fabric! The best part of this technique is no measuring and no guesswork! It’s an easy way to ensure the top and bottom panels line up perfectly!
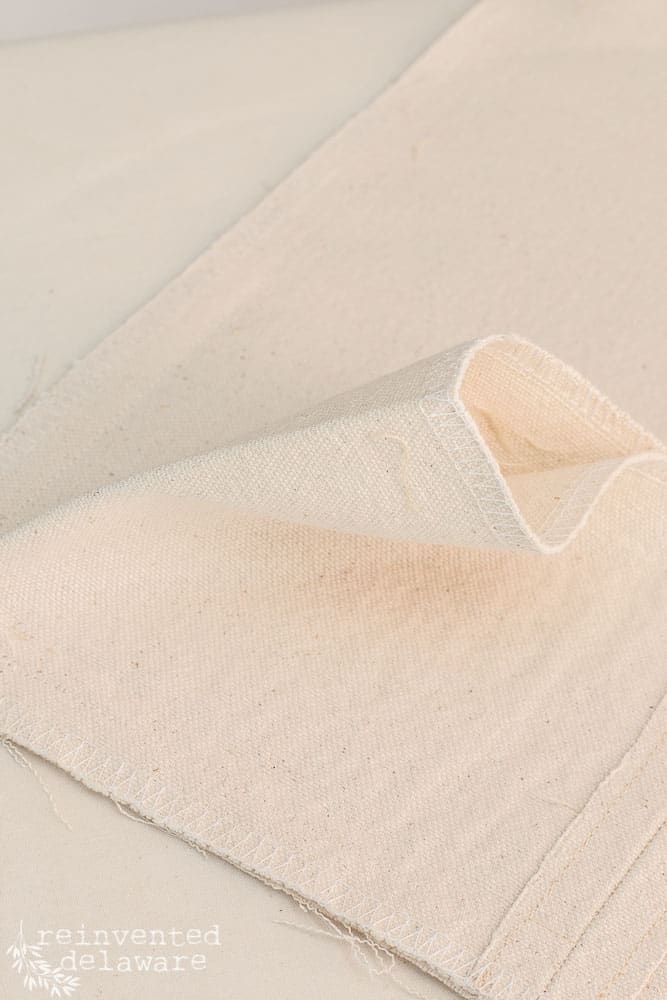
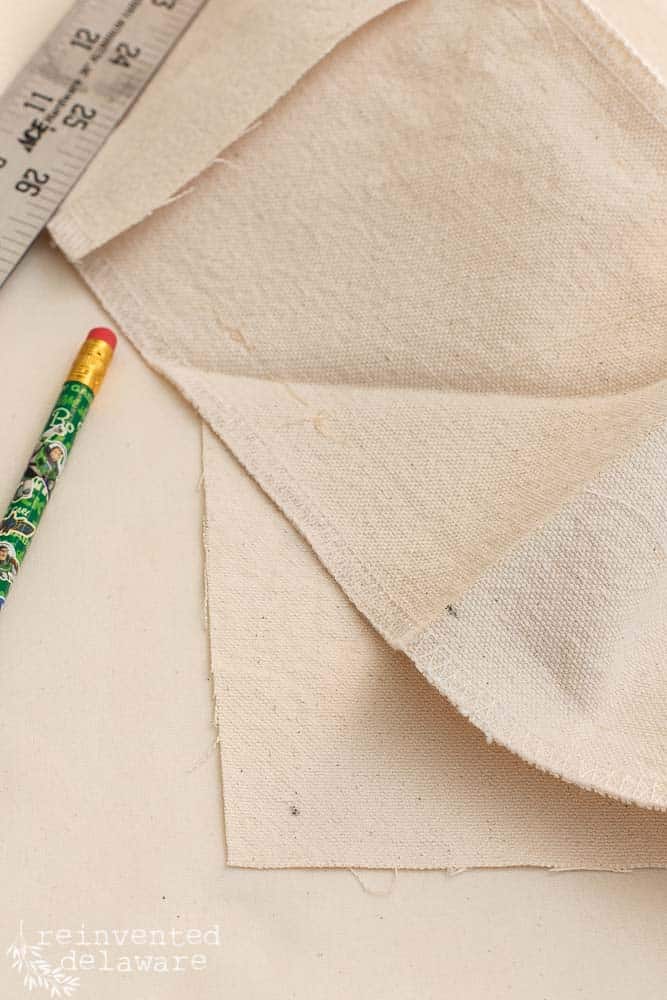
Next, I marked the pivot points at each corner with a pencil, 1/2″ from each edge of the fabric. Mark this pivot point on the top and bottom sections as well as both edges on the boxing strip.
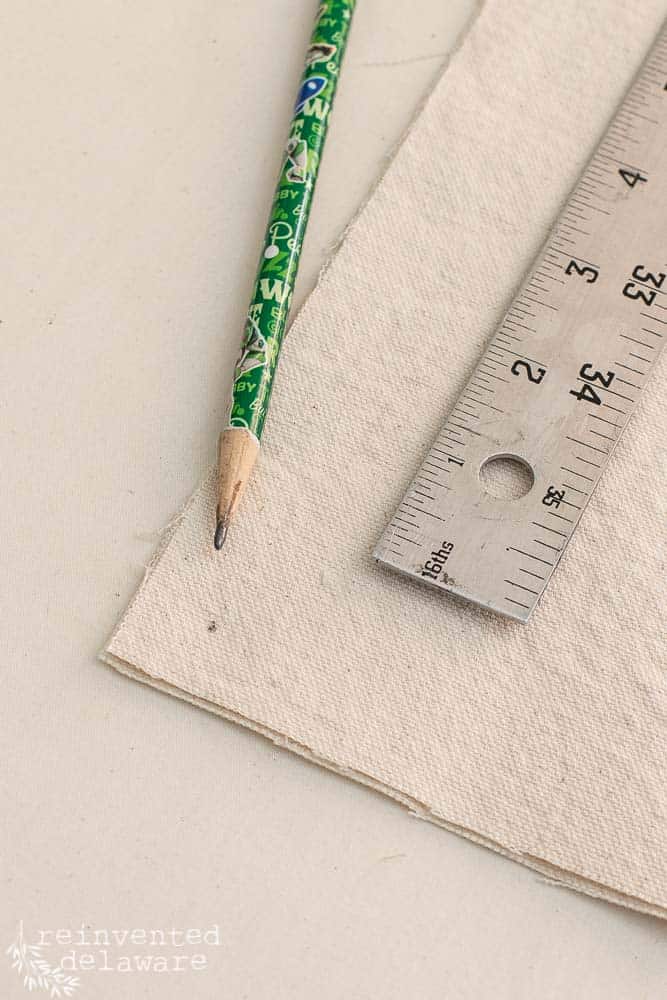
I also marked the 1/2″ seam allowance point of the boxing strip. I did this to all four corners.
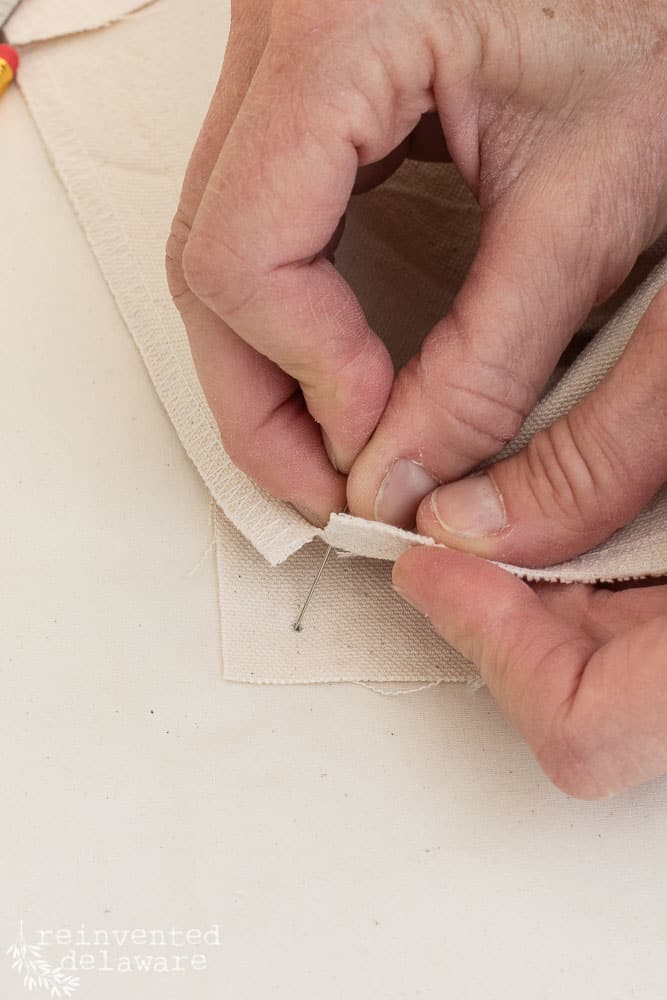
See how I am clipping towards the seam allowance on the boxing strip? This will help when pivoting at the corners. Do this at each corner. You can also clip as you approach the corners while stitching. Since I had ironed all the corners first, I chose to clip before I started stitching!
DO NOT CLIP ALL THE WAY TO THE SEAM ALLOWANCE!!
Whew Cindy, calm down!

Line up the pivot points with a straight pin. This is the spot that will be stitched so line it up perfectly!
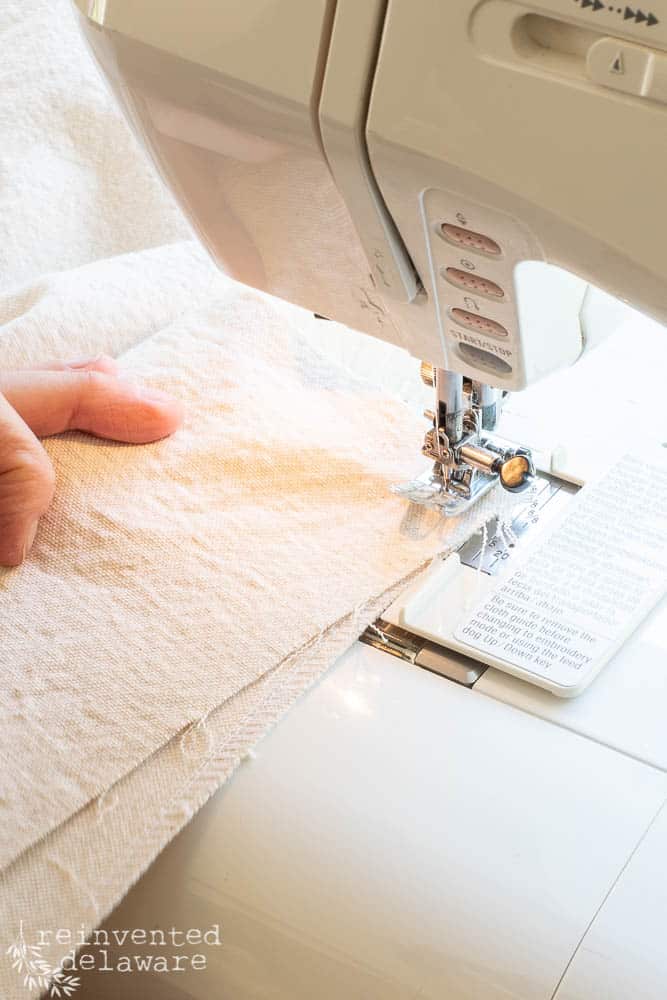
I also found the centers of each long side of the panels by folding them in half and marking it with a pin. Do the same to the boxing strip. Match the centers and pin them to secure the layers together until you get to the sewing machine! Then be sure to stitch a straight line.
leave an opening
Before we start stitching again, let me mention that the top panel was stitched all the way around the four sides. The bottom panel needs to have an opening for the foam. The opening has to be fairly large to fit the foam and that means the stitching needs to begin and end about 5″ away from the corners on one long side.
sewing hack #3
A long opening like that can be tricky to hand sew closed so I use this little trick to help with that.
Start stitching from the beginning edge towards the panel. Only stitch a 1/2″, place your needle into the fabric and pivot the layers. Begin stitching as usual going all the way around to the opposite side.
Stop stitching, put the needle down, and pivot. Stitch towards the outside raw edge, this will be the 1/2″ seam allowance.
Like I said earlier, keep reading and this will all make sense!
At this point, I’m thinking I should have made a video!!
sewing hack #4
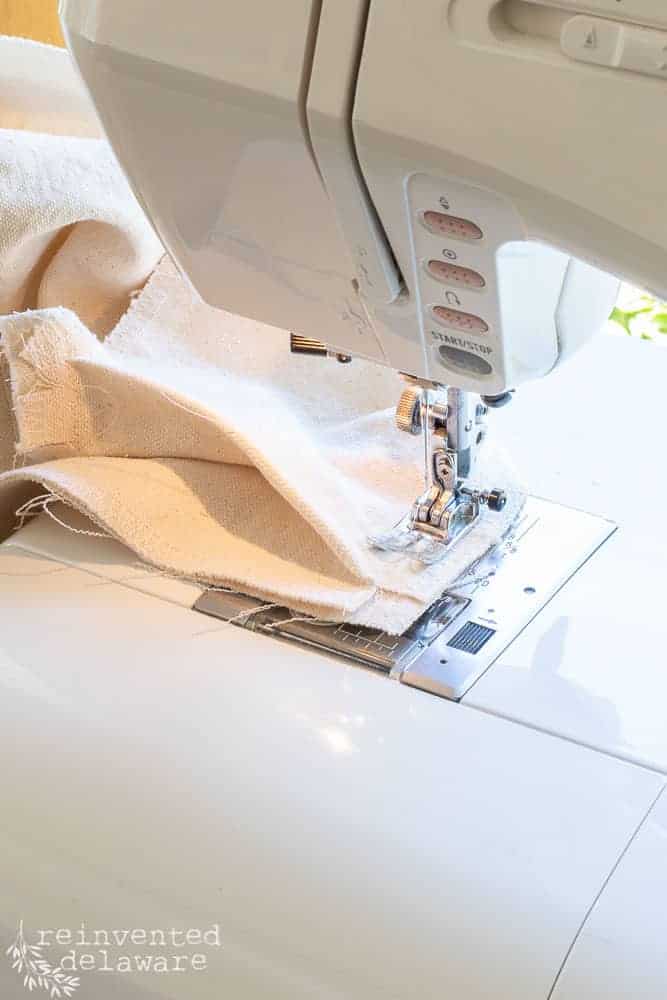
Remember how I said to stitch the layers with the top panel on the top and the boxing strip on the bottom? It is easier to adjust the fabric at the four pivot points!
Stitch up to the seam allowance mark that was marked with the straight pin and leave the needle in the fabric, lift the presser foot….
…and pivot by adjusting the top panel to line up with the boxing strip. Put the presser foot down and start stitching again!
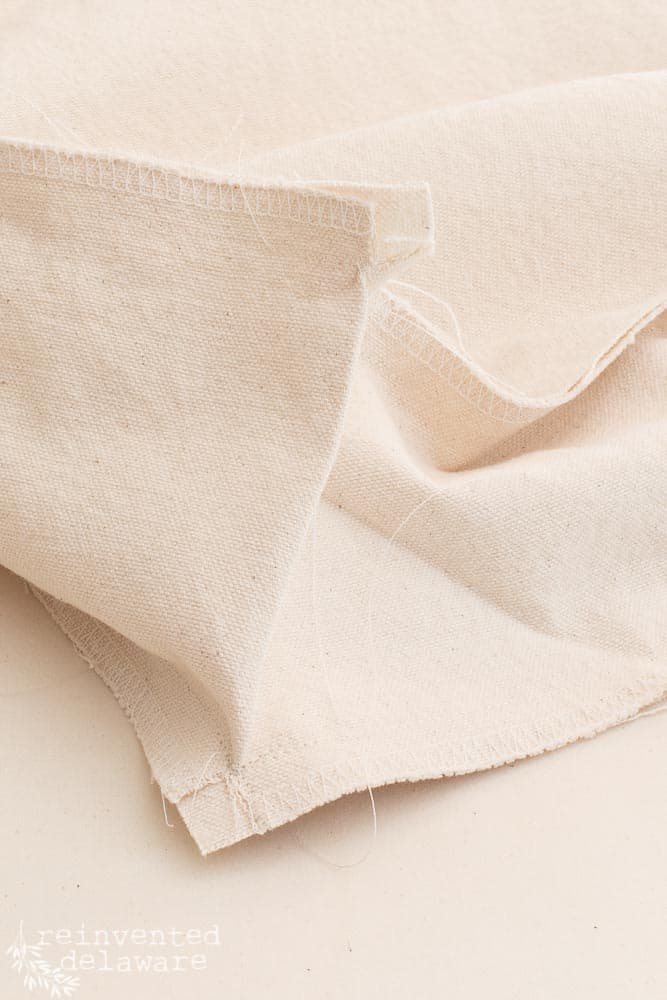
After going around the whole piece, I decided to add some security to each corner. So I stitched each corner on the opposite side of the original stitching, with the boxing strip on the top.
This way, I could make sure that each corner was securely stitched. I only did the extra stitching about 1 1/2″ from each corner and I backstitched several times.
See how clipping the boxing strip at the corners helps to pivot the stitching?
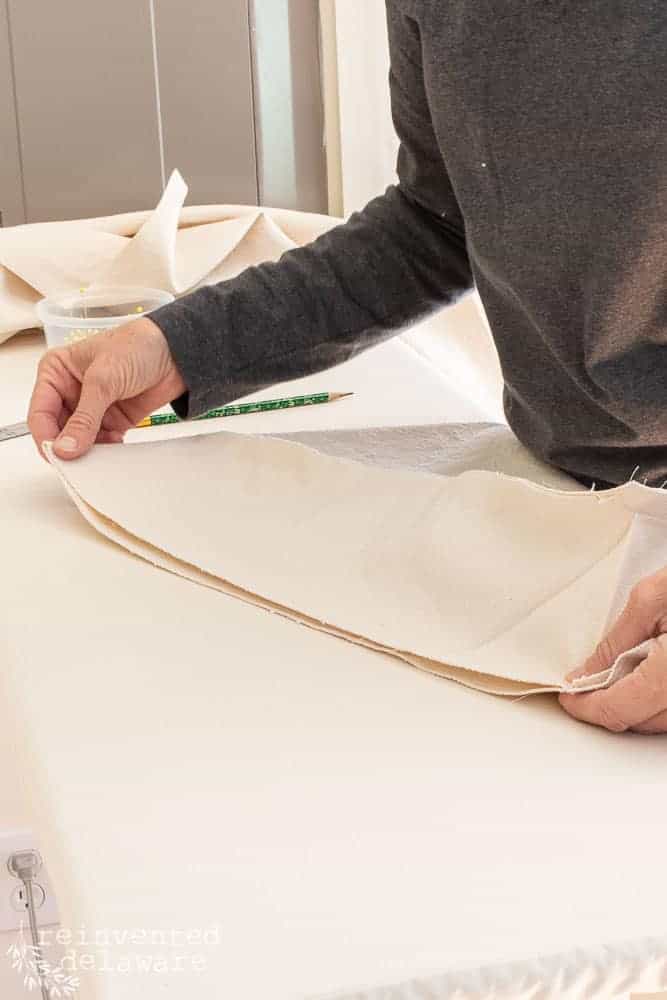
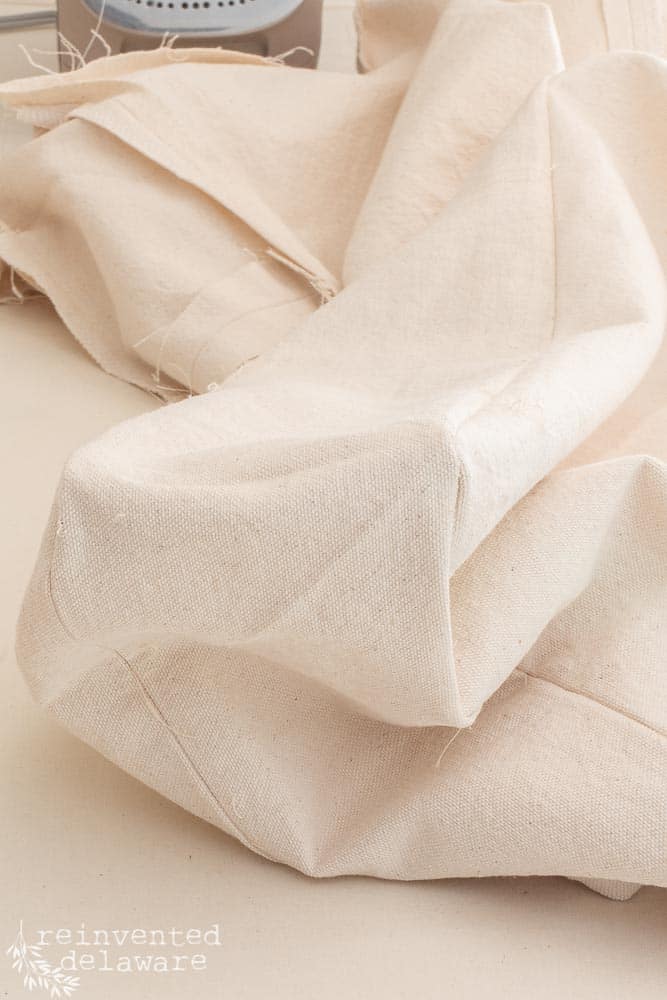
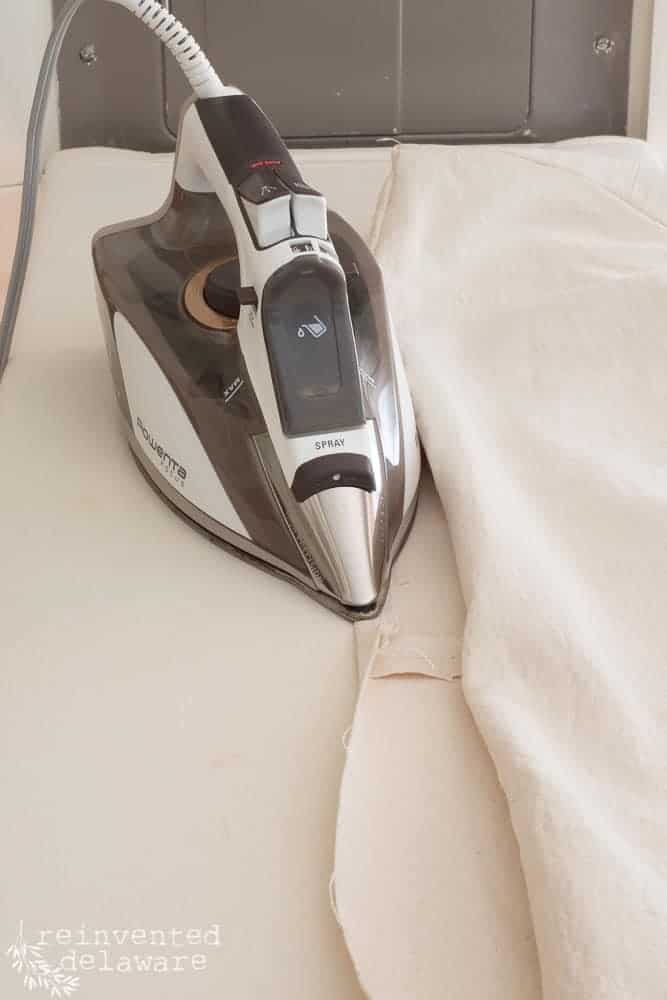
I ironed the seams open as much as possible on all of the seams. I pressed into the corners as far as the pointed edge of the iron would reach.
At this point, the whole bench cushion cover is turned with all of the wrong sides outward. Taking the time to iron the seams will help when turning the whole DIY cushion cover inside out.
turn right side out
The first step was to check each corner to make sure I hadn’t stitched any puckers. It’s easier to pick out the seam while it is still turned the wrong side out and fix that problem before going any further.
Also, if you want to add cushion ties to your DIY chair cushion, add them before assembling all of the sections.
I didn’t add them to my french tufted cushion but if you decide to make them, use a double-folded length of bias tape you cut from your fabric.
sewing hack #5
Remember that we stitched the opening in an unusual way? This is why! It will help to turn that seam allowance inward. This area will be handstitched closed and will need all the help we can give it!
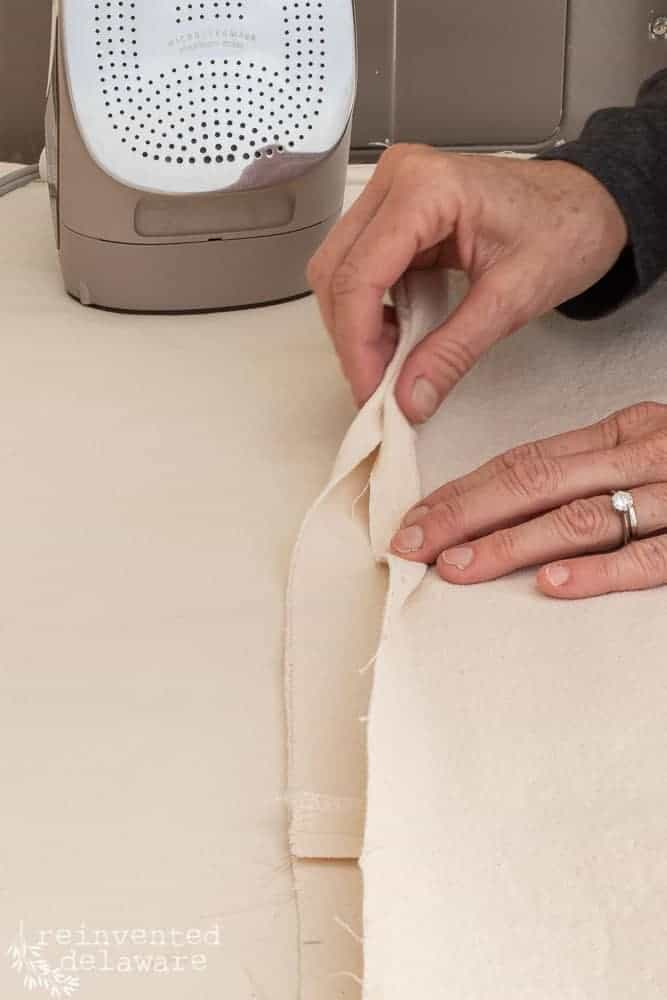
Iron this 1/2″ seam allowance with a good crease. We’ll need that crease in the next part of this tutorial!
sewing hack #6
I don’t have it pictured here, but I wrapped the foam in a layer of upholstery weight batting using spray adhesive to adhere it to the foam. I did this step outside – the overspray can get everywhere if you are not careful!
Next, I put each end of the batting-covered foam in a large trash bag. I used two bags — one on each end of the foam.
This makes inserting the foam so much easier! The foam will be compressed a bit and that helps to get the fabric cover on.
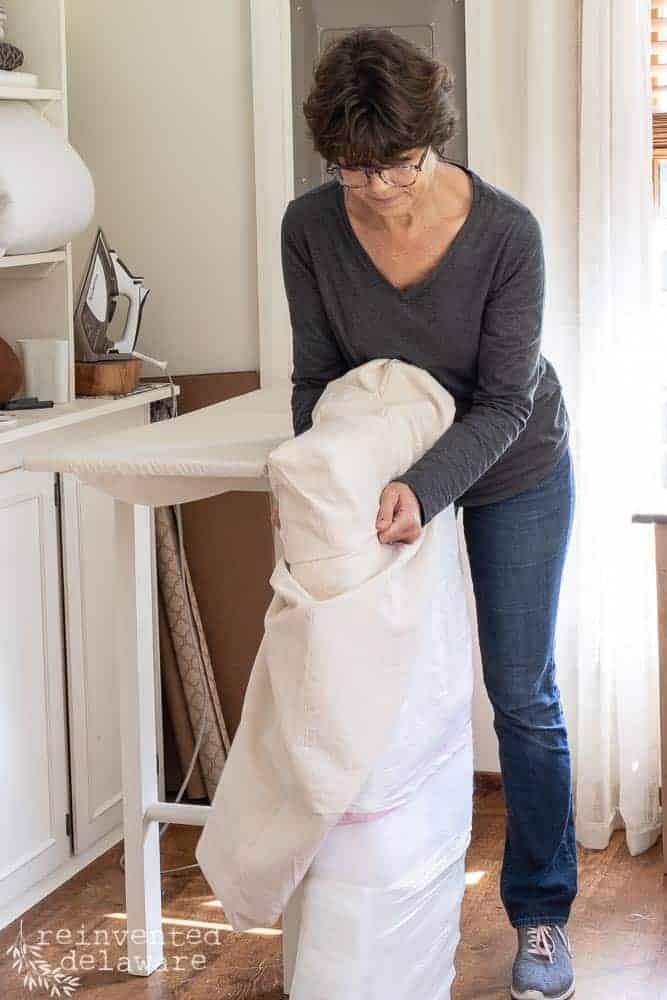
Fold the foam insert in half to insert the second half into the cover. Once the foam is inside the fabric cover, use your hands to rip out the trash bags.
Whew! That’s a lot of work for today! I spent Saturday afternoon measuring, cutting, stitching, stuffing, and tufting this french tufted cushion. We will see how to do the tufting in the next post.
In part two of this sewing tutorial, we will complete the DIY french tufted cushion for this adorable bed bench we made using a twin-size headboard. If you have any questions up to this point, feel free to ask in the comments section of this post!
Also, consider making one of these cushions for outdoor furniture using water-resistant outdoor fabric. You could completely skip the tufting part of this project (we’ll go over that in the next post!) and the DIY cushion will still be just as lovely!
custom made seat cushions
You might also consider purchasing custom-made french tufted cushions for your vintage chair, farmhouse entryway bench, or outdoor cushions for your porch.
Here are some options for you to choose from! The sellers offer different custom sizes and fabrics.

join our journey!
Be sure to sign up for my email updates so you don’t miss the next post! We have to get this cushion tufted, right??
I’ll send you this fun little freebie just for signing up! Follow our reinventing journey on Instagram and Facebook too! We share lots of behind the scenes in our stories!
Feel free to pin any of the images you see in this post to your Pinterest boards for future reference! Let me know in the comments if you make your own french tufted cushion.


Visit my Amazon Storefront!
Click the button below and head over to our online shop on Amazon!
No posts
Try: Derry Girls on Netflix,
Hart of Dixie or The River.
Thanks for the recommendations Terry! I will definitely look those up! And thanks for stopping by my blog☺️
Girl, so good to see you at Tuesday Turn About… and your tutorial for a tufted cushion is awesome… can’t wait to see part 2! Pinned!
Thank you Julie!! It’s good to be back!
I love the look of this cushion! Going on to part 2 now!
Yay! You found the tutorial!
I can’t even imagine doing this next-level DIY,,,you are awesome! I have a love/hate relationship with the sewing machine LOL. I love to plan how things will look, but executing? Not so much…
Haha, that made me chuckle Janet! We all have our interests – you have the skill in putting it all together. Me, not so much!
I am swooning over that bench! I love french tufted cushions, if only I could sew. Maybe one of these days I will learn, or maybe not… have a wonderful weekend!
I’m so glad you enjoyed the project! Maybe one day you will dive right into sewing!