
Tufted Cushion Part Two
Ready for part two of this french tufted cushion tutorial! Let’s not waste any time and jump right in, sound good to you?
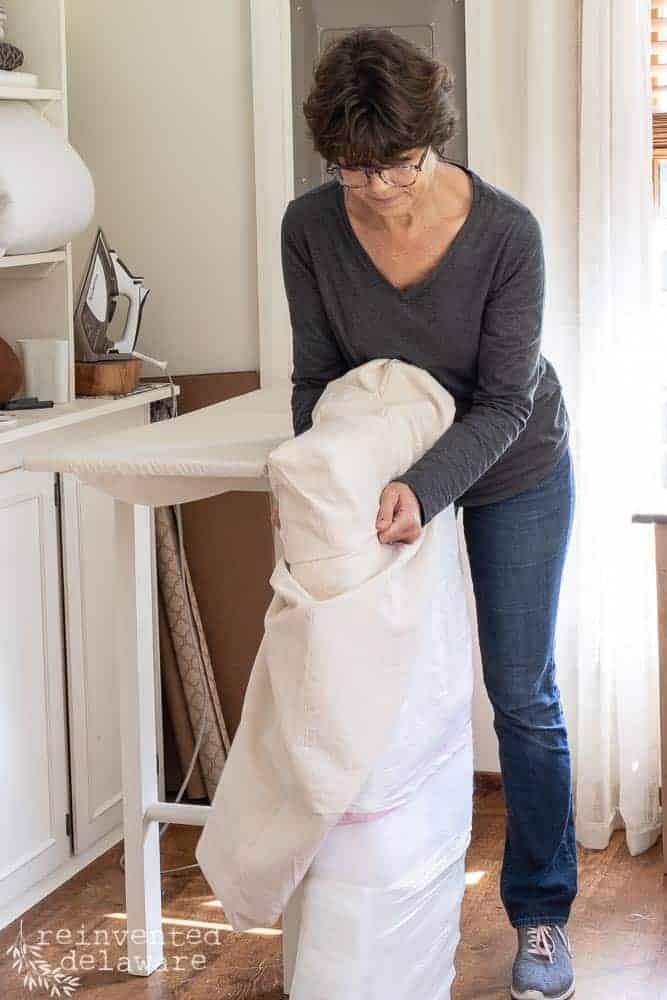
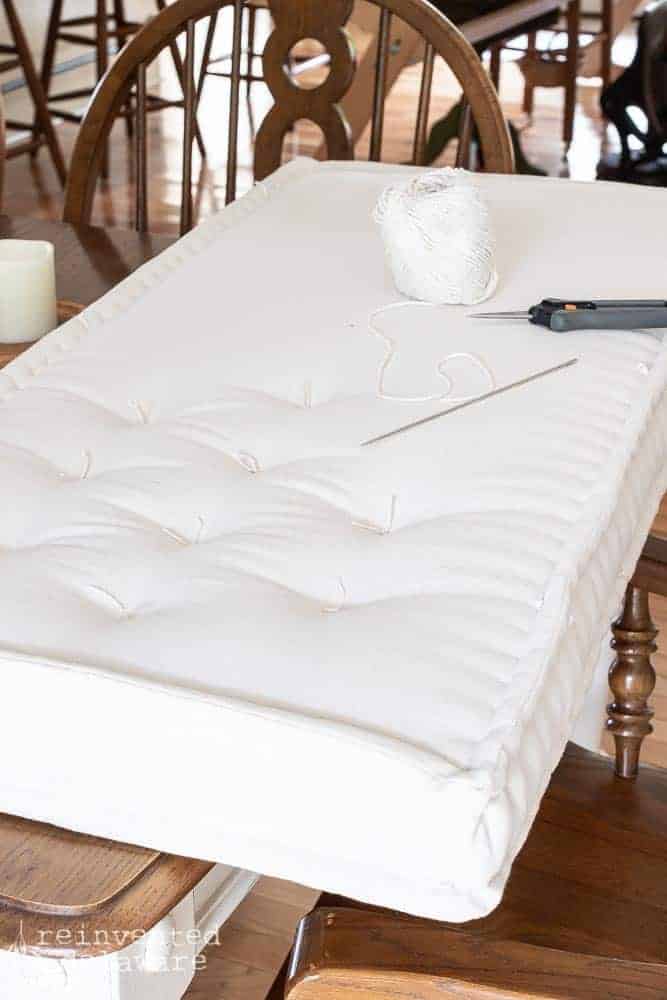
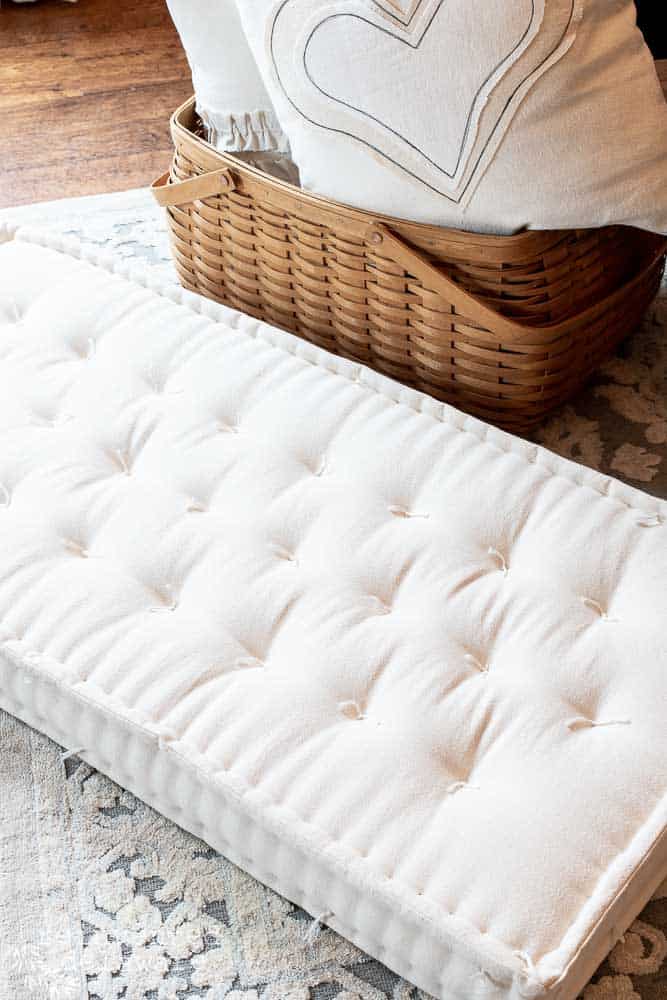
we left off here
Be sure to go back to the first part of this tutorial to see my hack for getting this batting-wrapped piece of foam into the cushion cover! My tip makes it super easy!
outdoor stitching
The day was gorgeous so I decided to sit outside on our back patio while sewing the opening closed. The opening had to be pretty large since the foam was so thick.

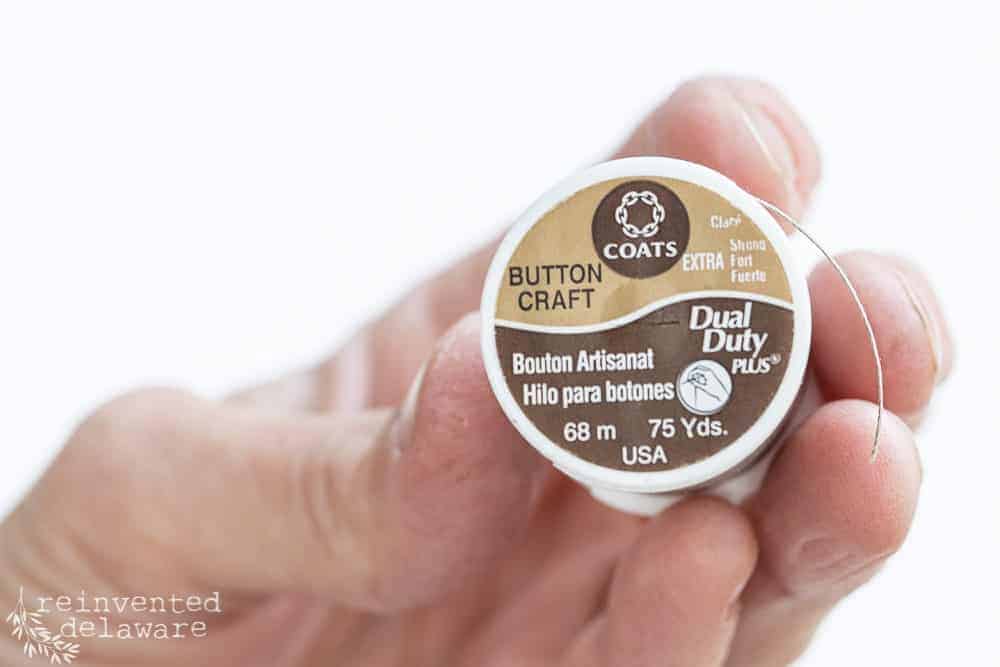
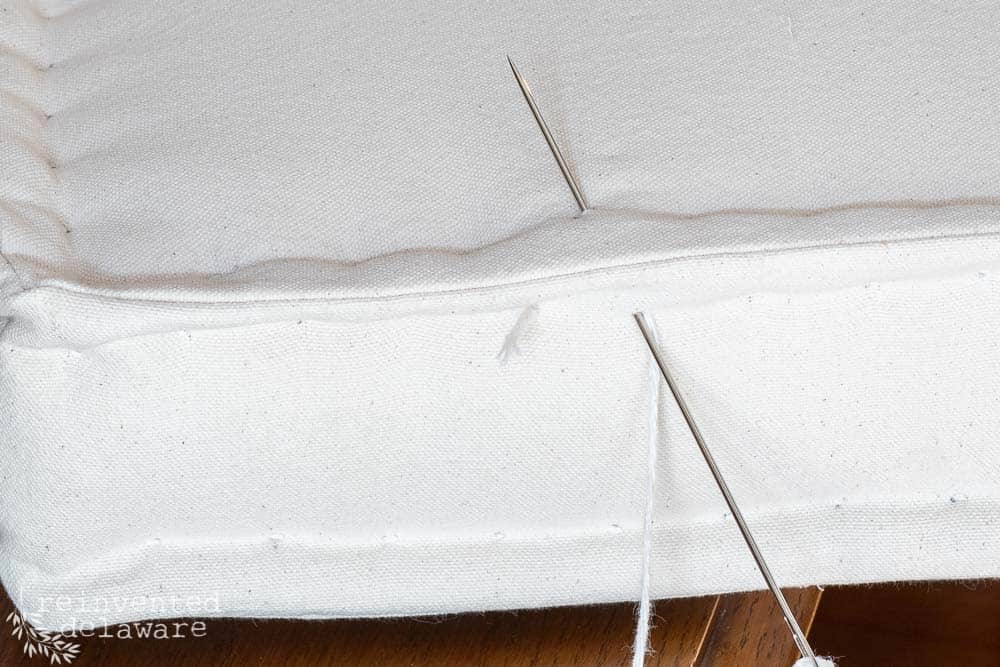
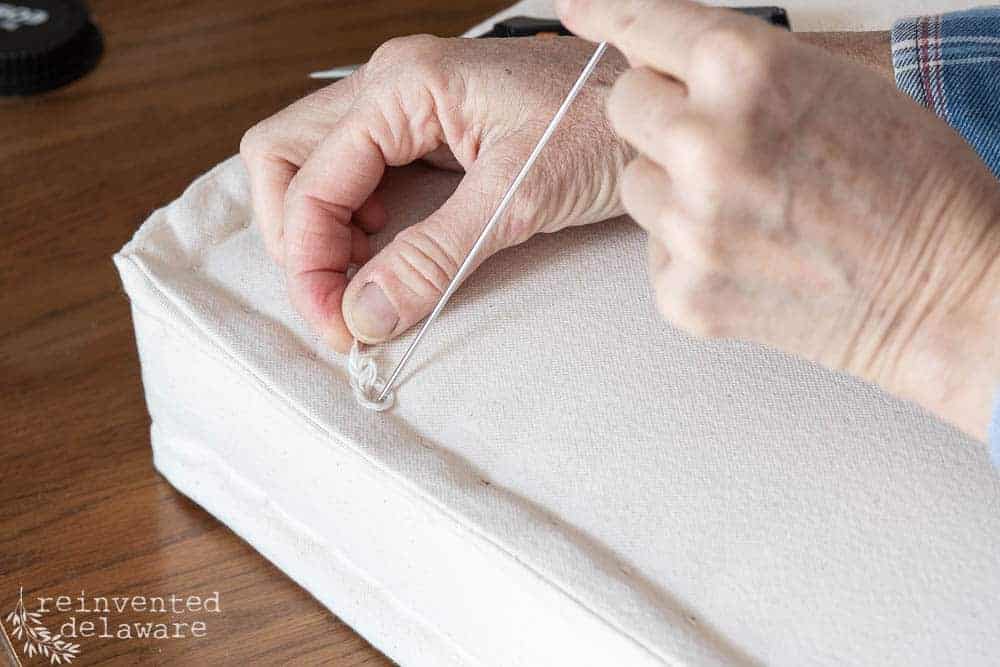
I used a curved needle and this thread to stitch the opening closed. A stronger thread is needed because the canvas is heavy and there is a fair amount of pulling on the thread.
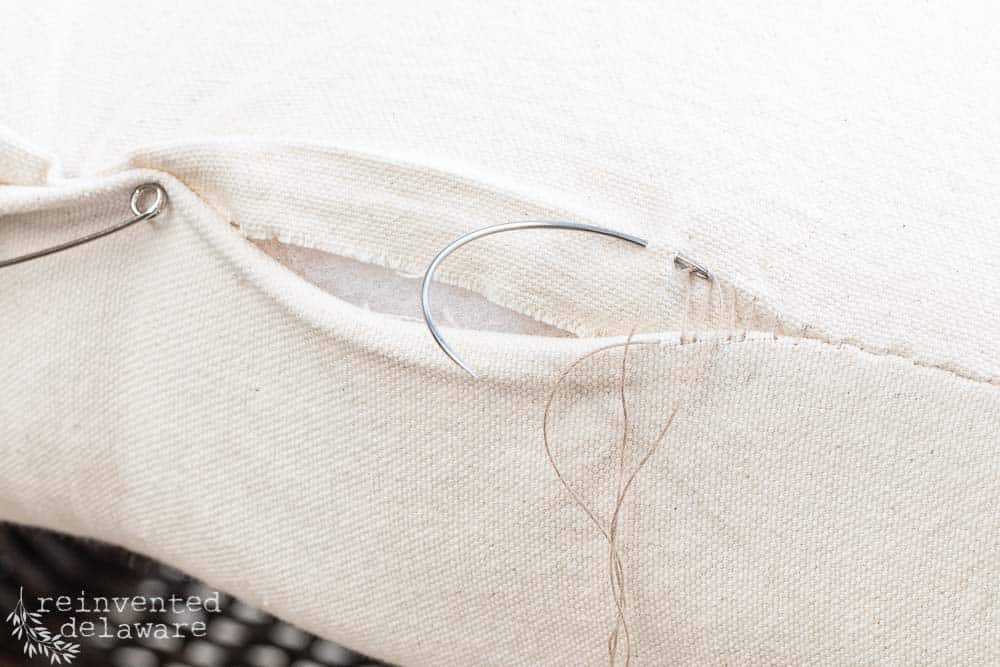
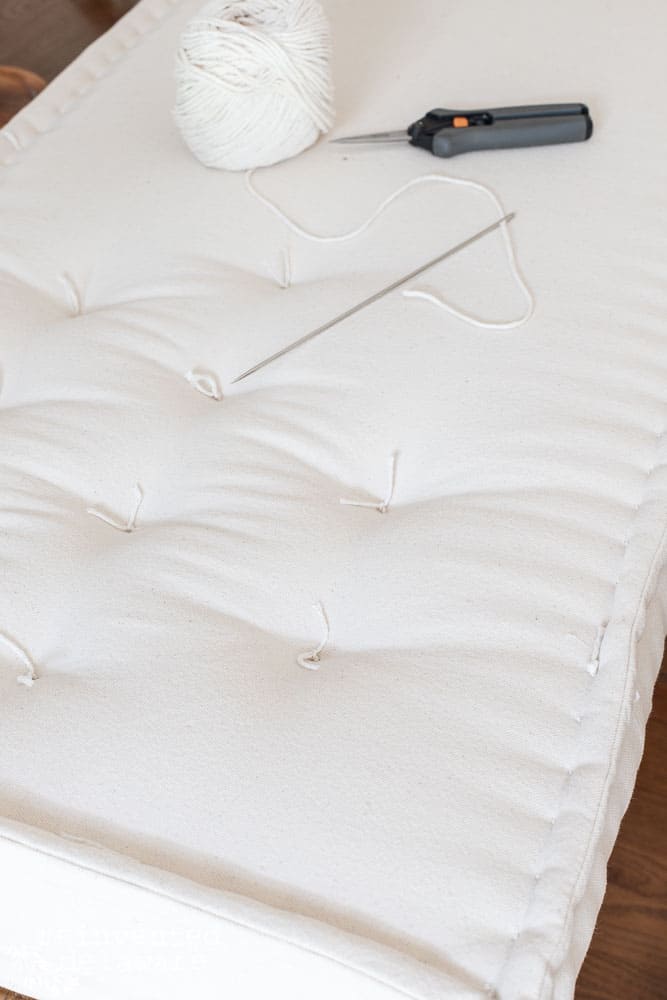
ladder stitch
Remember how we ironed the seam allowance creating a fold? This is when that hack will come in handy!
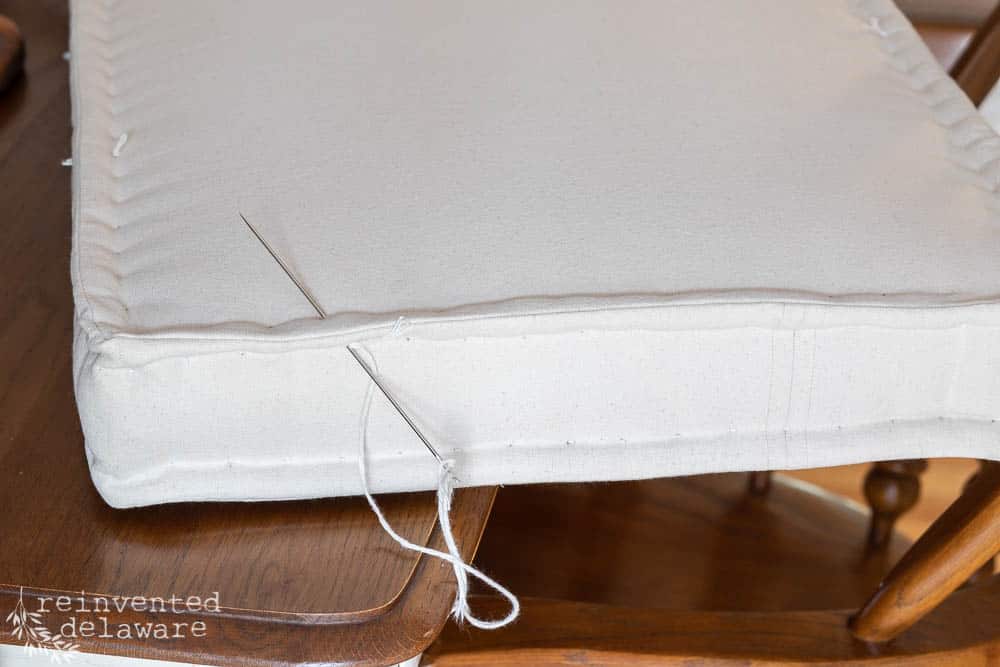
Using a safety pin to hold the seam together, I used a curved needle to stitch a ladder stitch along the fold on both sides.
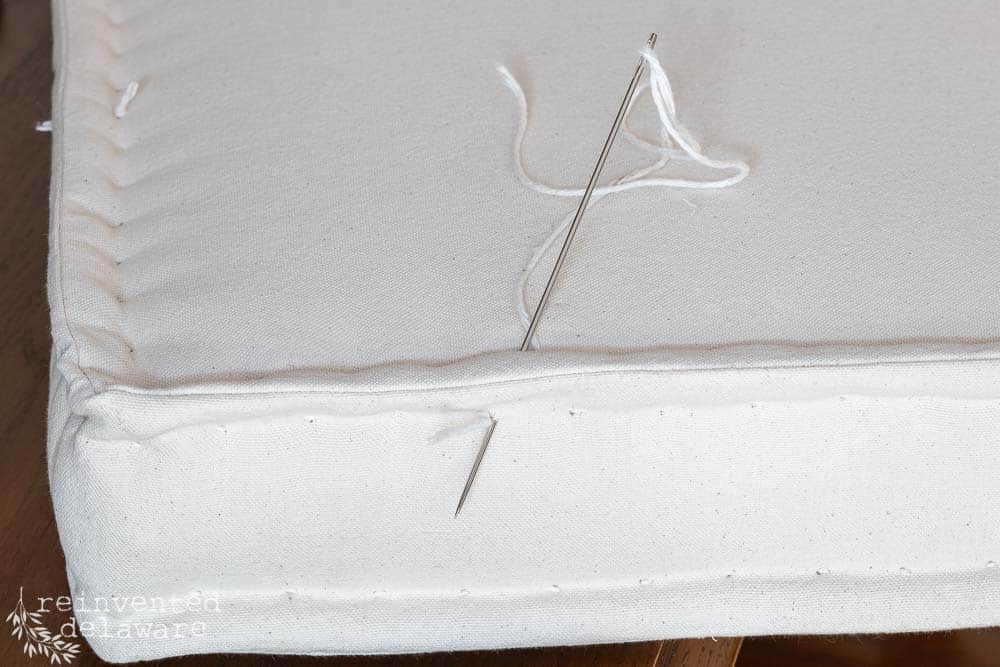
A ladder stitch is easy: run the needle inside the fold a little less than 1/4″ long on one side. Do the same on the other side. After making a couple of stitches….
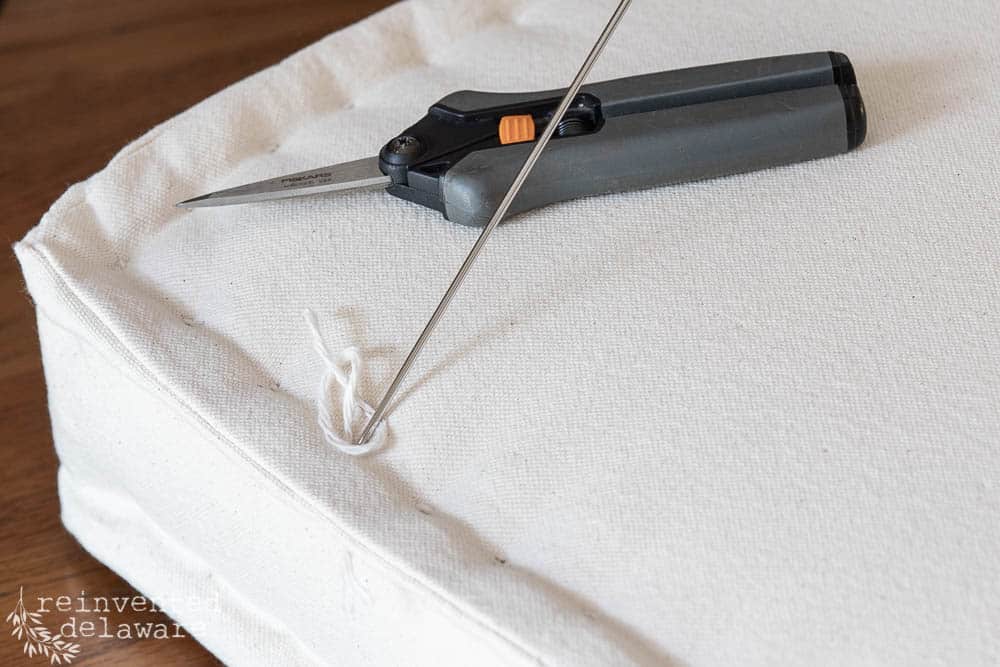
…pull the thread. That cinches up the seam. Only stitch about 3-4 stitches and then cinch up the thread. Too many stitches and it will be a challenge to cinch up that seam!

Once the opening is stitched closed, it’s time to mark for the tufted edge of the french tufted cushion.
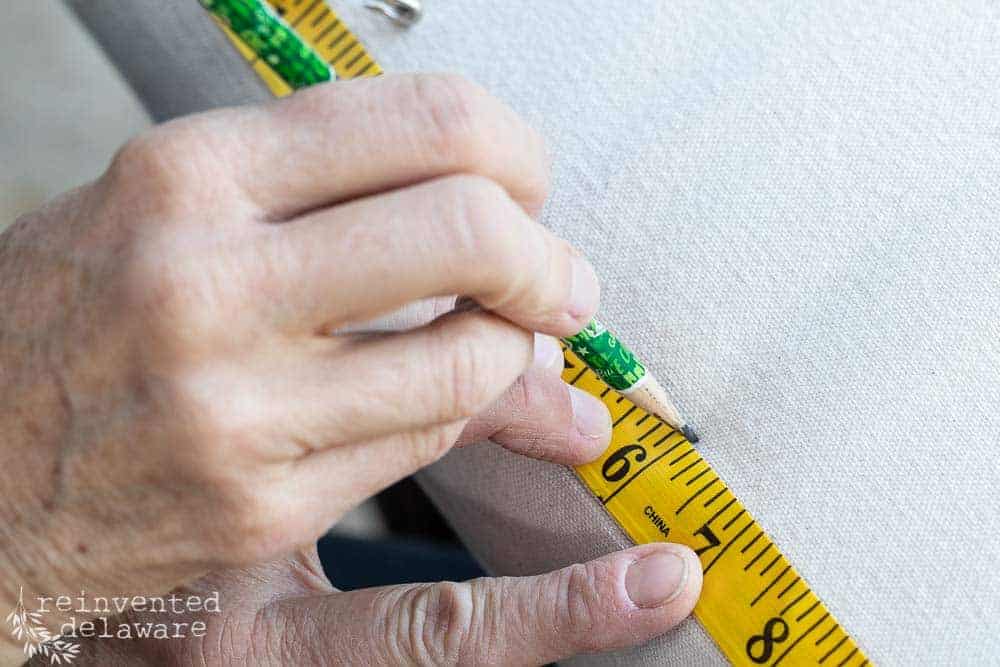
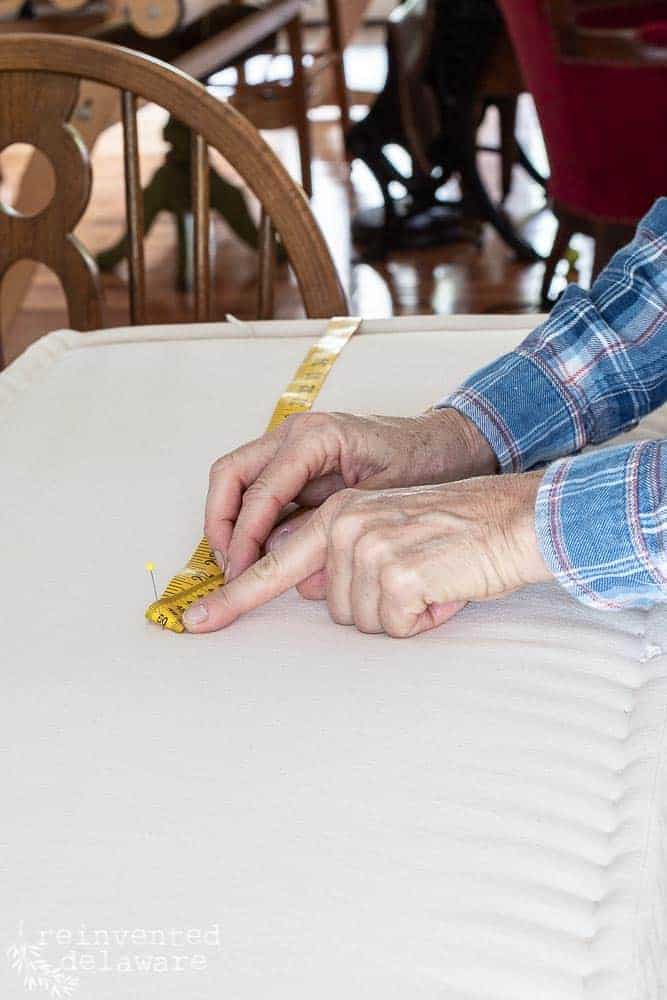
measure
The width of the measuring tape was a perfect distance from the seam allowance so I lined up the tape directly along with the stitching of the seam allowance.
I marked at 1″ intervals with a tiny pencil mark. You could also use a washable fabric marker.
The tufted cushion was marked on both sides of the seam allowance – on the top panel, bottom, and on both edges of the boxing.
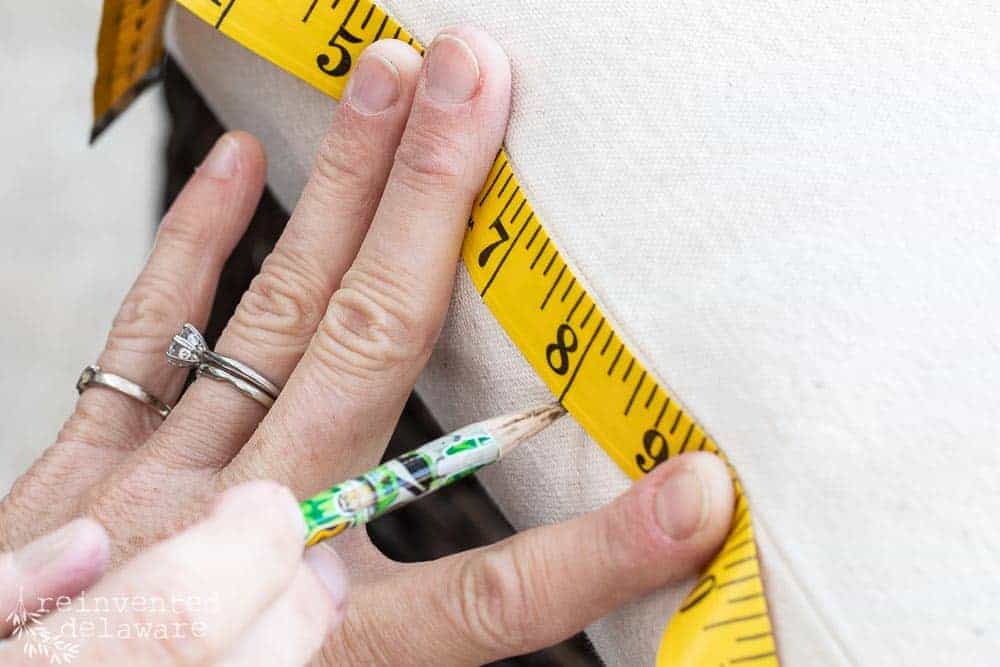
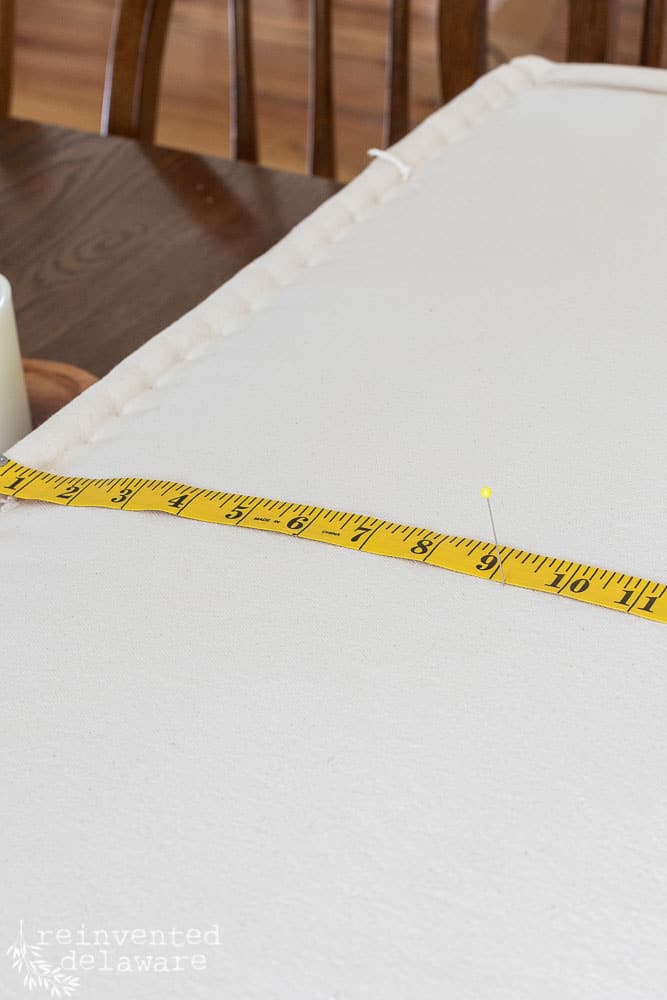
Mark the top of the cushion first…
…then mark the boxed panel staggering the 1″ intervals. In other words, don’t line up the marks exactly – it will sorta be like a zig-zag.
edge tufting
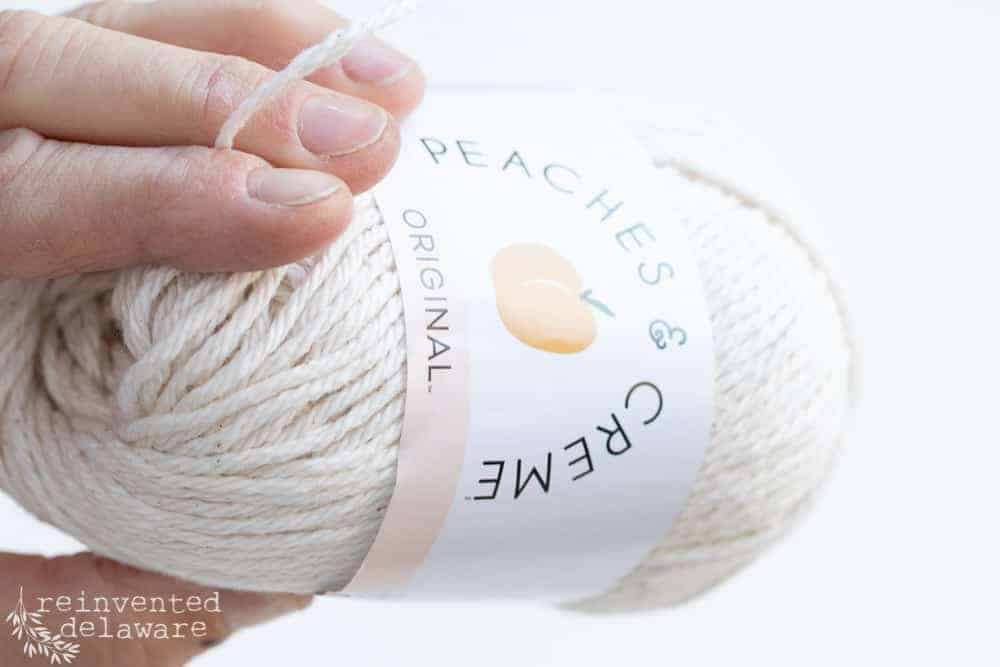
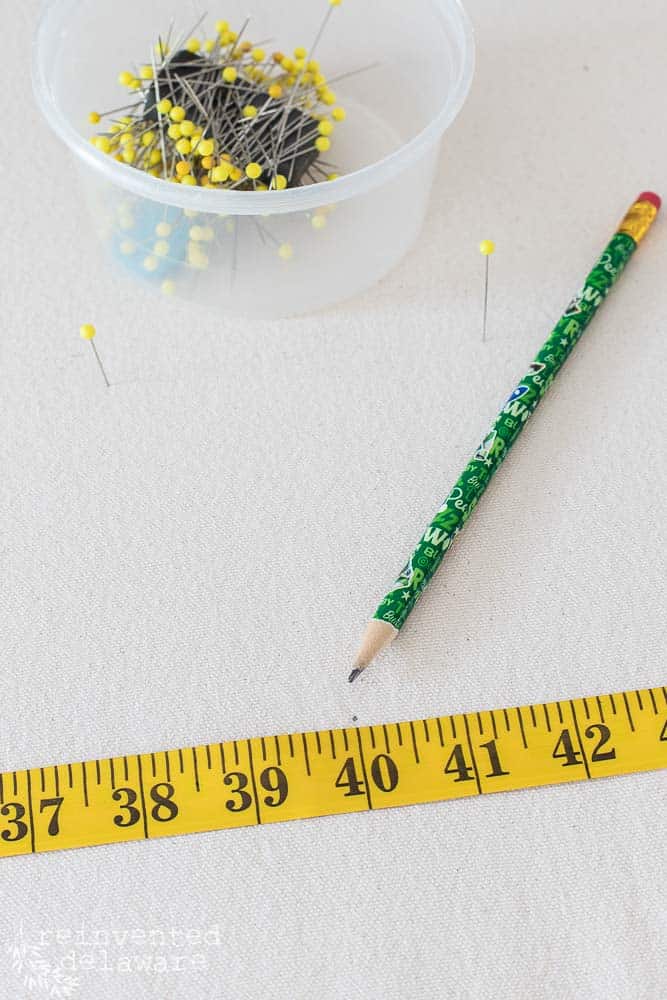
I used cotton yarn for the tufting. I knew I needed something strong and this would do the trick. It also matched the canvas perfectly!
You will need a long needle for this part. My local Wal-mart had a pack of upholstery needles for just a few bucks. The needle I used was 6″ long and the eye was large enough for the cotton yarn.
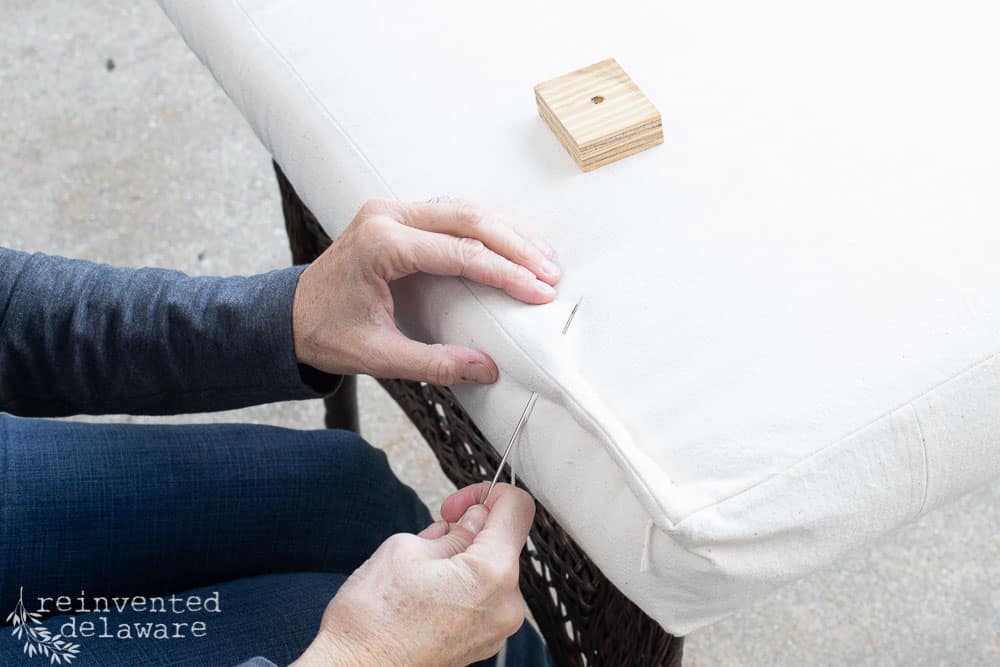
Tie a knot in the cotton yarn and push the needle through towards the next pencil mark. I worked right to left but if you are left-handed you might want to go left to right.
Allow the needle to go through the corner edge of the foam just a bit as you push it through at an angle.
See that block of wood in the image above? I used a small scrap of wood to help me push the needle through.
Stitch 2-3 stitches and then pull the cotton yarn taught. After just a few stitches, you can see the tufting action happening!
This part of the project is not difficult but it is time-consuming. That’s why these french tufted cushions are so pricey on Etsy! They are definitely labor-intensive!

knotting the yarn
Let’s talk about tieing off the cotton yarn. Here I am at the end of the stitching.
You can see the knot from the first stitch I made. I stitched all the way around and came to the end in the image below.
You can’t just tie a knot at the last stitch – you will need to go past the first stitch/knot.
After stitching the last stitch, come through in the same spot as the last knot…
…and then come back up to the left of the knot on the top. See in the image below? This is sorta like a backstitch.
Then wrap the cotton yarn making a small knot. Stick the needle through the pencil mark slightly and pull the cotton yarn taught around the needle. This will make it so the knot is close to the surface.
center tufting
Time to measure for the tufting! Let’s find the centers first. Stretch the measuring tape across the length of the cushion in the approximate center. Fold the tape in half and stick a pin into the cushion.
Do the same for the width. Match up the two pin marks and there you have your center!
Folding the tape in half saves a lot of brainpower because there is no math involved 😉
From the centermost point, I measured 4″ and then stuck in a pin. I measured the 4″ intervals across the length of the cushion first making sure that I stayed in the center of the cushion. You can add additional pins on the outside edges to be sure you are in a straight line.
To make the next two rows of markings, I measured 4″ away from the center line and added a mark between the two pins that marked the center row. Still using 4″ increments, I marked the whole row.
You can see below this makes a sort of zig-zag design.
This marking needs to be done on BOITH sides of the cushion! Don’t try to guess on the other side – the cushion will come out wonky if you do!
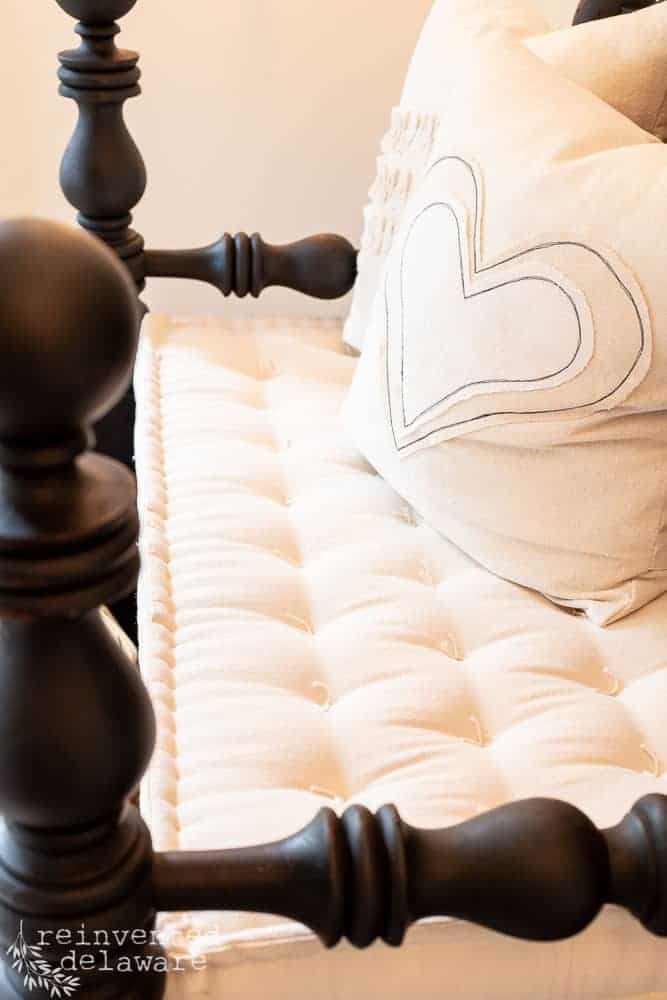
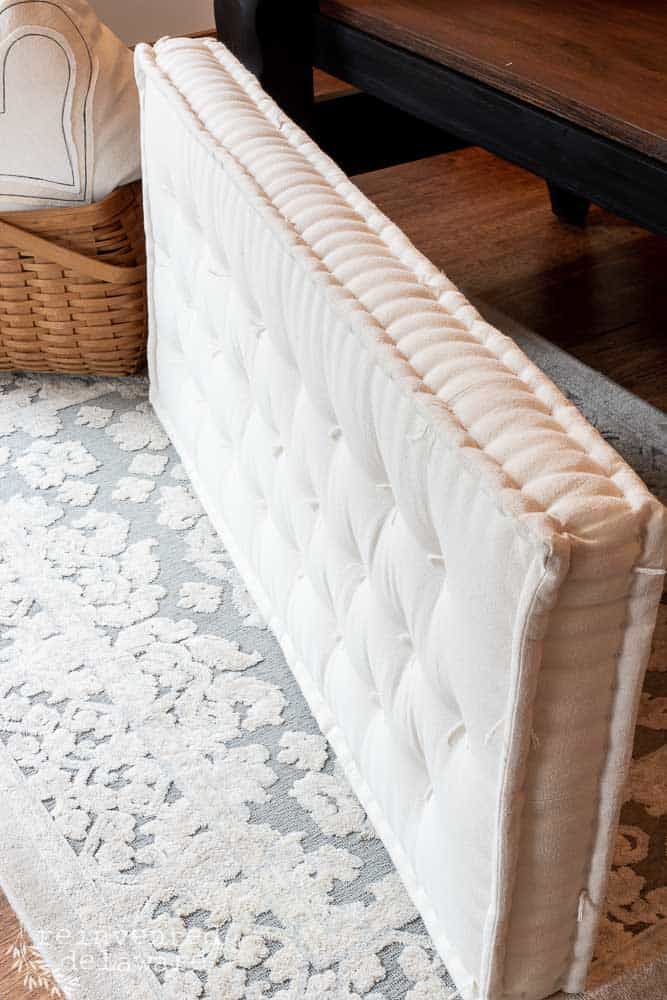
three rows
Can you see the three rows? Offsetting the marked 4″ intervals adds to the look of this french tufted cushion.
The pack of upholstery needles I purchased at Walmart also had an 8″ needle and I used that for the tufting.
After threading the cotton yarn onto the needle, I pushed the needle from one side of the cushion to the other side of the cushion, matching up the pencil marks with the tip of the needle.
When going through to the underside of the cushion, I offset the needle from the pencil mark just by a little bit so that when I came back through with the needle, I would be catching some of the fabric on the underside. The stitch ends up being just a bit shorter than 1/4″.
I also offset the needle when I came back through the top so that the knot would have some fabric to grip.
I hope that makes sense!
Pull the yarn snug and then tie a double knot. Leave about a 1″ tail on each end!
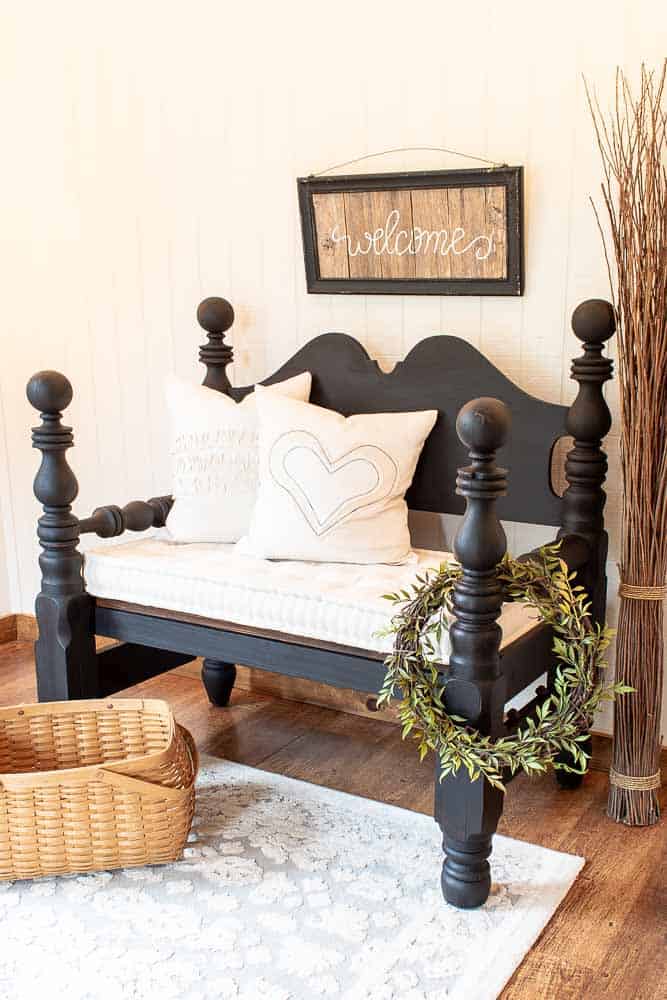
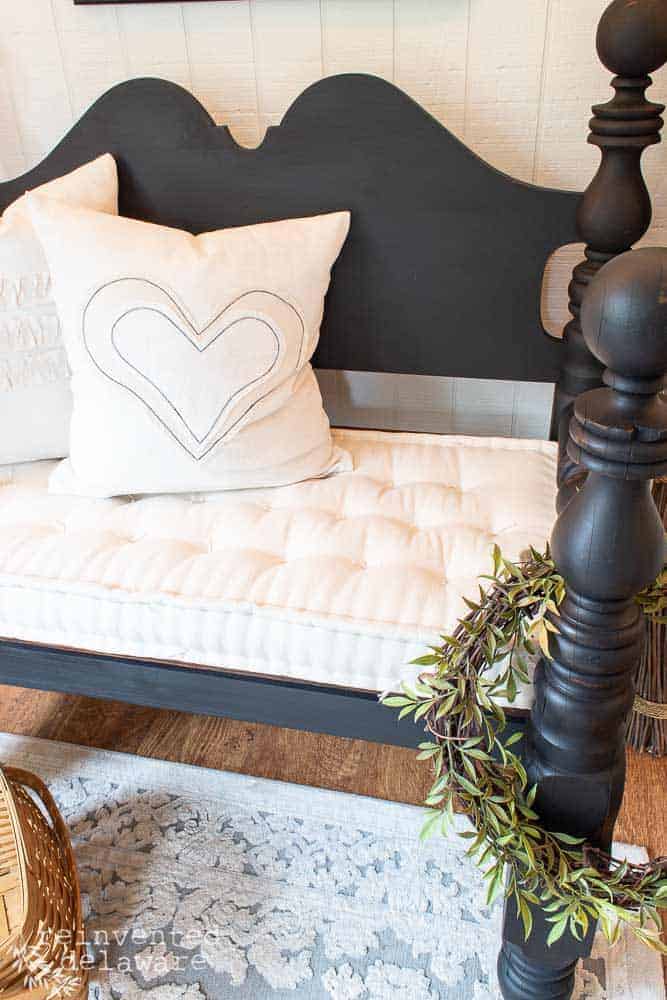
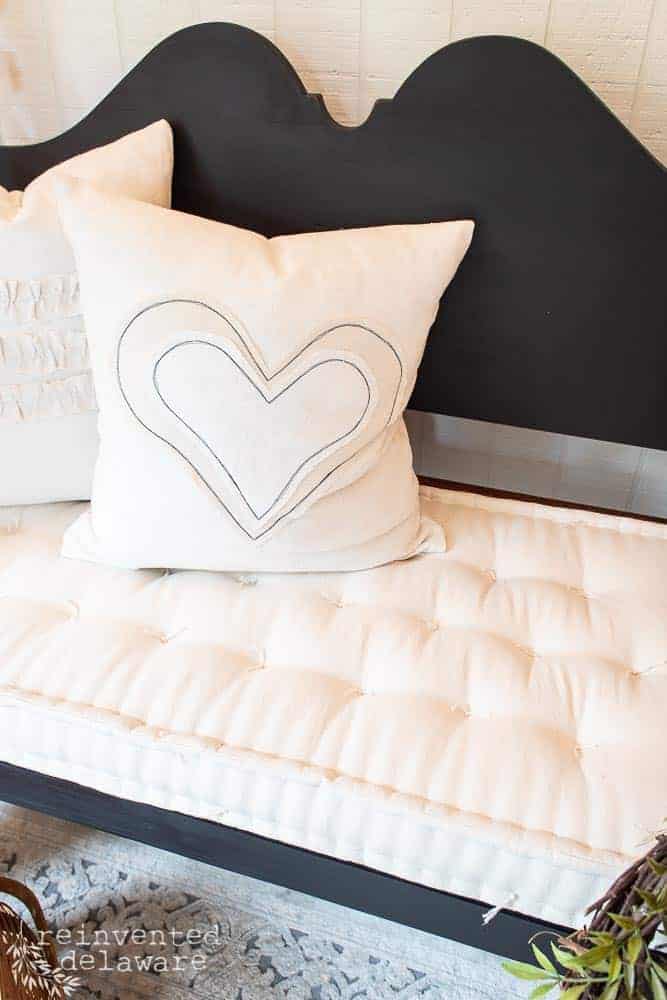
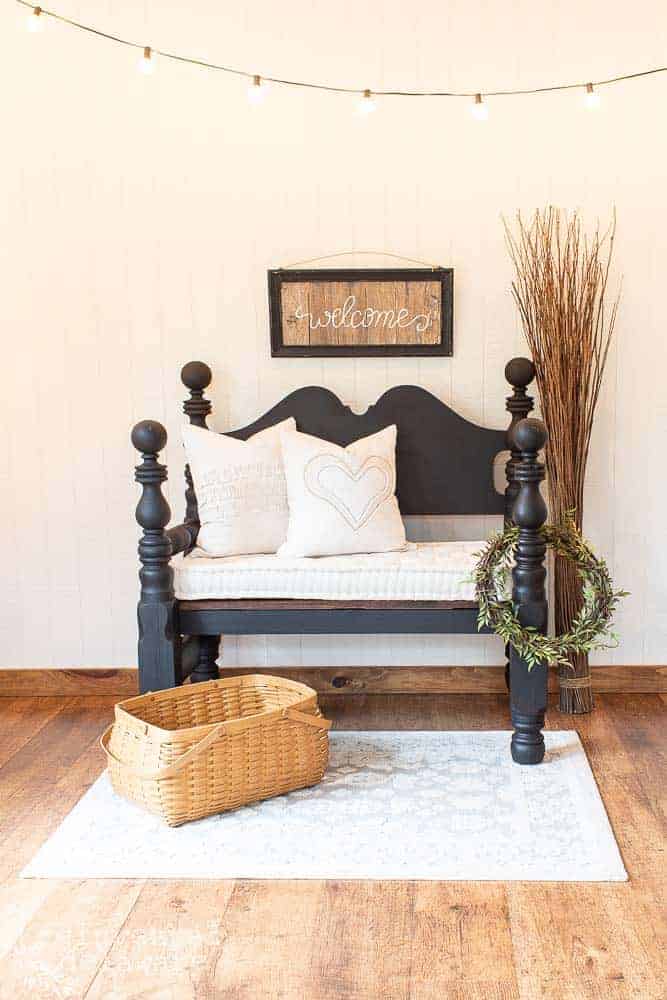
ready for sitting!
And here she is all stitched and ready for sitting! The cushion took several hours over the course of two days and a couple of movies.
I looked up several tufted cushion tutorials on YouTube for reference. This is the best one I found and I used several of her techniques to make this cushion! Be sure and watch the video and let Jayne know I sent ya”!
I have this french tufted cushion on one of our bed benches but these cushions can just be on the floor for tv watching!
They are so handy to have especially when your family is all piled up in the living room for movie night!
The tufting is such a classic look. These are also called french tufted mattresses. I can’t imagine tufting a whole mattress!
I have the tied knots on the top but it would look just as gorgeous if I flipped the cushion and had the single stitch showing.
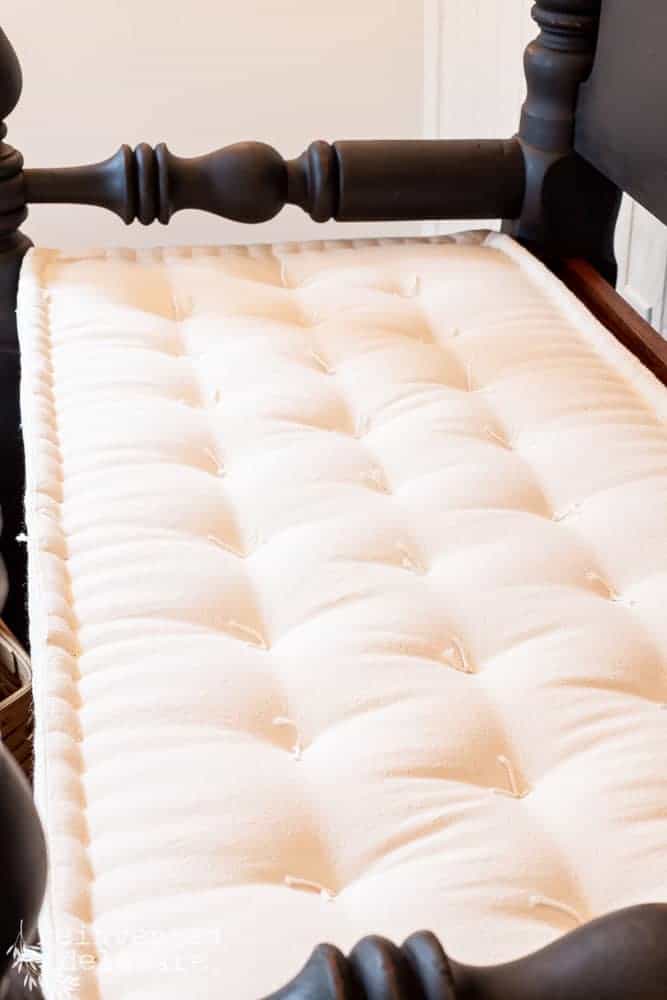
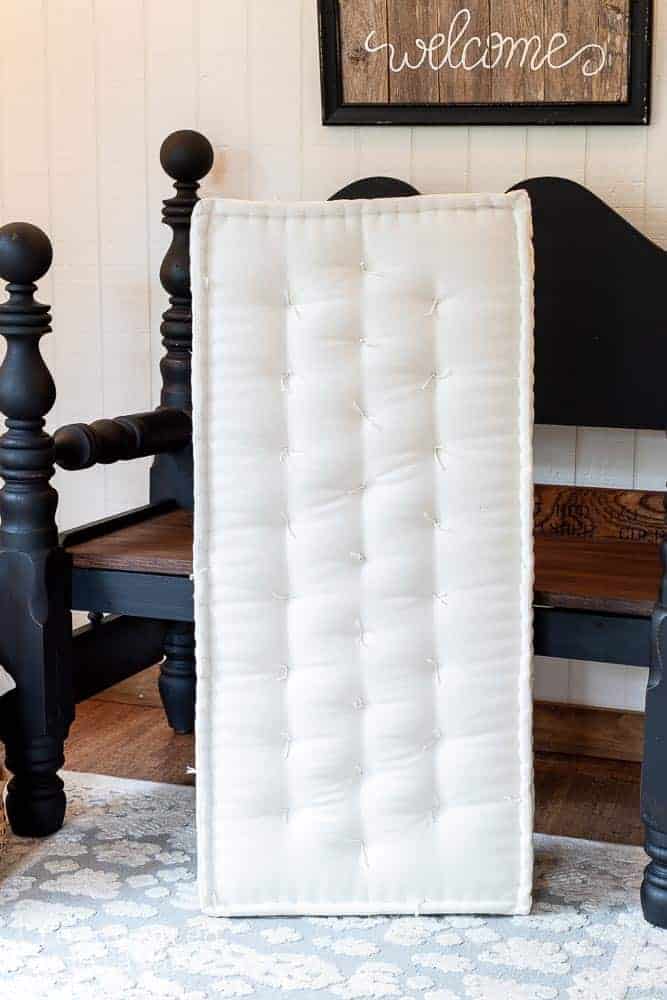
reversible
Which side of this tufted cushion do you like best?

You can also see how staggering the marks before stitching the thickness creates this classic tufted appearance.
More Tutorials
Thanks so much for stopping by for this tufted cushion tutorial! Was it helpful? I would love to know if you make your own french tufted cushion! Be sure and comment below to let me know!
Want more sewing inspiration? Check out these posts!
Also, feel free to pin this to any of your sewing Pinterest boards! You can reference it at any time and share it with your friends!
Join our email list and I will send you all of our latest tutorials via your inbox! No worries, I don’t sell emails around here – I just don’t want you to miss any free tutorials we share!
Join us on Instagram and Facebook for more behind the scenes of many of our projects!
Have a great day and happy reinventing to ya’!


Just lovely! You are so talented!
Awe, thanks Julie! Glad you enjoyed the post!
This is so stunning! I absolutely love the look of french tufting! Great tutorial!
you might want to also check out my friend Jayne’s YouTube channel – she has an amazing video! You can find her at https://chalkingupsuccess.com/
Thank you! Happy sewing!
Your cushion is beautiful! Thank you for the amazing tutorial.
I’m so glad you enjoyed the post! I hope you get a chance to make one for yourself!
Can I just say Wow! That looks amazing and is perfect for that bench! I would love to do this sometime but it looks like so much work and I am not a great sewer! I’m still going to pin it just in case I get brave enough to try it sometime!
Thanks for pinning Donna!
This is an amazingly straightforward and thorough tutorial. Thanks for the time and effort. I am excited to get started.
Awesome! If you have any questions along the way, feel free to email me! I would love to help if I can!