
The Best Paint to Use for Outdoor Wood Furniture
Learn how to create a stunning finish on your outdoor furniture with these step-by-step instructions for using premium exterior paint.
Your outdoor furniture will have a fresh coat of paint that will last for a long time! Follow these steps to achieve a professional-looking finish using top-quality paint rated for the beautiful outdoors!
choosing the best paint for outdoor wood furniture
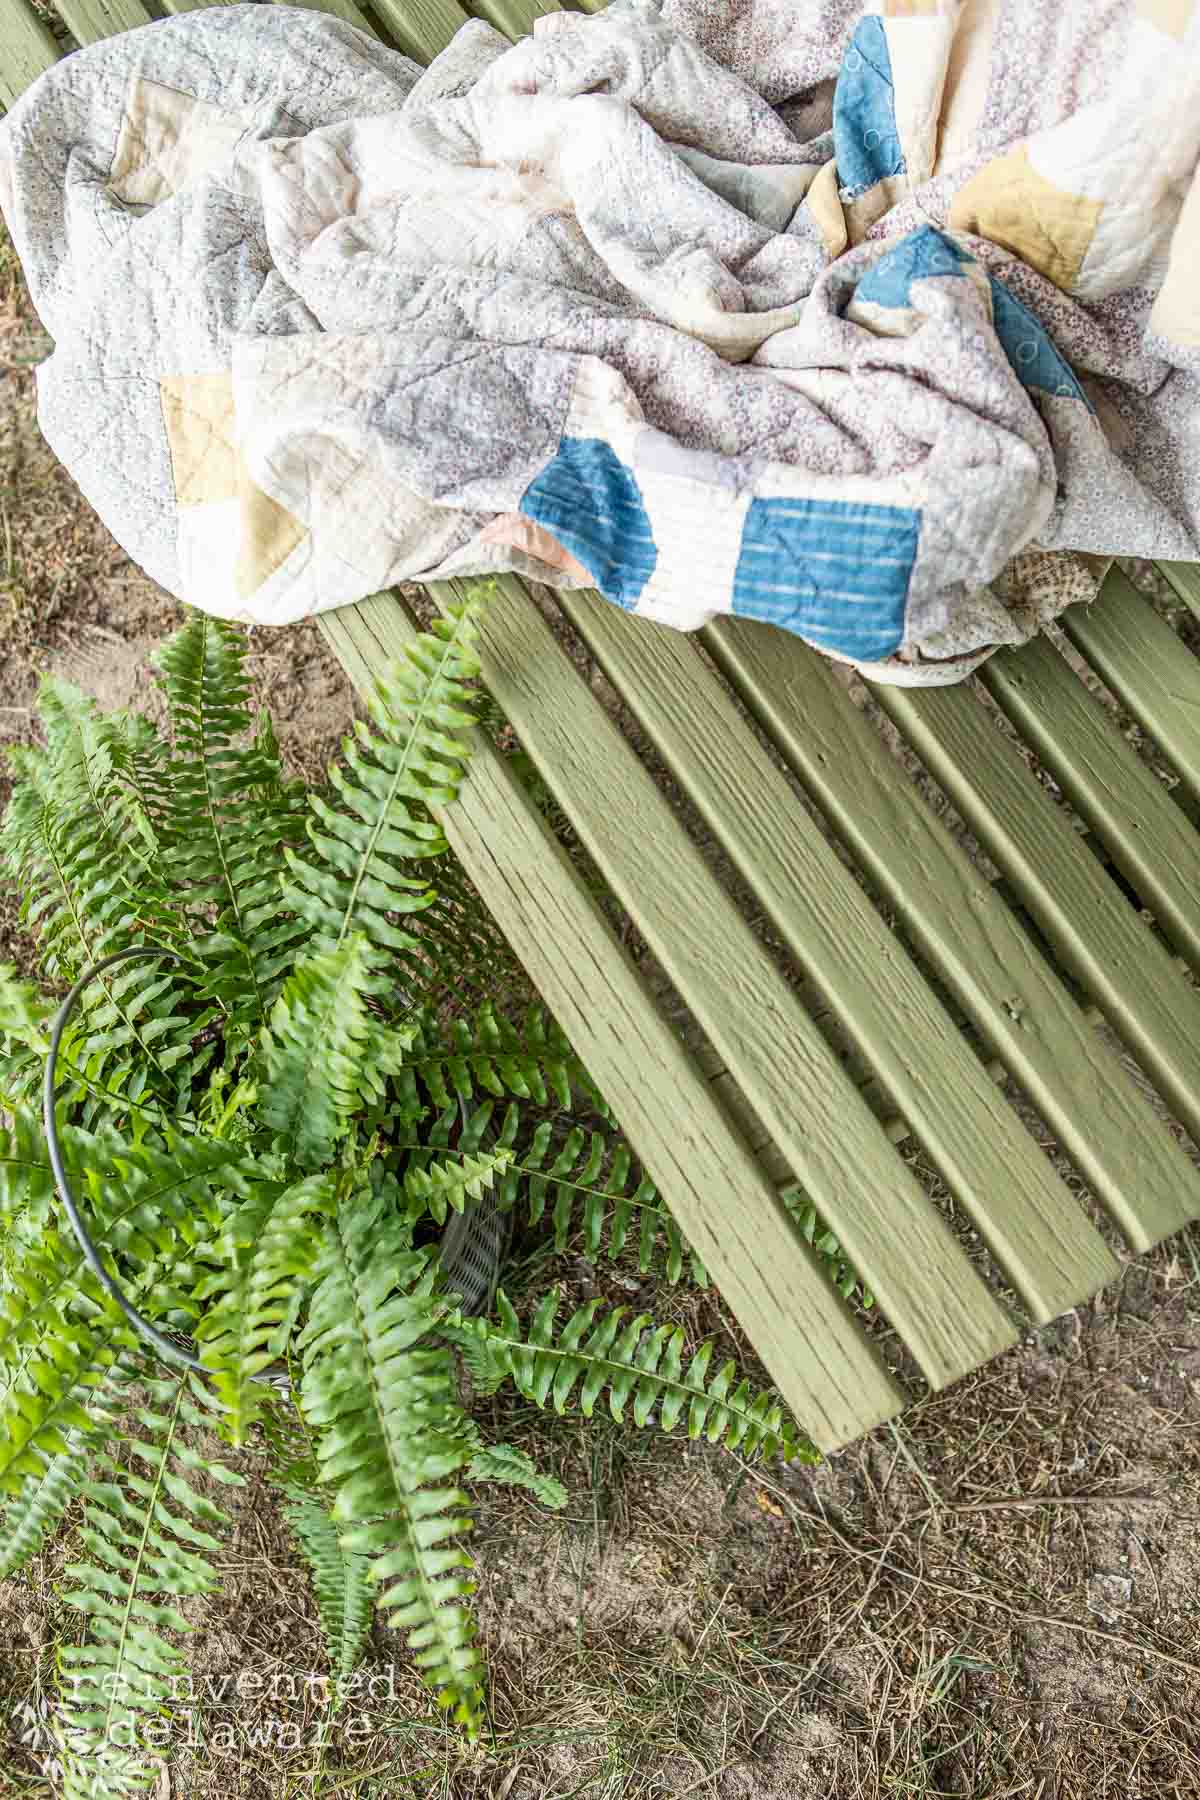
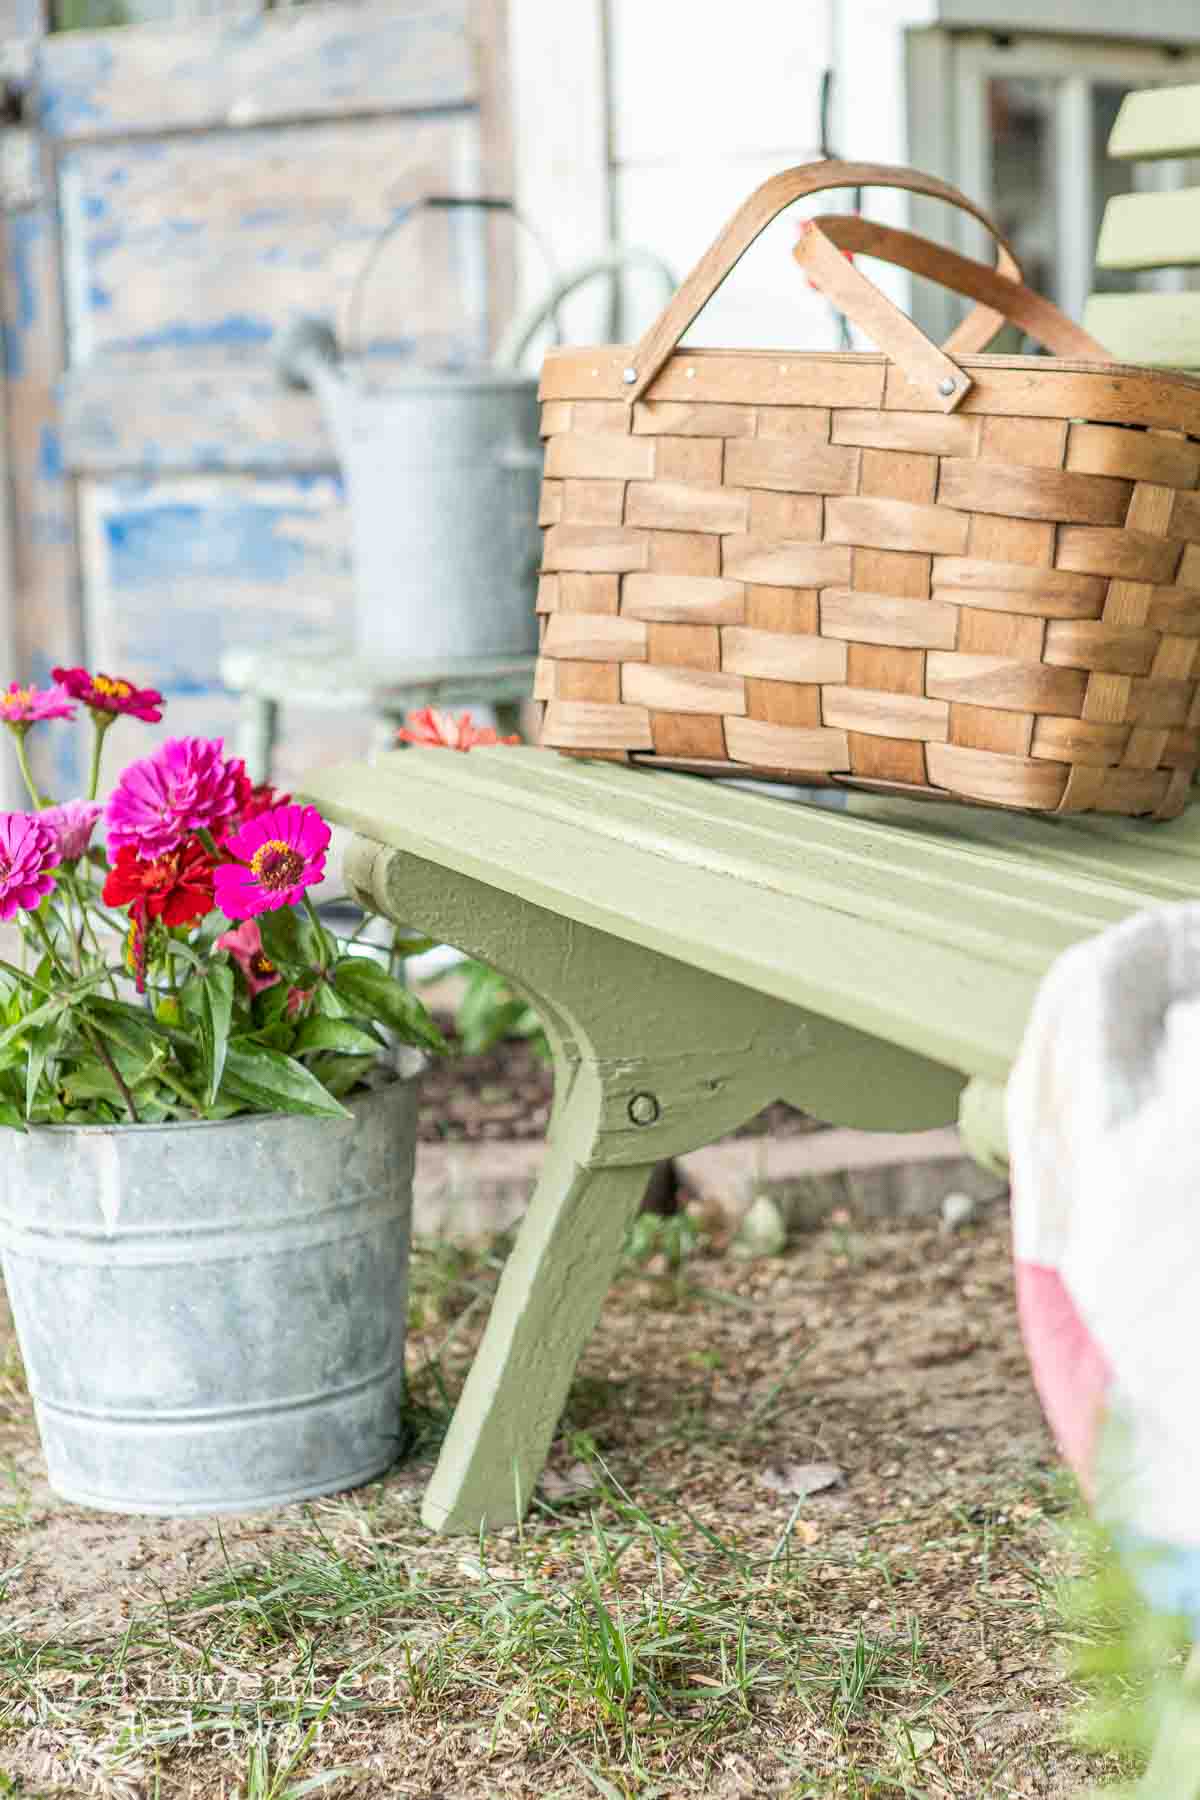
Choosing the best paint for outdoor wooden furniture will ensure those pieces will last for years to come. Wooden garden furniture like this bench can be expensive to replace.
The piece of furniture might have special meaning to you like our handmade wooden outdoor bench. A gentleman from our church built this bench about 30 years ago. We want to keep this bench around for our family as a memento of him and his craftsmanship.
Another good reason to choose the best paint for your outdoor pieces of furniture is to keep it in good condition. Paint is a great way to preserve the wood and seal it from harsh weather conditions.
I have a phrase I like to say that holds true for furniture as well as many other things in life:
Maintenance is easier than repair.

The following post may contain affiliate links. That means if you click and then buy something, I will make a small commission at no additional cost to you! Thank you for supporting my blog. full disclosure here.
selecting paint for outdoor wood furniture
There are several considerations when choosing paint for your outdoor furniture. Let’s chat about them before you get your project started.
durability and weather resistance
Choosing the correct type of paint is important. There are specific uses for specific paints. Choose paint that is specifically for outdoor use for the best results. Read the labels on the paint can to ensure it is rated for outdoor use.
color options and aesthetics
Outdoor paint can come in a range of colors making painted outdoor furniture aesthetically pleasing. Choose colors that would look best in your outdoor space.
For instance, if your back patio has mostly neutral tones like a concrete patio, choose a different color that would pop like deep blue or a gorgeous green.
The colors you choose will reflect your style and personal preference so choose the color you like!
ease of application and maintenance
Choose paint that will be easy to apply and clean up. I like to use exterior acrylic latex paint. This paint is easy to apply and the clean up is a breeze with soap and water.
You can choose oil-based paint as well. Keep in mind that latex paints have low VOC’s (volatile organic compounds) whereas oil-based paint does not.
Oil-based products need to be cleaned up with paint thinner or mineral spirits. Those products can be messy and smelly and you must take safety precautions when using them.
supplies
- Sherwin Williams Latitude Exterior Paint (purchased locally)
- Wagner Flexio Paint Sprayer
- DeWalt Orbital Sander
- sanding discs variety pack
- Scrubby Soap Cleaner
- small paintbrush
best outdoor furniture paints
There are several brands of paint to choose from. I decided to go with Sherwin Williams because our small town has a local store. The store clerk was helpful when I asked her the best paint to use on our outdoor wooden bench.
She highly recommended Latitude. It was pricey but I thought it would be worth it for this bench that has special meaning. Fortunately for me, the paint was on sale!
We have painted this bench in years past and that is one of the reasons it has held up so well!
Sherwin Williams Latitude Exterior Acrylic Latex is a moisture-resistant latex paint that is formulated with ClimateFlex Technology™ It applies smoothly even in extreme temperatures. The paint is ready for the elements within one hour of being painted! This is an exterior paint that will protect the wooden bench and that’s exactly what I wanted to do.
This exterior paint comes in three sheens: gloss, satin, and flat. I chose the flat finish in the color Edamame. It’s a gorgeous warm and earthy green that will look amazing near my she shed!

step-by-step guide
Here are the steps I took to give this little garden bench a makeover!
prep work
DIY projects include prep work. It’s an important step to get the best results. For the most part it isn’t hard work to prep wooden surfaces for paint.
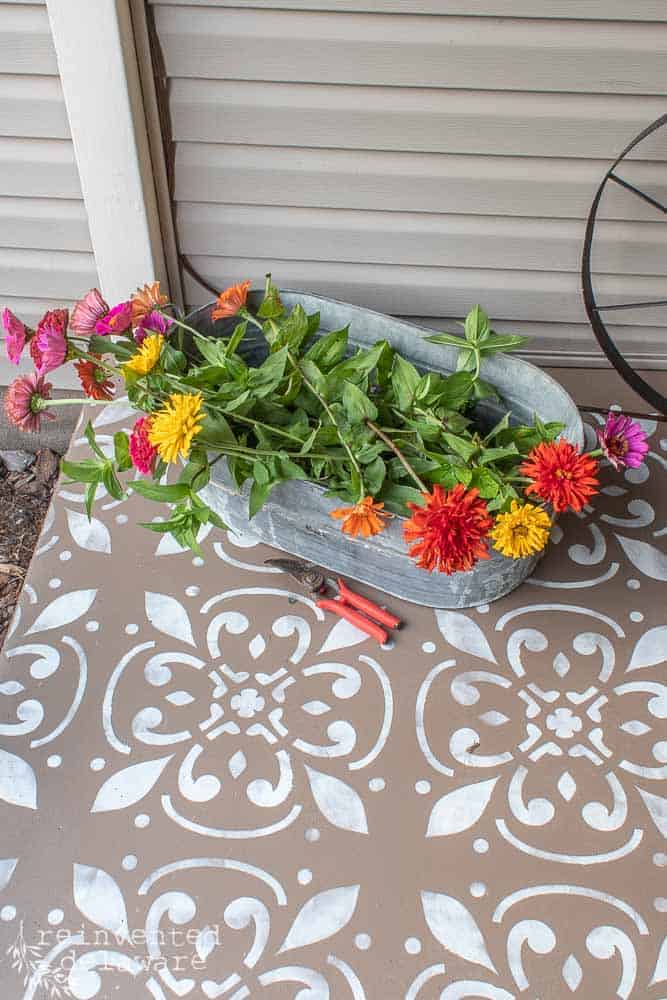
Our wooden bench had been painted several times over the years and had some flaking paint and of course, dirt and debris.
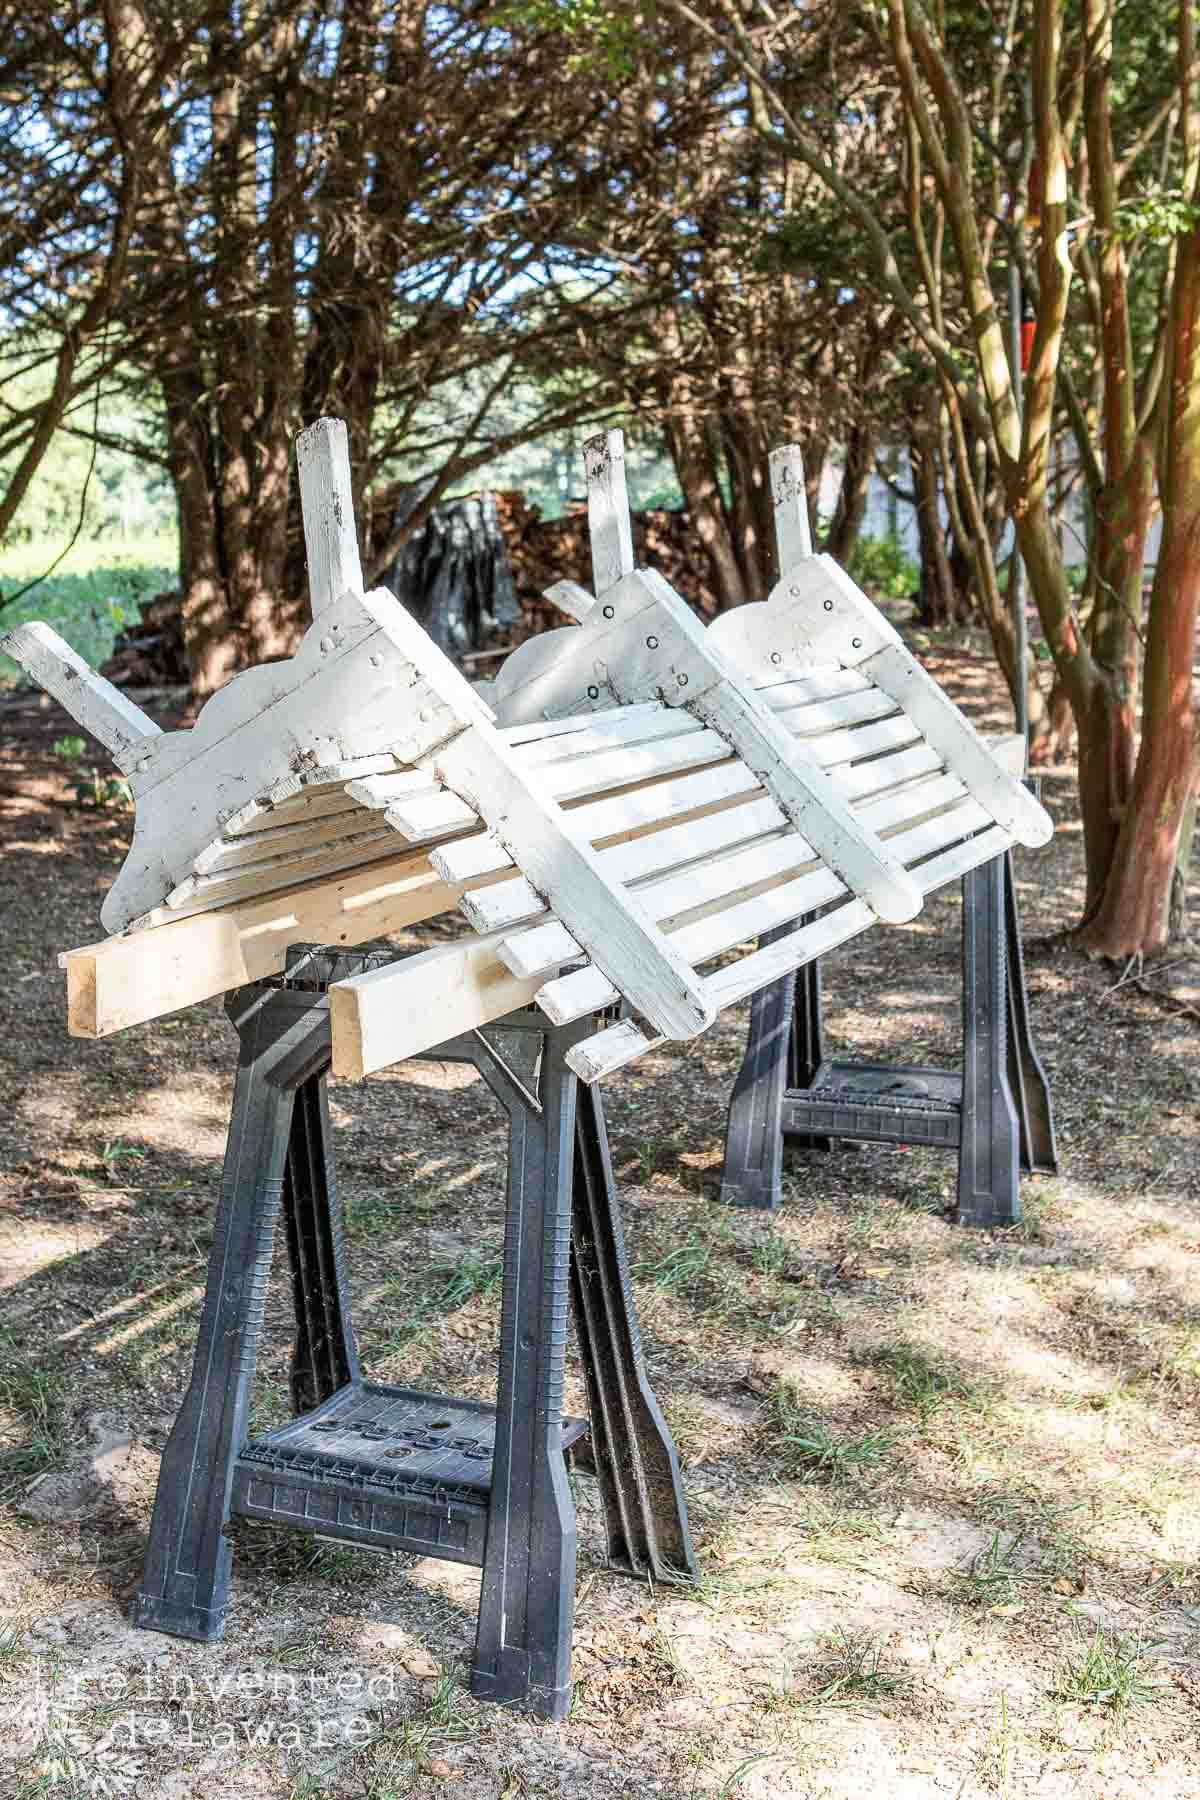
First, I put the wood bench up on saw horses along with 2×4 lumber to create a work surface off of the ground and out of direct sunlight. This step will save my back!
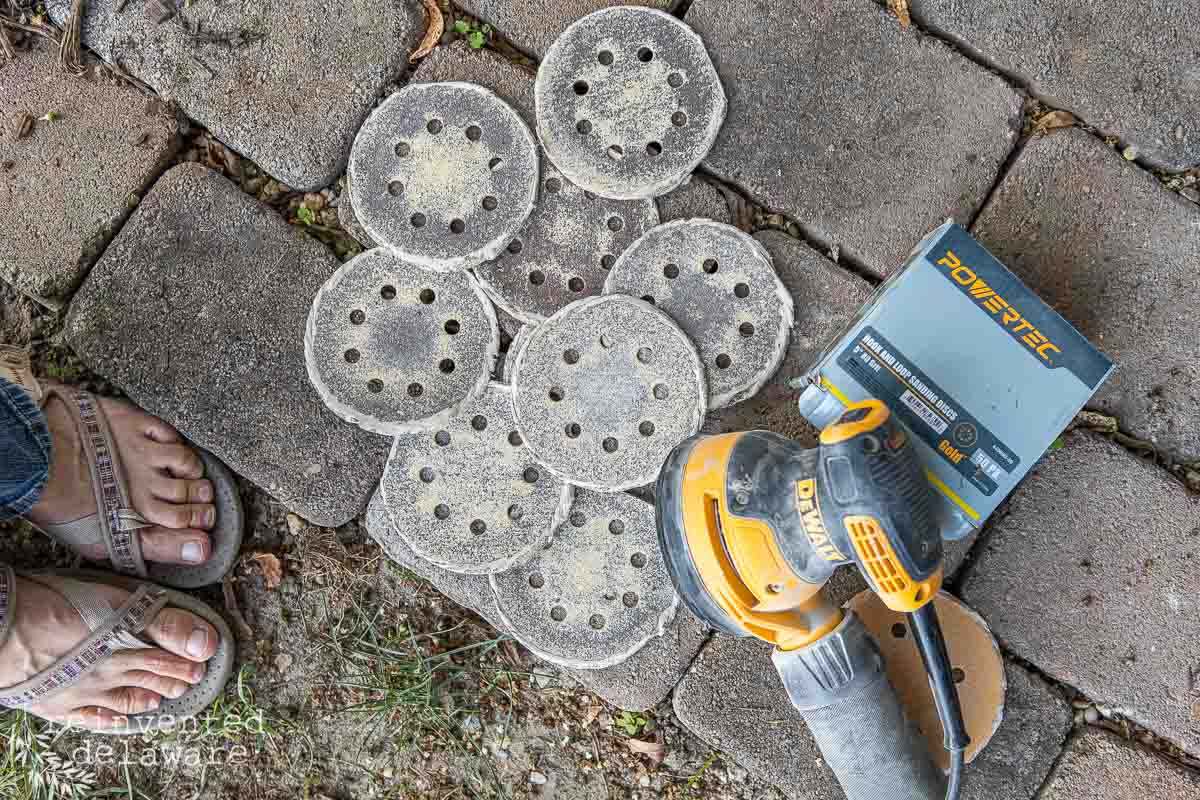
Next, I used a metal putty knife to remove loose paint from the exterior surface. Then I used my orbital sander to create a smooth surface. Sanding down to bare wood wasn’t important to me. Years of paint layers would only help to protect the wood bench.
Of course, you could strip off the layers of paint if you prefer. I have a guide to help you remove layers of paint on furniture.
The last step of the prep work is to remove the dust. I used a vintage dust brush that I keep in my garden shed to brush off the loose dust and debris. I should mention, I had to turn this bench over a couple of times to reach all of the wood surfaces.


paint the wooden bench
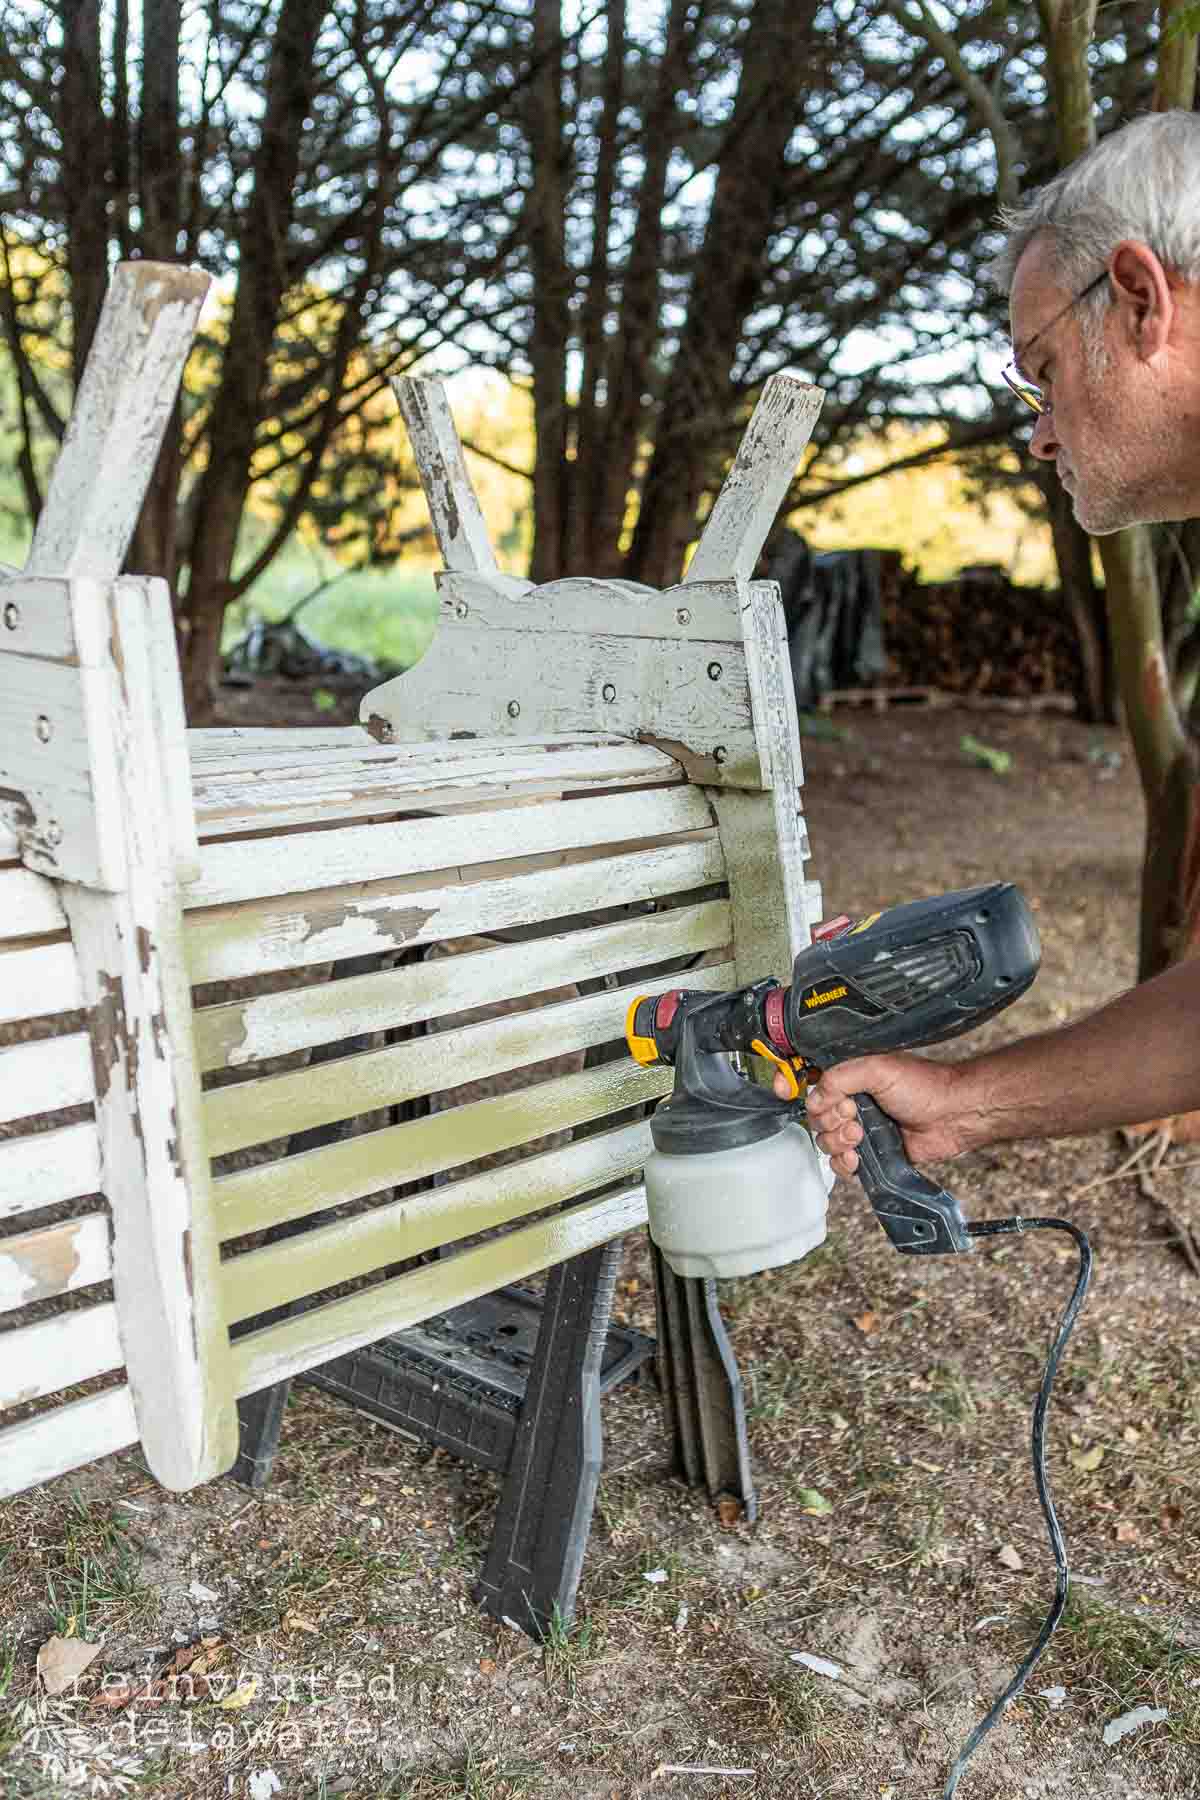
You can choose your favorite method of paint application. I usually use a paint brush for most of my projects. But with this wooden bench, I decided to pull out my paint sprayer.
This bench seat is made with small 2″ slats of wood so it would have been time-consuming to paint. Plus, using the sprayer to spray paint the bench would help me to reach all of the hidden areas on the bench.
Lucky for me, my hubby came home from work just as I was opening the paint sprayer box! I used this Wagner paint sprayer on our concrete porch a few years ago. We also used the sprayer to paint the interior of our garage. Since I use that garage space as a workshop and to create YouTube videos, it needed a new backdrop wall.
Anyway, I couldn’t remember how to assemble the paint sprayer, so he took over!
After assembling the paint sprayer, we thinned out the paint with a small amount of water. This will help the paint to flow through the sprayer easily.
Hubby applied the paint with slow but steady movements across the surfaces of the bench until an even coat had been applied.
Handy tip: Prep Prep Prep!
Prepping a piece of furniture is the most important step of any DIY project! This will help you to get the final results you want!
We had to flip the bench over twice to reach all of the areas on this bench. We also sprayed the exterior wood paint from the opposite sides of the bench. That way we were able to cover all of the surfaces. By the way, I say “we” because I finished painting the next morning!
The whole bench didn’t need multiple coats of paint – one coat of this acrylic paint was all it took to cover over the old finish. That goes to show that using the right paint for the job is the best choice.
Even though the paint was a bit pricey, it saved me time and possibly money in the long run.
thanks for being here!
I hope you are enjoying this project! Let me know if you have any questions. Or leave me a comment to tell me about your project and ideas!
thanks, Cindy 😀

clean up the tools
The paint sprayer is easy to clean. First, I poured the remaining paint back into the original paint can. Then we filled a 5-gallon bucket with water. As soon as we were finished with the sprayer, we disassembled it and put all of the parts and pieces in the water. This helps the paint to stay soft making it easier to clean up.
I used Scrubby soap to remove the paint from the paint tub of the sprayer because water alone didn’t remove all of the paint. That is a testament to this durable paint! It had only been minutes after painting that I had immersed the spray pieces into the water bucket!
Anyway, the Scrubby soap worked its magic on the sprayer parts, the paintbrush (I kept a paintbrush handy to wipe off the excess paint on the paint stir stick and the side of the can), and my hands.
I allowed the parts and pieces to dry thoroughly and put them back in the box for the next DIY paint project.


enjoy the fresh look of a painted wooden bench
There is something so nice about a freshly painted piece of furniture! Whether it is wooden patio furniture or a simple piece like this wood bench, paint is a miracle worker!

FAQs
should I use primer on wood furniture before painting?
If the wood furniture piece is bare wood, I recommend you apply at least one coat of primer before applying any kind of paint. Primer will stick to anything and anything will stick to paint (that’s a famous quote from my professional painter brother-in-law!)
what is the best garden furniture paint?
It is best to choose a good quality, outdoor-rated acrylic based paint that will hold up in extreme weather conditions. Sherwin Williams is a well-known paint company that produces high-quality products. They are a company that can be trusted in the world of paint!

how many coats of paint are needed for outdoor furniture?
This depends on the piece of furniture. Apply the first coat of paint and allow it to dry completely. Look over the outdoor furniture to see if you have full coverage. If not apply a second coat of paint.
should I apply a sealer over the paint on outdoor furniture?
If the paint you use is rated for the outdoors, you do not need to add a protective layer of topcoat. Of course, you can always add the additional topcoat if you prefer!


Recreate and Decorate
Join the Facebook Group and Share Your Projects With Us!


Thanks for joining our journey!
Thanks so much for joining us for this post! Join our journey so you don’t miss any of the fun projects, tutorials, and inspiration that we share with you each week! You can follow us on Instagram, Facebook, and YouTube. We share even more inspiration on Pinterest!
click below to purchase supplies!
Visit my Amazon Storefront!
Click the button below and head over to our online shop on Amazon!


Cindy Rust
Cindy has been decorating her home with thrift store finds for 40 years. She is an avid thrift store shopper who loves to makeover the items she finds into vintage-inspired home decor and furniture. When she isn’t thrift shopping or painting a piece of furniture, you can find her making homemade butter, working in her garden, or painting with watercolors.
Paint a Concrete Porch
Create a beautiful finish for your outdoor concrete porch!
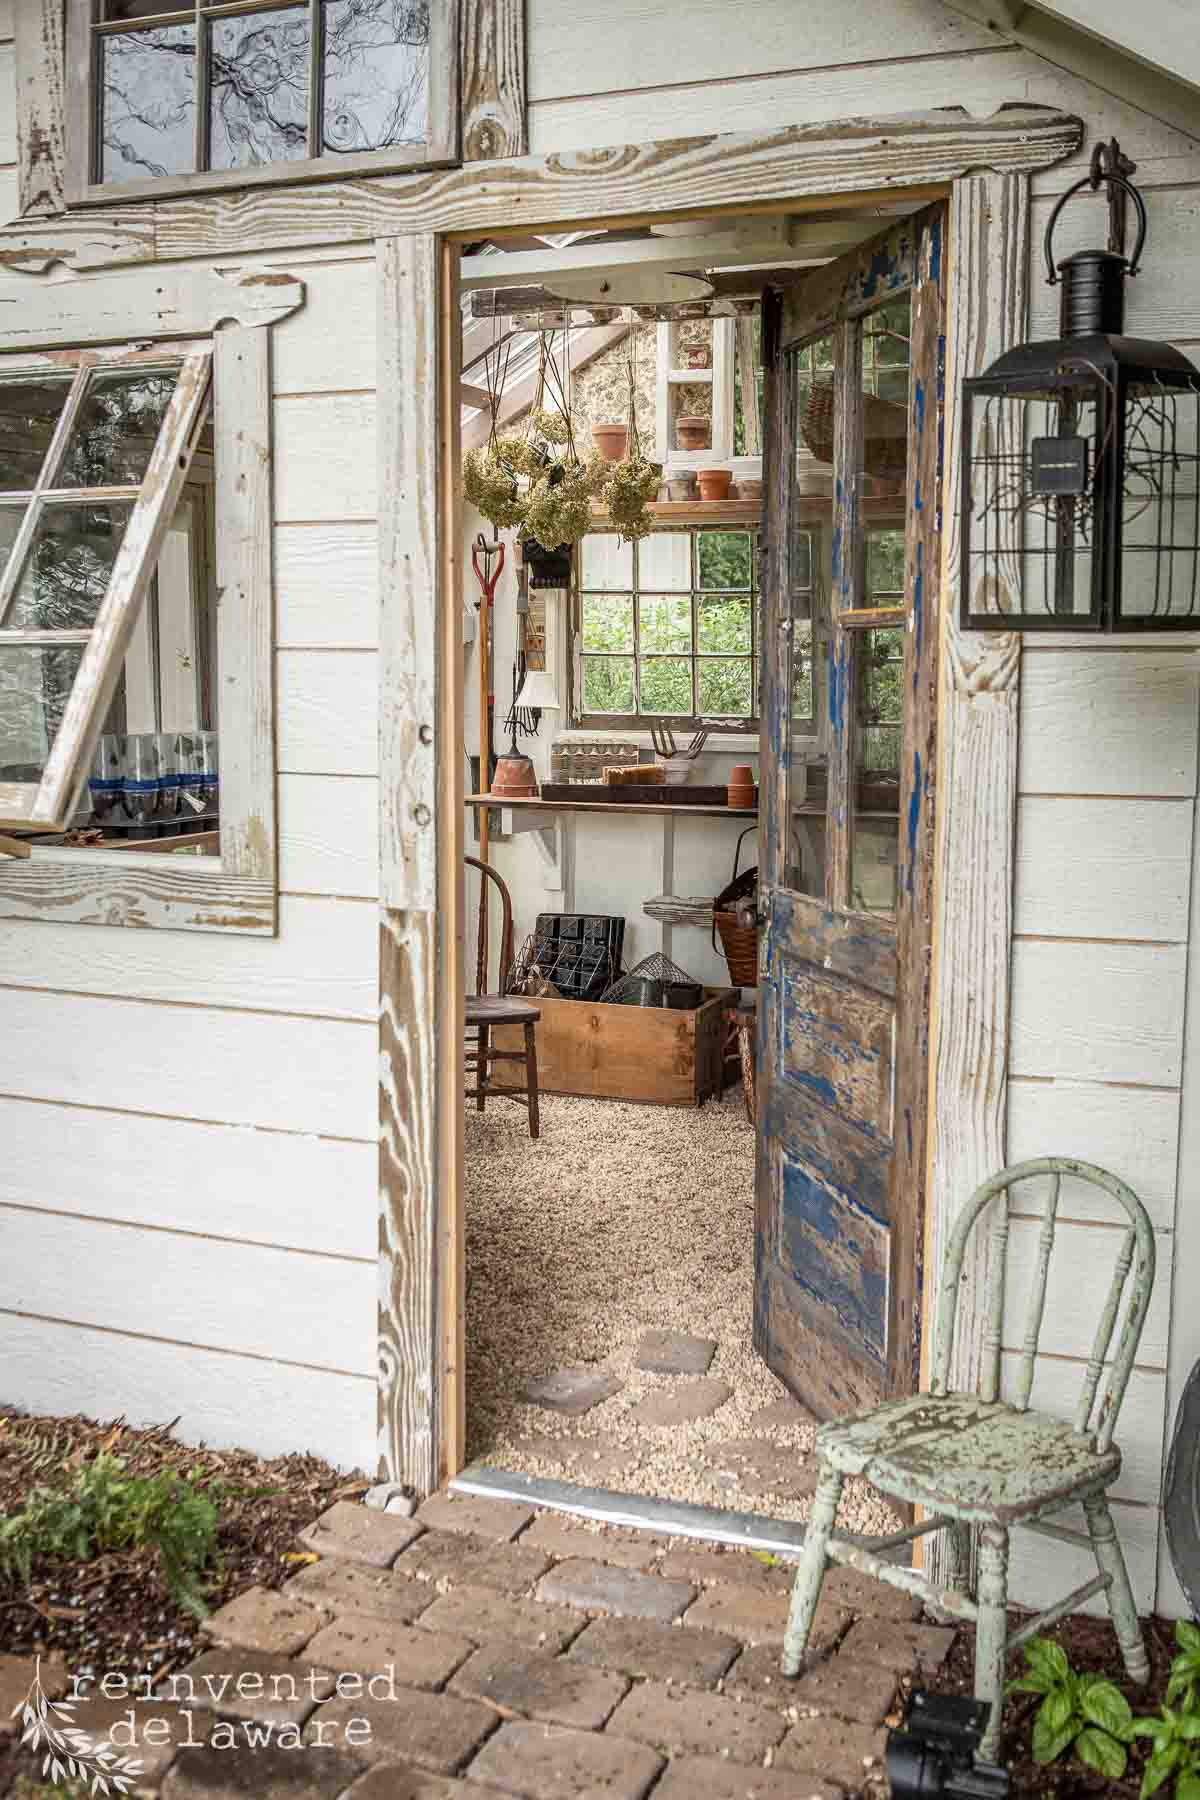
Gorgeous She Shed Interior
See how I organized and decorated my garden she shed!
Your husband is sooooo helpful!
What a gorgeous color of green Cindy!!! And I love how you propped the bench on saw horses. So smart.
Hmm I didn’t see “husband who helps” on the Supply List! Lol I love the green bench! We also love Sherwin Williams Porch and Deck paint. It lasts for years as opposed to stain. We are in Seaford so I am guessing we shop at the same Sherwin Williams🙂
Hmm I didn’t see “husband who helps” on the Supply List! Lol I love the green bench! We also love Sherwin Williams Porch and Deck paint. It lasts for years as opposed to stain. We are in Seaford so I am guessing we shop at the same Sherwin Williams🙂
Omgoodness, I am literally laughing about your comment!! Maybe I should add one of those to the supply list!!🤣 And I bet we do shop at the same SW store!