Thrifted Sweater Pumpkins
Ready for an easy and inexpensive fall home decor project? These adorable thrifted sweater pumpkins are just the ticket! Super easy and super fun! Let’s get started, ok?
The following post may contain affiliate links. That means if you click and then buy something, I will make a small commission at no additional cost to you! Thank you for supporting my blog. full disclosure here.
Supplies:
- thrifted sweaters in neutrals, orange or any color that strikes your fancy!
- thrifted sweater for leaves
- jute twine (or bakers twine)
- large eye sewing needle
- Poly-fill stuffing
- Poly-pellets
- live branch piece
- hot glue gun
- full size glue sticks
- paper plate or hand-made template (approx 10″-12″)
- fabric scissors
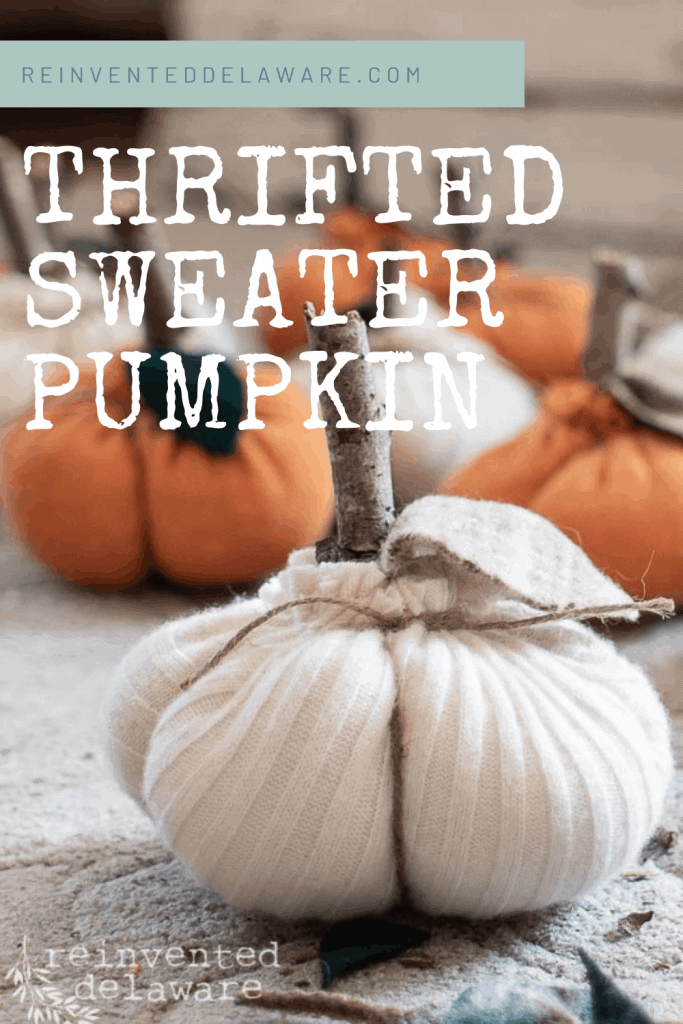
how to make a pumpkin from an old sweater
If you browse thrift stores, you already know they are a great place to shop for clothing. Including sweaters. We seem to get tired of sweaters before they are completely worn out! Sometimes we might even shrink them accidentally while doing laundry!
Anyway, you can be sure that the selection of sweaters is pretty good at a thrift or second-hand store.
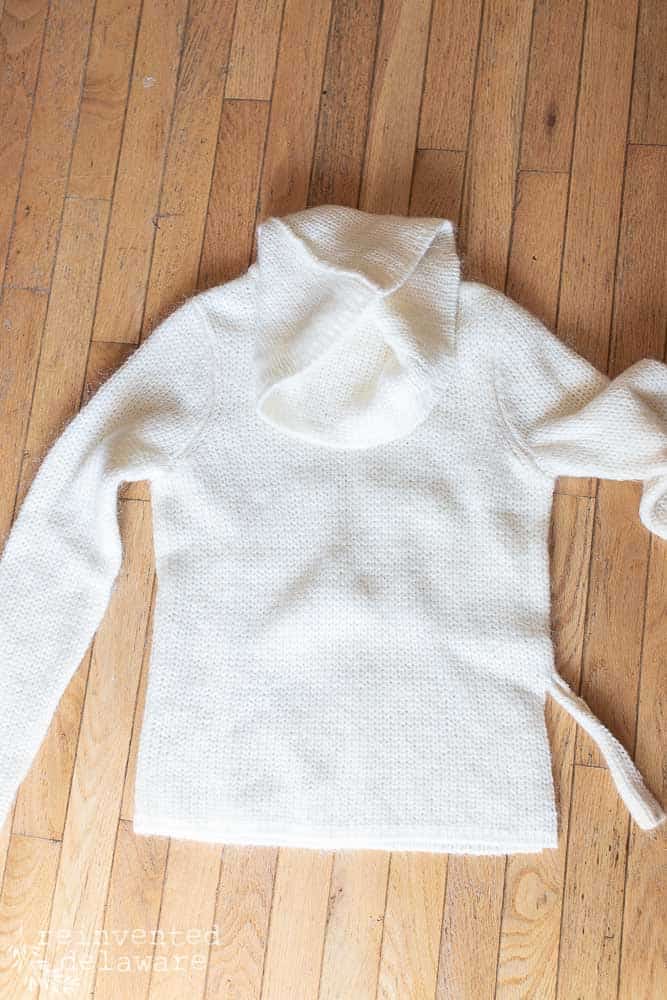
I found several neutral sweaters with different knitting patterns for about $1-$3 each. Can you believe I even found a pumpkin-orange colored cashmere scarf tucked into the sweater section?
I love to use natural fibers like wool, cashmere, or lightweight cotton. Acrylic works well for this project too. I just like natural fibers better. :). If you use a cotton sweater make sure it is not too bulky. That can be a challenge to work with for this project!
prepare the thrifted sweater
The first step is to cut the seams off. Completely deconstruct the sweater so that it will shrink without any seams restricting the shrinking action.
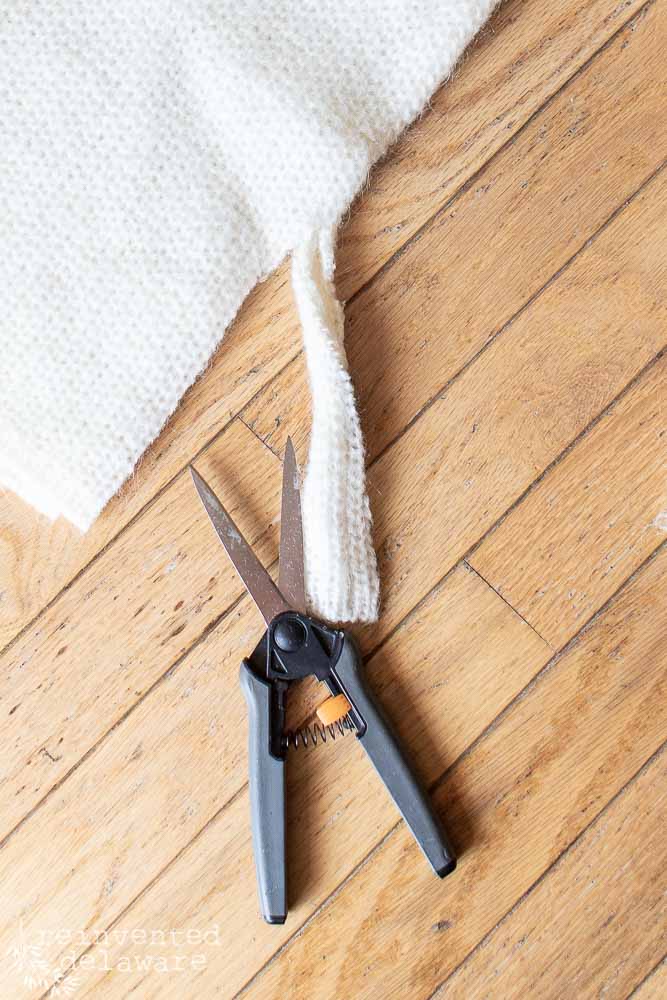
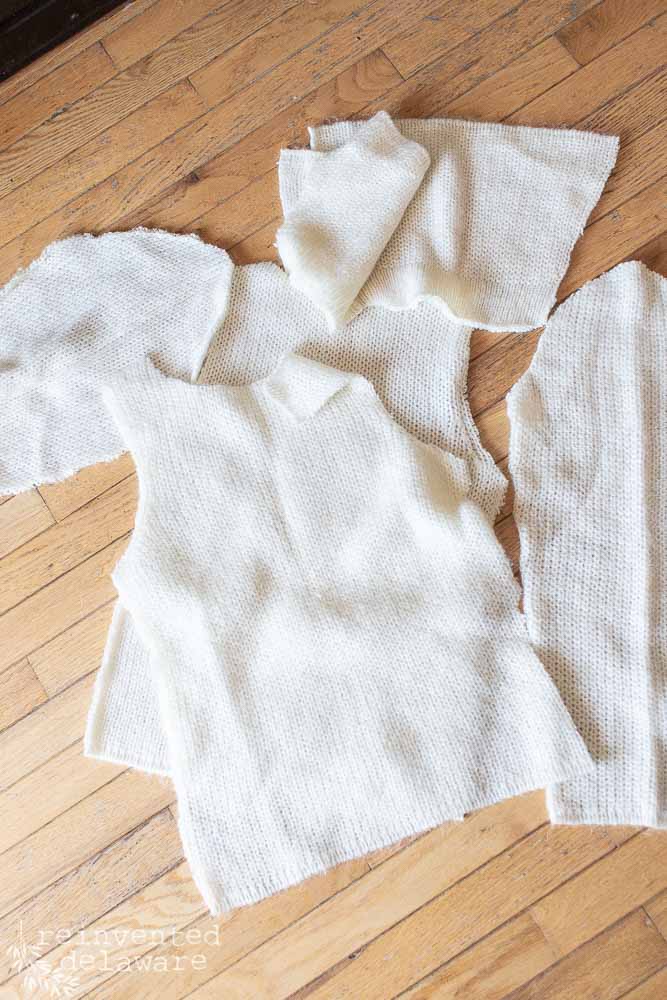
how to wash a thrift store sweater
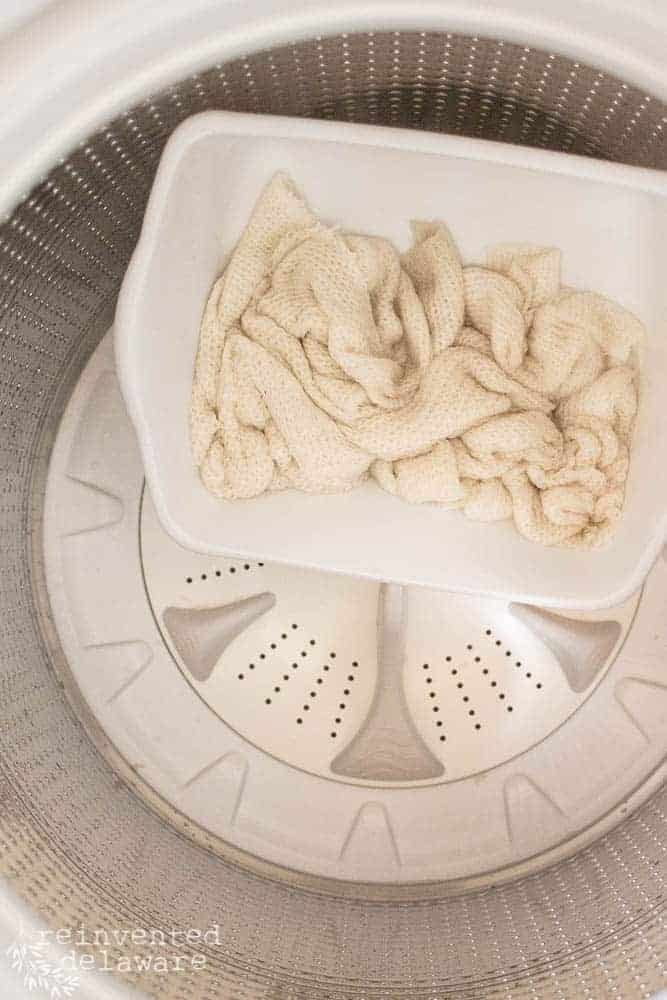
This next step isn’t completely necessary but it is a step I like to include. Natural fibers will shrink when you add boiling water, agitation, and dry heat. So I launder the deconstructed sweaters.
My washer is an HE washer (actually, we just replaced it with a tub-filling style and I am thrilled to be able to soak laundry in the washer again!!) So that means I had to fill a small basin with sweaters and boiling water inside the washer tub. Let them soak for about 30 minutes.
If you don’t choose to shrink your sweater, at the minimum, wash your thrifted sweaters in hot water! We need clean pumpkins, right??
Next, throw them in the dryer on the hottest setting until they are dry!
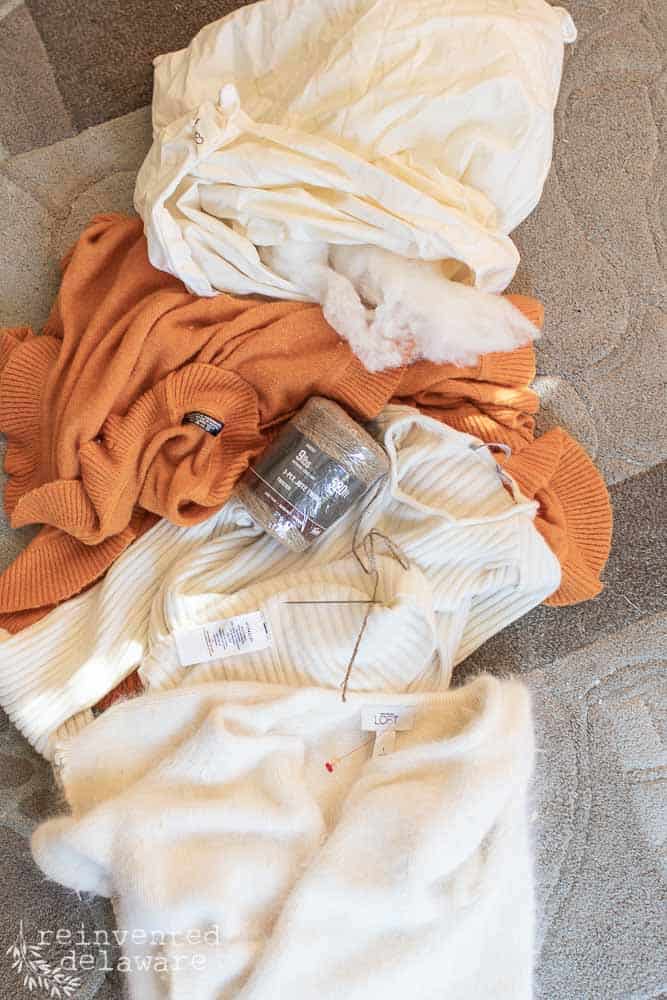
Here are a couple of the supplies I used. Check the complete list at the top of this post!
…clean sweaters, poly-fiber filling, jute twine, large eye needle.
BTW, see poly-fill coming from the pillowcase at the top of the image below? That is an old pillow I had in a closet. I laundered it first in hot water and then into a hot dryer to make sure it was clean!!
how to sew a thrifted sweater pumpkin
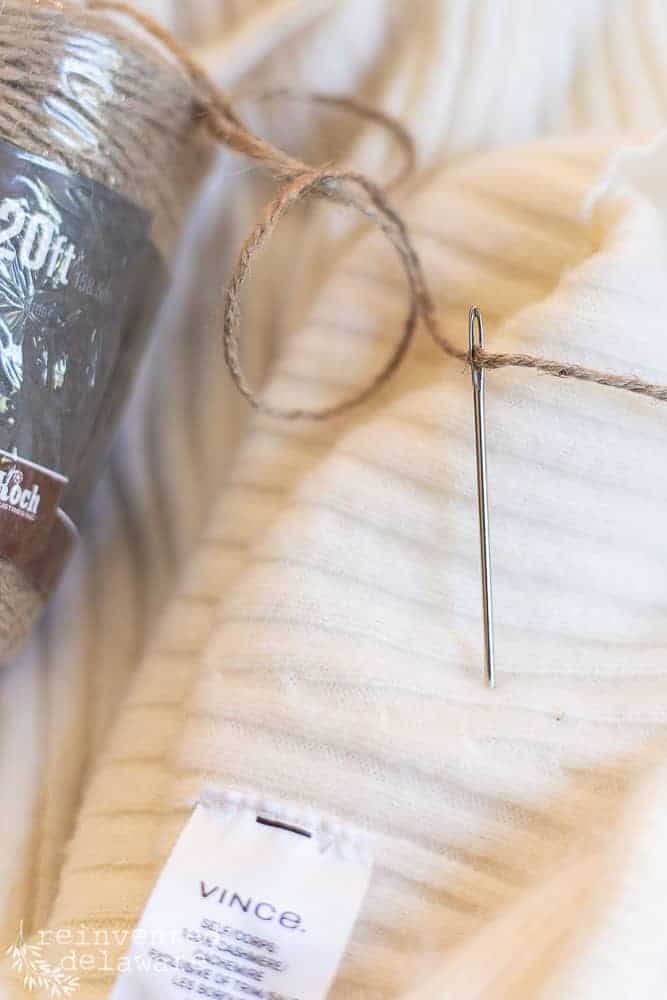
Really the hardest part of this project is threading the twine on the needle. Use the largest eye needle you can find at the fabric store. You can usually find them in a specialty pack of sewing needles.
I’ll share some tips about threading this jute onto a large eye sewing needle in the video in this post. But you can see why a large eye needle is so important! The jute is thick!
Use a long piece of jute – approximately the length around the circle and some extra for tying and sculpting the pumpkin.
I used a 10″ plate to make a paper template for cutting out multiple circles. You could use a paper plate too! I cut out a bunch of the circles so I would have a harvest of pumpkins in varying textures and colors. You can also vary the size of the circle to make bigger or smaller pumpkins!
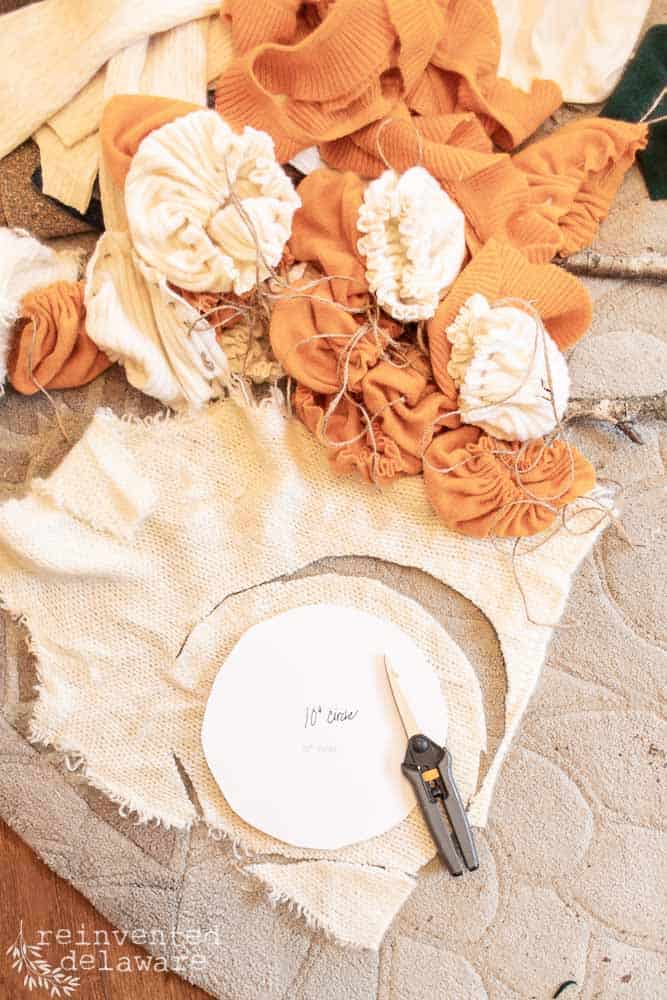
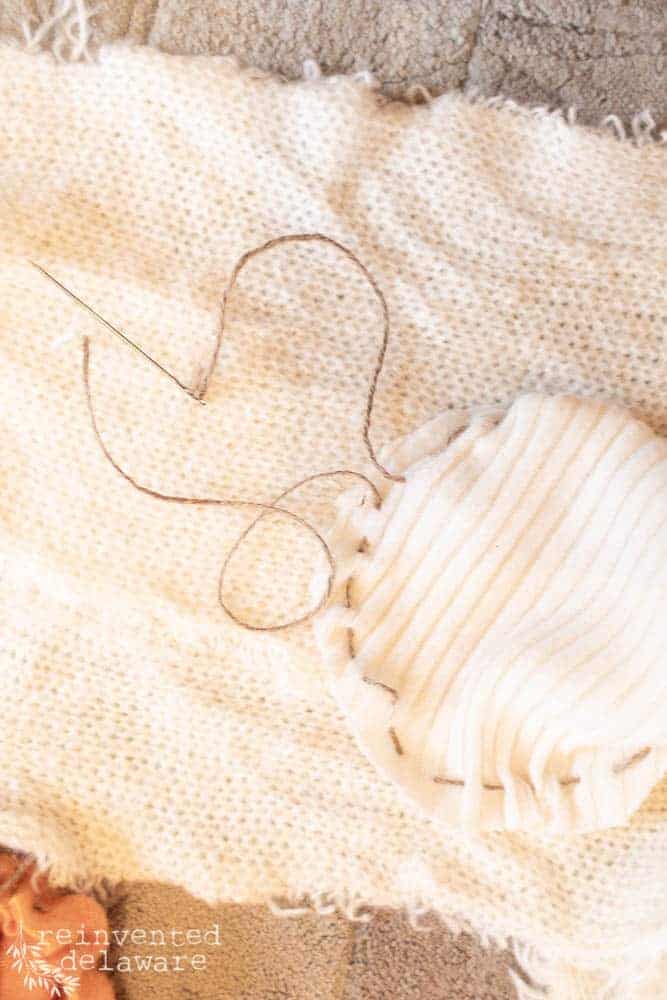
After cutting out the circles, start stitching using a long running stitch approximately 1/4″ away from the cut edge.
No need to be exact with the size of the stitches. It should only take five or so minutes to get around the whole circle.
Don’t pull the jute too tightly yet, and save the tails for tying and sculpting the shape of the pumpkin.
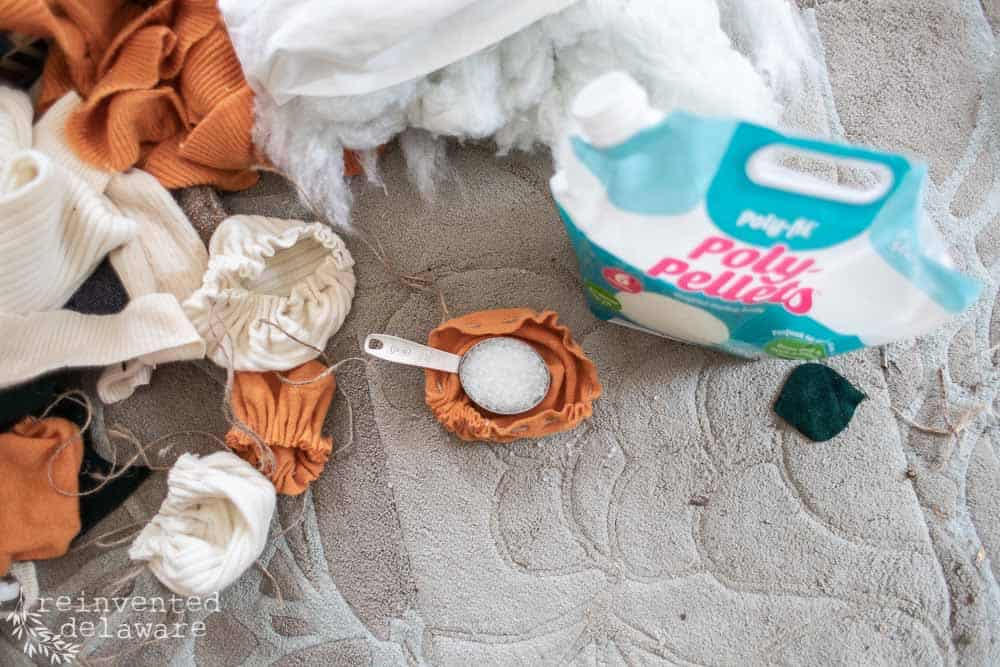
use poly-pellets and poly-fill
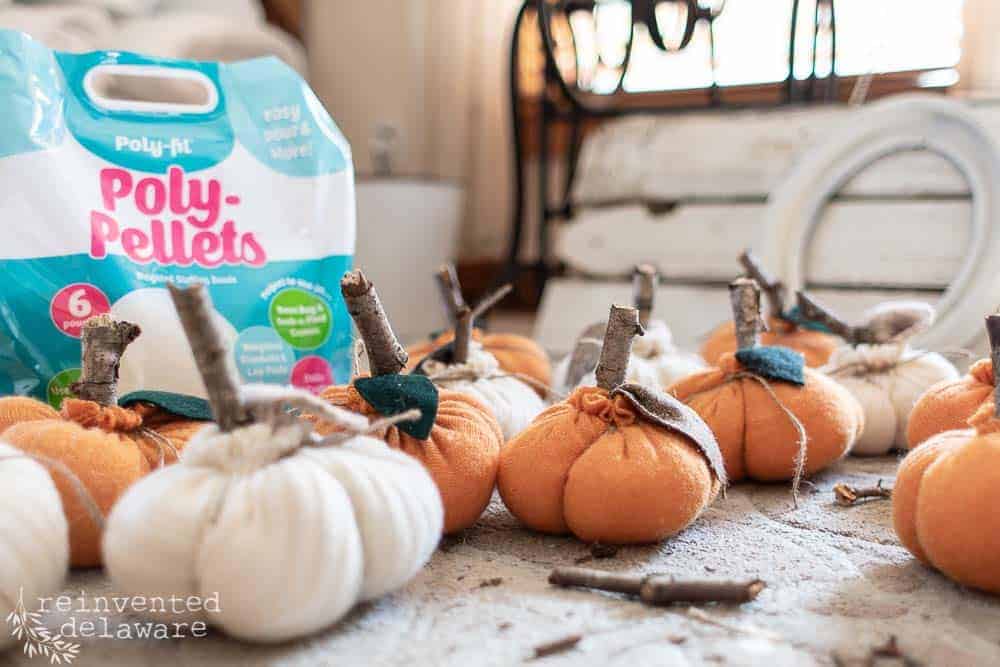
I used about 1/4th cup of Poly-Pellets to add some weight to the bottom of the pumpkin. The weight helps them to stand up nicely. You can also use dry rice or beans!
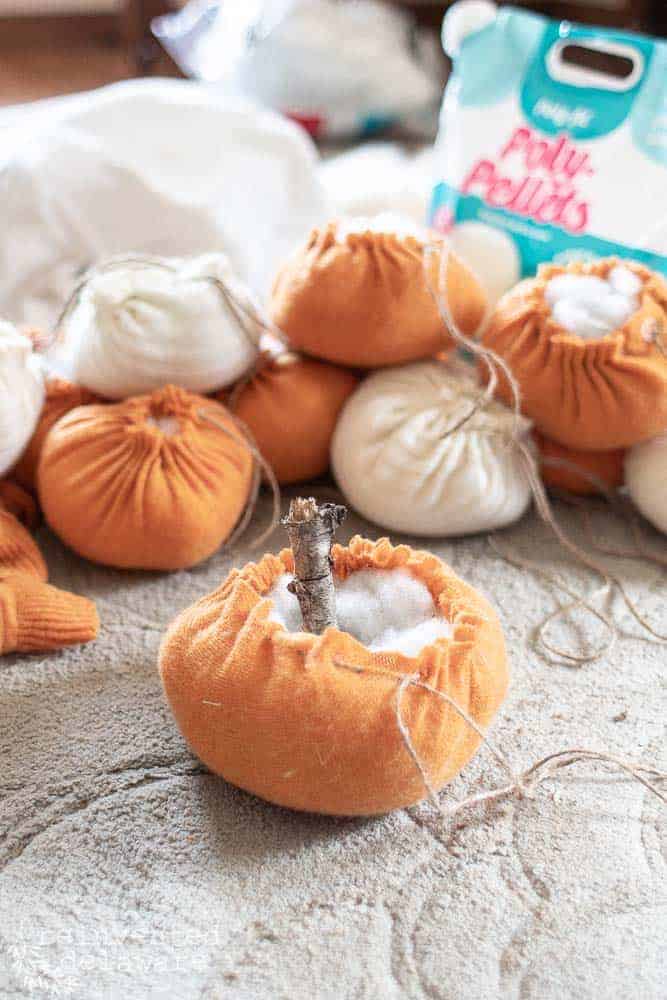
I added some poly-fill stuffing and a little piece of the branch for the stem.
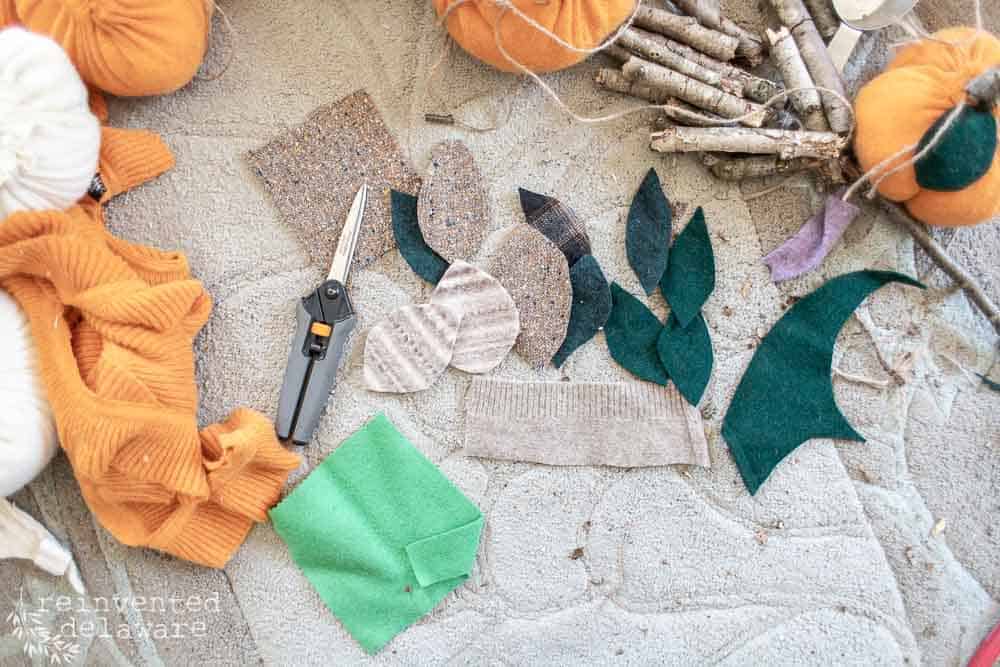
add leaves to the thrift store pumpkins
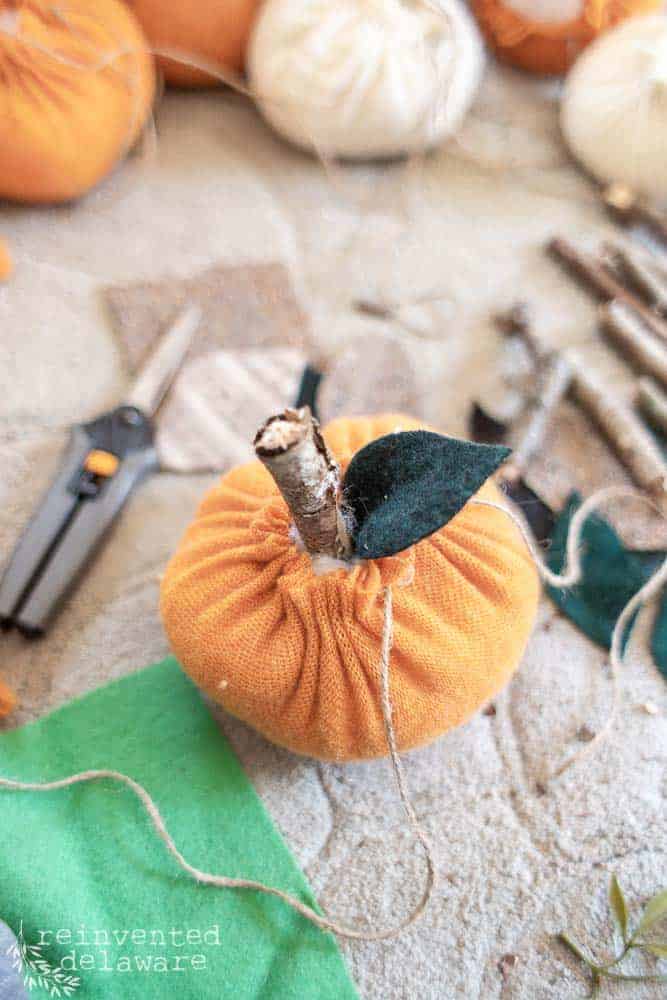
I forgot to mention, but I also used scraps of wool from other projects as leaves. The shape is easy to cut. They don’t have to be perfect, nothing in nature is!
A bit of hot glue on the branch piece….
…and wa-la! A little leaf detail coming out of the top!
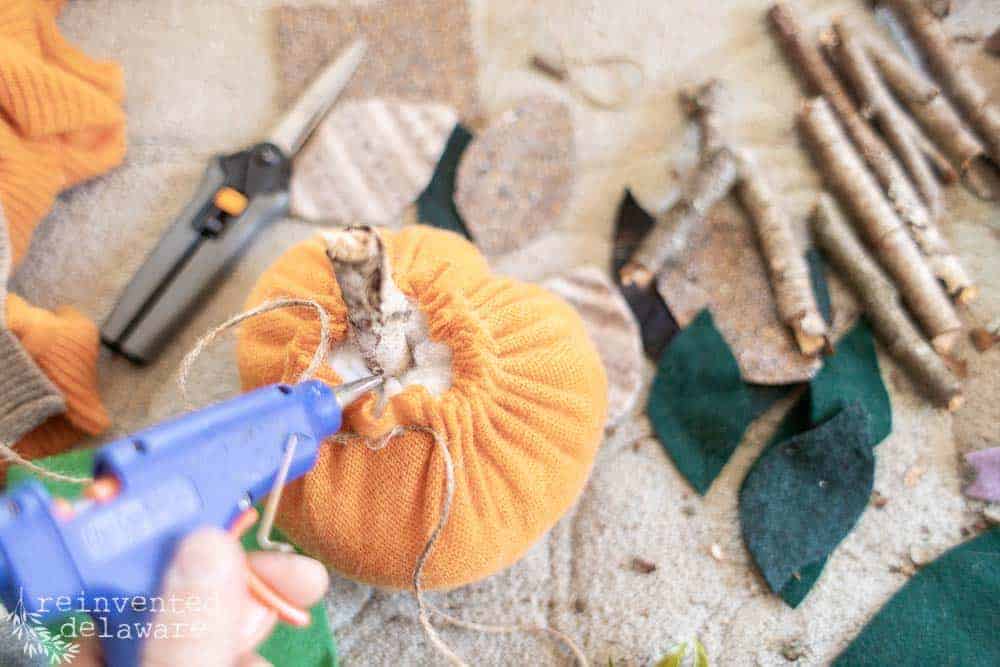
Tie the jute tightly around the branch and make a knot.
YouTube video tutorial
Watch the video below to see how I sculpt these little thrifted sweater pumpkins! While you’re there, check out our other YouTube tutorials, and be sure to subscribe!
Put on your favorite Netflix show and you will have your own harvest of thrifted sweater pumpkins in no time!
our own harvest!
Unfortunately, I didn’t take a picture of a couple of pumpkins until I glued the sweater label too! Some had a brand name and some had fiber content like ‘cashmere.’ I thought it was fun to add to the little pumpkins!
You can see what I mean about the labels in this post where I made the cutest thrifted sweater snowmen you’ve ever seen! Check it out in the link below!
the cutest thrifted sweater pumpkins!
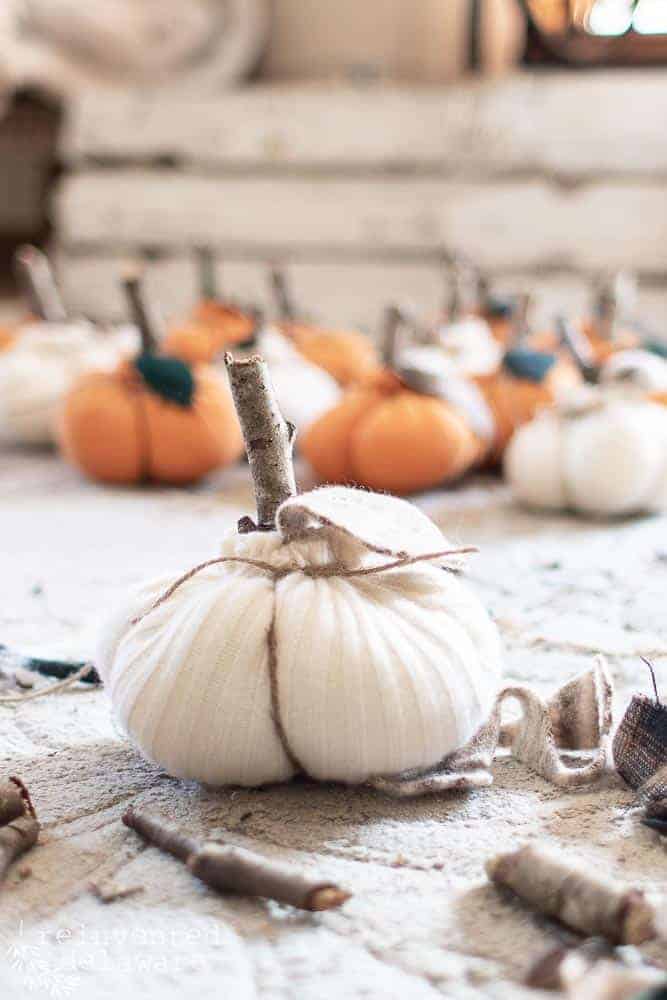
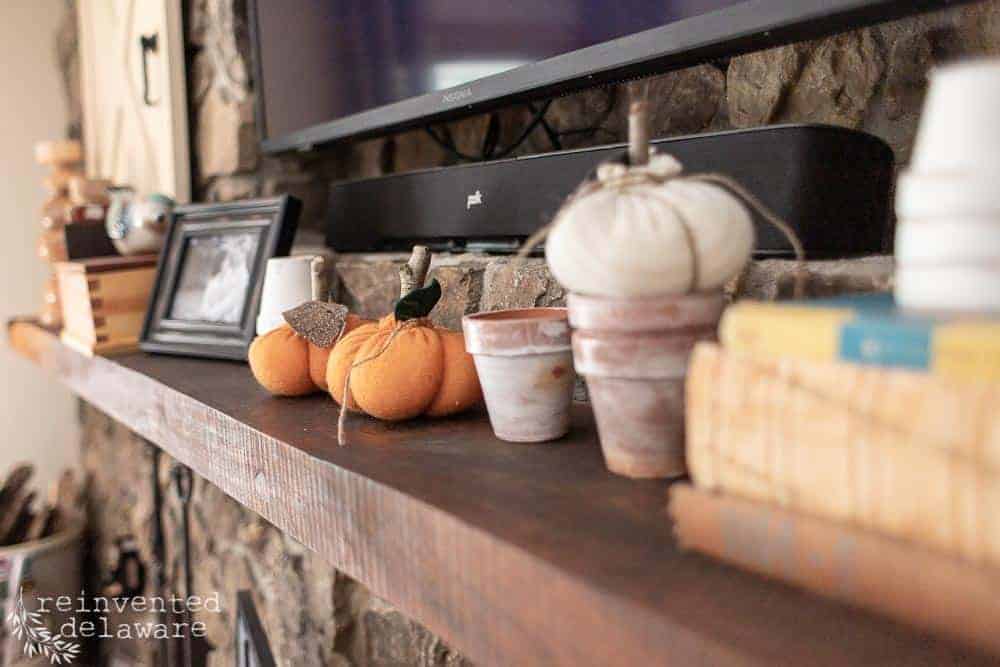
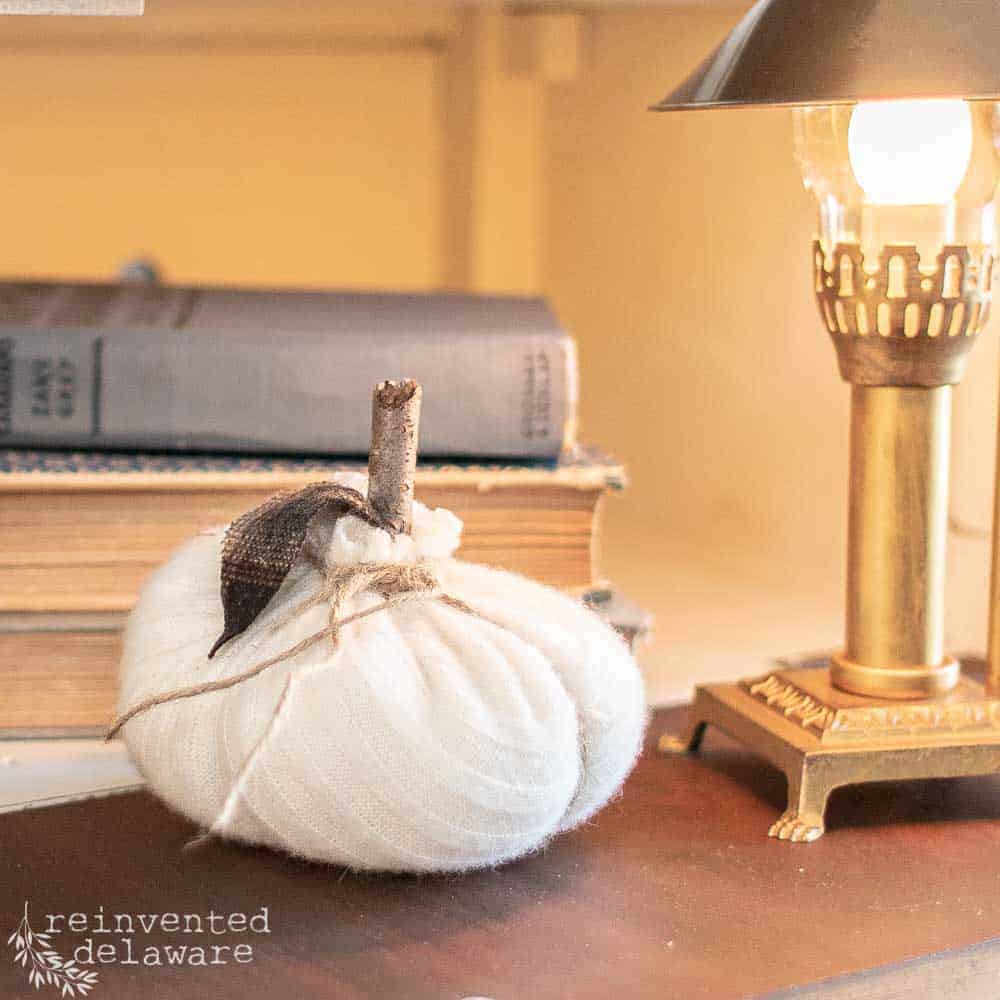
Aren’t they so cute??
easy DIY pumpkin craft
Wasn’t that a fast and fun project?? And did I mention easy?? Hope you have fun making these adorable little pumpkins for your home!
Let me know if you do, I would love to see yours! Tag me in your pumpkin photos on Instagram so I can see them!
Here is another thrifted sweater project you might enjoy:
join our journey
You can follow along our reinventing journey on Instagram, Facebook, and Pinterest. While you’re at it, feel free to pin any of the images you see to your fall inspiration boards so your friends can make them too!
Thanks for stopping by for this thrifted sweater pumpkins project! Be sure to sign up with your email so you don’t miss any of the fun projects we do here at Reinvented Delaware!


These are adorable! Can’t wait to try these. Pinned for later. 🙂
So cute, thank you for sharing over at A Loverly Life for the Pumpkin Patch Blog Hop.
Thank you for hosting the blog hop!
Adorable!!! These are so cute and so lovely for fall decorating!!
And they are so easy to make! Thanks for stopping by Rachel!
I love handmade pumpkins and these are adorable! Going to go through my sweater stash to see the possibilities! Thanks for the inspiration! Blessings, Donna
So glad you enjoyed the little sweater pumpkins, Donna! Happy Fall!