
How to Harvest Zinnia Seeds (So you Never have to Buy Them Again)
Learn how to easily harvest zinnia seeds from your garden with our simple step-by-step guide. Discover the best time to collect seeds and tips for storing them properly. Start saving money on new zinnia plants by harvesting seeds from your own backyard garden today!
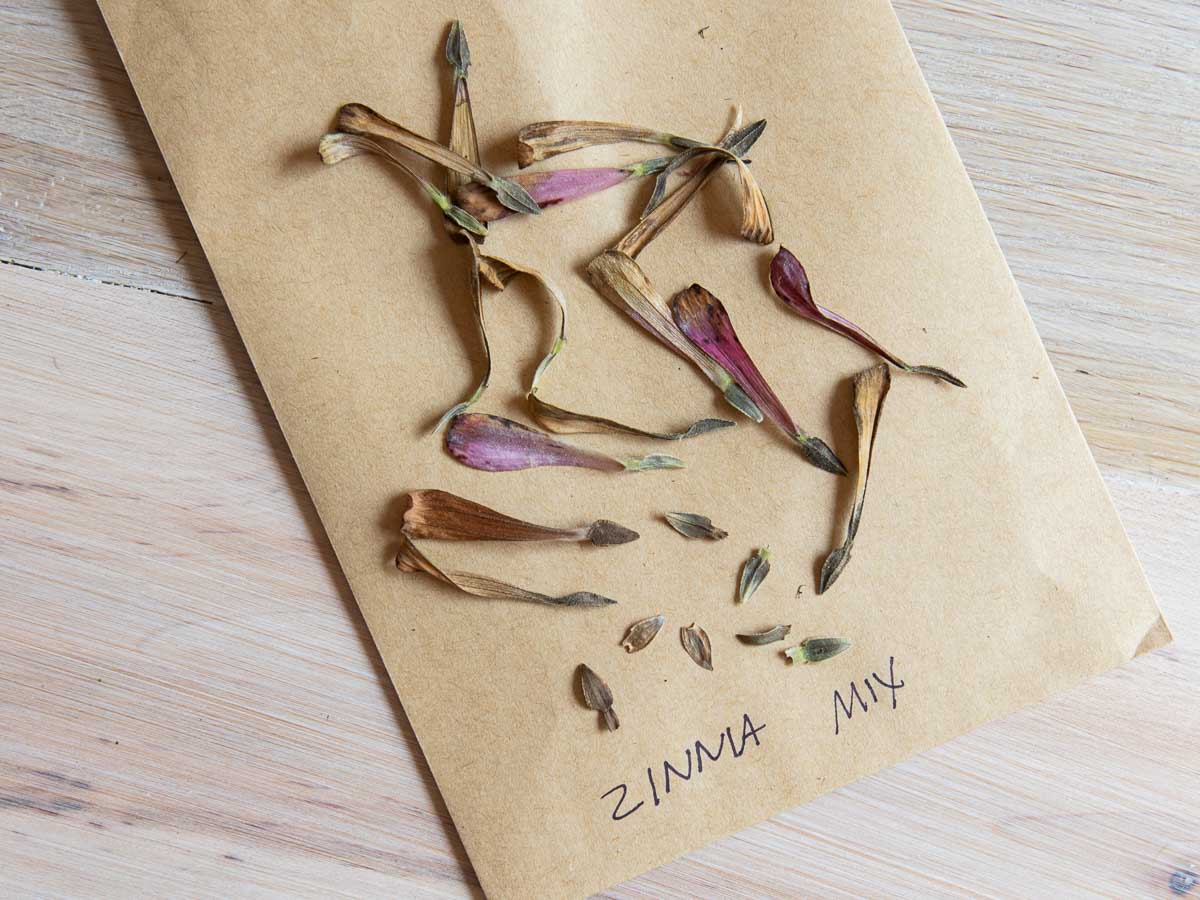
why I save my own zinnia seeds
Zinnias are some of the easiest and most rewarding flowers to grow, and once you learn how to harvest zinnia seeds, you’ll never need to buy another seed packet again. They have vibrant colors, sturdy stems for cutting, and attract butterflies, bees, and other pollinators all summer long.
The good news is that saving seeds from your own zinnia plants is simple, and I’m walking you through exactly when to collect them, how to dry them, and the best way to store them so they’re ready to plant next season.
The following post may contain affiliate links. That means if you click and then buy something, I will make a small commission at no additional cost to you! Thank you for supporting my blog. full disclosure here.
how to harvest zinnia seeds step by step
This step-by-step guide will show you the simple steps for harvesting and saving zinnia seeds. It’s really so simple to save seeds now for a garden bed full of zinnia plants for next year!
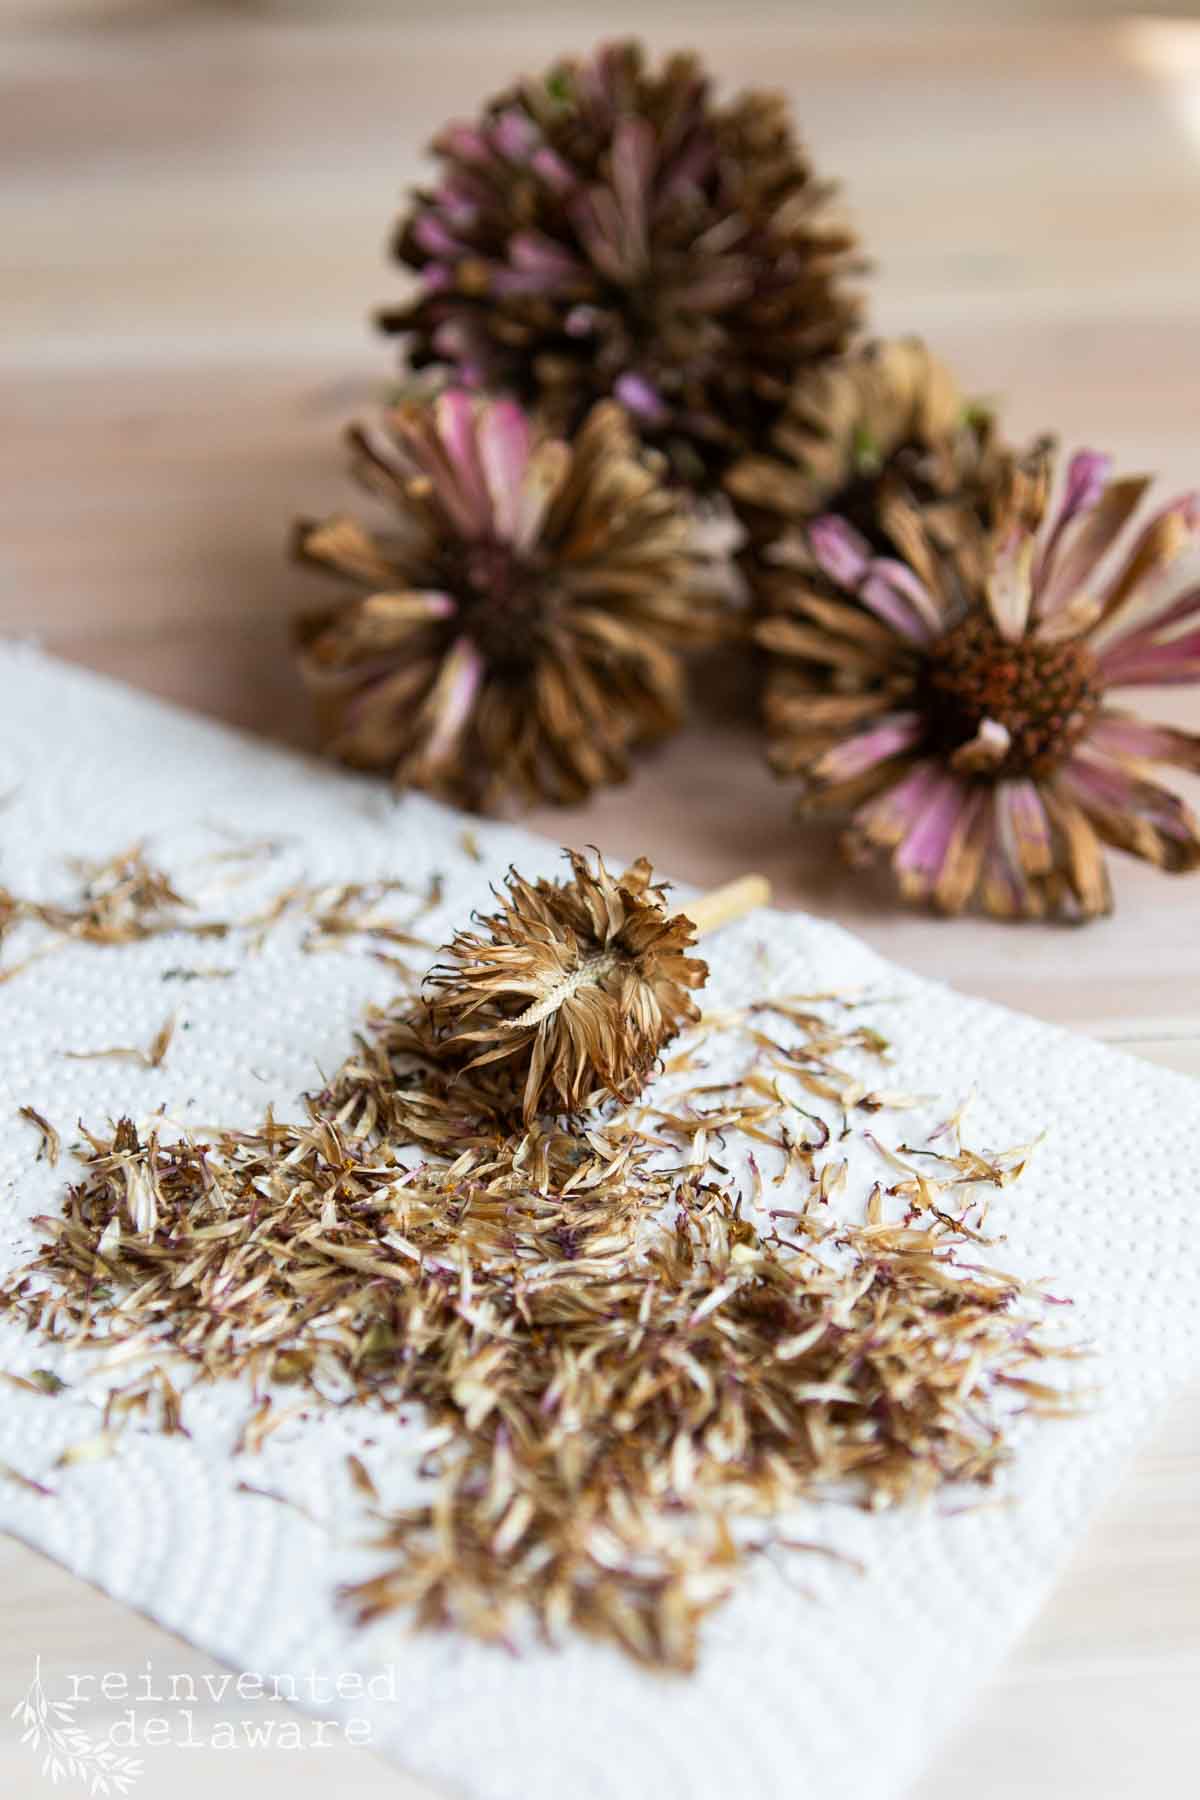
cutting the dried flower heads
The best time to harvest zinnia seeds is late summer but you can harvest seeds throughout the growing season. It’s best to harvest flower heads in the early morning hours. The hours of direct sun during the afternoon can stress the zinnia plants and you don’t want to do that!
Grab a paper bag like a brown lunch bag and label it. This is especially important if you are harvesting other flower seeds. I try to only collect seeds from one type of flower at a time.
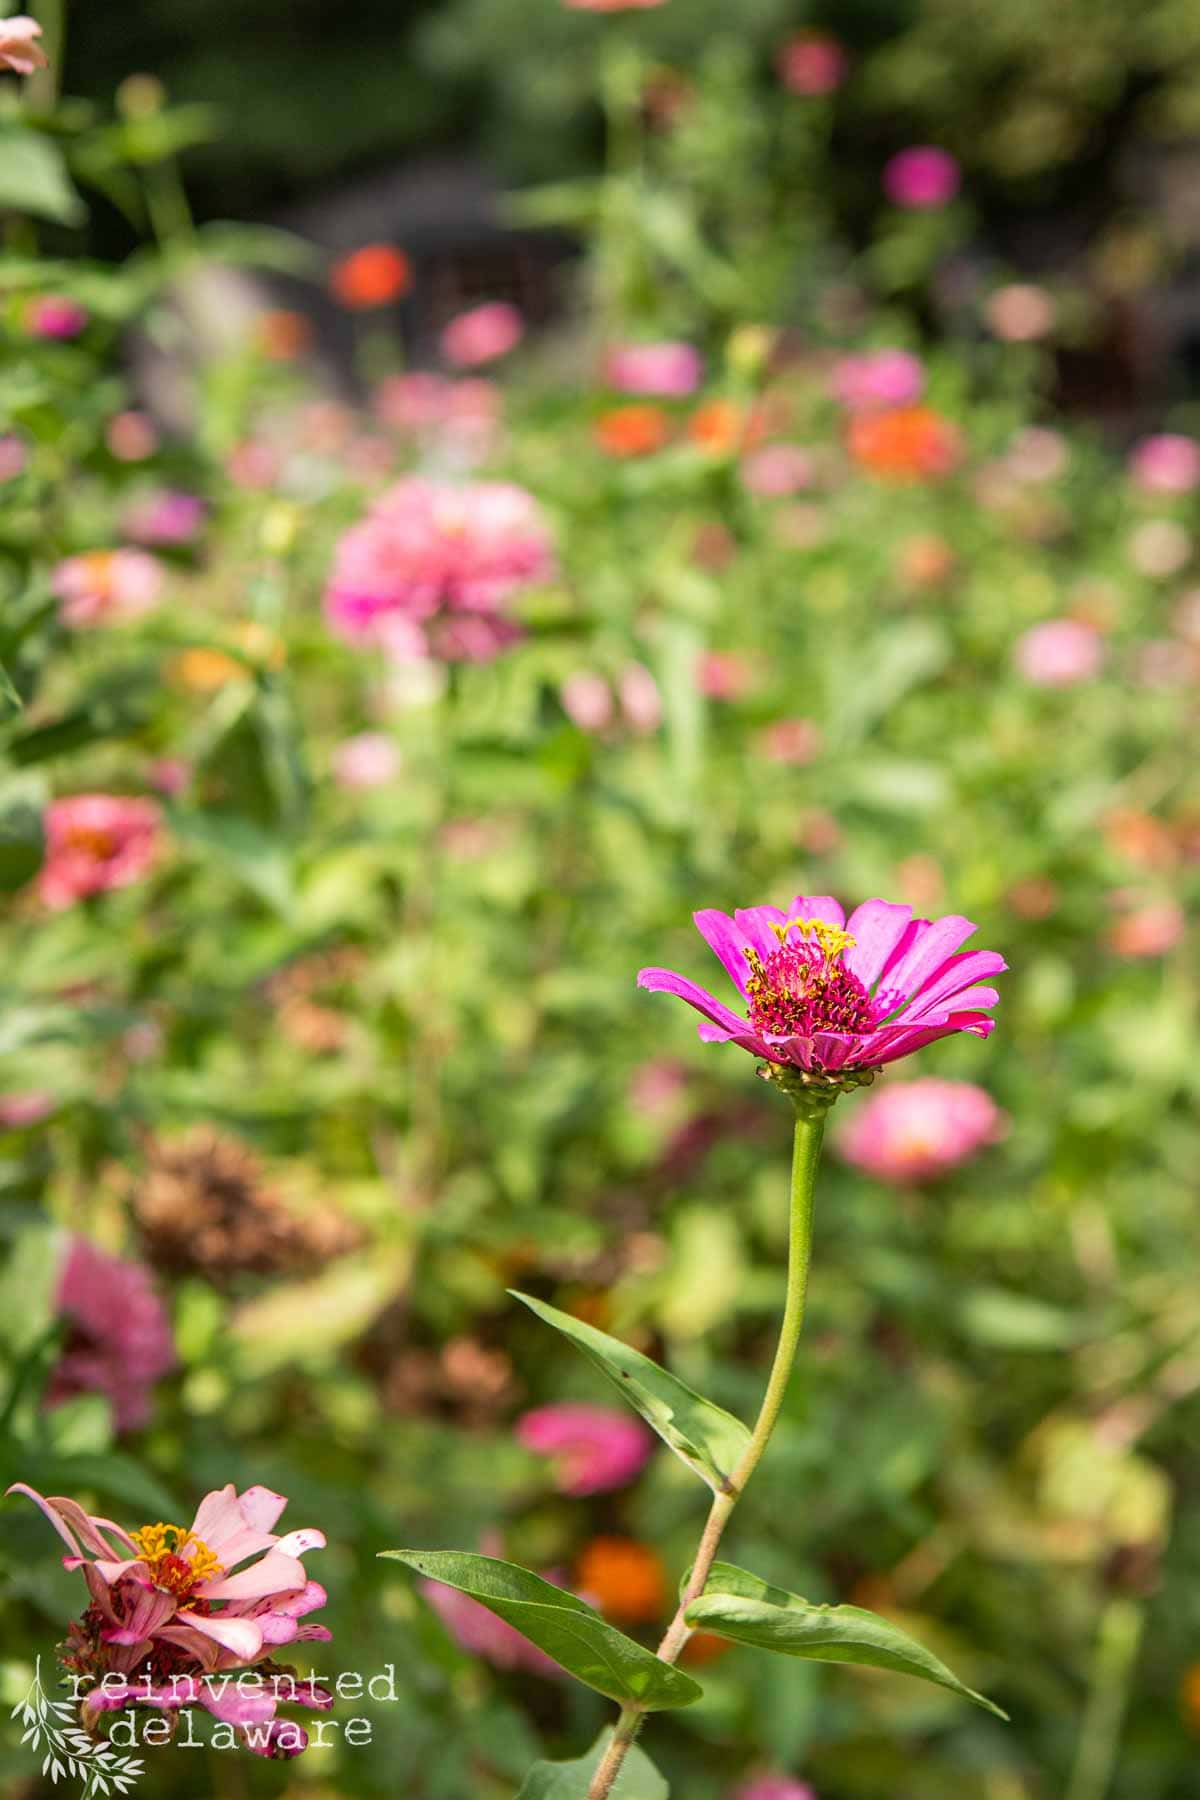
Use clean sharp flower snips or pruners to cut the dried flower head from the zinnia plants. Look for flower heads that still have the dried petals on them.
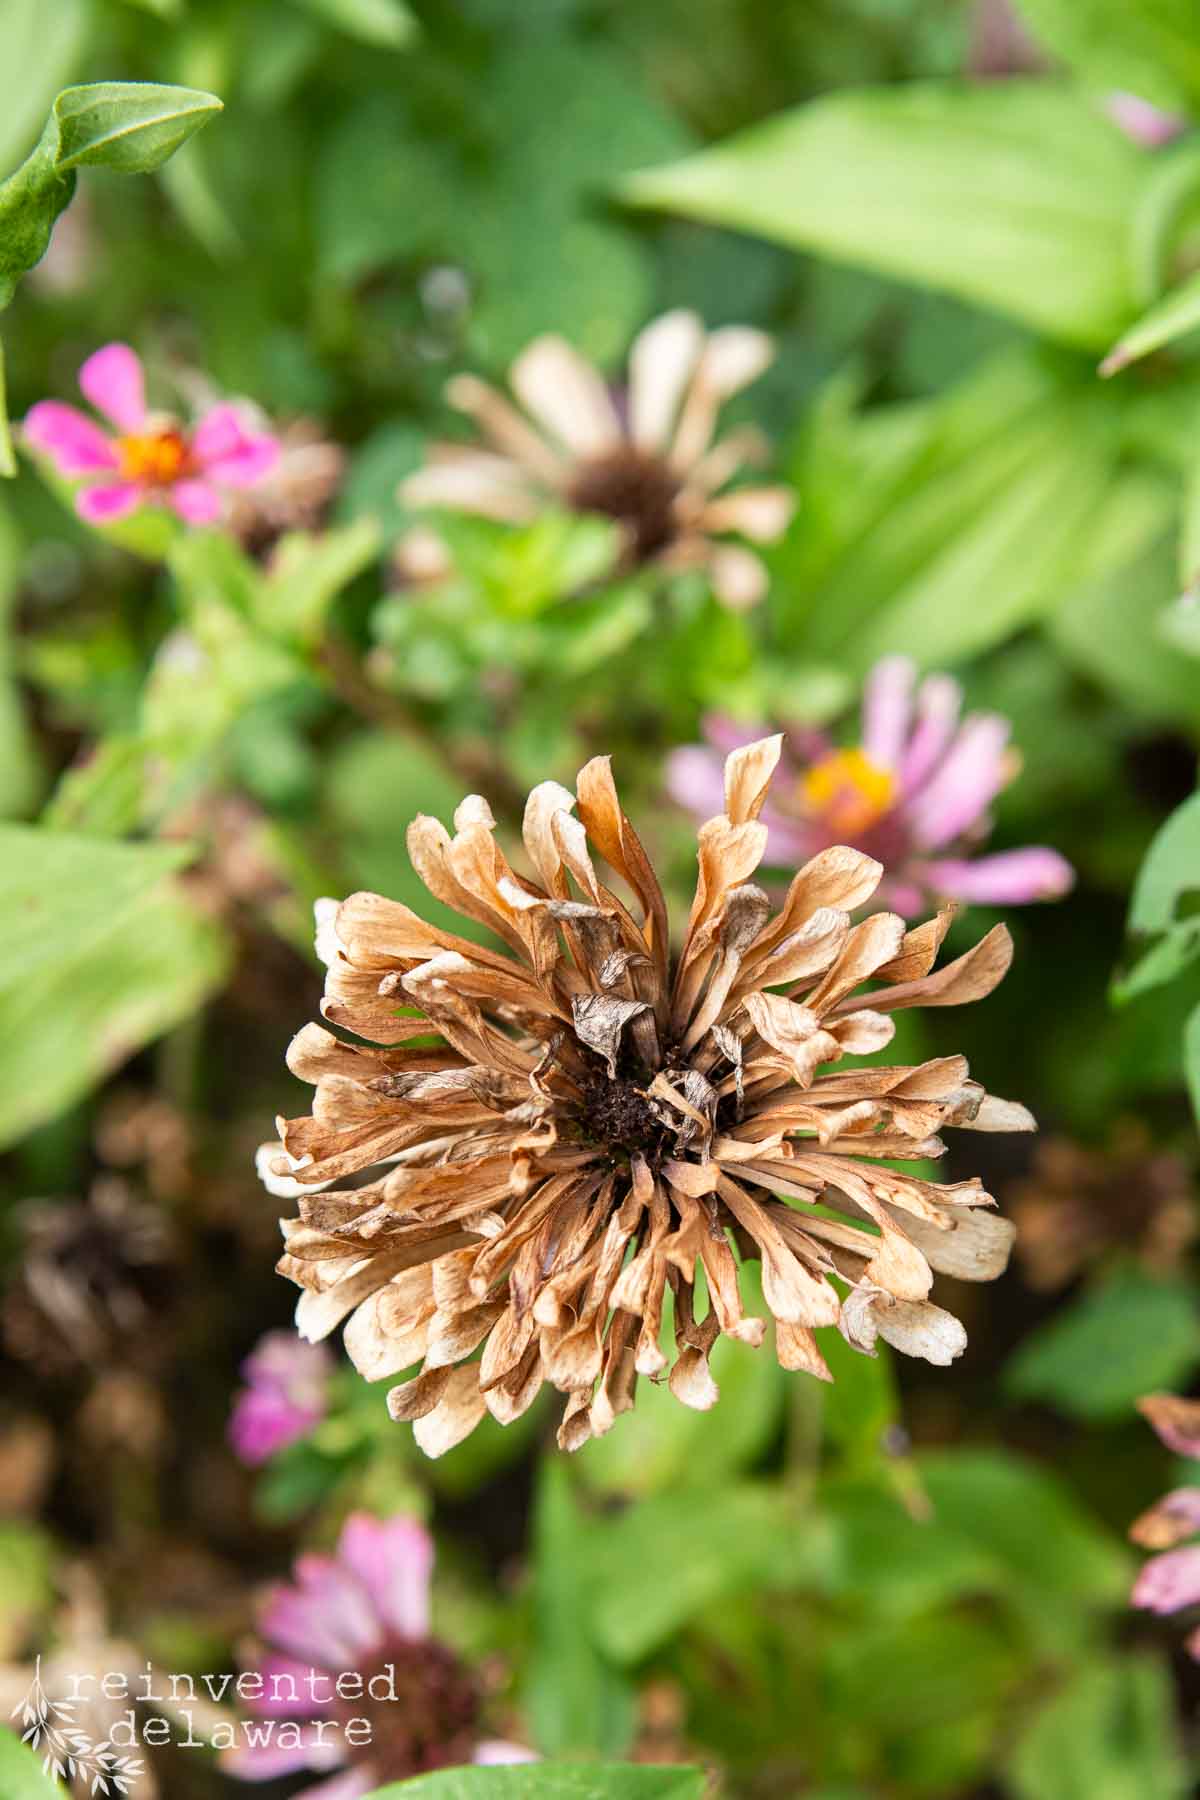
The best flower heads to harvest zinnia seeds from will still have a bit of color in the petals but are dry. Also, look for petals that are still intact.
drying the seed heads
Once you have located the seed head of a mature zinnia plant, snip it off and put it in the bag. I like to hold the bag so that when I snip it, the flower head will drop right into the paper bag.
Harvest as many of this type of dried bloom as you like. You can even do this step over several days.
You have the option to leave the seed heads in the paper bag while they continue to dry. You can also place the flower heads on a paper towel or paper plate and allow them to dry.
Dry the seed heads for 7-14 days depending on humidity, heat and how dry they already were before cutting them. The drying process depends on those factors.
If you cut blooms before they have dried out on the stem, you risk the seed heads not forming completely. This could result in less success with your zinnia blooms and could result in the zinnia seedlings not even germinating.
Be sure to label each with the name of the zinnia variety so that you don’t get them mixed up when it is time to store them. This is especially important if you like to label your zinnia varieties in your garden beds.
separating seeds from chaff
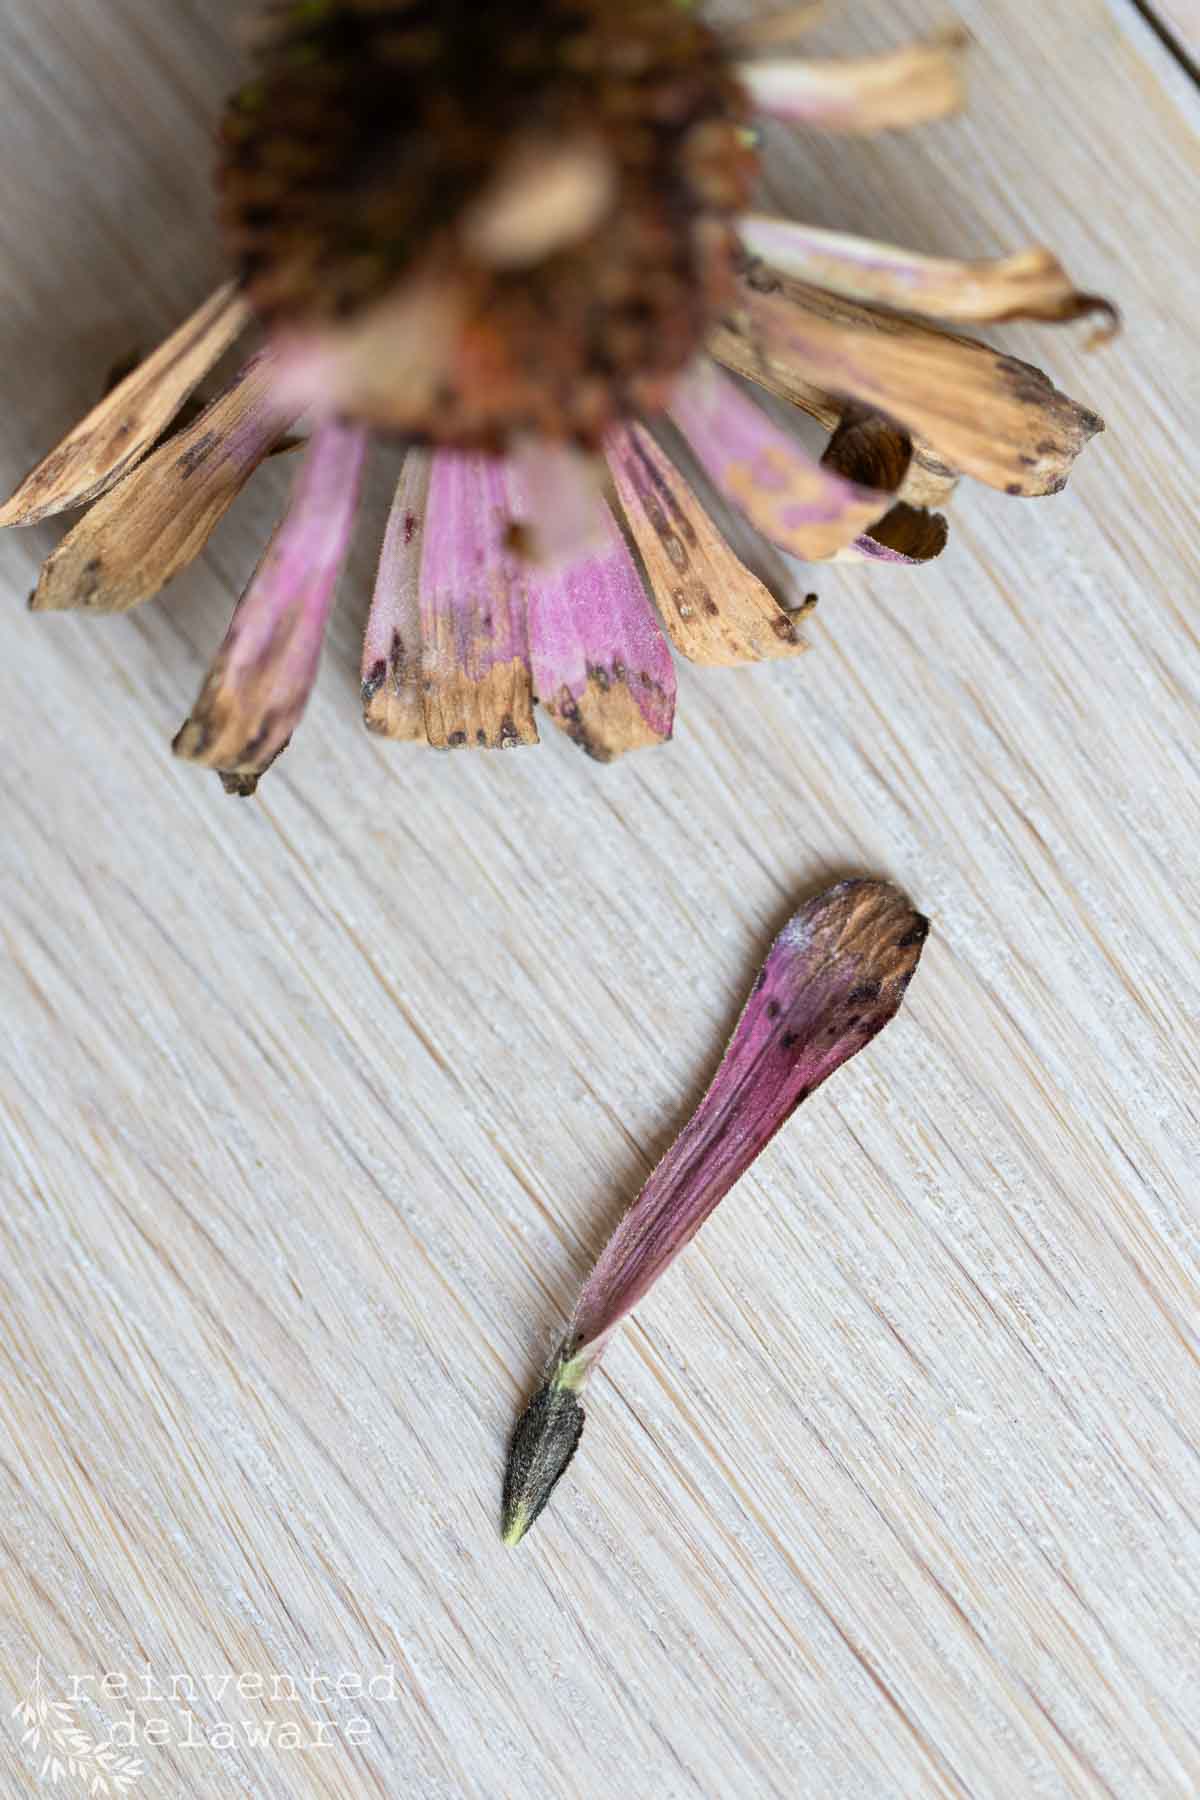
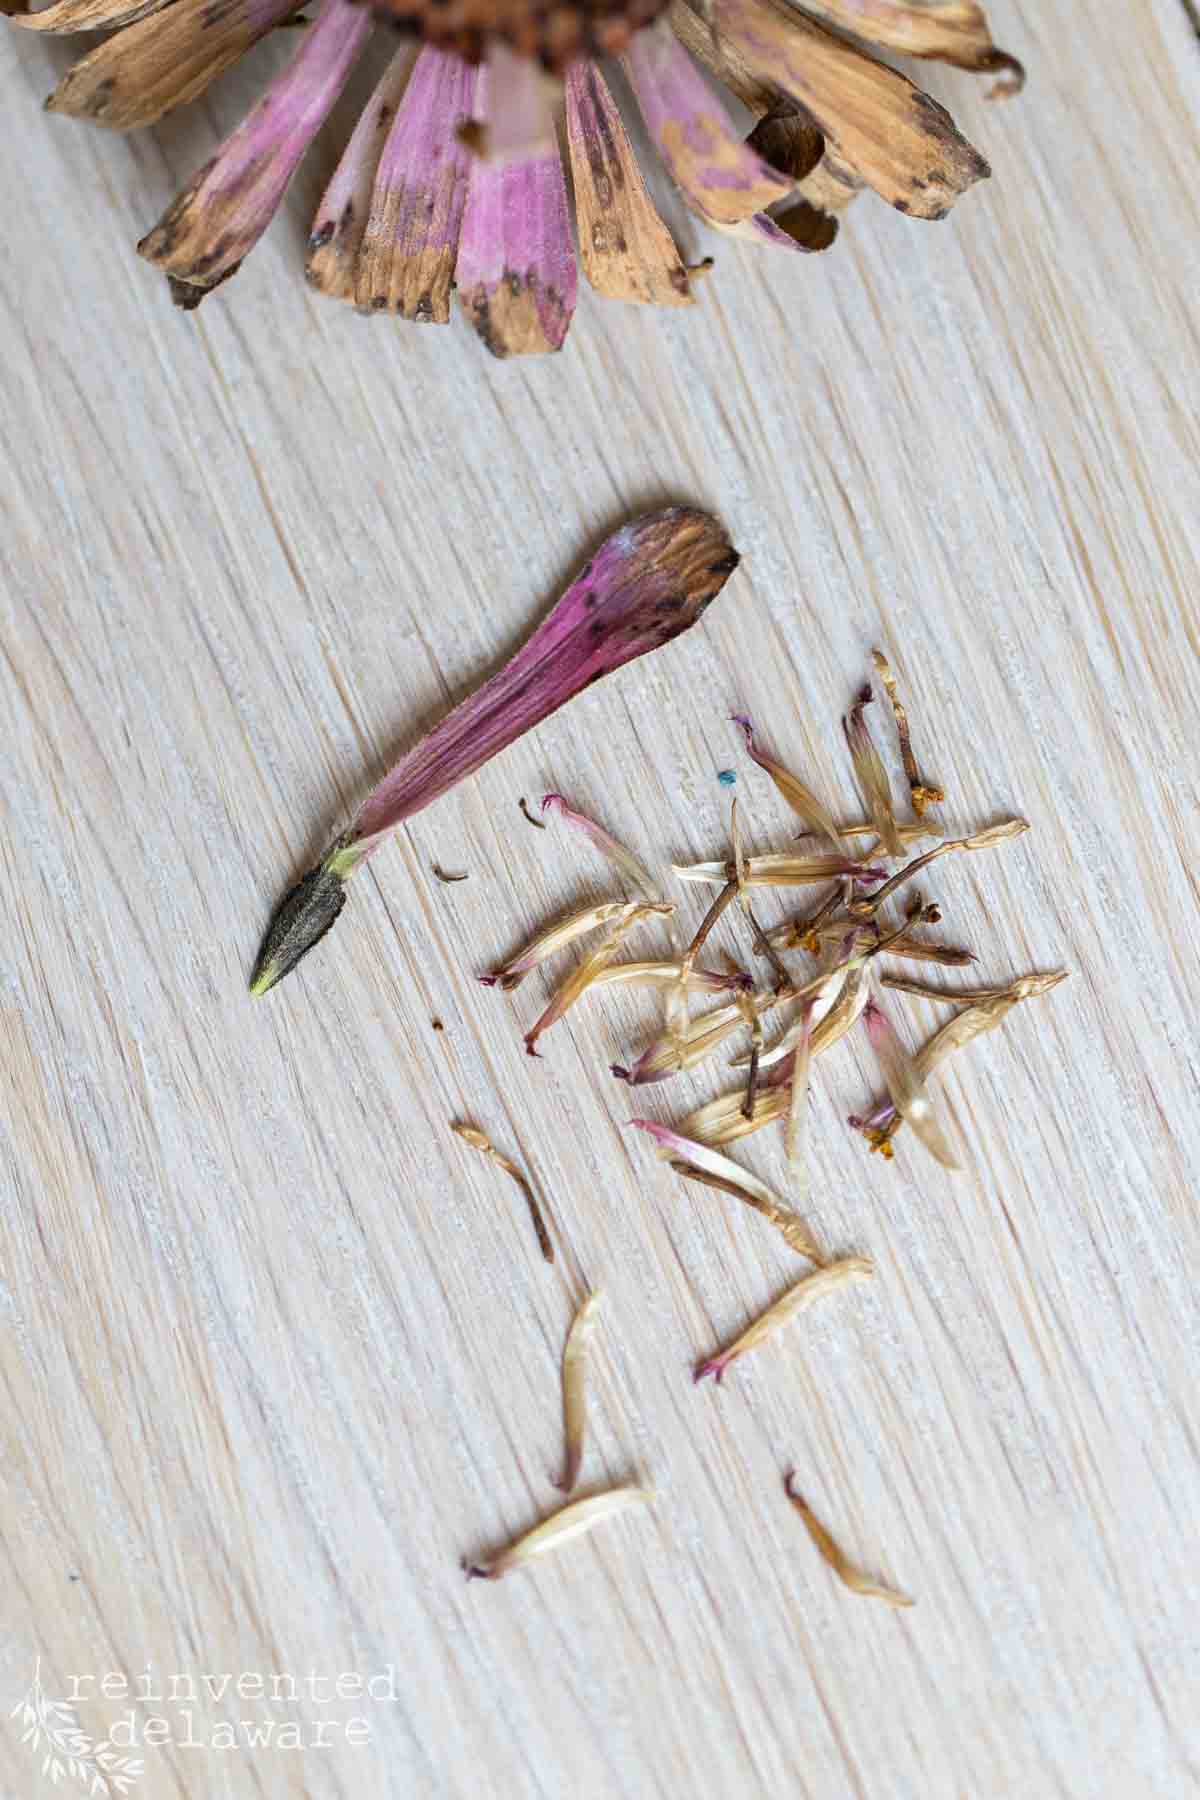
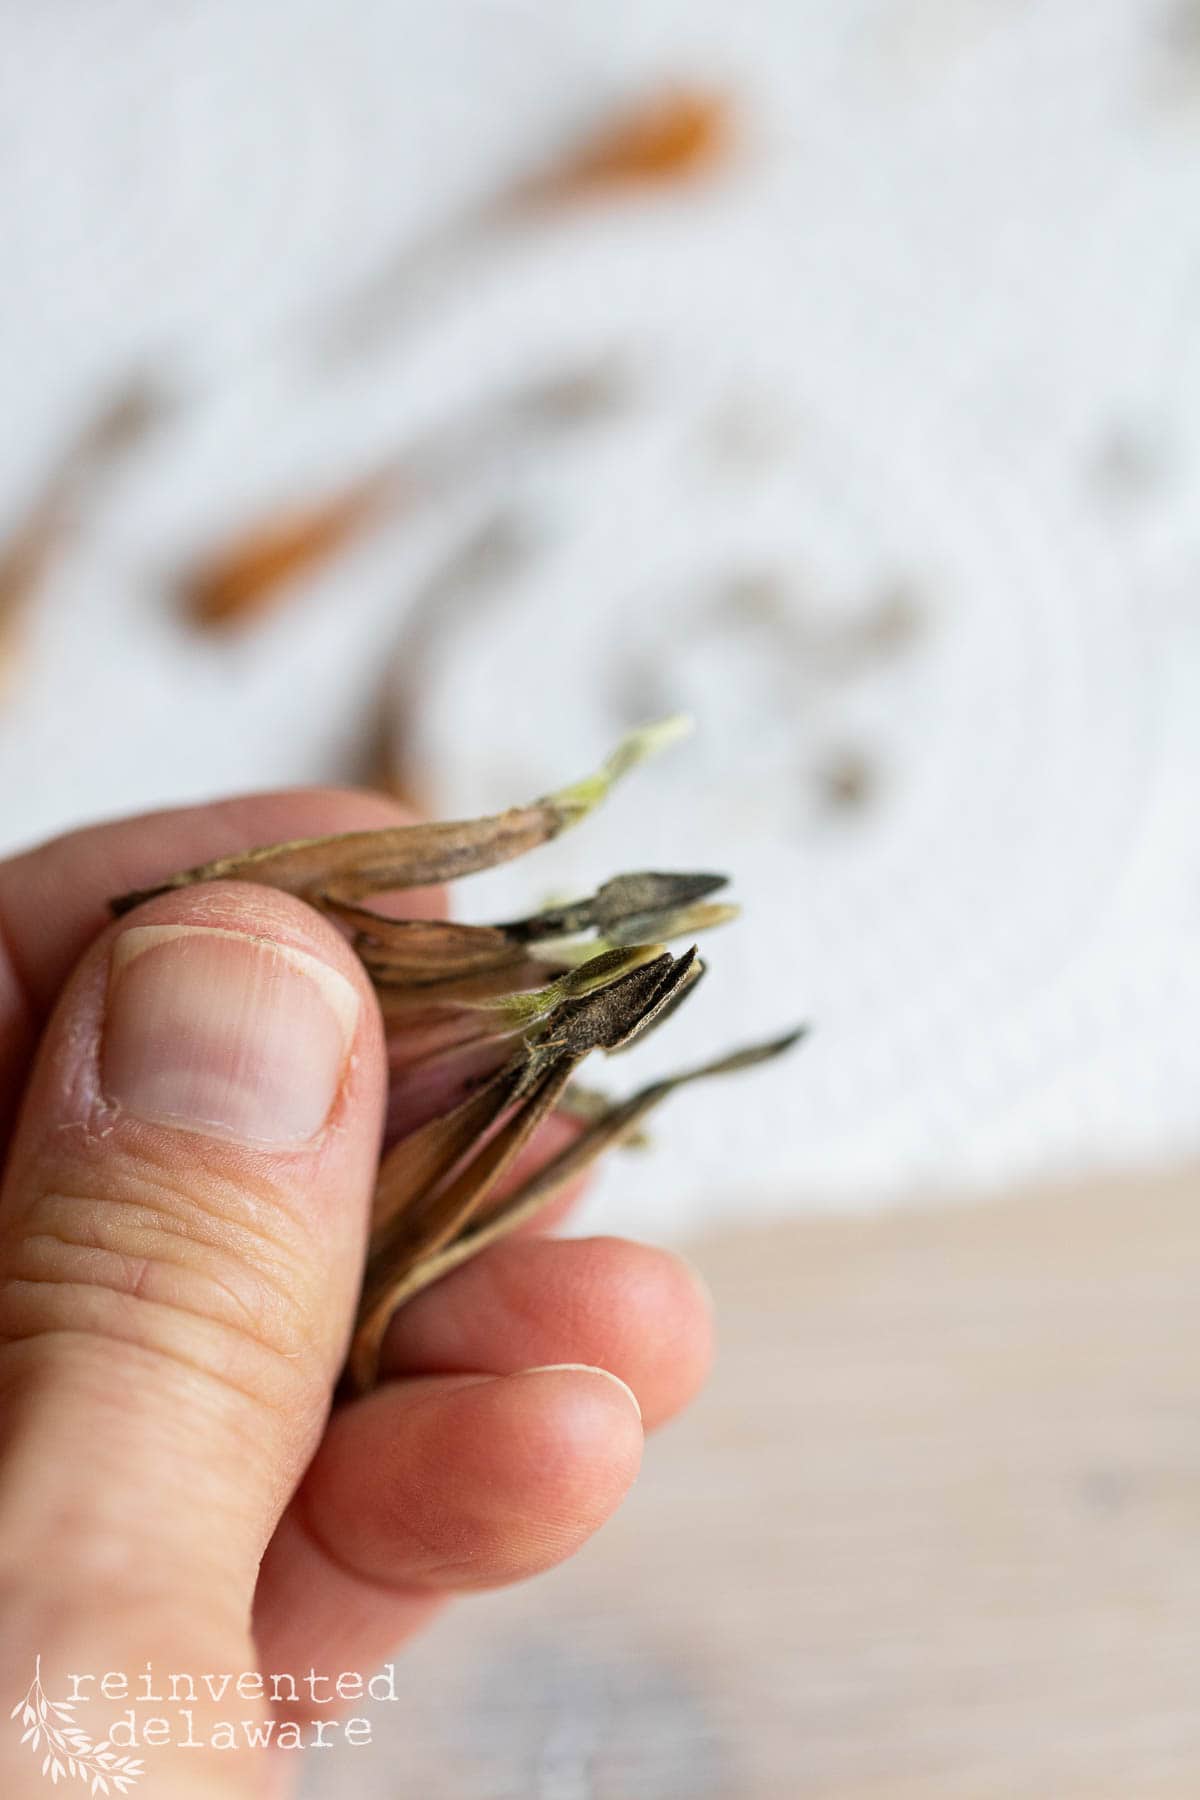
Once the seed heads have dried out, it is time to separate the healthy seeds from the main seed head. The viable seeds are found at the base of the petals where the petal attaches to the head of the zinnia flower.
The dome-shaped center is chaff, a protective covering for the seeds. You can see the difference between the chaff and the actual seed in the images in this post.
I like to hold the end of the petals while they are still attached to the flower head and pull them out. Then I can grab the seeds with my other hand and separate them from the petals.
If you don’t already have flowers to save seeds from, I’ve included several seed packets that I think you will enjoy. Click the small images below to shop!
- brown seed envelopes
- floral snips
- zinnia (and other flowers)seeds variety pack
- small glass jars
shopping links

You can also pull out the petals, lay them out on the paper plate, and separate them individually.
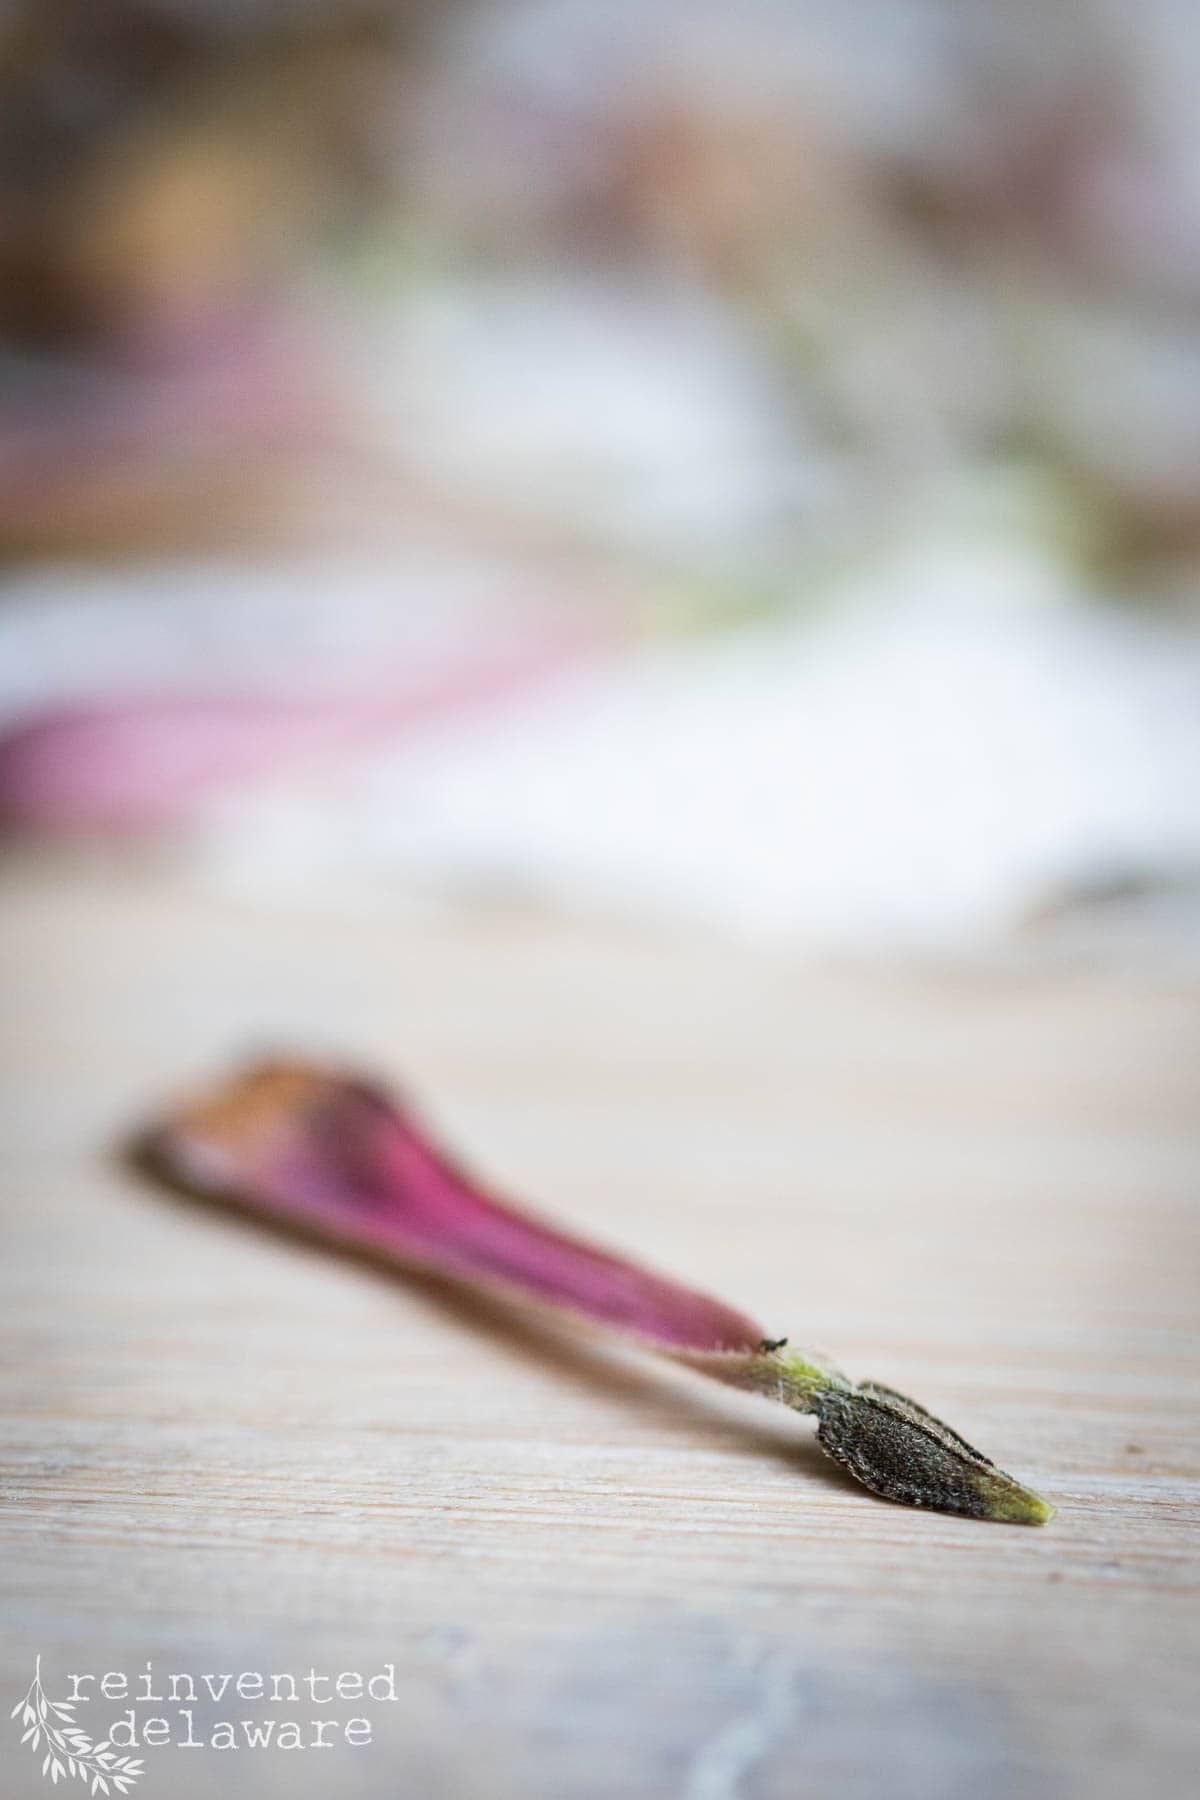
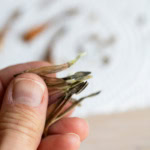
The mature flower seeds look similar to an arrowhead and are easy to spot. Look at the image below and you will see the arrowhead-shaped dark area with some green showing through. That is the seed!
thanks for being here!
I hope you are enjoying this project! Let me know if you have any questions. Or leave me a comment to tell me about your project and ideas!
thanks, Cindy 😀

precautions when harvesting zinnia seeds
There are some precautions to take when harvesting your zinnia seeds. Here is a list of things to look out for:
- powdery mildew – a fungal infection that creates a white haze on the leaves and stalks of the zinnia plants. Avoid those plants to get healthy zinnia seeds
- distinguish chaff from seed – it might be tempting to collect all of that chaff from the center of the flower head in hopes of a few real seeds but save space by only collecting real seeds!
- bugs of any kind – look out for beetles, aphids, and spider mites on the flowers so that you don’t spread their eggs in your seeds!
- immature seeds – seeds that have not fully developed to maturity won’t produce the beautiful zinnia flowers you want!
Below you can see the difference between the chaff and the actual seed.
why save your own zinnia seeds
Harvesting your own zinnia seeds is a cost-effective way to have a gorgeous cut flower bed to enjoy. Saving the seeds doesn’t take much time and is a fun and interesting experience.
Purchasing new seeds can be expensive! I want beautiful blooms in my cutting garden but I don’t want it to cost an arm and a leg!
Also, I want to get different zinnia varieties than the ones I already have. Saving seeds will help the seed-buying budget for next year!
how to store zinnia seeds
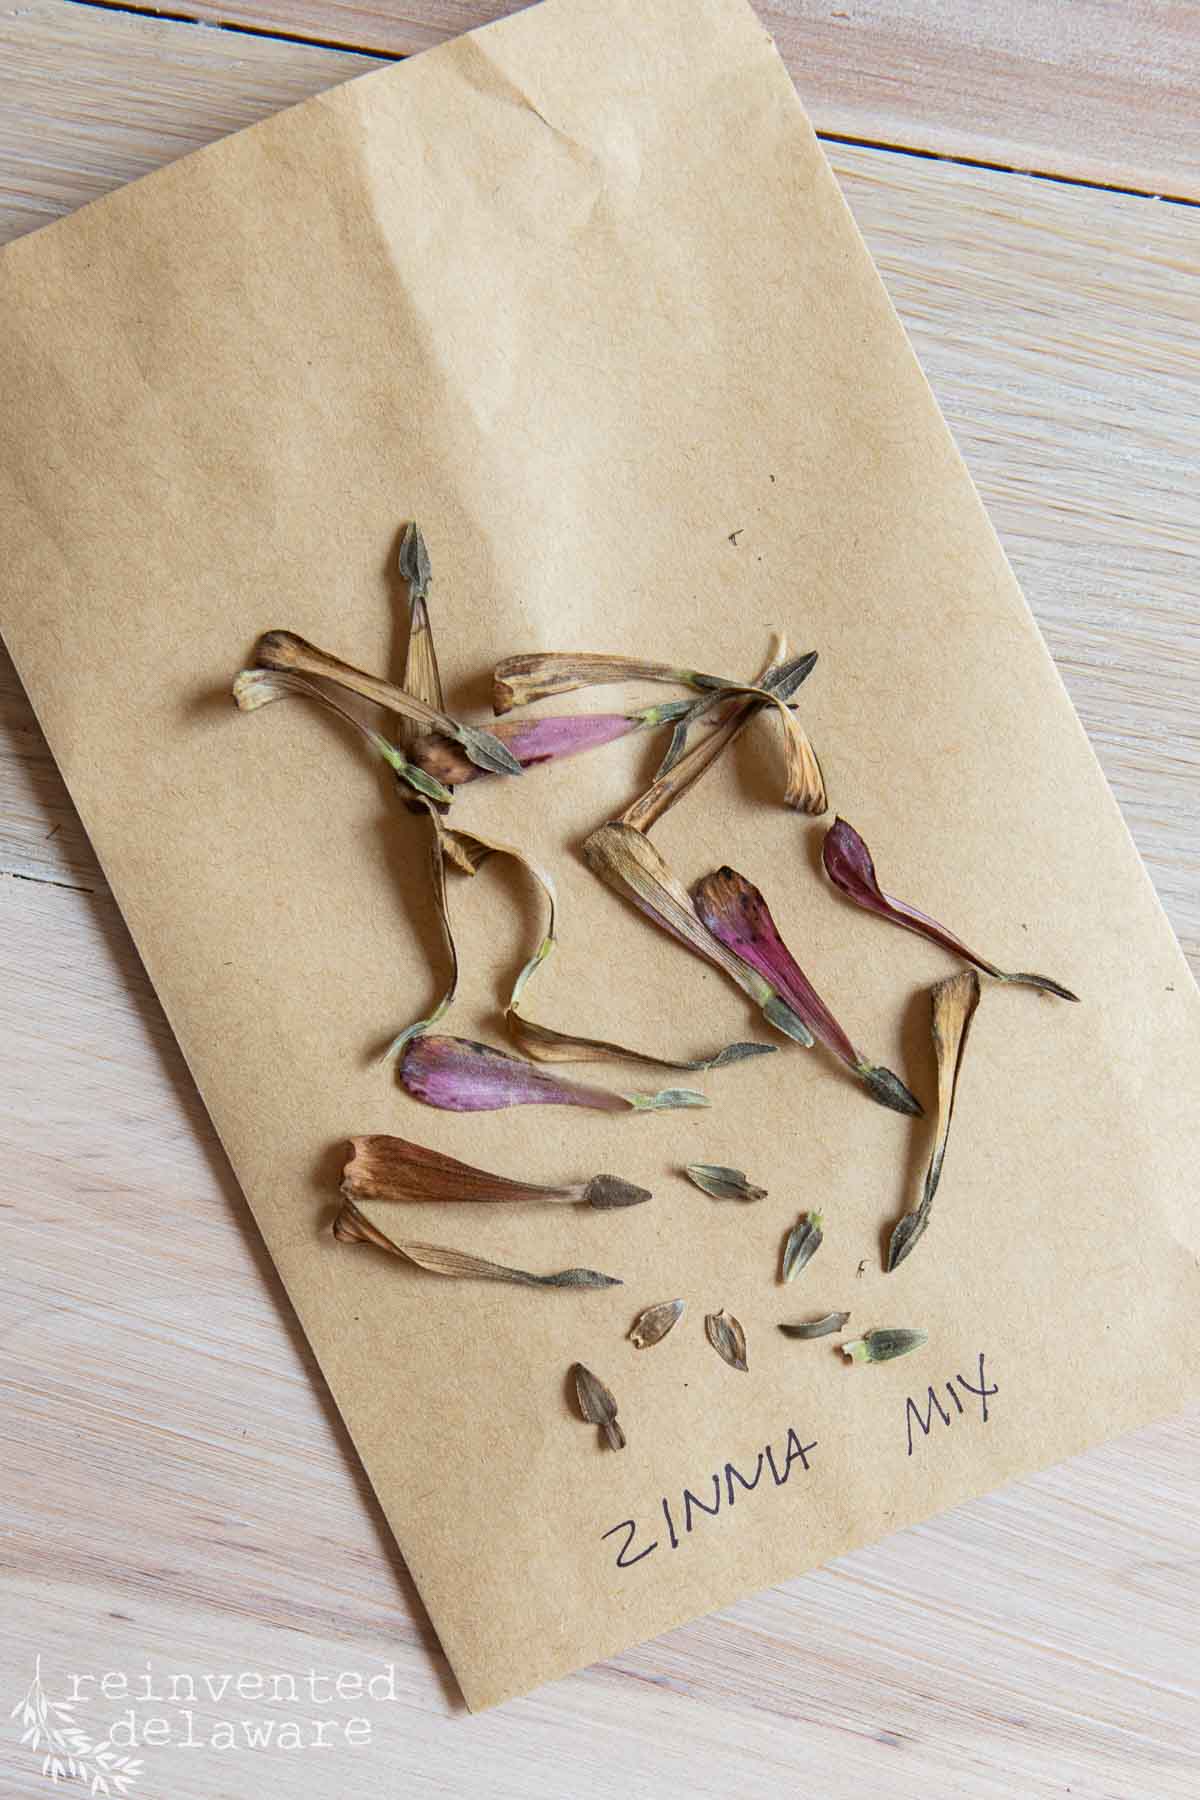
Storing your zinnia seeds is the final step! There are several ways to store the harvested zinnia seeds. Here are a couple of ways to store the seeds. Let me know if you have other ideas for seed storage!
brown paper bags
Brown lunch bags are inexpensive and a great way to store seeds you have saved. They can be rather large so I usually don’t use them.
paper envelopes
I like to use a brown paper envelope for my seeds. They are easy to label and will hold a ton of seeds. The size is perfect for seed storage! For me, they are the easiest way to store seeds. You can use separate envelopes for the different zinnia varieties. Label each envelope with the specific variety.
small glass jars with lids
Some people like to store their seeds in a glass jar like a small mason jar. That would be adorable especially if they were all stacked up and filled with all sorts of flower seeds! The seed name could go on the lid for easy identification.
The glass jar would be a great airtight container if you are concerned about moisture and mold getting into the seeds. Be sure the seeds are completely dry before storing them in glass jars!
For best results store the seed packet or jar in a dark place. A cool dry place is better than a hot and humid spot in your home.
keeping mice and pests out of stored seeds
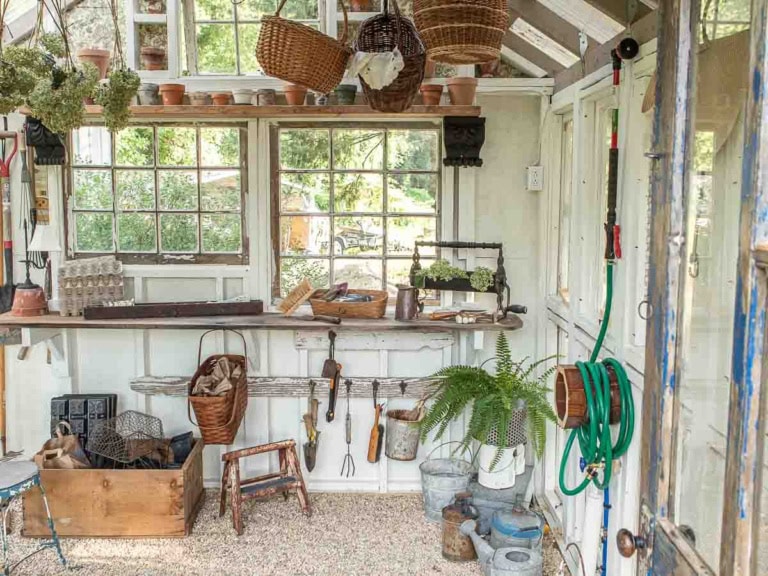
I learned about this problem the hard way. The first year I saved zinnia seeds, I stored them in small brown envelopes in an open basket in my garden shed. Mice found them and ate most of my collection before spring!
Paper envelops and bags are great for labeling and organizing, but they aren’t enough protection on their own if your’re storing seeds anywhere mice can get ot, like a she shed, garage, or barn.
Here’s what actually works:
- Keep your labeled paper envelopes inside a sealed container with a tight lid, like a metal tin, a glass jar, or a hard plastic storage box. The paper keeps things organized; the hard container keeps the mice out.
- Avoid open baskets or bins for seed storage if there’s any chance of mice getting into that space.
- Store the container up off the floor if you can. Mice are more likely to find seeds at ground level.
- Check on your seeds every few weeks through the fall and winter, just the make sure nothing has chewed through or gotten in.
Once I switched to storing my envelopes inside a lidded tin, I never had the problem again.
sharing zinnia seeds with others
After harvesting zinnia seeds, you will have enough seeds to give away! A small gift like a package of seeds would brighten the day for anyone!
One of the fun aspects of harvesting and saving zinnia seeds is the opportunity to share them with your family and friends! Can you just imagine the joy you could bring to someone by offering them zinnia blooms in the form of seeds?
Be sure to label the packaging so they know what type of zinnia you have saved for them and include information about planting the seeds. Tell the recipient how much you have enjoyed making arrangements from these long-lasting blooms!
You could even have a seed exchange in which you save and swap different varieties of zinnias with others!
I have big plans for the next growing season to add to my collection of zinnia seeds. Collecting different colors of these gorgeous blooms is going to be fun!
when to plant zinnia seeds
Here is a quick planting guide to get you excited for next’s years zinnia garden:
- The best time to plant zinnia seeds is after the last frost date for your growing zone.
- Plant the zinnia seeds directly in the ground and be prepared to thin the seedlings once started.
- Pinch back new growth once the plants are 8-12″ in height. I have pinched them back even sooner with success. Pinch back to the first set of true leaves, not the tiny leaves that grow once germinated.
- Keep the new plants watered until established and then once per week afterward.
- Prune often for fuller plants. Bring the clipped flowers indoors for beautiful arrangements that last up to 2 weeks!
- Zinnia plants may need to be staked and or string trellised to prevent flopping over.
saving other flower seeds
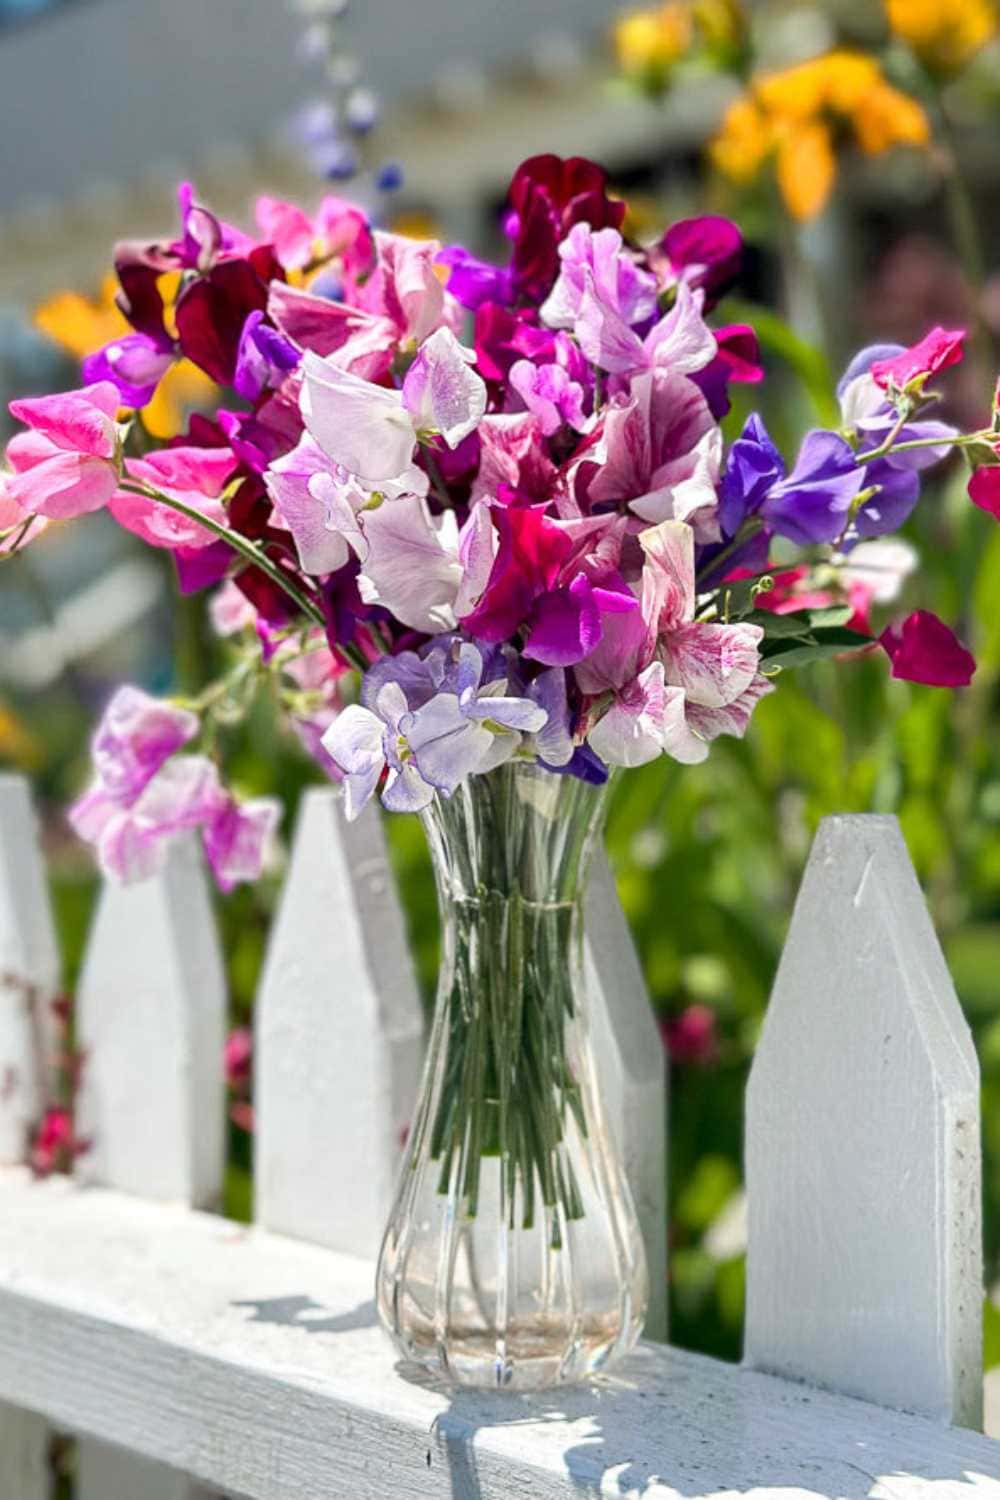
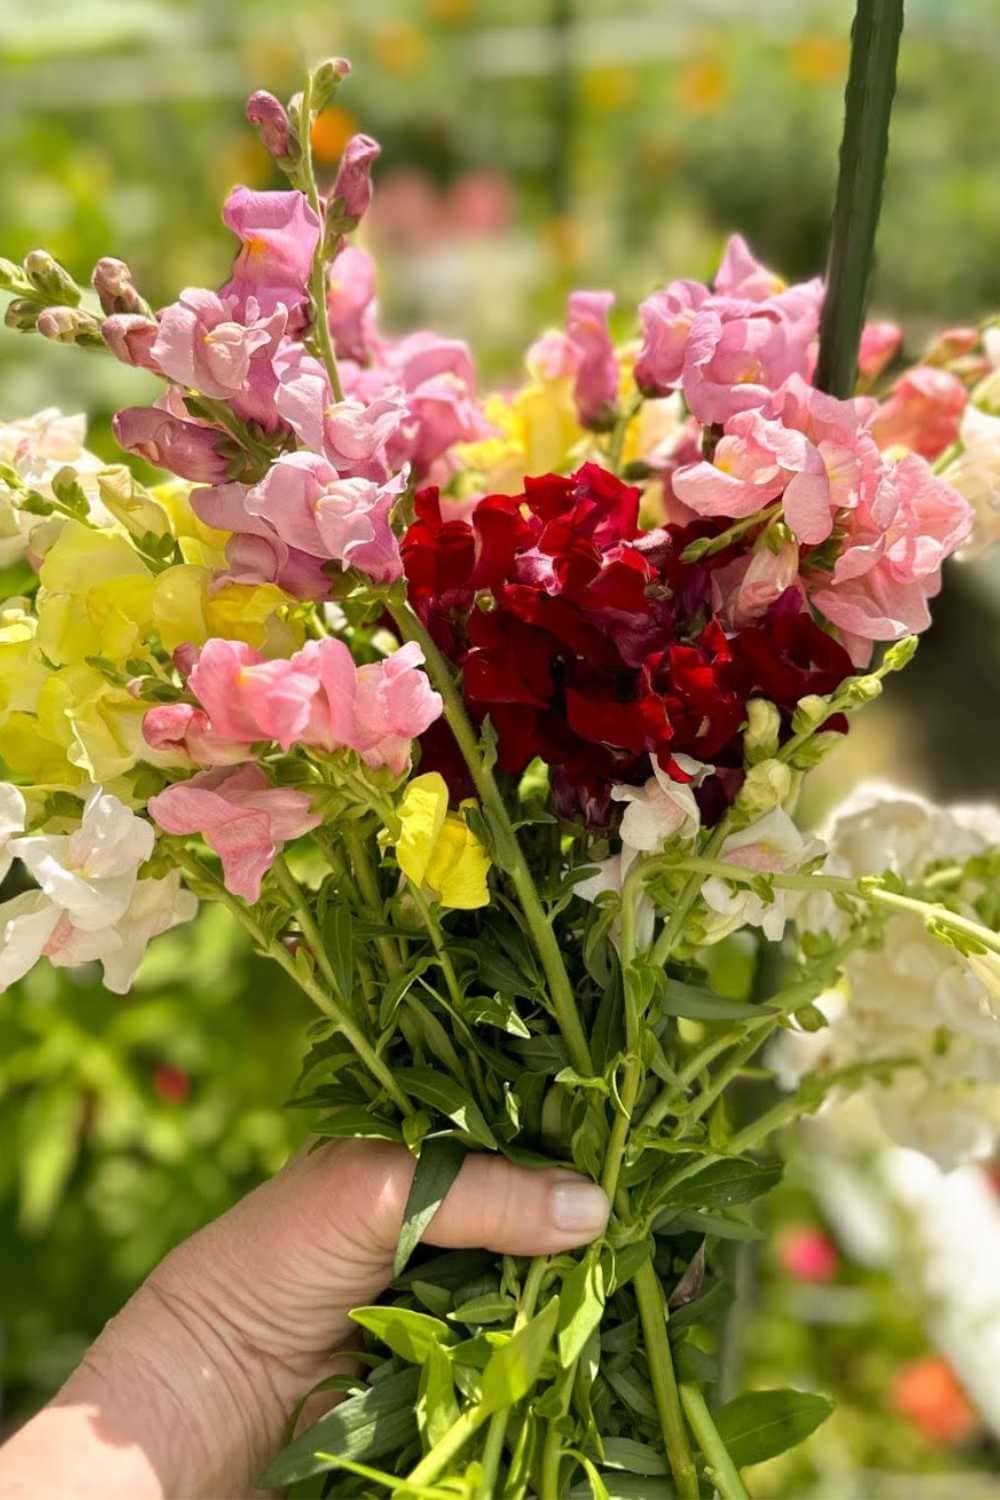
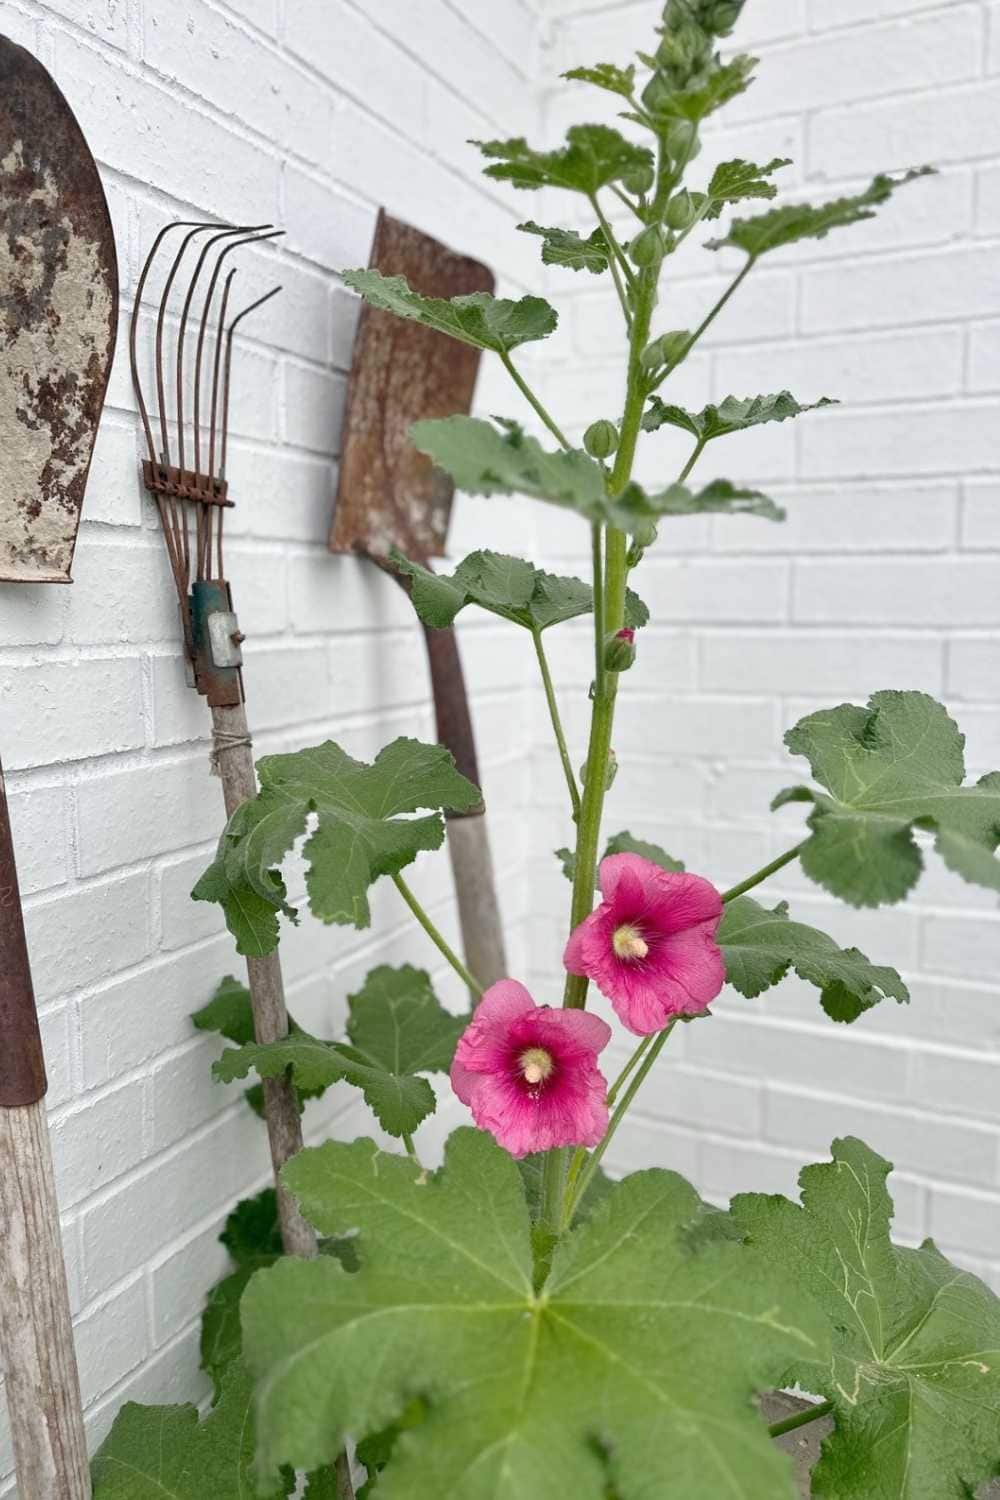
A group of my blogging friends who enjoy harvesting flower seeds are sharing their tips for seed harvesting for various flowers.
Tap the flower name below the image and learn how to harvest even more seeds for more new plants in your garden! One of my friends even designed the cutest seed-saving envelopes for you!
That’s really all there is to it. A little patience while the seed heads dry, and you’ll have a free flower bed’s worth of zinnias for next year!
Frequently asked questions about harvesting zinnia seeds
Late summer is ideal, but you can really harvest zinnia seeds any time through the growing season as long as the flower head has dried out on the stalk. Early morning is best so you’re not stressing the plant in the afternoon sun.
Yes. Dry the seed heads for 7- 14 days, depending on your humidity and heat, before storing them. If you store them too soon, moisture trapped in the seed can cause mold.
Usually, but not always. If your zinnias are hybrid varieties, the seedlings may not look exactly like the parent plant. If they’re open-pollinated varieties, they’ll typically grow true to type.
Store your seed envelopes or bags inside a sealed, hard-sided container like a metal tin or a glass jar with a tight lid, not just loose in a basket. Mice can chew through paper and cardboard easily, so the container itself needs to be something they can’t get into.
Properly dried and stored zinnia seeds usually stay viable for 2 to 3 years, sometimes longer if kept in a cool, dark, dry spot.
Yes, as long as the petals are dry and starting to fade. Look for a flower head with a little color still showing, but that’s dry to the touch; that’s a good sign that the seeds inside are mature.
tell me about you zinnias!
Have you saved zinnia seeds before? Tell me in the comments what variety you’re growing, I’d love to hear about it!
Recreate and Decorate
Join the Facebook Group and Share Your Projects With Us!

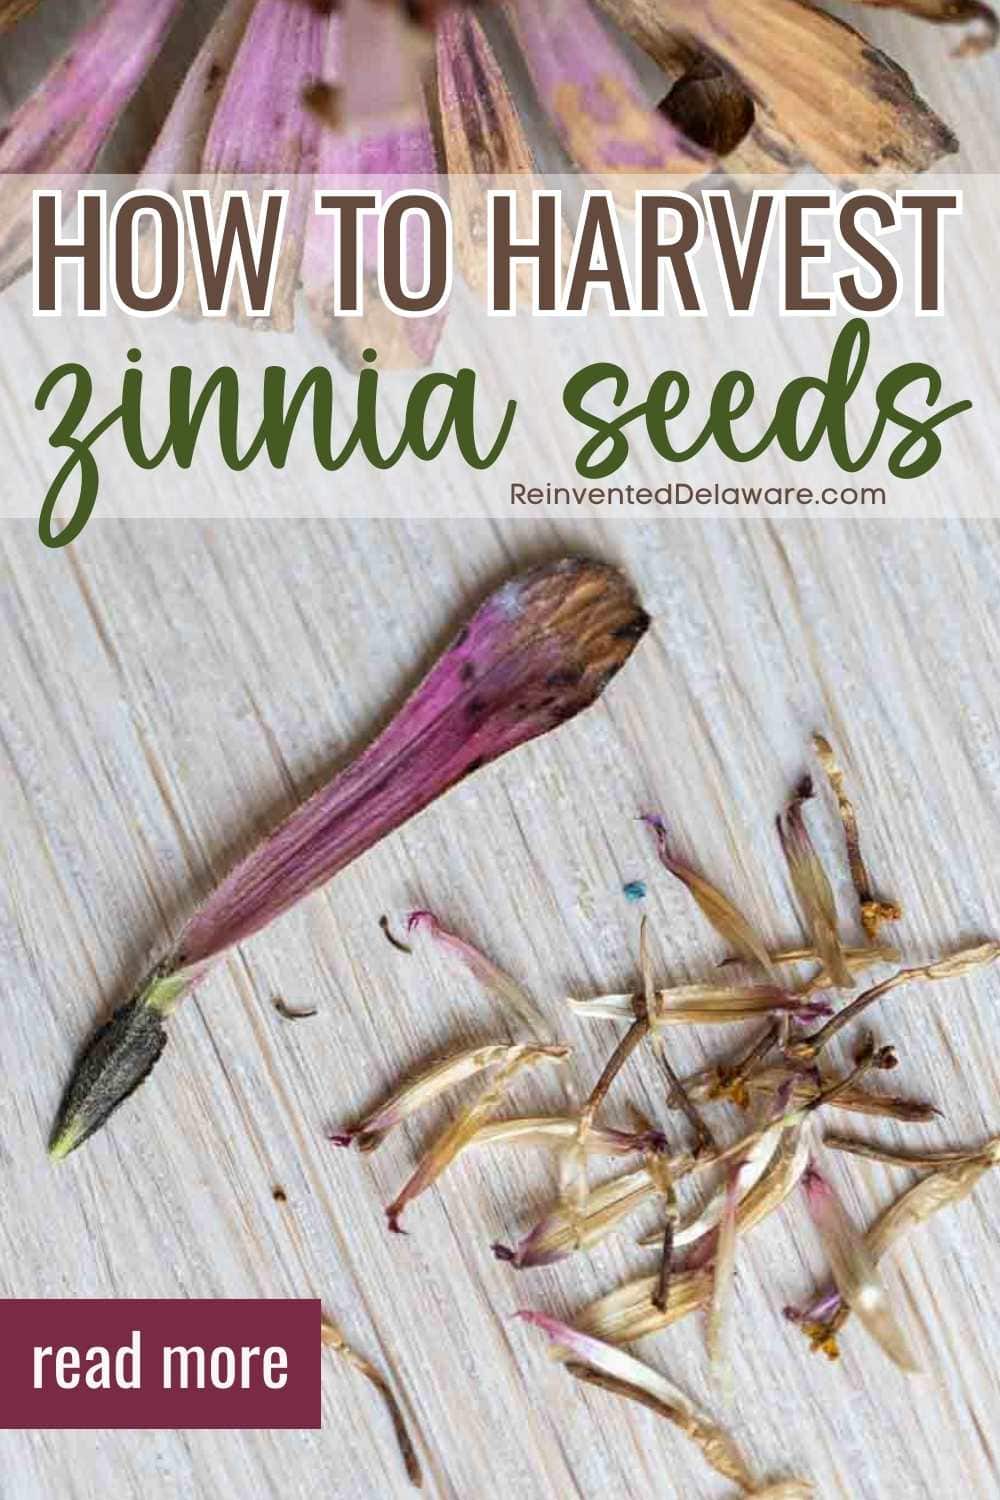
How to Harvest Zinnia Seeds
Instructions
- Wait until the flower head has faded and dried out on the stalk, ideally in late summer, though you can harvest zinnia seeds throughout the growing season. Pick a dry, sunny day and try to cut in the early morning before the afternoon sun stresses the plant.
- Use clean, sharp flower snips or pruners to cut the dried head from the stem. Look for heads that are mostly brown and papery, though a little leftover color in the petals is fine as long as the head itself is dry.
- Lay the cut heads out somewhere with good airflow, away from moisture, for about 7 to 14 days depending on humidity. Skipping this step or storing seeds too soon is the most common reason saved seeds mold instead of sprouting the next season.
- Gently rub the center of the dried flower head between your fingers. The seeds are small, narrow, and pointy-tipped, and they'll pull away from the papery chaff fairly easily once fully dry.
- Label each envelope or paper bag with the zinnia variety and the date, especially if you're saving seeds from more than one flower type. Keep different varieties separated so you know exactly what you're planting next season.
- Paper alone won't stop mice, so place your labeled envelopes inside a metal tin, a glass jar with a tight lid, or a hard plastic storage box, and keep it off the floor if you're storing in a shed or garage. Check on your seeds every few weeks through fall and winter.
Visit my Amazon Storefront!
Click the button below and head over to our online shop on Amazon!


Cindy Rust
Cindy has been decorating her home with thrift store finds for 40 years. She is an avid thrift store shopper who loves to makeover the items she finds into vintage-inspired home decor and furniture. When she isn’t thrift shopping or painting a piece of furniture, you can find her making homemade butter, working in her garden, or painting with watercolors.
DIY Greenhouse & Garden Shed Build
See how we built our greenhouse and garden shed!
Decorate and Organize My Garden Shed
Join me as I orgainzie and decorate our garden shed!

So many great tips Cindy! Your flowers and photos are beautiful. Looking forward to sharing seeds with everyone.
Thanks Cindy.
First year with Zinnias. Lots of blooms but was not sure as to how to harvest seeds. Very small plot so need to put in varied colors.
You are going to love zinnias! Super easy to grow. The important thing to remember with harvesting zinnia seeds, is to allow them to turn brown on the stalk. They will continue to absorb all that they need for the next years blooming season!
I’ve never harvested my own seeds. Thanks for the tips Cindy.
Cindy, thanks for your timely reminder and excellent tips! I have a couple of potted zinnias and completely forgot it’s time to collect the seeds. Last year mildew took over and I didn’t get any healthy seeds. Crossing my fingers I will get a decent harvest this time!