
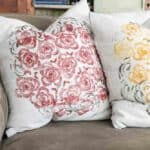
Easy Fall Painting Ideas | Painted Pillow Covers
It’s that time of year to think about the upcoming fall season and change the decor in your home! Make these easy-painted pillow covers in under two hours for just a couple of dollars!
painting tutorial
Do you love easy craft projects? Then you will enjoy this painting tutorial! The painted pillow covers can be made in a bit of time using a dropcloth and celery from your grocery store.
These easy fall painting ideas are a great way to bring fall colors to your home!
Later in this post, I will share an option to paint these diy pillow covers that I am sure you will enjoy.
I’ve also made a YouTube video tutorial for this project and I will share it later in the post.
The following post may contain affiliate links. That means if you click and then buy something, I will make a small commission at no additional cost to you! Thank you for supporting my blog. full disclosure here.
fall art projects
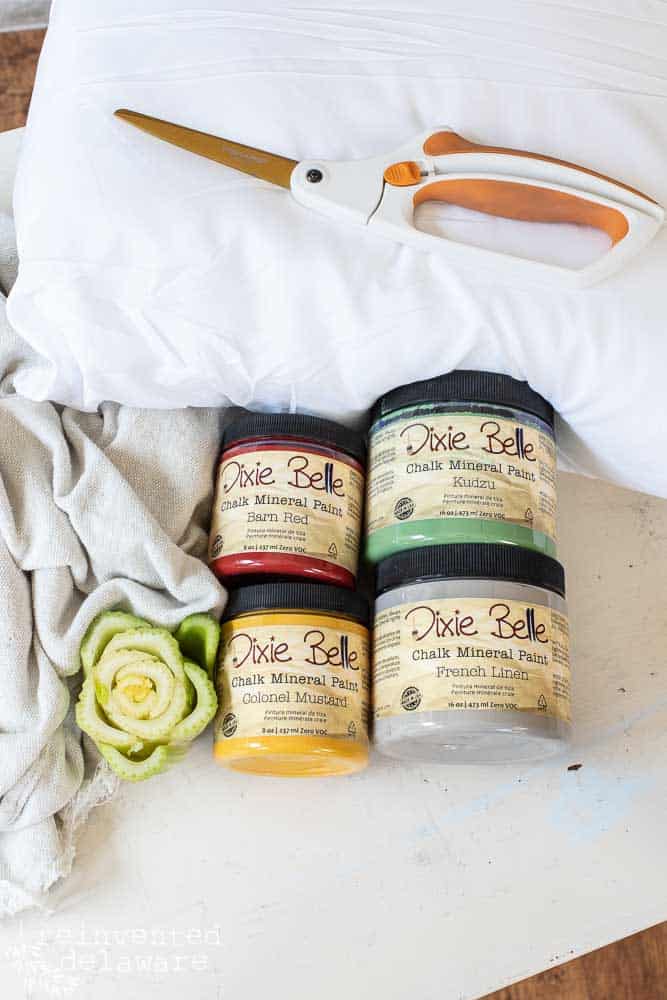
supplies for this DIY fall decor project:
- Dropcloth scrap at least 20”x48”
- Barn Red chalk mineral paint
- Colonel Mustard chalk mineral paint
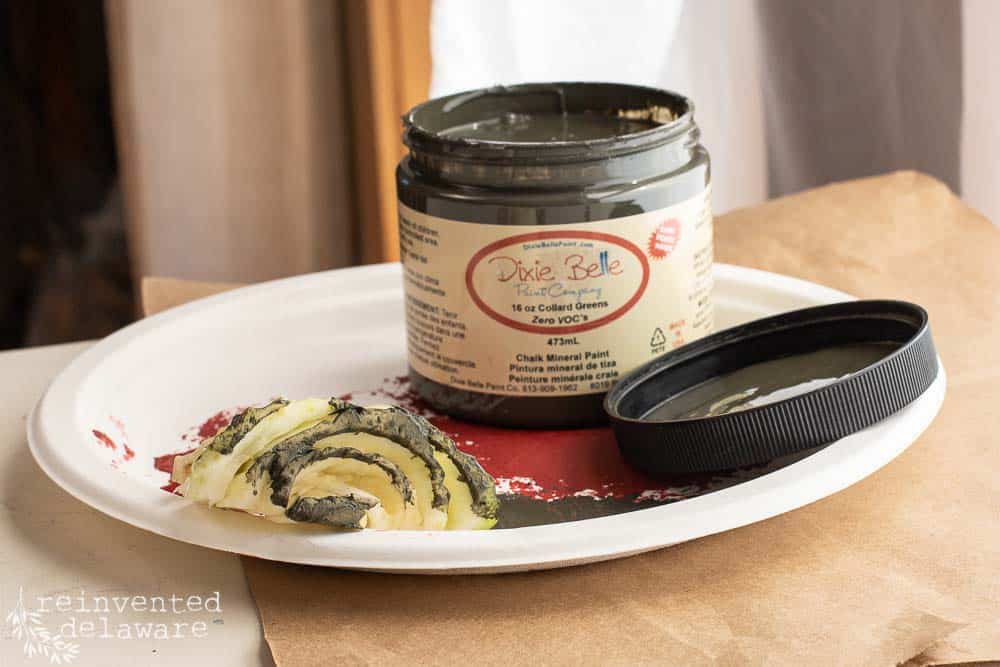
- Collard Greens chalk mineral paint
- 20″ pillow inserts (you will LOVE these inserts!!)
- celery
- brown paper
- fabric scissors
- sewing machine
- iron
- paper plate and paper towels
**BTW, I changed my mind on the green color that I originally chose – be sure to watch the video to see what I used!
Use the links below to purchase some of the supplies for this project! You are helping to support this blog and all the free tutorials we offer here! Thanks so much!😊

fall colors
Let’s chat about paint colors for a moment. Think about the colors you see in the fall season:
- Fall leaves in warm reds and yellows
- Autumn trees and shrub foliage in purple tones
- Exposed bark in brown and earth shades
- Rich green leaves on mums
- Orange pumpkins
All of these colors would be gorgeous for this project, don’t you think? One of my favorite fall home decor pieces to buy is actually for outdoors – fresh mums. They come in gorgeous fall colors and I knew I could make a painted design that would resemble a mum!
I love all of the fall colors we enjoy here in Delaware. Bringing those color combinations into our home helps us to enjoy the season even more!

easy fall painting ideas
Thinking about the coming autumn seasons got me thinking about an easy DIY pillow cover project.
Vegetable stamping with chalk paint!
But what could I stamp on? Then it popped into my mind that I needed new pillow covers with an autumn theme.
DIY envelope-style pillow covers!
Making these pillow covers is super easy and they only take four seams!
step-by-step tutorial
Handy tip: Prepare Ahead!
Be sure to lay down a protective layer of brown paper like a grocery bag, to protect from bleed-through!
step one prep the dropcloth
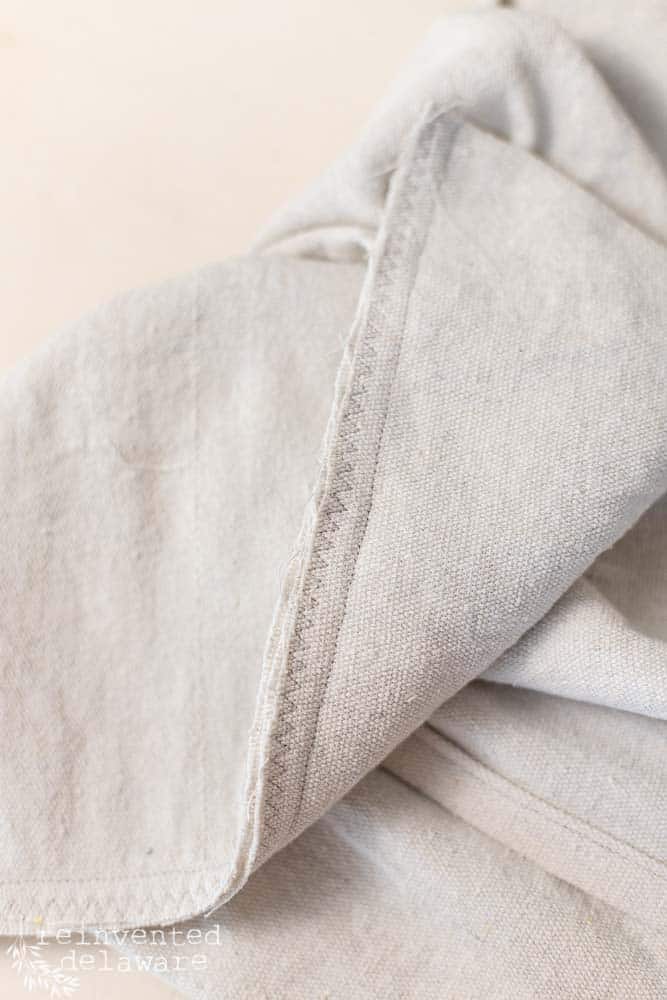
The first step is to prepare the dropcloth. My 8oz dropcloth was leftover from a previous project but I decided to bleach it again.
If you decide to use a dropcloth, cut the section you will need for your project, and immerse it in a bucket of water that has a lot of bleach in it. I used a 5-gallon bucket filled about ¾’ of the way with water and then I used a full bottle of bleach. Then I put a landscaping rock on top of the dropcloth to make sure there were no air pockets and that it stayed completely submerged in the bleach water. I left it soaking for a couple of days. Then I ran it through my washer and dryer.
You can also do this to the whole dropcloth. Depending on how large it is, you might have to use the washer and dryer at the laundry mat.
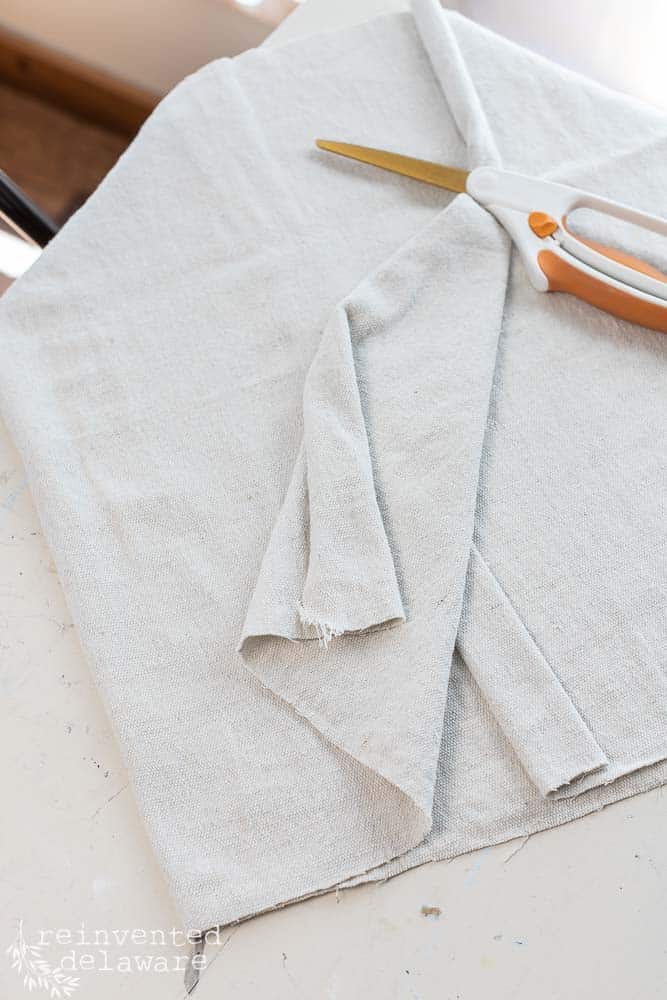
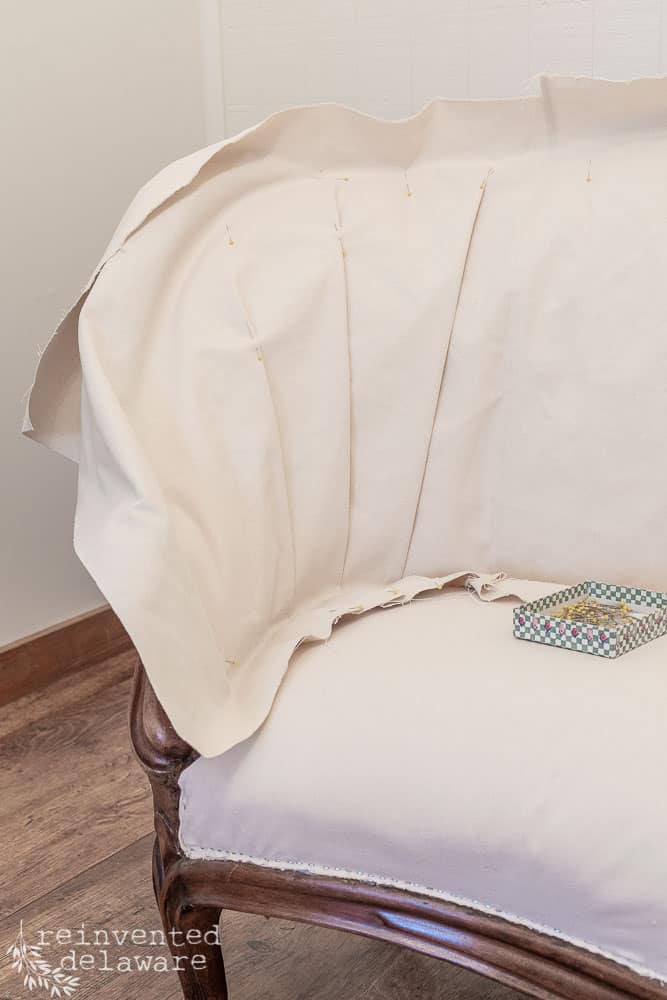
step two assemble the pillow cover
Cut the pillow cover according to the size you need. The finished size of the envelope-style pillow cover needs to be 2” smaller all the way around than the pillow insert you will use. My pillow inserts are 20” square so my finished pillow cover is 18” square.
Cut the dropcloth 19” x 48”. This will allow for a 1” hem on each end and ½’ seam allowances on the two sides.
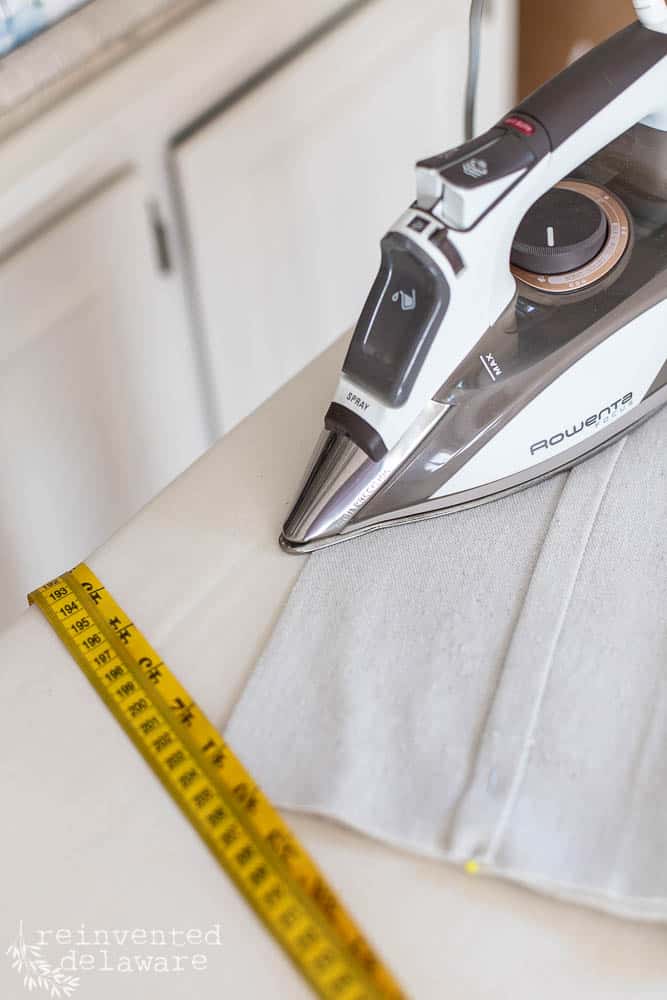
Next iron the hems in a double fold. I have a little trick for this. You will see it in the video. Stitch the hem down close to the folded edge.
Overlap the hemmed edges so that you end up with an 18” measurement. Iron a crease on the folded edge. This will give you a guide when stamping the painted pillow cover design.
step three stamp the pillow cover
I made a little mishap when I prepped the celery for stamping. Yes, I just said celery! When I was a kid, I remember cutting simple shapes like a star or heart in a potato and then stamping all sorts of things like tea towels or tote bags with paint. It was such a fun activity as a child.
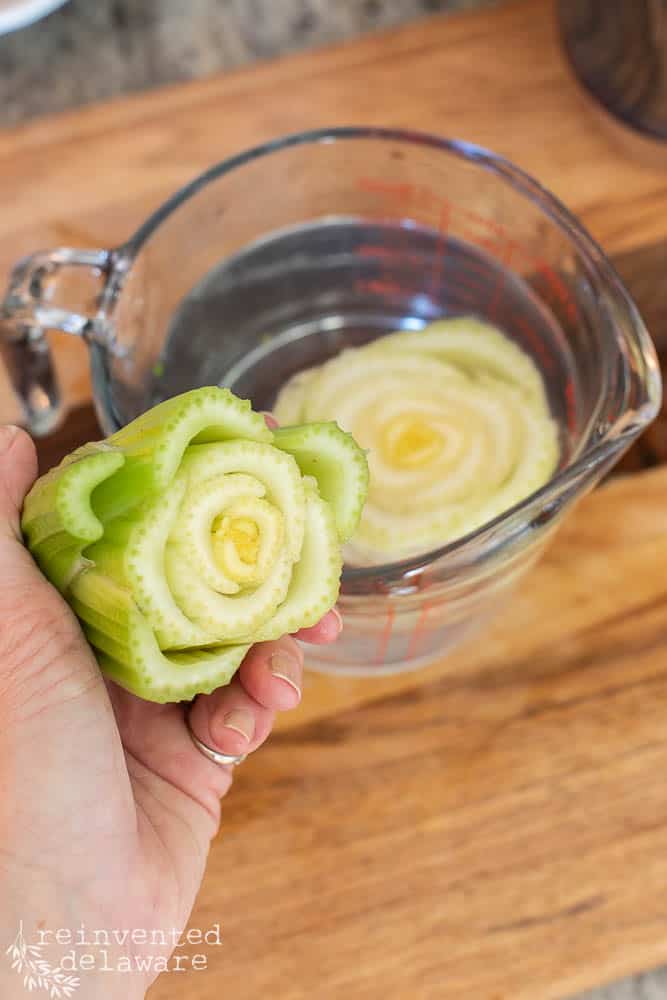
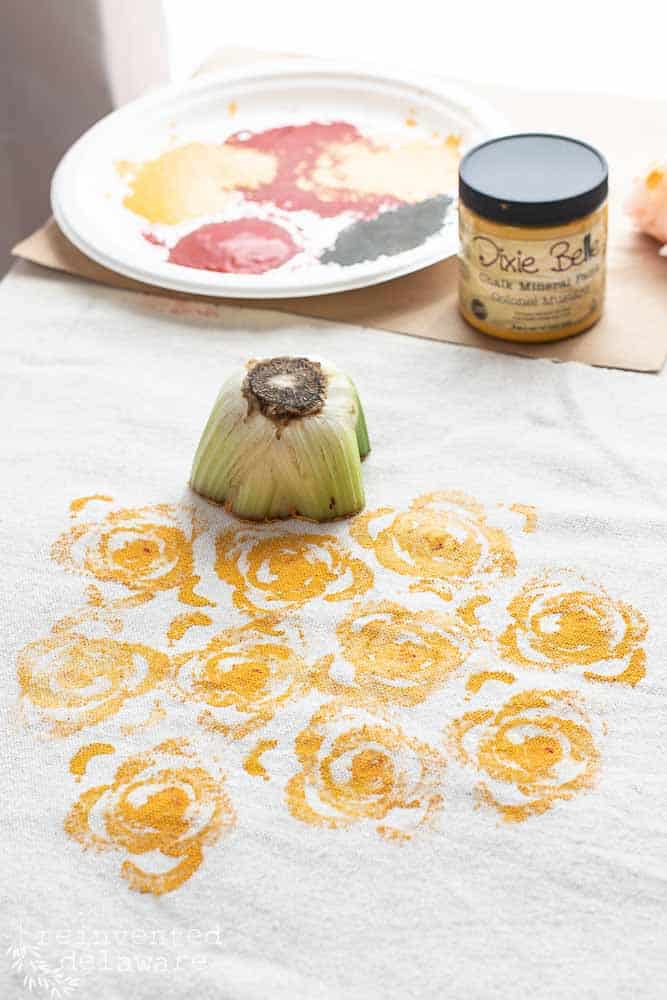
Cut the celery about 2” from the root end and then let it soak in water for about an hour. This will help to open it up a little bit. You are looking for a definition between the pieces of celery. Dry off the celery and let’s get to stamping!
Next, pour a small amount of paint on your paper plate and lightly dab the cut end of the celery into the paint, then offload some of the paint. It’s the same principle you use when stenciling. Find the center of the pillow cover between the two crease marks and press the celery on the drop cloth with a steady hand.
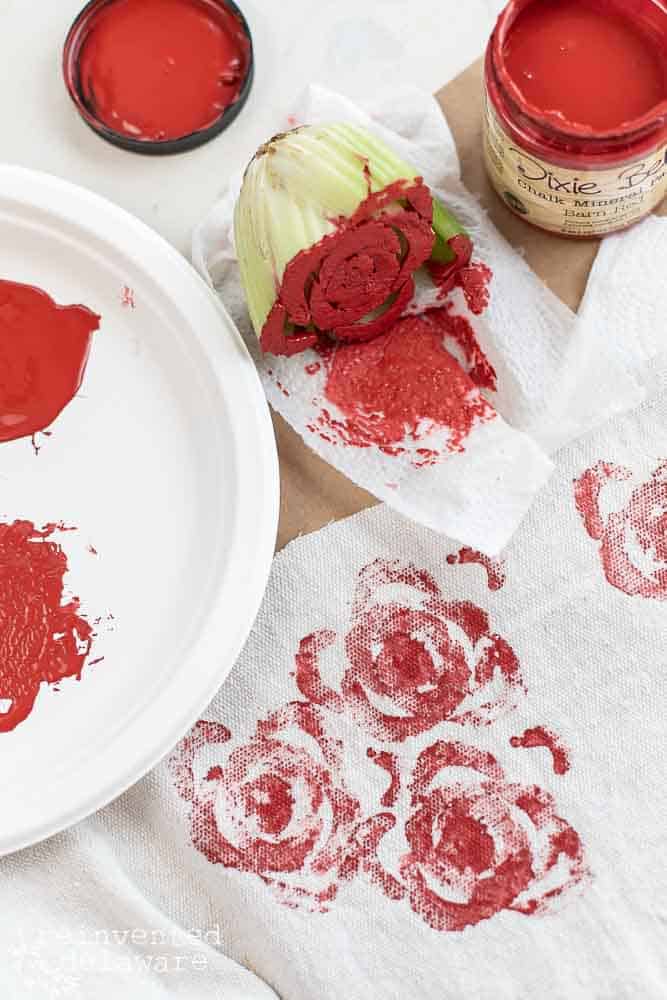
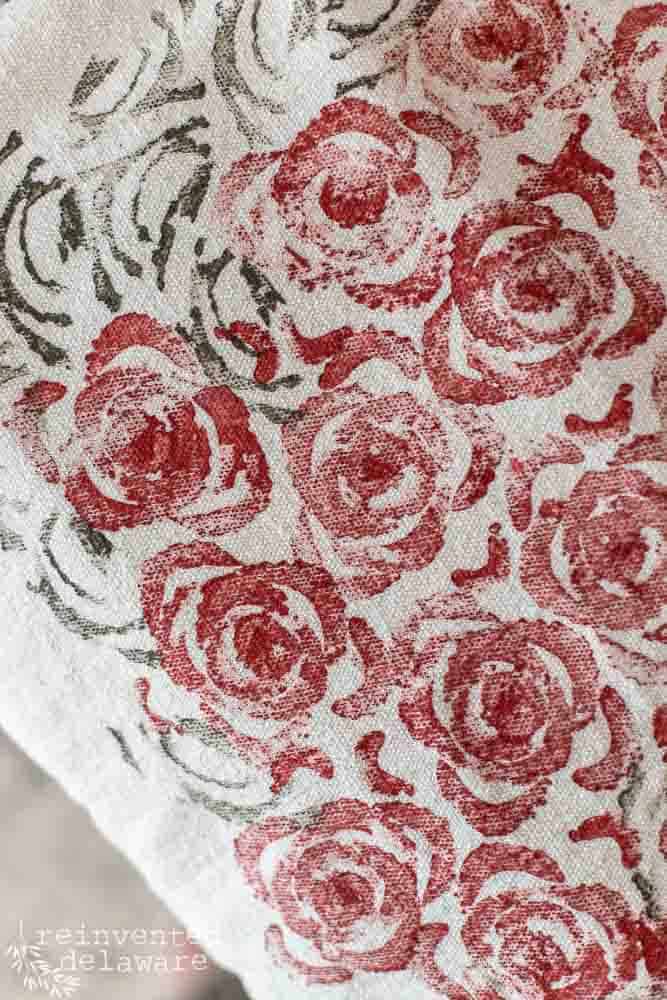
Repeat all over the area creating a roughly circular shape to represent the round shape of a mum. Be sure to turn the celery in different directions to add to the design.
For the leaves, I used another section of cut celery that I cut in half. It’s actually easier for me to explain by video so be sure to watch the YouTube video!
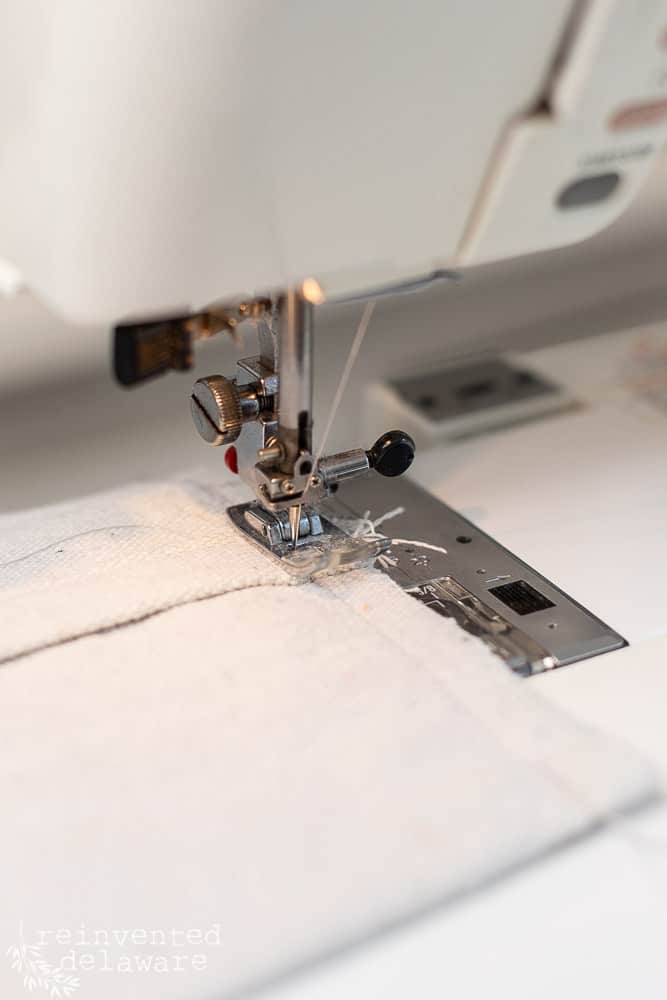
step four stitch the pillow cover
Allow the paint to dry completely. Mine literally baked in the sun outside! Then heat set the painted area by laying another cloth over the painted areas and placing the iron on the section. Pick up the iron after about a minute and move it to the next section. Avoid moving the iron like you normally would when ironing clothing.
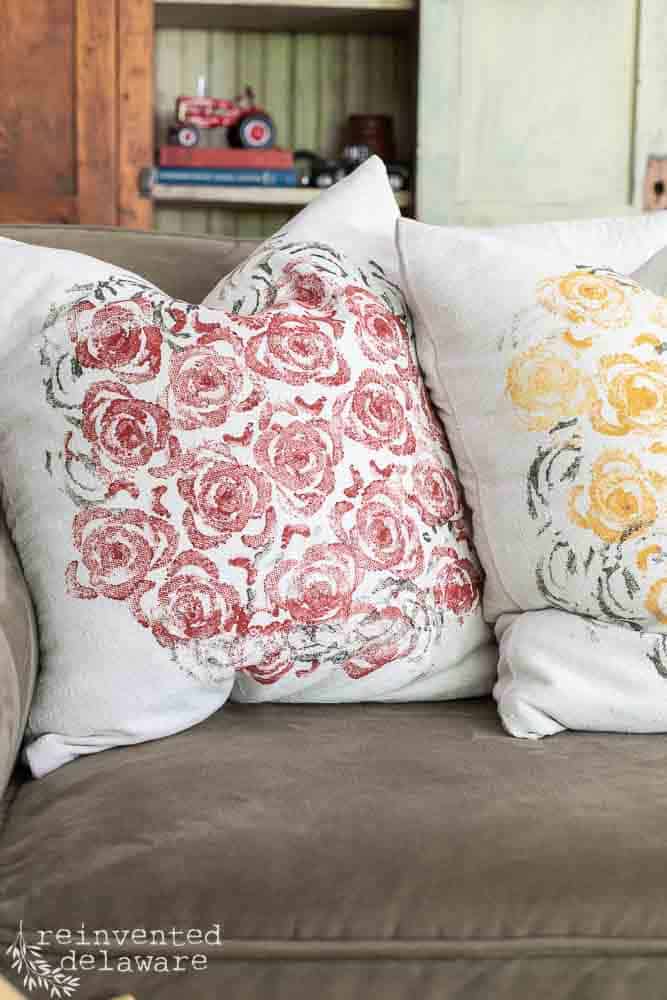
Lay the right sides of the pillow cover together along the creases you ironed earlier making sure you still have the 18” size. Stitch a ½” seam allowance along the two raw edges. Turn the pillow cover right side out and put the pillow insert in!
fall season
This stamped design using a cut piece of celery could also be used to create leaves to represent fall trees. Paint a simple tree trunk in brown paint and make several pillows in different colors to represent real leaves.
I can also see this art idea used on a canvas that you purchase from your local art supply store like Michaels (they’re always on sale or use your coupon!) The fall trees could be painted on one canvas using different colors for the trees. You could create your own autumn landscape painting for such a low cost! Doesn’t that sound like so much fun?
The mums would be lovely as fall wall art too. Purchase three canvases in the same size (preferably square) and do the same stamping technique I shared with you for the pillows. You could use lighter colors like pale yellow, pale red, and pale purple. Hang the three canvases together and the end result is your own trio of fall paintings!

craft ideas for kids
Arent these some fun ideas for kids? They would have so much fun with this painting activity and it would help to expand their artistic skills. I would suggest protecting the area when you are working with kids of all ages. In fact, doing this project outside on a washable table sounds like a great idea to me! Especially if the kiddos are young!
Now I just need to figure out what kind of veggie stamping will produce (get it?? hahaha!) a small pumpkin shape!
Autumn crafts in beautiful colors
Did you enjoy this project? I know I did. There is something about paint therapy that makes the day fantastic fun! At least IMHO 🙂
BTW, I plan on using this painting technique during other seasons. The pillow covers would also make great gift ideas for the upcoming holiday season, don’t you think?

PS more easy fall craft projects!
Some of my blogging friends share their own great ideas for easy autumn season projects so I thought I would pass them along to you! Just click the buttons below to see these perfect fall projects!
If you don’t like the idea of a painted fall craft project, check out this easy one from my friend Crissy!
My friend Lynne shares her leaf stamped project! Super easy idea for fall!
If you need a really fast fall art project, Julie has you covered! It couldn’t be any easier!
autumn-inspired DIY home decor
YouTube video tutorial
Here is a video I made just for you! Tap the image below to watch. Be sure to subscribe while you are there for more tutorials!


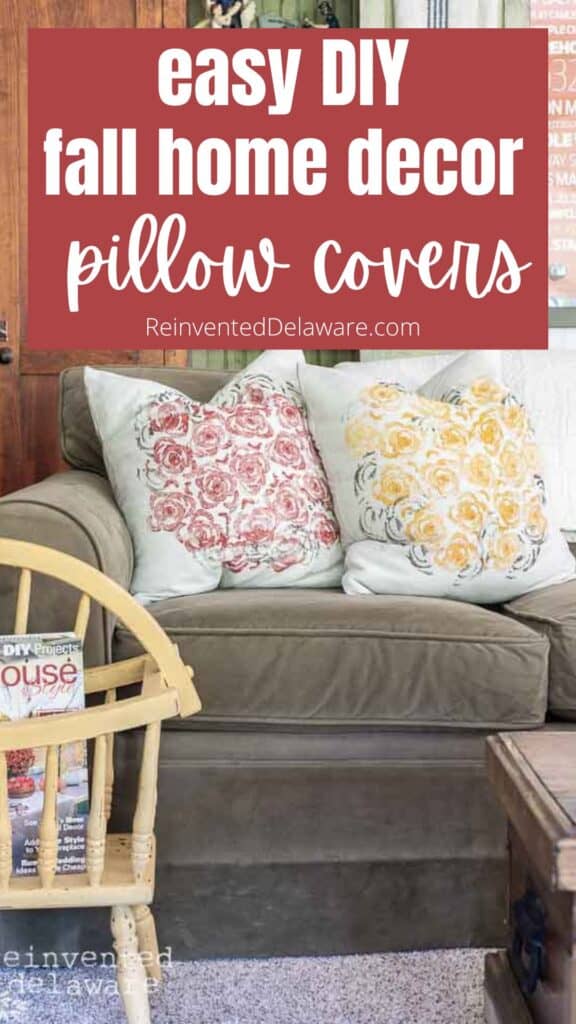
Pin the image below (or any image in this post!) to your home decor and furniture boards! Just click the pin button at the top left corner!
How to Paint on Fabric Pillows
Equipment
- fabric scissors
- sewing machine
- iron
- paper plates & paper towels
- dropcloth
Materials
- hand made or store bought pillow covers
- chalk paint
- celery
- brown craft paper
Instructions
- Sew your own envelope-style pillow cover to fit your pillow size. Make the cover 2" smaller than the finished size of the pillow for a plump fit. (see blog post for instructions)
- Optional: purchase a ready-made blank pillow cover to fit your pillows.
- Cut the celery about 2" from the root end. Allow it to soak for about 1 hour so that it will open up a bit
- Pour a small amount of chalk paint in your color choice on a paper plate.
- Dab the cut end of the celery into the paint the offload some of the paint by dabbing it on the paper towel.
- Find the approximate center of the pillow cover and stamp the first flower onto the fabric. Press firmly for good contact.
- Lift the celery straight up and repeat to create a large flower like a Chrysanthemum.
- Use green to create leaves on the outside edges of the flower by stamping with a section of the celery cut in half lengthwise creating a half-moon shape.
- Allow the paint to dry completely (I put mine in the sunshine for about an hour)
- Use a hot iron to heat set the painted pillow cover. Layer the painted pillow cover between two pieces of additional fabric. Put the hot iron on the additional fabric, hold it for about 30 seconds then lift it straight up. Move to the next area until complete.
Video
Notes
Thanks for joining our journey!
Thanks so much for joining us for this post! Join our journey so you don’t miss any of the fun projects, tutorials, and inspiration that we share with you each week! You can follow us on Instagram, Facebook, and YouTube. We share even more inspiration on Pinterest!
click below to purchase supplies!
Visit my Amazon Storefront!
Click the button below and head over to our online shop on Amazon!


Cindy these are amazing! I never would think of doing this with celery, Pinned!
Wasn’t this fun?? I’m so glad you enjoyed the post Cindy!
Super cute idea. I love it. Hugs to you.
Thanks, Renae! Hugs to you too my friend!
Love this idea Cindy! I’ll definitely be trying it for possible Christmas gifts! 🙂 thank you!
So glad you enjoyed the pillow cover project Susan!
This is a fabulous idea! Cindy you are an endless source of inspiration and creativity. I also love the colors you selected. Oh and I recognize that magazine rack! Pinned.
Haha, I thought you might recognize the magazine rack! Thanks for stopping by Anna! 😊
Ok, the celery trick is pretty amazing! I’m going to have to give that a try. But painting aside the photo of fall in Delaware is stunning! I thought that was a painting!
So glad you enjoyed the project Lynn! That photo was from one of our walks last year – Delaware has a beautiful fall season of color!
These pillow covers are so darn adorable. I am going to feature them in my newsletter.
Omgoodness Tammy thanks for featuring the pillow covers! 😊
These are so cute and what a great craft project to do!
They were so easy to make Kim!
This is my kind of craft, Cindy! I love drop cloth, and I love painting. Your technique and creativity are wonderful. Thanks for the sweet shoutout too. Somehow I just realized I wasn’t following you on Pinterest! How could that be?! Following now and pinned too! XO, Crissy
So glad you enjoyed the project Crissy! It was my pleasure to share your post – you have so many creative ideas to share!