
Early 1900’s Dining Table and Chairs Refinishing Series – Part Two

Welcome back to the second part of the Furniture Refinishing Tutorial! In the first part of this tutorial, we saw how to prepare your furniture piece for painting. Painting was the next step and we saw the benefits of using General Finishes Milk Paint. We also learned how to distress furniture with a knife to give it an authentic chipped paint look. Today we will learn how to finish the table top!
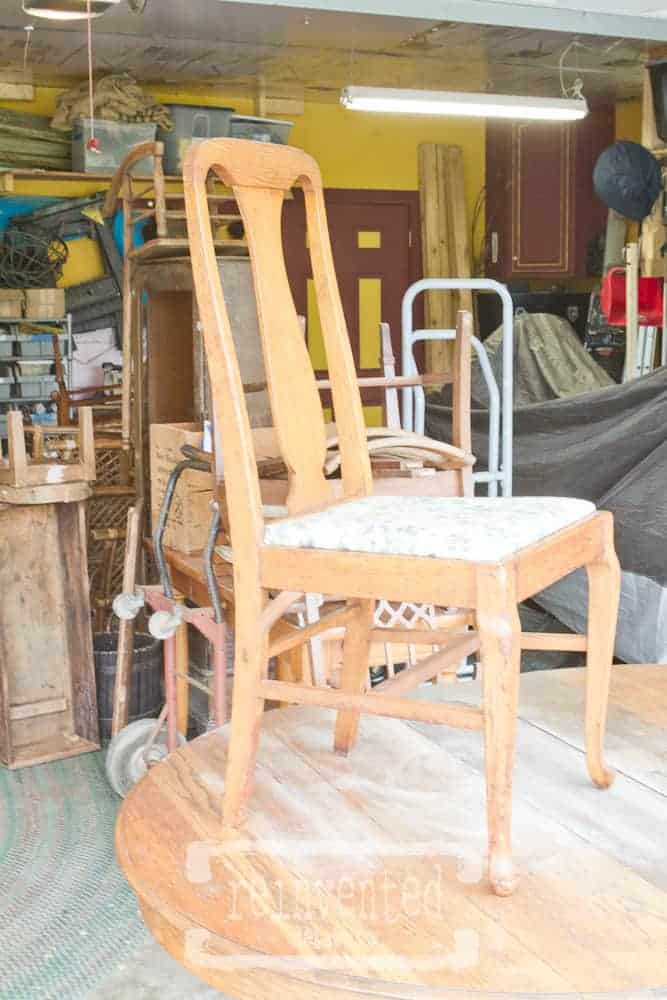
To refresh your memory, here is a before photo: Sad and dry table top 🙁
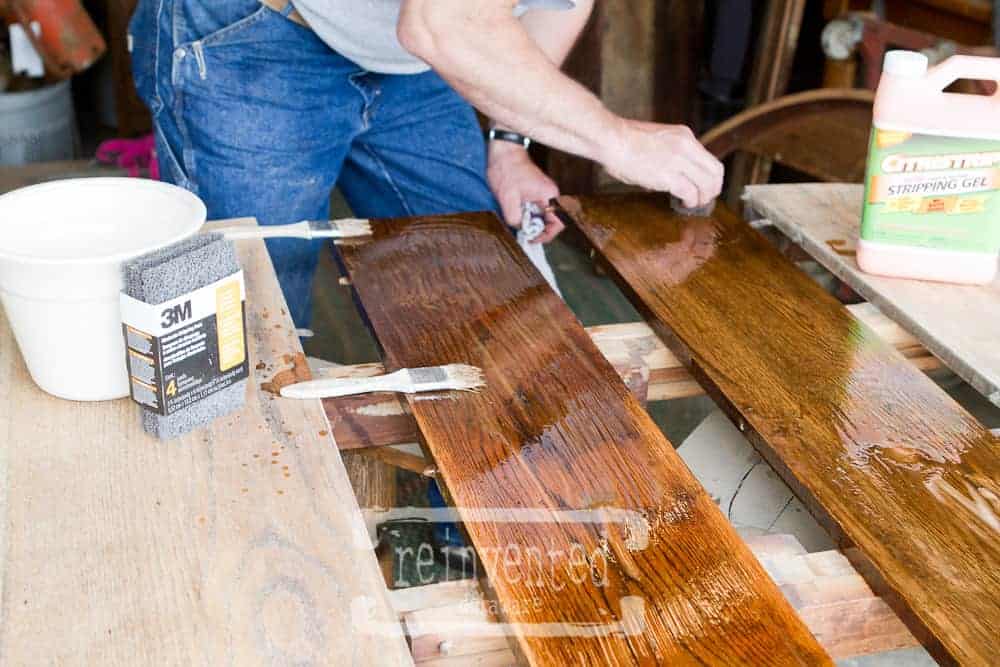
Beautiful detail and design on this early 1900’s table and chair set cause a warm feeling of nostalgia in my heart.:) The top of the table was broken and needed repair and we sanded the table top in the first post in this series. As you can see in the photo above, the leaves of the table were a darker color probably due to storing them and only coming out when extra space was needed around the table. We love using the Citristrip Stripping Gel. It has practically no odor and there are no harsh fumes. The instructions recommend using chemical safe gloves although my hubby didn’t. The solution did not bother his hands but his hands are calloused from years of wood working! I still recommend you follow the the manufacturers instructions on using gloves. 😉
‘ 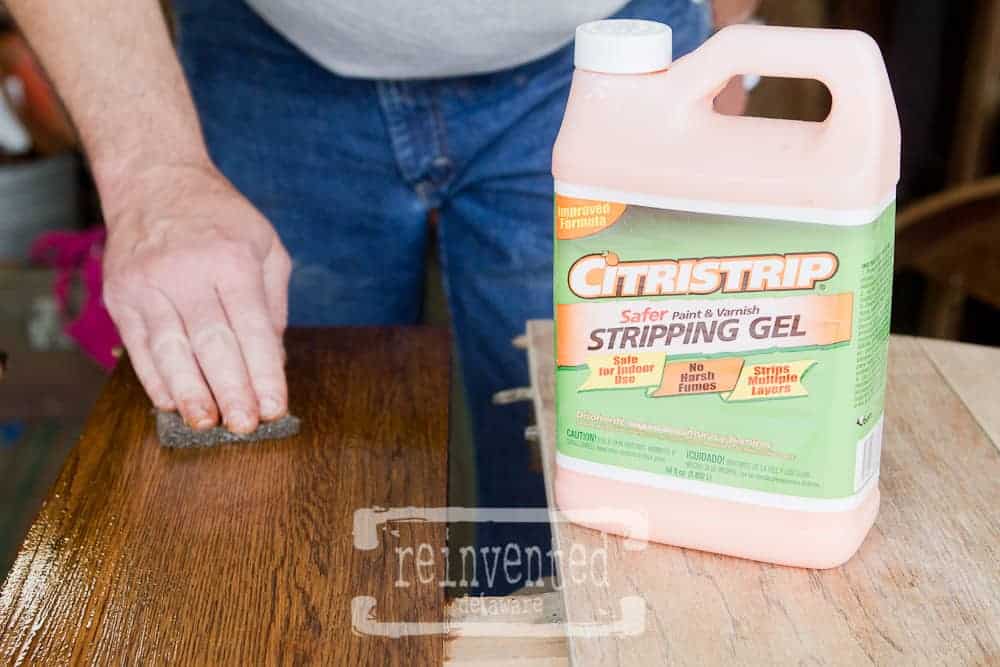
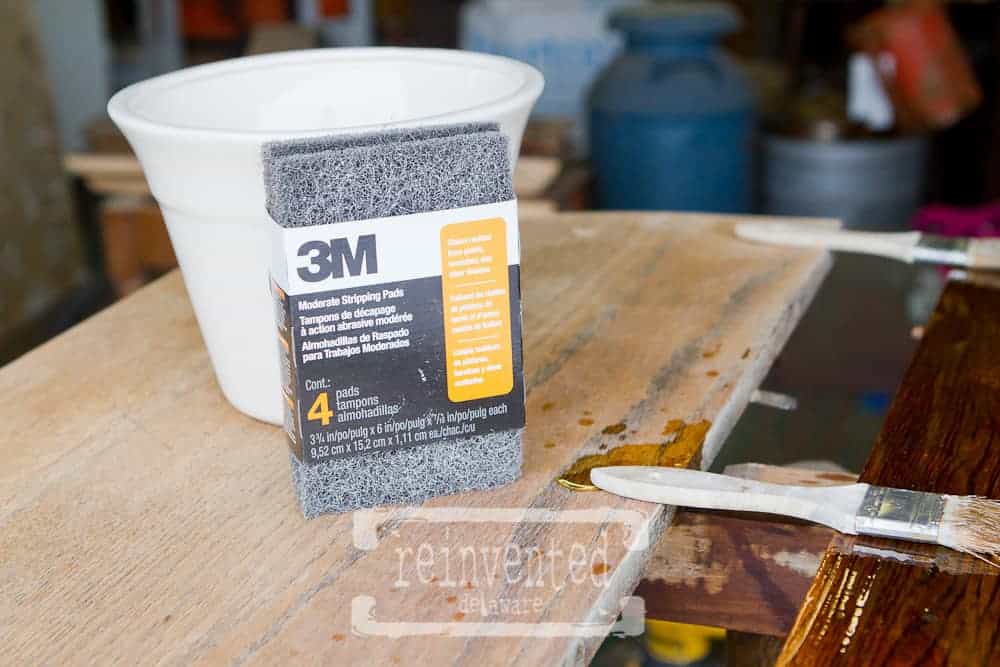
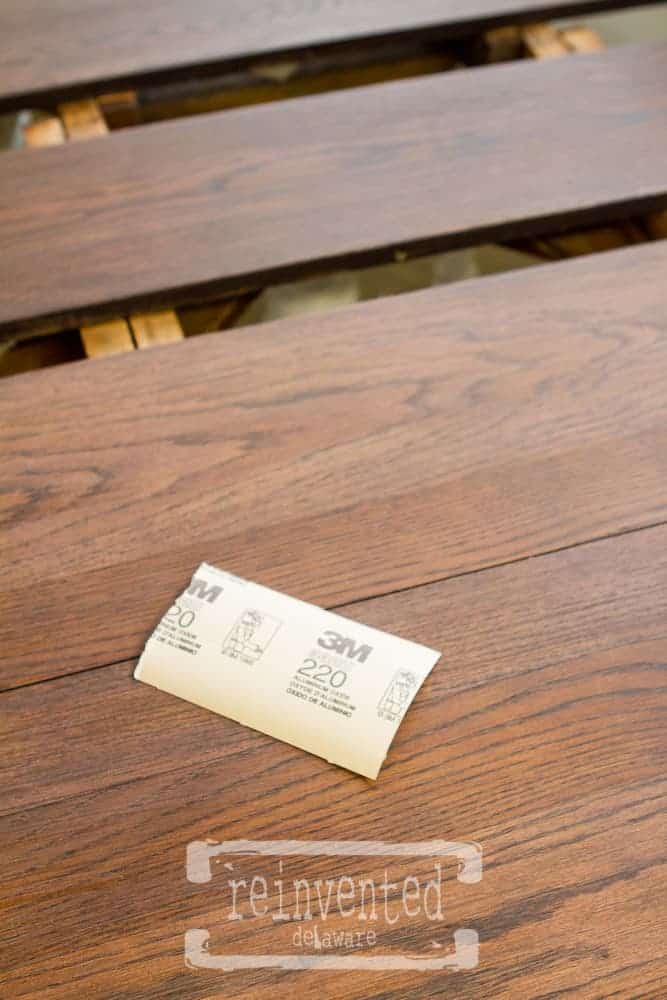
He applied it with a chip brush, a coarse 3M pad and #0000 steel wool alternatively and then wiping up the excess with a cloth after it set for a few minutes. He did this process two times and it removed most of the old stain color. A light sanding with 220 grit sandpaper in the direction of the grain finished this step.
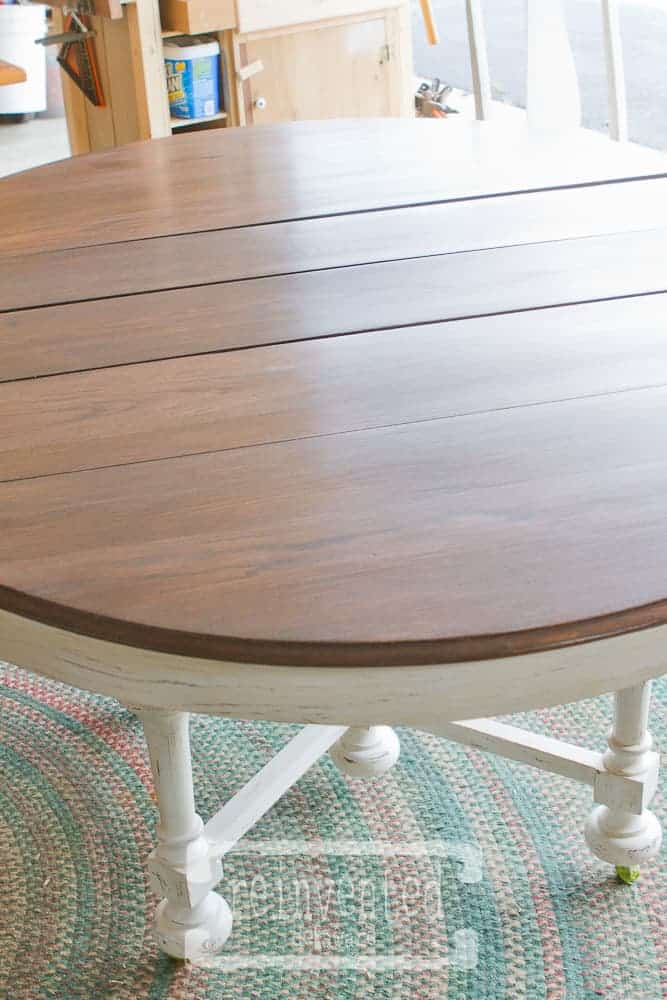
The apron of the table was painted Snow White when I painted the base of the table leaving the very top of the table in natural oak wood. You can’t go wrong with a white base and a dark finish table top so I opted to use General Finishes Java Gel Stain. This stuff is a miracle worker! It brings out the warm, rich tones of the wood in a stunning way. It soaks in and nourishes the wood. You can almost hear the wood saying, ‘Thank you, thank you!’ I used a chip brush to apply it and wiped off the excess with a blue shop towel. These towels are so handy in the shop. They are a heavy weight paper towel – perfect for use when you want to avoid the clean up of an oil based product like the Gel Stain. I was sure to keep the table pulled out like this so that I could get the edges that would disappear once the table was push together.
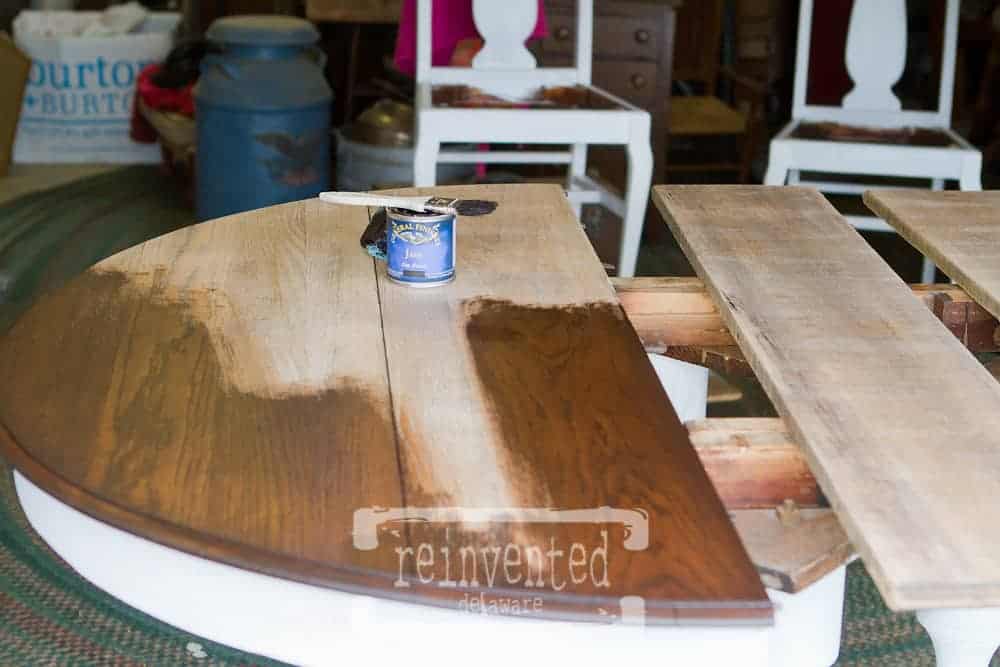
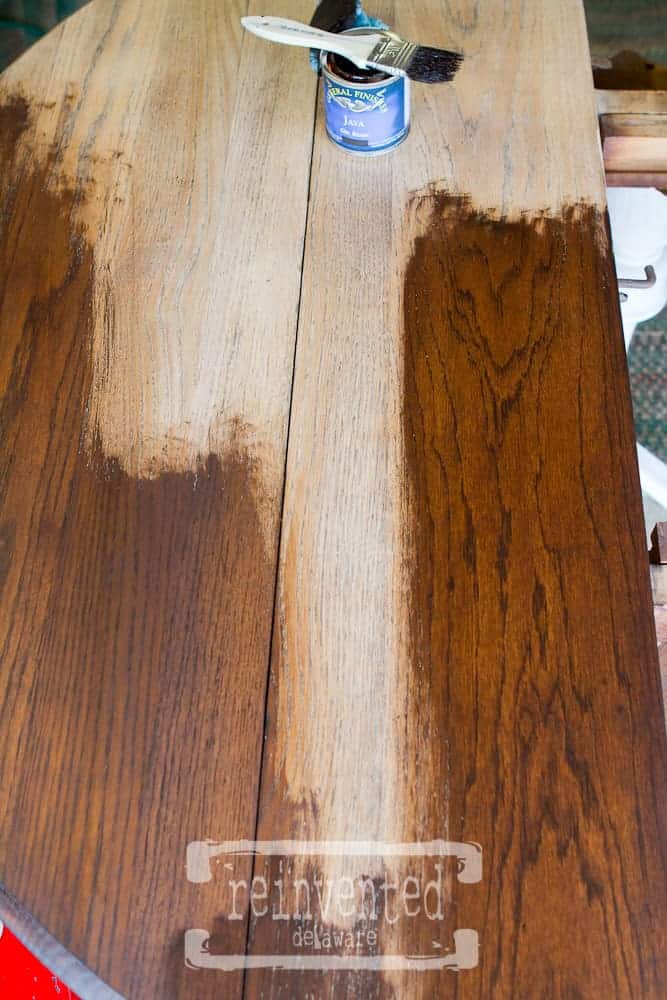
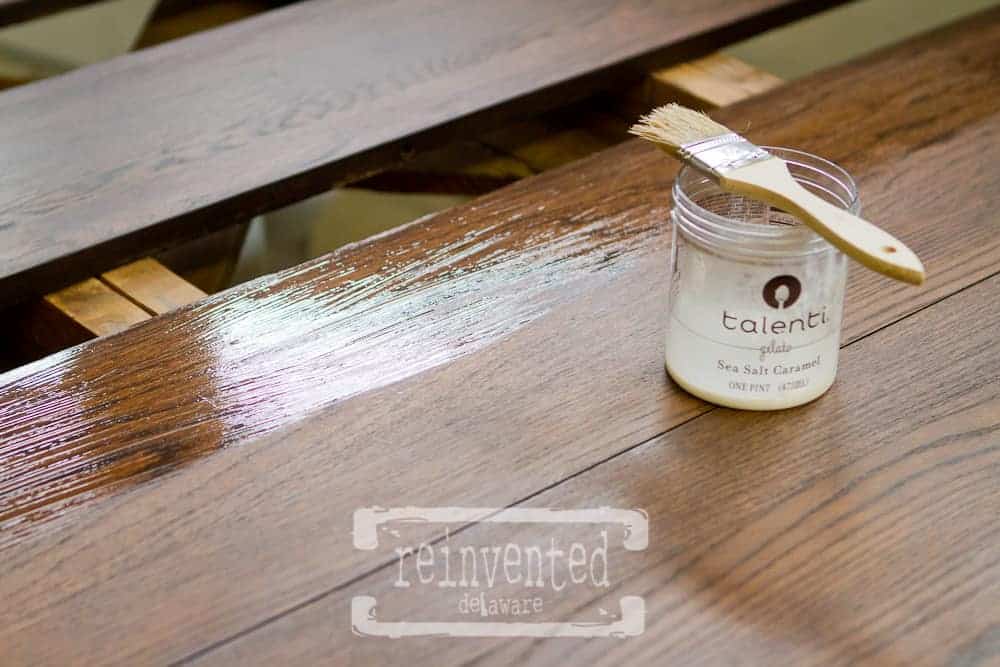
Check out the grain of the wood! So luscious 🙂 The table only needed one coat of the stain. I let it dry overnight and the next day it was ready to clear coat. Ya’ll are probably figuring out by now I am a big General Finishes fan! So what else would I choose to protect the top? General Finishes Flat Out Flat of course! I often use their High Performance in Satin or Flat as well but I just had to try the Flat Out Flat. This is another water based product. Easy to apply and easy clean up. To keep the can of topcoat as clean as possible, I poured a small amount into an extra container and worked out of that instead of the can. Omgoodness, look what I found! A Talenti Sea Salt Caramel Gelato container! Ha ha – I have a ton of these containers ‘just lying around!’ They are handy to keep after I devour the gelato. By the way, their mint chip is super yummy 🙂 OK, lets focus!!

Chip brushes work just fine for me with the topcoat. I paint the topcoat on the beveled edges first. You will see in the image below that brush marks are visible after putting it on the short edge. It will dry this way so be sure to brush the product in the direction of the grain of the wood. I typically brush ‘off the edge’ in a light brush stroke to prevent runs or drips. You can see that in the next image. It was a warm sunny day so the topcoat was drying pretty quickly. I had to move fast. Having all your supplies ready is a smart idea. If the phone rings or you get a text, ignore it. Trust me on this!
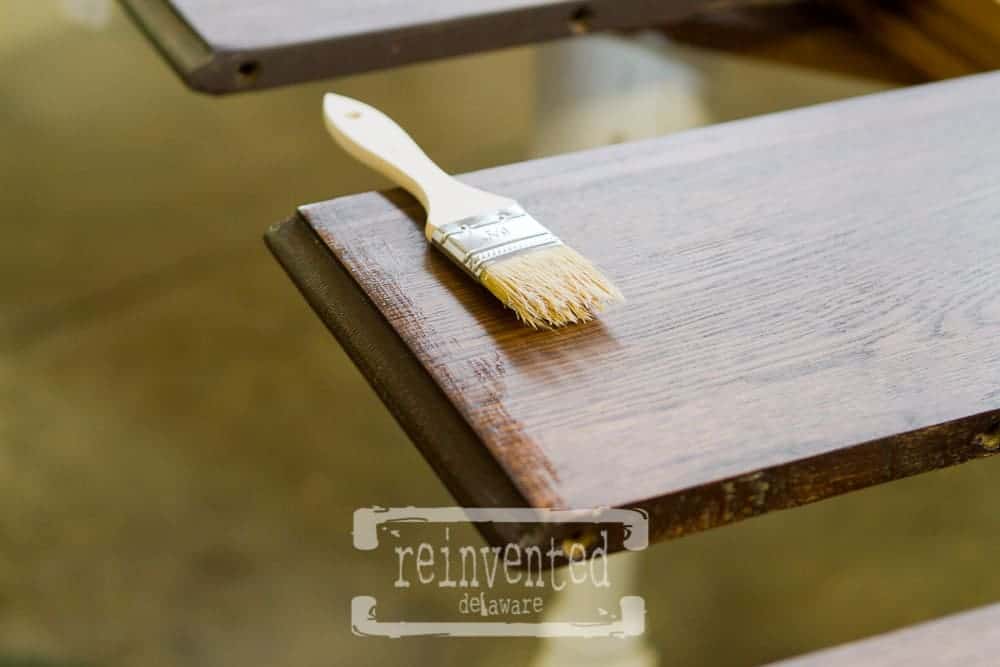
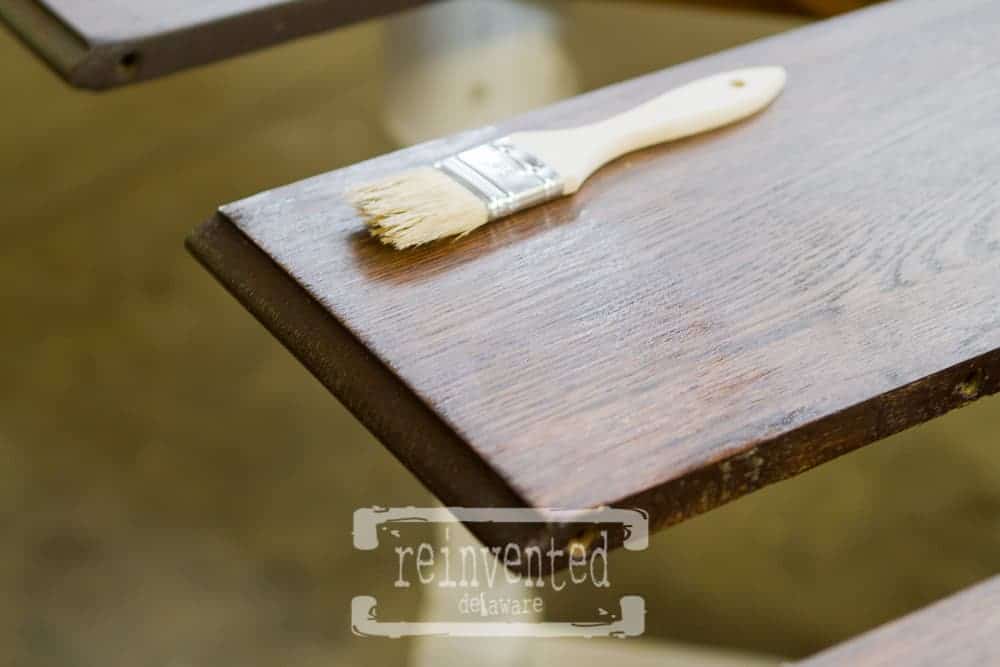
After painting the short edges on each end of the leaves, I start with the long edges along the inside of the table. I paint the long edge and then quickly run my brush along the underside to catch any drips. No one will see them but I like to keep things tidy. Then I apply the topcoat in long swipes of the brush going with the grain of the wood. I will go all the way across in a fairly thin strip of application. This helps me to maintain the wet edge that prevents too much overlapping or pulling off of the drying topcoat. I completed each leaf and the went on to the curved ends of the table. Each time I came to the edges, I double checked to make sure I didn’t have any runs. Once you have a little dribble, it is a pain to get rid of so I just avoid them by constantly checking! Also the chip brush only holds a little bit of the topcoat – that really helps in ‘feathering’ out my brush strokes and avoiding drips.
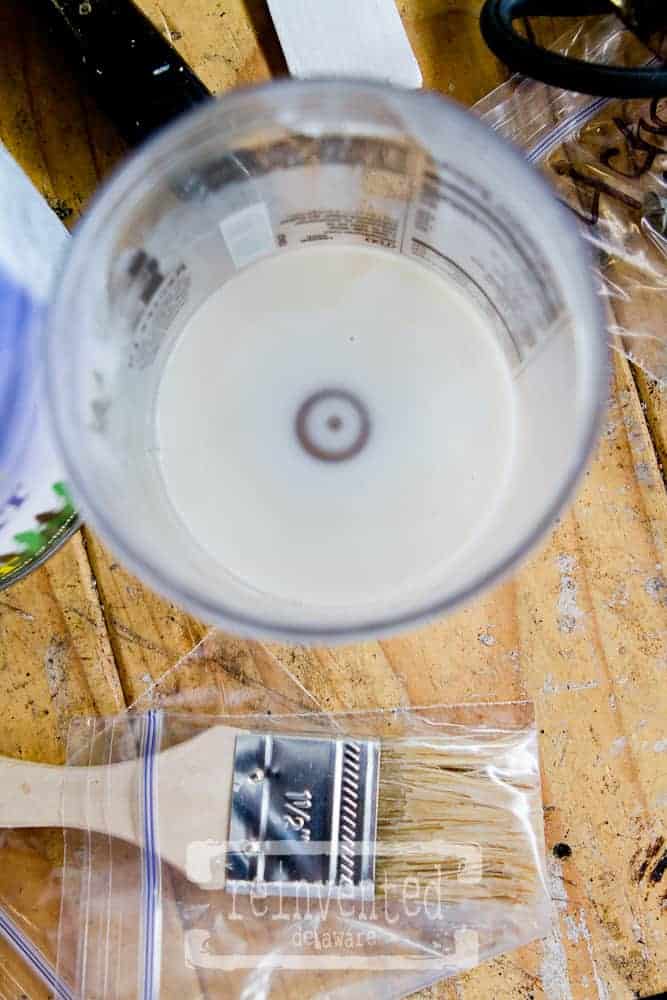
You can see here why I like to use a separate container when applying the topcoat. As you apply the topcoat, the brush will automatically pick up some of the stain from the table top. As you dip your brush to get more topcoat, you will leave some of the stain in the container. The isn’t too terrible except if you want to use absolutely clear on your next project, you might end up with some of the dark still in the can. They call this ‘contamination’ in the furniture refinishing world 🙂 Plus it’s reason enough for me to buy more Talenti galato!
General Finishes recommends at least three coats of the protective finish. I applied four coats and I lightly sanded with 220 grit sand paper between each coat. Then waited approximately three hours in between each coat. The day was warm so it dried quickly, but giving it some time in between coats to slightly cure helps ensure its durability.
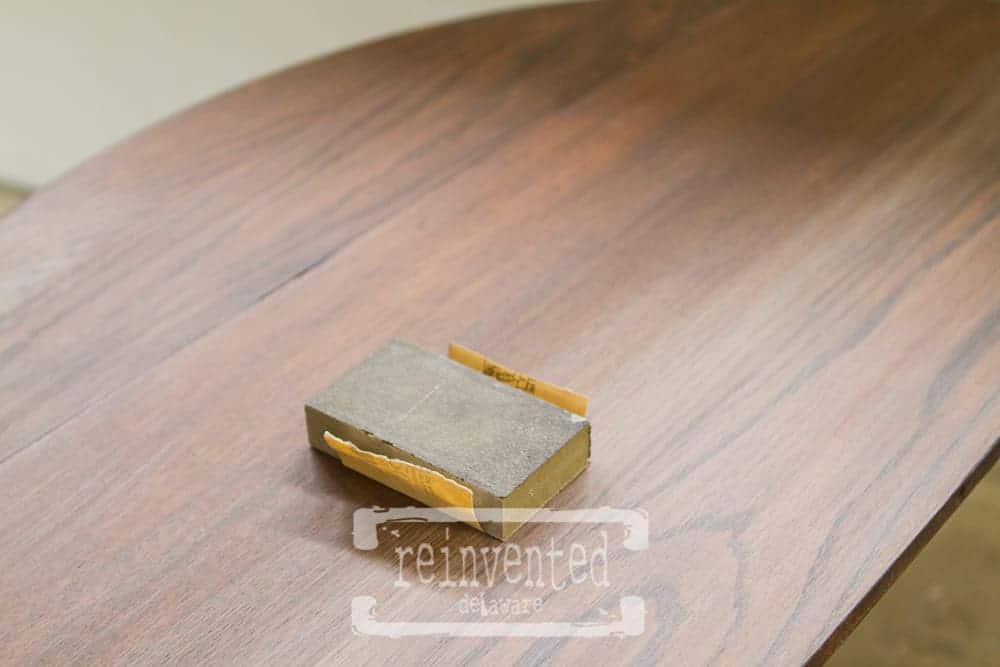
Using a piece 220 grit sandpaper wrapped around a sanding sponge produces a nice smooth finish. (My hubby glues various grits to scrap blocks of wood to use in his shop) Be sure to go in the direction of the grain. No need to sand like a crazy woman here! Just a light sanding is necessary. I used a very lightly dampened microfiber cloth to pick up the dust this light sanding produces. The Flat Out Flat is very, very flat when dry but it give a beautiful finish. If you prefer something with more of a gloss, I recommend their High Performance. It comes in a variety of finishes to achieve the look you want!
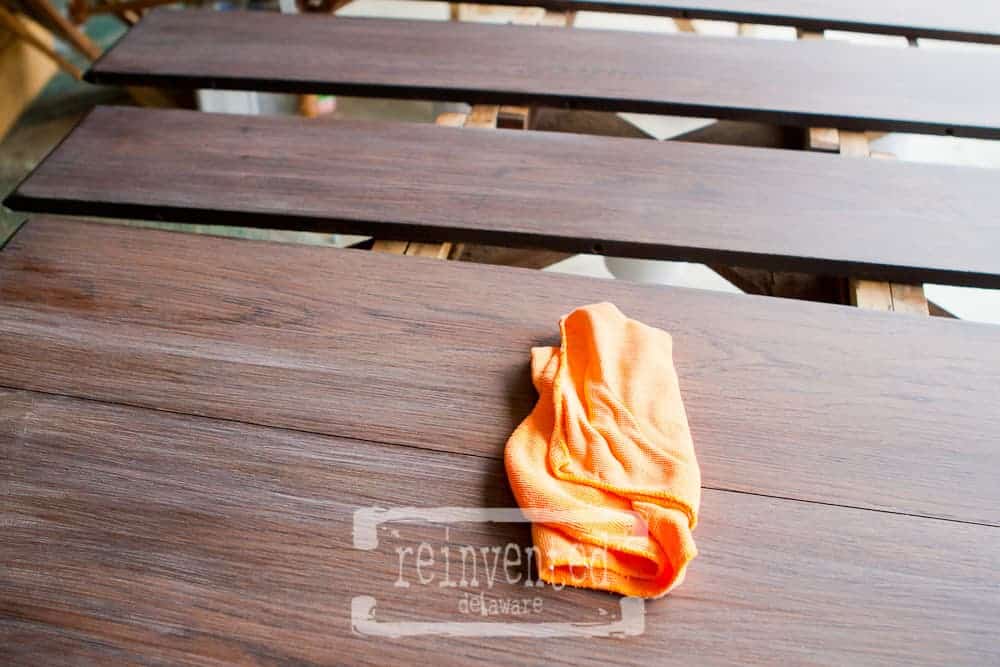
The last step was to put a coat of wax on the top. I used the same Minwax Finishing Paste Wax that I used on the base, using #0000 steel wool to buff it. There is still a slight difference in the color of the leaves of the table, but this is an antique with lots of use. I’m very pleased with the results! Taking a clean micro fiber cloth to remove any dust residue the buffing process can leave and it’s ready for my store!
Here she is! Ready to serve another family for generations to come!

Leave a comment and let me know if you found this tutorial helpful! Better yet email me a project that you completed using my tips! Have a blessed day!