
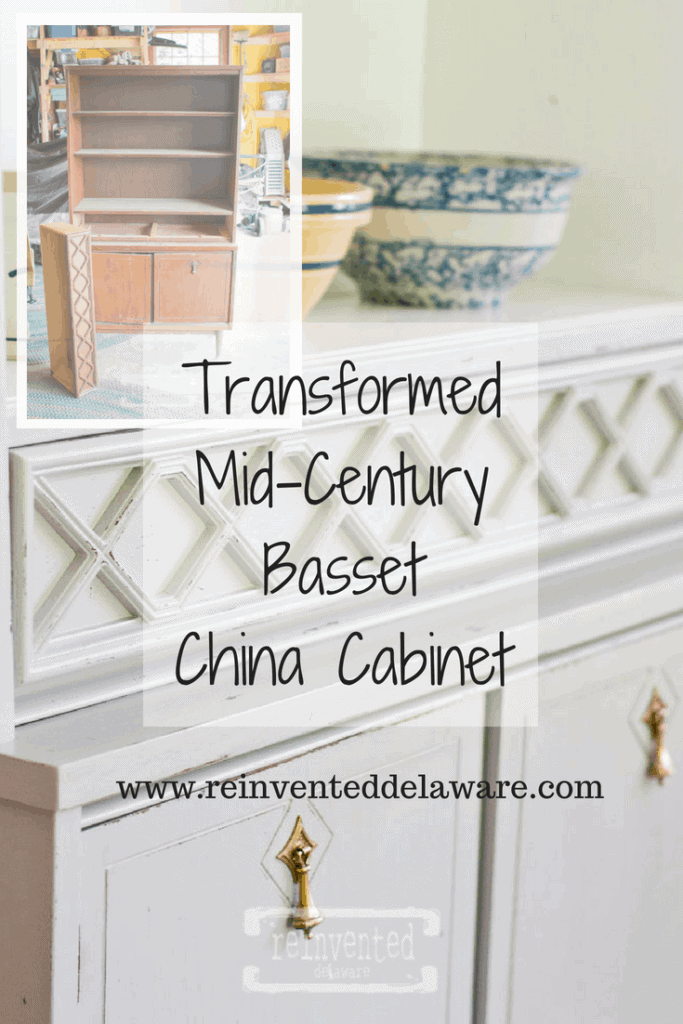
Mid Century China Cabinet Hutch Makeover
Learn how to breathe new life into an old china cabinet in this mid-century china cabinet hutch makeover tutorial!
Hey there, fellow furniture enthusiasts! Are you ready to embark on a journey of transforming your plain and boring mid-century China cabinet hutch into a stunning piece that will make all your friends green with envy? Well, you are in the right place because we’ve got just the DIY project for you! I
In this complete guide, we’ll walk you through the step-by-step process of giving your beloved furniture a much-needed makeover. So roll up your sleeves, grab some paintbrushes, and let’s dive right in!
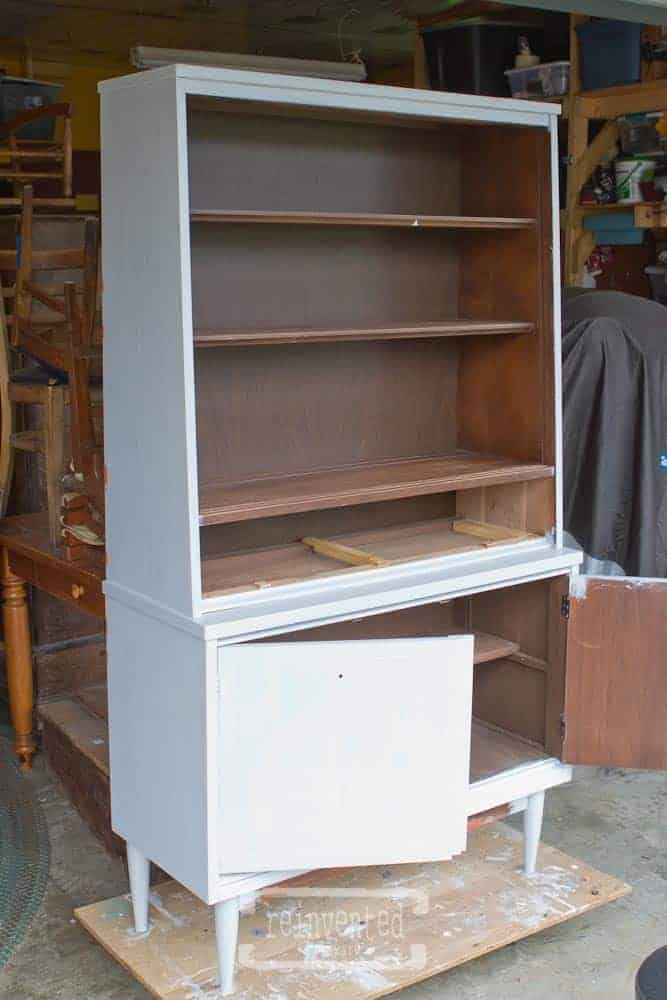
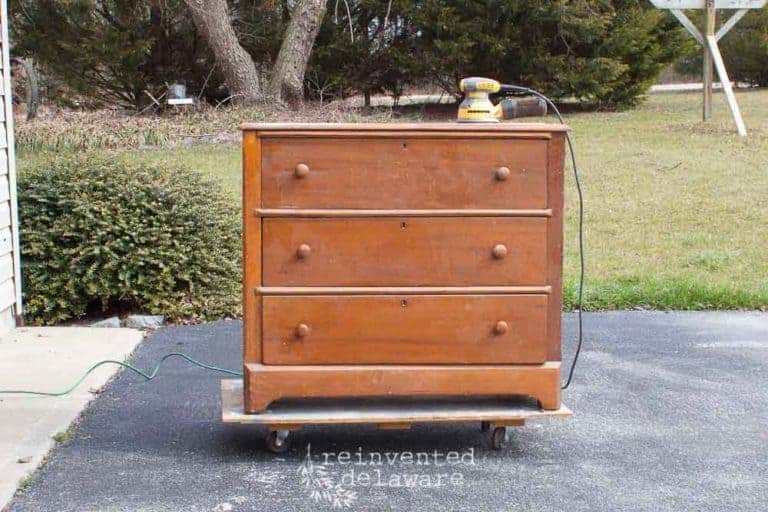
This vintage china cabinet came to us as an auction leftover. We often attend an outdoor auction where you can find leftover pieces that people don’t want. Let me explain: some people bid on a certain item that is included in the whole lot going up for bids. If they only want that one particular piece, they will often give away whatever is left.
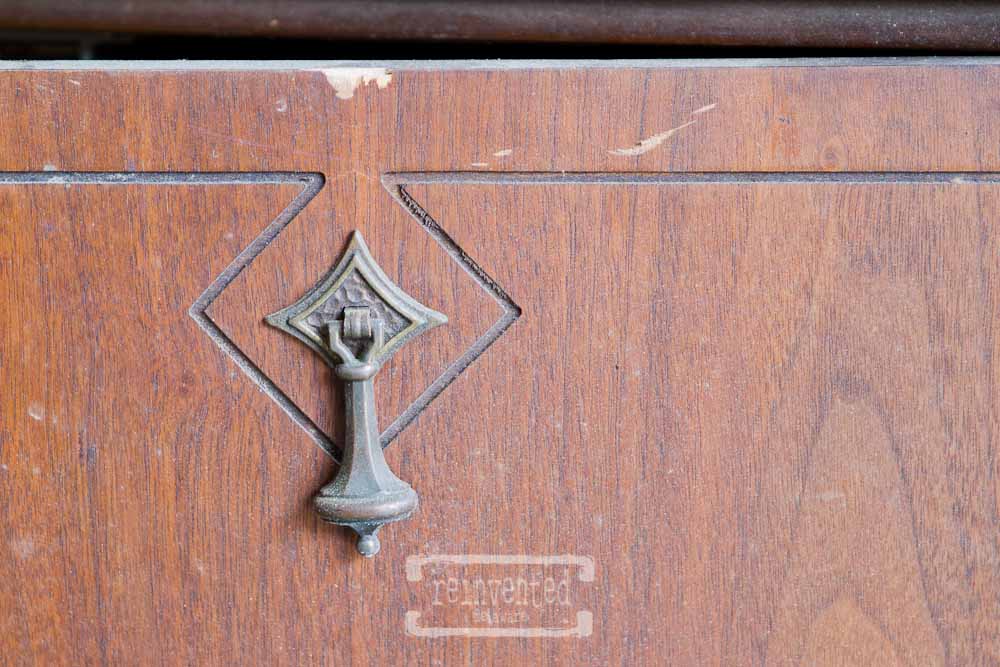
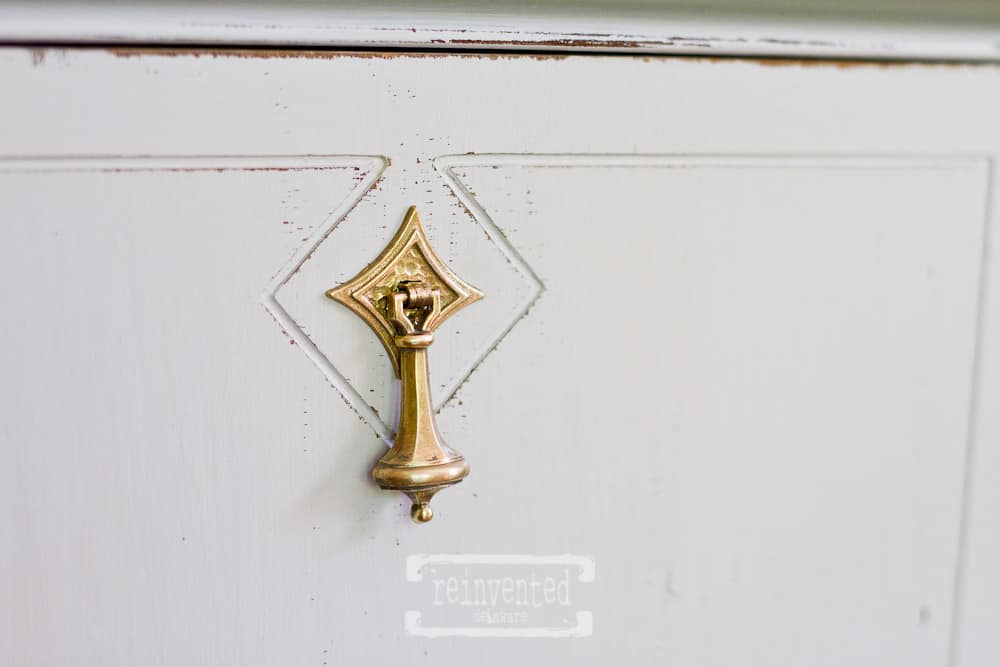
That was the case with this large china cabinet. This piece of furniture was completely free! One look at the gorgeous old hardware and my heart went pitter-patter. The original hardware alone drew me in even though the china cabinet was a mess. The sliding glass doors were missing and the entire piece was very dirty. That is probably why the bidder didn’t want the piece of furniture.
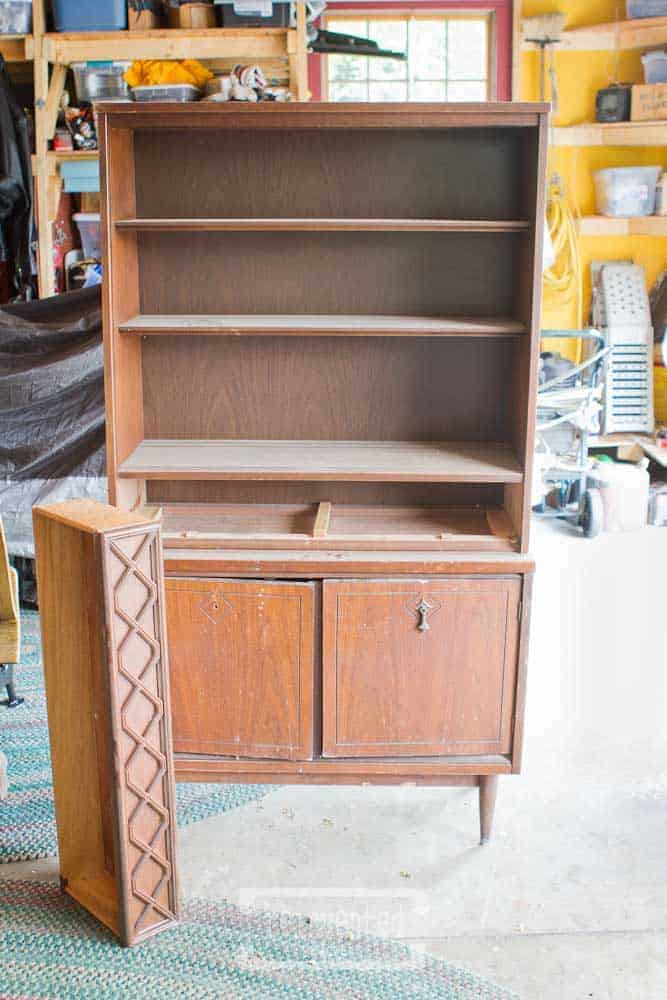
I removed the old hardware and put it in a safe place so that I could clean it later. The furniture piece cost me nothing and it was even better that I didn’t have to invest in new hardware!
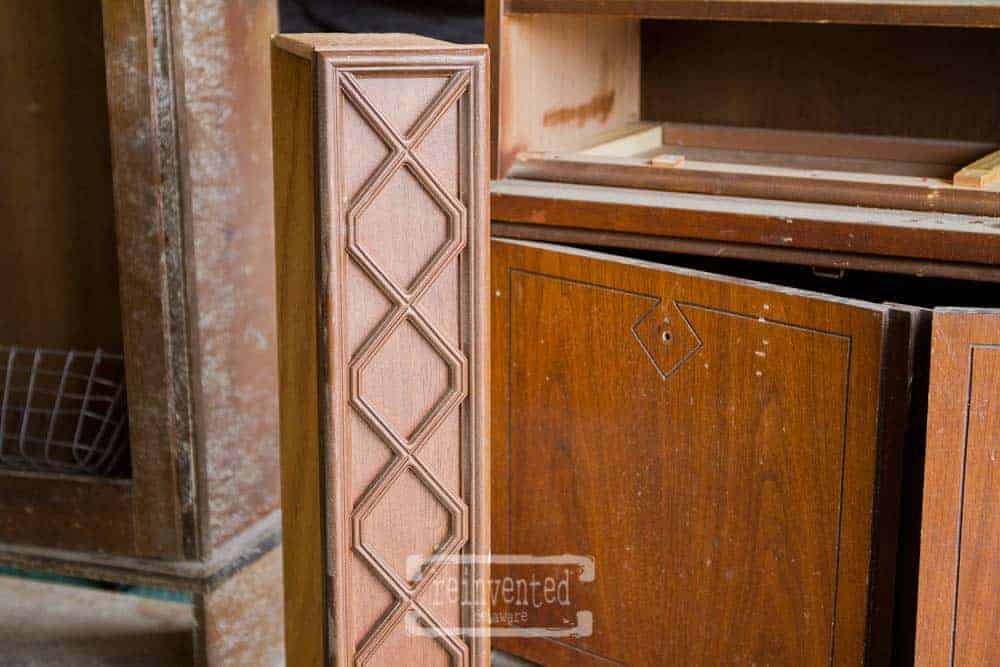
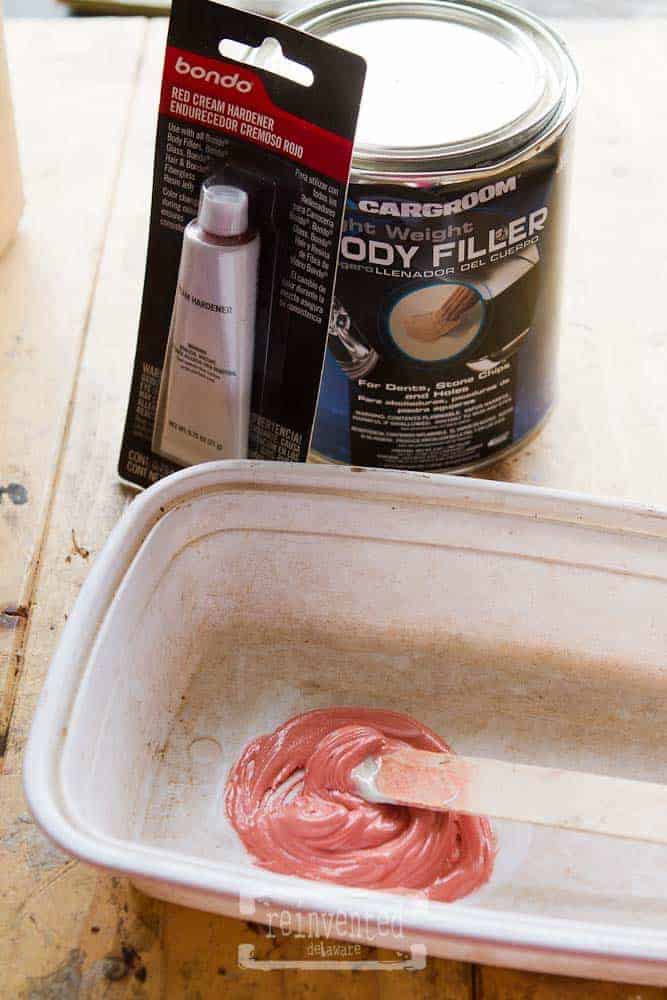
Other than a few patches of missing veneer, the china cabinet was in good shape. Those areas could be filled with wood filler but I had Bondo on hand so I opted to go that route. In the auto body world, Bondo is used to repair dings and dents in vehicle bodies. But I have found that it works on wood furniture as well. More on that later.
prep the old furniture for paint
The first step to any furniture makeover is to clean the piece. I like to use the shop vac to remove the loose dust and dirt. Then I use a solution of Simple Green and water with a microfiber cloth to wipe down the whole piece. I also wiped the entire cabinet down with a clean cloth and clear water to remove any soap residue.
It might seem backward to clean the piece first and then sand the piece. Some might say this is double the work. If you sand the piece before it is clean, you could be pushing dirt, grime, and grease from your fingers into the wood with the sanding process. You won’t get good paint adhesion if you do this. It’s best to clean the piece, sand it then go back and wipe off the dust created by sanding.
Trust me, I’ve learned the hard way about sanding first then cleaning. A lot of furniture that you find at a thrift store or flea market has had years of clear furniture wax, spray furniture polish, and oily hands leaving natural oils on the surface. The last thing you want to do is grind all of that into the wood!
furniture repairs with Bondo
Bondo comes in two mediums, the hardener and the filler. The hardener is pink and comes in a tube; the filler is gray and comes in a can. Use a throwaway container to mix and be in a well-ventilated area. This is how I remember the quantities of each to use; ‘golf ball gray and pea size pink’. I wrote that little recipe on top of the hardener can after this post! 😉
Mix the Bondo in small batches and be ready to work quickly – no time to answer the phone while you are applying it! Mix it thoroughly so it will adhere well. Bondo doesn’t take a lot of time to dry so work quickly!
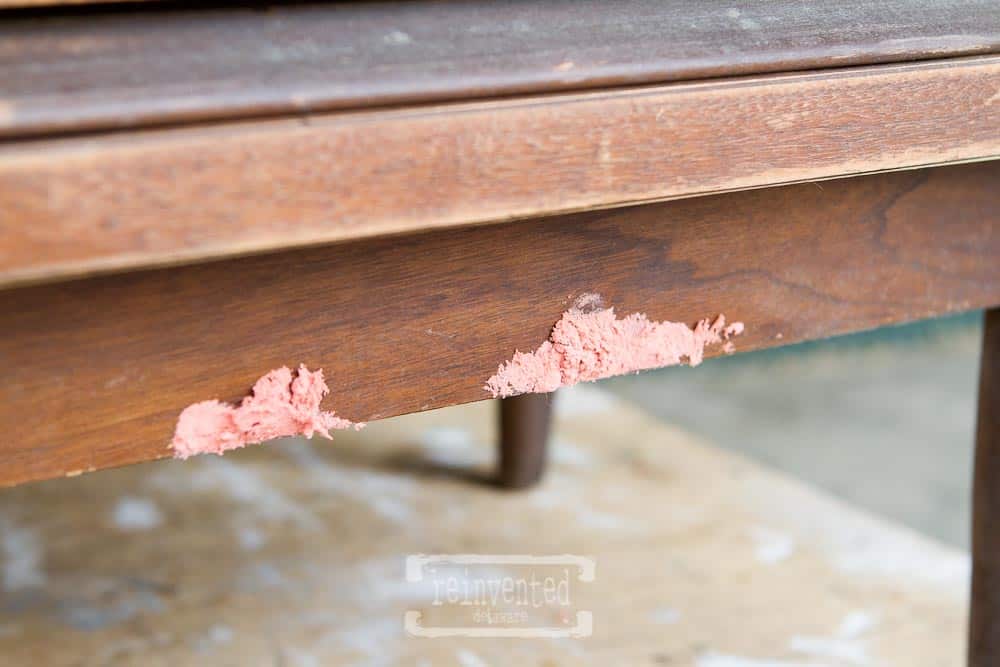
Apply the mixture to the area that needs the repair leaving more than you need to fill the damaged area. This is a great way to achieve a nice smooth finish after sanding. The repair won’t be noticeable!
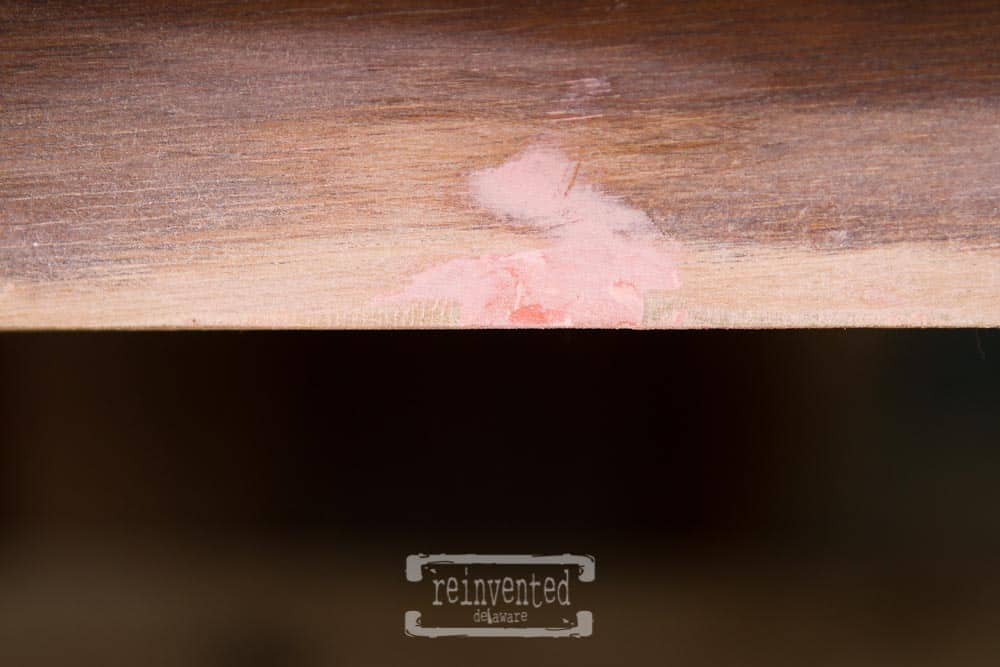
Repeat the process over areas that need repair and allow the Bondo to dry completely. It will only take a little bit of time to dry – up to 20 minutes to completely cure before sanding. Sand the Bondo repaired areas down using 220 grit sandpaper until it is smooth. Then sand the whole piece using 220 grit sandpaper. This will prep the surface for the painting process.
Make sure you remove any dust created by sanding before moving to the next step!
choosing a paint color
I knew I wanted to change the look of the china cabinet. It was very dark and using neutral colors would help this piece to sell in our local vendor booth. This piece would eventually find its new home and neutral-colored furniture is easy to sell.
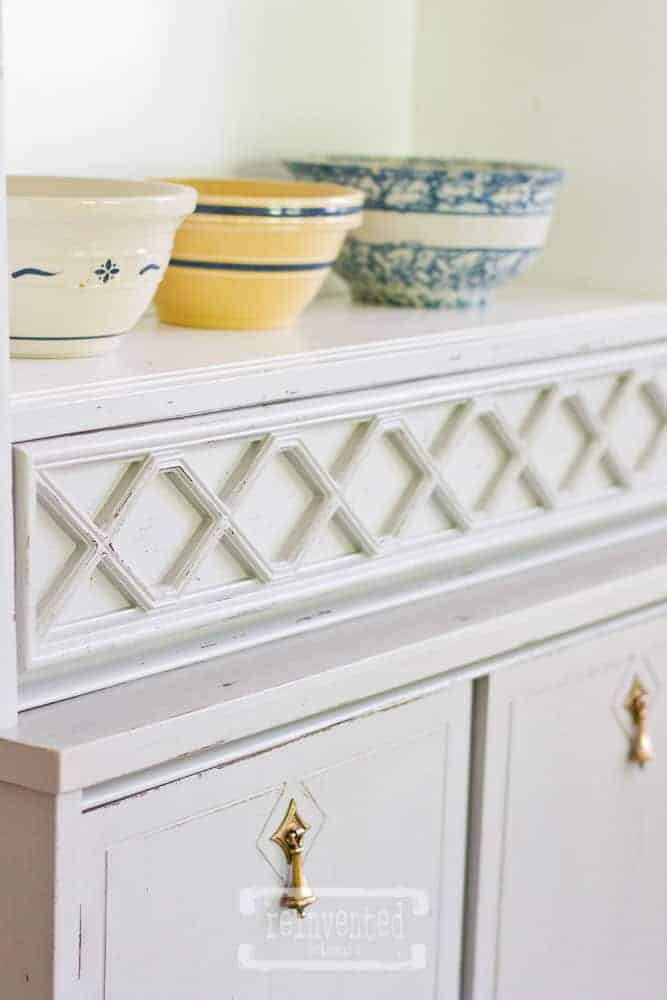
White paint on furniture is always an easy sell. But I needed to branch out just a bit. General Finishes makes a gorgeous line of neutral colors. I chose a lovely gray called Seagull Gray. Their milk paint line is not officially milk paint but an acrylic-based paint that mimics the look of traditional milk paint. It comes pre-mixed and is so easy to use. You can read all about their line on milk paint and see all of the colors right here!
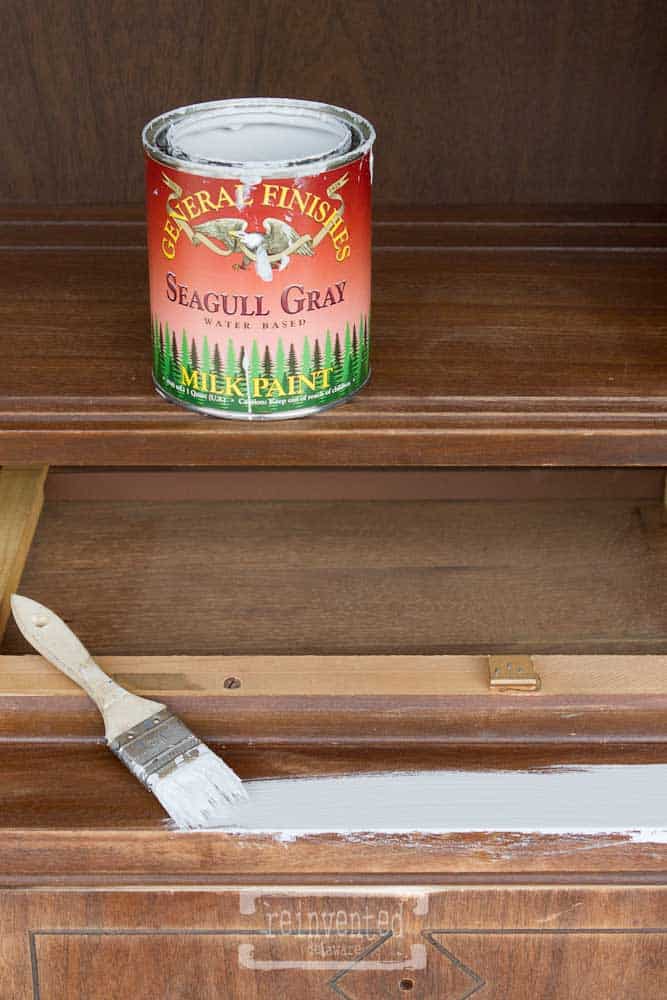
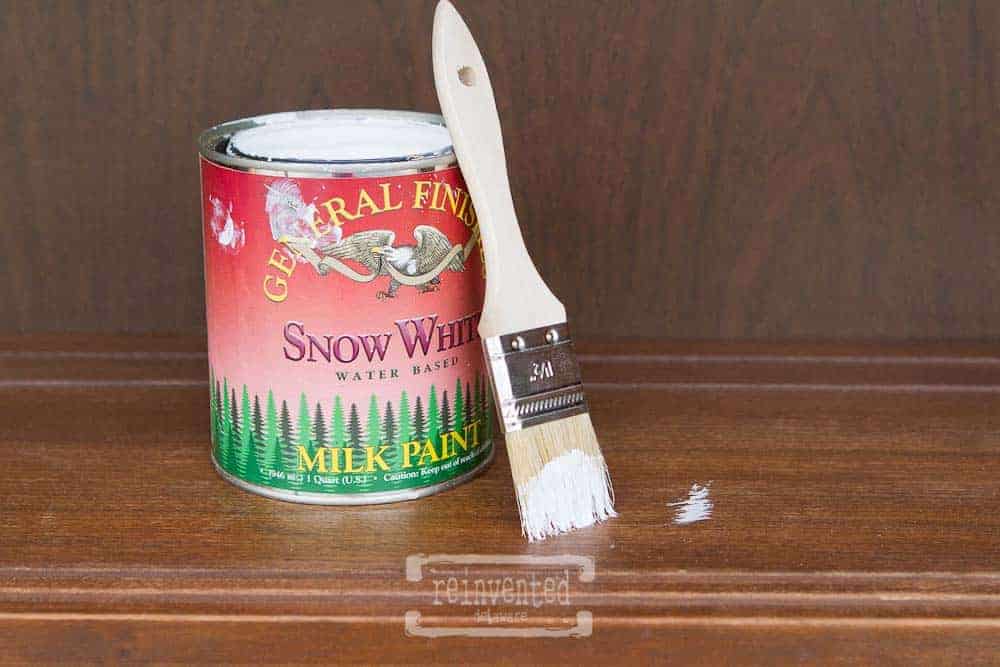
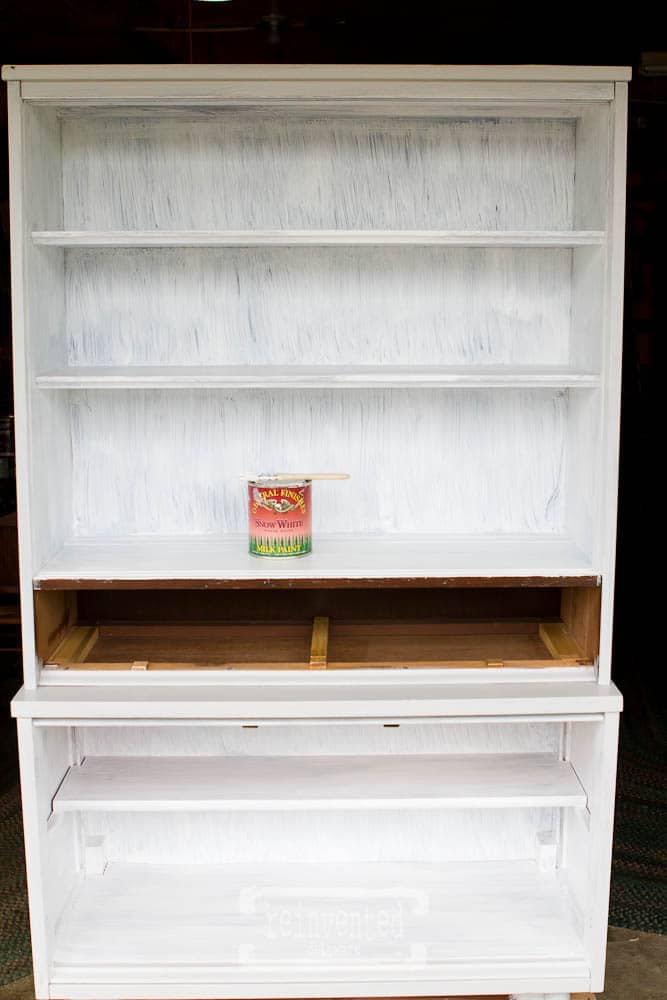
The entire exterior of the china cabinet was painted in Seagull Gray but I chose to paint the interior of the cabinet in General Finishes Snow White Milk Paint. By interior, I mean the shelving on the top section and the area behind the doors on the bottom. The different color for the shelving area added some interest to the china cabinet without going too crazy!
The Seagull Gray color covered in just two coats of paint but the Snow White took a total of three coats. If I had painted a coat of primer first, the Snow White color would have covered the dark wood in just two coats. Keep this in mind when painting dark wood furniture because it can be a challenge to cover especially with light colors such as white.
clean the original hardware
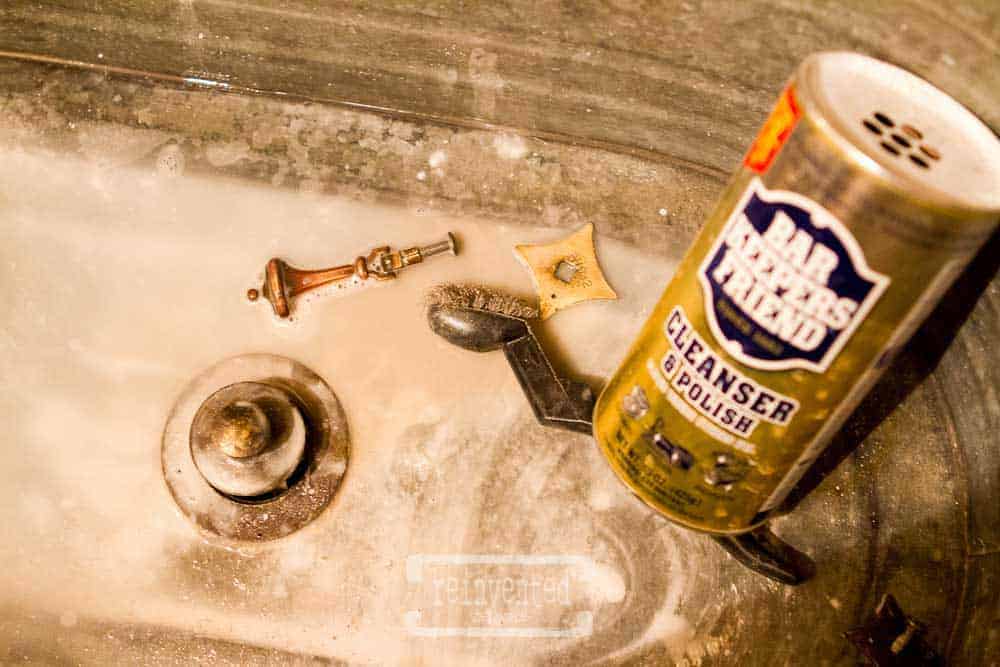
Bar Keepers Friend is an amazing product for cleaning old hardware on different pieces of furniture including dressers and china cabinets like this one. Wear gloves when scrubbing with this cleanser, it can dry out your hands! Use a toothbrush or a small wire brush to get into the nooks and crannies. After scrubbing, rinse the hardware well and allow it to dry.
farmhouse-style feel
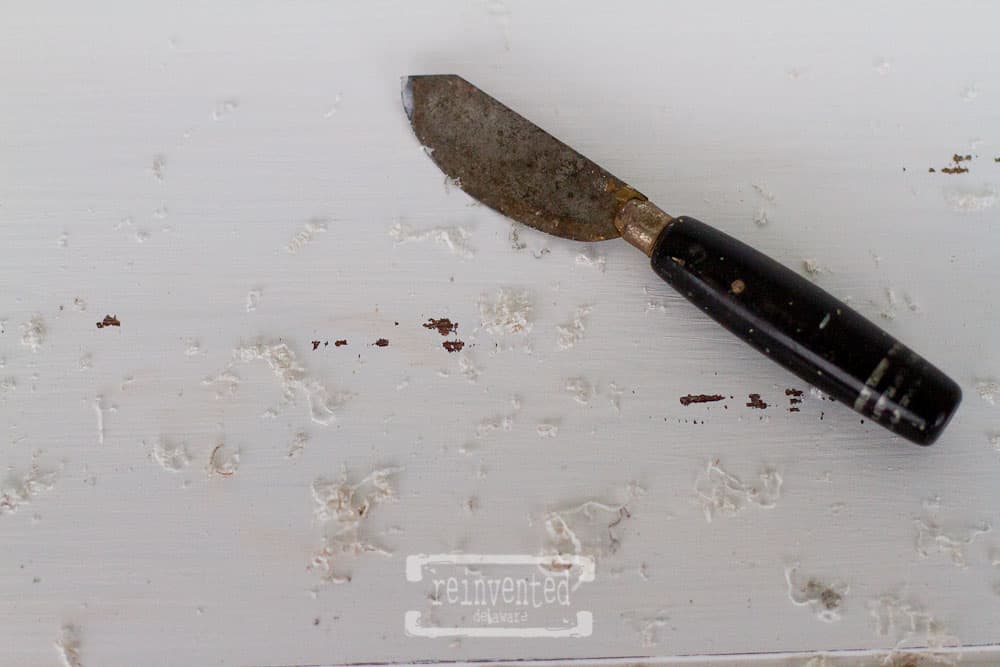
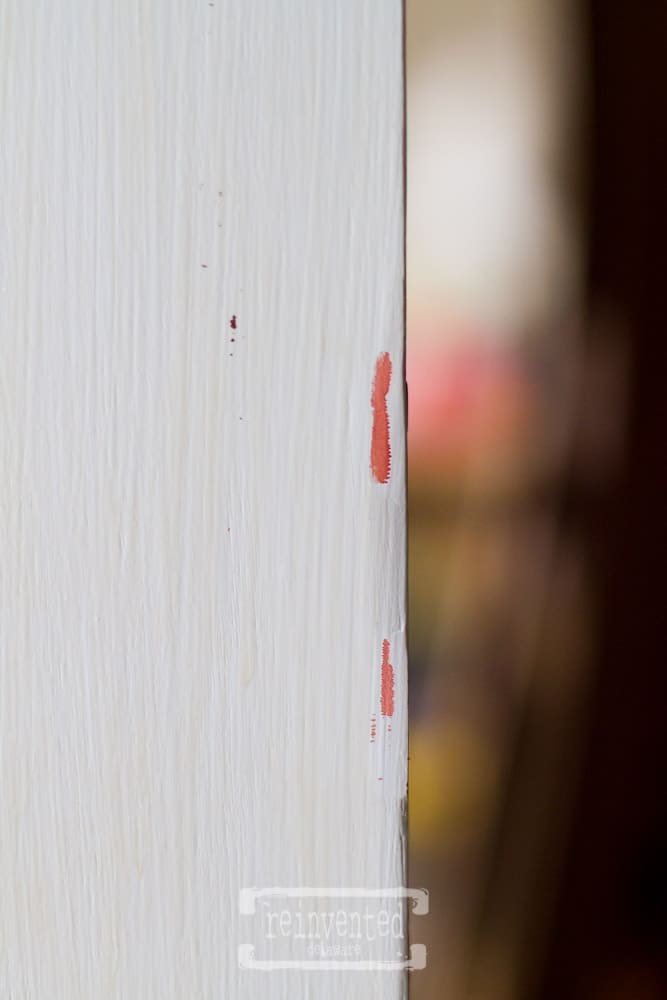
Farmhouse style is very popular in our area so I decided to add a little distressing to this old hutch. I use this little knife to distress furniture. It’s easy and kinda fun. Before the paint has completely cured (preferably the next day after painting) gently scrap off some of the paint in the areas where natural wear and tear would happen. Avoid the areas that you repaired with Bondo because the pink will show through.
Be careful to not gouge the wood while you are distressing. Simply scrape off some of the paint!
is a top coat needed?
Since General Finishes Milk Paint is an acrylic-based paint, it does not need a sealer. If you choose another type of paint like chalk paint or another paint that doesn’t include a sealer, be sure to seal it! You can use clear wax made especially for furniture or use the sealer recommended by that particular paint company.
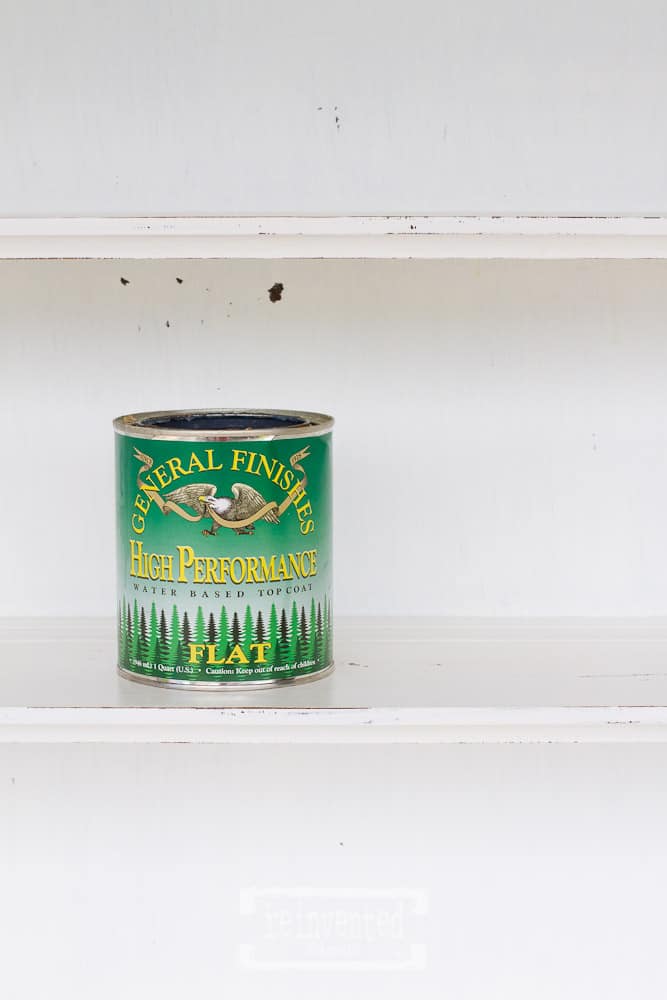
Even though it is not necessary to seal the milk paint in the General Finishes line, I like the flat finish of the High-Performance Top Coat in Flat. The company does warn that any water-based top coat can result in yellowing.
If you are concerned about this, products like Bin Shellac-Based Primer can prevent yellowing. Wood is a quirky material – you can’t always predict how paints and topcoats will react on natural surfaces.
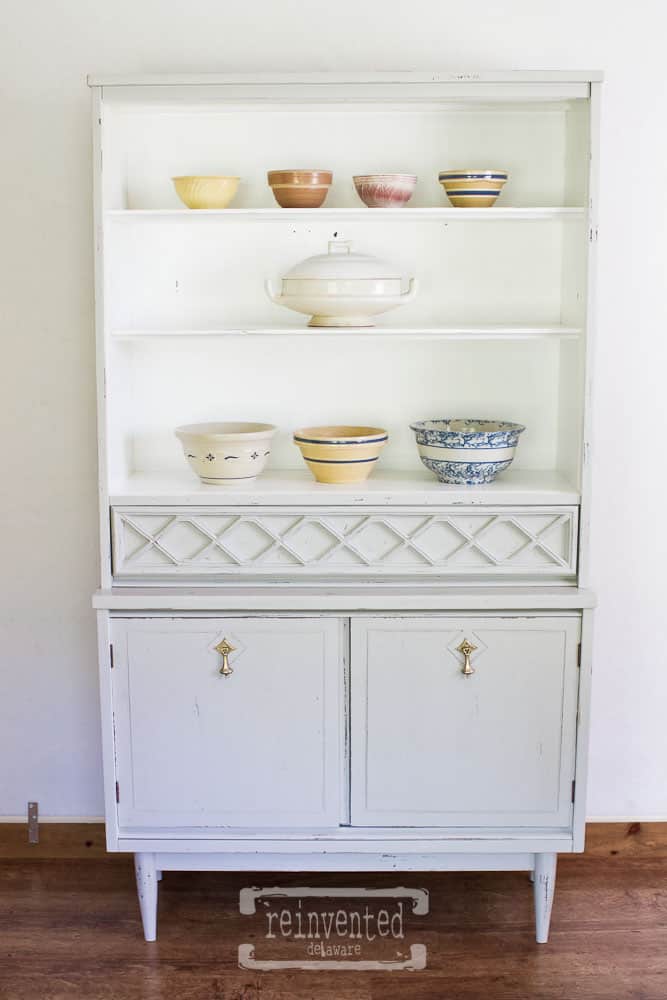
painted china cabinet makeover
Isn’t this a pretty piece of furniture? I can hardly believe we got it for free! If you want to find a piece like this, check out sites like Facebook Marketplace, an estate sale, your local thrift store, or a vintage shop. There are many gorgeous china cabinets just waiting for a makeover! It’s amazing what a coat of paint can do to an old piece of furniture, isn’t it?
This china cabinet had a cool feature you might not have noticed: the drawer doesn’t have any hardware! Although you can’t see it, the bottom edge of the solid wood drawer has a grove down the long edge for your finger so that the drawer can be pulled open. The old furniture always has the coolest features!

more beautiful china hutch makeovers
Here are some more china hutch makeovers for you to enjoy and be inspired by!
China Cabinet Makeover into a Laundry Room Sink by yours truly!
Painted China Cabinet by Christy at Confessions of a Serial DIYer
1930s Linen China Cabinet by Denise at Salvaged Inspirations
Wood Furniture with Chippy Milk Paint by Do at Do Dodson Designs
China Cabinet Makeover Before and After by Melanie at Lost and Found Decor
before and after china cabinet makeover
Remember where we started with this free piece of furniture?
If you have any questions about this china cabinet makeover, feel free to ask in the comments at the bottom of the post! I would love to answer and help you with your project!
Thanks for dropping by for this furniture tutorial! Happy reinventing to you!
Feel free to pin any of the images in this post for inspiration!


Cindy Rust
Cindy has been decorating her home with thrift store finds for 40 years. She is an avid thrift store shopper who loves to makeover the items she finds into vintage-inspired home decor and furniture. When she isn’t thrift shopping or painting a piece of furniture, you can find her making homemade butter, working in her garden, or painting with watercolors.

This looks like a completely different piece of furniture, Cindy! I love that you gave it new life. It looks amazing! Thanks for the tip on the Bar Keeper’s Friend. I had no idea you could use that on hardware. Our kitchen island and my bathroom cabinet were painted with GF milk paint and we haven’t had a moment’s trouble with either so I’m excited to see you chose their paint. Hugs, CoCo
I’m so glad you enjoyed this post CoCo! Bar Keepers friend is an amazing cleaner!