
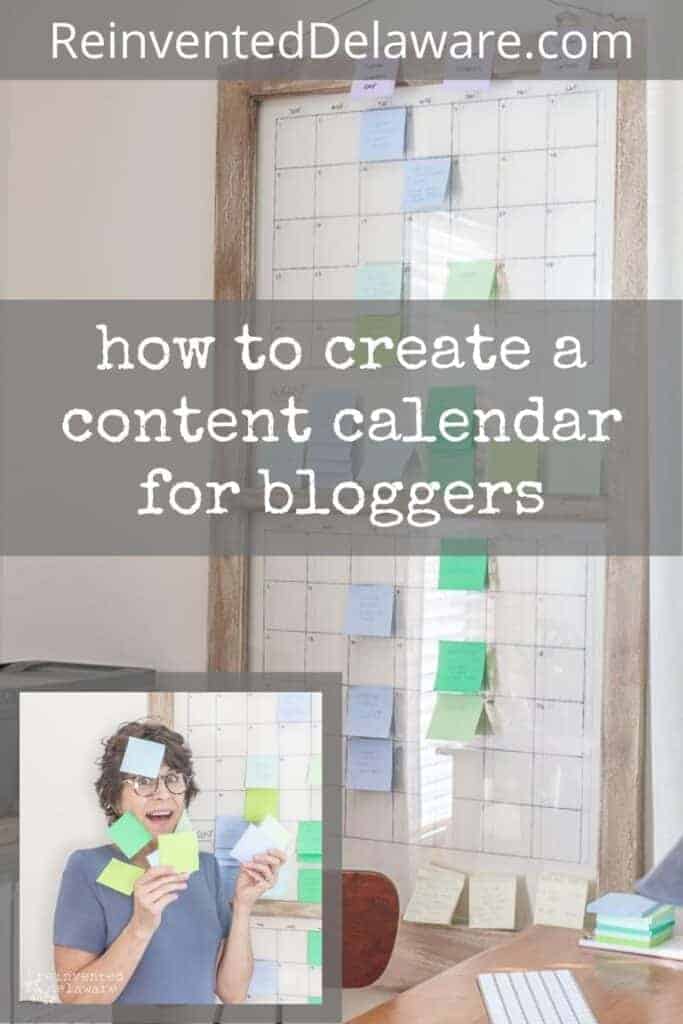
How to Create a Content Calendar
Are you frustrated with trying to create a content calendar that actually works for your type of business?? I’ve got a solution for you!
Stay tuned until the end because I also have a quick video for you!
The following post may contain affiliate links. That means if you click and then buy something, I will make a small commission at no additional cost to you! Thank you for supporting my blog. full disclosure here.
do I need to create a content calendar?
There are so many tasks to do as a blogger and it can be challenging to keep up.
Completing projects, connecting with social media followers, writing and answering emails, managing Pinterest, learning new things about blogging, researching ideas, and of course, creating content that readers are looking for and want to learn about.
One of the tasks is managing the content that people want. For many bloggers, ideas for blog posts come naturally and some bloggers need to do some research to find the topics they want to write about.
Regardless of where the ideas come from, the blogger and the YouTuber need to keep track of those ideas and schedule them.
That’s where the content calendar comes into the picture. Some bloggers refer to it as an editorial calendar like a magazine would use.
No matter what it is called, I knew I had to create a content calendar so I wouldn’t lose my mind!
how to create a content calendar
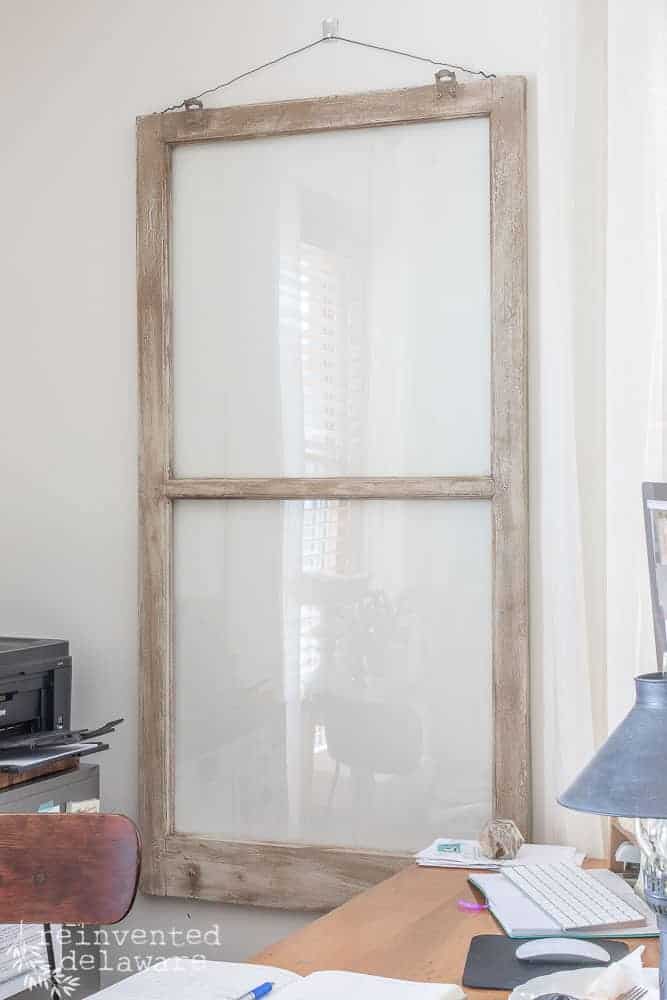
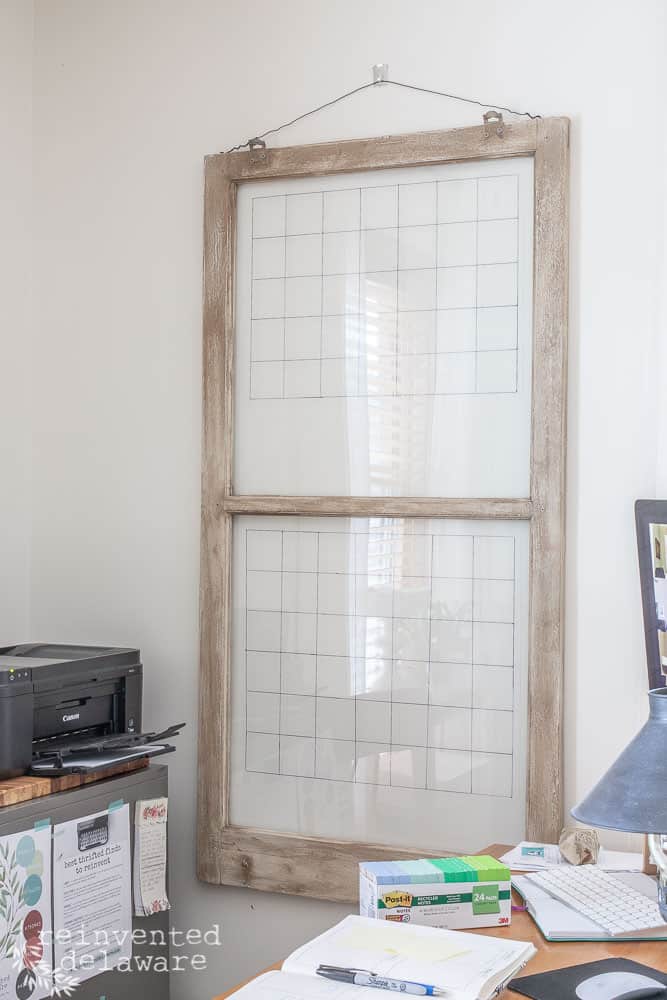
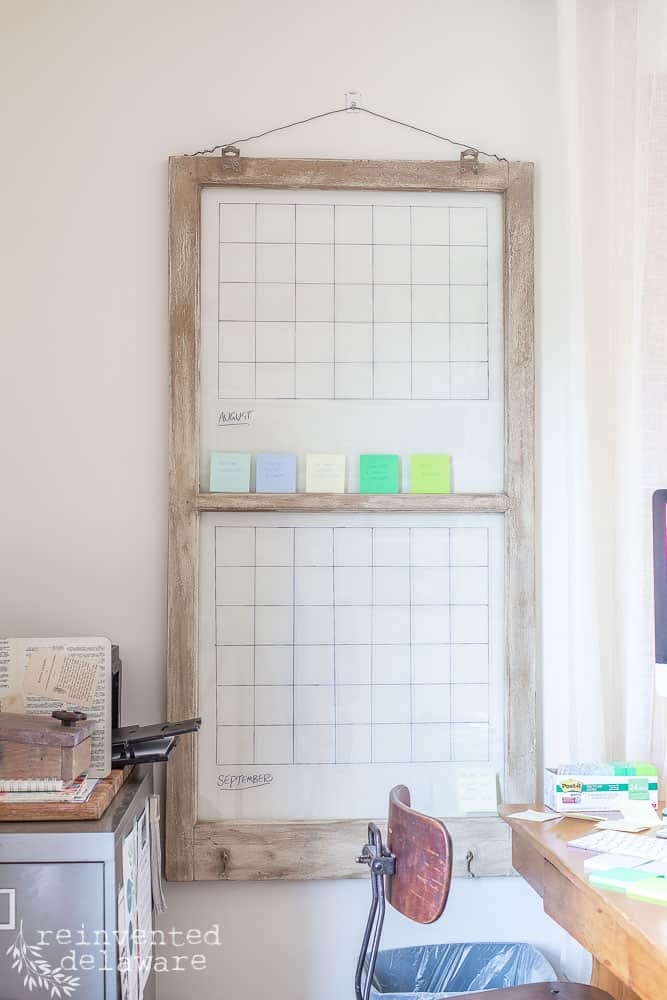
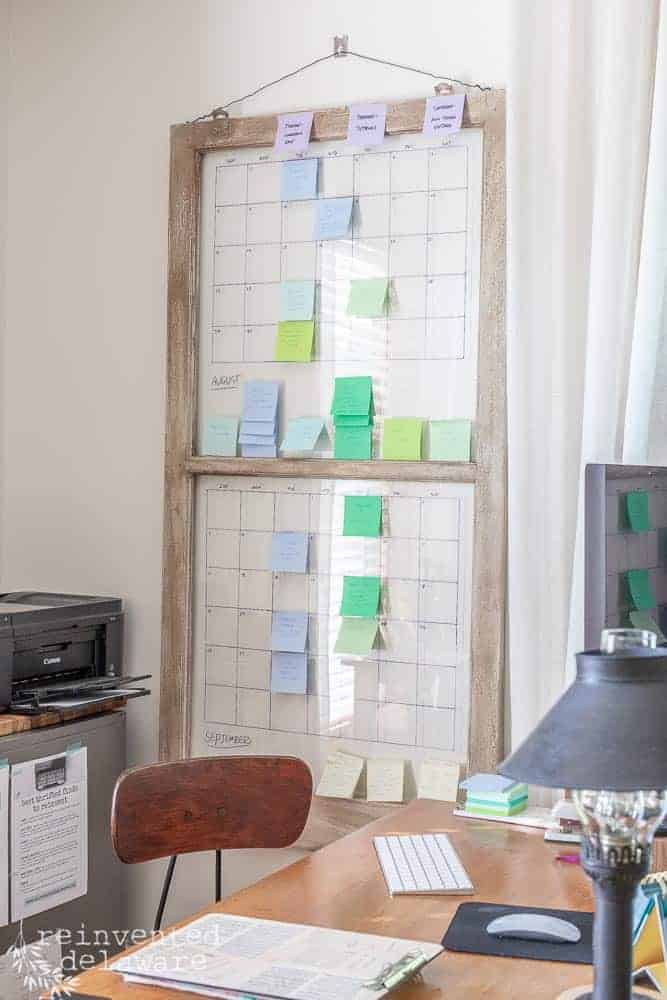
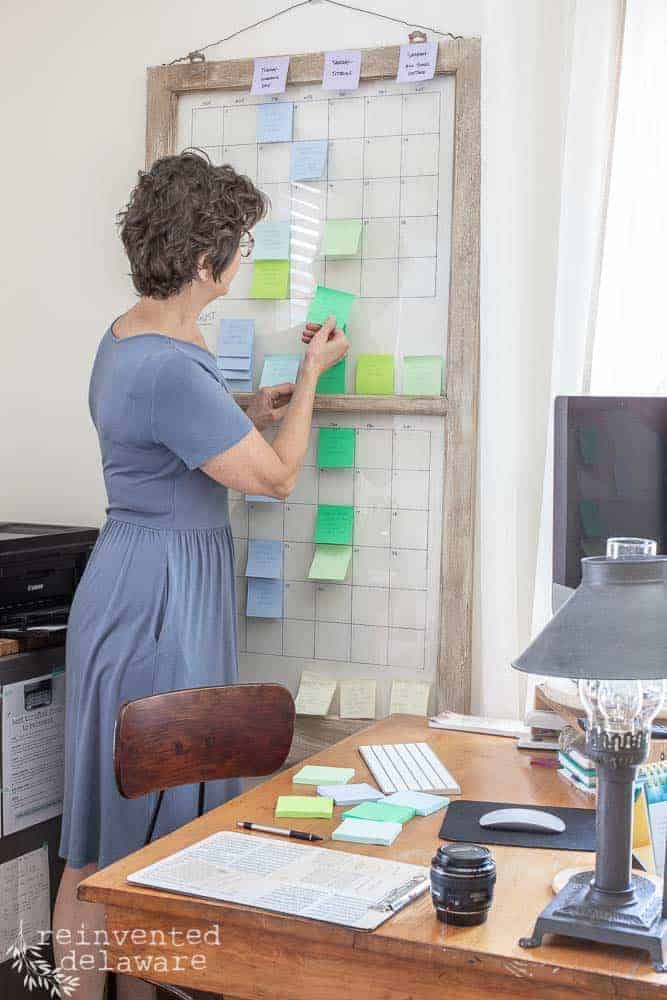
Here is the one I created from a salvaged window I had in my garage.
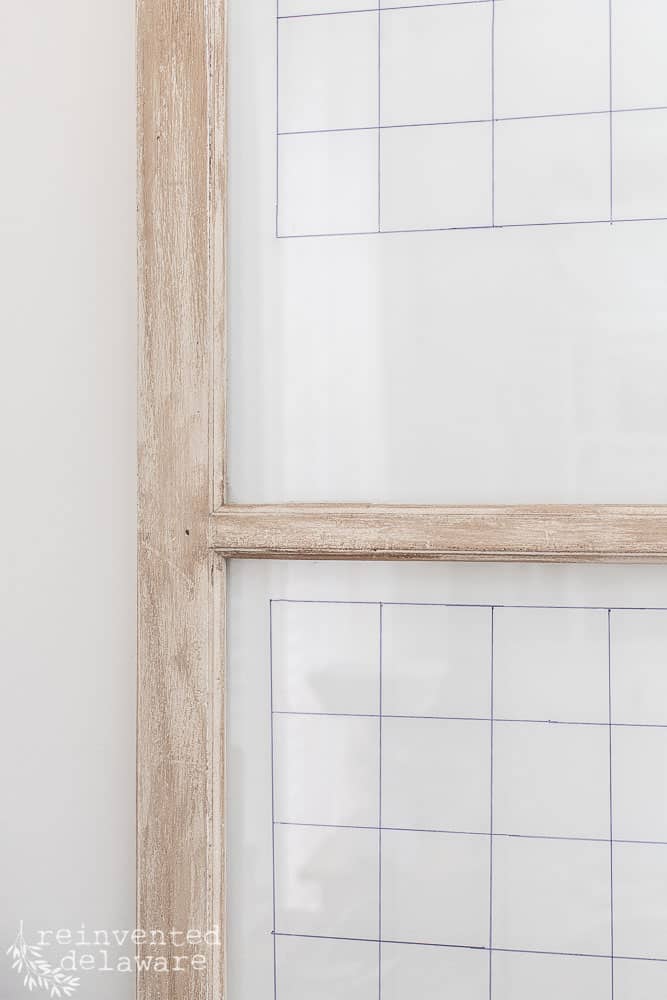
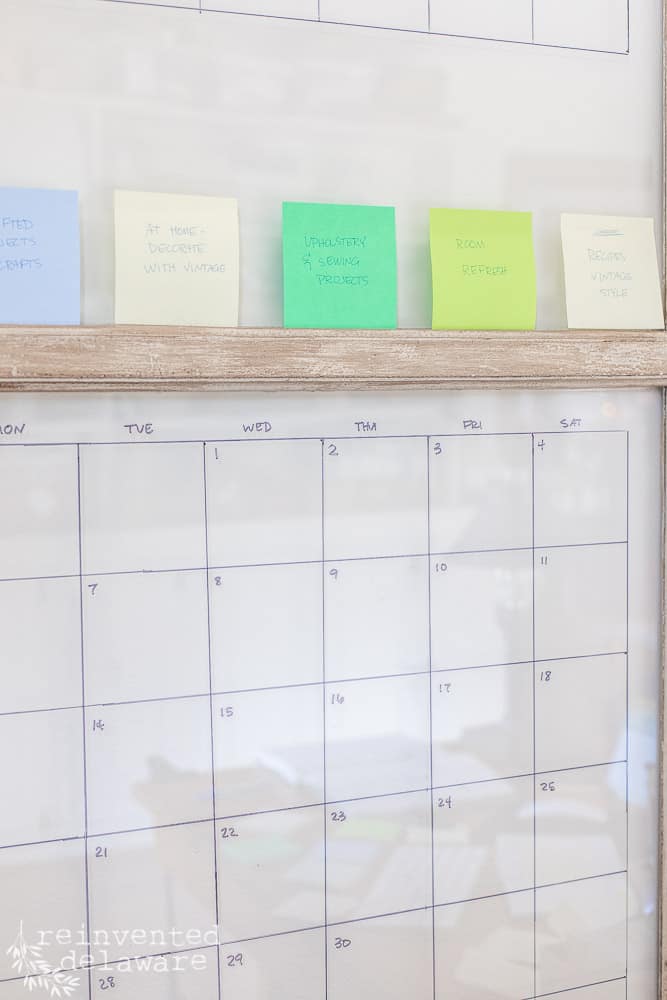
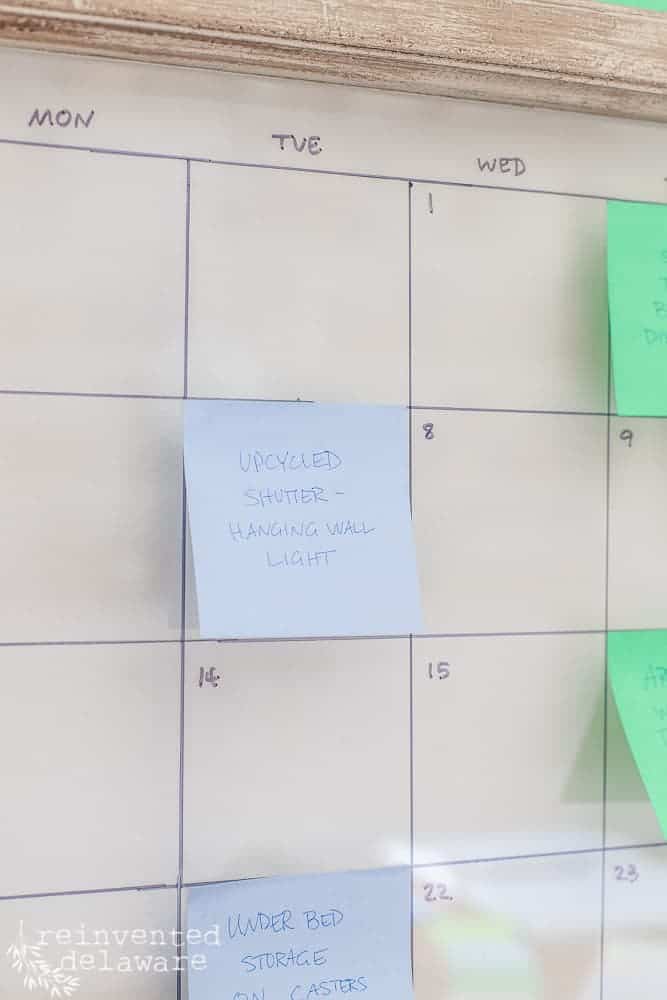
After cleaning it up really well, I marked out a grid with a Sharpie pen on the backside of the glass. There are five rows of seven squares across each measuring 3″x3″
The perfect size for a Post-it Note!
list of supplies:
- salvaged window
- heavy duty hanger (strong enough to hold the weight of the window)
- 12-gauge wire for hanging window (purchased at local hardware store)
- wood screws
- Sharpie marker (I used black)
- 3″x3″ Post-it Notes in several colors (I chose six colors)

I used the 12-gauge wire cut to the length I needed and attached it to the top of the window with the screws. I wrapped the wire around the screw before tightening it down.
Our local Ace Hardware gave me some help when choosing the perfect hanger for the heavy window. Unfortunately, I didn’t save the package and I can’t remember the name of it! Use your smartphone with this post pulled up and show your local Ace Hardware associate the pictures of my window and I am sure they can help you find one!
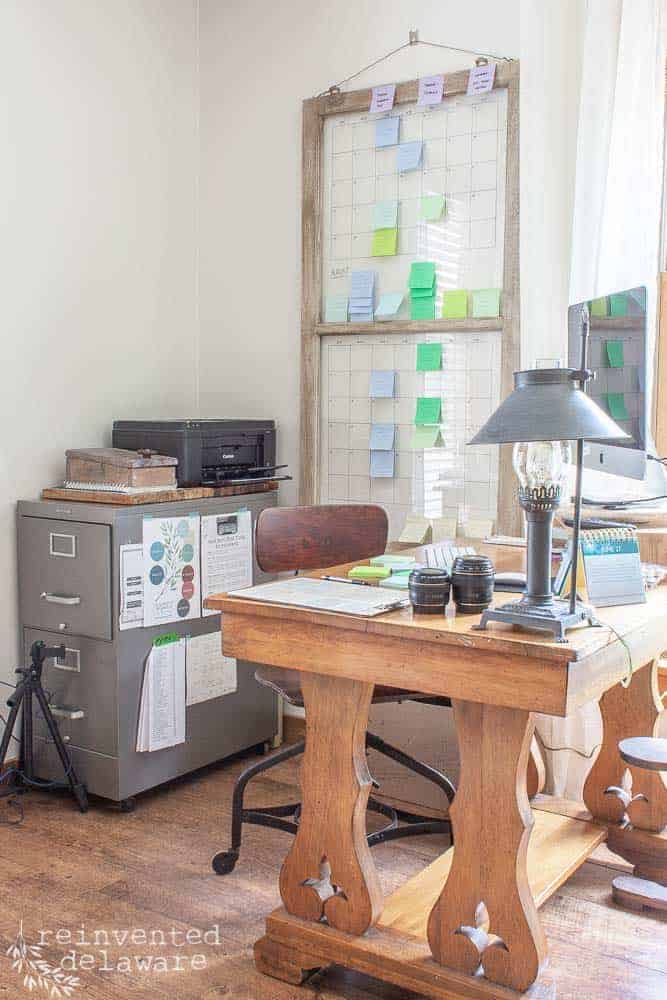
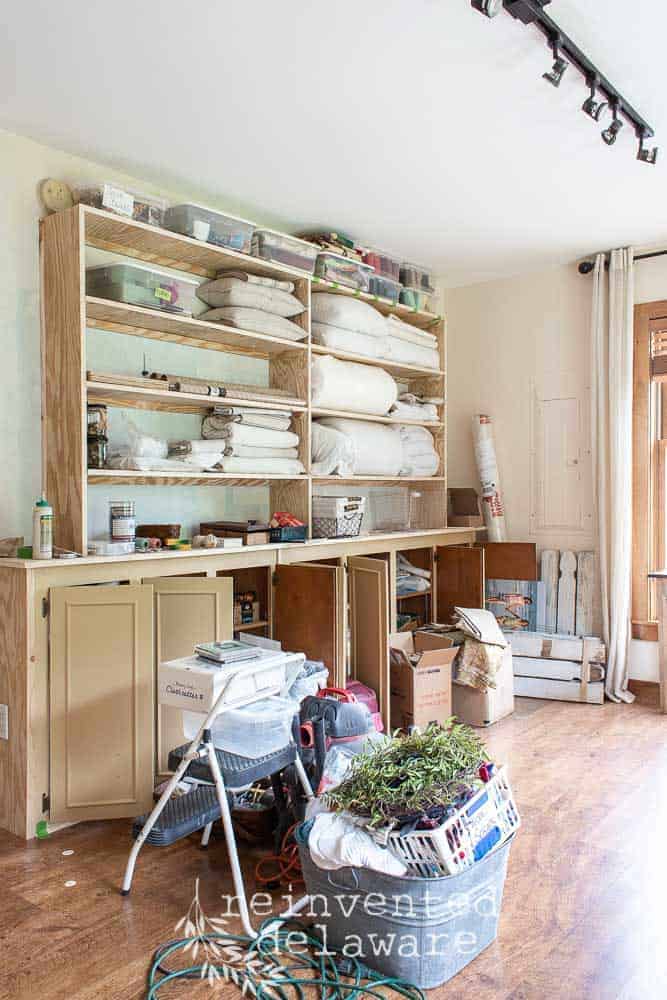
The window hangs perfectly next to my desk space in my sewing and staging room. BTW, you can see how we made this room over a couple of years ago. It’s a multi-purpose room that serves my type of business perfectly! Here are the links to those posts:
fresh idea for a content calendar
Let me tell you about the system I am using to create my content calendar.
A few weeks ago, I attended Haven Blogging Conference. I learned so much! One of the best tips I learned was from Leslie at My 100 Year Old Home. She taught about the content calendar system she uses and how to use Post-it notes for the system! Brilliant, just brilliant.
Here is a link to her blog – she is full of creative ideas and you just have to hop over there and check her out!
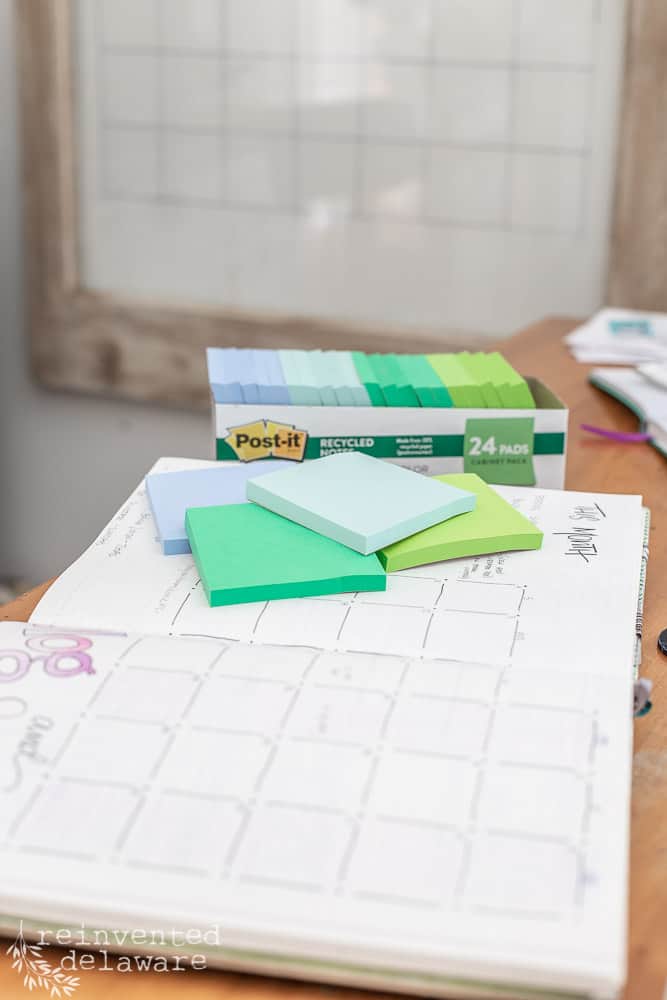
My Post-it Notes arrived and I was thrilled with the colors! The pack I ordered was called Bora Bora and it came in four colors. I wanted six colors so I also ordered a generic pack of Post-its in a color pack I liked. I wanted soft colors, not the neon colors that I associate with regular Post-it Notes.
how this content calendar works
Let’s get to the nuts and bolts of how this system works for me and the repurposing business we run.
First I decided how many times per week I wanted to publish a blog post. For me, that is three times per week, Tuesdays, Thursdays, and Saturdays. One of those posts will also have a video for YouTube.
Next, I decided what categories I wanted to blog about. I have a similar category structure set up here on my blog already, but I am always trying to improve and refine it as I progress further in my blogging journey.
I came up with six categories I want to blog about:
- furniture makeovers
- thrifted projects and crafts
- at home decorating with vintage pieces
- upholstery and sewing projects
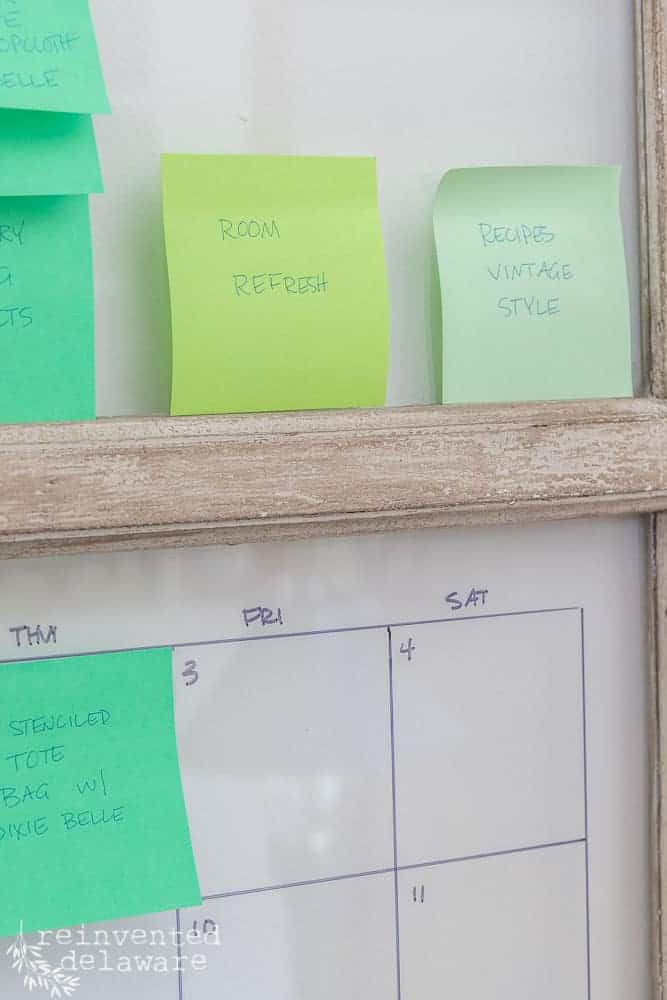
- room refreshes
- recipes vintage style (I want to post more recipes from days gone by)
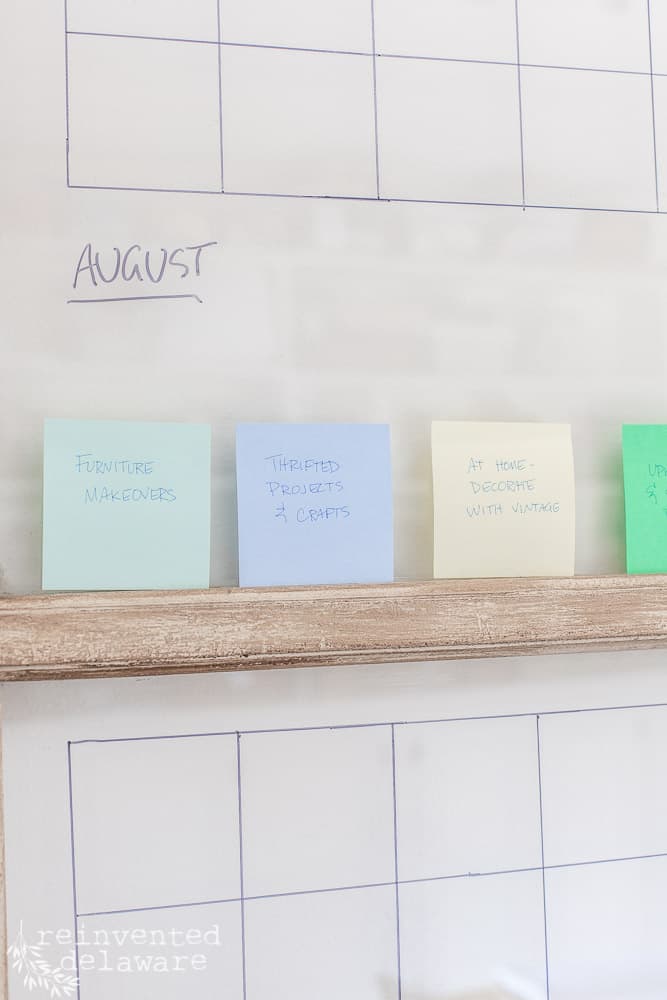
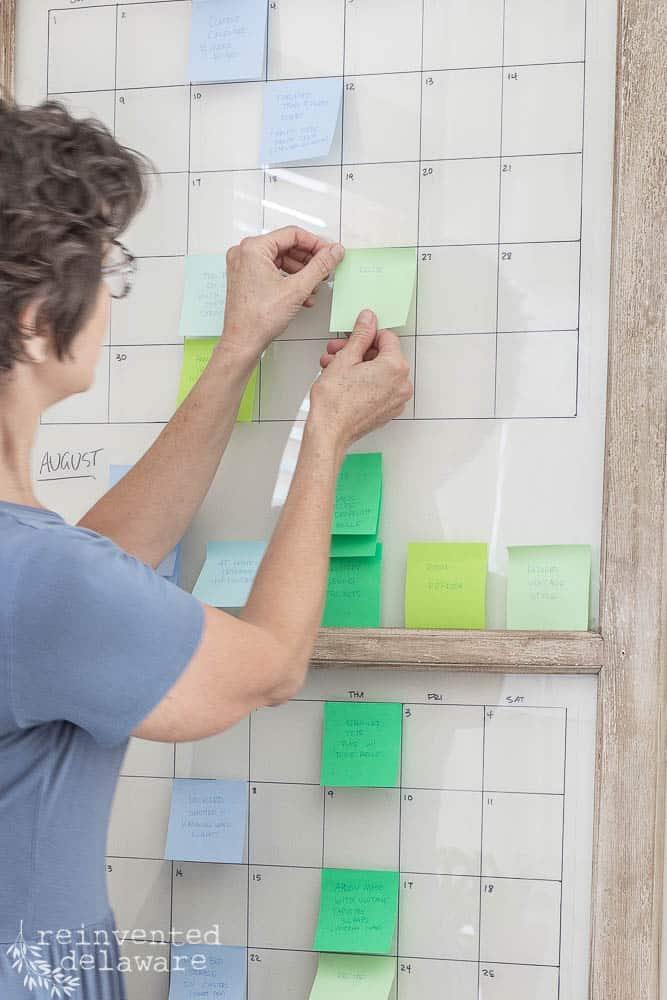
Each category got its own Post-it note color.
The row of the categories is in the middle of my window content calendar.
my bullet journal
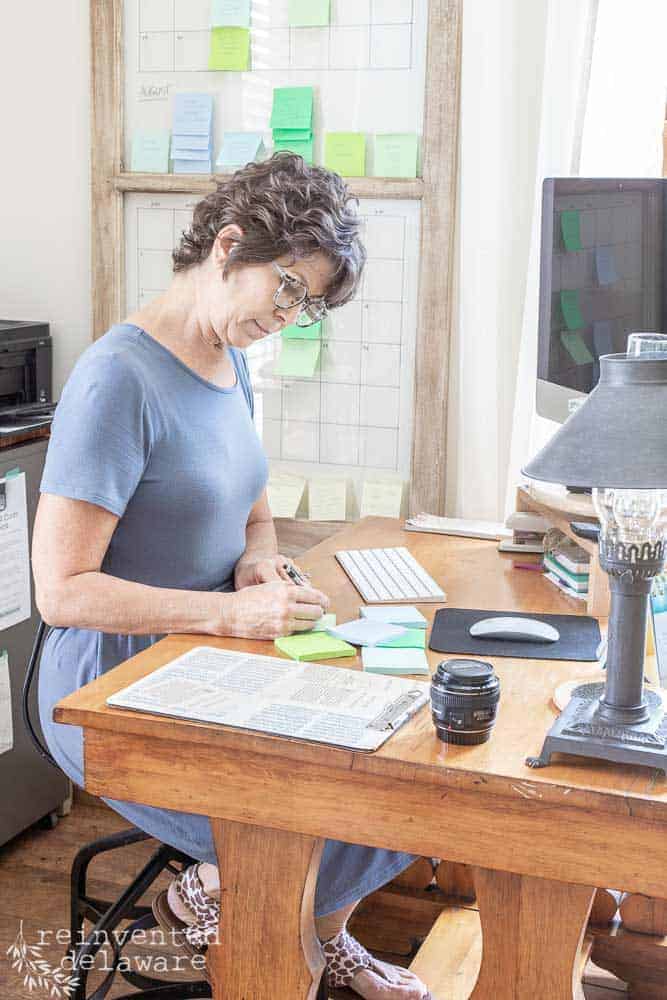
Next, I pulled out my bullet journal. I use it for my business faithfully. She’s my assistant and I couldn’t accomplish a thing without her!
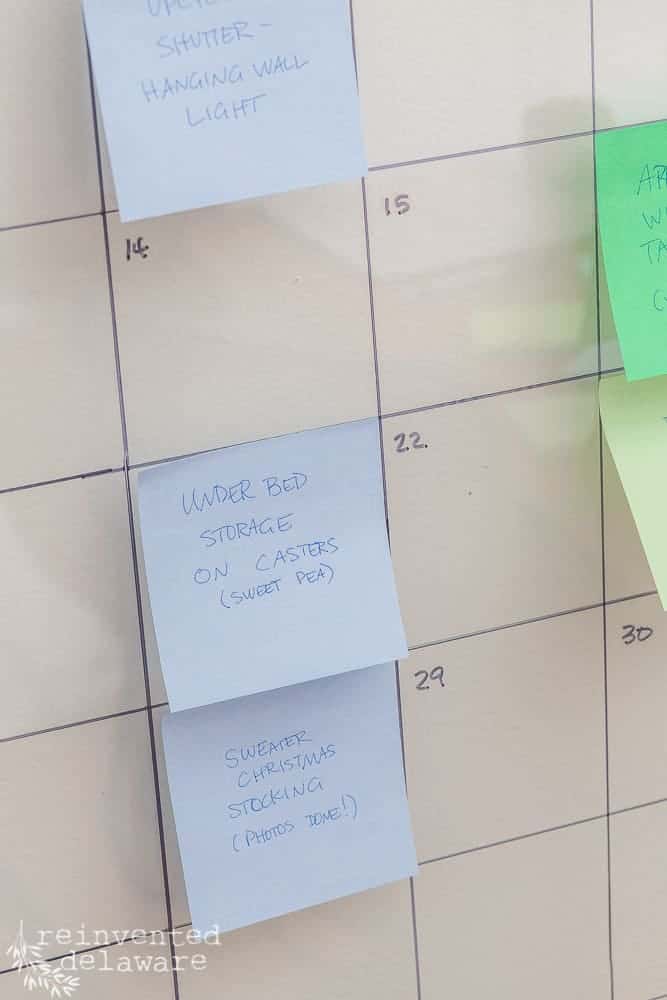
Every time I get an idea for a project or a post idea, I jot it down on a designated page for those ideas.
So I opened up my bullet journal to those pages and started writing the ideas down on the colored Post-it note that matched the category of that project or idea.
I might go back and re-write the first Post-it notes in a fine tip black sharpie. Anyway, I don’t want to get side-tracked with those sorts of details!
organizing my post ideas
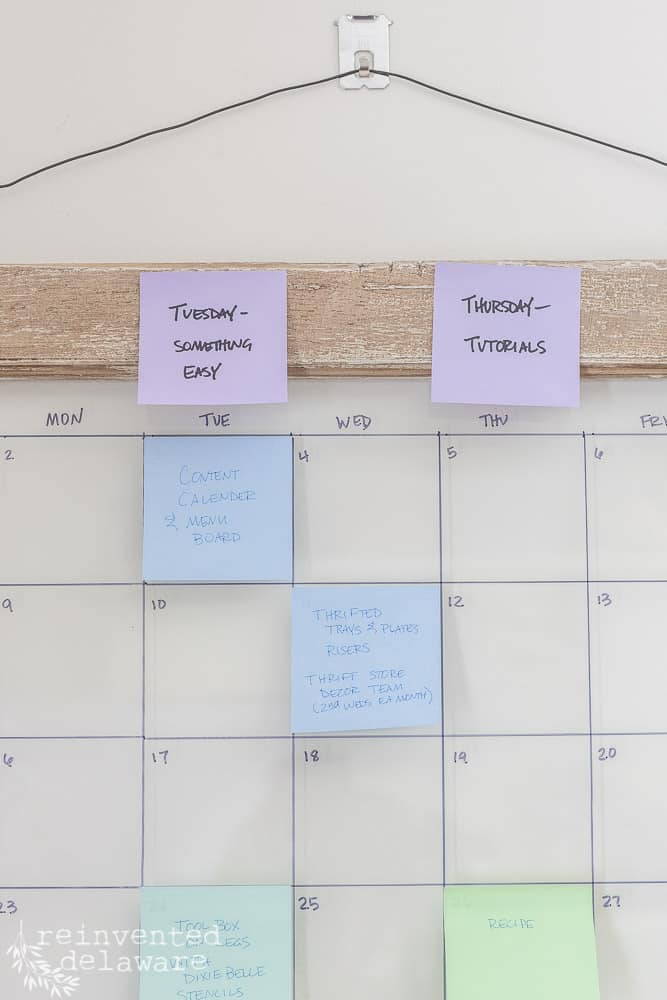
After writing each note, I attached it to the center area along with its matching category note color. I hope that makes sense. I kinda stacked the Post-its on top of each other. You can see what I mean in the images below.
I also have purple Post-its across the top with the days of the week I want to publish a post.
Below, you can see an example of how I did this. Se the bright green Post-its? For the category of Upholstery and Slipcovers, I have a couple of blog post ideas stacked on top.
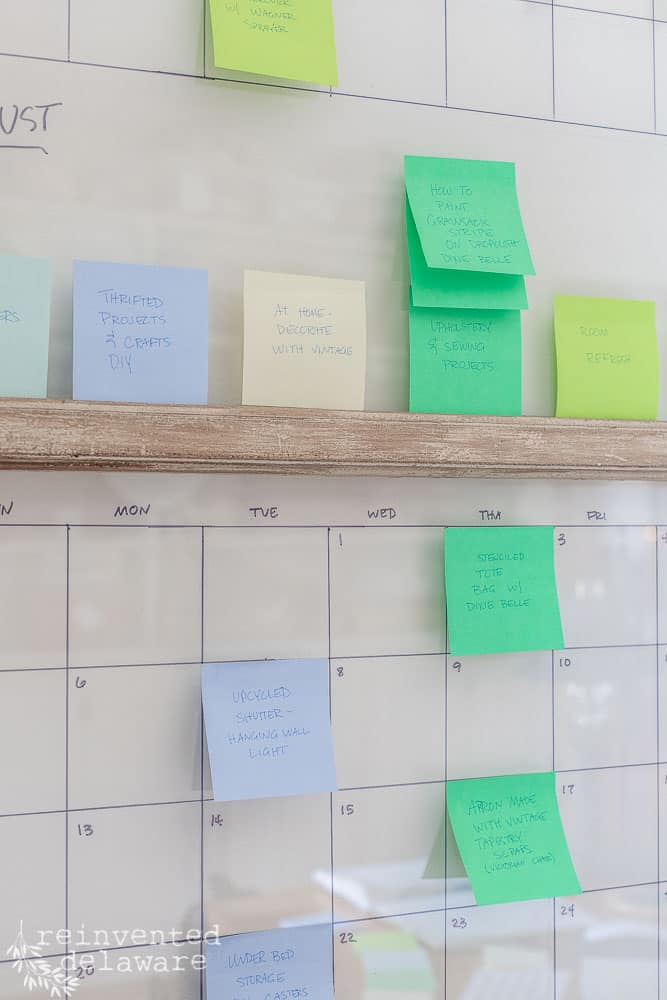
I spent a good bit of time getting the posts written out and then organized then I started to move them to the columns I wanted to post on – Tuesdays, Thursdays, and Saturdays. So I won’t have Post-it notes on the other days of the week. Unless I have a special blog post coming up like a blog hop.
new ideas for posts
This step isn’t completely finished and it will continue to be a work in progress as I get new ideas for blog posts. I will always have a stash of Post-it note ideas to pull from!
reasons to create a content calendar
There are many reasons I love this system.
One of the main things I love about my specific system is the window. Of course, I had to figure out a way to repurpose something like an old window!
I still have another window just like this one in my workshop that I am trying to think about how to use! I’ll keep thinking and get back to you!
Here are a couple more reasons I love this system:
- it’s in plain view in my office
- it is versatile and can be adjusted easily
- it’s a visual place to store the ideas in my mind
- it’s an ongoing system that keeps me on task
- the grid is on the backside of the glass so I only need to change the dates on the front
constantly rotating months
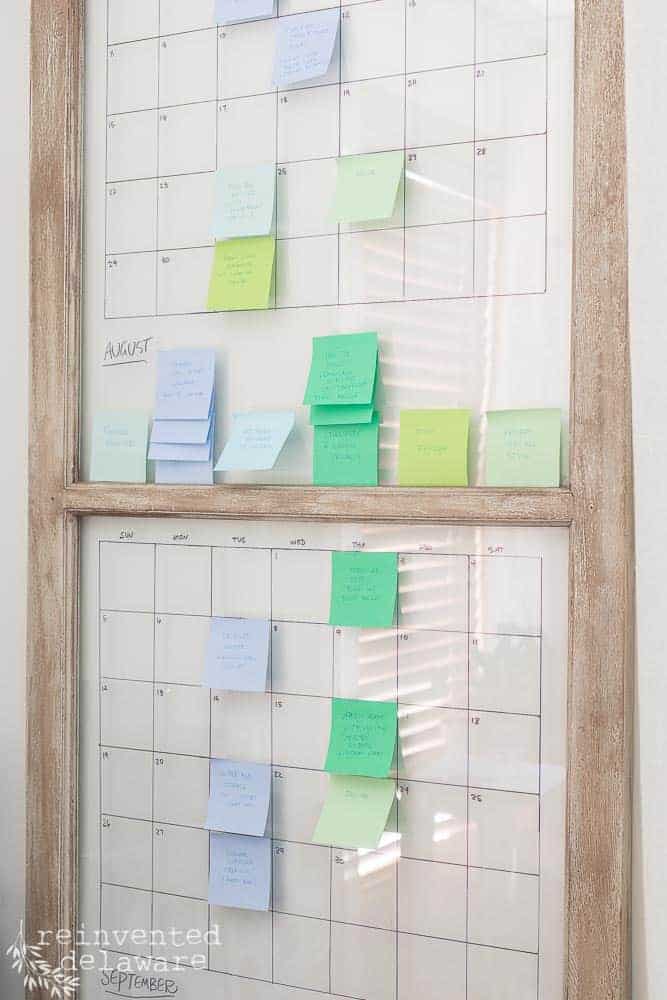
One last thing about my specific content calendar system using an old window: when I complete one month and then move into the next month, I will simply clean off the dates with alcohol on a cotton ball and start the next month!
Let me explain it further: when August is finished and I start with September (in the bottom section of the window) I will clean off August’s dates and fill in the grid with October’s dates. Then when September is finished, I will fill in November’s dates.
Here is a quick video where I explain even further the steps I used to create a content calendar for my blog:
Thanks for stopping by today!
Thanks so much for joining me for this tutorial! I hope you found it helpful and I would love to know your thoughts on this idea to create a content calendar made from an old window! Share your thoughts and ideas in the comments below 🙂
Pin the image below to any of your Pinterest boards so you can reference it anytime! Just click the pin button at the top left corner!
join our journey!
Thanks so much for joining us for this post! Join our journey so you don’t miss any fun projects, tutorials, and inspiration we share with you each week! You can follow us on Instagram, Facebook, and YouTube. We share even more inspiration on Pinterest!
Until next time…


I love this idea! You’re so organized…I really need to work on a system too. I also love your blog theme. It’s always interesting to see how each person personalizes their themes. Have a great week!
Shelley
Haha – organized?? Just trying to keep my head above water!! Thanks for stopping by today!
This is amazing! What a great idea!!!
Thanks! I am loving this post it note system!!
Great work! I will have to stick with a notebook type for now…my toddler would have loads of fun pulling off all the post its! The layout is super smart though and I could definitely make it work on paper! It’s so necessary if you don’t want to spin your wheels all the time!
Haha! Your little one would have a blast!! Smart woman to keep it in a notebook!
This is such a great post! Love the idea of using an old window to create your calendar. Love your organization for blogging too! I need to be more organized!!
Thank you for sharing your fabulous ideas!
Karin
I’m just trying to keep it all together!! Thanks for stopping by!
I love this idea, especially how you used an old window to make the calendar.
Thanks Paula! Vintage windows are so useful!
Cindy, thank you so much for sharing this with us. Especially since physically I can’t attend Haven.
This answers a question I have had about this issue.
I have to think of a system to work in my office/craft room.
Thank you again. So very helpful.
So glad you found it helpful! You will come up with some brilliant, I’m sure!!
Oh, my goodness! Cindy! This is the BEST post ever! You rocked that video, too! I am now looking for a window for my calendar!
That’s sweet of you to say about the video! I’m pushing past the awkwardness of talking to a camera!!
I love this idea so much, Cindy! That wood and glass looks gorgeous!
Isn’t it fun?? I think this idea would work for menu planning too!
I absolutely love this! You made it look so easy I am now inspired to get it together myself. Thank you!!
Yes!! Do this for your blog – she will thank you!
What a great idea! I love that you used a window. I was literally just thinking that I have got to get my deadlines organized!
Danielle, this would be perfect for deadlines!! You’re a smart blogger!
I loved your windows, post and video! You are a natural on camera my friend!
That’s a sweet thing to say Elizabeth! Thanks for your encouragement!! Happy Weekend!
Great idea – I am a paper person and love visuals. Just can’t do all the digital like some. And the window is great for this.
I am a visual, paper, have-to-write-it-down kinda person too! Glad you enjoyed the post!
You did a great job with this post, Cindy!! I loved that you used a salvaged window. I think it looks more decorative. What a great idea!!
Thanks Kim! I have lots of windows around here so I needed to put them to work!
I’m a visual person so seeing content planner with colored post its is perfect! Thank you for sharing this idea.
You are most welcome! Thanks for stopping by Anna!
This is why I need an editiorial calendar…I could only see that old window you used and wonder if we still had some in our basement! Then I saw the table desk you have. Now I have to go back and actually read what you wrote. Thanks Cindy!
So glad you found this calendar post helpful! You definitely need to start one – it is sooooo helpful! Thanks for stopping by my friend!
Cindy, I had to pull out of Haven at the last minute and was devastated to miss … well, everything. And, especially the wisdom and encouragement of our shared mentor. Thank you so much for doing this … I’ve beens so curious about the calendar. I’m saving your YouTube … thank you thank you thank you. This is so appreciated. xo
The content calendar system that our mentor shared blew me away! I’ve kept a content calendar in my bullet journal for a long time but this system brings it to a whole new level. So glad you enjoyed the post – if you have any questions about the system, feel free to contact me!
Cindy!! I love this!! My husband shared the post it note calendar idea with me last year during COVID, but he uses this tiny ones. I love this for my big bubbly hands writing!!!
That window is gorgeous! I love that you incorporated your style when setting this up.
Thanks Marie! I have so many vintage windows in my inventory and I had to use one!! I’m loving this calendar system!
This was a fabulous diy. I will need to watch the video. This is very helpful. Thank you!
I’m so glad you found it helpful! Happy planning!