Fix Damaged Veneer with Gel Stain – A $3 Coffee Table Makeover
A $3 coffee table from the ReStore looked like a steal, until I stripped it down and found damaged veneer underneath. Let’s fix that! No paint, no wood filler, just gel stain. Here’s how I did it.
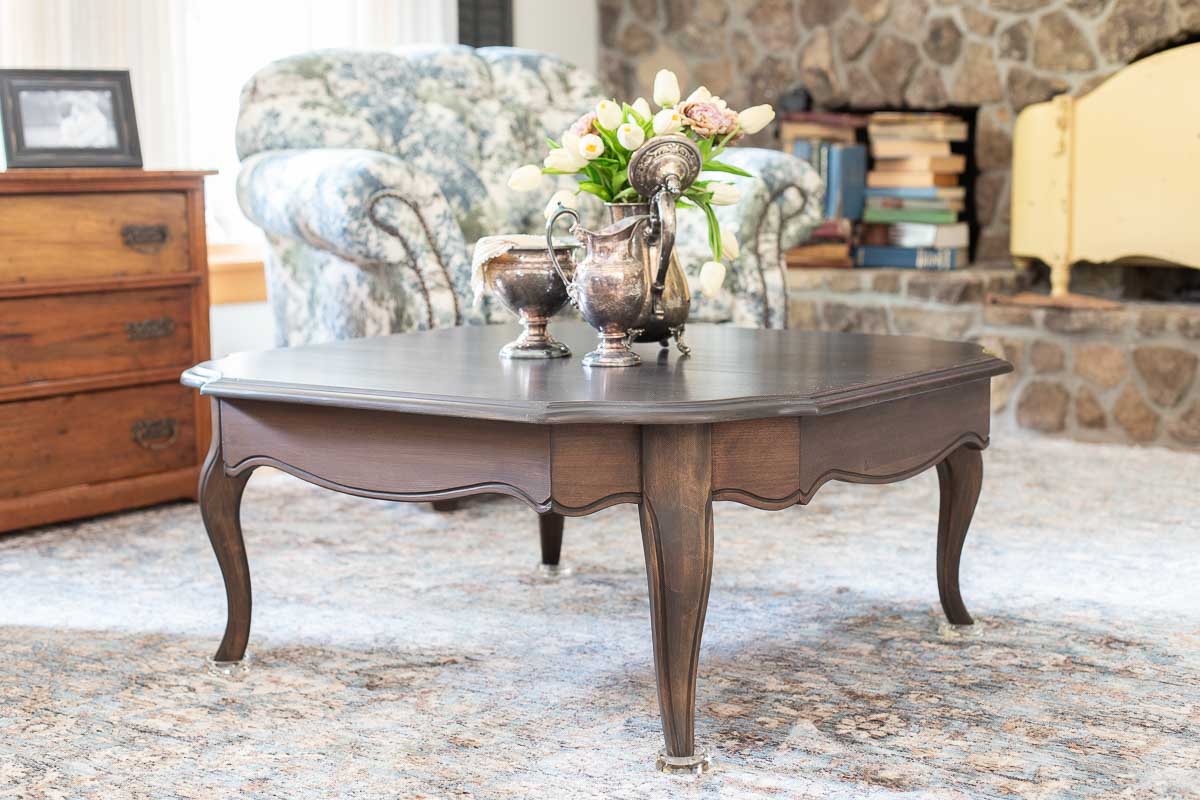
The $3 Habitat ReStore Coffee Table Find
Every great furniture makeover starts with the right find, and this one started at the ReStore. I had no idea when I spotted this coffee table that it would come with a veneer problem to disguise, but that is half the fun of thrifting old furniture!
Scouting Vintage 1950s Furniture
I’m always on the hunt for the traditional look of 1950s furniture and decor. I especially love the French Provincial style with curvy cabriole legs and scalloped aprons. So when I walked into my local ReStore and saw this gorgeous coffee table I almost did a backflip! Not really but it’s fun to think about it!
This coffee table was just waiting for me to come into my local Habitat ReStore. I walked straight to it and saw the $20 price tag. How could it be any more perfect? I walked around the table and saw another price tag that read $7! This was my day! The second price tag must have been a markdown!
I went to the counter and asked the clerk to hold it for me while I continued to shop. She then informed me that the coffee table was half price on that day, bringing the cost of this gorgeous table to a whopping $3.50!
I loaded that table up before you could say damaged veneer! Of course I didn’t know what was ahead of me as I made room in my little car for the table.
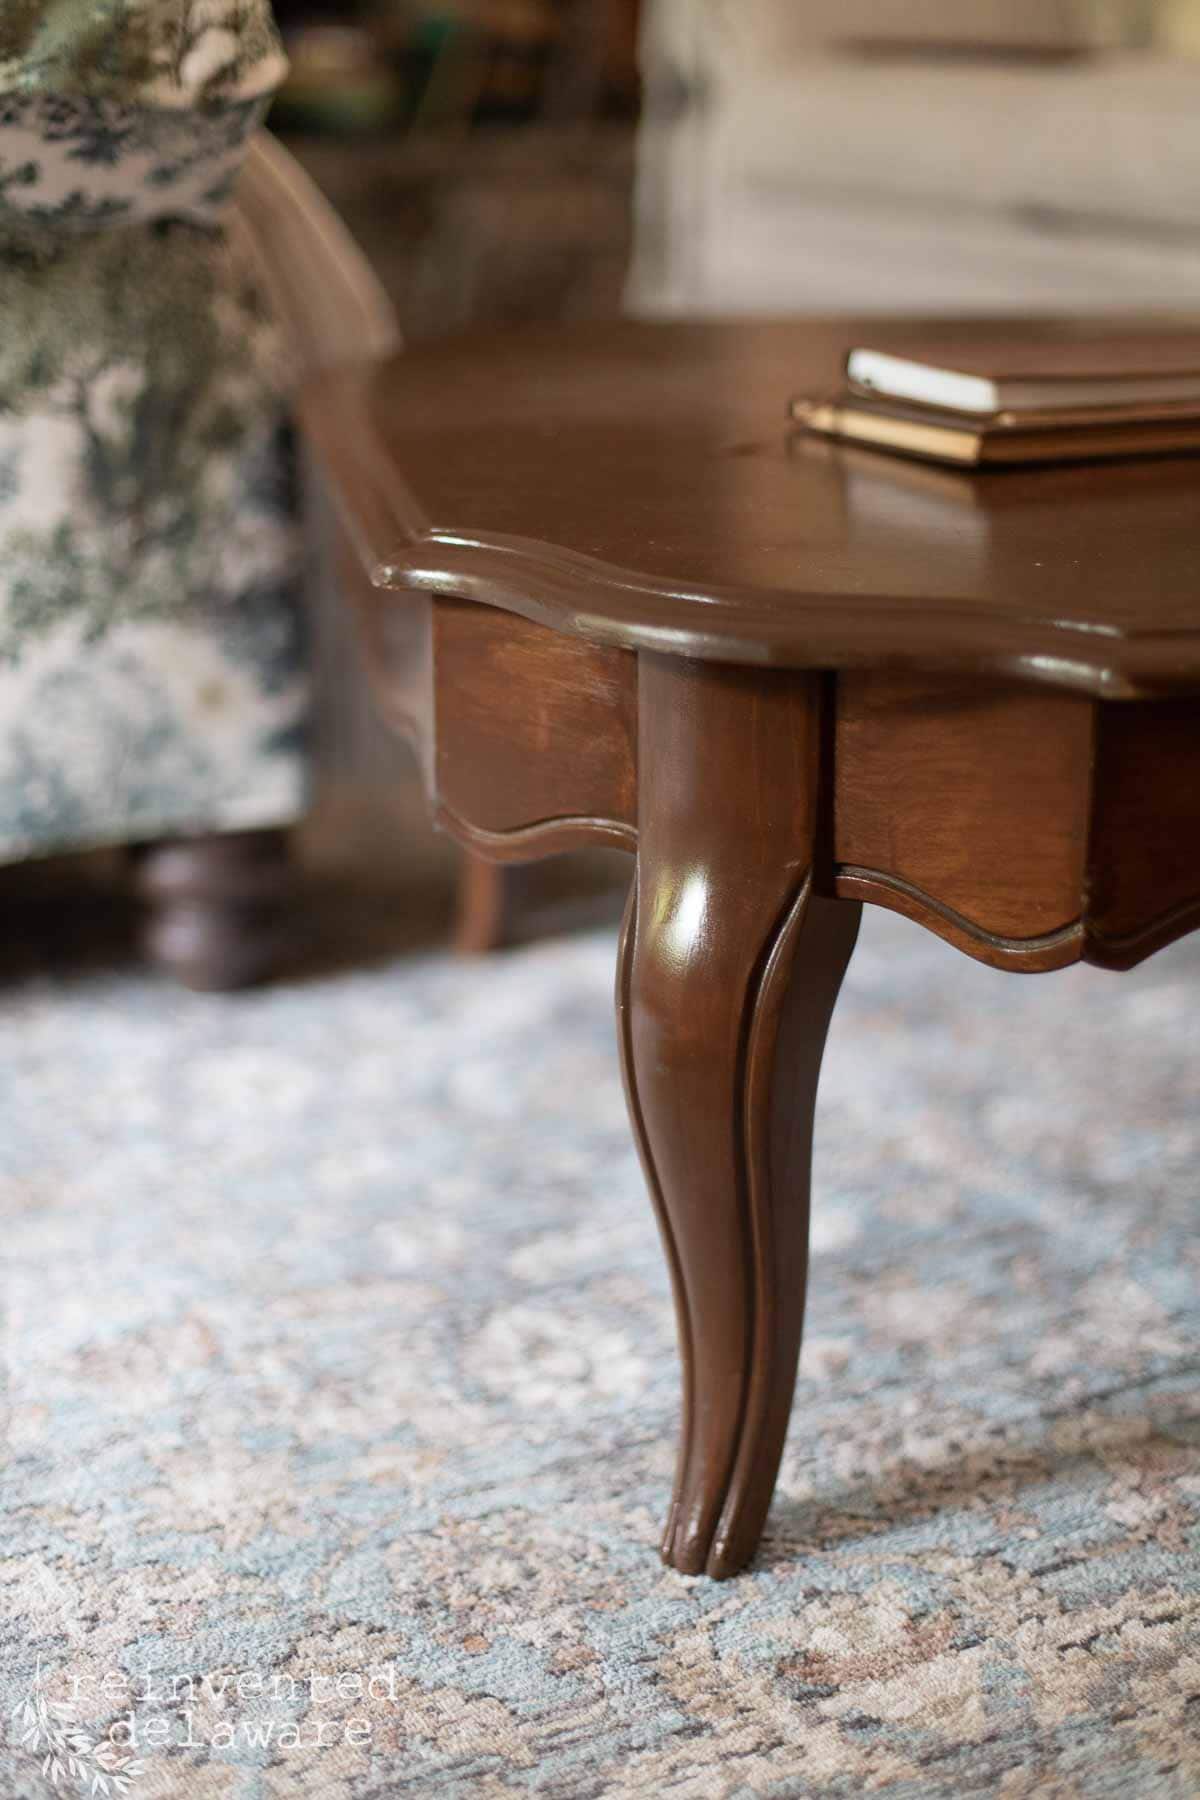
Uncovering the Damaged Wood Veneer
The table was beautifully shaped, but the finish left a lot to be desired. I knew I would have to change the color as well as make the finish look better. The finish was very streaked and blotchy.
Stripping furniture down to bare wood always feels a little like opening a gift. You never quite know what you are going to find underneath years of old finish, and most of the time it is a good surprise. But not this time!
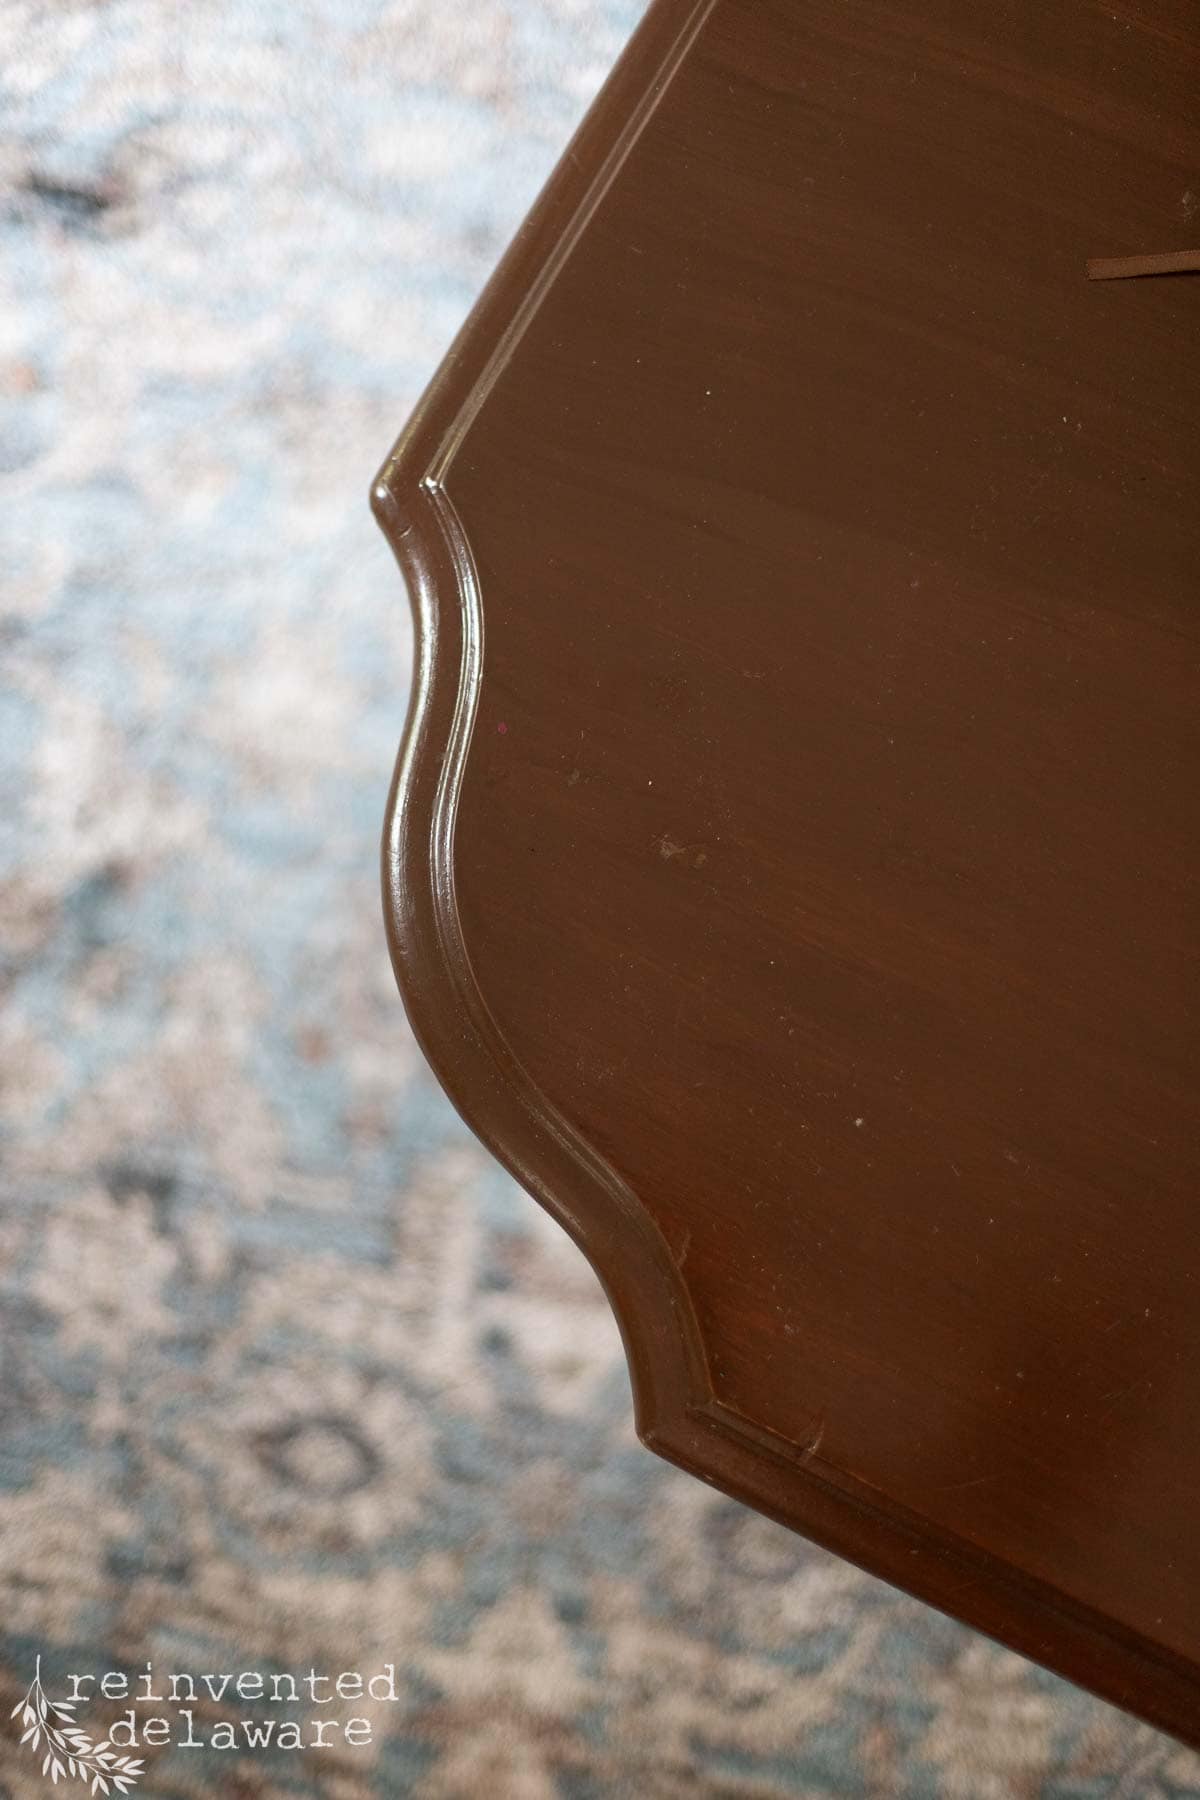
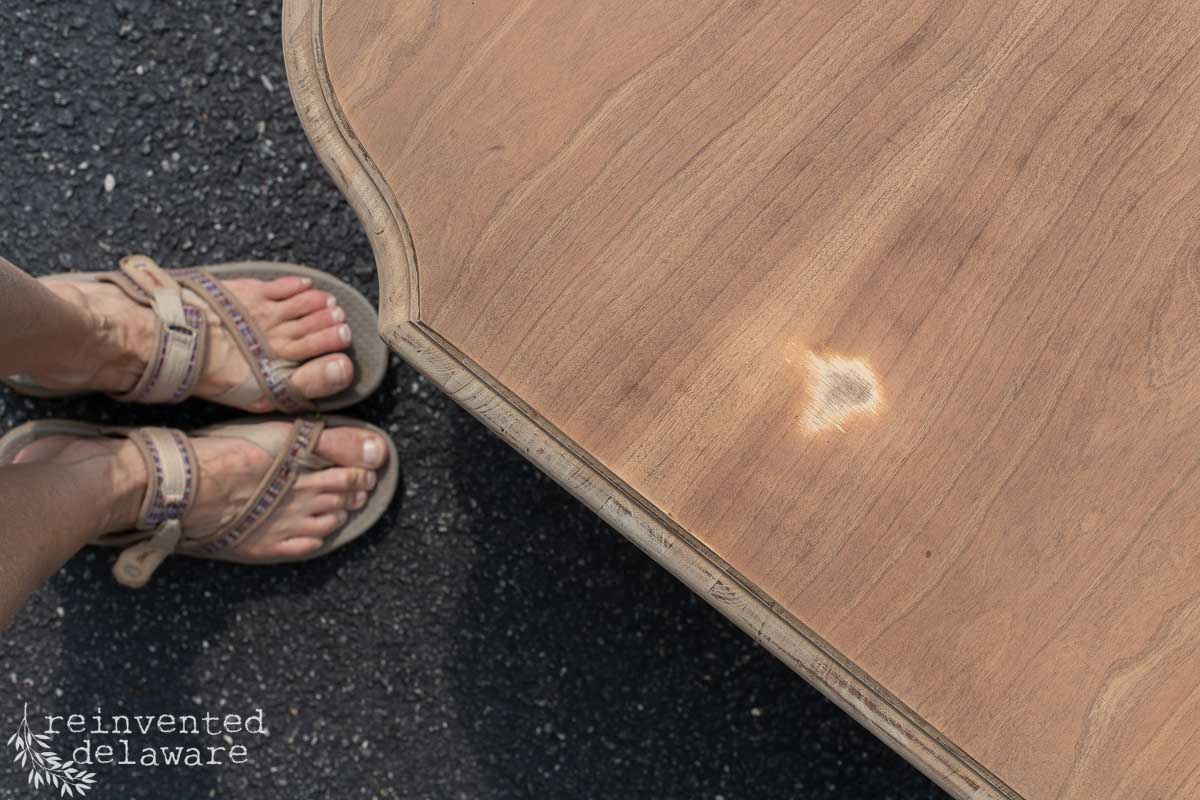
Once the original finish was stripped away, a section of the coffee table top looked completely different from the rest of it. It had a different color and texture than the surrounding area. My first thought was that I shouldn’t have stripped away the ugly original finish!
You might have experienced the same problem in one of your furniture makeovers. We almost all run into this damaged veneer problem at one time or another. We just have to adjust our plans a little bit!
What is Sanded-Through Veneer?
Sanded-through veneer happens when the thin layer of veneer applied to the top surface of the furniture gets sanded away completely, exposing the plain wood underneath, like poplar or particle board.
Veneer is usually only a fraction of an inch thick, so it does not take much to damage it. Holding a power sander in one spot too long is a sure-fire way to sand through the thin layer of veneer. Once the sander works through to the substrate, there is no going back.
The area will look noticeably different in color and texture from the surrounding veneer. The damaged area will not take stain like the surrounding area. Sometimes you can even see an indentation in the surface when looking at it against the light.
That was the case with this piece. A previous owner had sanded a little too hard in one spot on the coffee table surface, leaving a dented and noticeably different spot than the rest of the coffee table top.
thanks for being here!
I hope you are enjoying this project! Let me know if you have any questions. Or leave me a comment to tell me about your project and ideas!
thanks, Cindy 😀

Why Wood Veneer Damage Happens
Veneer damage like the damage on my thrifted coffee table usually comes down to one thing, too much pressure or too many passes in the same spot while sanding with a power sander. It is easy to do, especially if you are working through a thick coat of old finish, paint, or years of built-up wax. The sander cuts through faster than it looks like it is working, and by the time you notice, the veneer is already gone.
Older furniture is especially at risk. A lot of vintage pieces, including this one, were made with a thinner veneer layer than what you will find on furniture today. That thin margin does not leave much room for error, which is likely how this table ended up with its damaged spot long before I ever brought it home.
It can also happen from age and wear alone. Years of moisture, sun exposure, or a previous refinishing attempt can weaken the veneer to the point where it lifts, cracks, or wears through on its own, no sander required.
How to Fix Damaged Veneer with Gel Stain
Using gel stain to fix damaged veneer is so easy. Gel stain is thick and acts like paint. Standard stain is thin like water. So the gel stain covers the damaged veneer and creates a wood tone look.
Gel Stain vs. Traditional Wood Stain
The thick consistency of oil-based gel stain makes covering mishaps like this type of damaged veneer simple. Traditional wood stain is thin like water, and soaks into the surface evenly, making it harder to conceal this type of veneer damage.
Also, using a dark color helped in covering the damage on this thrifted coffee table.
Why Gel Stain Hides Mistakes
Gel stain hides mistakes because of how it sits on the wood instead of soaking into it. Regular stain is thin, so it settles into the wood grain unevenly, and any damaged or sanded-through spot ends up looking lighter or blotchy compared to the rest of the piece. That is the opposite of what you want when you are trying to cover a mistake.
Gel stain behaves more like a thin layer of paint. Because it is thick, it builds color on the surface rather than letting the wood underneath control how dark or light an area turns out. That means a damaged spot and an undamaged spot can end up looking nearly identical once the gel stain is applied, especially with a second coat.
This is exactly why it worked so well on this coffee table. The damaged area would have soaked up traditional stain differently than the rest of the top, making the mistake even more obvious. Gel stain let me even everything out instead, so the damage blended right in instead of standing out.
The following post may contain affiliate links. That means if you click and then buy something, I will make a small commission at no additional cost to you! Thank you for supporting my blog. full disclosure here.
Supplies List
Step-by-Step: Applying the Gel-Stain
Let’s go over the step-by-step process to correct damaged wood veneer on furniture using gel stain. It’s so simple! If you want to see my full furniture restoration process from start to finish, that post walks through the basics in more detail.
Strip the Old Finish
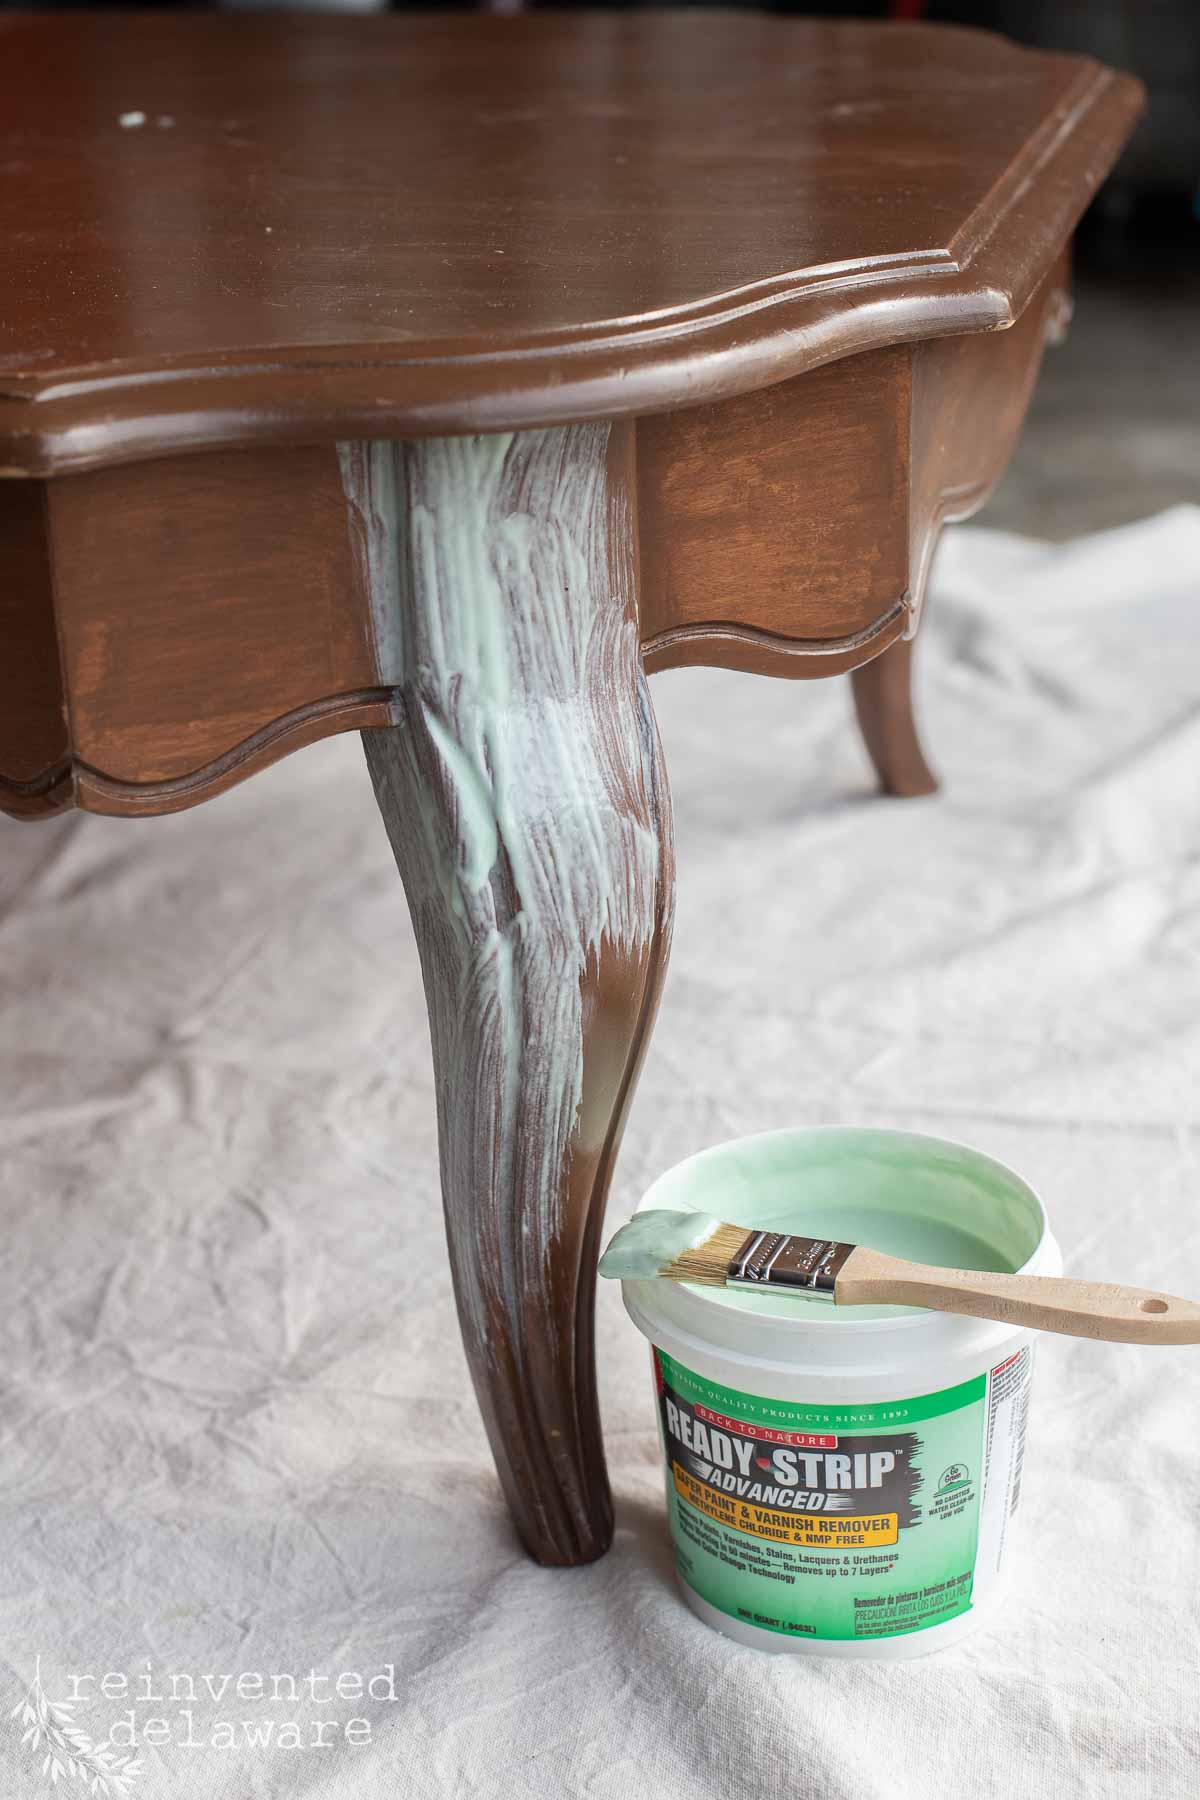
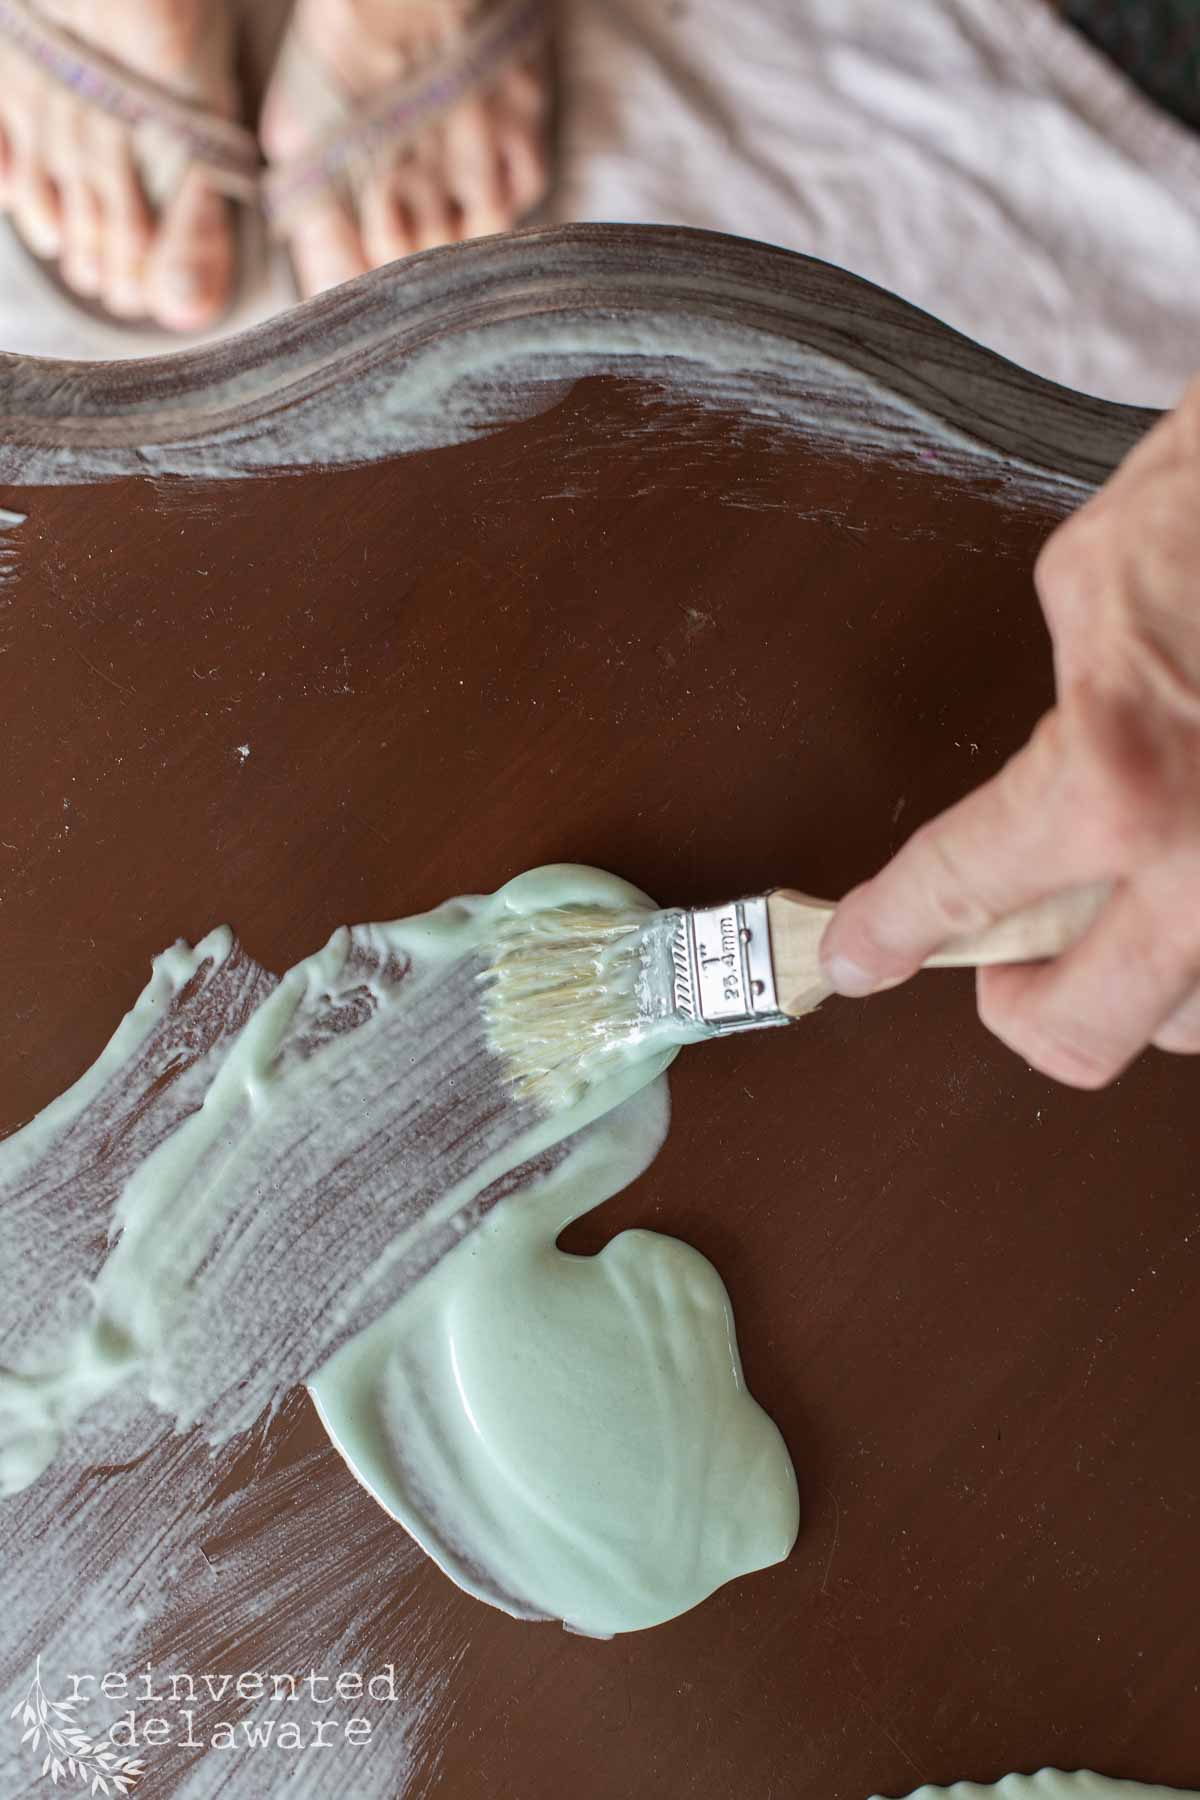
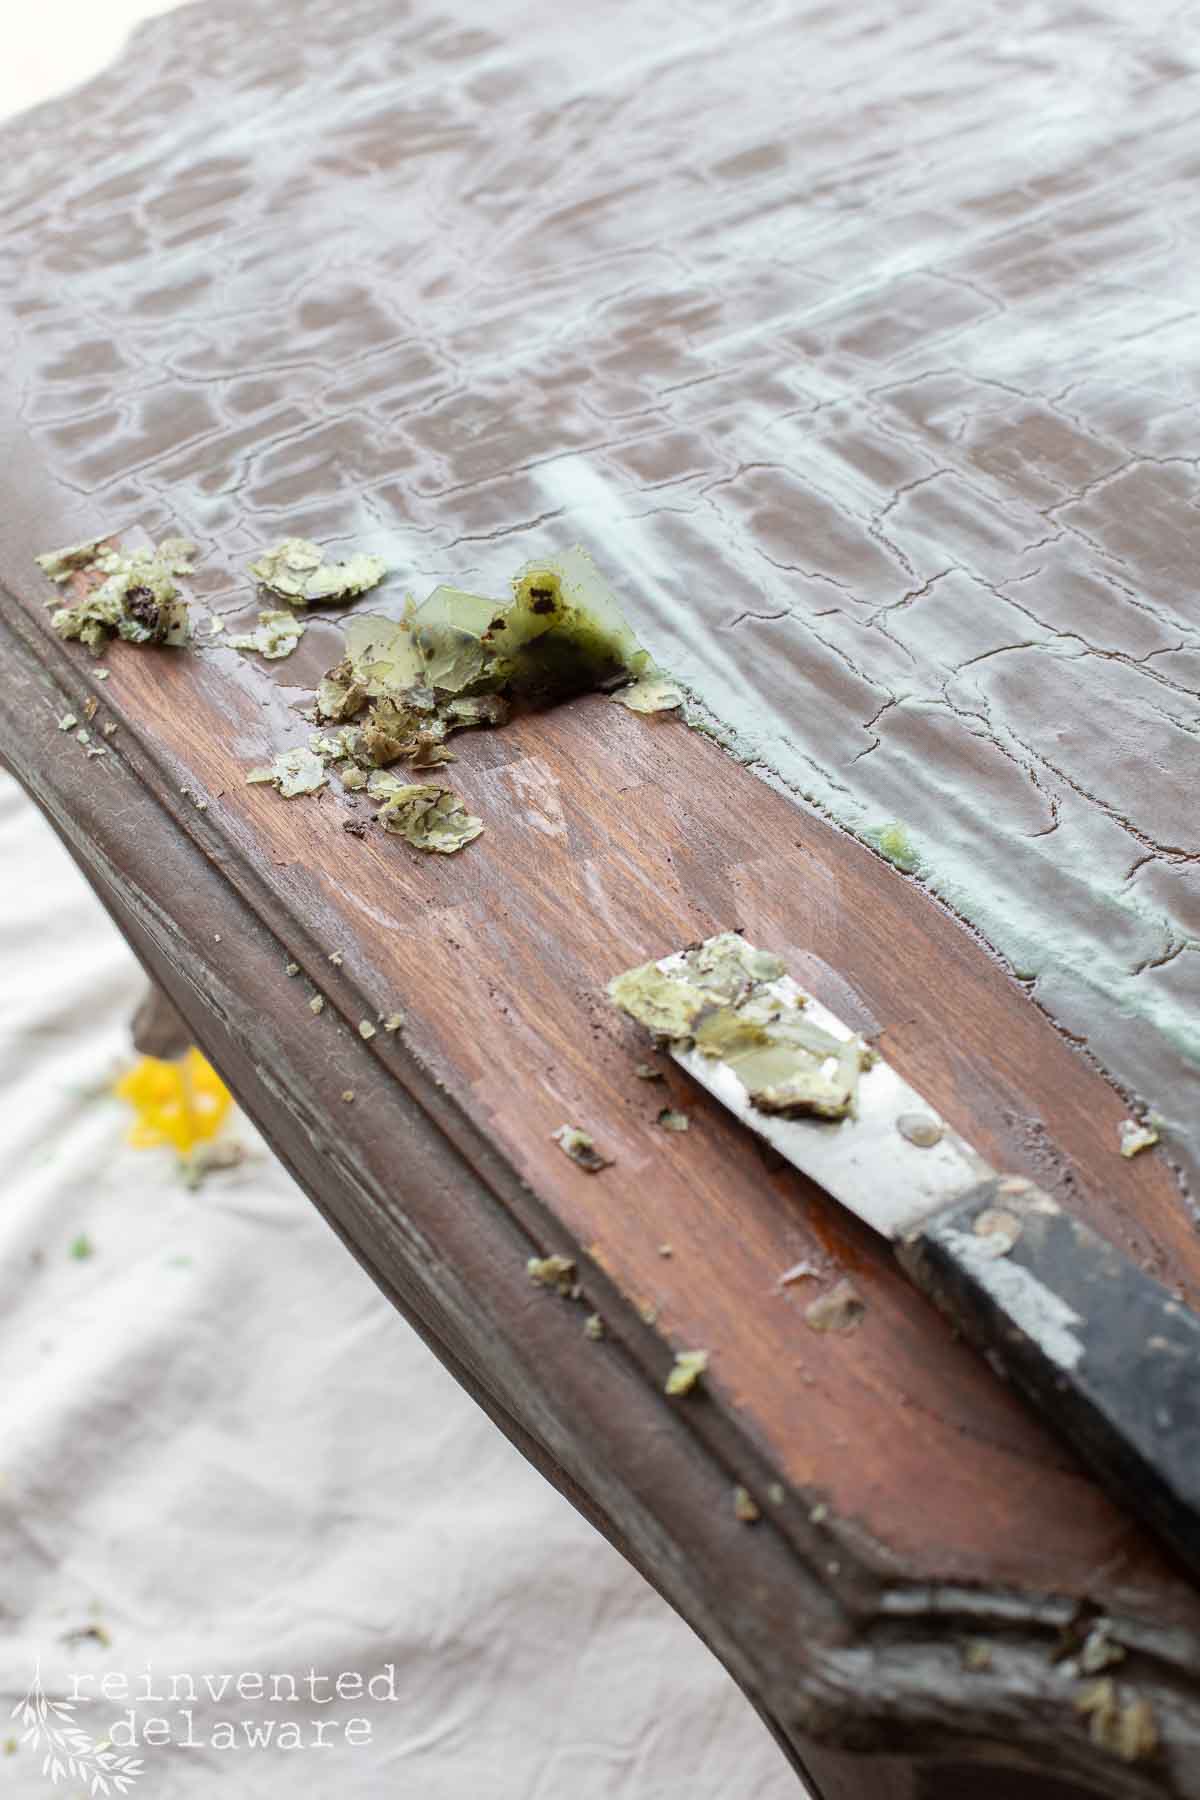
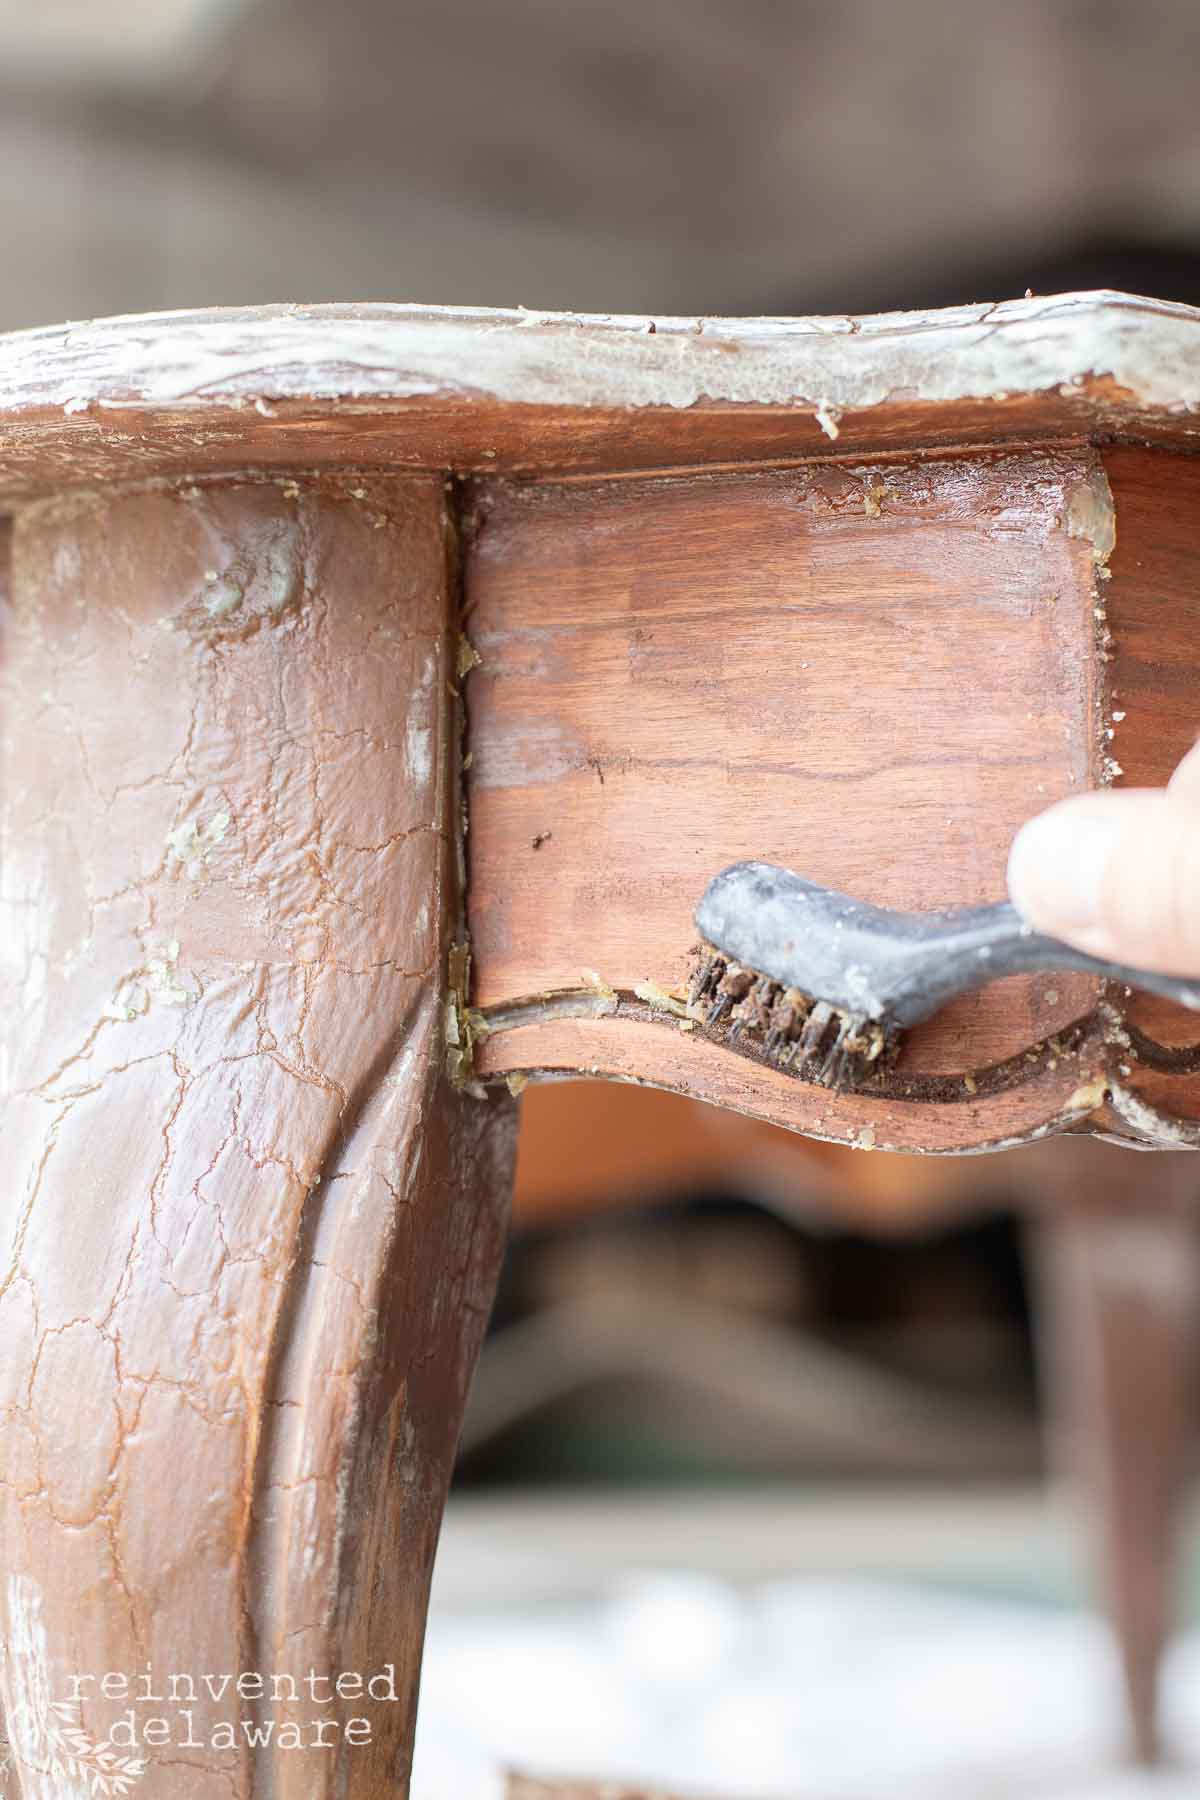
The first step is to strip the original finish. I like to use Ready-Strip. Apply a heavy coat to all of the surfaces and allow it to sit on the furniture for at least 30 minutes. Using a putty knife (plastic is best to avoid gouging the wood surface), scrape along the top surface to see if the stripper has started to work. If it has, carefully scrape off the old finish. If it hasn’t started to work yet, allow it to sit a while longer until you see that it is working.
I used a putty knife on the flat surfaces and along the legs. I also used a brass brush to get into the carved detail along the apron and in the hard-to-reach corners.
Prepping the Bare Wood
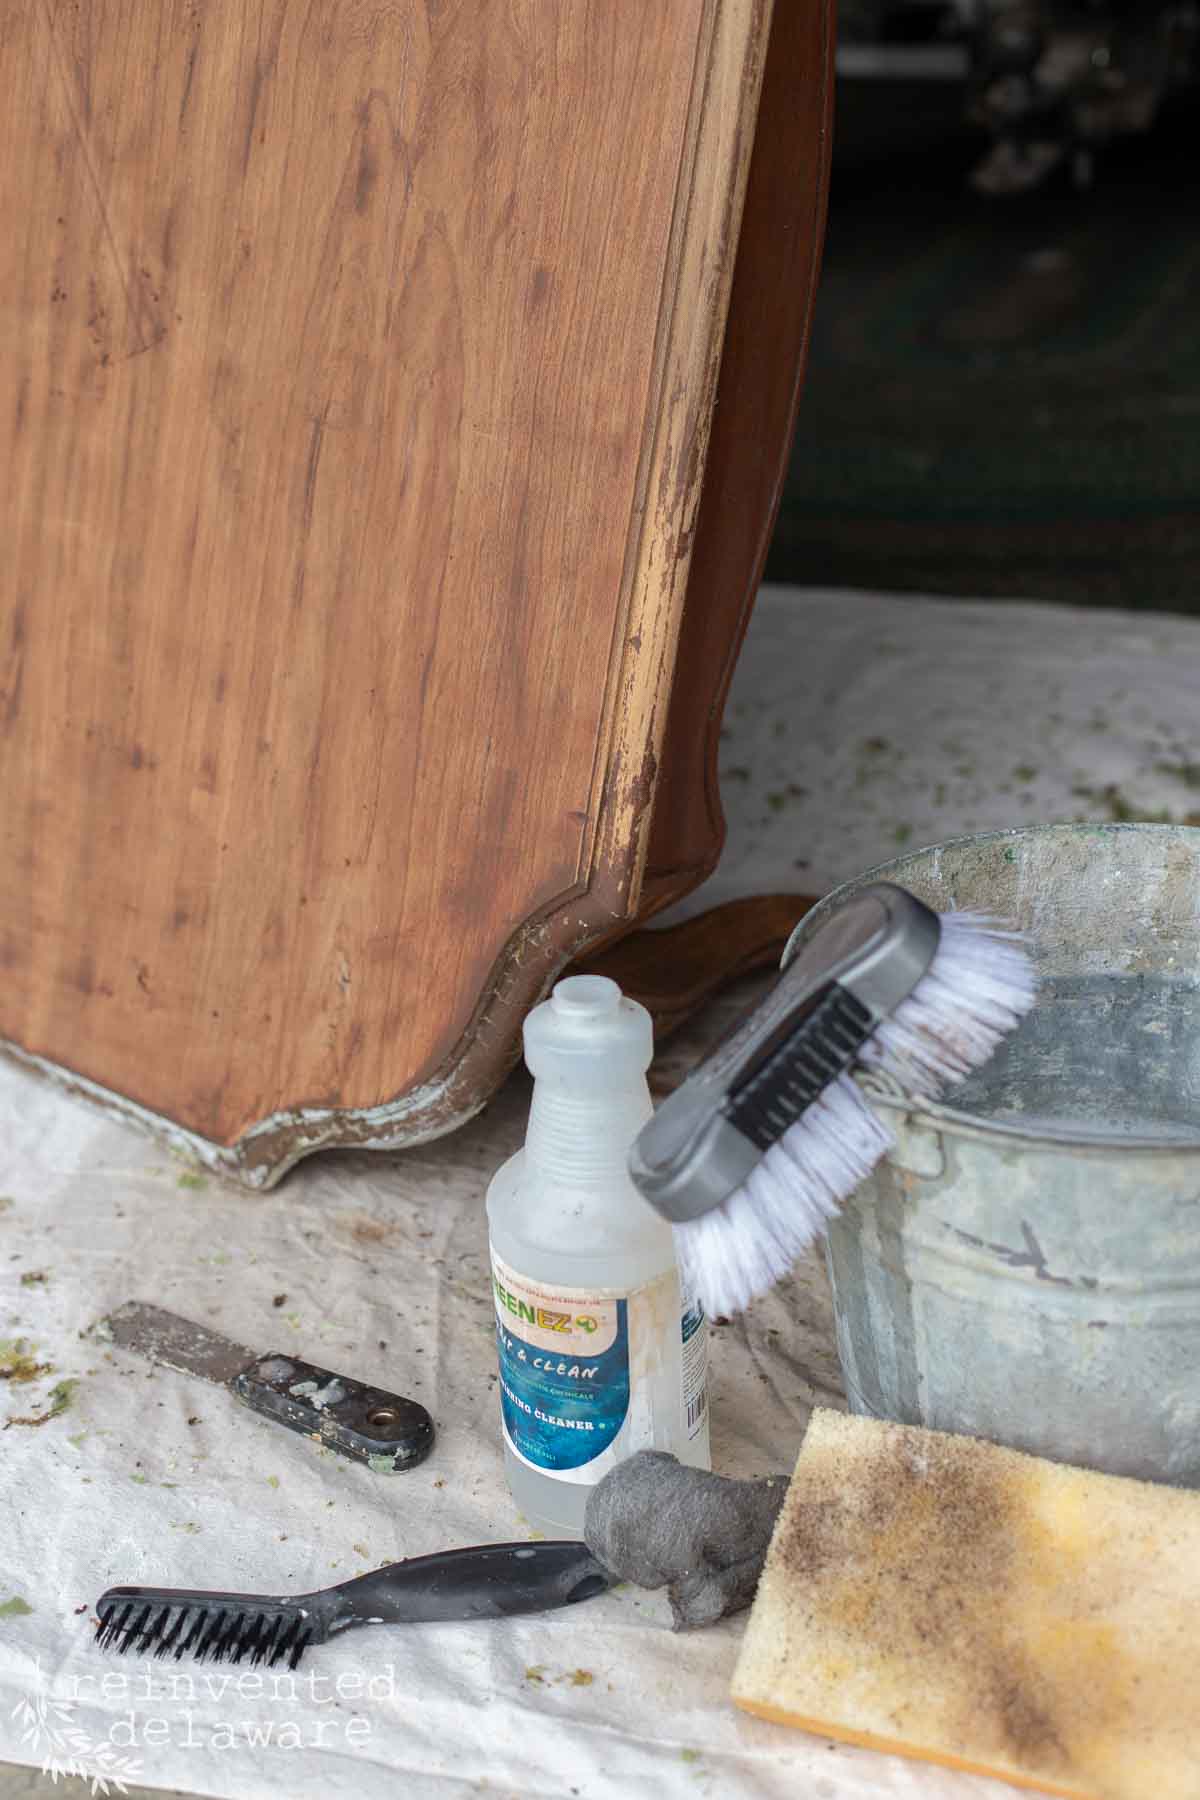
Once the surfaces have been scraped and brushed with the brass brush, it’s time to clean off the remaining stripper. I used a solution of water and GreenEZ Strip and Clean to remove the remaining stripper. A soft cloth, and a couple of stiff-bristled scrub brushes cleaned the surface perfectly.
If you use this cleaning method, do not saturate the furniture with water. If the piece has any particle board, the water will cause it to swell and you will not be able to repair it! Keep the cloth and the brushes wrung out and not dripping with the solution!
Sanding the Used Furniture
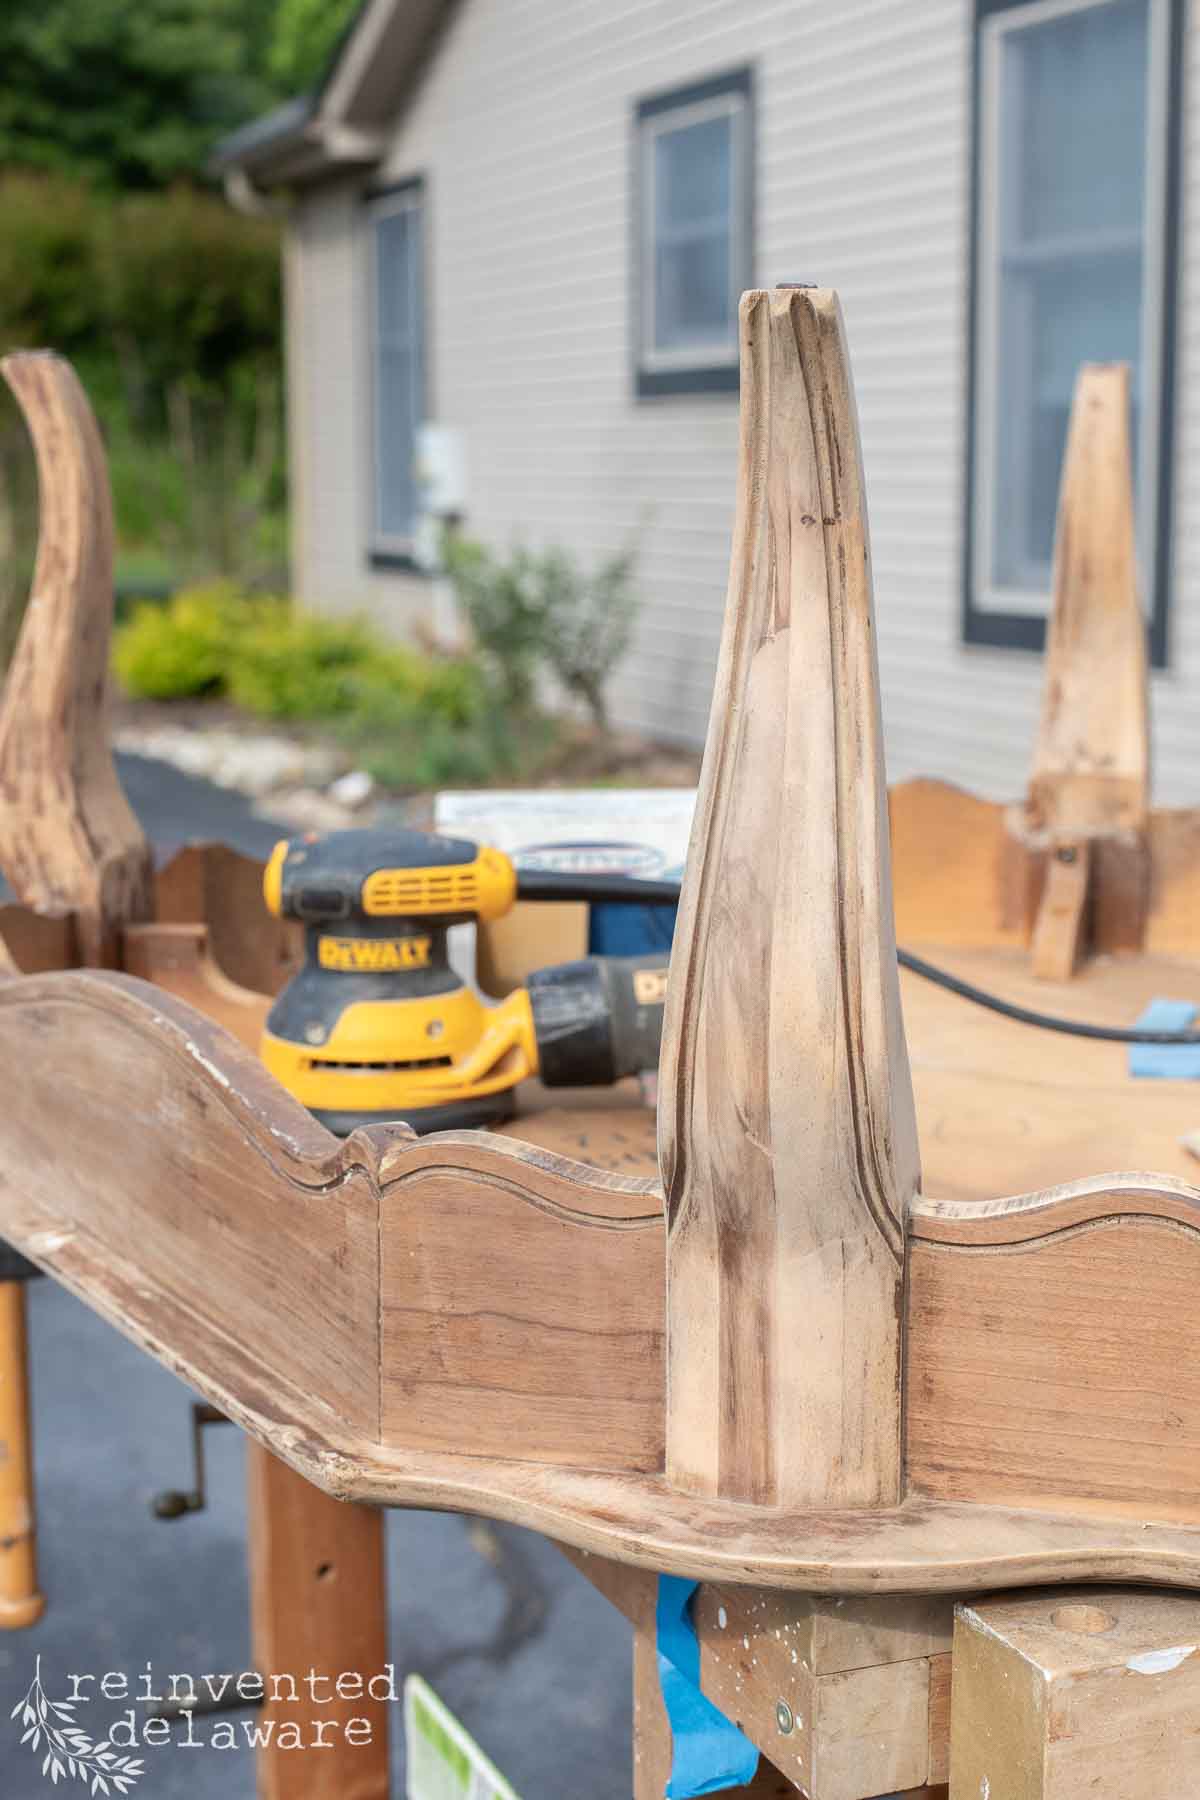
After the piece is completely dry, it’s time to sand. I sanded the apron and the legs using an orbital sander loaded with 220-grit sandpaper. This will take longer, but it is well worth it to avoid burning through any more veneer.
The coffee table top needed more care, so I hand sanded the surface so that I could take care not to make any more damaged areas. I used 220-grit for the top as well. Once the sanding was finished on all of the surfaces, I used my shop vac to remove most of the dust. Then I went over the whole piece with a clean microfiber cloth to remove the fine dust particles.
Toning and Layering the Color
Before applying gel stain to the whole piece, I first applied a small amount only on the spot where the damage was. This darkened the area so that it was similar to the tone of the rest of the top. I allowed it to dry before moving on.
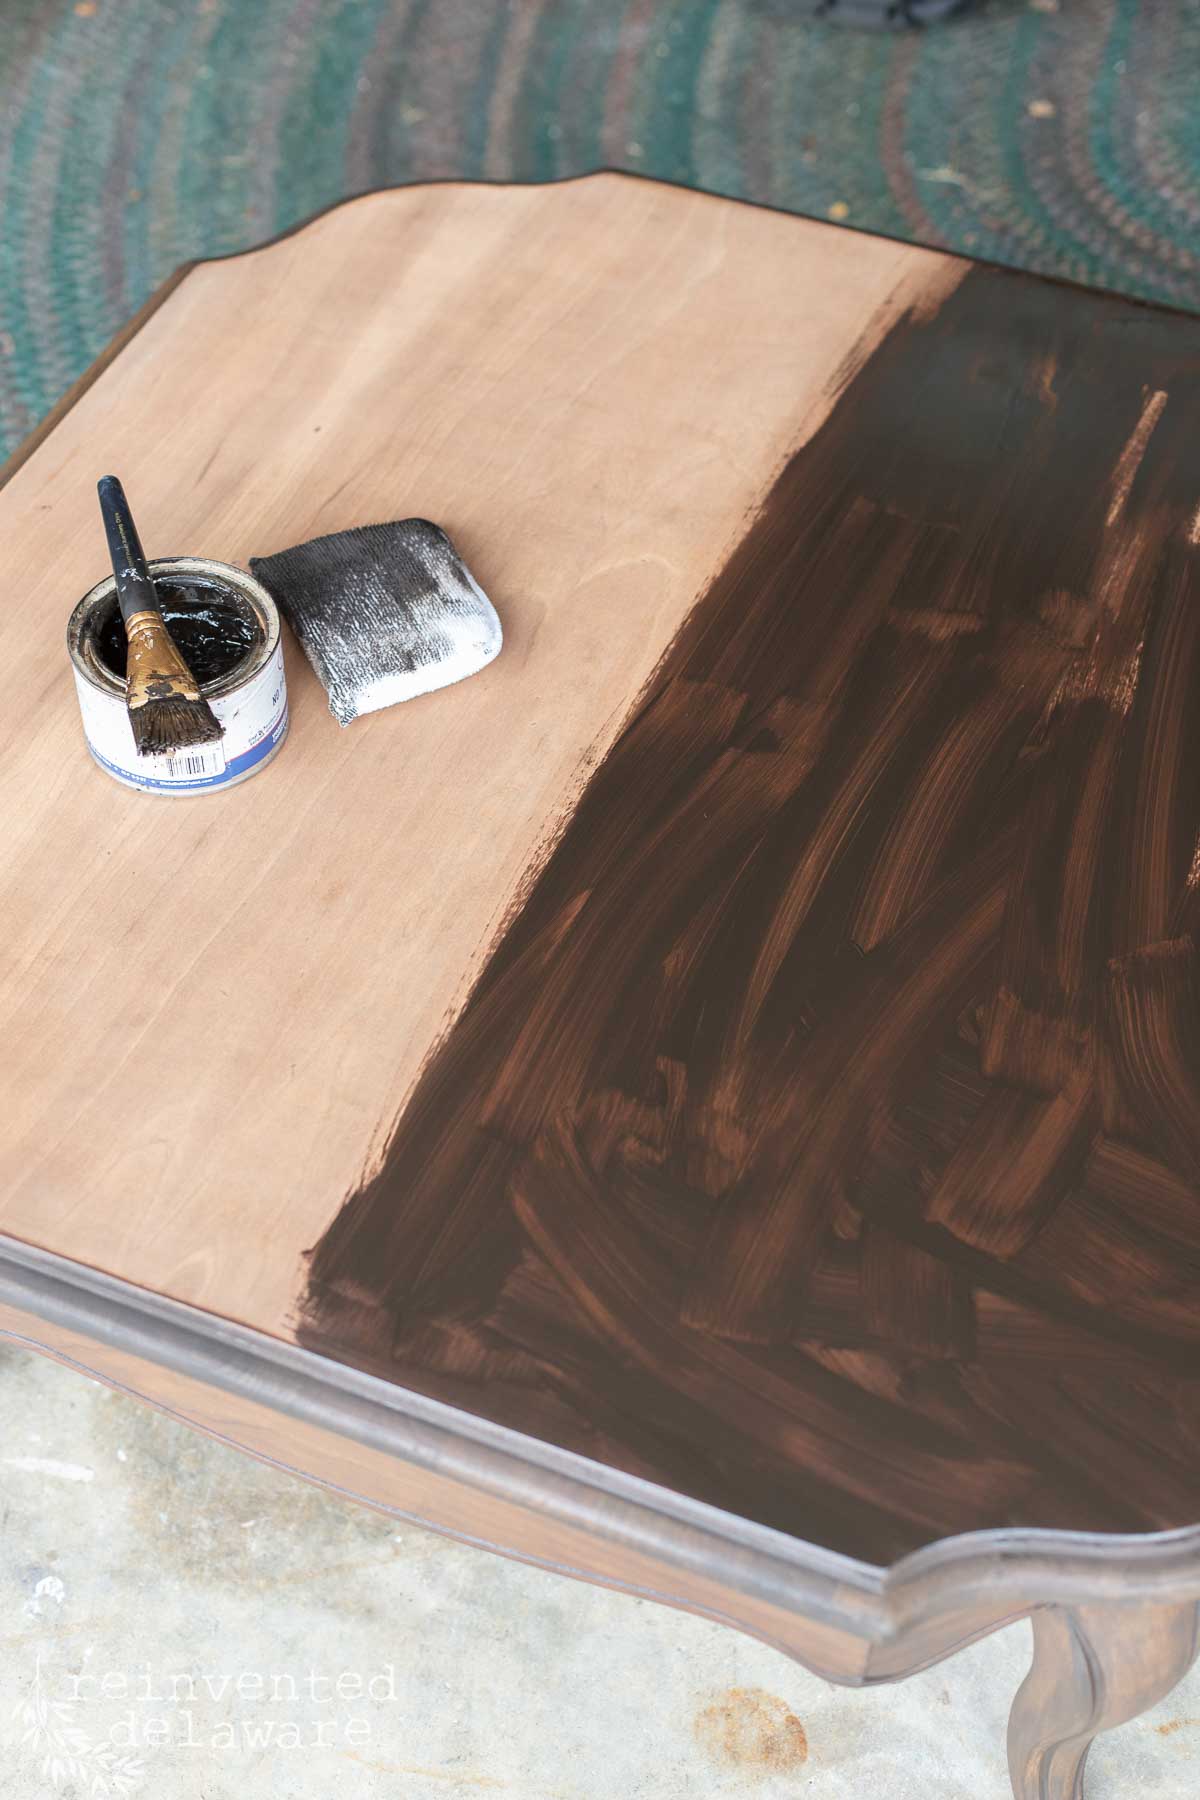
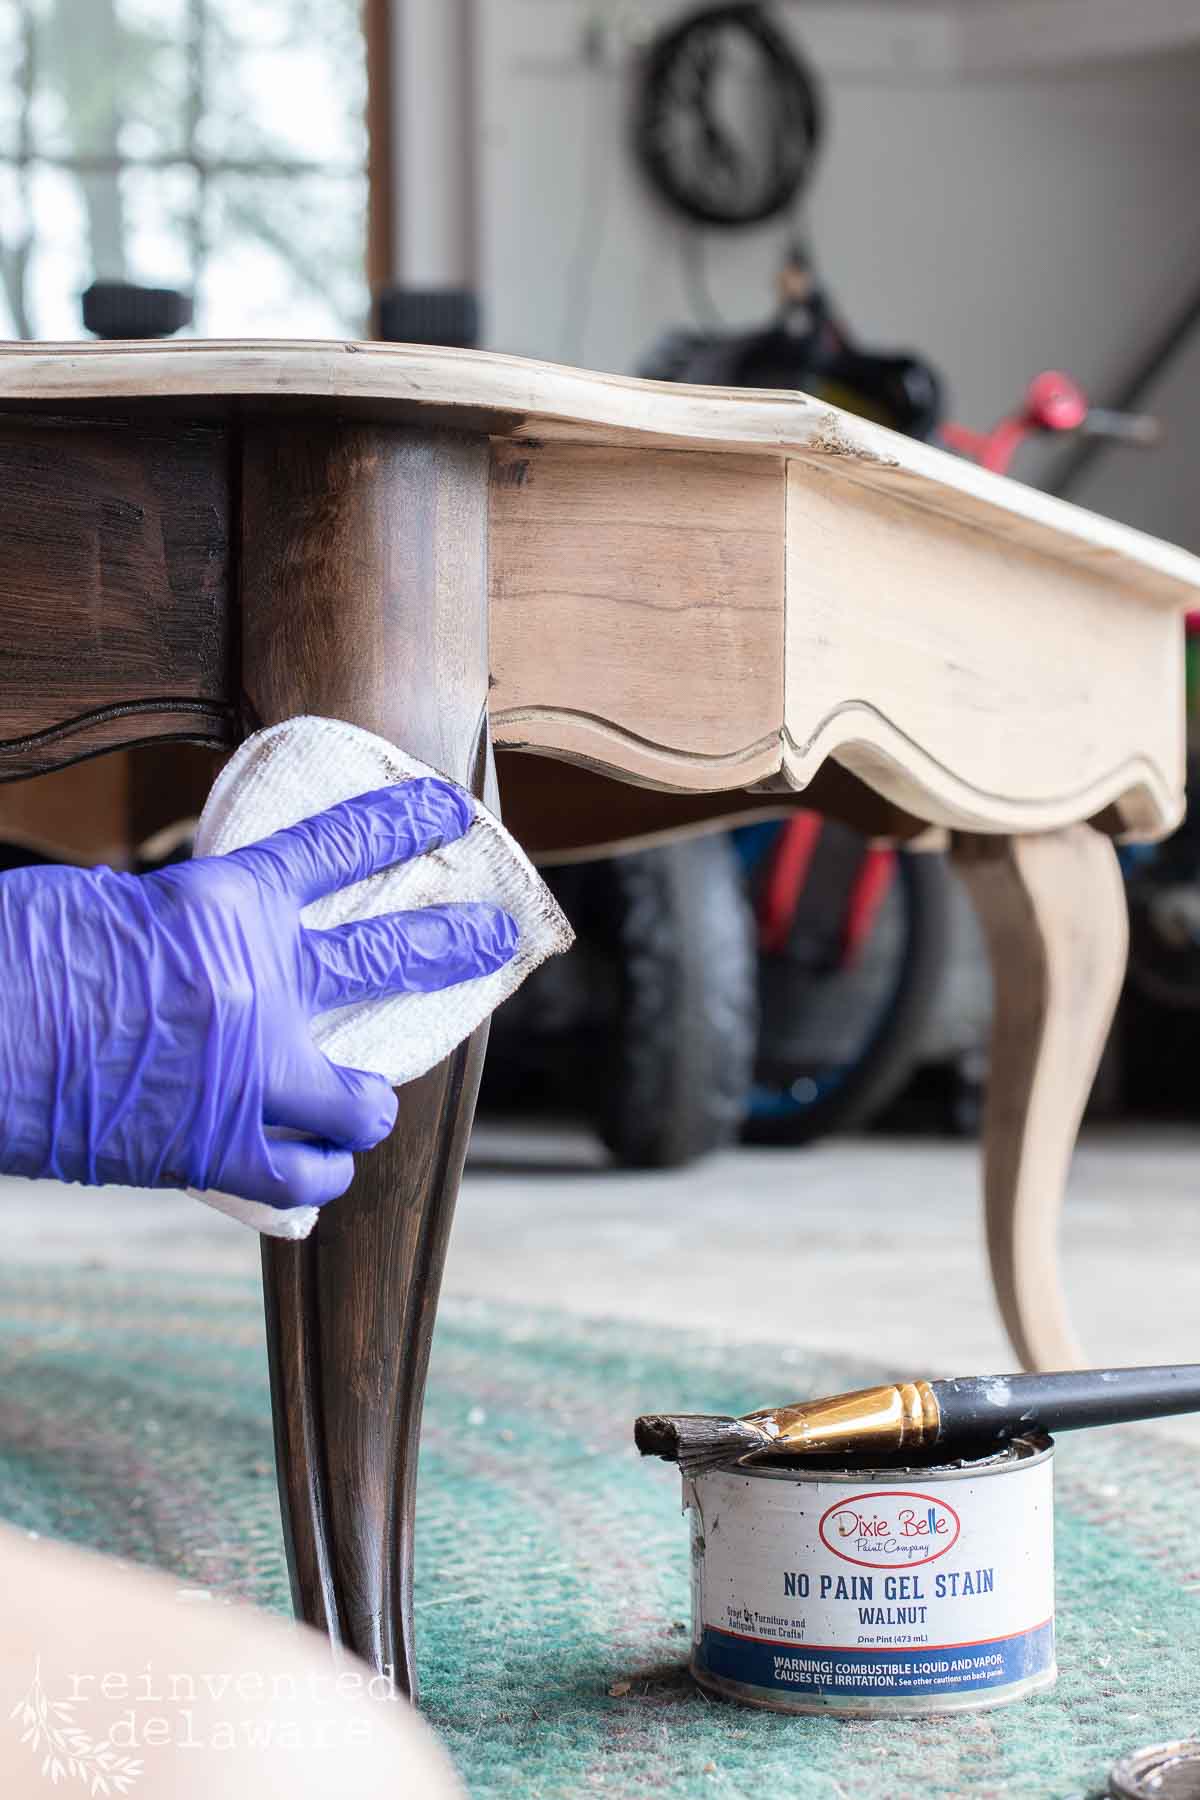
Next, I moved on to the remaining surfaces starting with each leg. I used a disposable chip brush to brush on the thick gel stain to one leg and one apron at a time. Then I wiped back the excess before moving on. I completed all of the legs and aprons in this way before working on the top.
Then I applied the gel stain in the same way to the top, working quickly to keep a wet edge. Once the stain was on the whole top surface, I used a soft clean applicator to remove the excess gel stain.
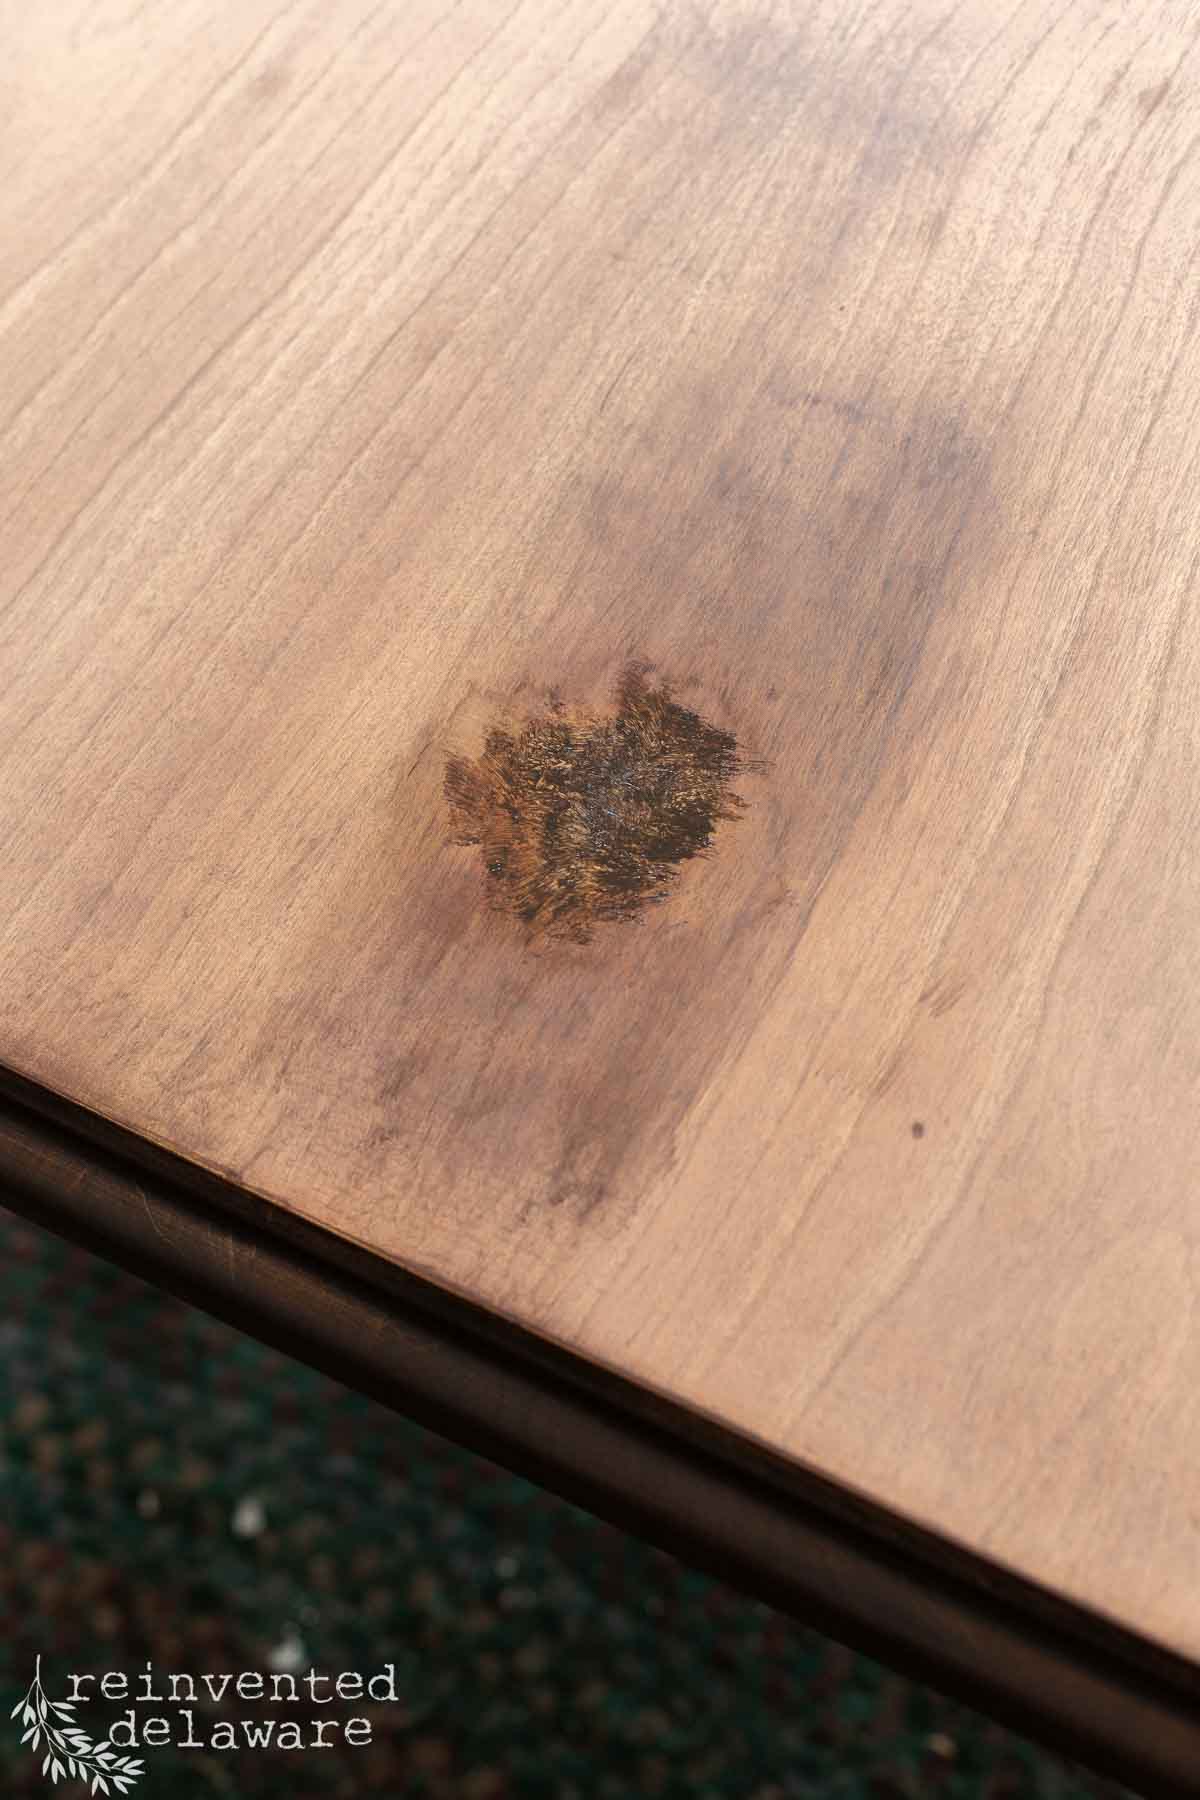
You will see in the images that the first coat didn’t completely cover the damage. Once the stain was completely dry, which took about 2 days, I used 220-grit sandpaper wrapped around a soft sanding sponge to sand it smooth, then removed the dust with a paper towel.
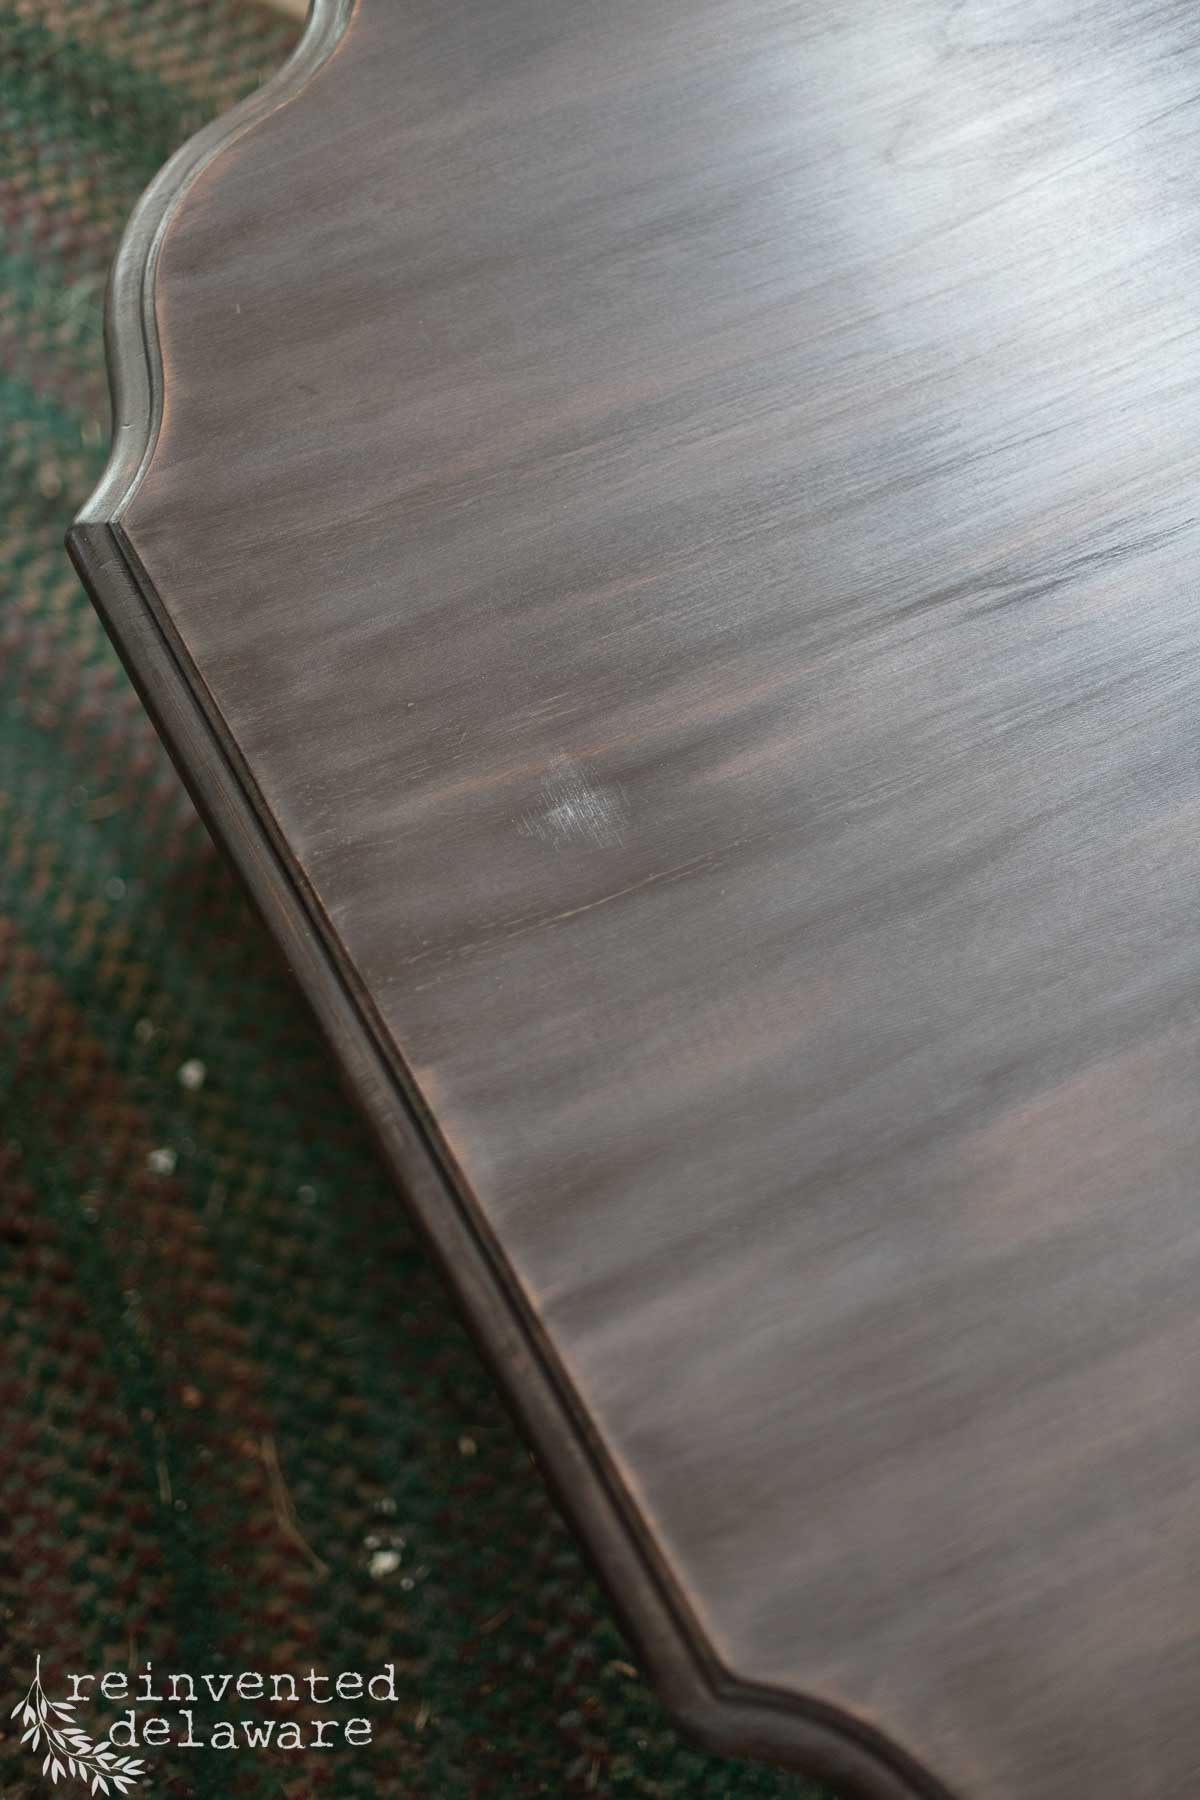
I applied two coats of this gorgeous dark walnut stain to the top and only one coat on the legs and apron. The third coat of stain was only a spot treatment in the areas that needed it. This created a beautiful two-toned effect on the whole coffee table while also covering the damaged area on the table top completely.
Look closely at the third image on the right – you can see a trace spot where the damage is. Once the final coat of stain and clear coat are on, it will practically disappear!
Sealing and Protecting the Finish
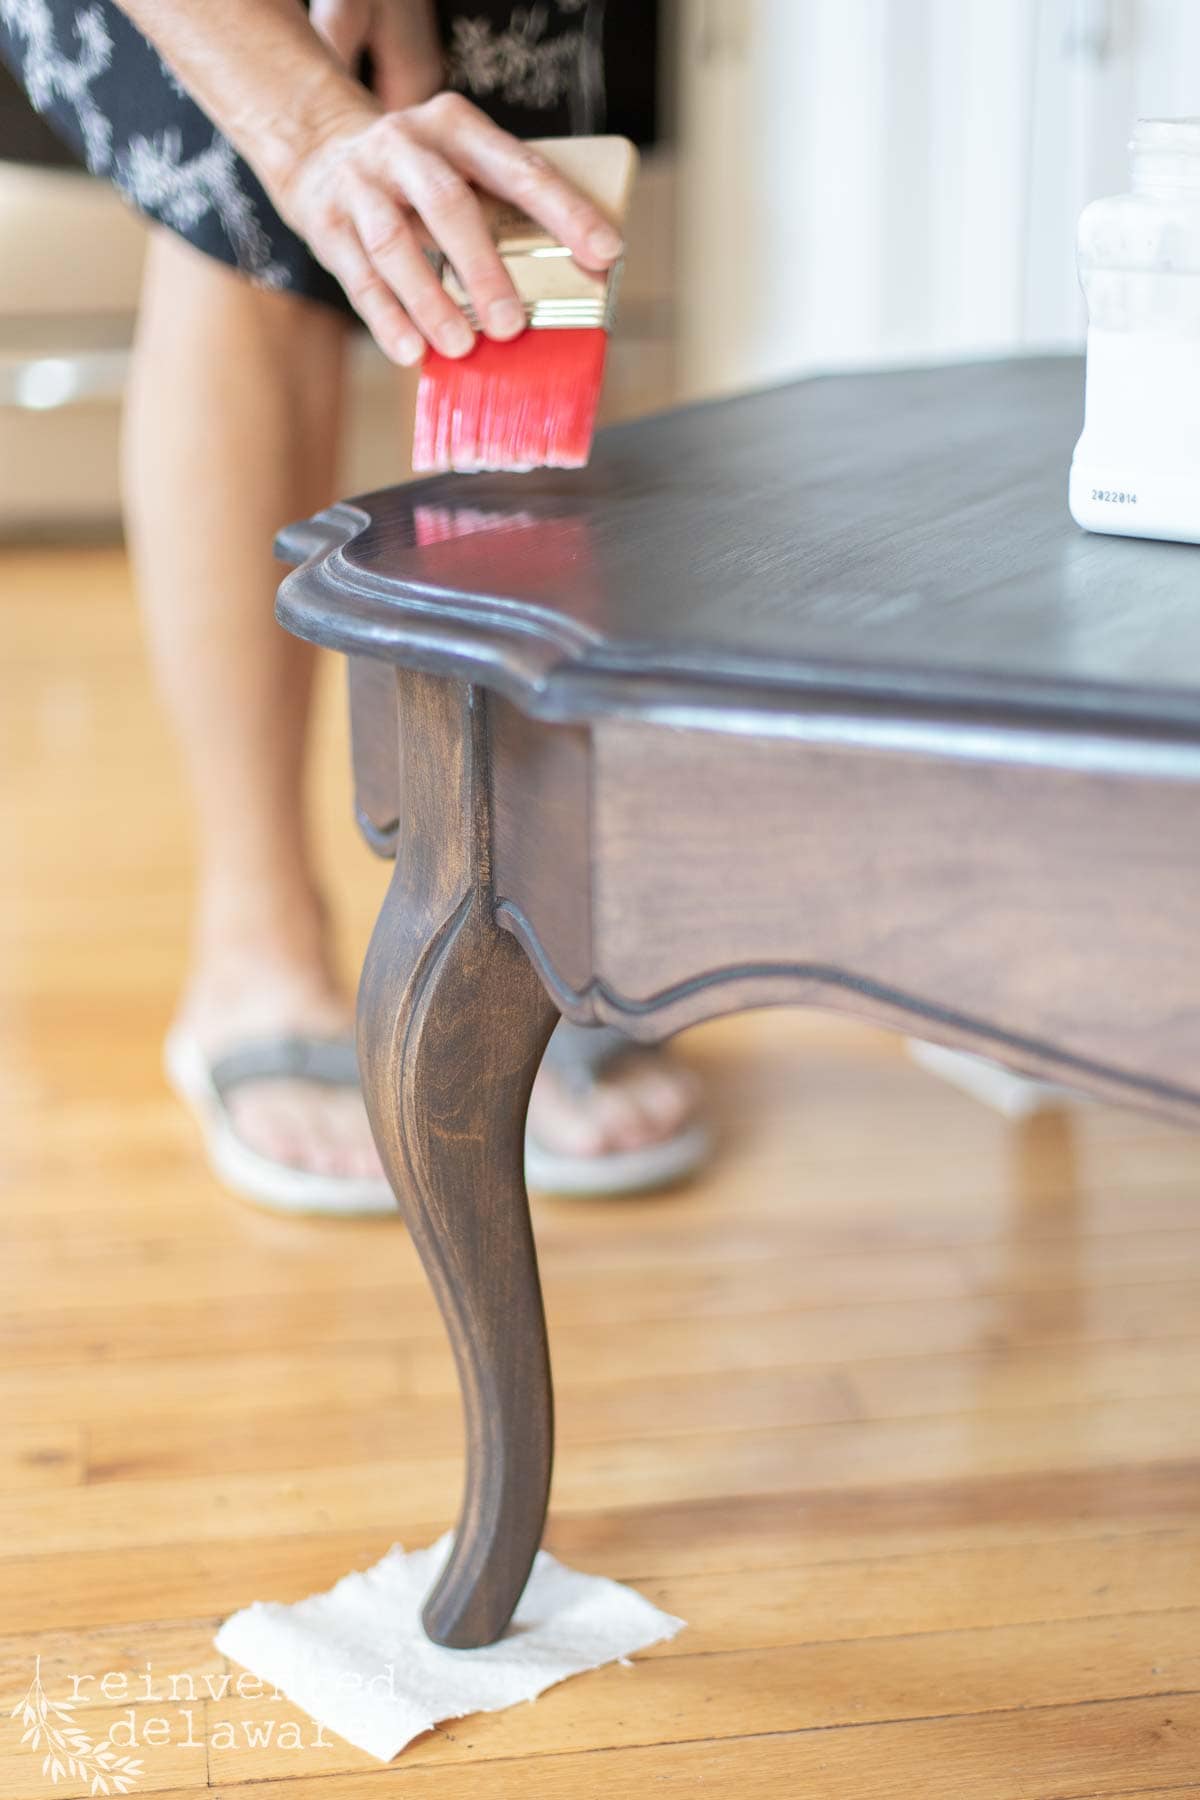
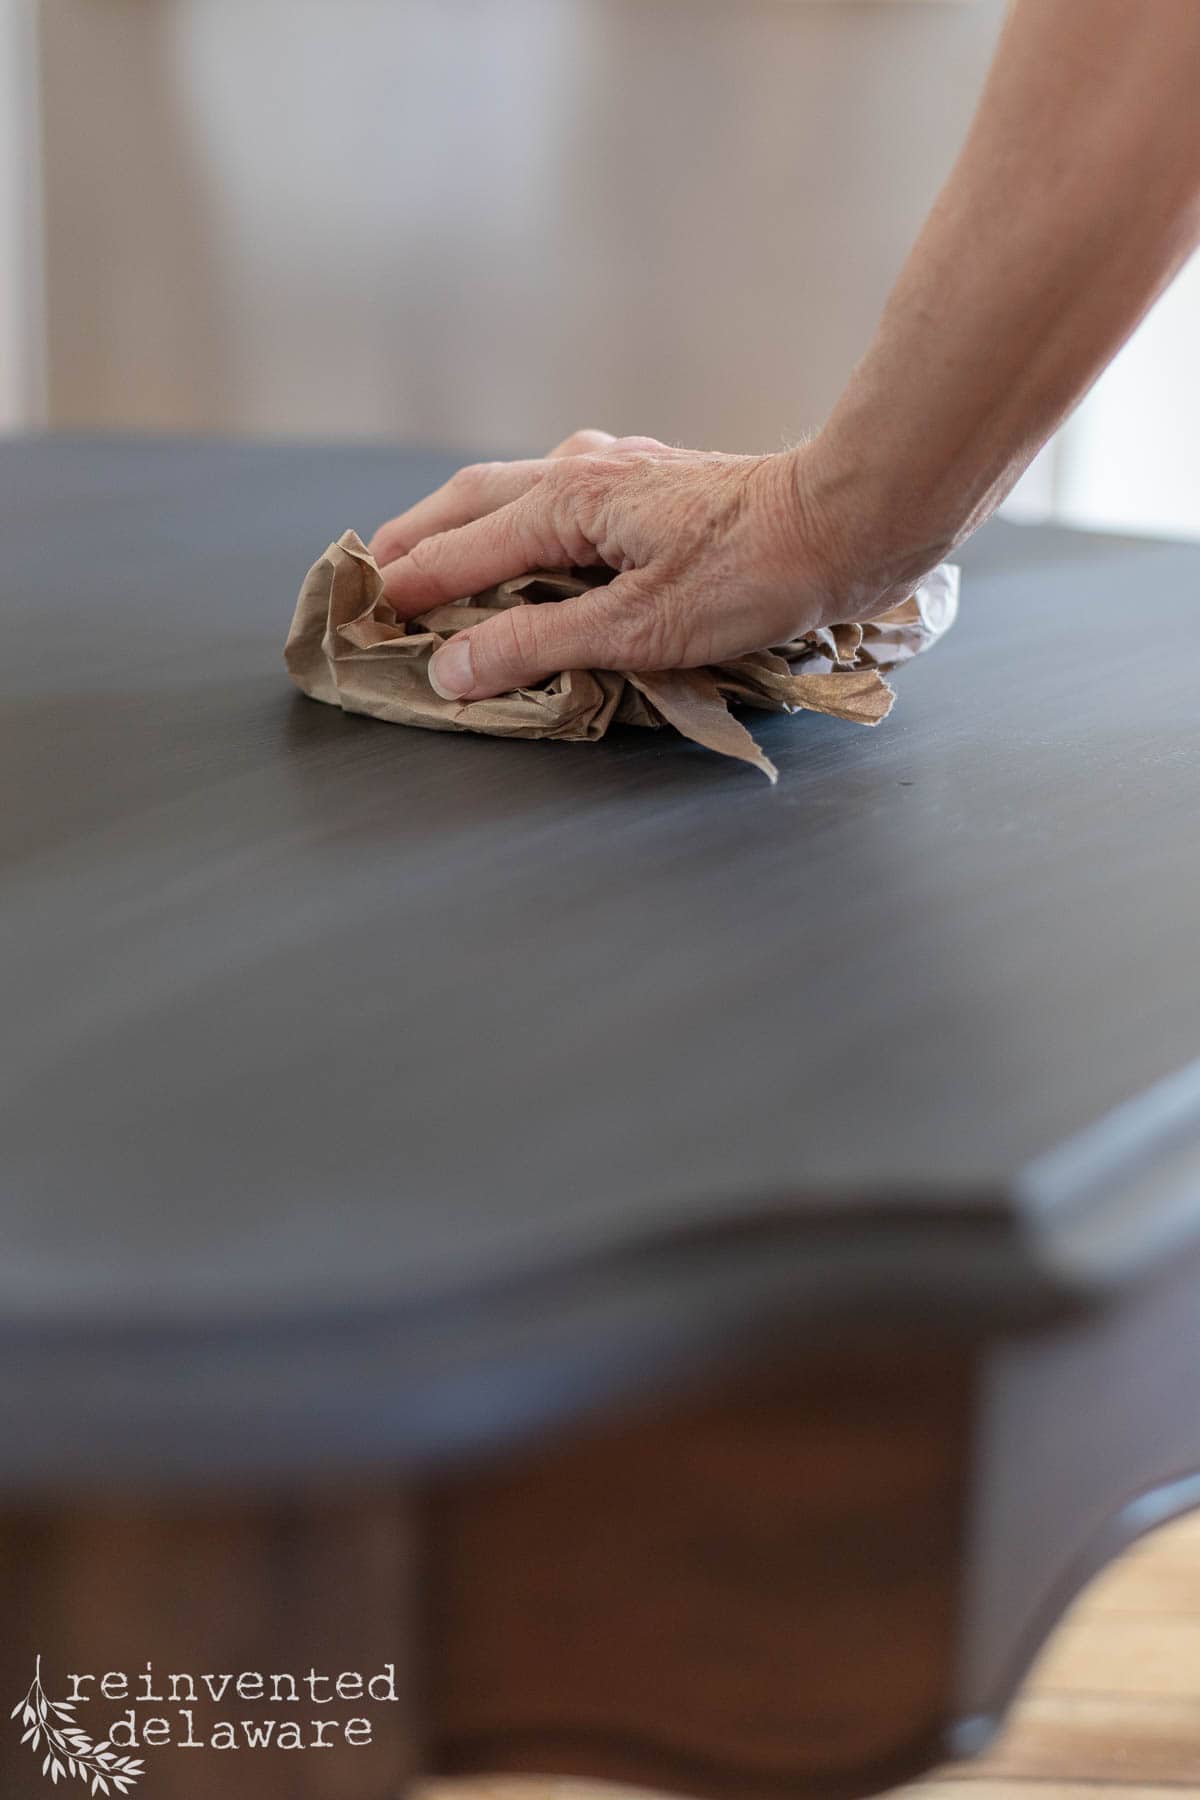
The last step was to seal and protect the beautiful new stained finish. I applied three thin coats of a satin clear top coat, allowing proper drying time between each. I also used a wadded-up brown packing paper to ‘sand’ between coats to create a smooth finish. The paper will act as a fine-grit sandpaper.
When applying the clear coat, use long even strokes across the surface from one side to the other. This creates a beautiful even finish.
Final Vintage Coffee Table Reveal
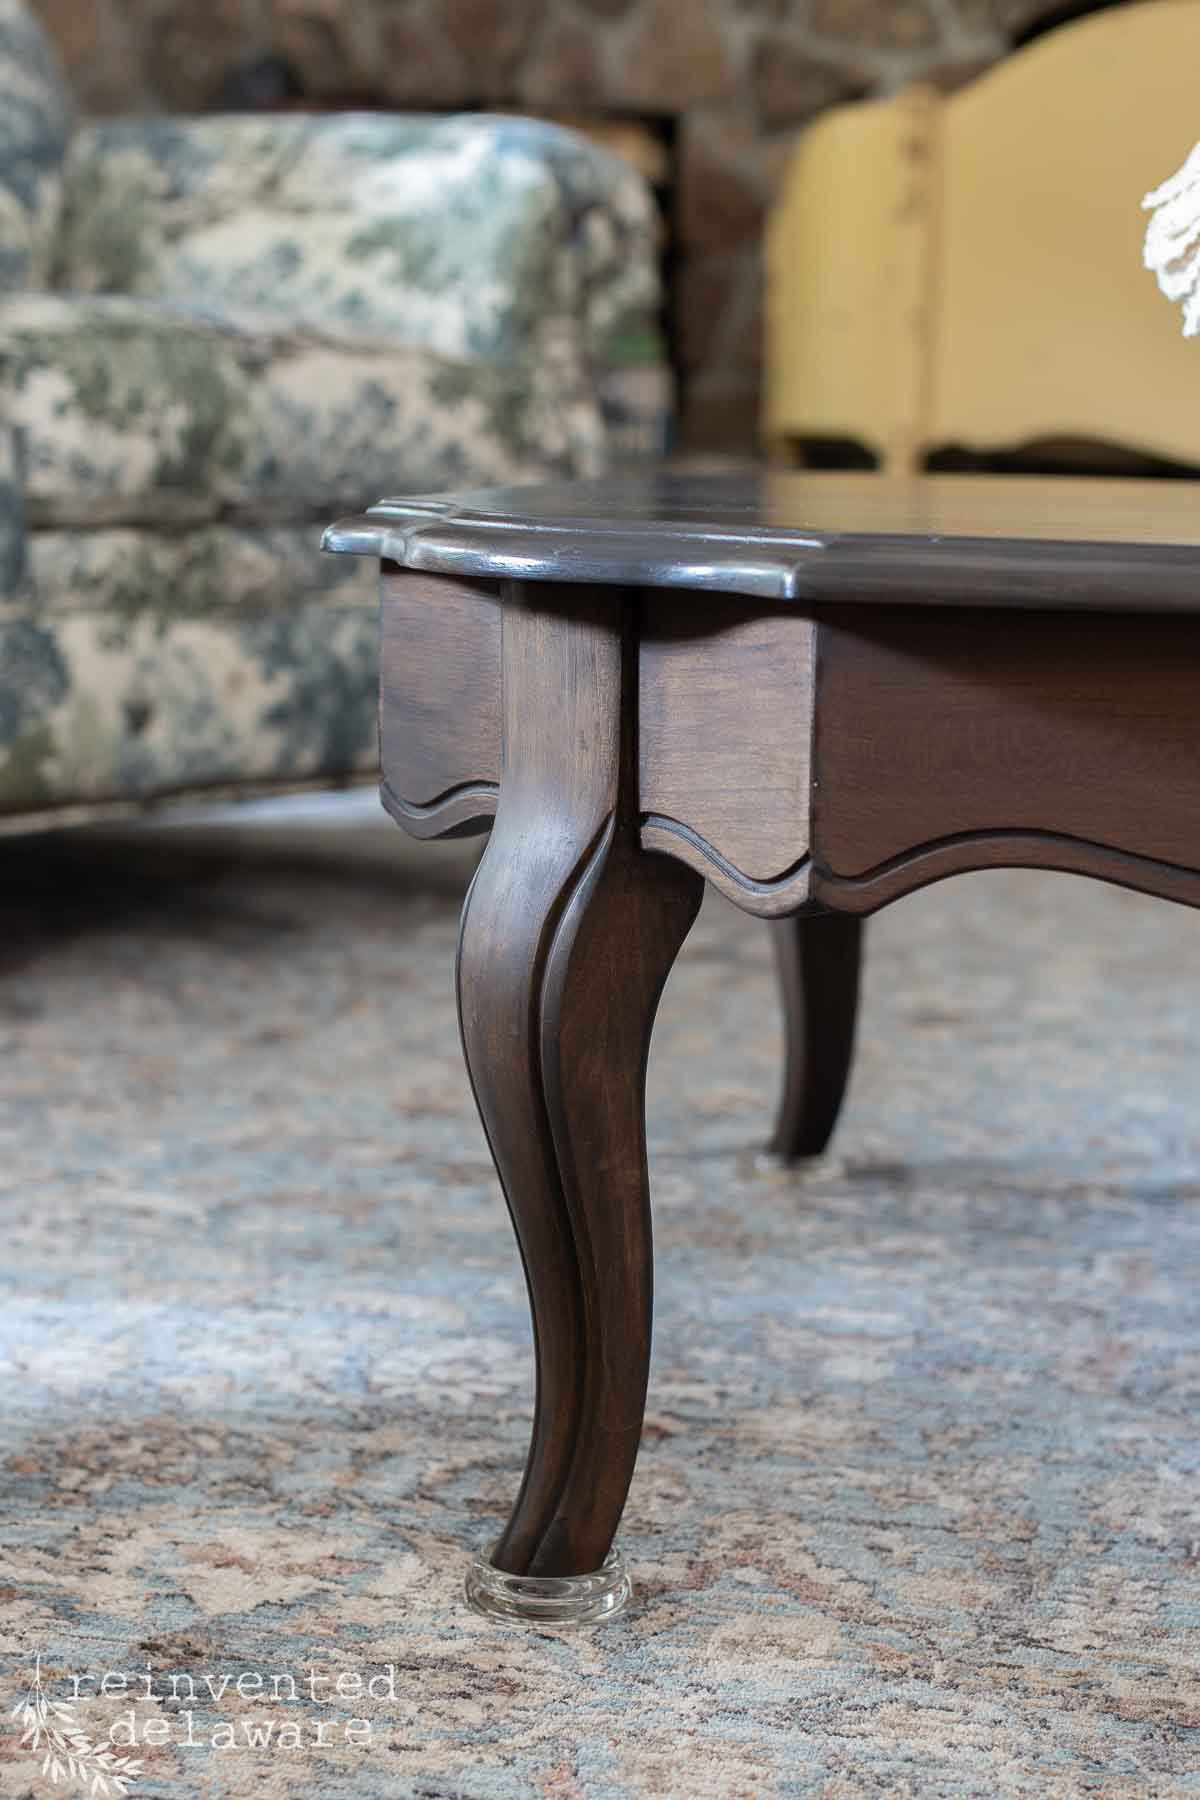
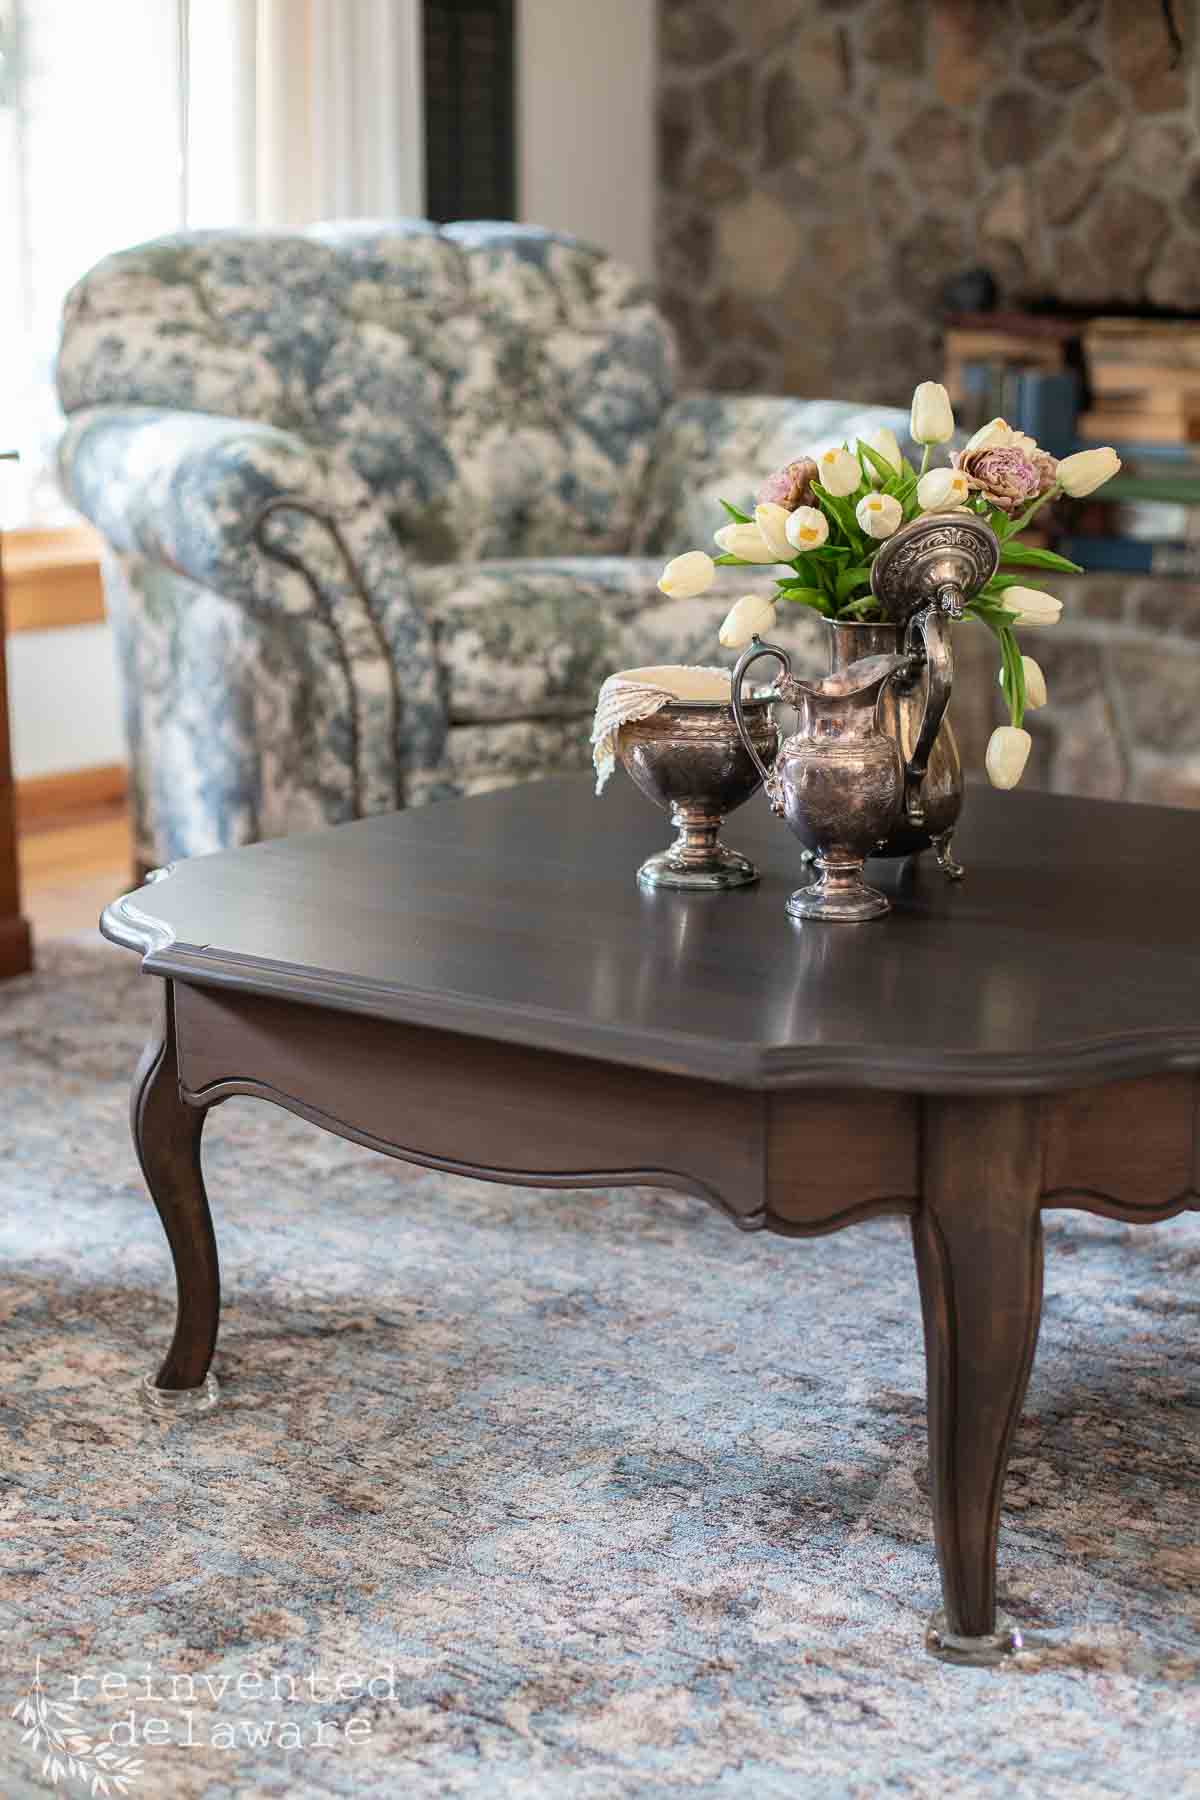
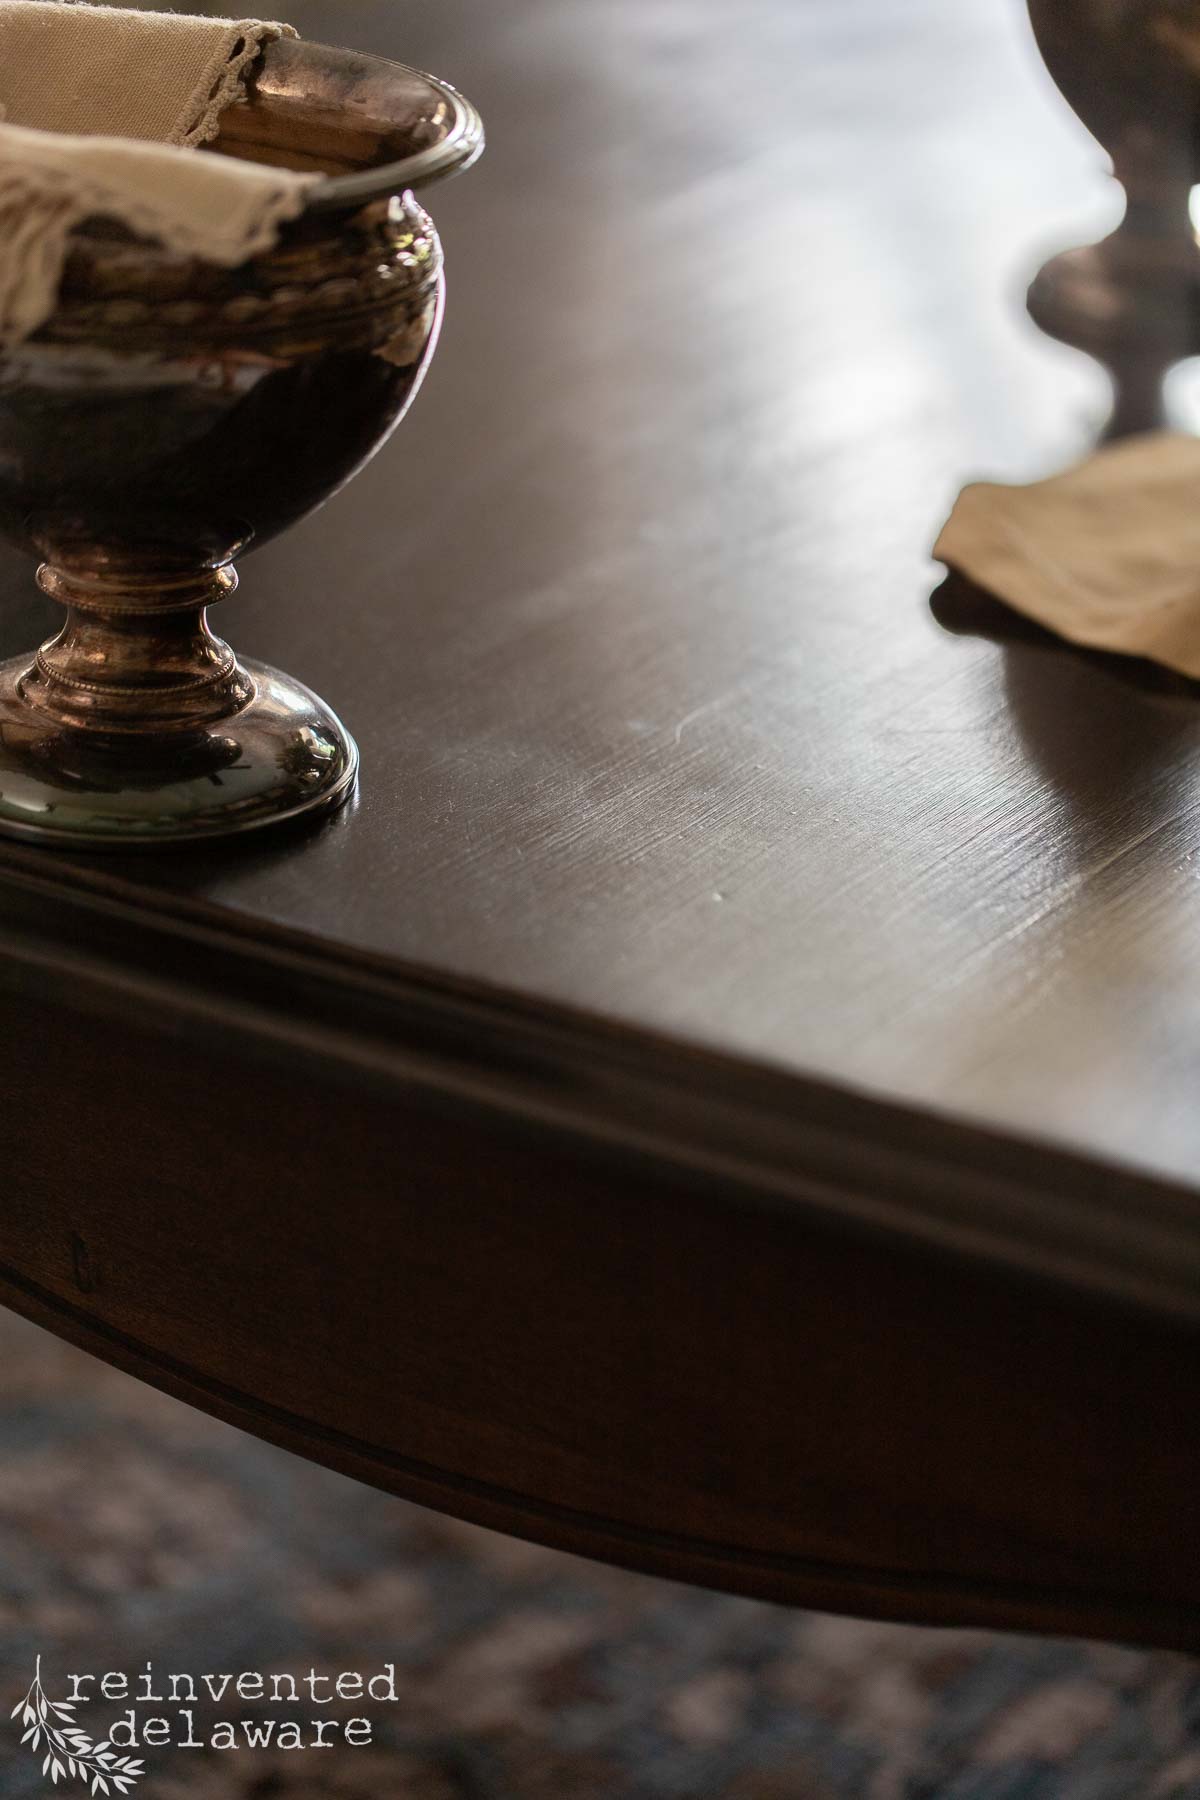
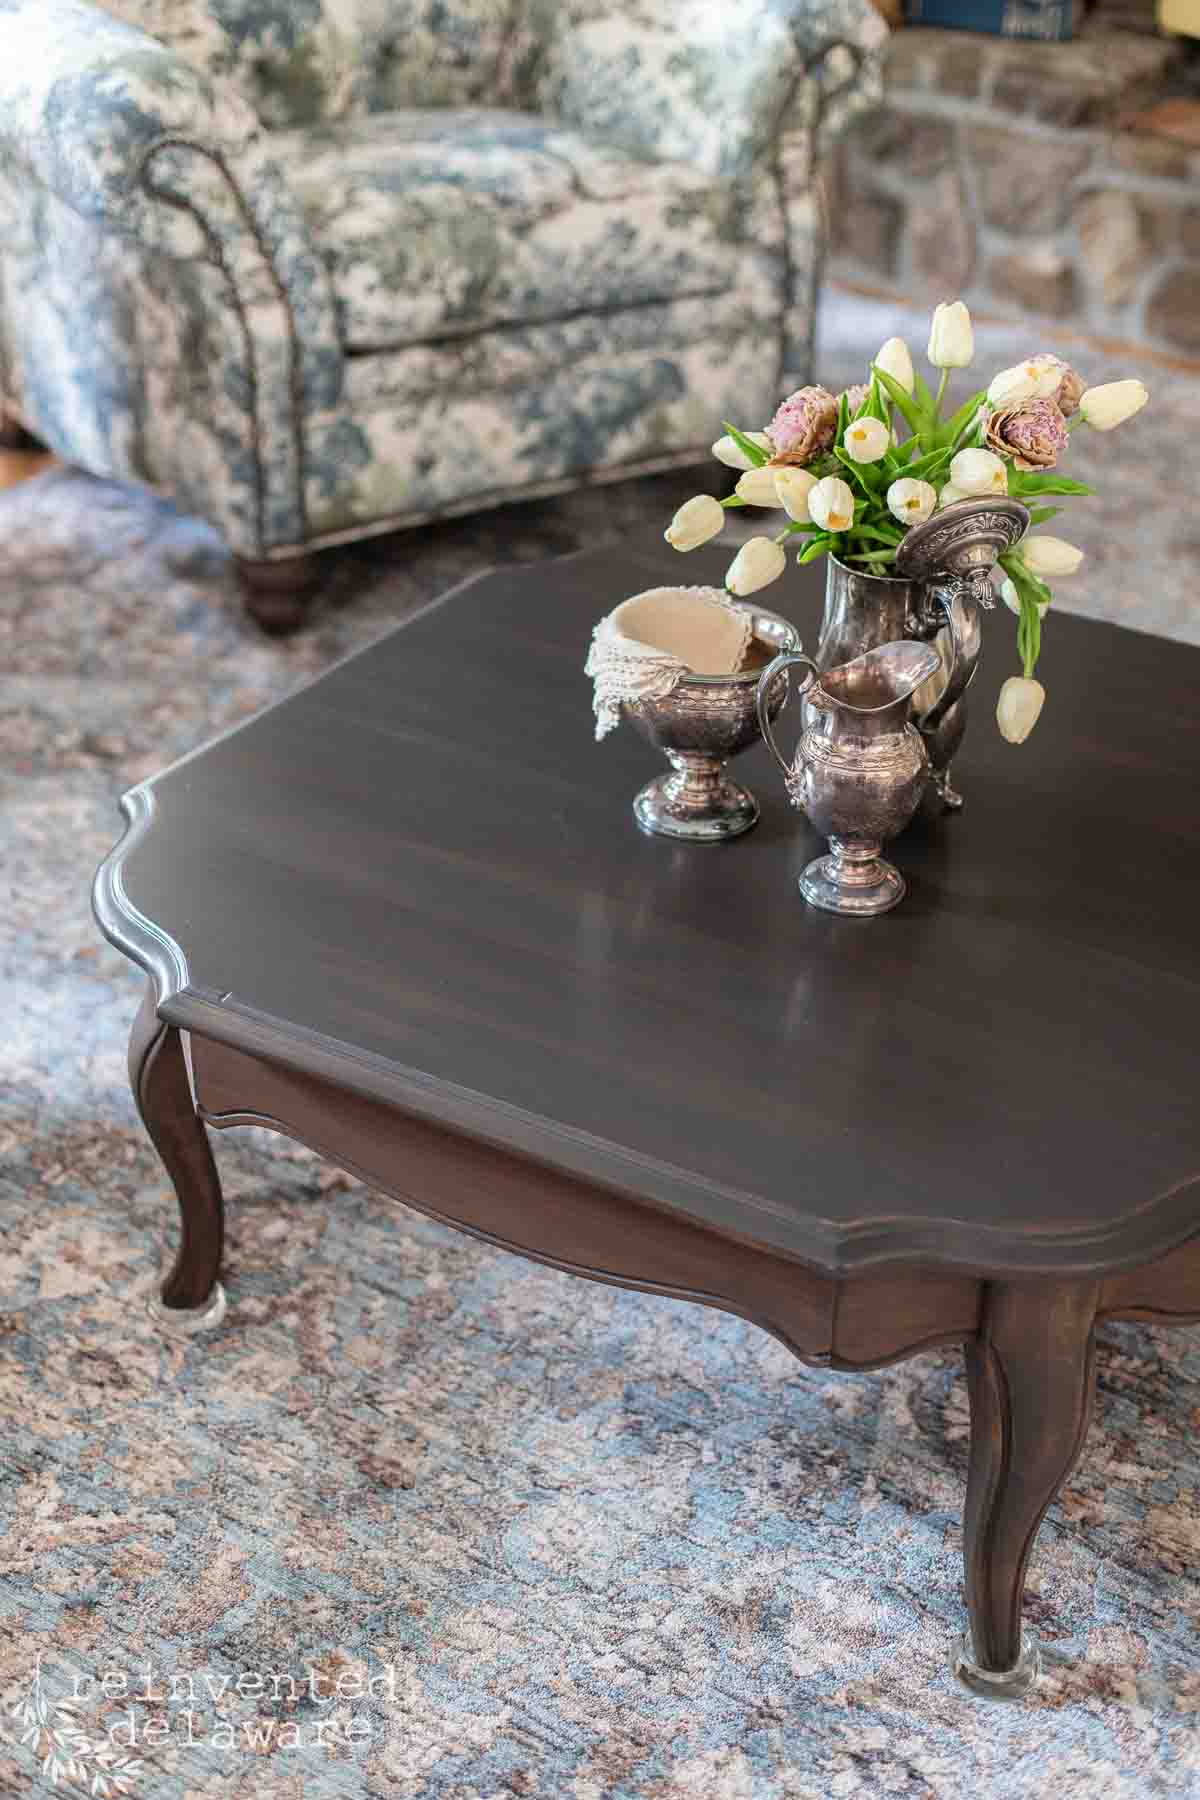
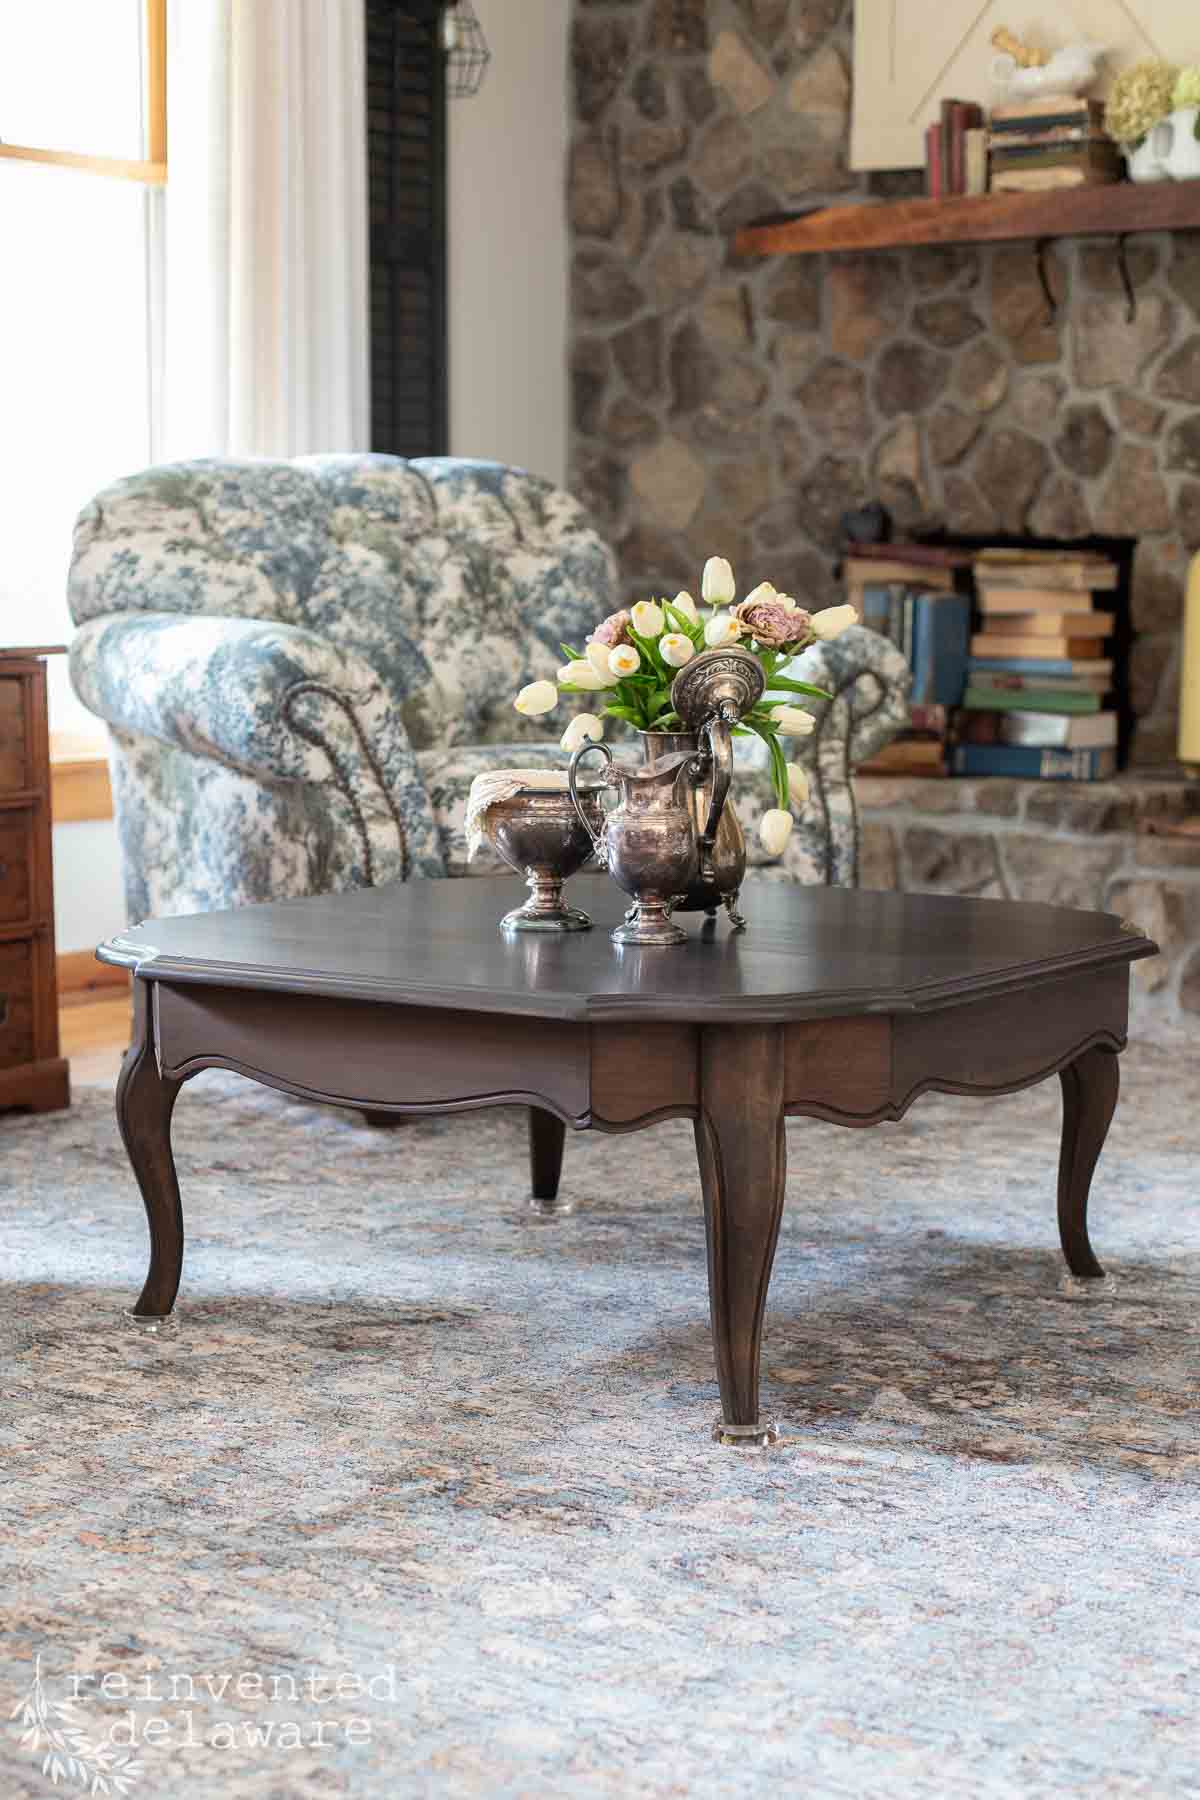
After stripping, sanding, staining, and sealing, this little $3 find turns into a piece I am proud to show off. The damaged veneer that almost had me worried is completely hidden under the rich, dark walnut finish, and you would never know it was ever there.
Want to see another vintage transformation like this one? This was not the only piece that got a whole new life.
YouTube video Living Room refresh
Living Room Refresh
full tour of my living room including this coffee table reveal!
FAQs
Yes, gel stain sits on top of the wood instead of soaking in, so it does a much better job evening out color on veneer that is damaged or sanded through. It will not fill in a gouge or fix physical damage, but it is great at disguising color inconsistency.
It usually shows up as a flat, dull patch that looks different in color and texture from the rest of the piece. Sometimes you can even see a slight indentation when the light hits it at an angle.
Not always, but stripping helps if there is old finish, paint, or wax in the way. On this coffee table, stripping is actually what revealed the damaged veneer in the first place.
It depends on the look you want. Staining keeps the real wood grain visible, which is worth trying first if you want to avoid painting over solid wood furniture. Gel stain made it possible to skip paint entirely on this piece and still get an even, finished look.
Plan on at least two coats. The first coat usually will not fully cover the damage, and the second coat is what evens everything out.
A clear top coat like polyurethane protects the finish and holds up well to daily use, which matters on a piece like a coffee table.
Final Thoughts
This little $3 coffee table went from a hidden veneer disaster to one of my favorite thrifted finds, all without spending very much. If you have a piece with damaged veneer sitting in your garage or workshop, do not give up on it. A little gel stain can go a long way.
Want to see this table in its finished home? I shared a peek at this makeover in my living room refresh tour video on YouTube. You’ll see this makeover along with a surprising upcycled bed footboard project! Be sure to subscribe while you are there so you don’t miss any of my other vintage inspired projects and room refreshes!
Looking for more furniture refinishing projects? I have plenty more thrifted transformations over on the blog.
Recreate and Decorate
Join the Facebook Group and Share Your Projects With Us!


Thanks for joining our journey!
Thanks so much for joining me for this post! Join my journey so you don’t miss any of the fun projects, tutorials, and inspiration that I share with you each week! You can follow me on Instagram, Facebook, and YouTube.


Cindy Rust
Cindy has been decorating her home with thrift store finds for 40 years. She is an avid thrift store shopper who loves to makeover the items she finds into vintage-inspired home decor and furniture. When she isn’t thrift shopping or painting a piece of furniture, you can find her making homemade butter, working in her garden, or painting with watercolors.
Visit my Amazon Storefront!
Click the button below and head over to our online shop on Amazon!
Fix Damaged Veneer with Gel Stain
Equipment
- orbital sander
Materials
- paint & varnish striper (Ready Strip/Ready Strip)
- chip brushes
- dropcloth
- plastic scrapers
- brass rushes
- GreenEz Cleaner
- gel stain (walnut or desired color)
- clear top coat (water based in desired sheen)
- synthetic paint brush
Instructions
- Step 1: Strip the Old Finish. Apply a heavy coat of stripper to all surfaces and let it sit for at least 30 minutes. Use a plastic putty knife to scrape off the old finish, and a brass brush for carved details and corners.
- Step 2: Prep the Bare Wood. Clean off the remaining stripper with a water and cleaner solution, using a soft cloth and stiff-bristled brushes. Keep everything wrung out to avoid saturating the wood.
- Step 3: Sand the Surface. Sand the apron and legs with an orbital sander using 220-grit sandpaper. Hand sand the top to avoid causing further veneer damage. Remove dust with a shop vac and microfiber cloth.
- Step 4: Apply the Gel Stain. Spot-treat the damaged area first, then apply gel stain to the legs and apron, followed by the top. Wipe back excess stain after each section. Let the first coat dry overnight, then sand lightly and apply a second coat to the top for full coverage.
- Step 5: Seal and Protect the Finish. Apply three thin coats of a satin clear top coat, allowing proper drying time between each. Lightly buff between coats with wadded packing paper for a smooth result.